
A red ornament you can spot across the room might disappear as soon as you move it into a shadow. A tiny white star can do the opposite and look much brighter than you expected. When a red and white Christmas tree feels uneven, look at where the ornaments sit before you add more.
These 13 red and white Christmas tree ideas help you balance the colors on the tree you already have. Stand where you first see the tree, then try a few ornaments at different heights and depths. Work with the branch shape and the view you see most often.
1. Choose the Main Color From the Doorway
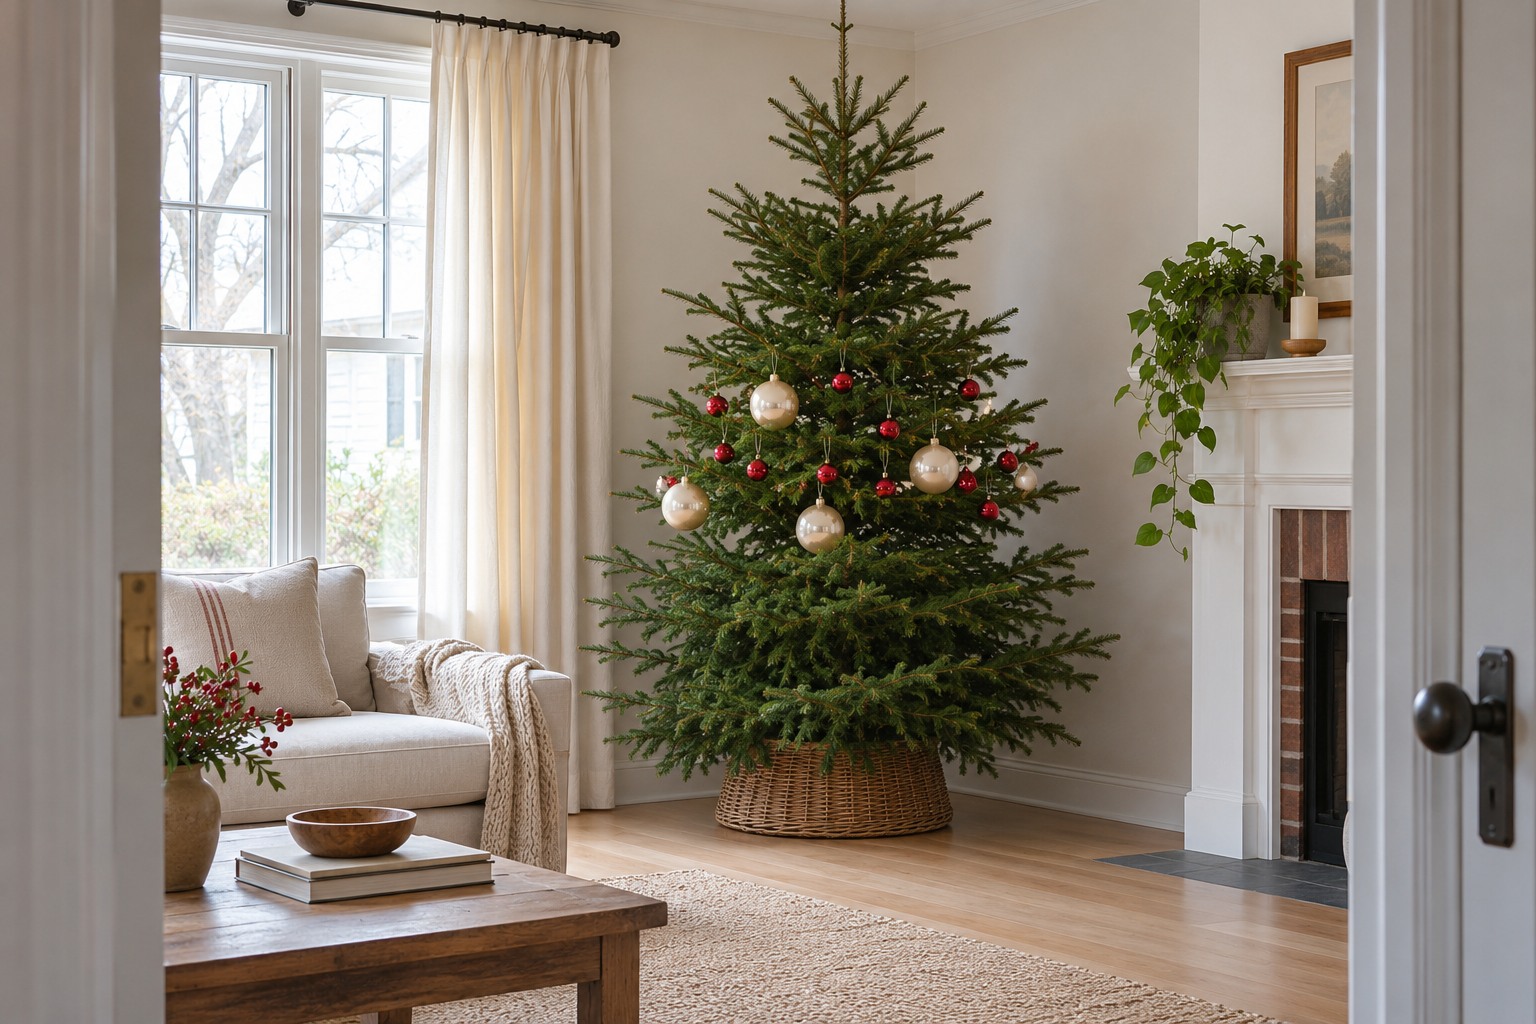
Hang a few of your larger red and white ornaments in the middle third of the tree. Step back to the doorway and see which color you notice first. Use the more visible color to set the overall look if you like how it reads, or move one piece deeper into the branches if you want the other color to take the lead.
A big white ball can carry as much visual weight as a few small red ones against deep green needles. In a room with pale curtains behind the tree, the red may show first. Think about how much color you can see rather than how many ornaments are in each box. If the tree is still looking for a spot near the door, these Christmas entryway decor ideas show where a tabletop tree can go without narrowing the passage.
2. Hang White One Branch In
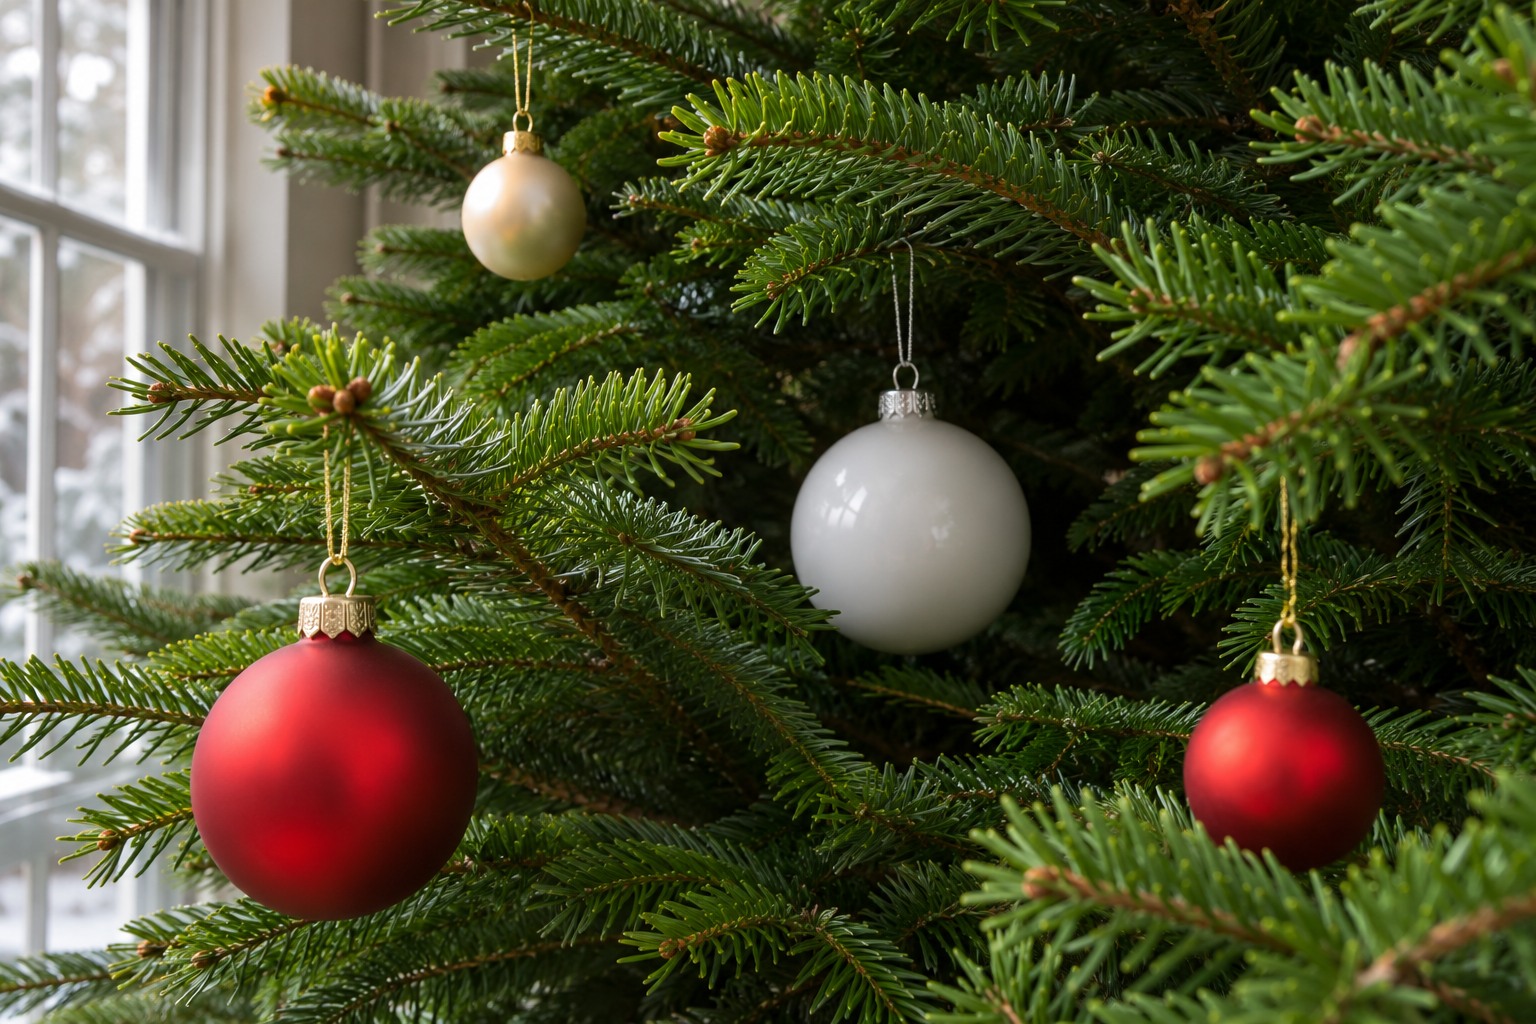
Slide one or two small white rounds a little way into the open space between branches. Keep the front of each ornament visible through the needles. From a few feet away, those pieces mark where the tree has depth, while the red ornaments nearer the front are easier to pick out.
Try it where branches naturally leave a dark pocket. If you can see only a sliver of white, move the ornament toward the tip until its shape reads. Leave the nearest green branch visible so the white looks nestled into the tree.
3. Repeat One Red Shape at Three Heights
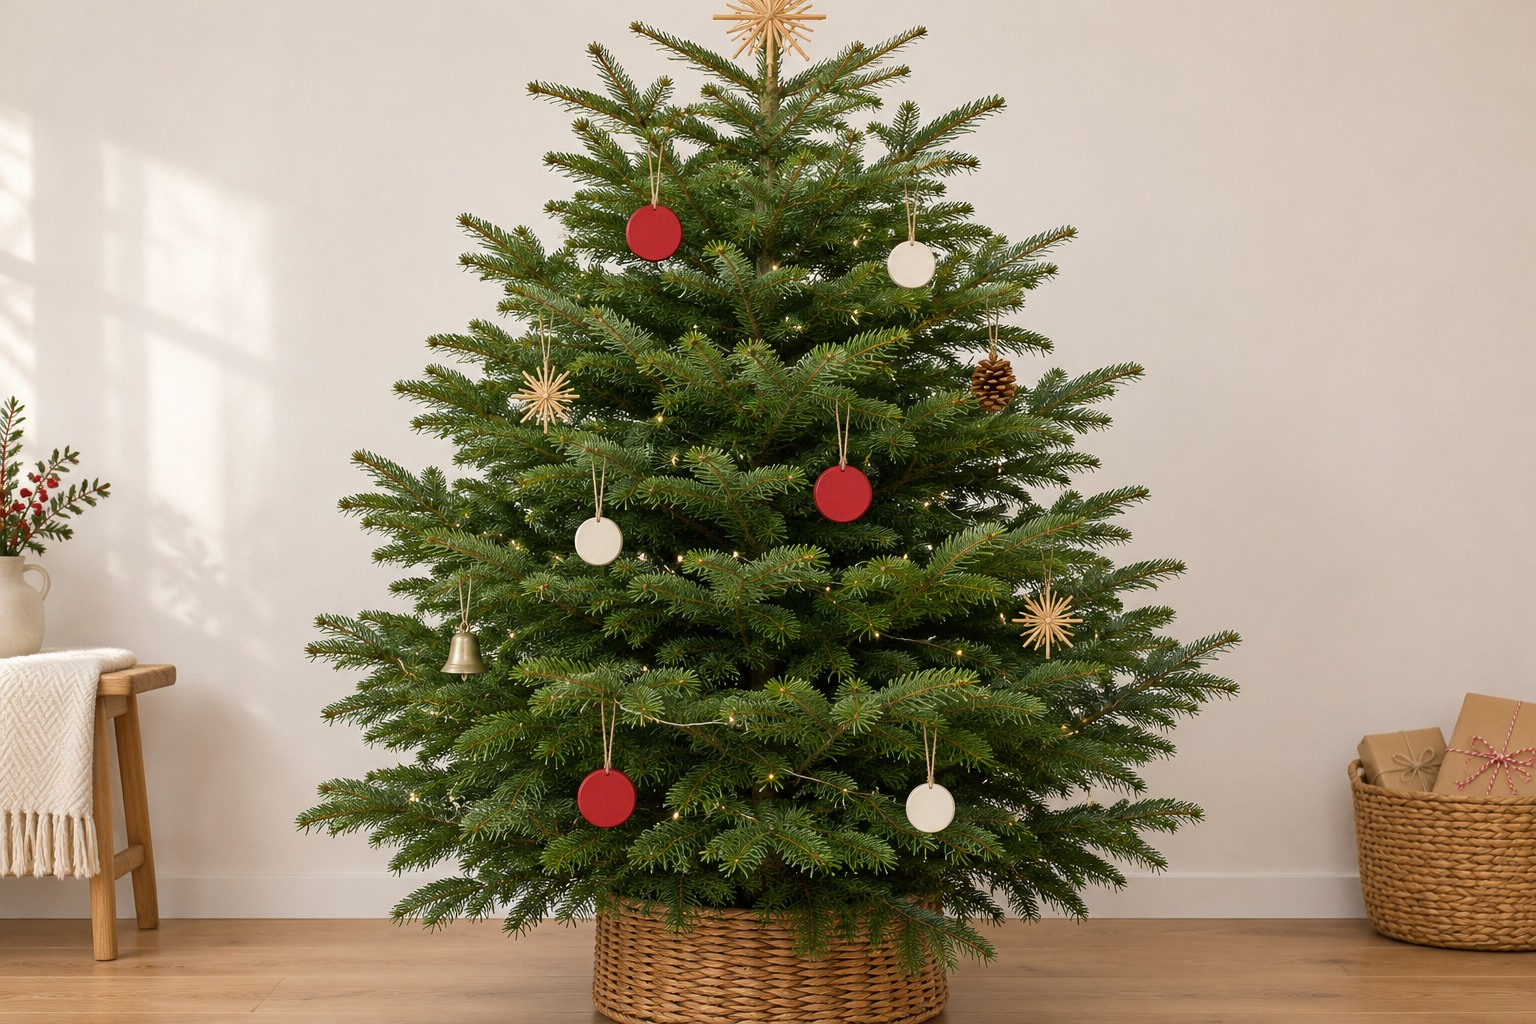
Pick a red ornament shape you already own in multiples, such as a small sphere or a flat wooden circle. Hang one in the upper third, one near the middle and one just above the lowest branches. Move them a little to the left and right so your eye finds the same shape at intervals.
Add white pieces between those points with enough green around them to see what they are. From the sofa, check whether the repeats look like a rigid line. Shift the middle one a branch over if the pattern feels too regular.
4. Let the Largest Ornaments Define the Openings
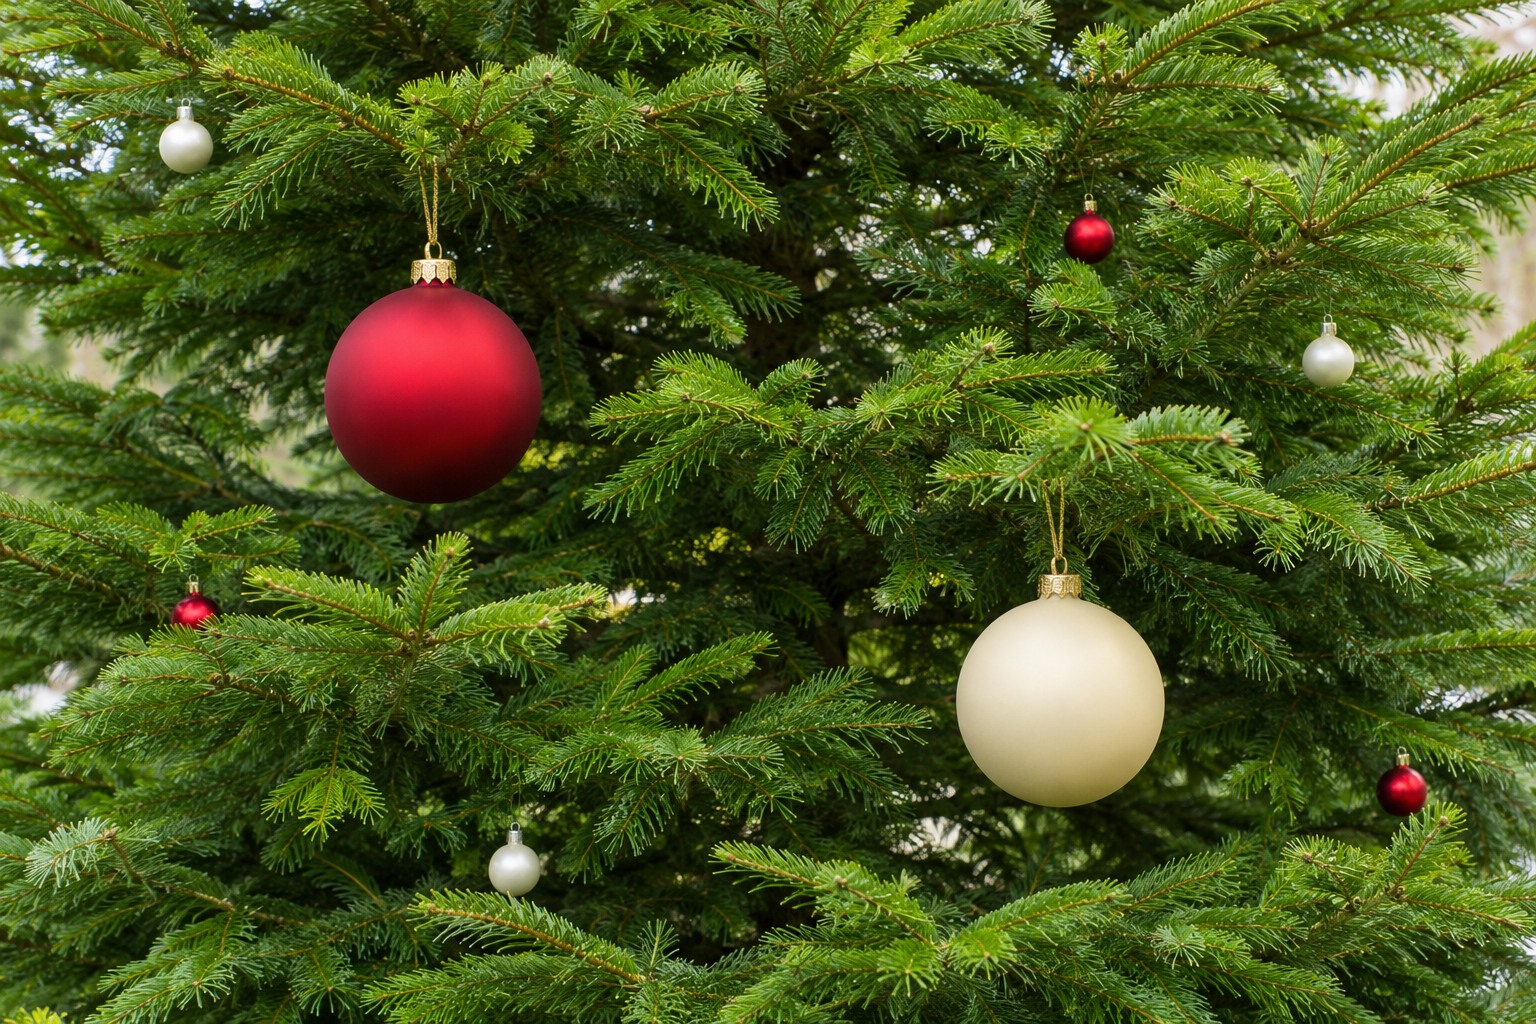
A full tree often has a few larger openings where the branches separate. Try a big ornament in each opening you want to emphasize. Leave some needles around the sides of the ornament so it doesn’t read as a hole in the tree. Then hang smaller pieces in the nearby tighter spaces.
If the ornaments look pressed together, remove the one in the middle of the group first. A red ball and an ivory one are easier to distinguish with a bit of green between them. Stop once the biggest shapes are visible from across the room.
5. Put Flat White Stars at Eye Level
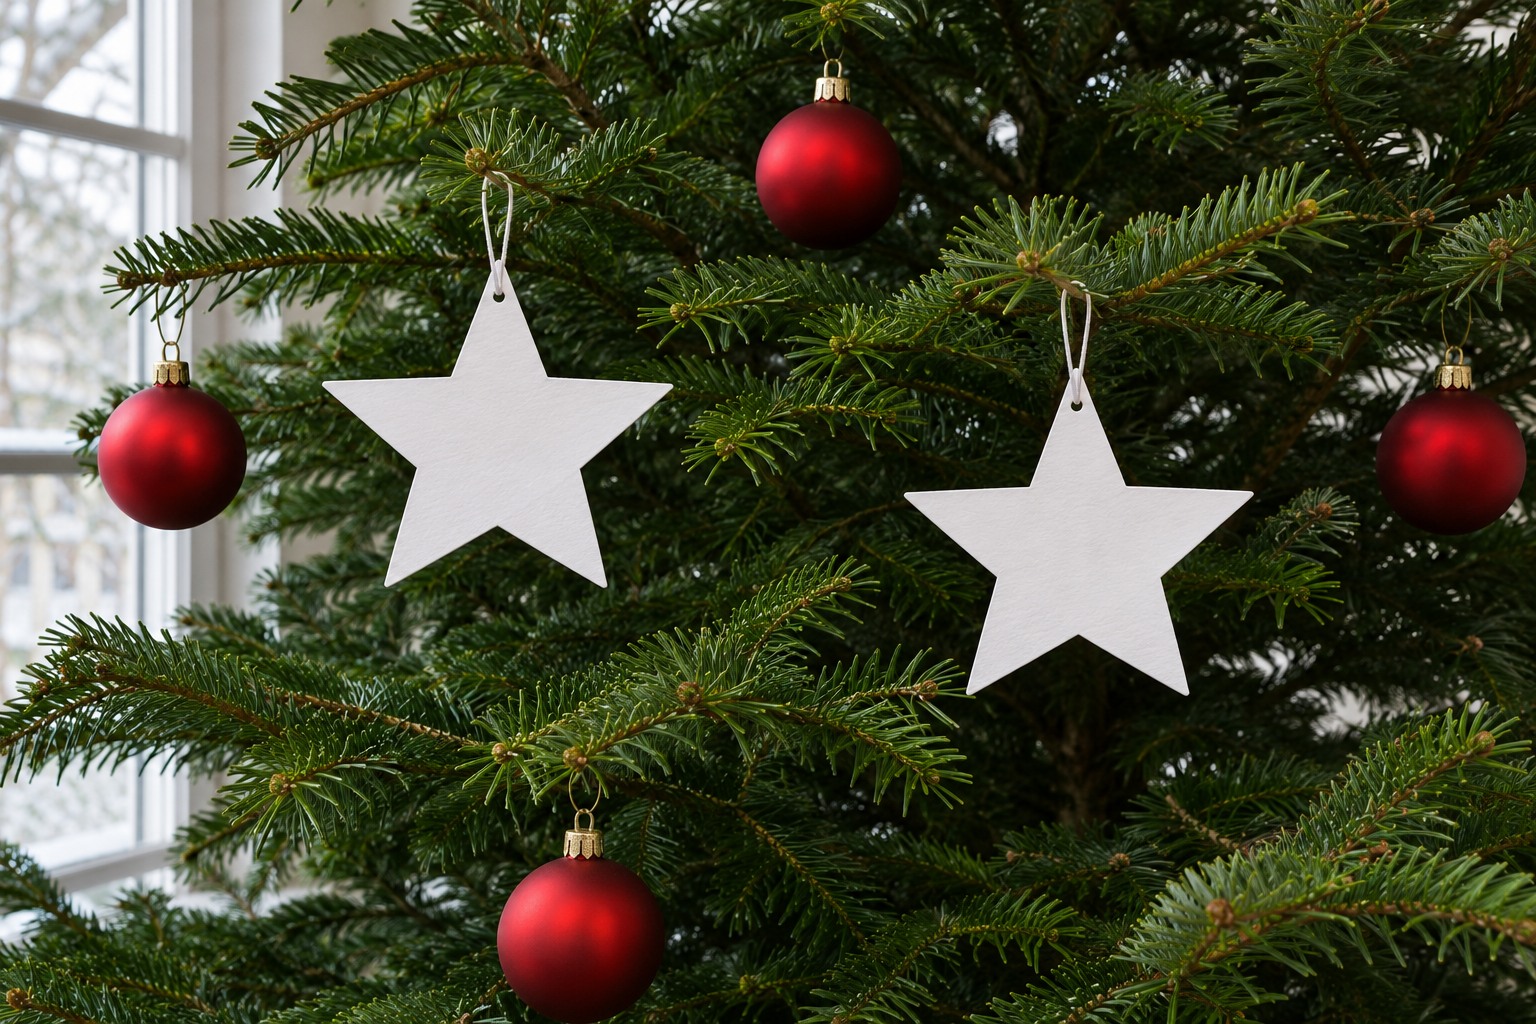
Hang a few flat white paper stars from branches near the part of the tree you see first. Turn each one so the face points roughly toward the room. Matte paper gives the stars a clear outline against the needles and sits comfortably beside round red ornaments.
Use a short loop to keep the star from brushing the branches as it moves. Leave room between the paper and any lights or cords. If the points catch on the needles, pick a wider gap where the whole shape can hang free.
6. Place Glossy Red Where It Picks Up the Light
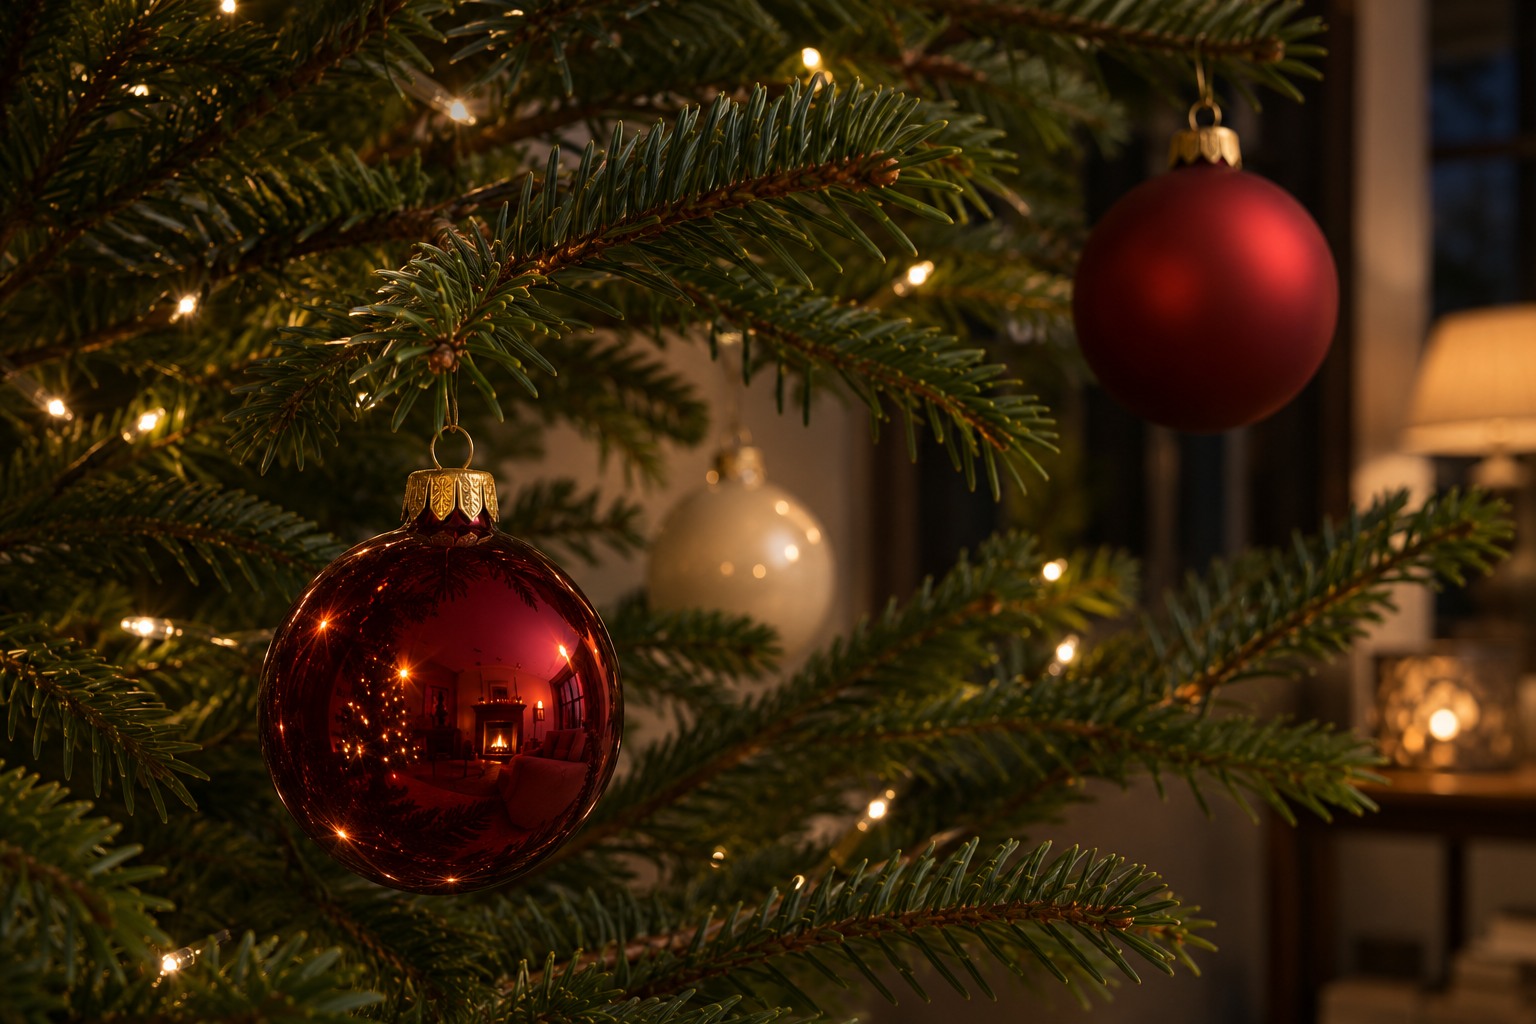
Look at the tree with its lights on before you hang the shiniest red balls. Choose a few branches with light nearby where the ball can pick up a small reflection without touching a bulb or cord. Start with only a few of these spots and give each one enough green around it to see the shine.
If the reflections draw your eye to just one side, move a shiny ball to the quieter side or replace one in the bright group with matte red. This is a small finish adjustment you can make with the ornaments still on the tree.
7. Find the Green Gaps in a Flocked Tree
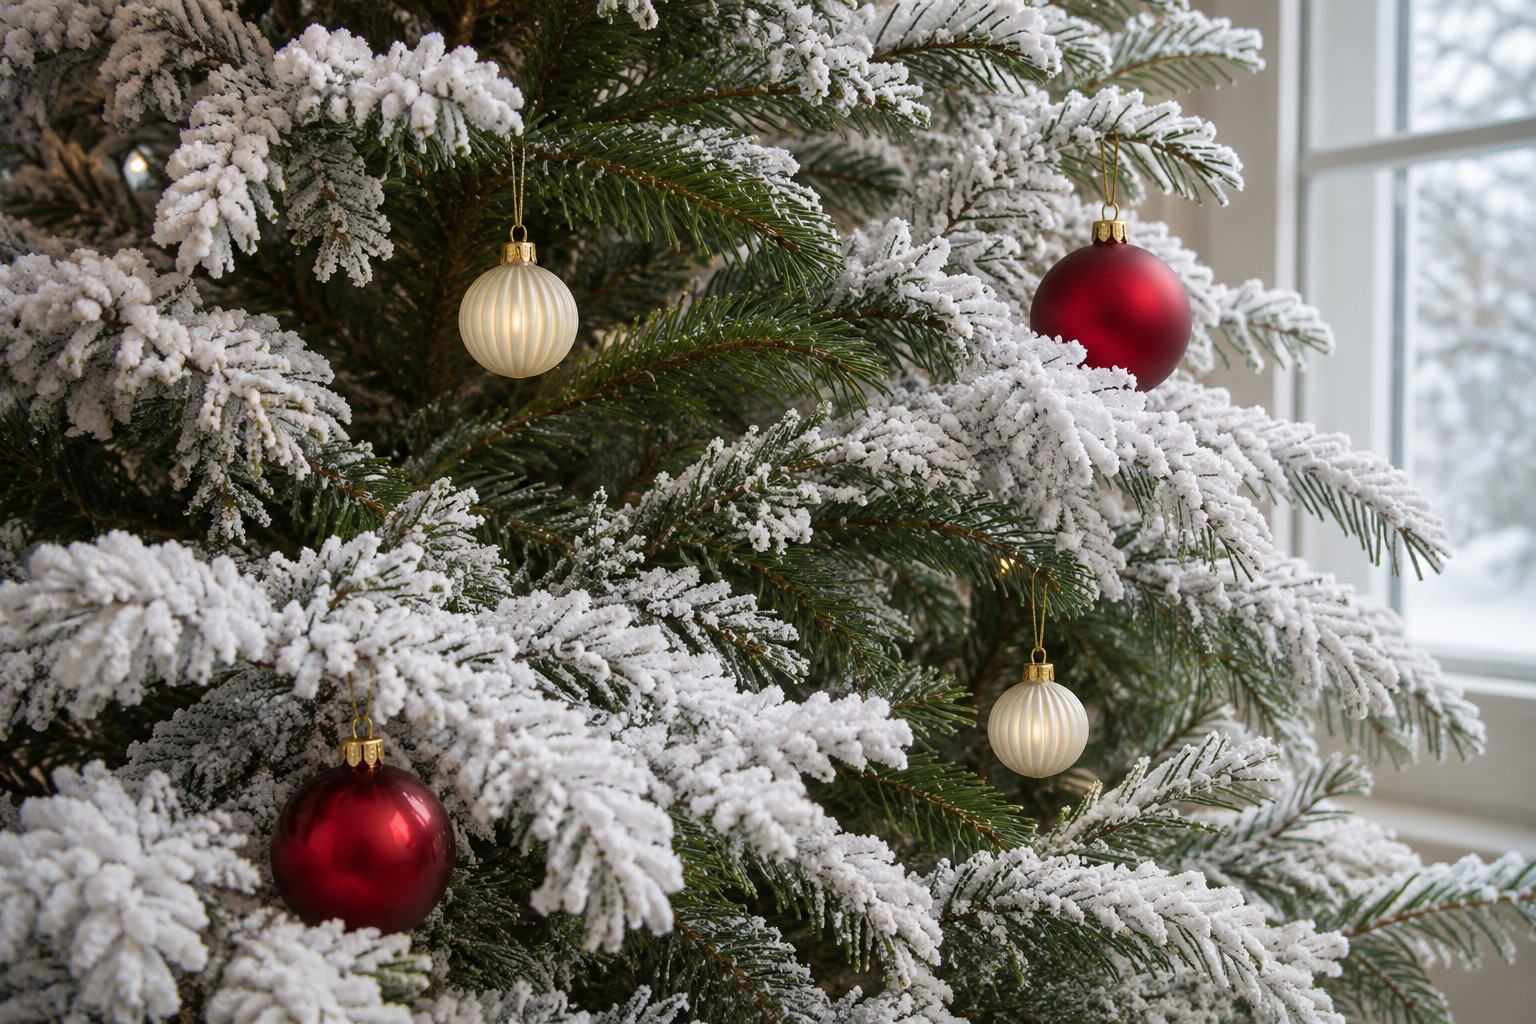
On a flocked tree, stand close enough to see where green needles still show. Put small warm-white ornaments in those greener pockets so the edges stay legible. Let the areas with the heaviest flocking carry a few red ornaments, where you can spot the color from a distance.
Test one white piece first. If it blends into the branch in daylight, see whether a different shape or finish helps before you switch colors. A white ribbed round can pick up enough shadow to stand apart from the flat, snowy surface behind it.
8. Keep the Outline of a Slim Tree Visible
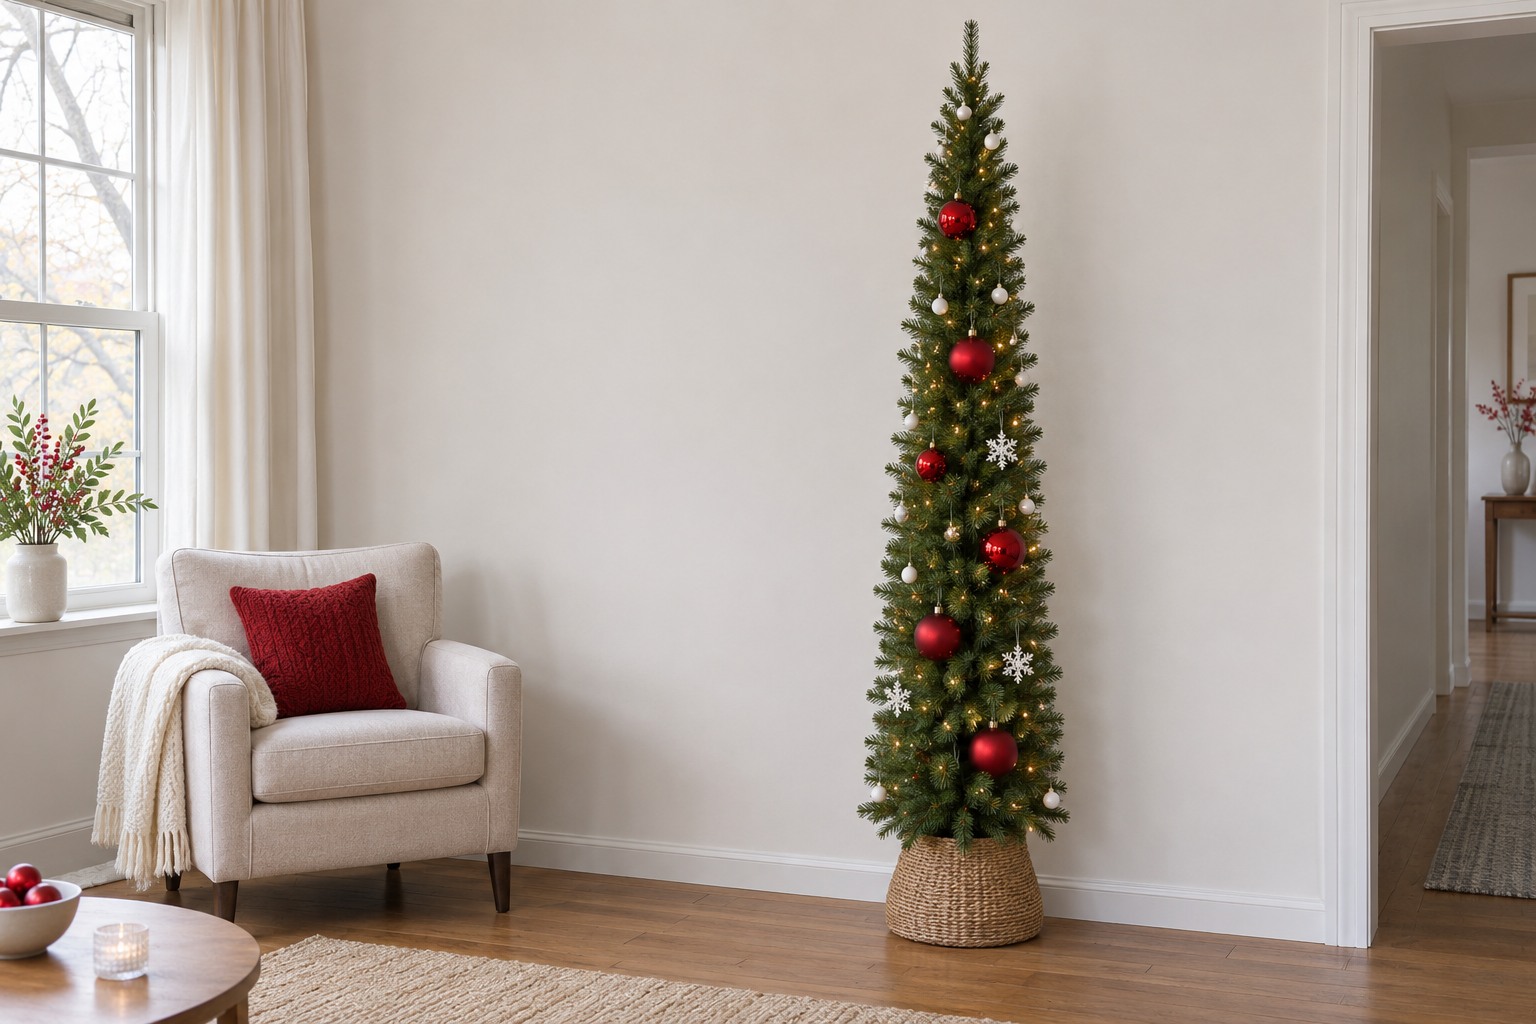
On a slim tree, hang your largest red pieces toward the inside of the silhouette. Give them a branch with enough space below for the whole ornament. Use small white shapes near a few tips where they can still move freely. That leaves the thin outline visible instead of building a second, wider outline out of ornaments.
Stand beside the tree and check the branch ends that face a chair or walkway. Move any long hangers or protruding decorations inward. If you’re choosing where a slim tree can fit, these apartment Christmas decor ideas show ways to work around furniture and keep a route through the room.
9. Use Smaller Red Balls Where the Branches Taper
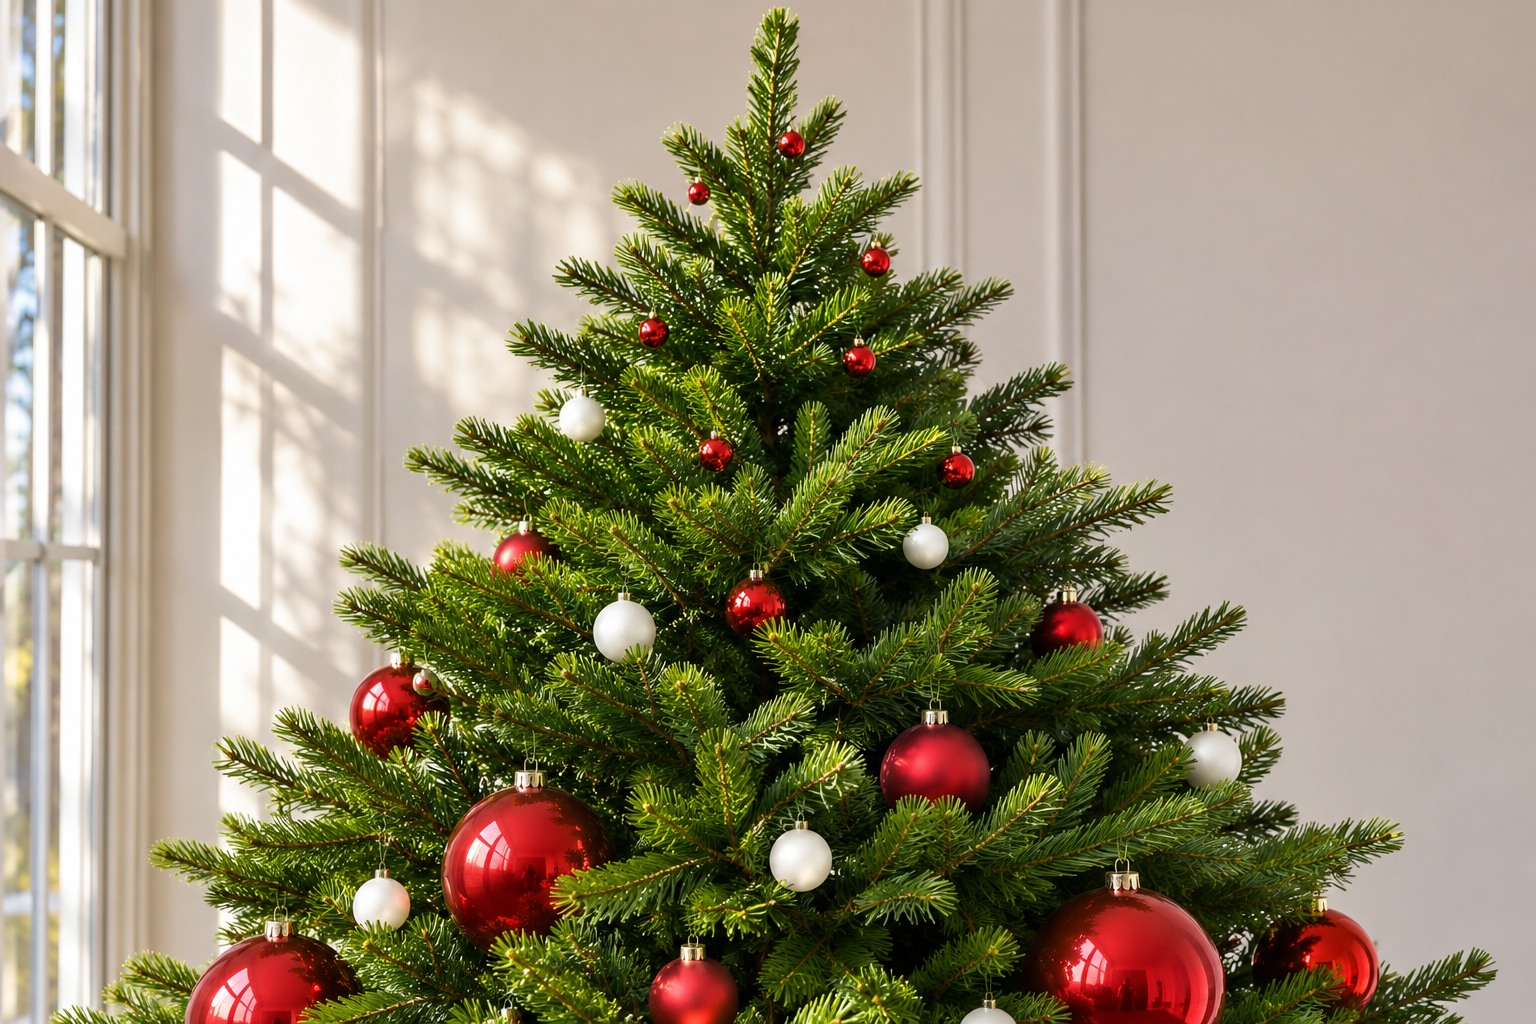
Keep red visible toward the top by switching to a smaller version of the ornaments you use lower down. Start on a sturdy branch and hang the ball far enough back that the tip holds its normal shape. The larger red balls can sit in the wider spaces on the middle and lower branches.
Check the narrow side of the tree from a little distance. A big red ball sticking past a thin branch can make that part look wider than you want. Move it lower or exchange it with a smaller one. Use the same approach with white if you want a pale color to continue through the crown.
10. Carry Both Colors Around to the Window Side
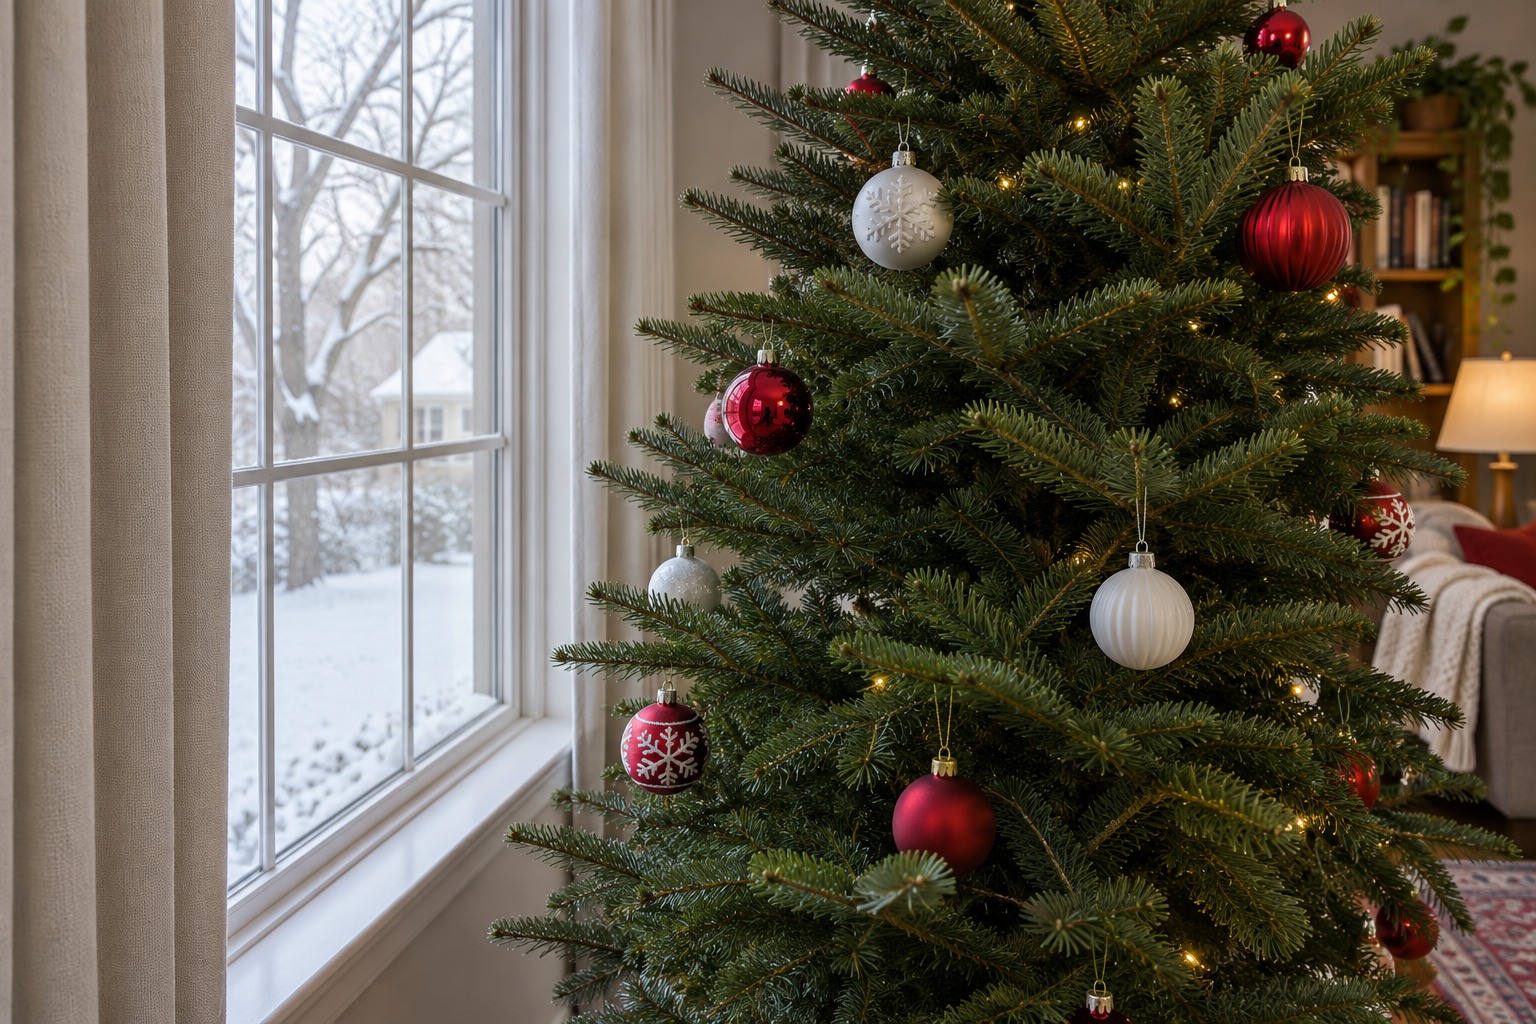
Walk around the tree before you finish it. If you can see it from a front window or a second room, choose a few branches on that side that hold visible red and white ornaments. Start with one clear red shape and one light one where they can both show between the needles.
Look at the window view on its own. Move ornaments until that side has a small repeat of the colors you see indoors. If you also want to decorate the glass or sill, our Christmas window decor guide covers views from both sides.
11. Draw a Branch Edge With a White Drop
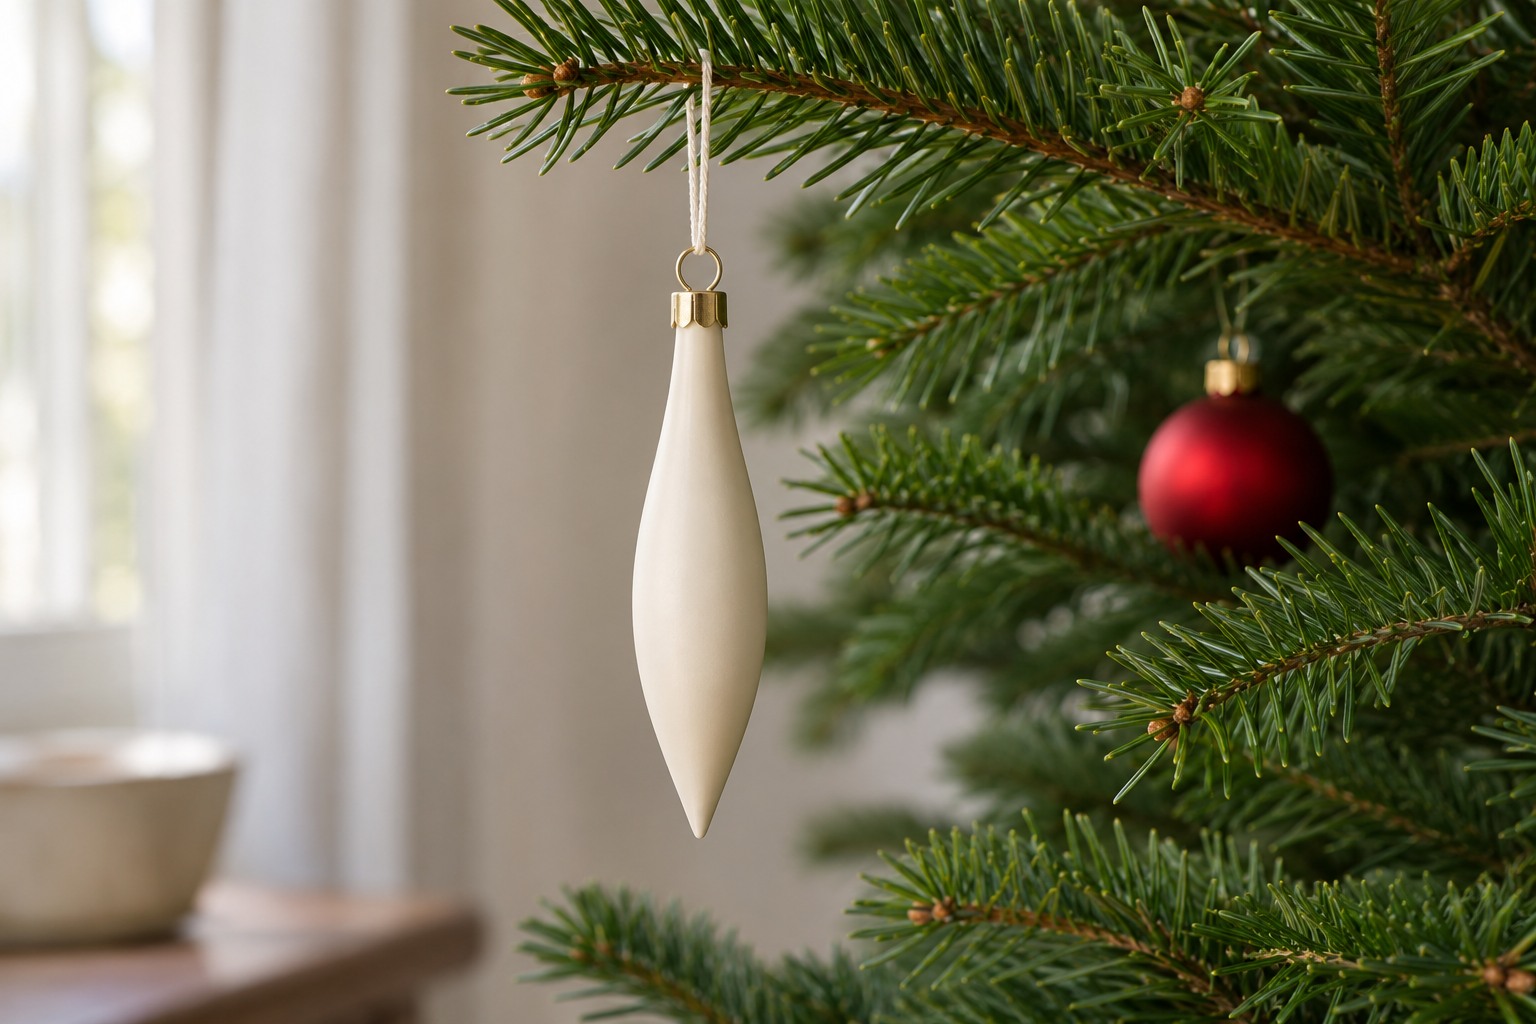
Try a slender white drop ornament in one open space toward an outer branch. The long outline is easier to see here than among several balls of a similar size. Leave enough room below for the drop to hang without touching the needles underneath.
A red round set a little farther into the tree can give the white shape a separate backdrop. Try the pair in one or two places first. If there isn’t an open vertical space, keep the long ornament for a branch closer to the top or swap in a shorter one.
12. Bring Red Down Without Filling the Base
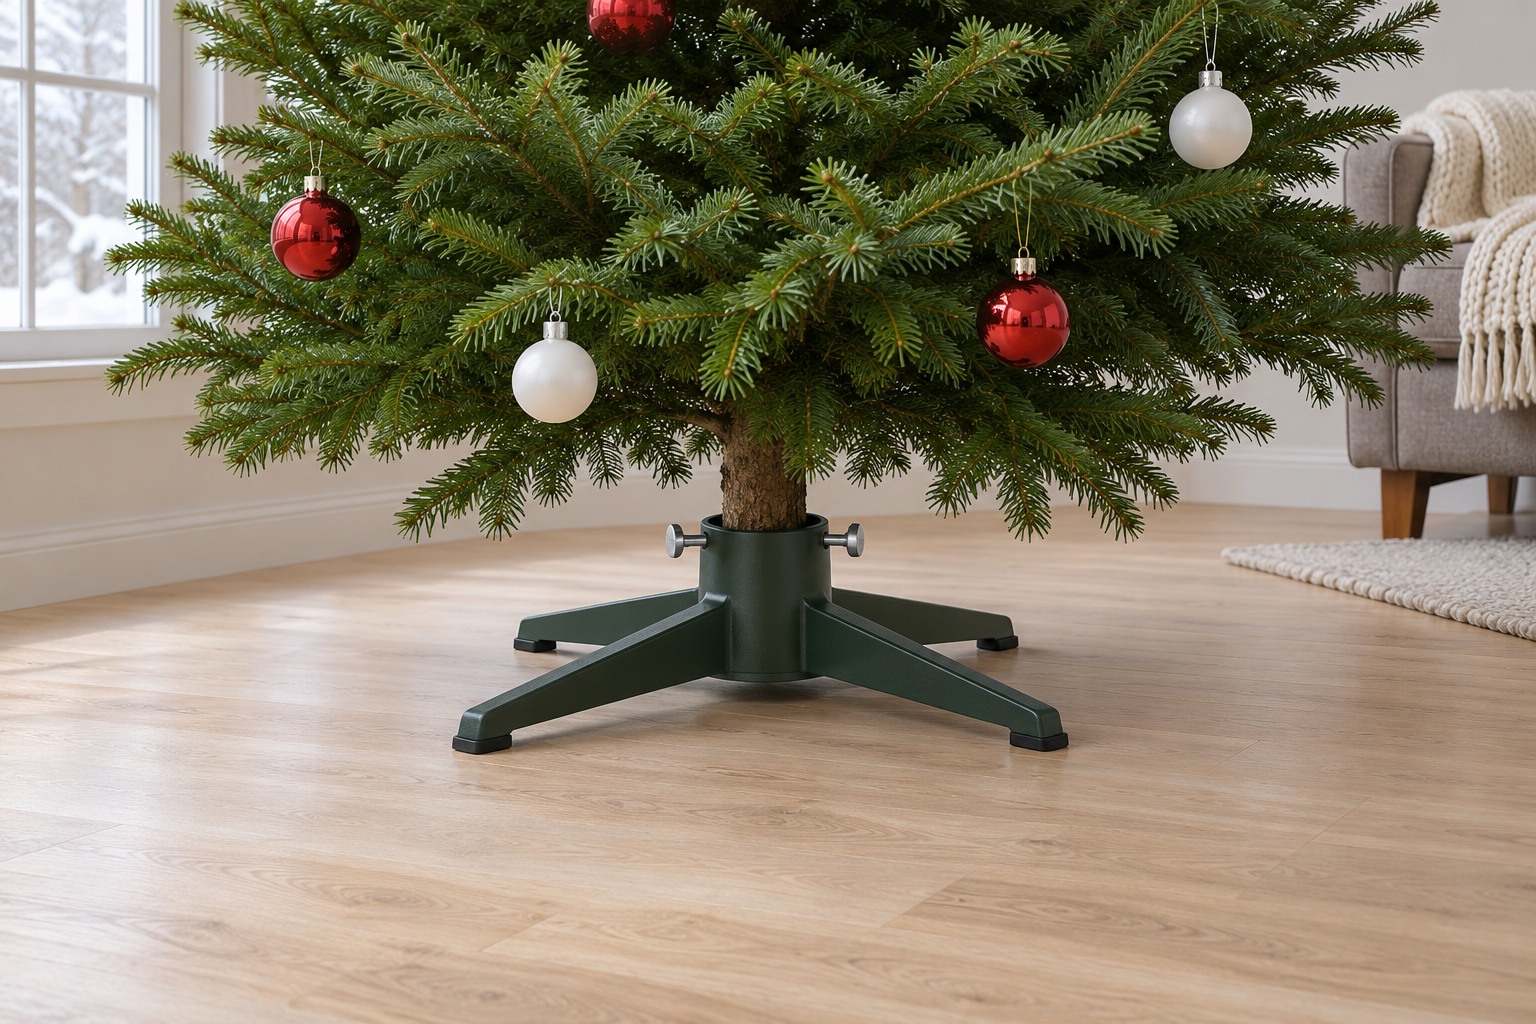
If the tree is mostly red at eye level, hang a few more red ornaments on the lower branches so the color carries all the way down. Look for sturdy branches with some space below them and use pieces that stay clear of the floor. Set anything breakable farther up if this part of the tree is easy to bump.
Keep the route to the stand open, especially if you water a fresh tree. When there’s little room around the foot of the tree, move the red up one branch rather than setting more decorations on the floor. A lower accent can make the tree feel balanced while leaving that space usable. For ideas that leave the watering spot open, see our Christmas tree base ideas.
13. Give Patterned Ornaments One Place to Speak Up
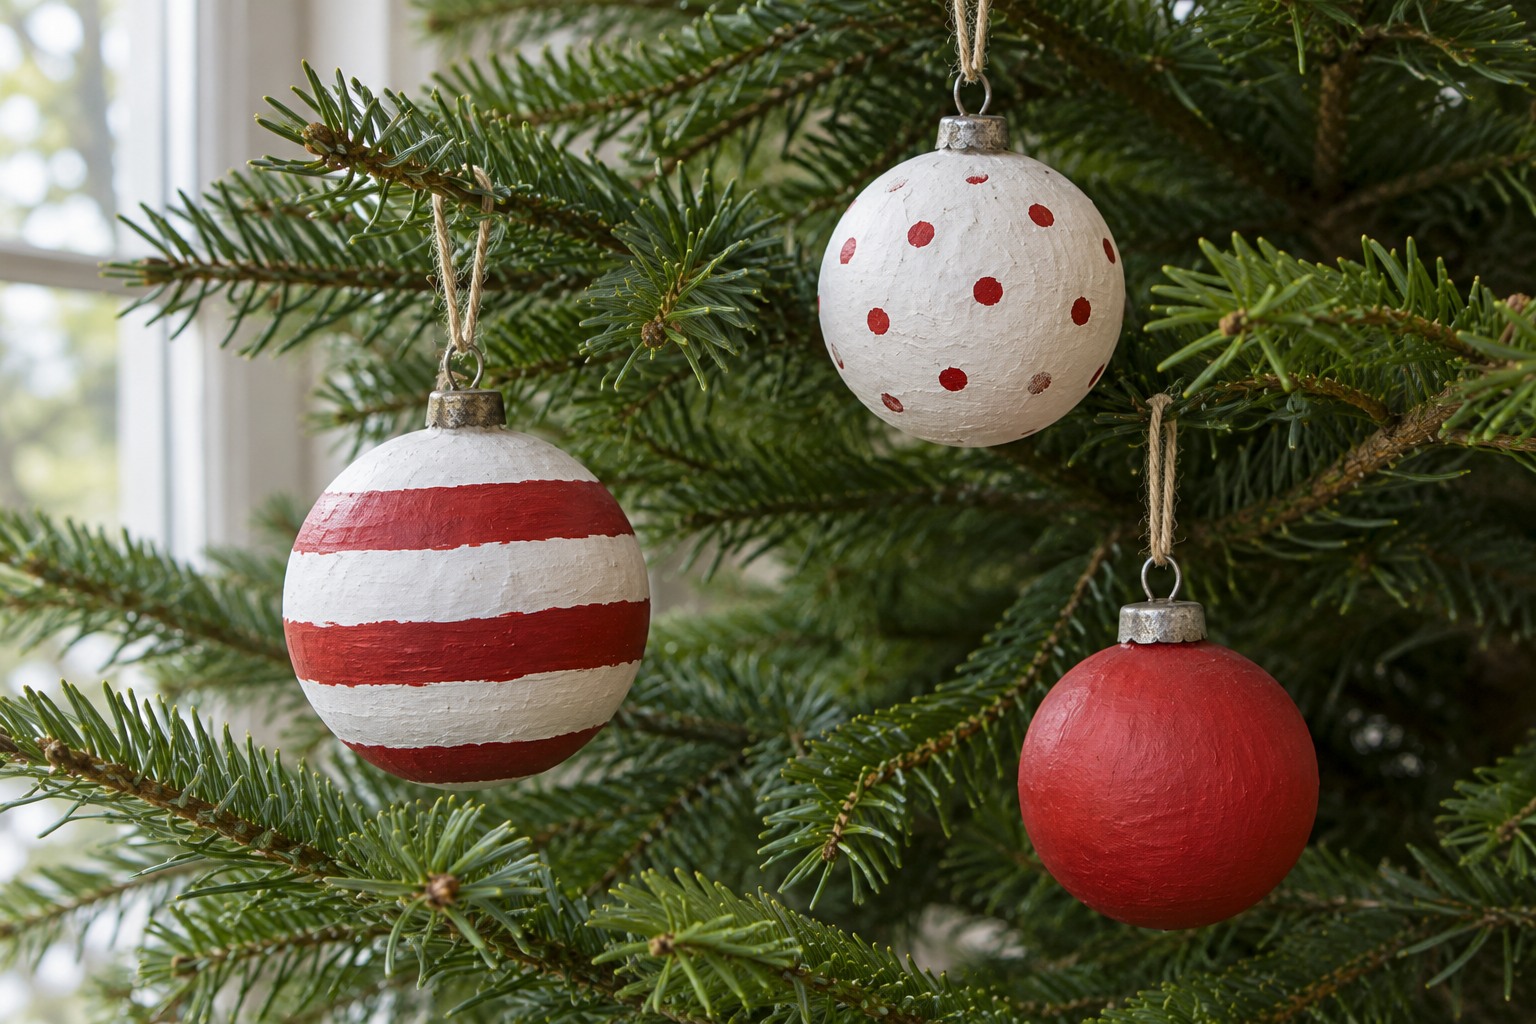
If you have a few striped, dotted or hand-painted pieces, hang them within view of one another at different heights. Leave one plain red or white ornament nearby to give the patterned ones a quieter neighbor. A couple of pieces with recognizable marks can be enough to give a simple tree some personality.
If the patterns start to blend together from the doorway, move one plain ornament into the group before adding another design. Put the remaining patterned pieces aside until you see whether the opposite side needs them. A tree that is already easy to read can stop there.
If your tree already has plain ornaments, you can try a few patterned pieces from the Valery Madelyn 24-piece red and white ornament set. Check the 2.36-inch size against the branch opening so you can see the design once it’s hung.
Choose where you’ll look at the tree most often and make one change from that spot. Move a white ornament forward so its shape shows, carry a little red down or take away a piece that hides the branch line. When both colors are clear and you can still see the tree between them, you’ve found the balance.
Discover more from HomeTrendora
Subscribe to get the latest posts sent to your email.