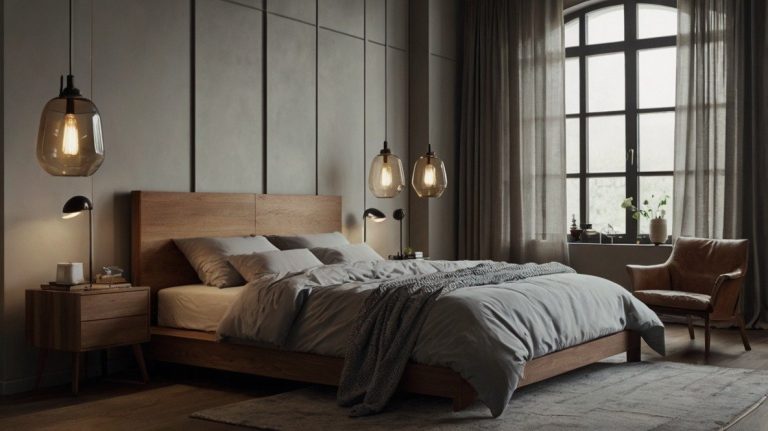
Your bedroom is your sanctuary of sorts—it’s a place where you can relax, rejuvenate, and feel completely at ease. Design elements like paint, furniture and decor are super important in setting the mood at home, but fairy lights are a really affordable way to easily (and quickly!) make your space feel like the cozy oasis of your dreams.
These ethereal bands of light can transform even the most basic bedroom into something magical. As to what you use them for, that’s entirely up to you: dress the walls in light to counteract stark white, weave them around branches and create a romantic canopy or just let them dangle so your bedroom gets transformed into a magical kingdom.
That’s why we put together this guide to walk you through everything you need to know about hanging fairy lights in your bedroom — from how to plan your layout, down to troubleshooting common problems. By the end, you will have everything you need, and all the skills to make a brilliant glowing show that is just your size.
Materials You’ll Need
Before you begin stringing your fairy lights, have the following items on-hand:
Fairy lights: Opt for the battery-powered and/or outlet variety. Battery operated lights allow versatile placement; if you prefer, move the string lighting to a new location whenever you please Plug in light strand eliminates any need for battery replacement or frequent switching on and off.
Tape measure: Key to planning your layout and making sure you have enough lights for the structure you want.
Tiny nails or adhesive hooks: These are both nondestructive ways of securing the frames to your walls.

Clear adhesive clips: Suitable for mounting lights along walls, furniture edges and ceiling lines.
Temporary mounts: Perfect for temporary installations or rental apartments where mounting is not allowed.
Power strip: May be needed if your source of power is a distance from where you are designing with light. If not a strip make sure cords will reach as well as remain out of traffic.
Wire strippers, if necessary: Some setups might need some very small electrical work.
Pencil: To place the holes needed to mount in before installing.
Level: Takes the professional look, keeping your light strings hanging straight and even.
Planning Your Perfect Layout

The key to getting fairy lights right is careful preparation. Start by measuring your room and taking note of some key features: windows, furniture placement and electrical outlets.
Think about aspects of your room that are natural focal points. The back of your headboard also makes a fantastic place to hang fairy lights, where it looks like you’re lying under a canopy or fronted bed frame. Windows are another common alternative, and the lights can go around the window itself and add lovely light throughout the day or night.
Consider the mood you’d like to establish. Dense light clusters provide breathtaking meaty focal points, while more evenly distributed sets cast a soft ambient cover of radiant light throughout the space. Allowing various heights and patterns to mingle is visually stimulating without being too much.
Practice drawing your new design on paper before you start installing. This allows you to see exactly how your finished piece will turn out and to determine precisely how many skein of floss you’ll need. Don’t forget to factor in corners, curves and spaces where lights can naturally droop.
Step-by-Step Hanging Techniques

Method 1: Using Adhesive Hooks
Begin by dusting the wall area where you intend to stick hooks. Use a pencil to mark where you want your mounting holes to be, and employ the level for equal spacing.
Apply adhesive hooks to the wall, pressing firmly according to package directions for appropriate time of adhesion. The majority of the hooks require 30-60 seconds of hard pressure for perfect hook and loop bonding.
Hang them so they drape a bit between hooks to give your lights a natural, organic feel. Don’t let your lights be too tight! That will give you a fake, frozen lookyling.
Method 2: Nail Holes for a More Permanent Option
If you own your home and desire something more permanent, use small finishing nails. Select nails with heads big enough to keep lights from sliding off but small enough not to be conspicuous.
Lightly pound nails into the spots marked, keeping about 1/4-inch of nailhead visible out from the wall. This accommodates for light wires and minimizes/avoids putting nails.
Loop light strings between nail heads and adjust tension to achieve hanging draping effect as desired.
Method 3: Small Gum Drop Clips for More Specific Routing
Stick to the line: With adhesive clips, you stick behind doors, to ceiling edges, or behind furniture. The installation surface must be well cleaned before attaching the clips.
Space clips 12-18 inches apart for best support and good natural light. Clip down each one hard for the length of time it says, let each one sit a number of hours before hanging lights.
String lights through clips gently, the wire rests in the clip and is not damaged or pressurized.
Essential Safety Considerations

Electrical safety should always be your paramount concern when working with fairy lights. Never use a wattage on your outlets actual rating, and never daisy-chain multiple extension cords.
When installing, check the lights for fraying wires or broken bulbs or plugs. Replace cracked parts and add wiring to avoid fires before hanging lights.
Avoid placing lights near heat sources, such as radiators or space heaters, direct sunlight through windows. The wires can be damaged by the excessive heat and become a fire hazard.
In the case of battery-operated lights, substitute with fresh, high-quality batteries and remove them if you won’t be using the lights for long stretches of time. This helps avoid leakage and corrosion of the battery.
Unplug fairy lights when going to bed or leaving the house (unless they are specifically designed for constant use).
Creative Style Ideas That Will Help You Get Your Own Design

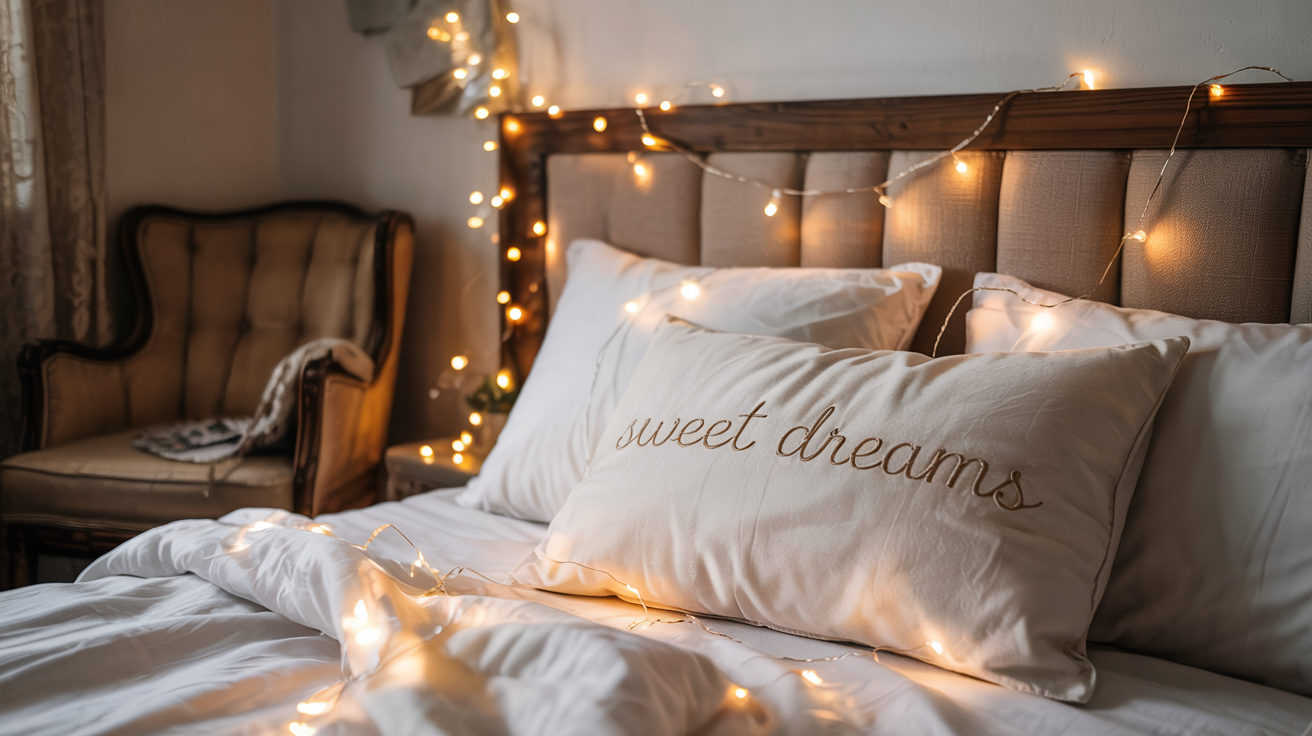
Headboard Canopy Effect
Make a whimsical setting by draping lights in loose waves over the headboard. Begin with mounting points just a little wider than your bed, then loop lights overhead in intersecting swags for a dreamy canopy effect.
Picture Frame Gallery Lighting
Take enchanting pictures with fairy lights by tracing picture frames or mirrors. It’s particularly effective with a larger mirrors, transforming them into eye-catching centerpieces.”
Floating Light Clouds
Cluster battery-operated lights within paper lanterns or behind sheer fabric to simulate glowing clouds that hover throughout the room.
Window Frame Enhancement
Trace with lights around your window frames to add brilliant illuminated edges. This one makes things look big and open while filling everything with beautiful ambient.
Furniture Accent Lighting
Run them along the back edge of dressers, desks or bookshelves to have a subtle uplighting contrast that will add warmth without washing out your space.
Troubleshooting Common Issues
Lights won’t stick: The adhesive bond is generally poor or mounting points are too overloaded. Attempt to clean the mounting surfaces again or add more hooks and spread out the weight.
Uneven light-spread: Space screws or install intermediate supports when lights sag. Occasionally, simply moving one or two hooks around makes a huge difference.
Dim or flickering lights: Inspect all connections and replace batteries. For plugged-in models, ensure your outlets are providing reliable power and that you’re not overloading circuits.
Adhesive hooks not sticking: Wall texture, the type of paint used and even a bit of humidity can compromise adhesion. Consider switching to small nails or a special adhesive made for the type of wall in your apartment.
Light strands in knots: It is easier to prevent than correction. It is always best to test your layout with lights UNPLUGGED and UNTANGLED prior to final installation.
Bring Your Vision to Life
You don’t need to have professional expertise or your wallet at the ready to put up fairy lights in your bedroom—just some patience, a bit of planning and a little less elbow grease. The magic these little lights cast is enough to make a space turn from dull to romantic in seconds.
Begin with a basic setup and grow your lighting display over time as you find what works best in your space. Consider how the most gorgeous installations are typically a combination of several techniques and styles, and with their own unique environments.
Enjoy yourself and don’t be afraid to make changes as you work. And that’s the beauty of fairy lights: They’re so flexible and forgiving — there really is no wrong way to make a string of lights that makes you smile every time you walk into your room.