Halloween decorations can look scattered when every wall has a little of something. These 18 Halloween wall decor ideas help you choose one clear focal point, position it where people can see it, and give it enough room to photograph well.
Start with a spot you can light and reach comfortably. Use the ideas that suit your wall and the things you already have, then keep the nearby floor and doorways clear.
1. Pick the Wall From the Camera’s Usual Angle
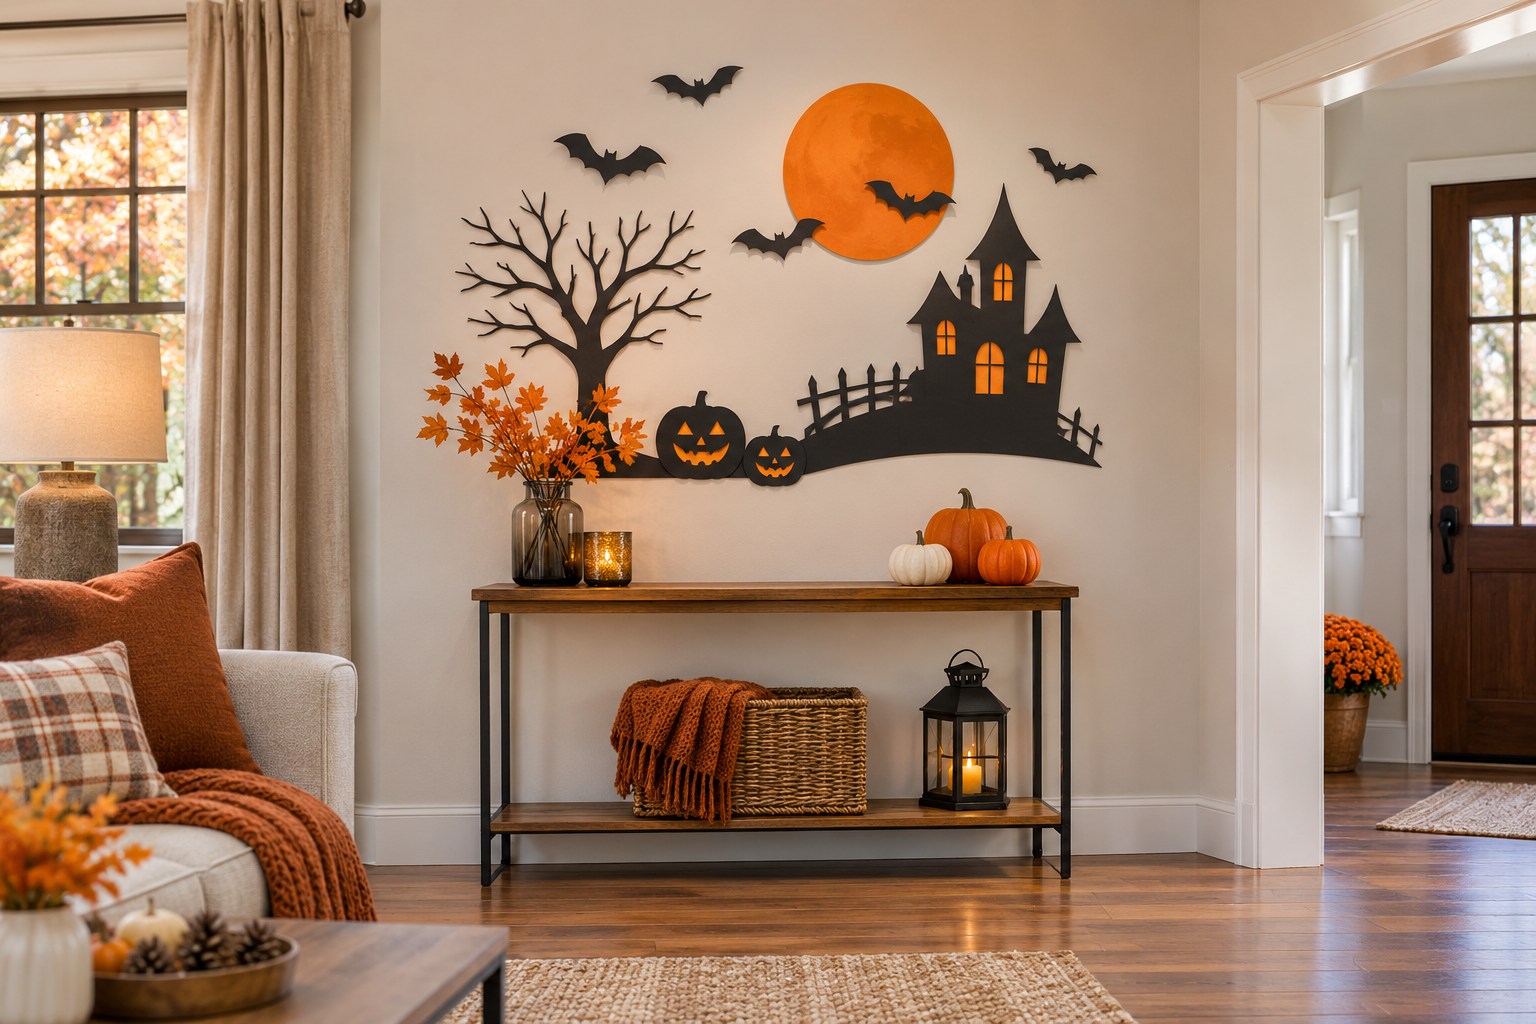
Take a quick phone photo from the spot where guests are likely to pause. Check what appears along the edges of the frame, including switches, open doors, and the tops of furniture. Choose a wall where the background already looks calm. The wall beside a console or at the end of a dining room may be easier to photograph than the busiest doorway.
Decide how far people can step back while the route remains open. A small arrangement that fits into one frame can give the room a clearer focal point. Leave the rest of the wall quiet until the main feature is in place.
2. Make a Small Flock Climb the Wall
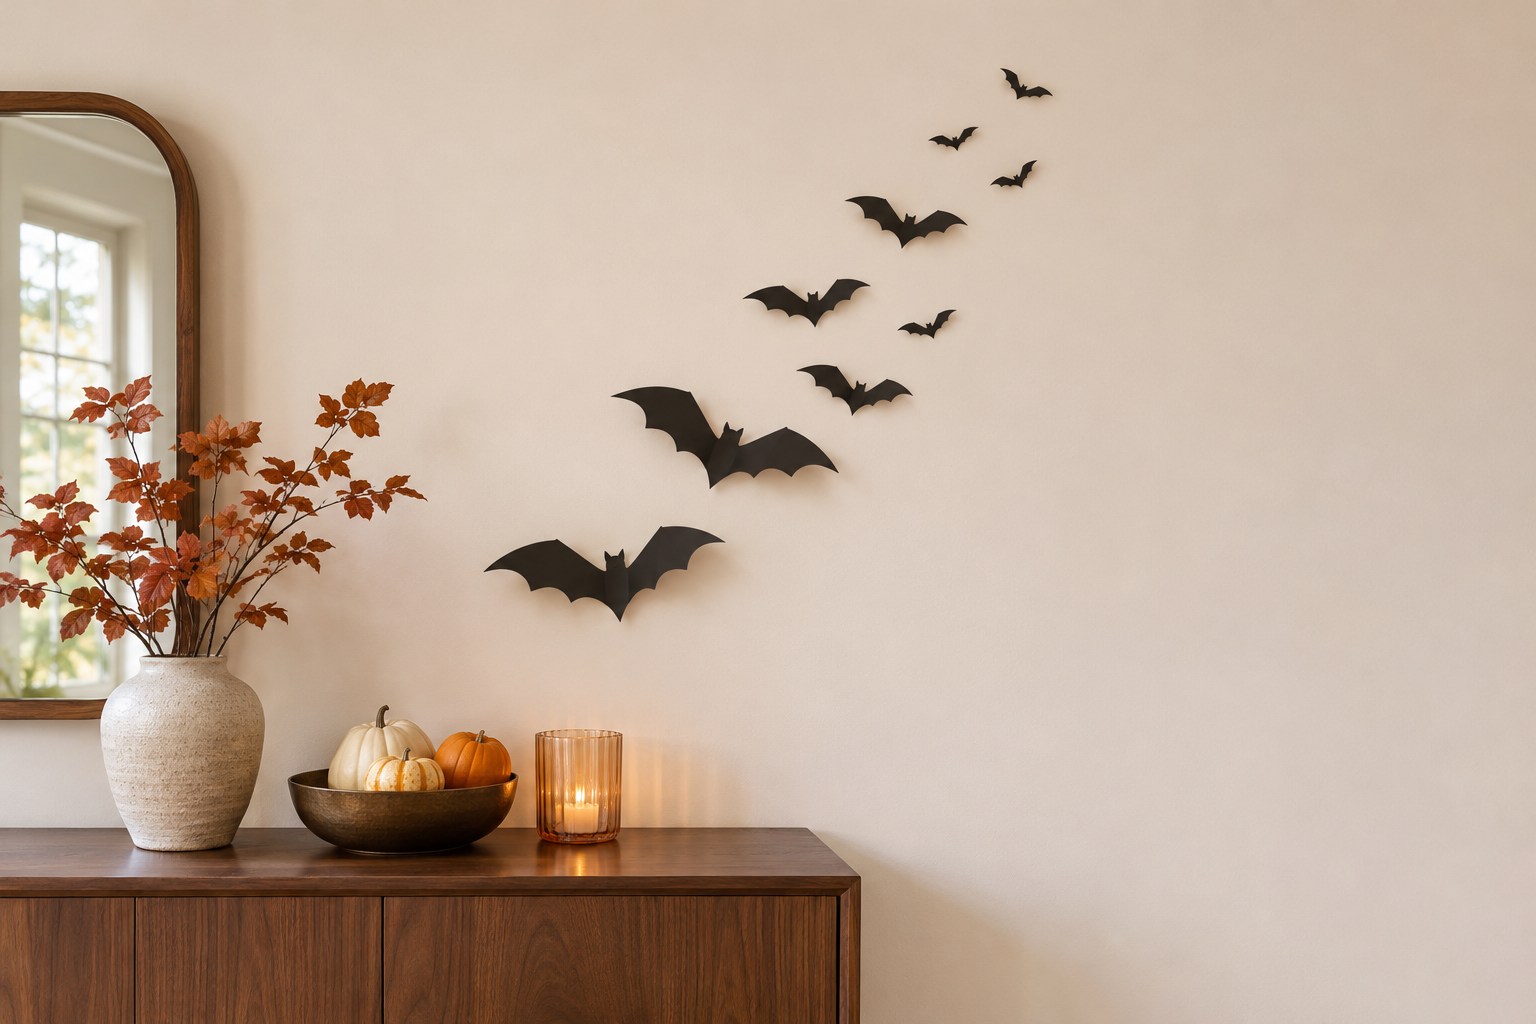
Arrange bat silhouettes on the floor first. Put the larger ones near the starting point and let the spacing open up toward the edge of the display. A short upward sweep across a pale wall is easy to read in a photo, especially when a console or picture frame gives the eye a fixed starting point.
Use light pieces and a hanging method compatible with the surface. Try it in an inconspicuous spot before committing to the full group. Leave a margin around doors and switches, then view the wall from across the room. Adjust any shape that disappears into a dark frame or shadow.
The Coogam black bat decoration set gives you several sizes to build a flock that tapers toward a doorway. Lay out the spacing first and test the chosen hanging method on a hidden part of the surface.
See details for Coogam black bat decoration set (paid link)
3. Build a Gallery From Frames You Already Own
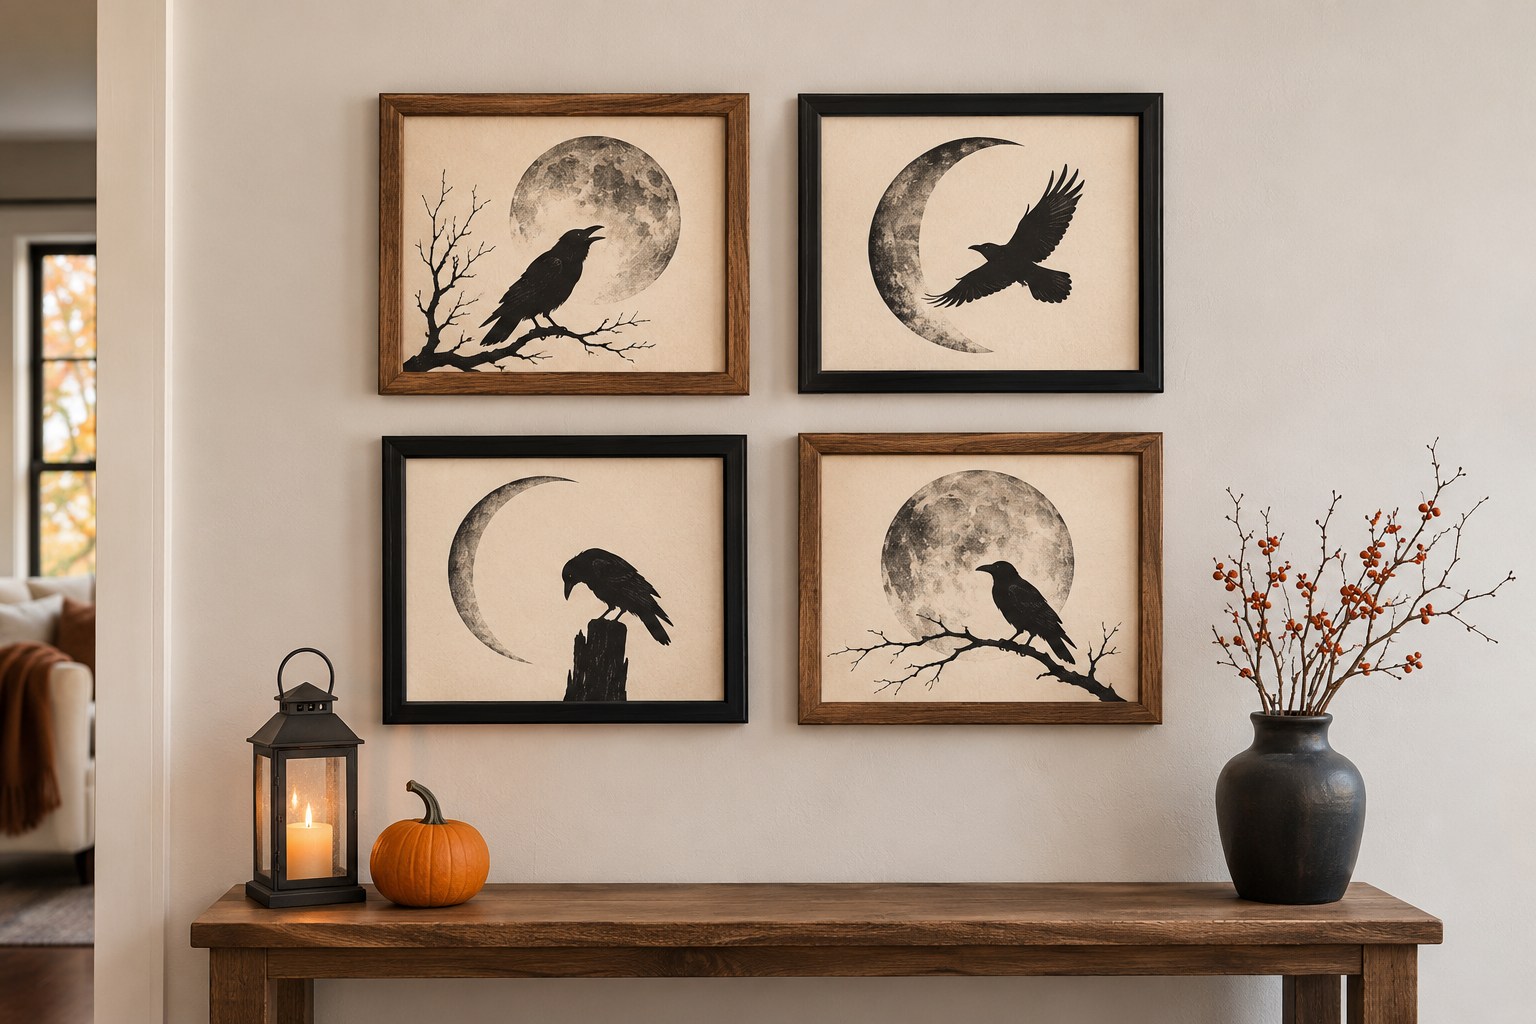
Gather three or four light frames with related finishes and cut seasonal inserts to fit their openings. Use simple silhouettes, a hand-drawn moon, or a reproduction of an image you have permission to use. Existing hooks give you a practical starting point. Check the mounting before changing the weight of a frame.
Keep one repeat through the group, such as cream paper with a dark drawing. An uneven arrangement can still feel settled when the spaces between pieces have a consistent rhythm. Photograph it from the doorway and remove any print that competes with the strongest one.
4. Use a Pale Moon Against Dark Paper
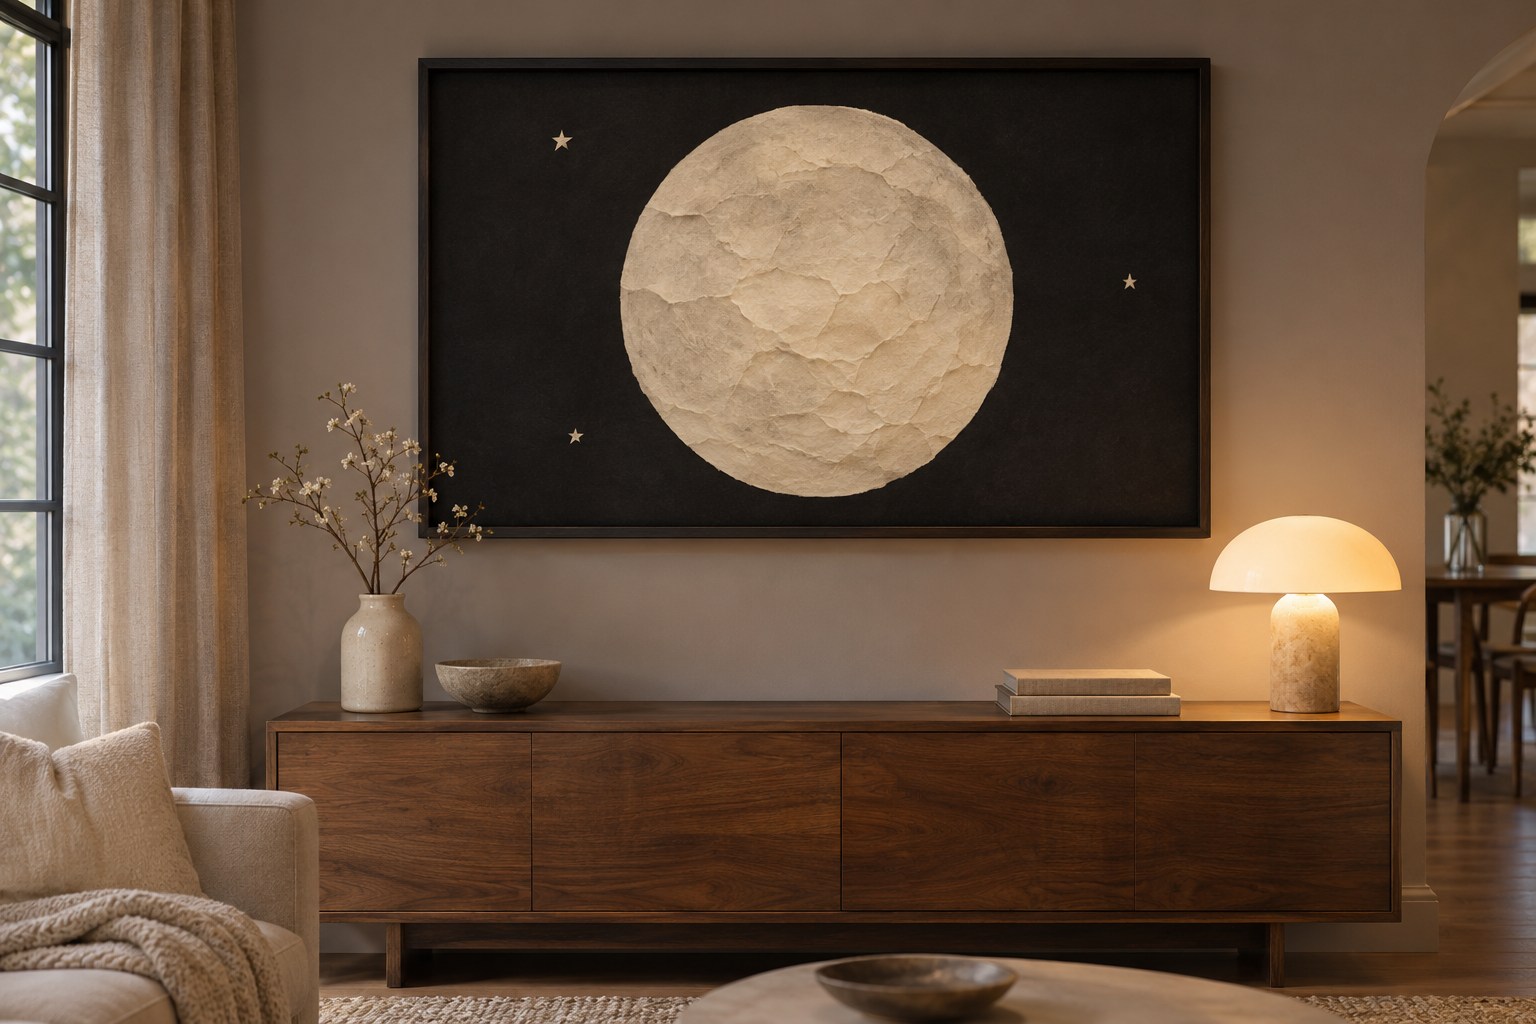
Cut one generous moon shape from pale paper or lightweight card. Set it against a deep blue or charcoal background within a frame or on a secure removable display board. Leave room around the edge of the moon. A single contrasting shape can carry the wall from farther away than a cluster of small details.
Try a matte paper so a lamp or phone flash is less likely to wash out the design. Keep the frame clear of active doors and heat sources. If you want a second detail, add a tiny cloud shape or a short line of stars along one side.
5. Give the Mantel Wall One Tall Shape
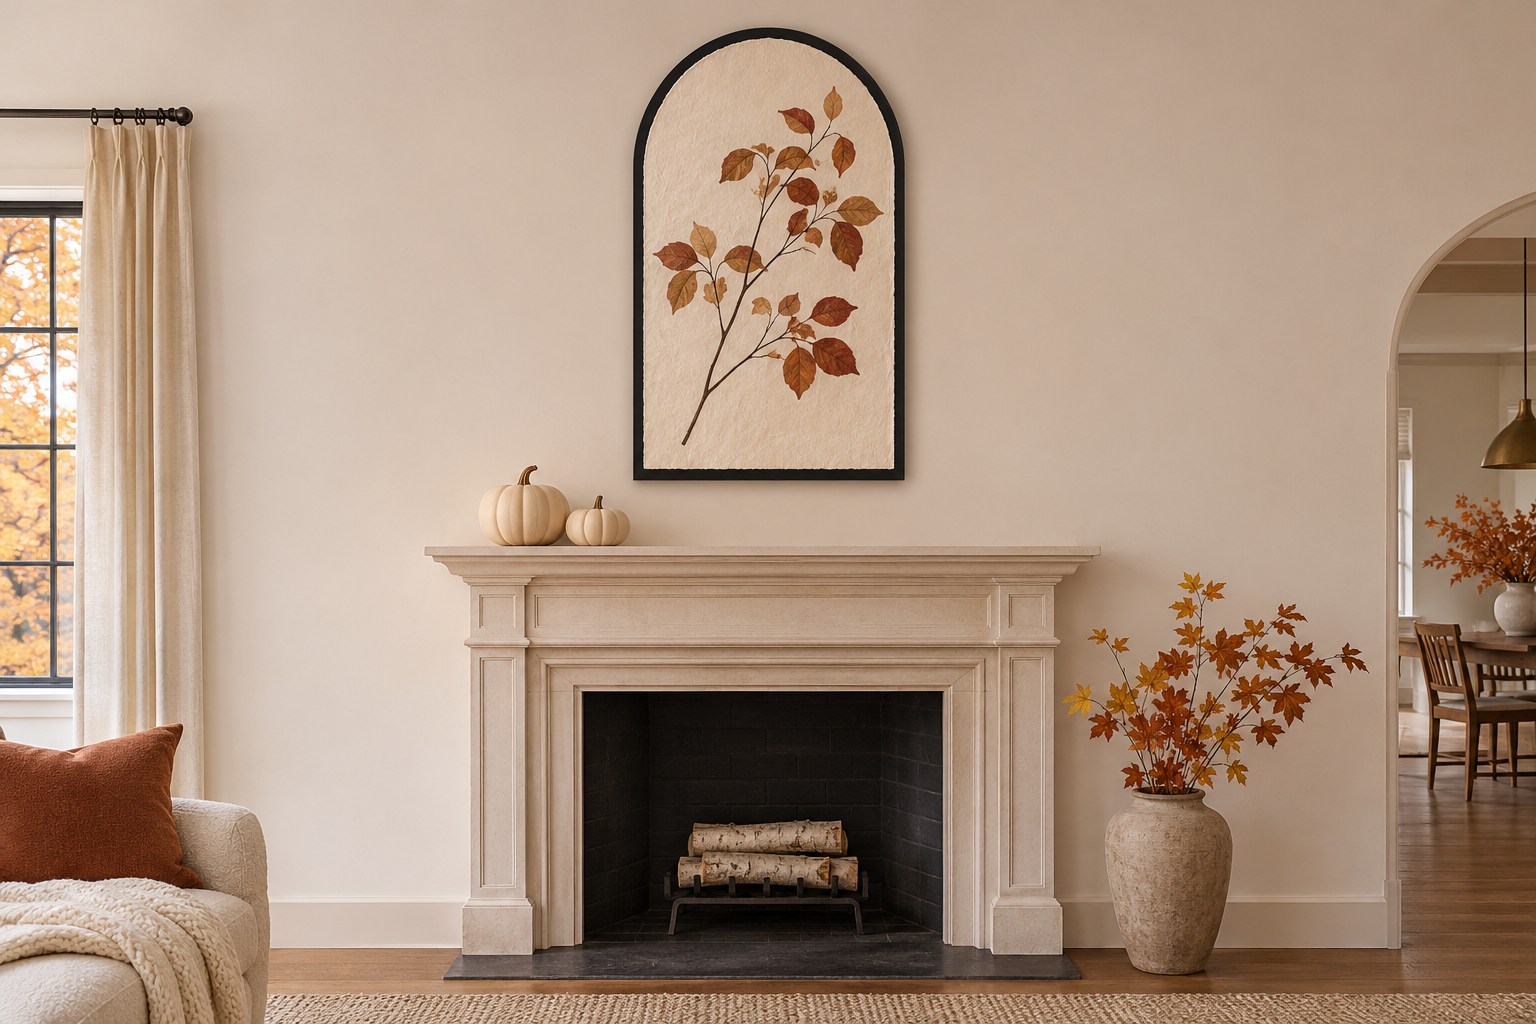
A wide mantel often needs an element that draws the eye upward. Hang one lightweight shape or framed silhouette on the wall above it, using a mounting method appropriate to the surface. A dark arch, paper moon, or tall illustration can hold the center while low decorations sit below.
Check the fireplace instructions and keep materials away from heat and the operating area. A wall away from the fireplace works just as well when a seasonal display cannot be placed safely over it. Keep the arrangement simple enough that the tall shape still reads clearly with the room lights on.
6. Clip a Short Row of Ghost Flags Under a Ledge
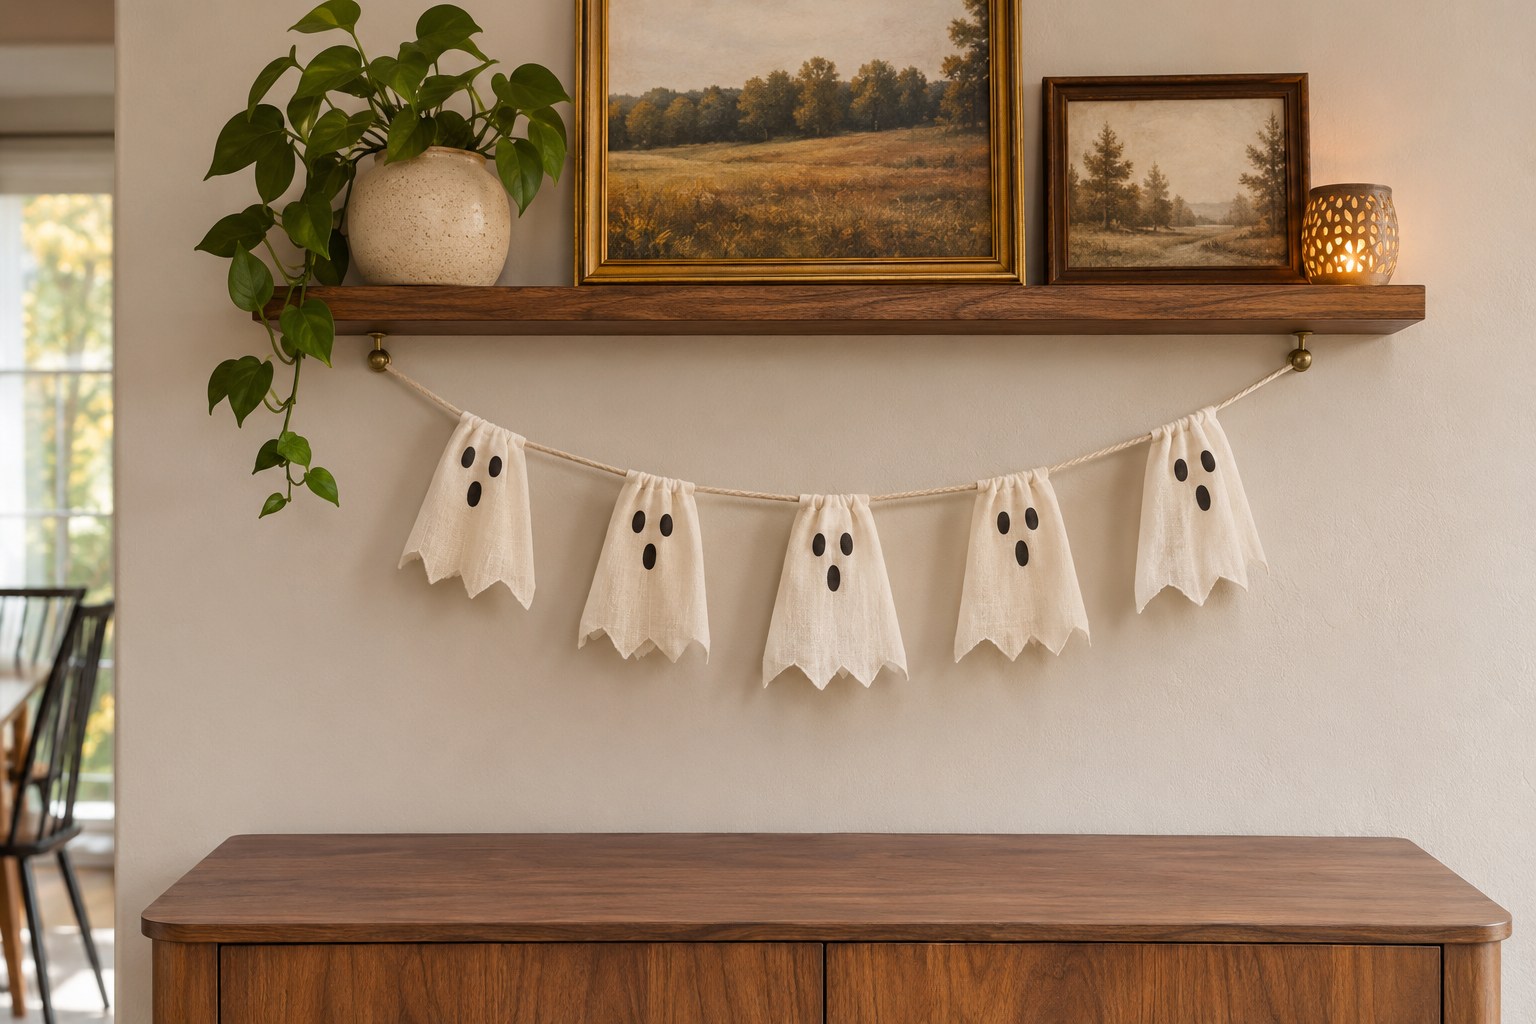
Make a small set of cloth or card flags with simple ghost outlines. Hang the short line from a suitable ledge or from removable supports that match the wall. Let the points stop above the surface below, and keep ties out of walkways and away from handles or controls.
Try one flag farther apart than you think you need. A little more space helps each silhouette read on a phone screen. If the line looks busy, use fewer flags and save the others for another room. These easy Halloween decoration ideas offer small details you can pair with a single wall display.
7. Cut Paper Fans in Two Sizes
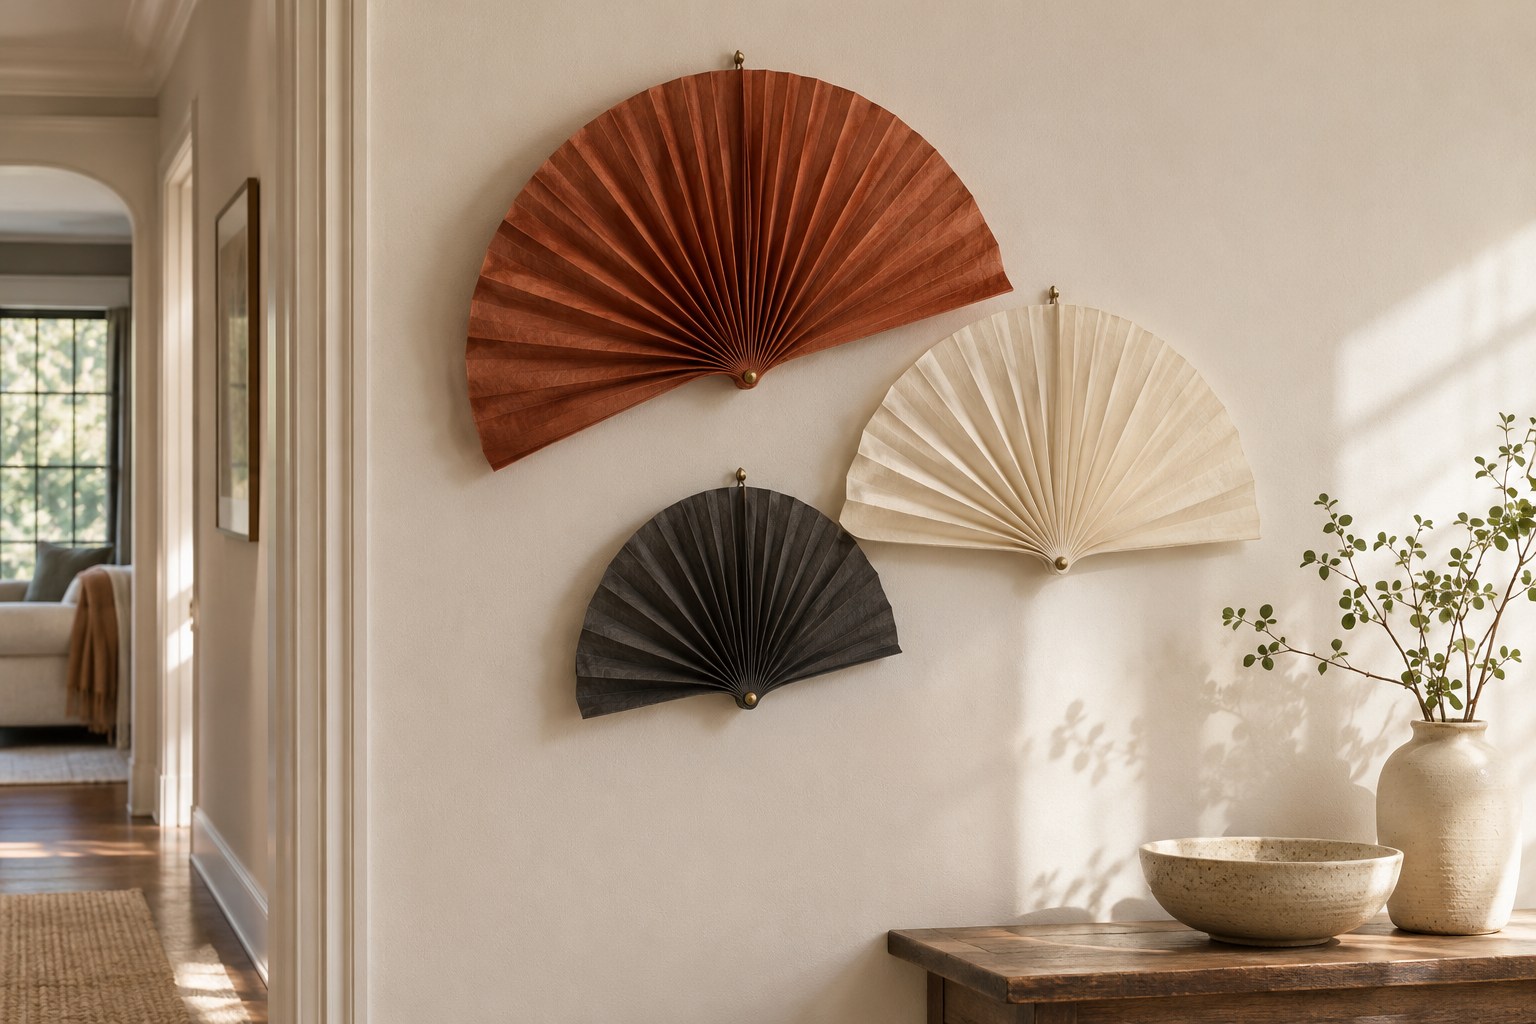
Use matte paper fans to add depth where a flat print feels too quiet. Group two larger fans and a smaller one, then test their position with paper outlines. An offset arrangement can work well beside a mirror or over a shallow chest. Keep the largest fan where it can open fully without touching anything beside it.
Choose color before choosing the number. Rust and cream give a softer look, while black and gray create a stronger silhouette. Use a hanging method suitable for their weight and depth. Leave enough blank wall around the group for the shadows to show.
8. Put a Raven Inside a Shallow Shadow Box
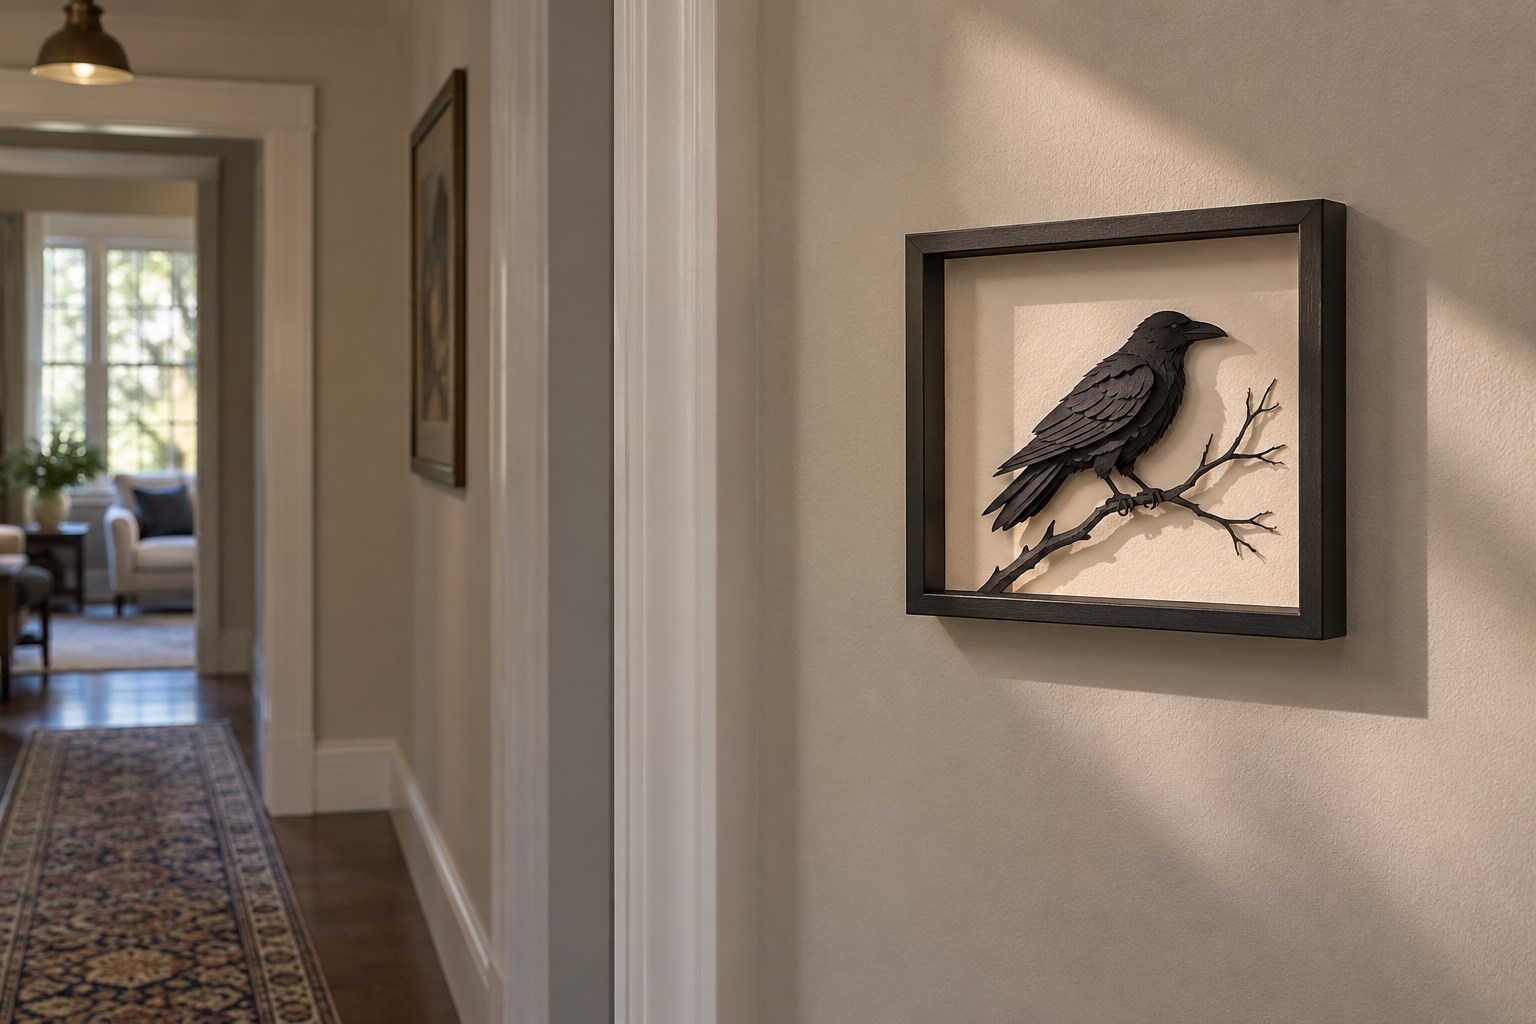
A shallow frame can give a paper raven enough depth to cast a small shadow. Arrange the raven on a plain backing and add a thin branch shape only if it helps the silhouette read. Keep the background pale enough to see the cut edge without a bright light aimed at it.
Use a frame and wall mounting suitable for the finished weight. A shallow design is easier to place away from accidental knocks in a hallway. Look at it from an angle before hanging it. If the glass reflection is too strong, move the light or use another place for the display.
9. Try a Sheet of Spooky Botanical Silhouettes
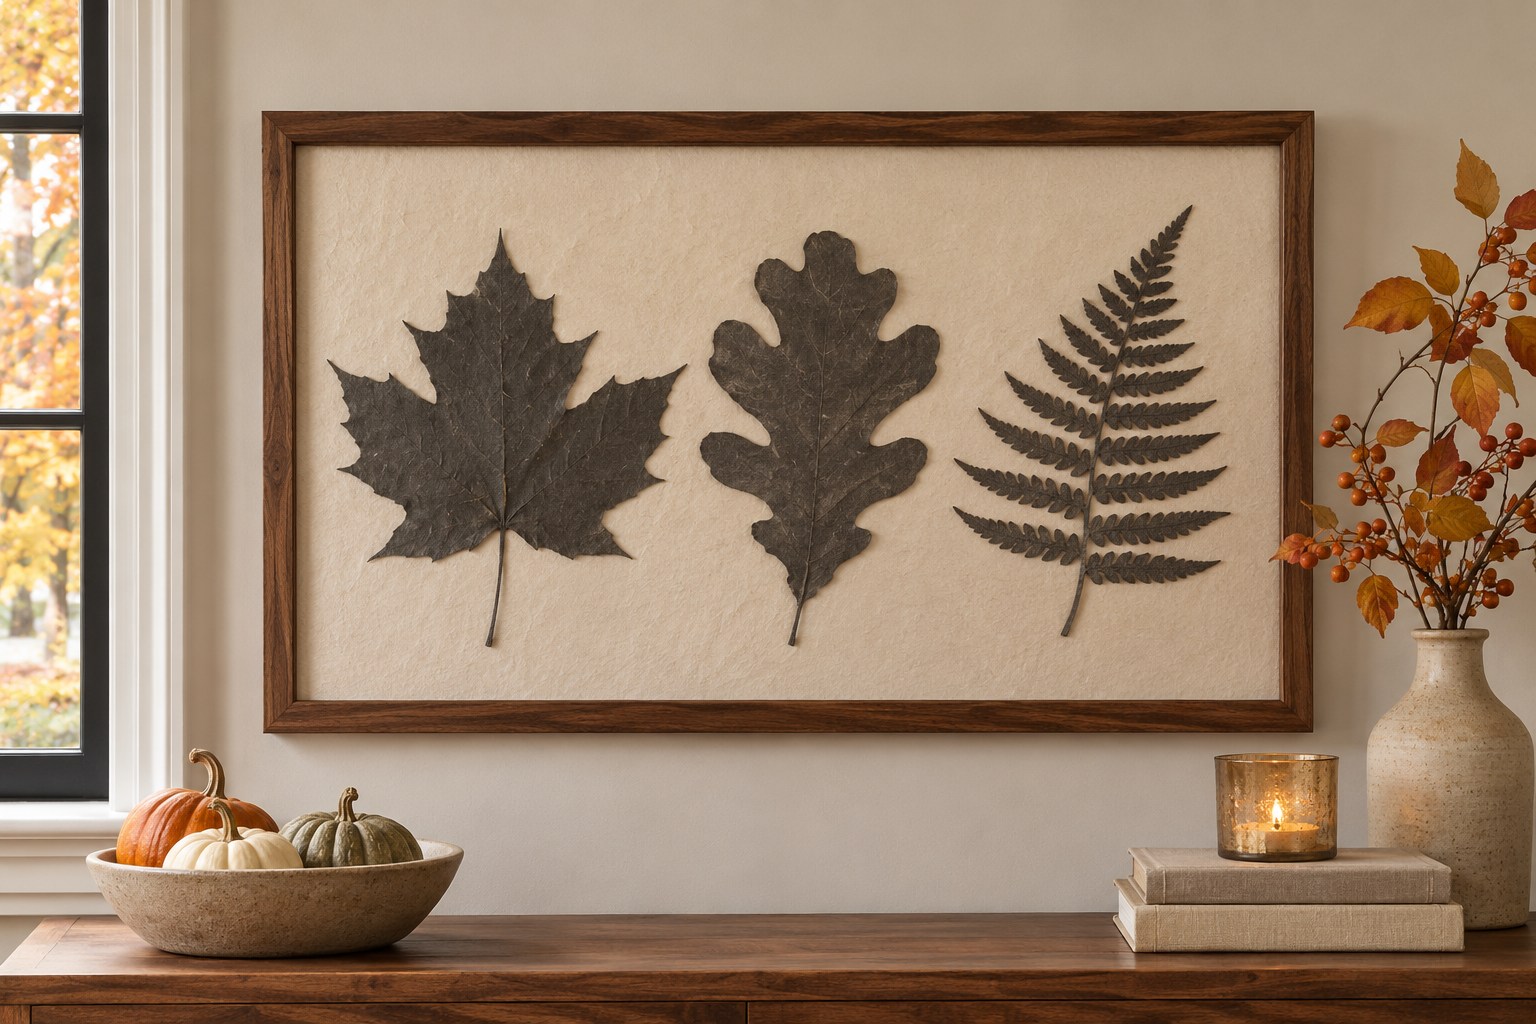
Start with the shapes of ordinary leaves. Trace a few oak, maple, or fern outlines on dark paper and place them in a single frame against a light background. Use enough space between them to keep the stems and edges visible. One curl of dried-looking paper can suggest the season without relying on a bright Halloween palette.
If you use real leaves, make sure they are suitable for indoors and contained in the display. Keep the frame away from direct glare. The idea works best when the leaves have different shapes and share a similar dark tone.
10. Set a Small Pumpkin Print Into a Plate Ledge
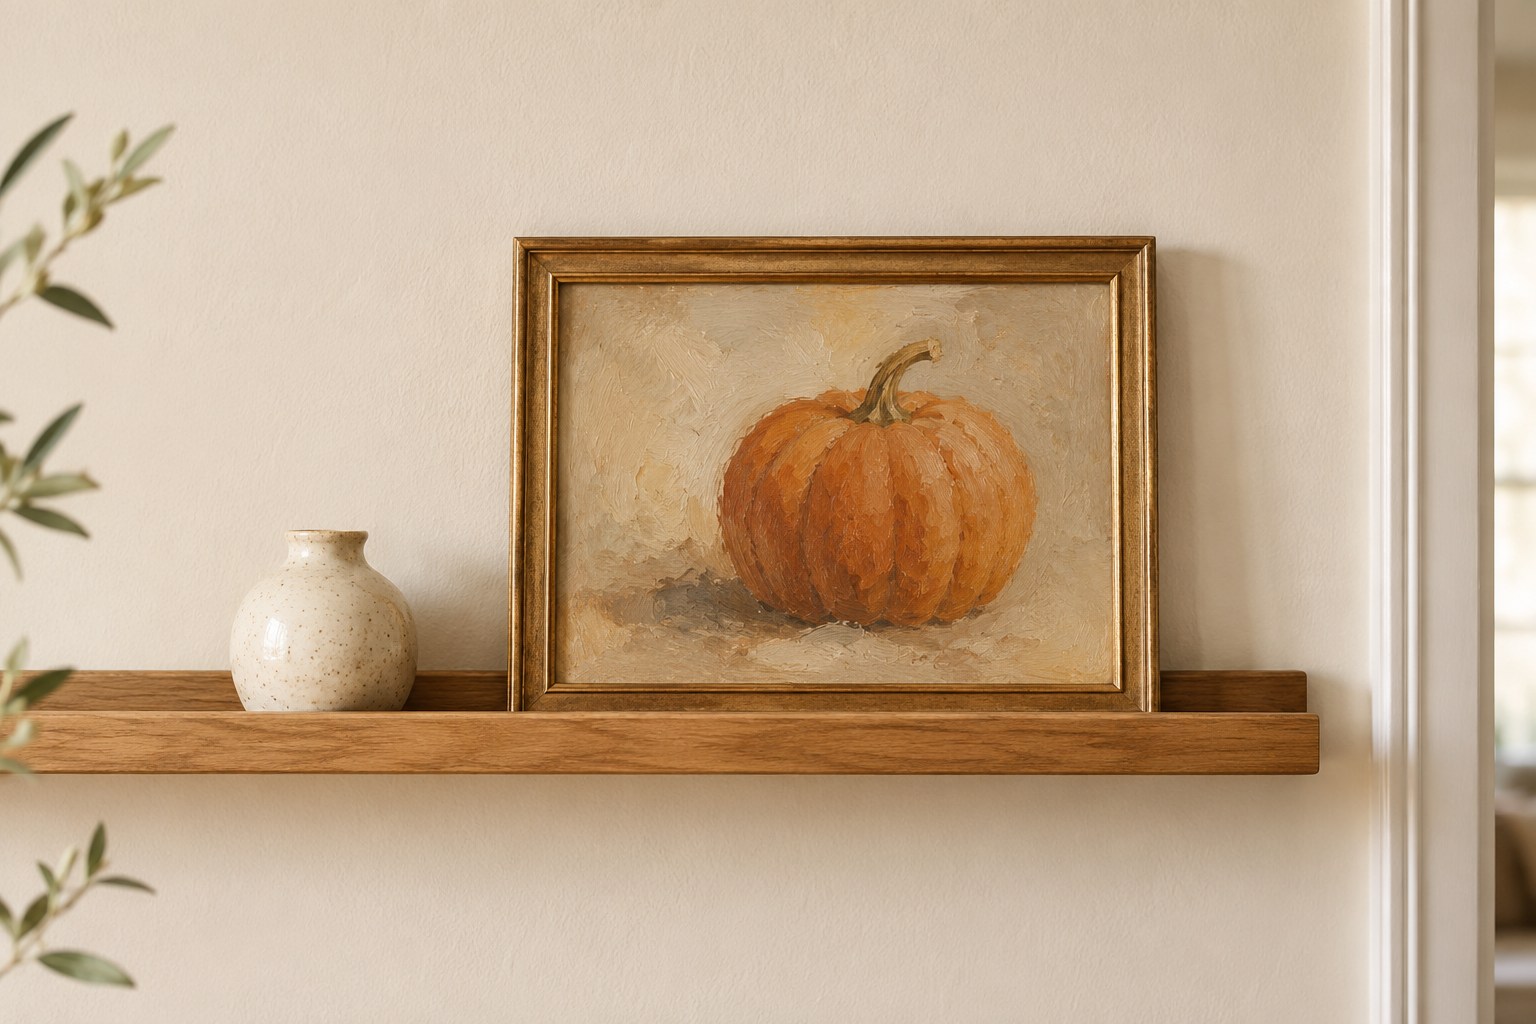
Use a suitable display ledge for a lightweight print in a small frame. Choose one pumpkin image and let its color repeat something already in the room, such as a warm throw or clay bowl. A front stop helps keep a compatible frame in position. Check the ledge’s instructions and the depth and weight of the frame.
Place it where it is easy to see without stretching over furniture. Leave a gap between the print and the next object. If the ledge is already full, rotate out a year-round piece for the season and put it back after Halloween.
11. Use a Folded Fabric Banner on an Existing Rod
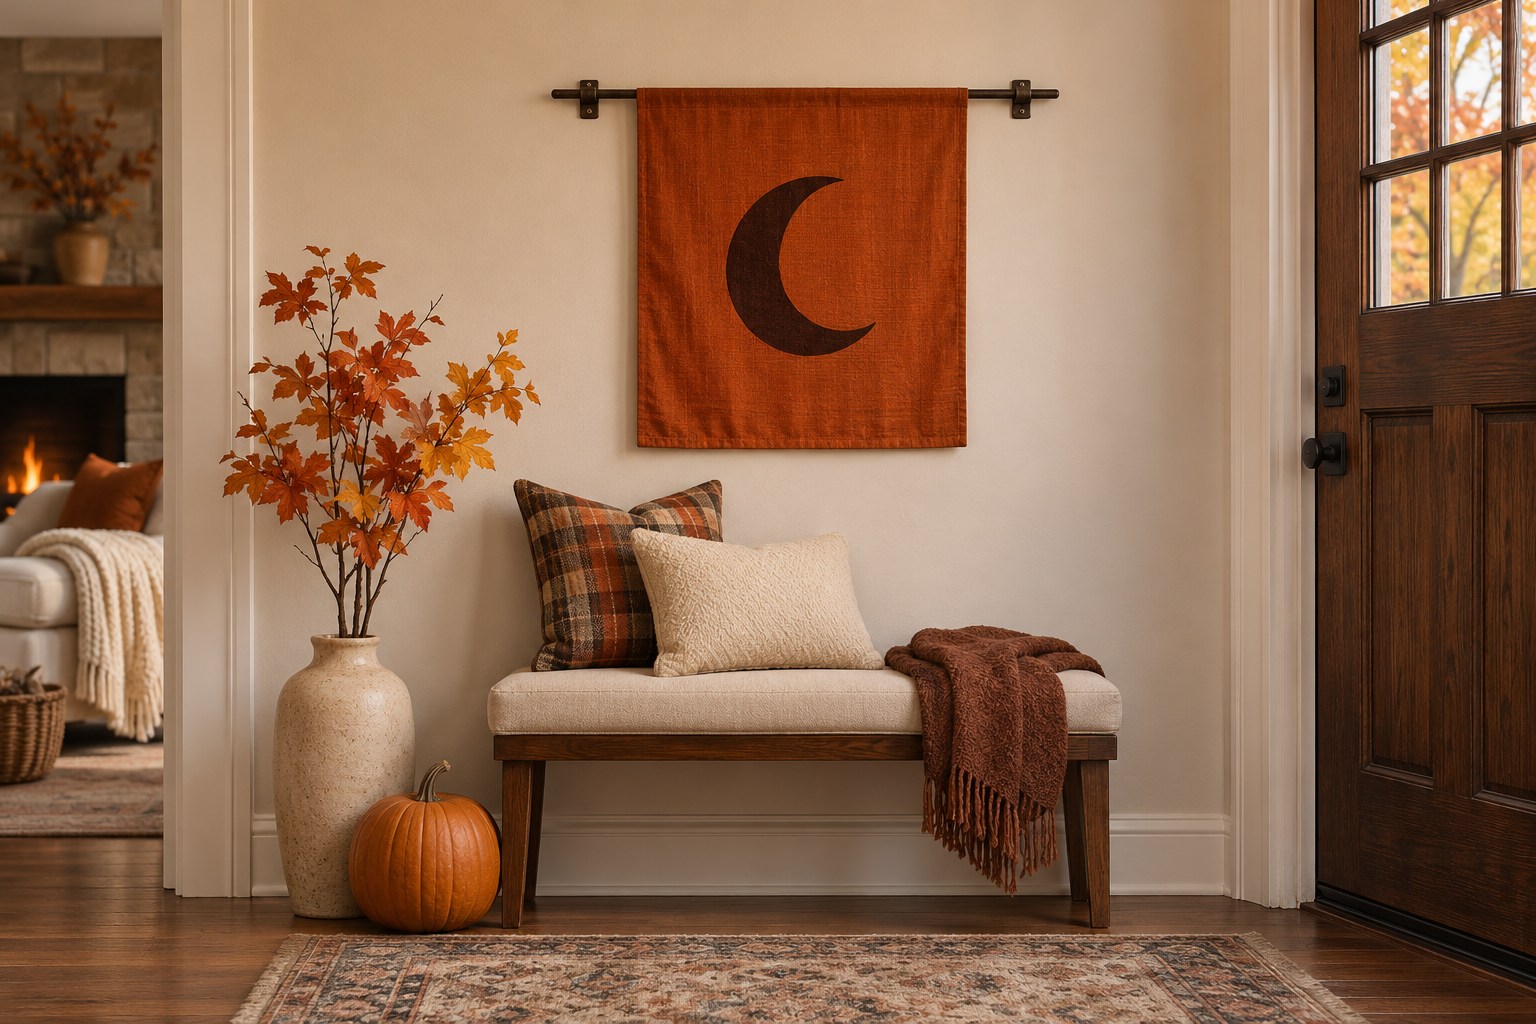
A plain fabric banner can add color to a wall without filling it with small pieces. Use a clean lightweight fabric and an existing display rod that is suited to the load. Keep the banner hem above the surface or path below. Add a simple felt crescent or pumpkin outline with a method appropriate to the fabric.
Choose a color that still shows a shape in evening light. Check what hangs near the banner before settling on a location. Fabric belongs clear of heat, flames, and places where doors or chairs can catch it. A single banner is easy to fold away when the season ends.
12. Layer One Transparent Shape Against Glass
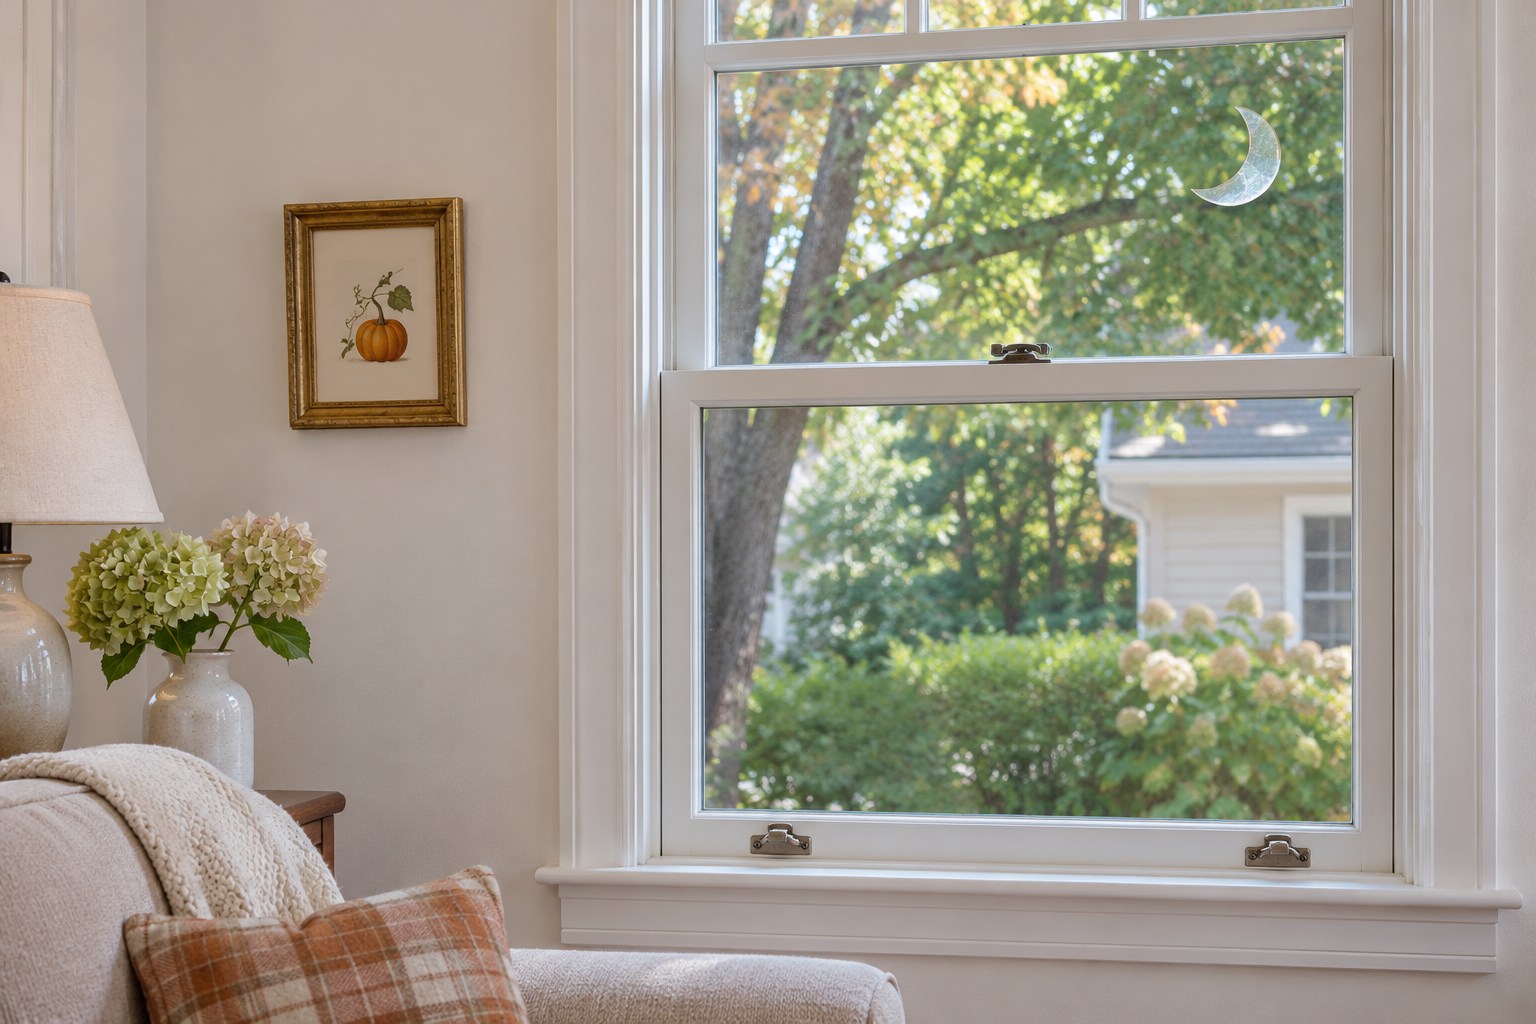
A ghost or moon cut from an appropriate removable window film can add a seasonal shape to the glass beside a wall display. Test the material on a suitable surface following its instructions. Put the shape where it can be seen from the room and keep the window controls, frame, and view you rely on clear.
Consider how it will look after dark from both sides. Pair the glass detail with a smaller accent on the wall so the two shapes do not overlap from the main angle. If the window is important for daylight, keep the clear space generous.
13. Give a Reading Nook One Small Witch Hat
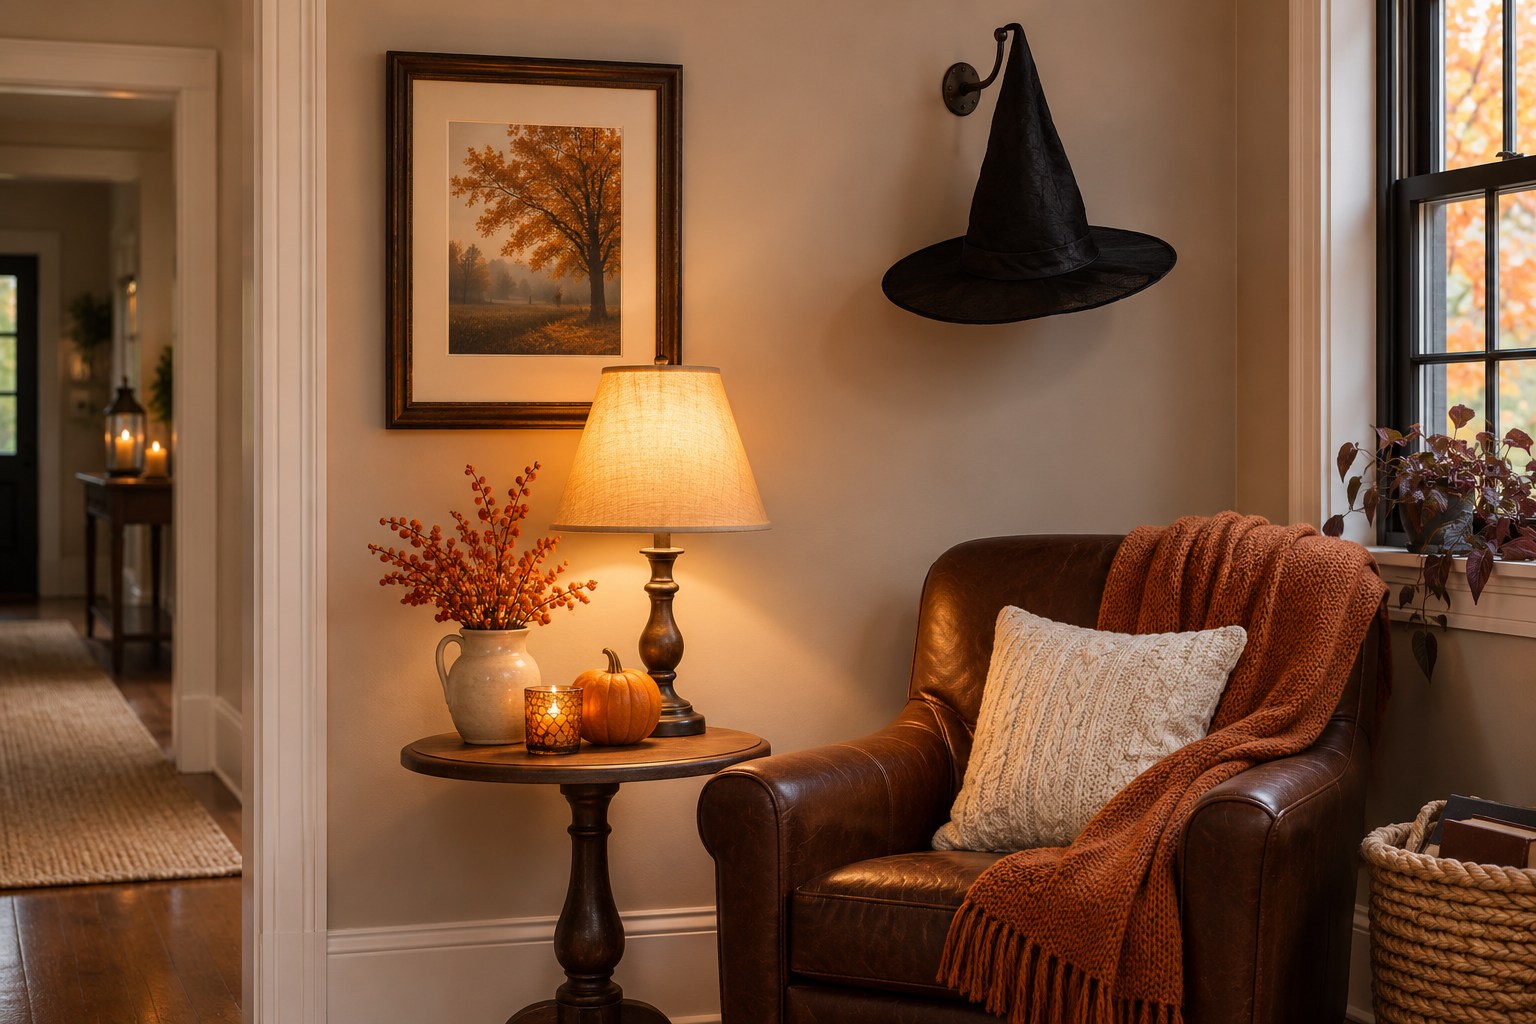
Hang one light decorative hat near a quiet reading chair using a hook or support that fits the wall and weight. Keep it clear of seated head height and the route in and out of the chair. A black brim reads well against cream or pale ocher. Add a single warm detail nearby if the wall needs a softer edge.
Take a photo at the height of the chair. The hat should look connected to the nook while leaving the lamp and books usable. In a rental, use an existing hook or choose another display allowed by your lease. More Halloween apartment ideas cover similar small areas.
14. Frame a Pair of Dark Portrait Silhouettes
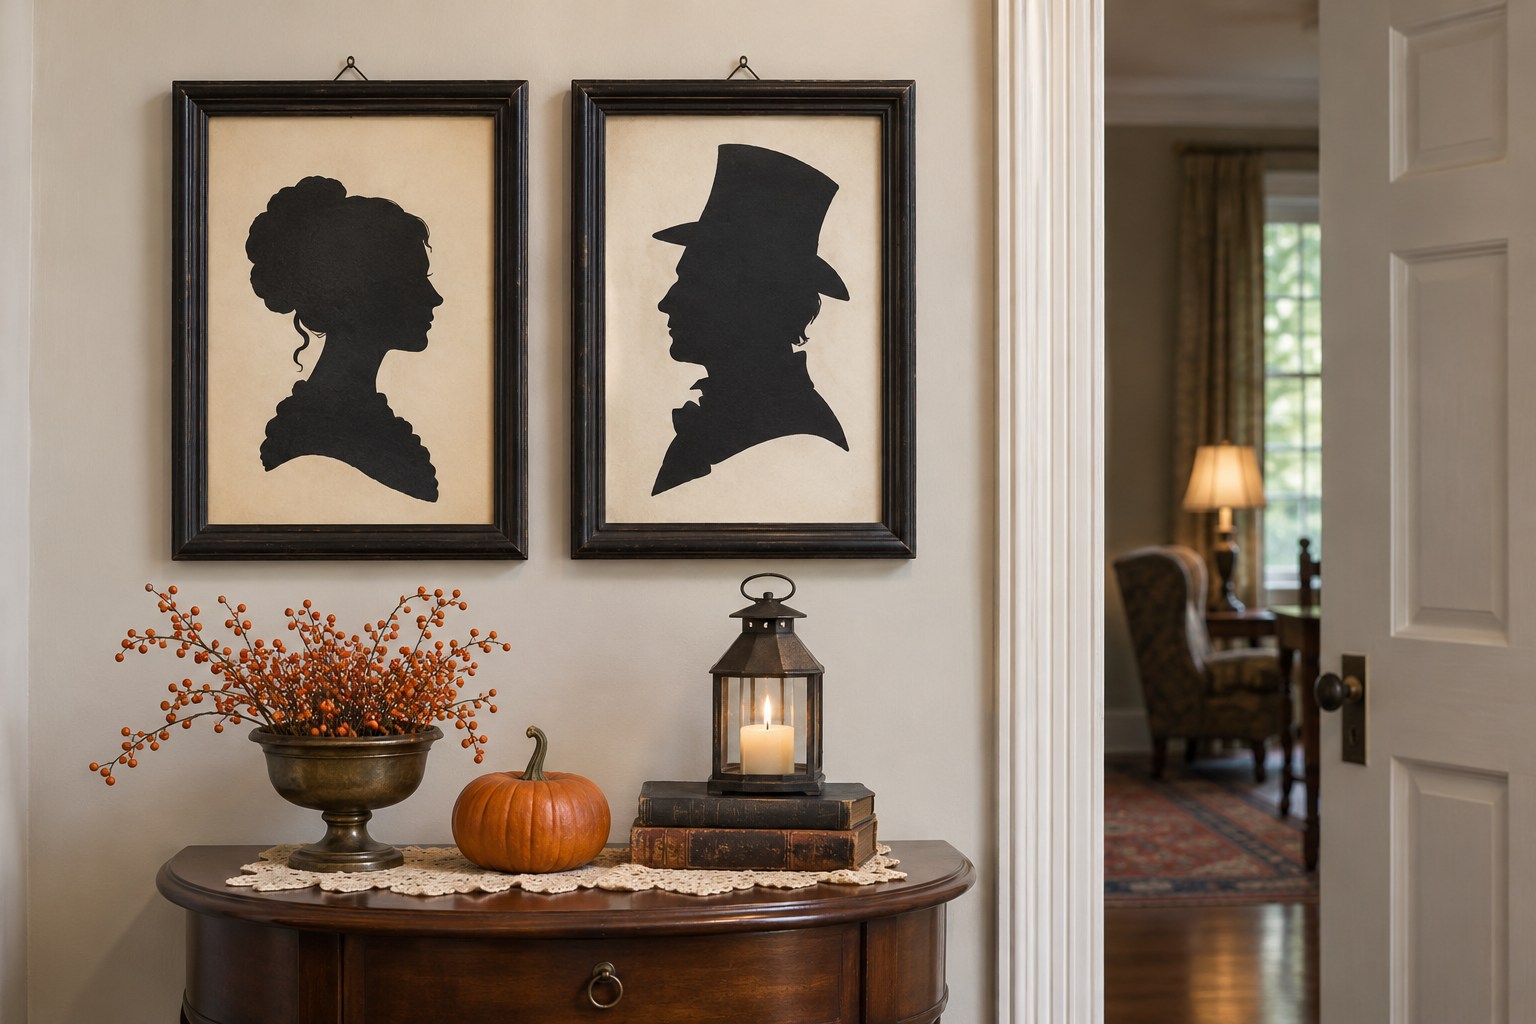
Draw or cut two simple profile silhouettes from dark card and mount them on matching cream backgrounds. Use profiles you made or have permission to reproduce. Put the frames close enough to feel related, leaving a consistent gap. A pair works especially well on a narrow stretch beside a doorway where several frames would crowd the trim.
Test the scale by holding paper rectangles on the wall. From a few steps back the shapes should be easy to distinguish. Add a small seasonal accent beneath them only if there is a safe surface for it. Keep the wall itself as the main feature.
15. Make a Small Black-and-White Corner
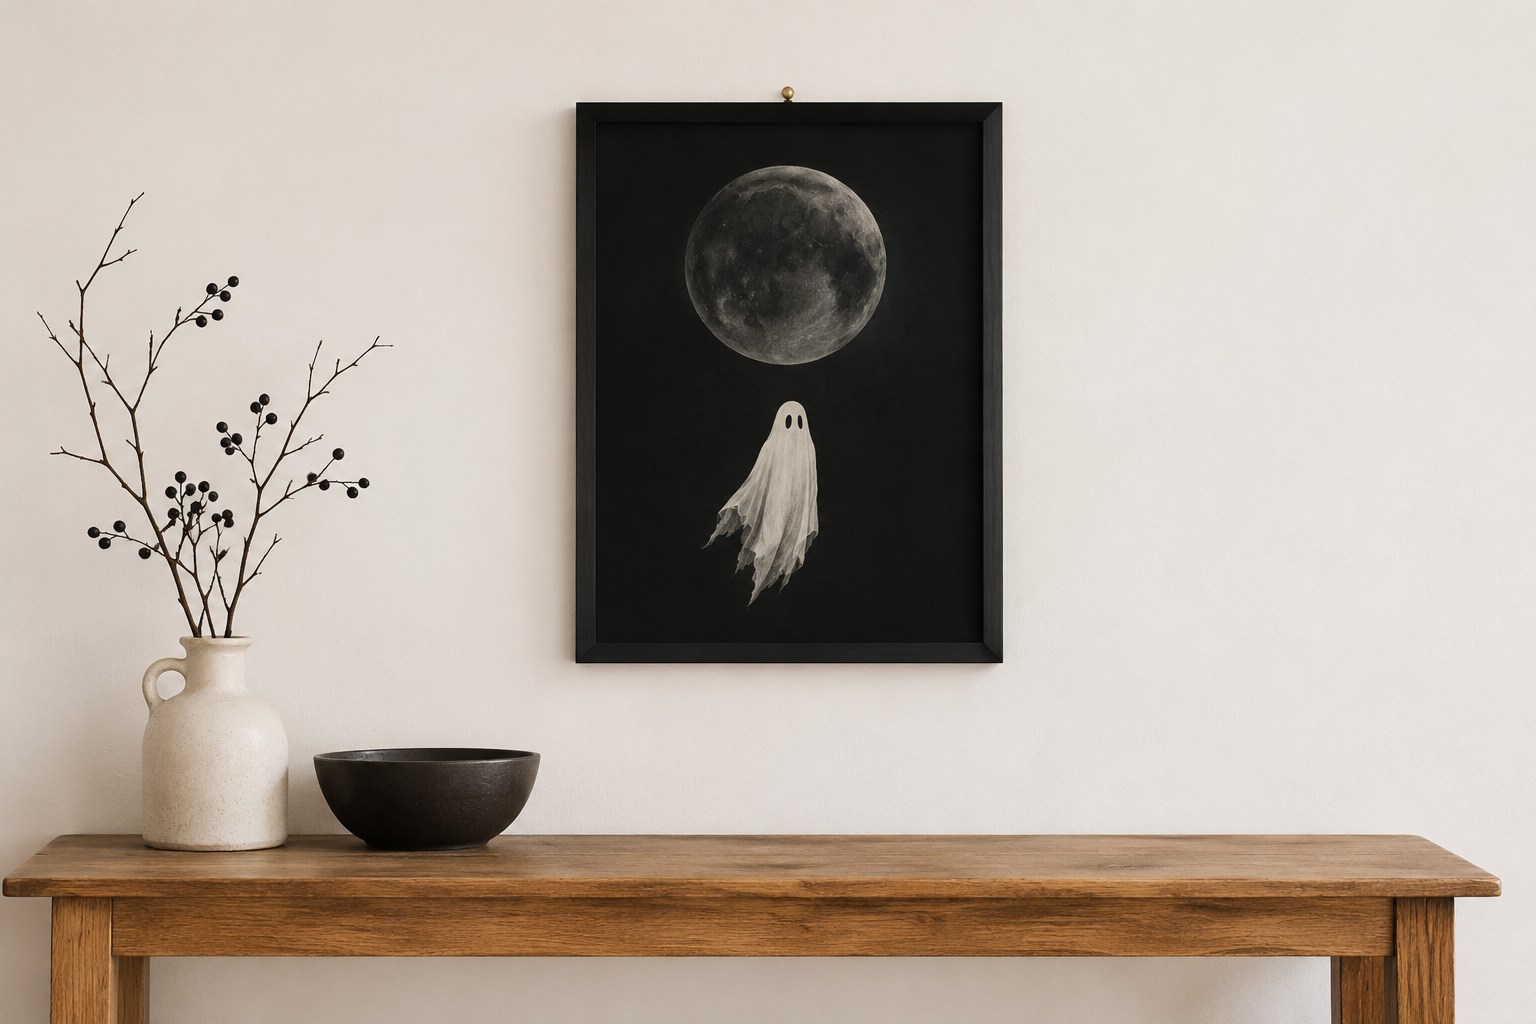
Choose two wall elements in one strong color pair. A white ghost silhouette and a black moon print can sit above a white or wood console. Leave one large surface pale so the dark shapes have room. Try repeating the edge color of one frame in a bowl or a pillow below.
Use the room’s usual light while you arrange it. If the darker details disappear at night, move them toward a pale background or adjust the existing lighting. Keep any items on a console out of the reach path where people set down keys or coats.
16. Put Soft Orange Behind a Simple Spider Shape
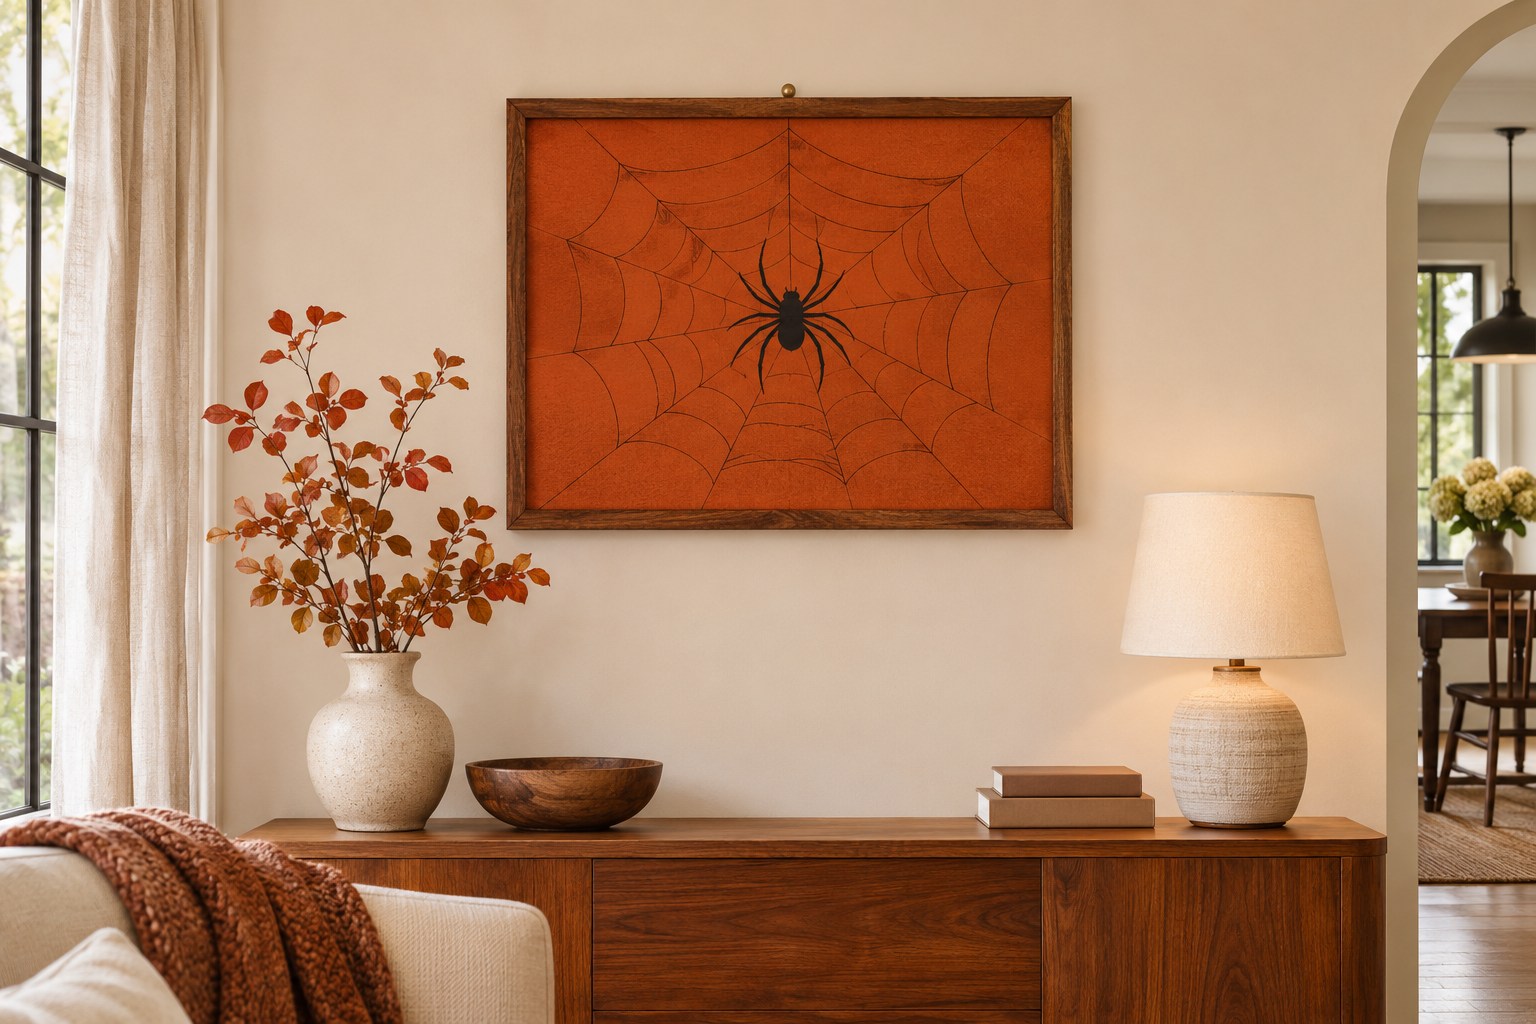
A spider silhouette can read from across the room when the background is plain. Cut one from dark card and place it against muted orange paper within a frame. Use a strong simple outline so it still reads under a lamp. Keep the extra decoration around it low and spread out.
If you want a web effect, use a printed or drawn line within the frame. That keeps the visual contained and avoids loose strands where hands and doors move. A rust-toned background works with natural wood and can stay up through the fall if you switch the insert after Halloween.
17. Use a Battery Lantern to Reveal Wall Texture
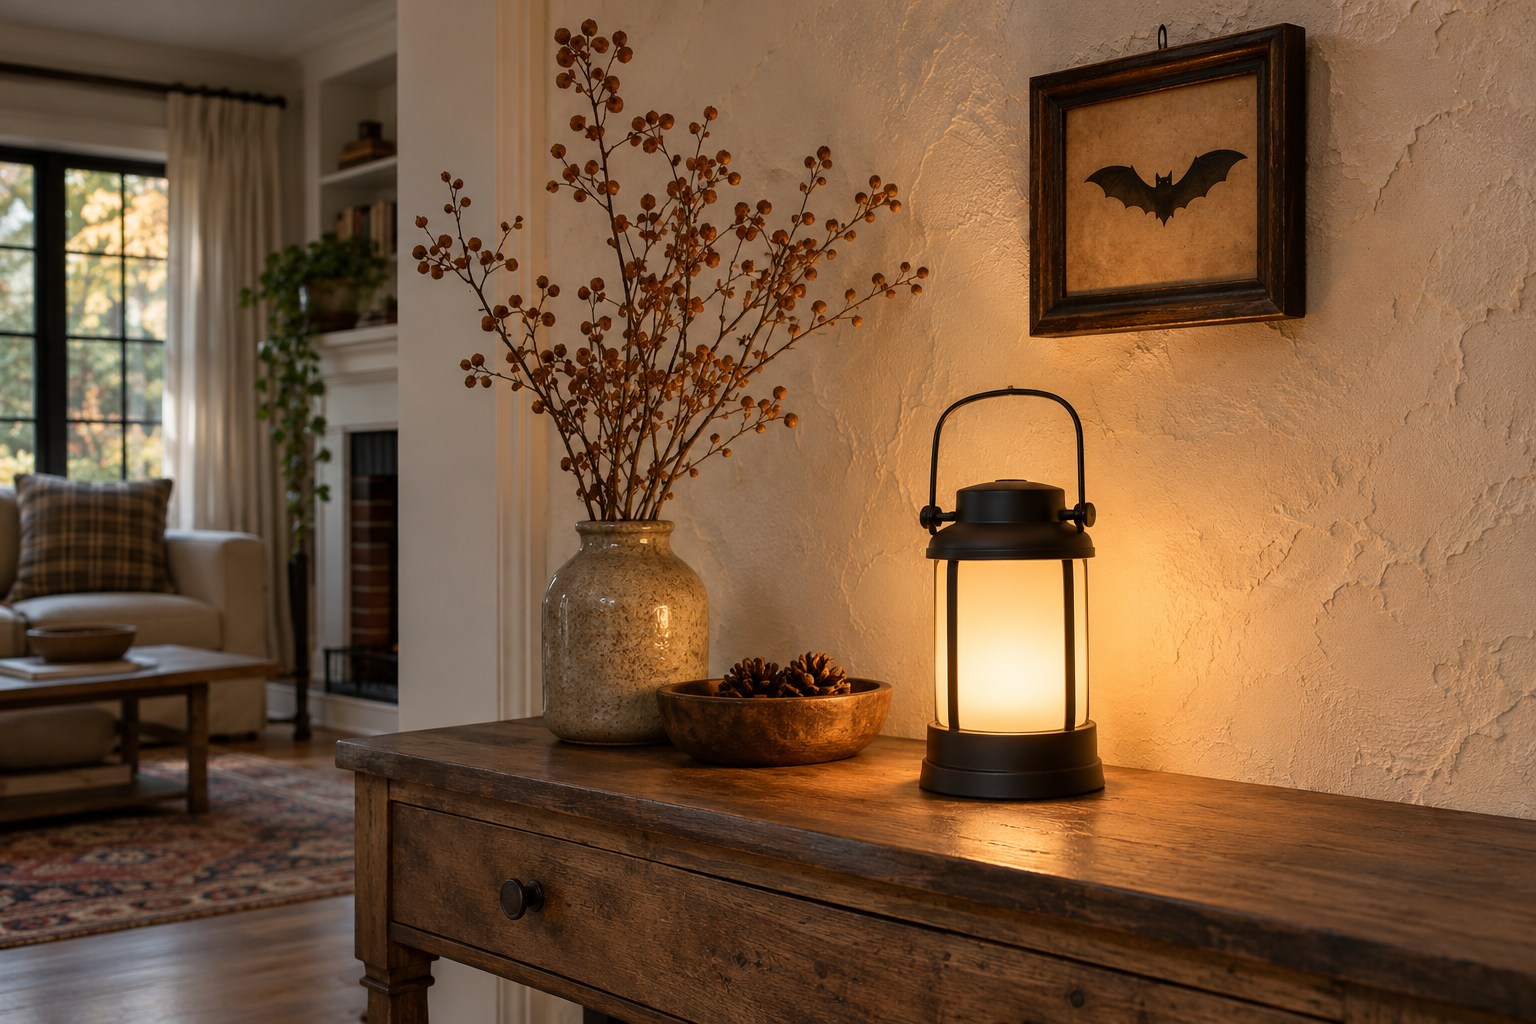
Put a battery lantern on a stable surface near a textured wall and aim the scene so the light reveals shadows around one paper shape or print. Avoid positioning the lantern where hands will brush it or where an object blocks its controls. Use equipment rated for the actual location and follow its directions.
Check the view with the normal room lighting first. A small warm accent often gives enough definition without turning the whole room dark. Keep routes and steps lit independently. If the lantern causes glare in a framed print, move it sideways until the print is readable again.
18. Leave a Clear Place for the Photo
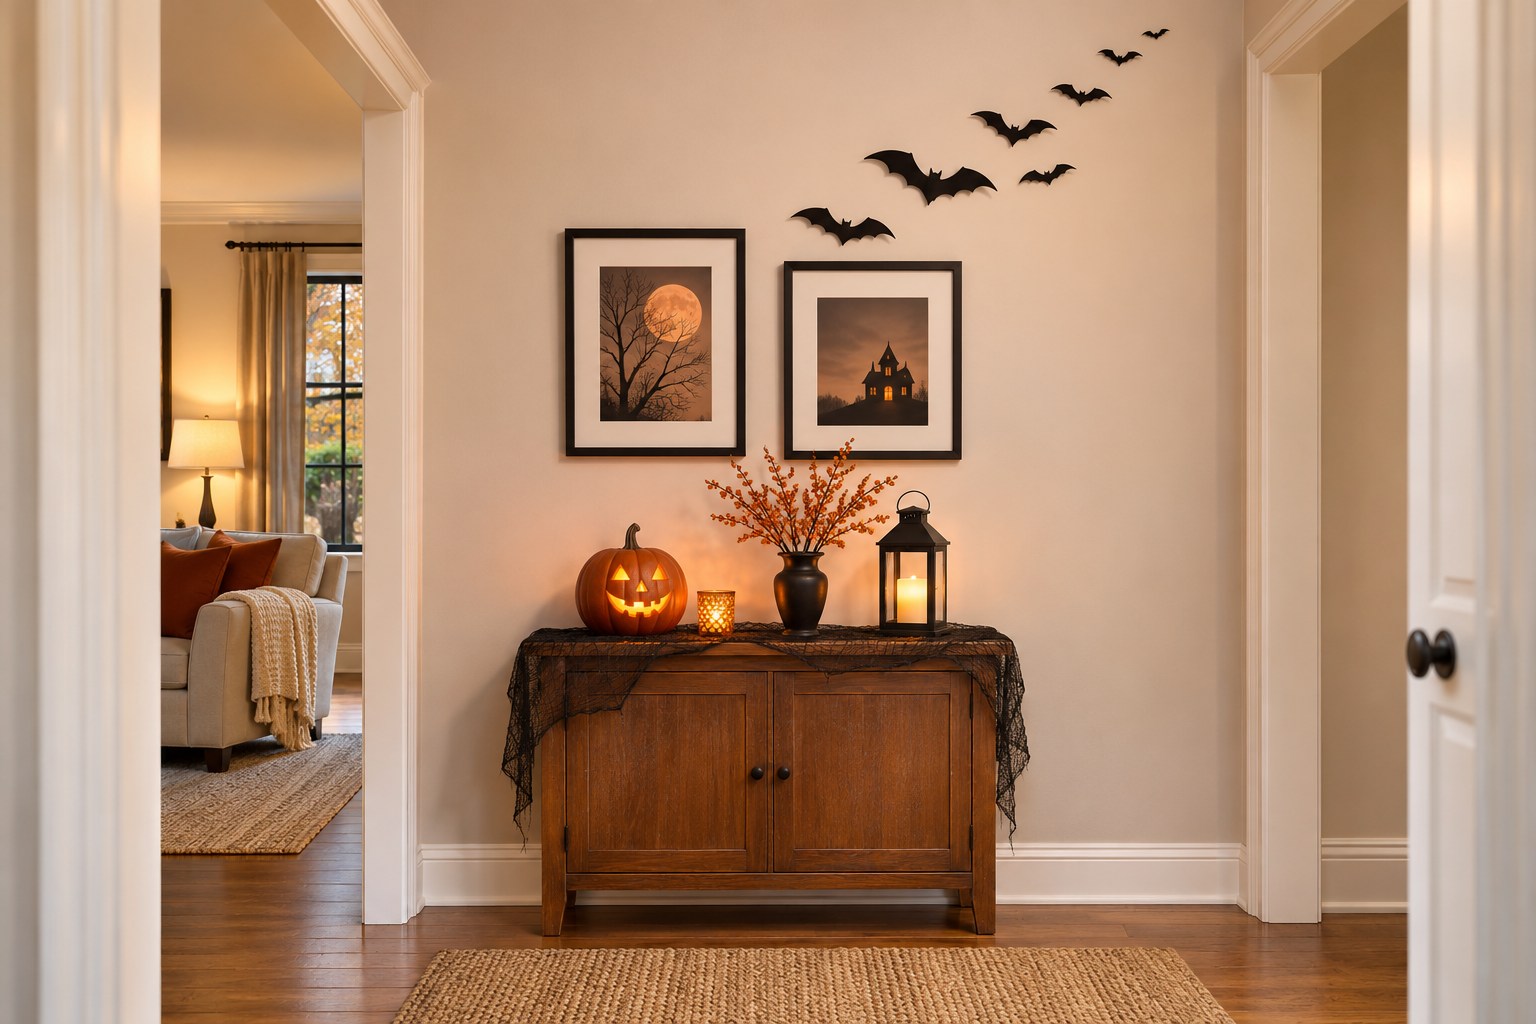
Take one final phone photo from the angle guests can actually use. Move a tall vase or extra frame if it covers the wall feature from that spot. Make sure people can step away without backing into a chair, doorway, or stair. Add light only where it helps the wall and keeps the route usable.
The focal point should still make sense when no one is standing in front of it. Remove loose pieces that are difficult to keep secure and keep the props that give the wall a distinct shape. One well-placed display can do most of the seasonal work.
Pick one wall, check it from the usual viewing angle, and use the room’s existing light before adding more pieces. A clear shape, a little depth, and space around it make the finished display easy to enjoy and easy to put away.
Discover more from HomeTrendora
Subscribe to get the latest posts sent to your email.