The first guest picks up a plate. The next one reaches for a drink. Someone pulls out a chair, and suddenly all three are trying to use the same strip of floor. That’s the moment to design for when you set up a Christmas buffet in a small dining room.
These 24 Christmas buffet table ideas show how to choose a setup that fits the room, give each part of the meal a sensible place and work in a few festive details. Walk through the route with the empty serving pieces first. The plan gets much easier to see before the dishes are full.
1. Match the Buffet Shape to the Room
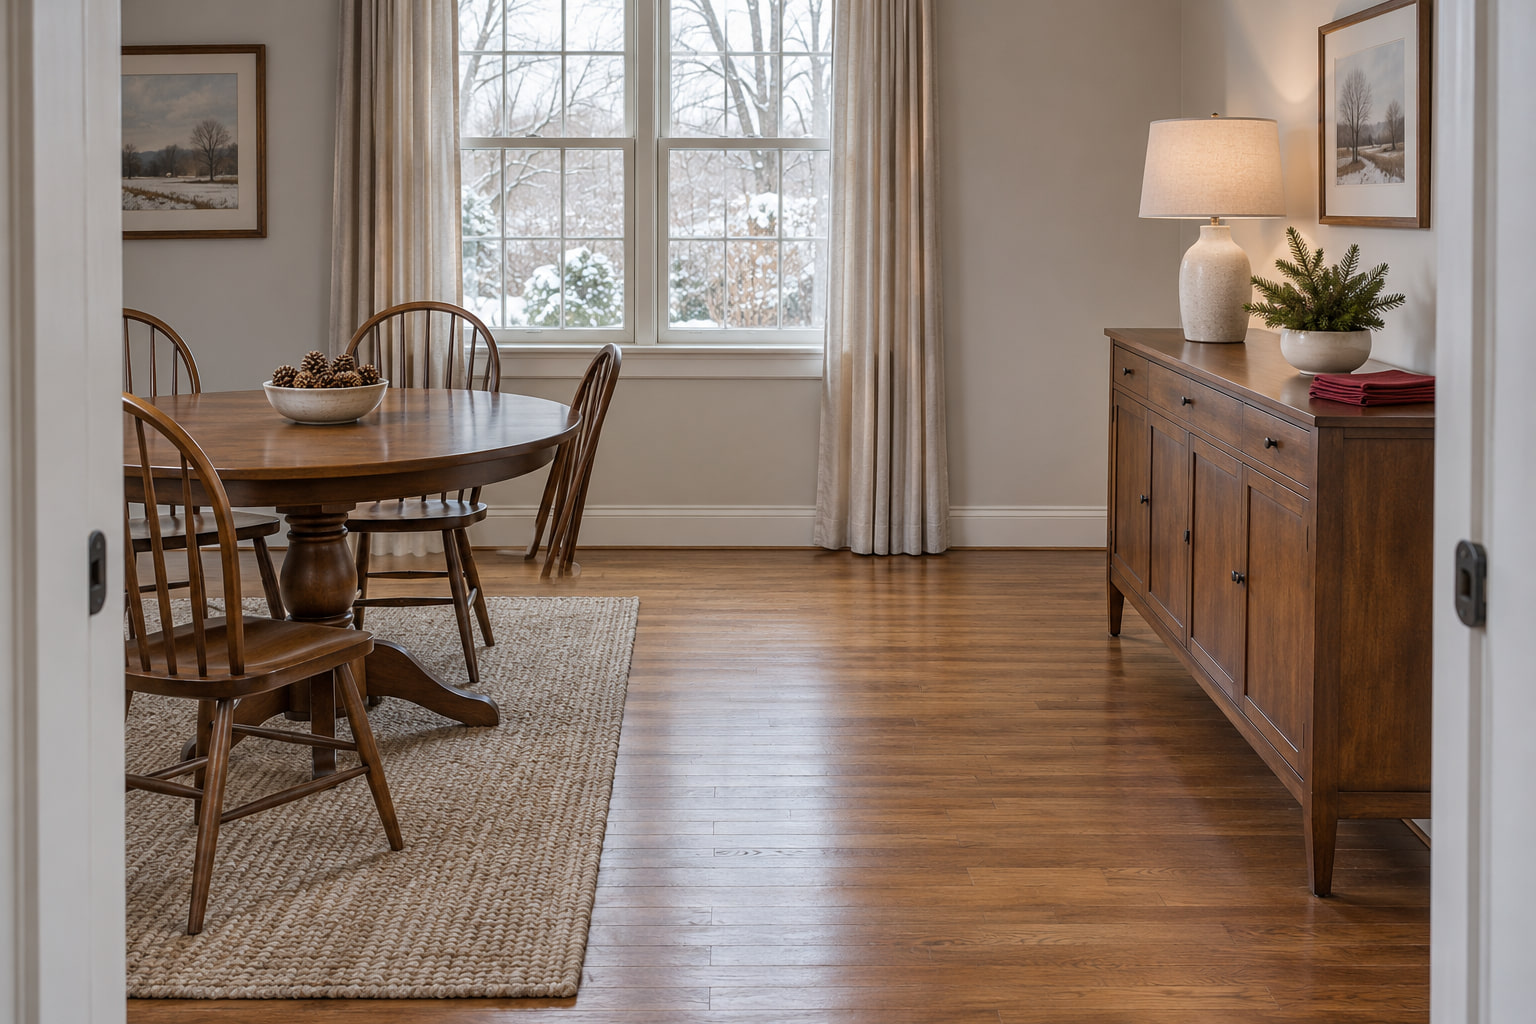
Walk from the doorway to the table holding the largest empty platter you plan to use. Then pull a dining chair back as if someone were sitting down. That quick rehearsal tells you which furniture can carry the buffet and which passage needs to stay open. If a table takes up the middle of the route, a shallow sideboard may make more sense. When two sides are comfortably reachable, the dining table can do the job. Check where a door swings and where a chair projects when it’s pulled out. Those two points often make the room feel tighter than the empty floor suggests.
Decide where people will sit before moving the table. Even one occupied end chair can change where a line starts. If you keep a separate table set for dinner, use these Christmas napkin setting ideas for the seats and leave the buffet arrangement focused on serving.
2. Run the Line One Way Along a Wall-Side Buffet
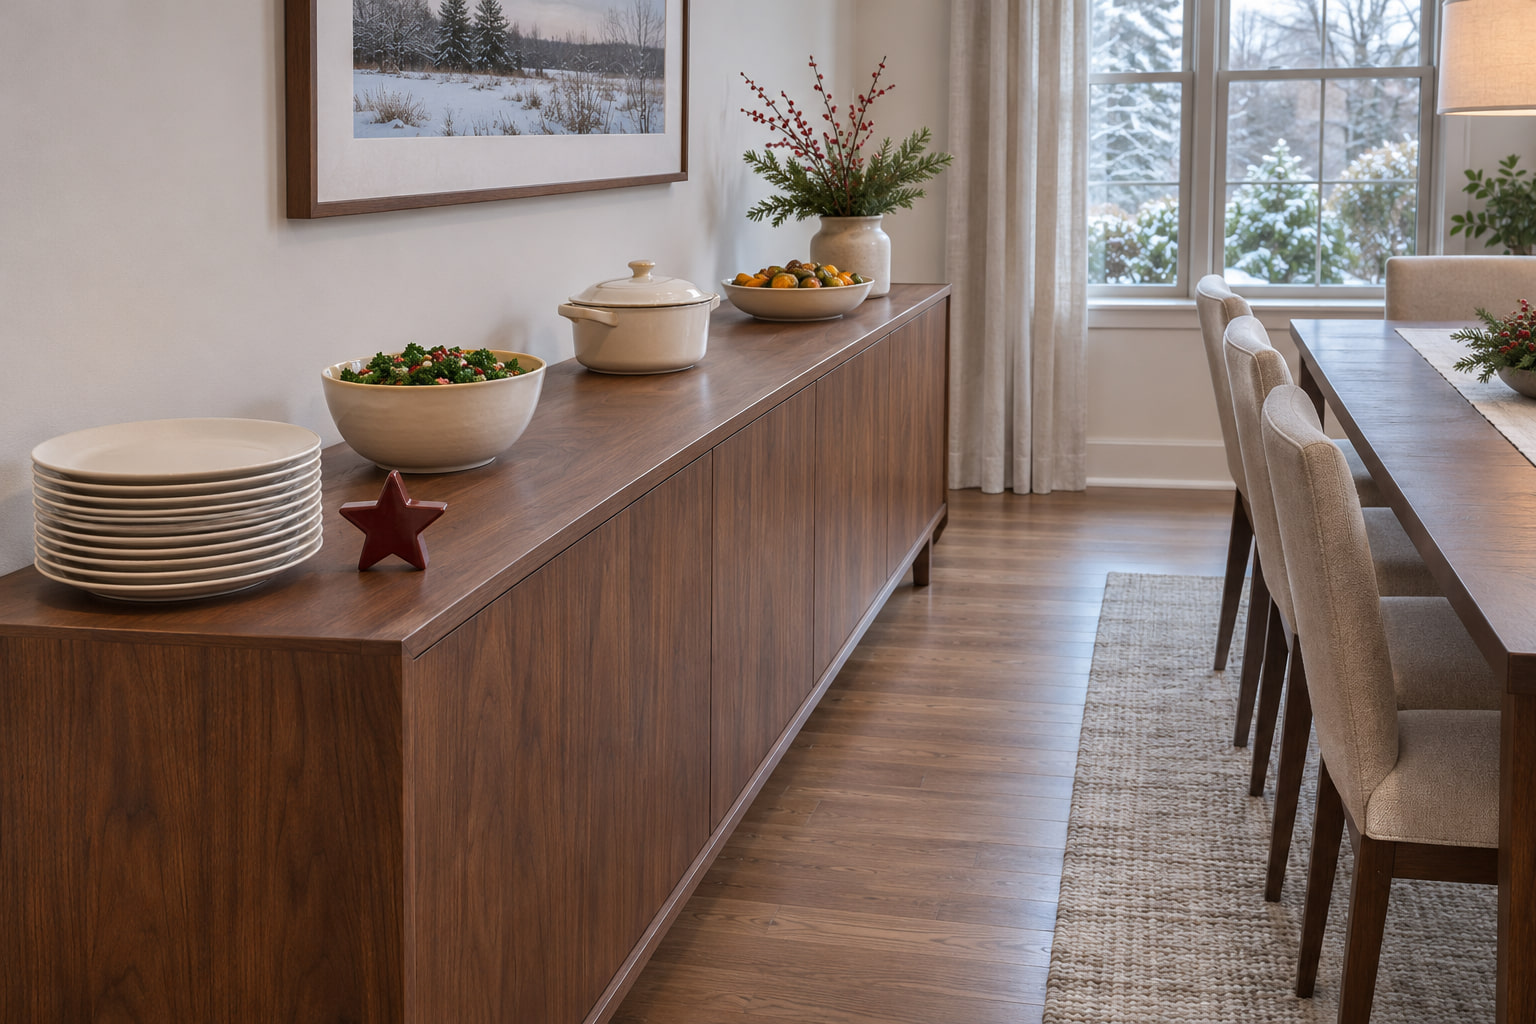
Use the end guests reach first for clean plates. Put serving dishes in order along the top, with space between the vessels where a plate can pause. Leave the other end open toward the seats. People can see where to start and move through in one direction instead of circling back past the stack of plates. Set the first platter back from the plate stack. A small landing spot between the two gives the next guest room to lift a plate while the person ahead serves.
This layout is easiest to read when the sideboard runs along one uninterrupted wall. Place a chair where someone will actually sit, then check that a person carrying a full plate can still get past. If both ends empty into the same tight doorway, shorten the serving line and move one course to another surface.
3. Turn a Small Dining Table Into a Two-Sided Christmas Buffet
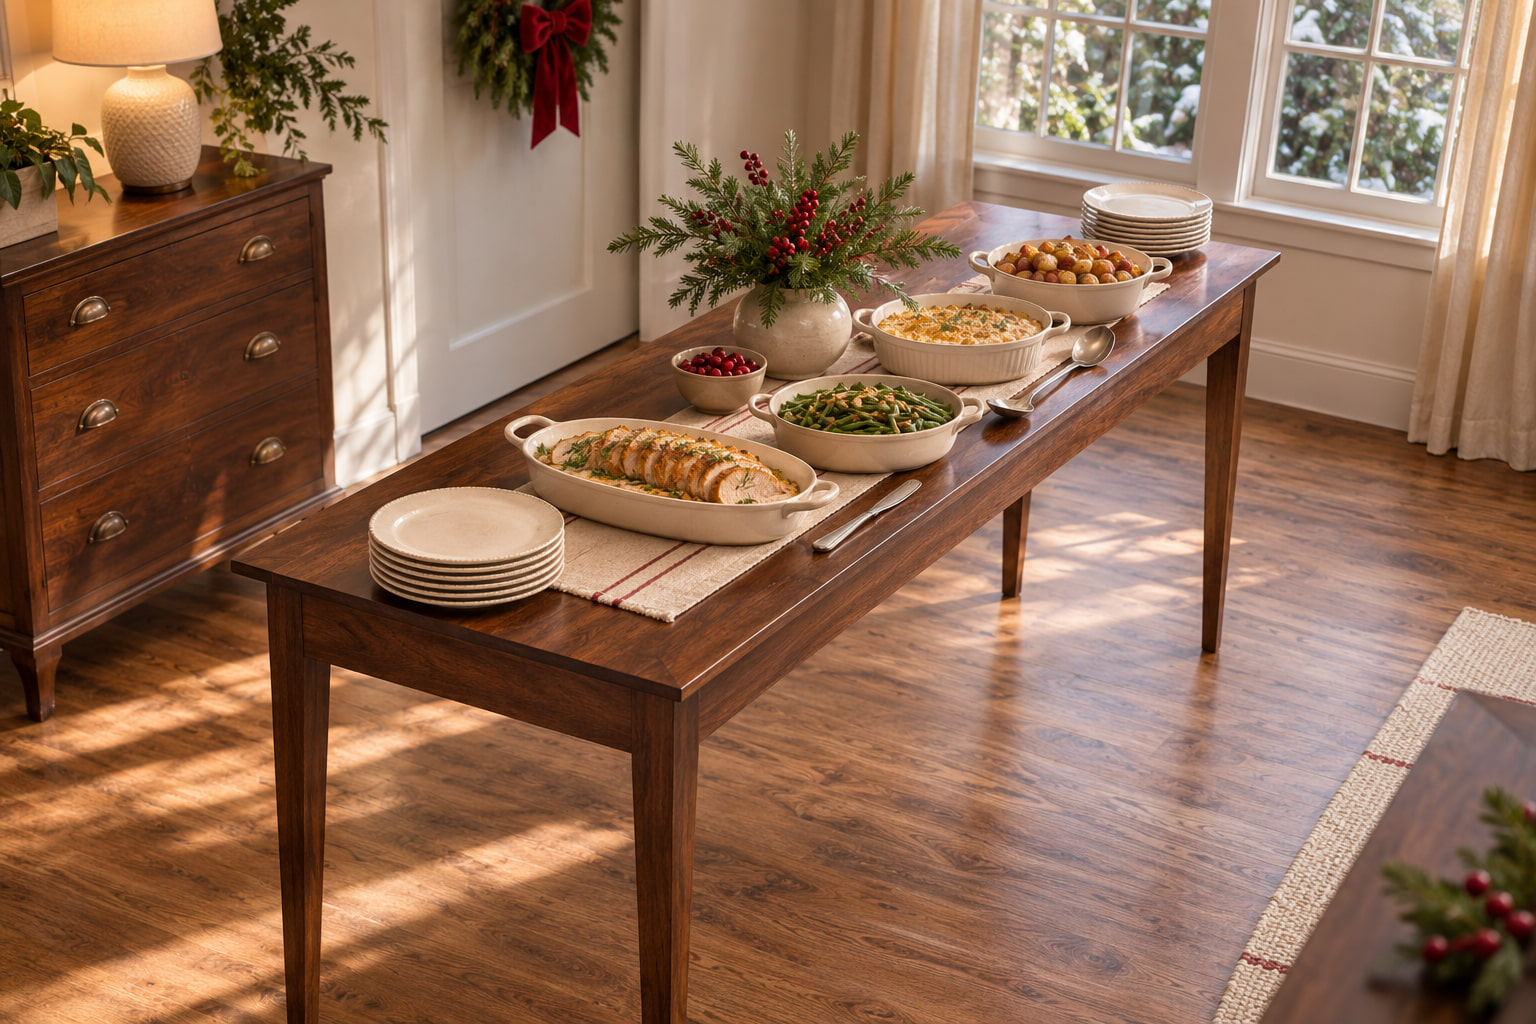
A narrow rectangular table can serve from both long sides when guests can walk around both ends. Move the chairs to their eating spots and set shared platters down the center. Put a small stack of plates near each entrance to the table, then stand where two guests would stand. Each person should be able to serve without reaching across the other person’s plate. Leave the ends of the table usable as turns. A chair pulled right up to an end can cut off an otherwise open second side.
Give each side its own utensil where both are meant to serve from the same bowl. If a dish is awkward to reach, shift it toward one side and repeat a simpler item on the other side to distribute traffic. Keep Christmas touches low in the center and give their edges room away from serving handles.
4. Add a Refill Landing Spot Outside the Queue
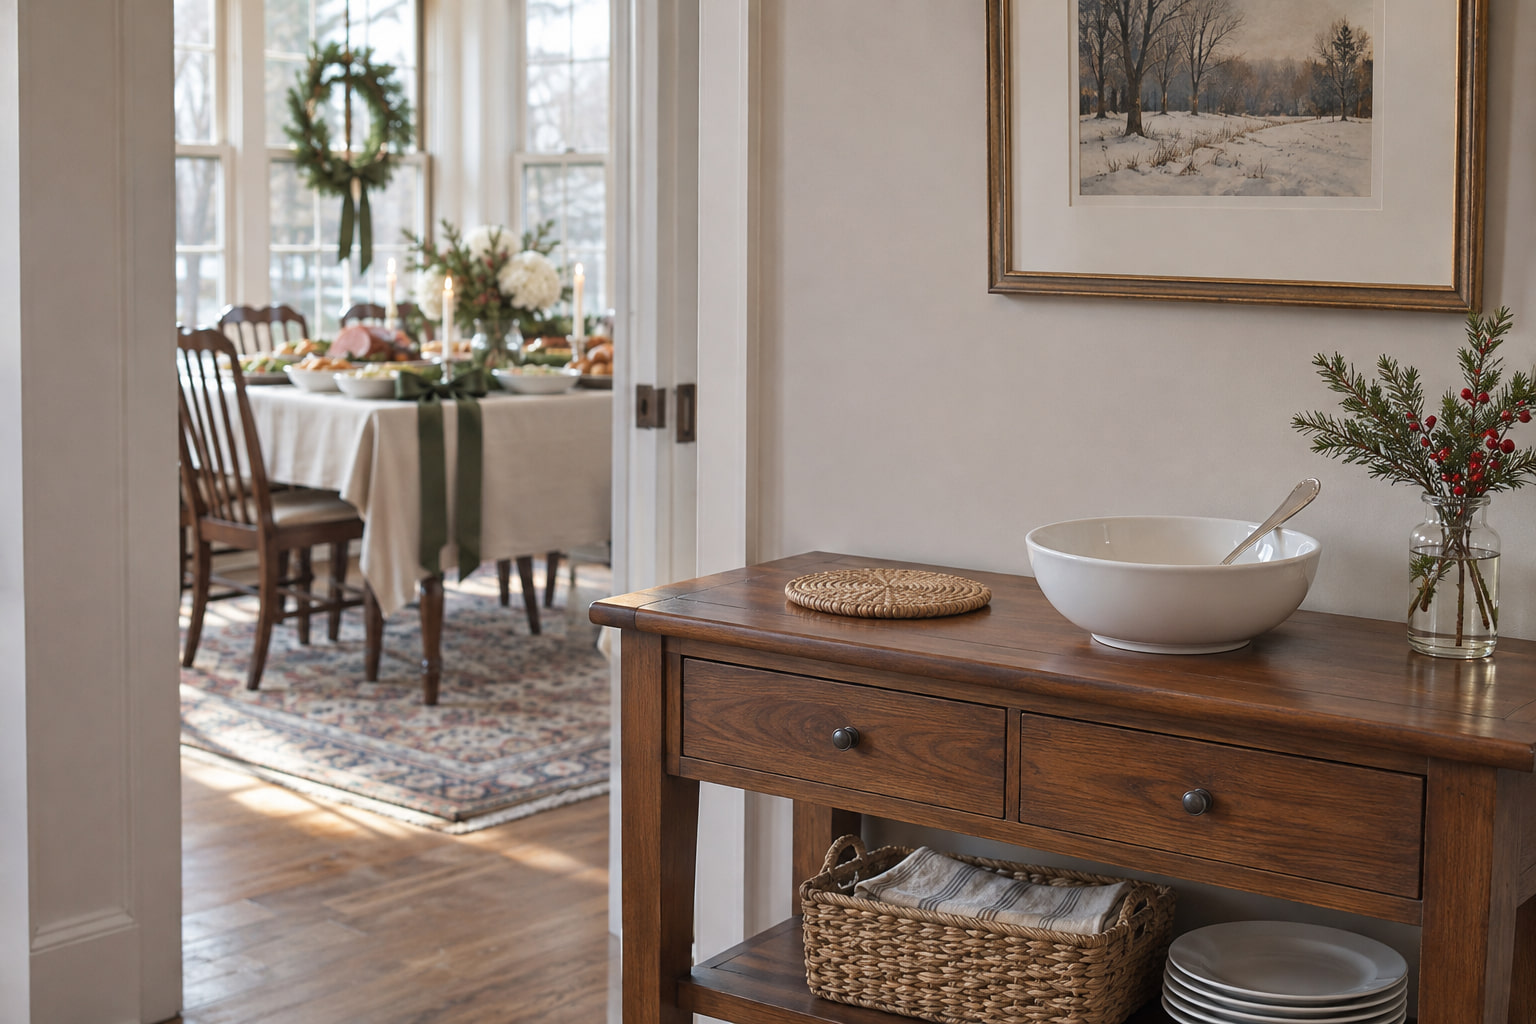
Set a small side table or cleared kitchen counter within easy reach of the buffet. Use it for a trivet, the next serving vessel and any clean utensil you expect to need. Choose a spot you can get to from the kitchen side so you can swap a dish while the line keeps moving. If you use a cart here, park it before guests arrive and check that you can leave its handle clear of both the doorway and the buffet line.
If a refill needs to stay in the kitchen, make the dining-room spot a short-term handoff point. Leave room to set down both the dish you are bringing and the one you are taking away. When the area already holds coats or bags, find a different spot rather than adding another stop to the route.
5. Park Used Plates Away From the Start
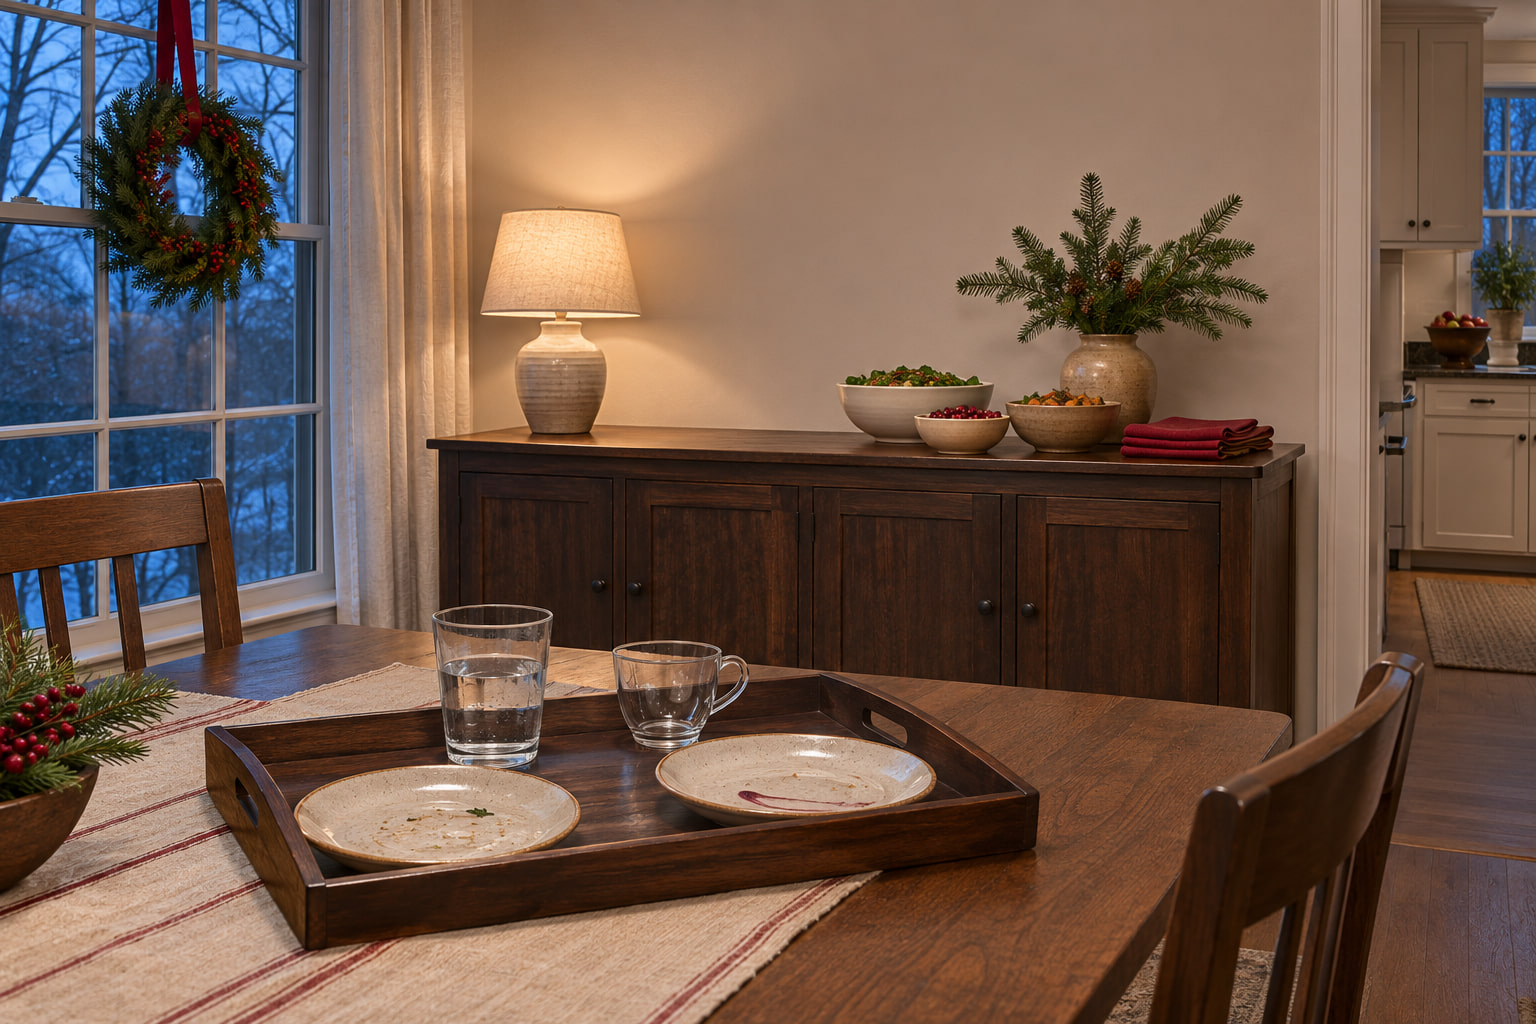
Think about where guests naturally go after they finish eating. On that return path, make room for a small tray for used plates. Keep it well away from the clean plate stack and the buffet start. If the only practical return is in the kitchen, clear one spot near the sink and point people there when you show them around.
A tray on a stable surface gives guests an obvious place to stop. Put it far enough back that a plate can sit flat, and leave a separate patch for cups. Clear the spot during the gathering if it starts to fill. A pretty tray loses its usefulness when guests have to balance a plate on the rim.
6. Make an Open Sideboard Shelf the Plate Pickup Point
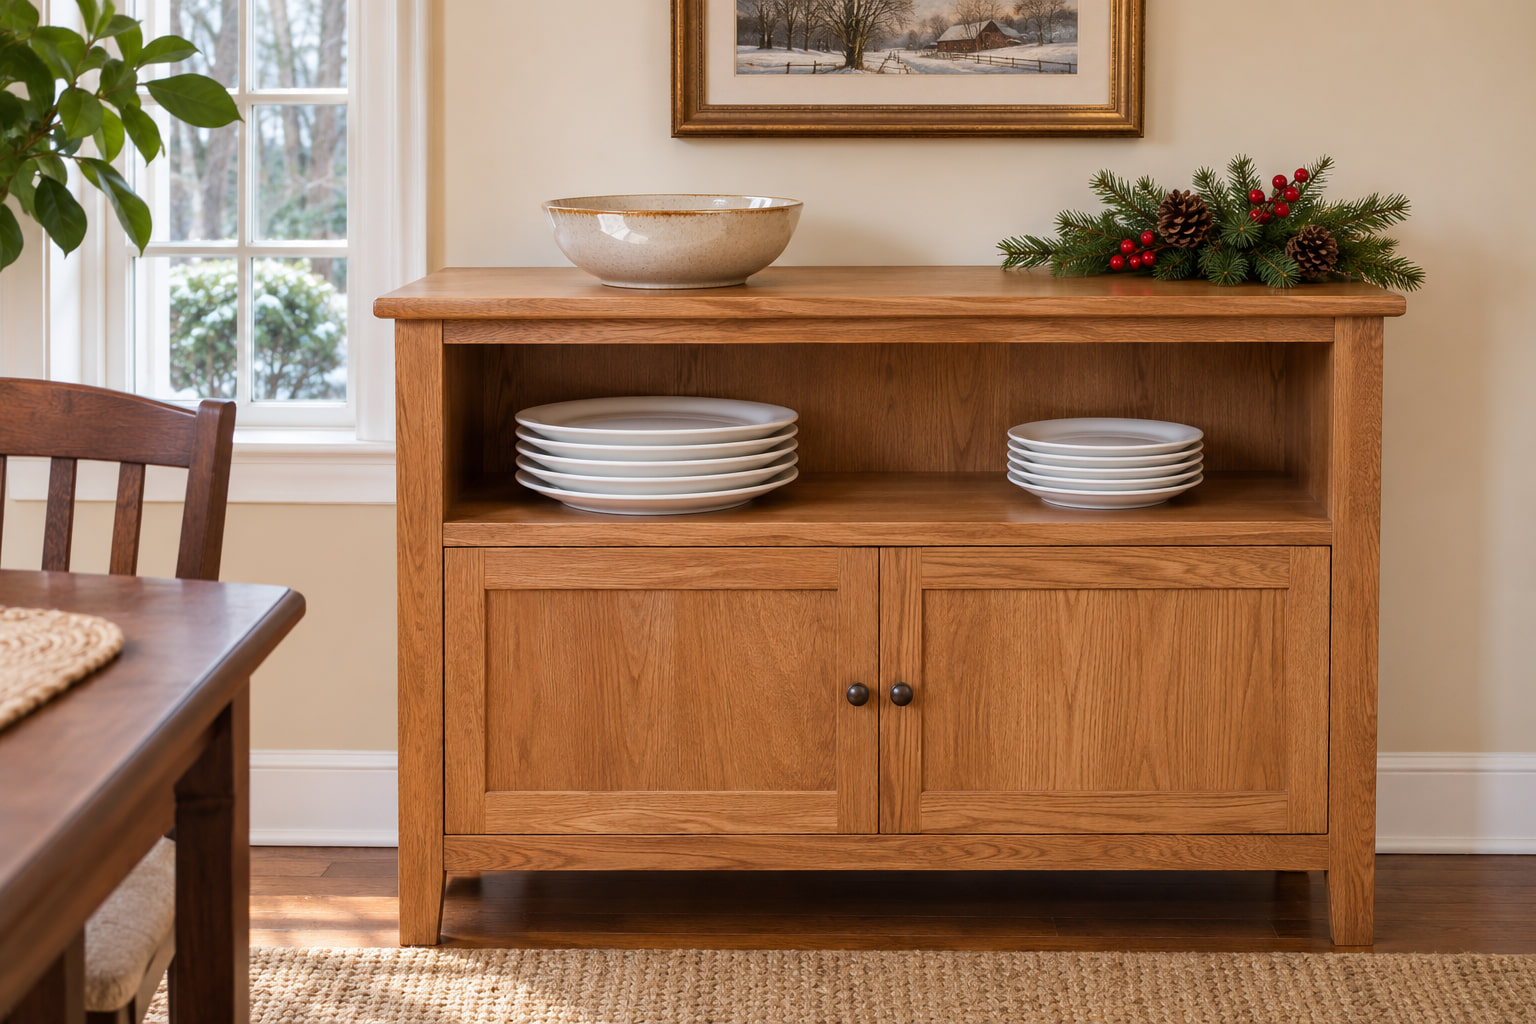
An open shelf can hold the clean plates that would otherwise take up a whole end of the buffet. Choose a shelf guests can see and reach from the front. Use one low stack for dinner plates and another for smaller plates, with space for a hand around each stack. Check that you can lift the largest plate cleanly without catching it under the top. If you have two similar stacks, put the dinner plates on the side nearest the start. Their larger shape gives guests a cue before they reach down.
Keep the area above that shelf for the first serving dish and leave the floor immediately in front clear. If the shelf sits close to the floor or takes a deep reach, keep plates on the surface instead. The best pickup point is the one guests can use while holding a napkin or a glass in the other hand.
7. Warm the Buffet With a Linen Runner and a Side Lamp
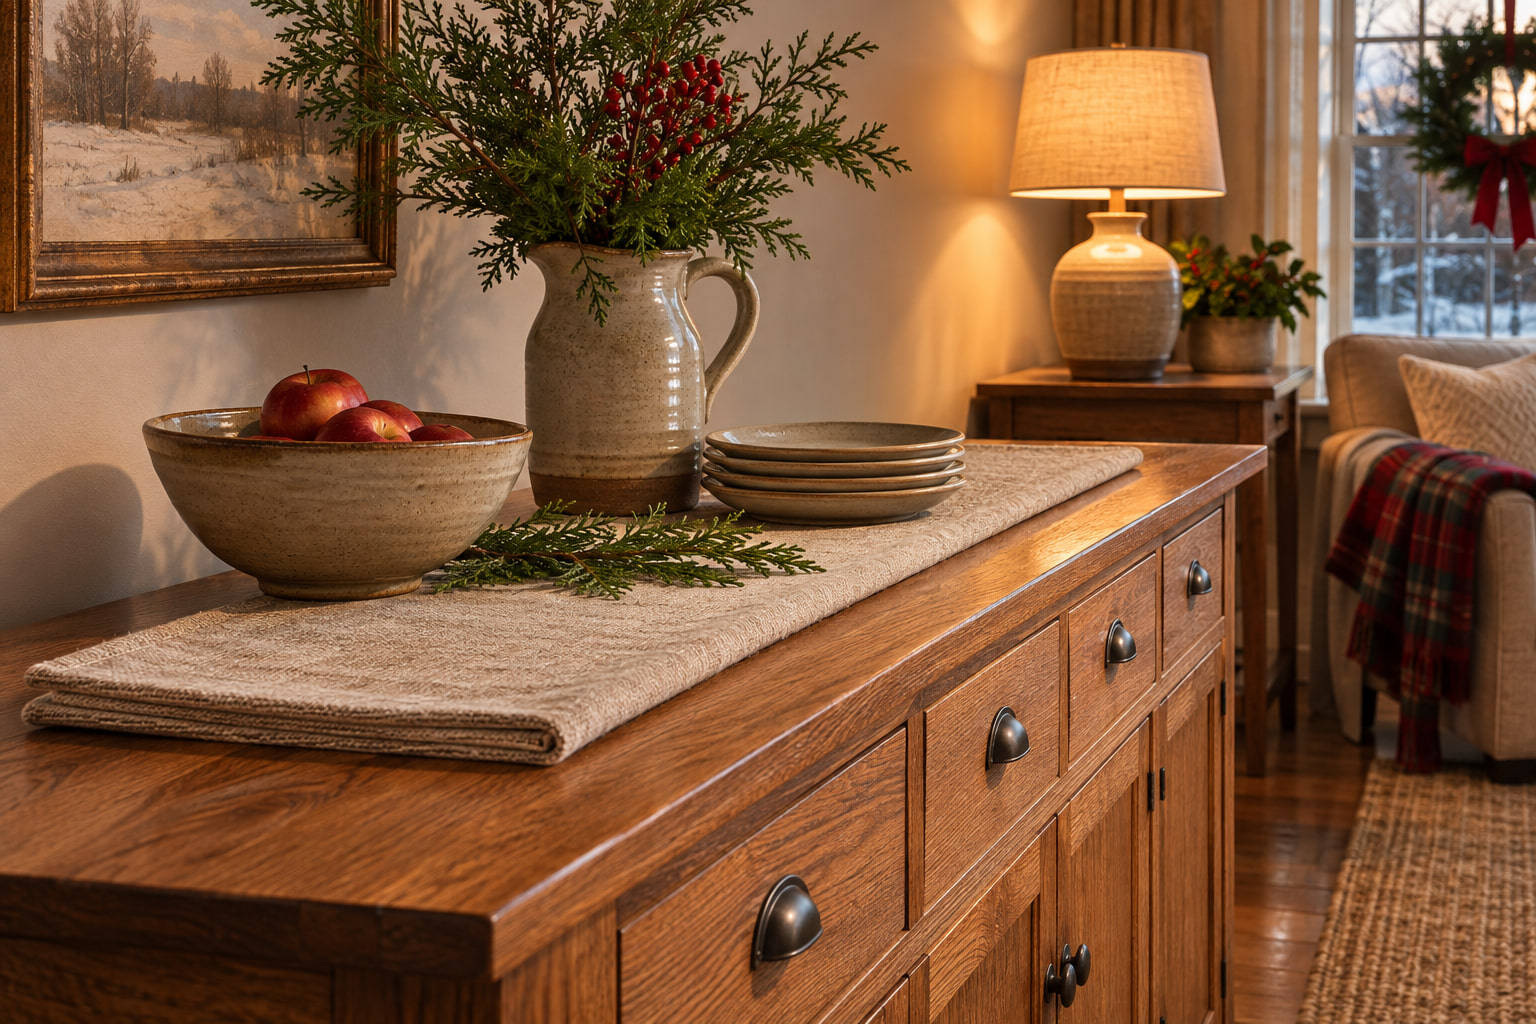
A narrow linen runner brings out the grain in a wood sideboard and gives serveware a quieter background. Lay it lengthwise and fold the ends back onto the surface if they would hang into the walkway. Place the serving pieces so their handles sit clear of the fabric edge. If the table looks dim from the doorway, turn the lamp a little toward the bowls. You can usually reveal the texture without adding another light.
Use a shaded lamp to one side, on a stable surface beyond the serving area, to light the labels from the front. Sit down and look back at the display to check for glare. Keep the cord against the wall and out of the walking route. A woven runner, visible wood and warm light make a festive corner feel considered even with everyday dishes.
8. Give Each Serving Zone a Distinct Framed Marker
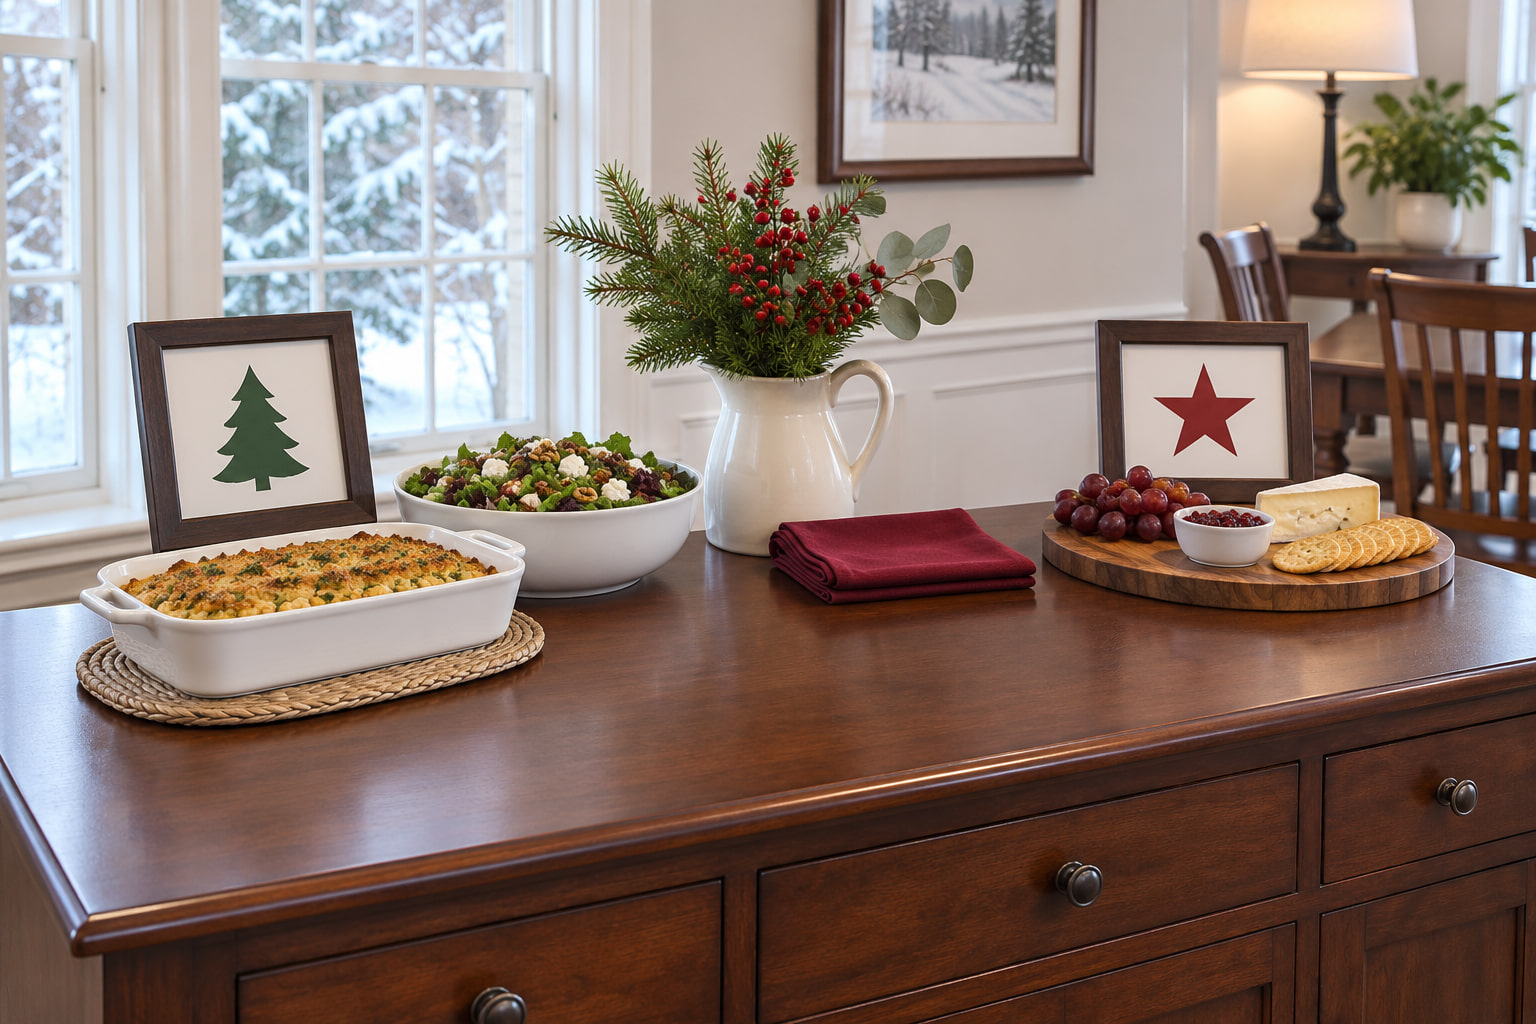
Give savory dishes and dessert a marker that guests can see before they get to the first bowl. Use frames in the same finish so both signs feel like part of the room. Change the central shape in each, perhaps a fir silhouette at one end and a star at the other, and keep the wording brief. A small repeated border can help the frames read as a pair. Keep it narrower than the central shape so the two silhouettes stay distinct from across the room.
Check each sign from the direction people will actually approach. If a tall pitcher covers it, move it farther to the side or shorten what sits in front. Put the frame behind the serving edge so guests have a free place to set down a plate. Repeat just one seasonal color across the pair.
9. Give the Dessert End a Formal Crystal-and-Brass Finish
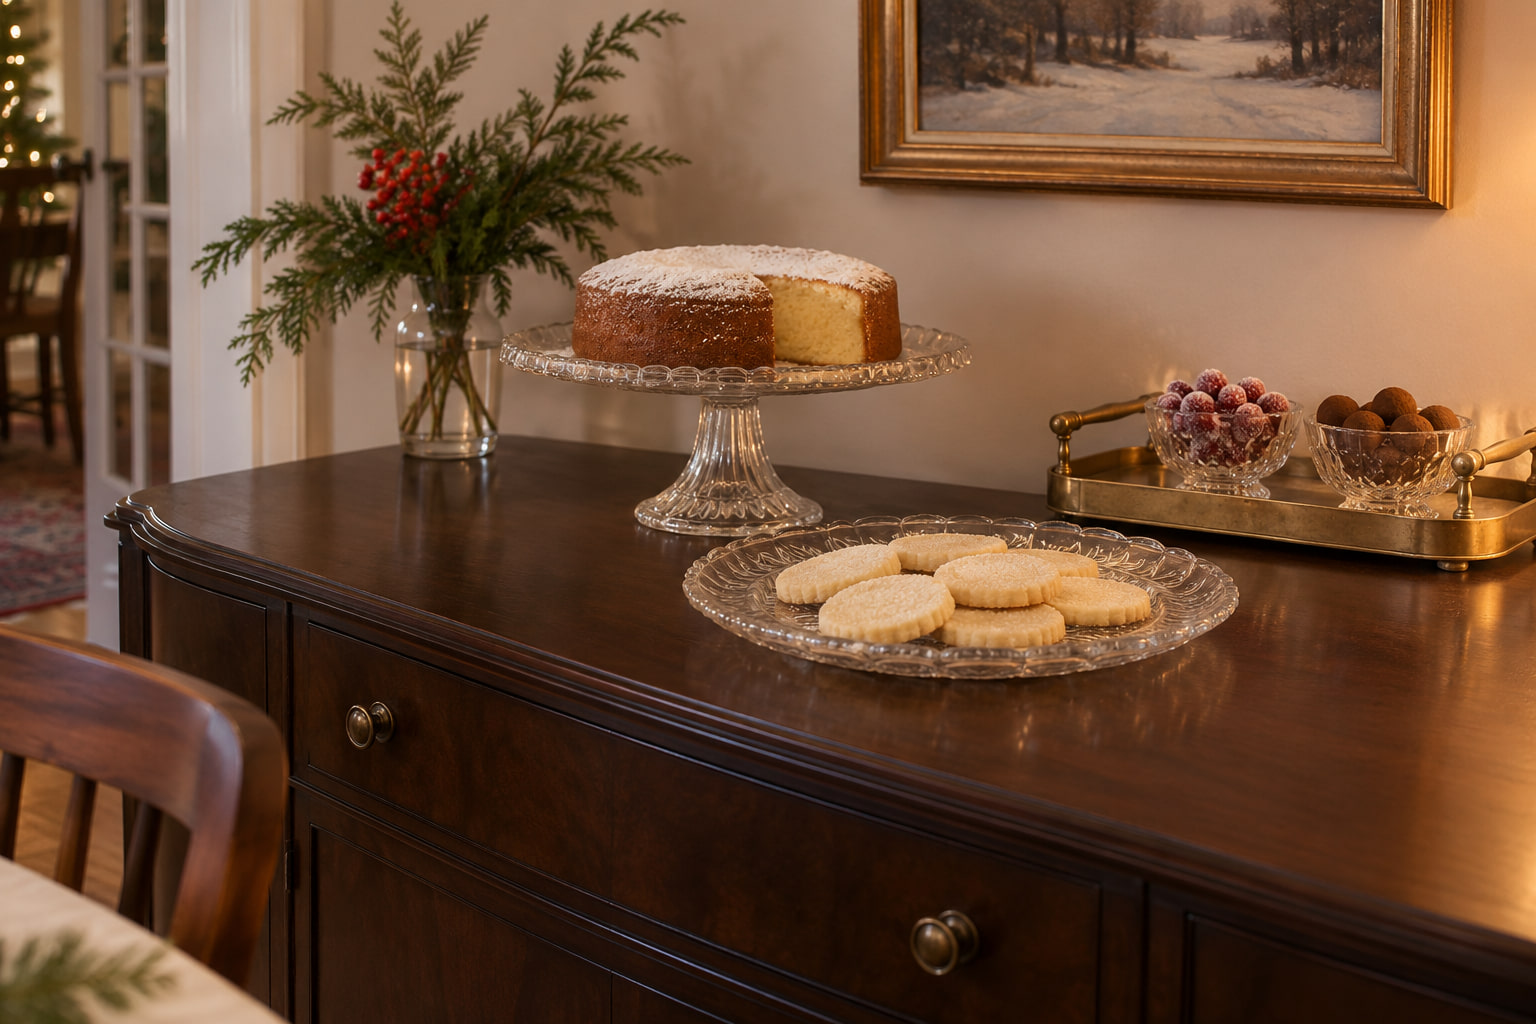
At the dessert end, put the taller pressed-glass stand toward the back and a low clear plate nearer the front. Choose two visibly different heights and leave a strip of tabletop between them. A restrained brass detail, such as a pair of handles on a small tray, gives the composition a warm note against the clear glass. Look across the table at seated height, too. If the glass disappears against the window, set the arrangement where its rim catches some side light.
Set the pieces out empty first and reach for the back one from the serving side. Shift it sideways if your sleeve or the serving utensil would pass over the lower plate. If you also have a seated table to dress, keep this surface spare and save the fuller arrangement for these Christmas table centerpiece ideas.
For a similar clear profile, the Libbey Selene glass cake stand has a 13-inch footed platter. Check that it fits behind your lower dish and give the glass dome its own resting spot during service.
10. Use an Easy-to-Read Sequence for Serving Dishes
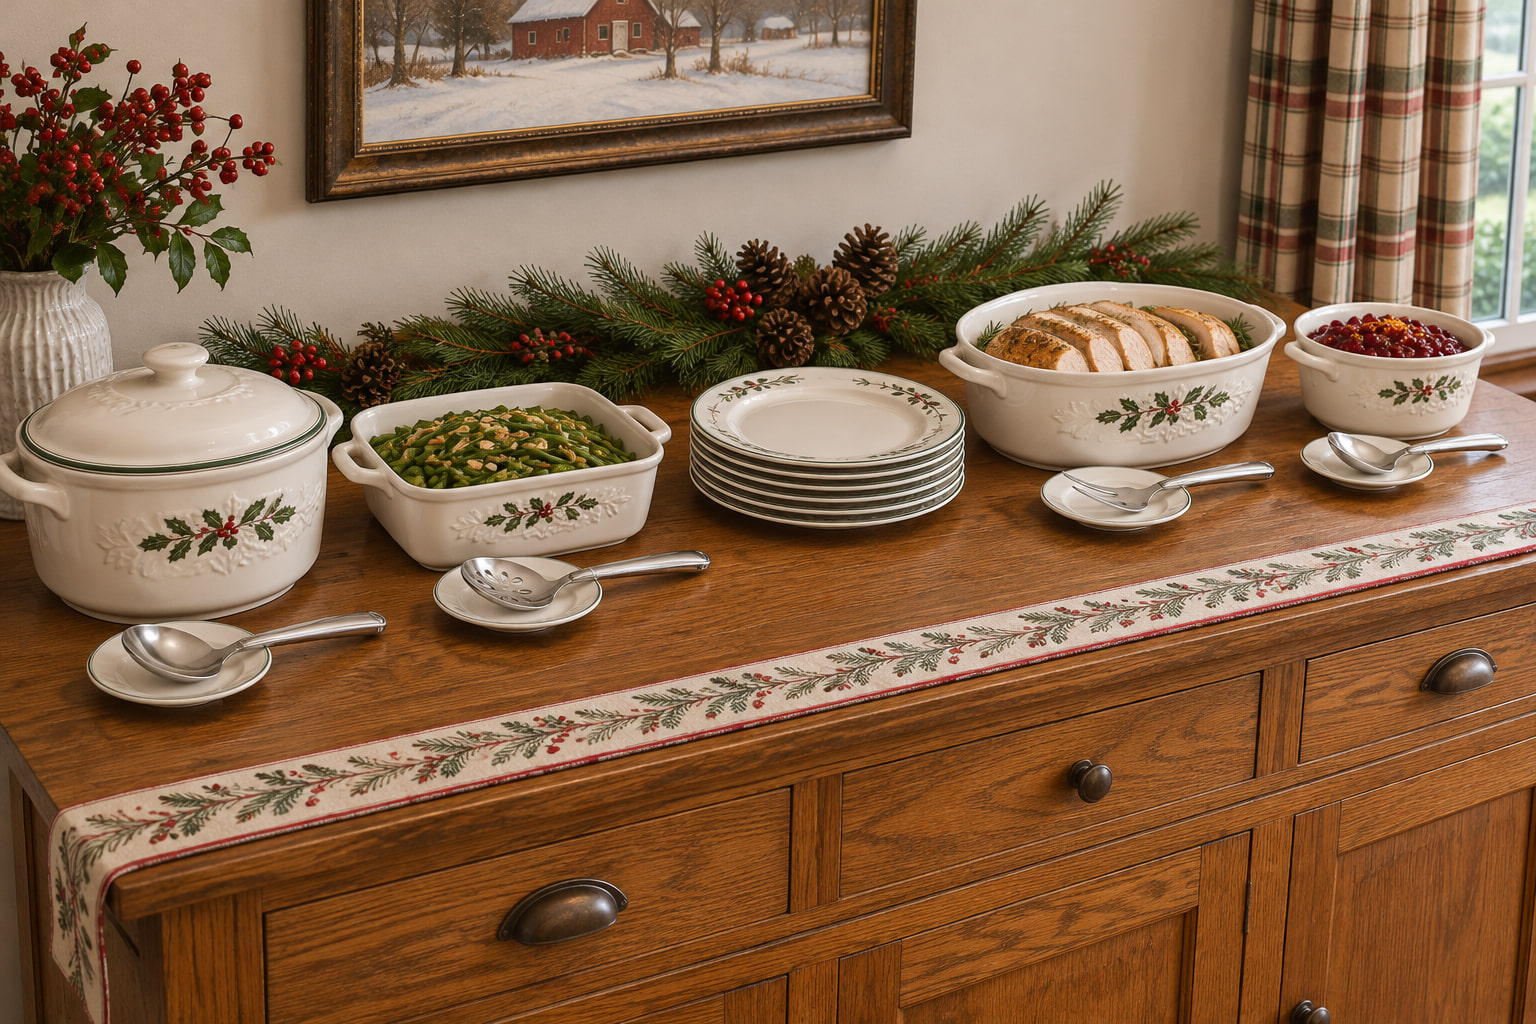
Try the serving sequence with the empty vessels before bringing food out. Start with what guests will reach for first, give the largest bowl a generous landing area, and move small finishing dishes farther along. Place a clean utensil with each vessel and set its handle toward the approach side.
Use saucers or shallow rests under utensil handles where they tend to drip. Leave an empty patch wherever a guest needs two hands. If that leaves less room than you expected, move a dish to the refill spot and rotate it in when the first one is cleared. The serving line should be easy to follow from the plates without a spoken tour.
For a deeper bowl of rolls or salad, the OXO Good Grips 12-inch stainless steel locking tongs let you rest the handle toward the guest. Set them on a saucer and check that they clear the neighboring dish.
11. Give Drinks Their Own Landing Space
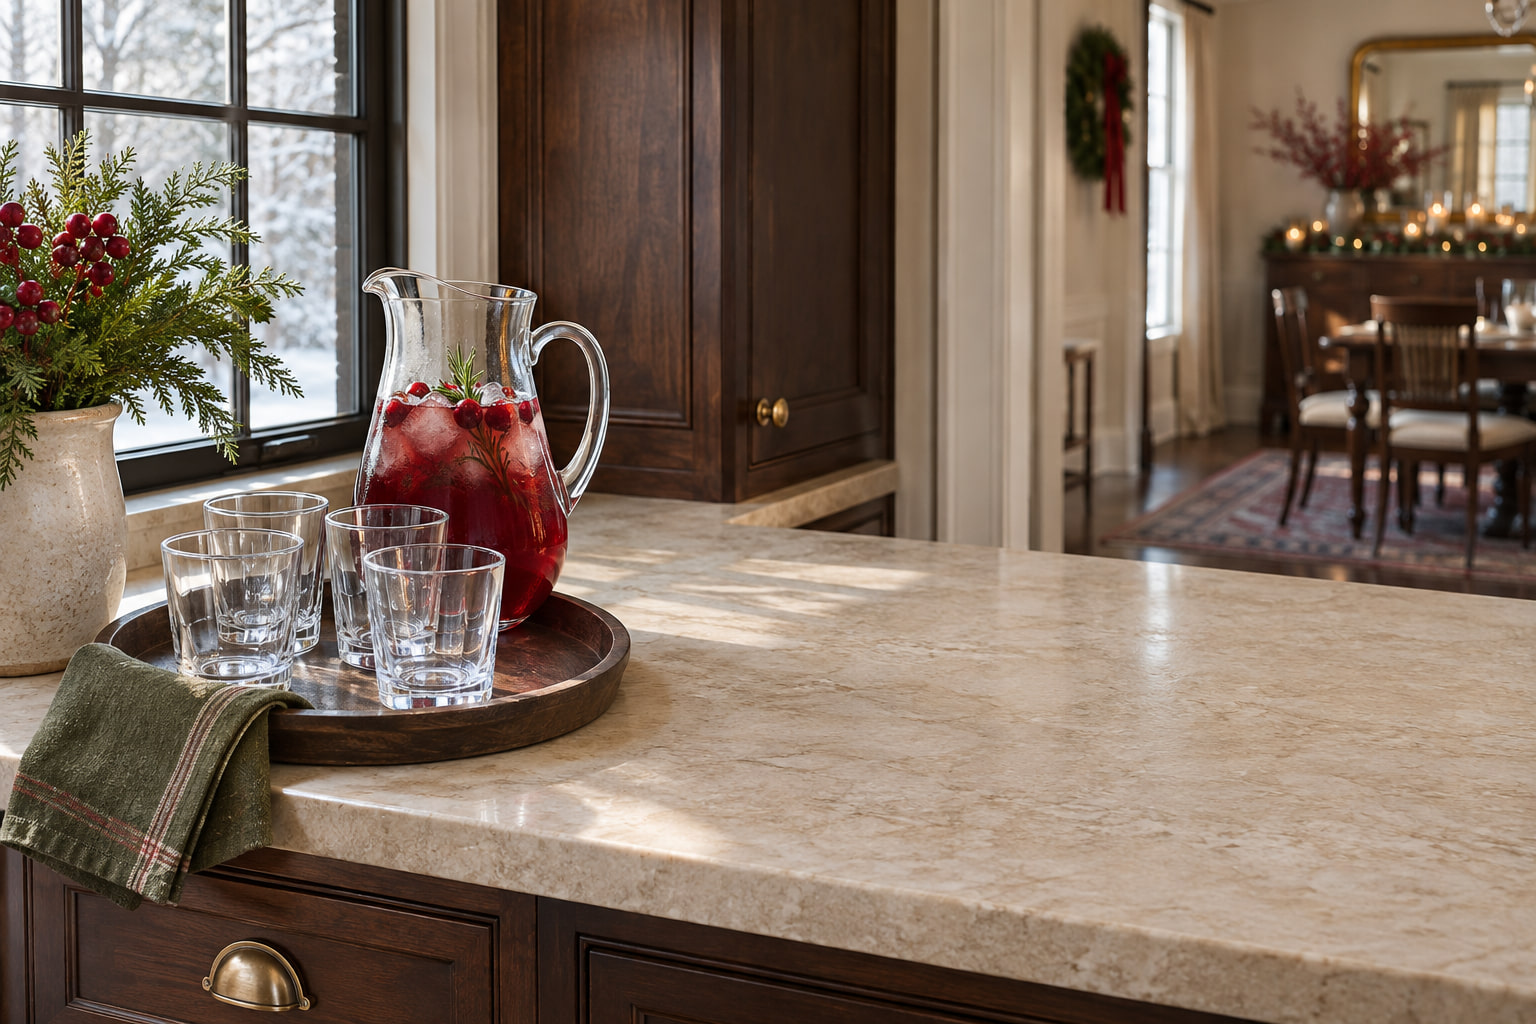
Test where a guest would go back for a second drink. If it means waiting behind someone serving dinner, put glasses and a pitcher on a different stable surface with a clear route to it. Set glasses near the approach side and leave enough empty space to rest one while pouring. Leave the pitcher handle easy to reach, especially when the glasses are full. A single row of tumblers is easier to replenish from the side than two tight rows.
In a very small room, a drink setup can take over the whole buffet. You can use one cleared patch of kitchen counter with a nonslip tray instead. For a separate hot-drink setup later in the evening, these Christmas coffee bar ideas offer ways to use a cart, sideboard or small section of counter.
12. Give Christmas Decor One Shallow Zone Behind the Serving Pieces
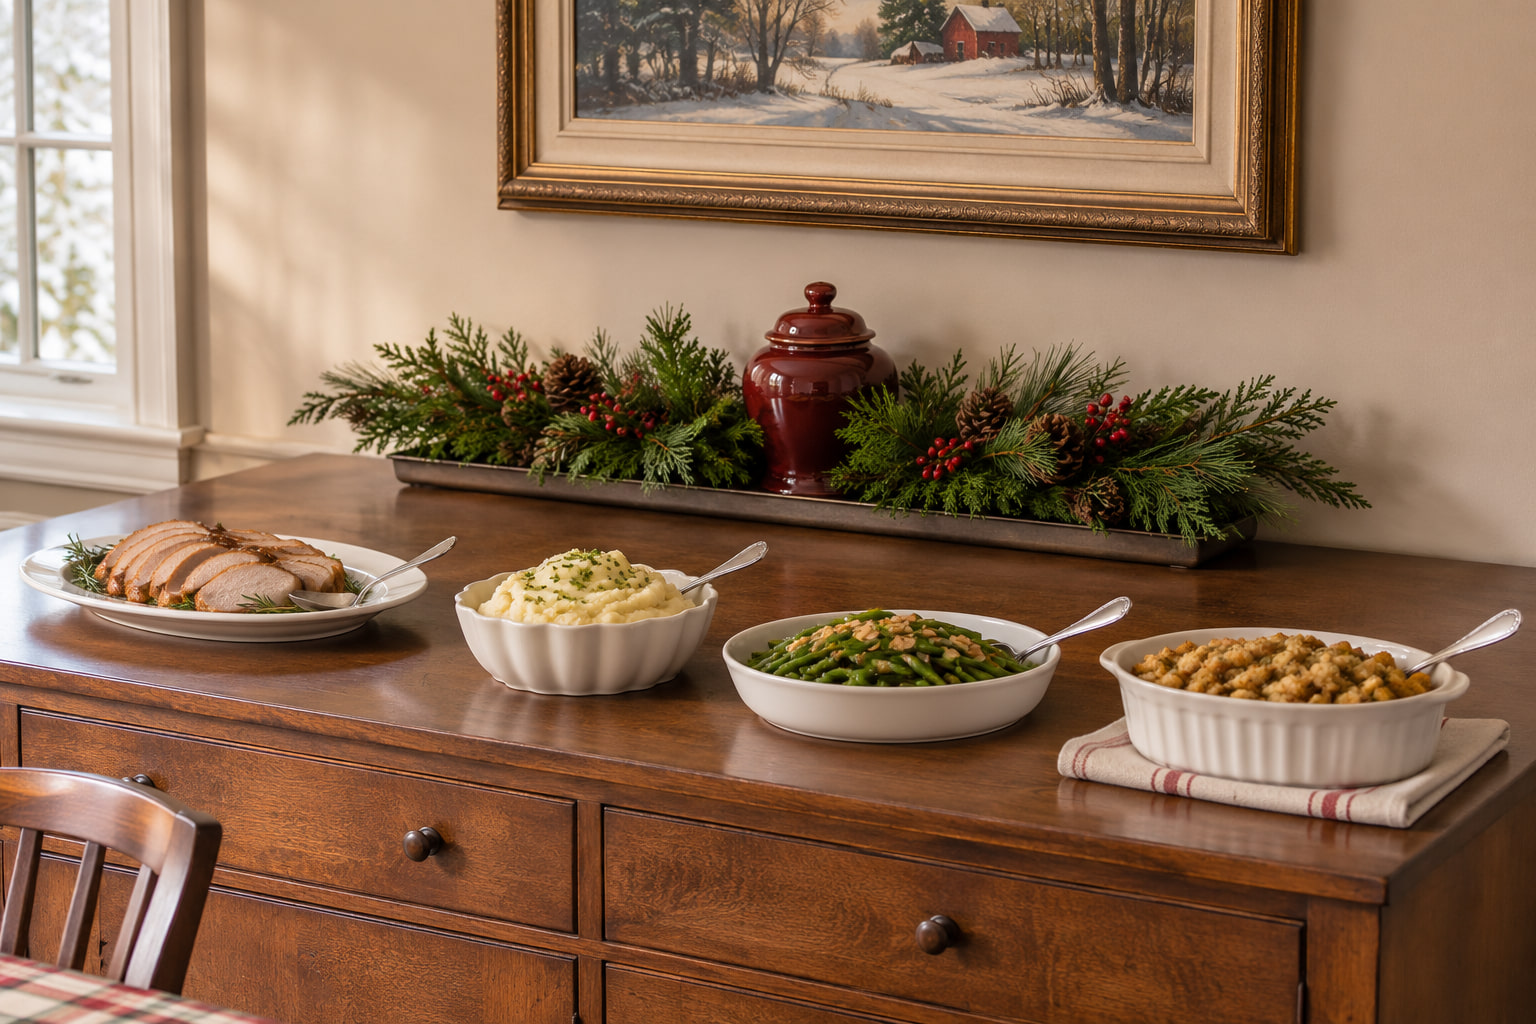
Let the Christmas decoration sit in one shallow strip behind the serving pieces. Try a low group of evergreen stems in a shallow container and one cranberry-colored detail. Start with the biggest dish in place and see how much of the back edge remains, then size the decoration to that space. Start with a shorter run of green than you think you need. A little exposed surface between the arrangement and the platters lets the two groups read clearly.
Look from both ends to check that you can see the food and reach every utensil without brushing the greens. Where a table serves from two sides, put the holiday strip on a separate wall shelf or reduce it to a low, contained piece at the center. After the gathering, that single grouping can move back to the sideboard in one trip.
13. Set the Plates at the Seats Before Dinner
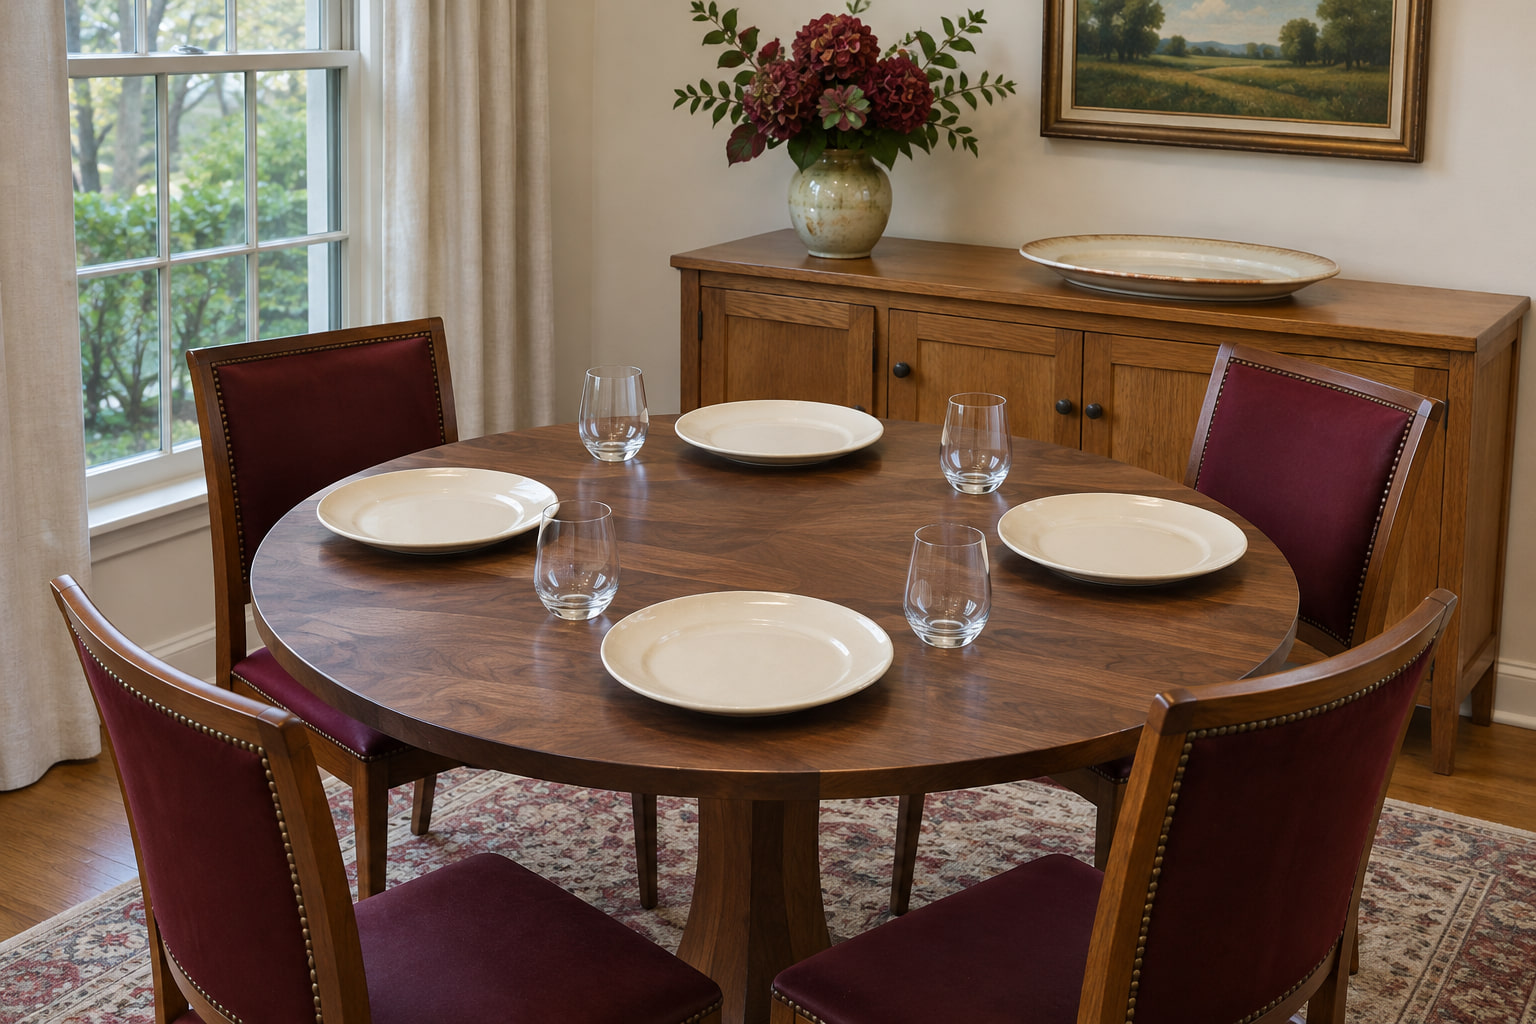
If everyone has an assigned seat, set a dinner plate at each place before guests arrive. When you call people to eat, they can take their own plate straight to the serving dishes. This is useful when the first foot of a short buffet is also the only place wide enough for the main platter. It saves the host from deciding between a stack of plates and somewhere to put dinner.
Leave one extra plate in the kitchen for someone who drops theirs or wants a fresh one. If the dining table is already tight, use the everyday dinner plates without chargers so guests can lift them by the rim. Pull up a chair and try it yourself. You should be able to pick up a plate without moving the glass or nudging the person beside you.
14. Choose Platters That Fit the Depth of the Sideboard
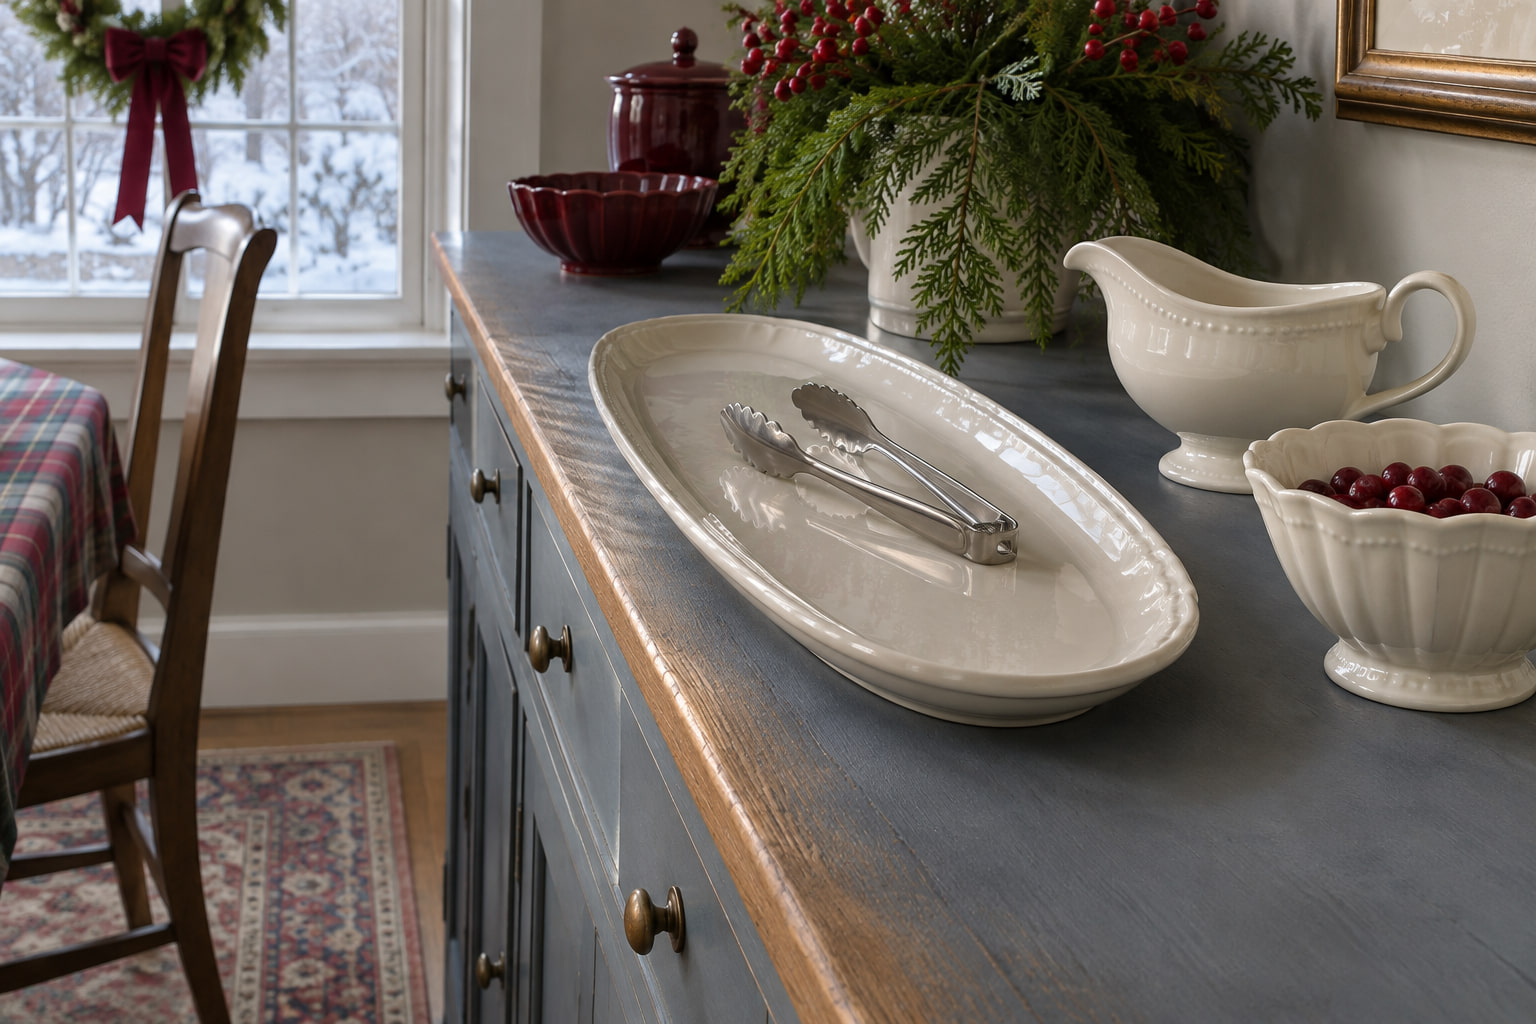
The platter you use on the dining table may be too deep for a sideboard once you account for its handles. Set it on the sideboard empty, then place the serving utensil exactly where it will rest. If either handle sticks out where people will walk, try turning the platter sideways. A long oval dish can hold the same row of sliced food while leaving useful space along the front.
For an especially shallow top, lay a sheet of paper on it and mark where the front and back edges fall. Bring the paper to the kitchen and test which dishes fit together before carrying them back. Leave an easy place to grip each vessel so you can lift it without shifting its neighbors.
15. Offer a Pull-Up Serving Spot at One End
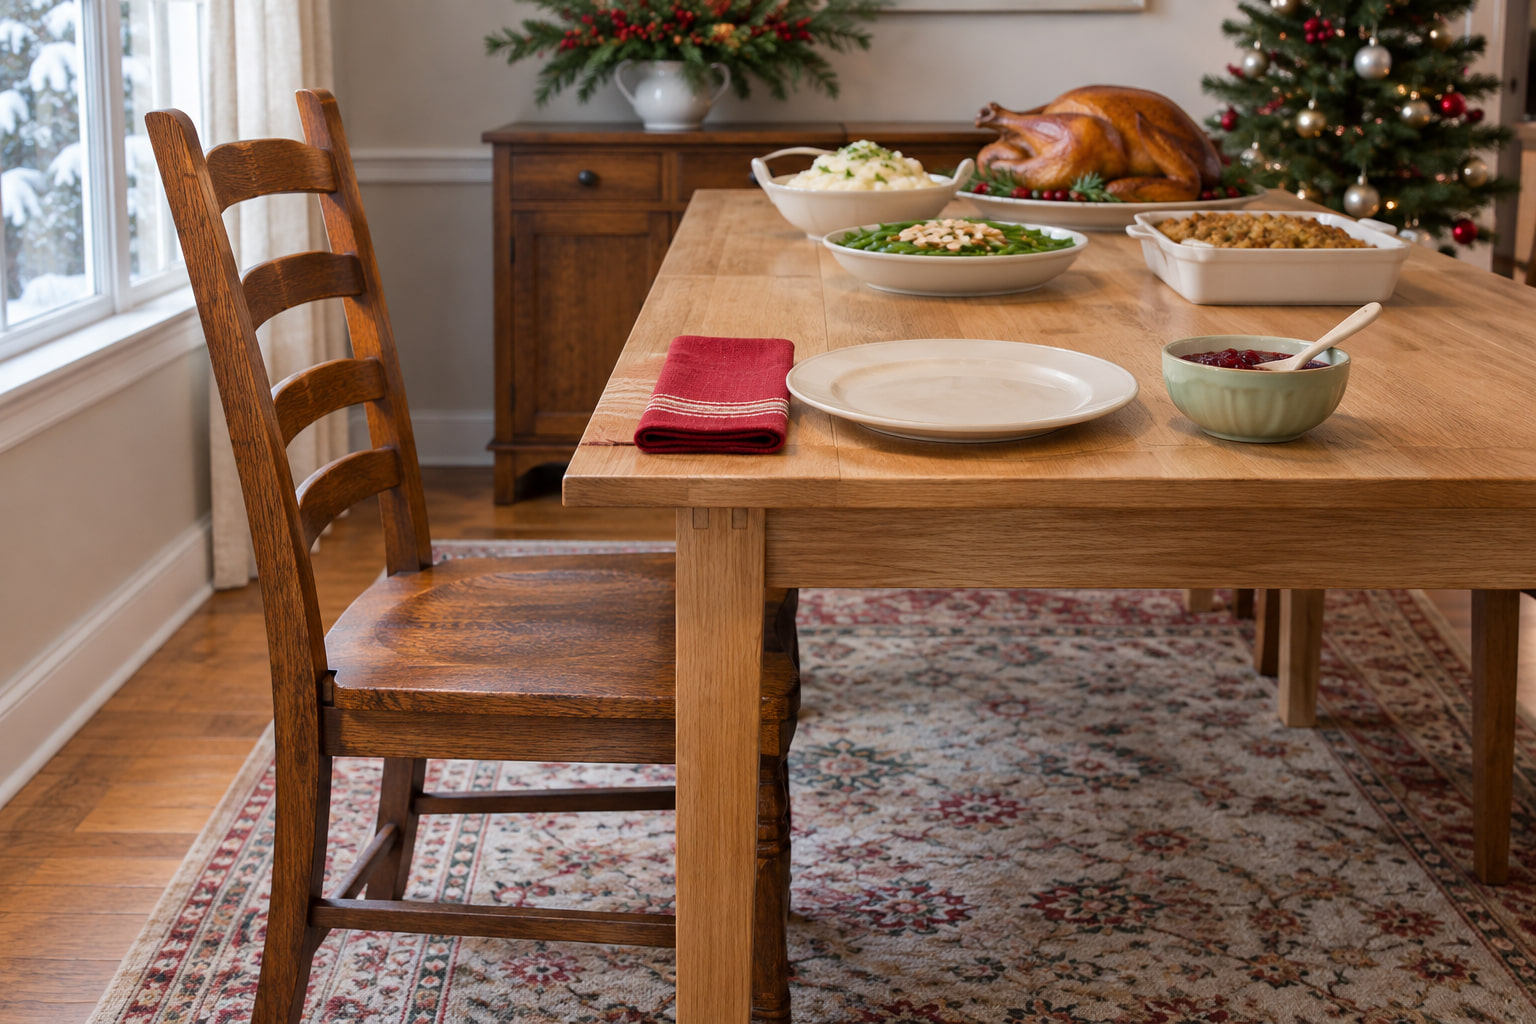
If a guest prefers to sit while serving, set a few shared dishes within reach at the short end of a table. Pull up a sturdy dining chair where there is room to get in and out. Try the arrangement from the seat before guests arrive. Put the plate and a light serving bowl near each other so the guest can use the spoon with the plate resting on the table.
A sideboard with a closed cabinet below may be awkward to approach from a chair. A small table with open space underneath gives you more options. Keep the chair outside the standing line. If the room is too tight for both, offer to bring a couple of dishes to the guest’s usual seat.
16. Portion the Dish That Takes Longest to Serve
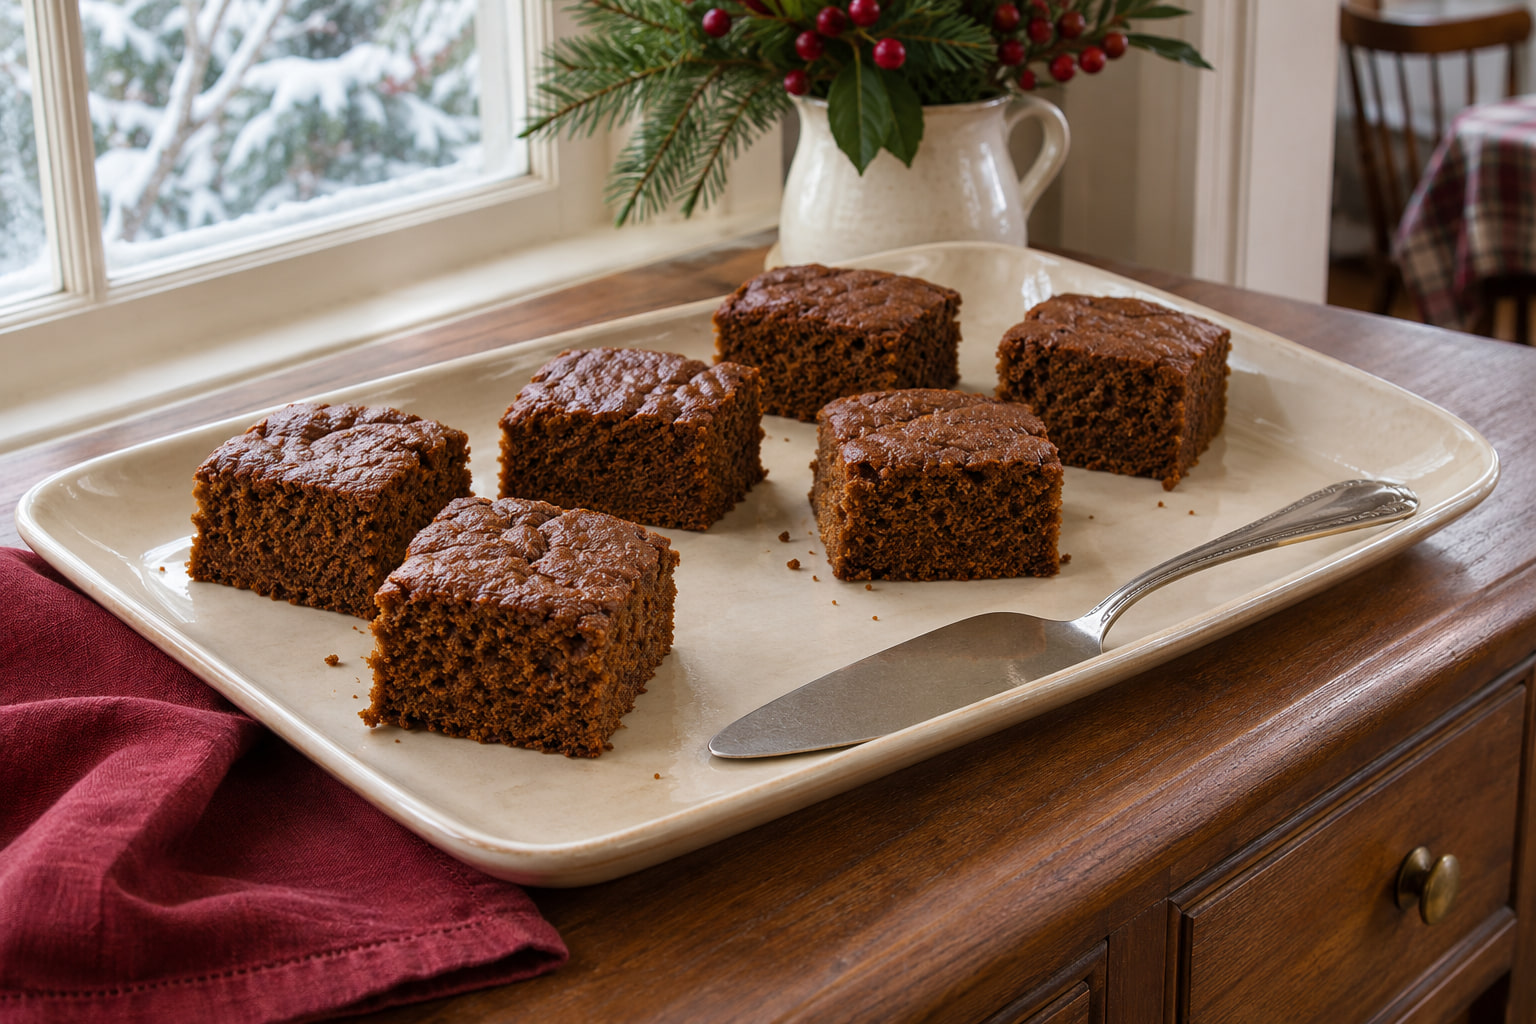
Watch what happens when you try to serve the menu with one hand holding a plate. A whole loaf that needs slicing or a dessert that needs cutting can stop the line even when every other dish is easy to pick up. Cut that item in the kitchen and arrange the portions in a single layer, with space for the tongs or server between pieces.
For a Christmas buffet, try squares of gingerbread cake on a small rectangular platter. Leave a little gap at one end for the server so it stays with the dish. If you plan to offer two kinds, use a separate platter for each. Guests can see the options immediately and take the piece they want in one move.
17. Give Look-Alike Dishes Their Own Menu Cards
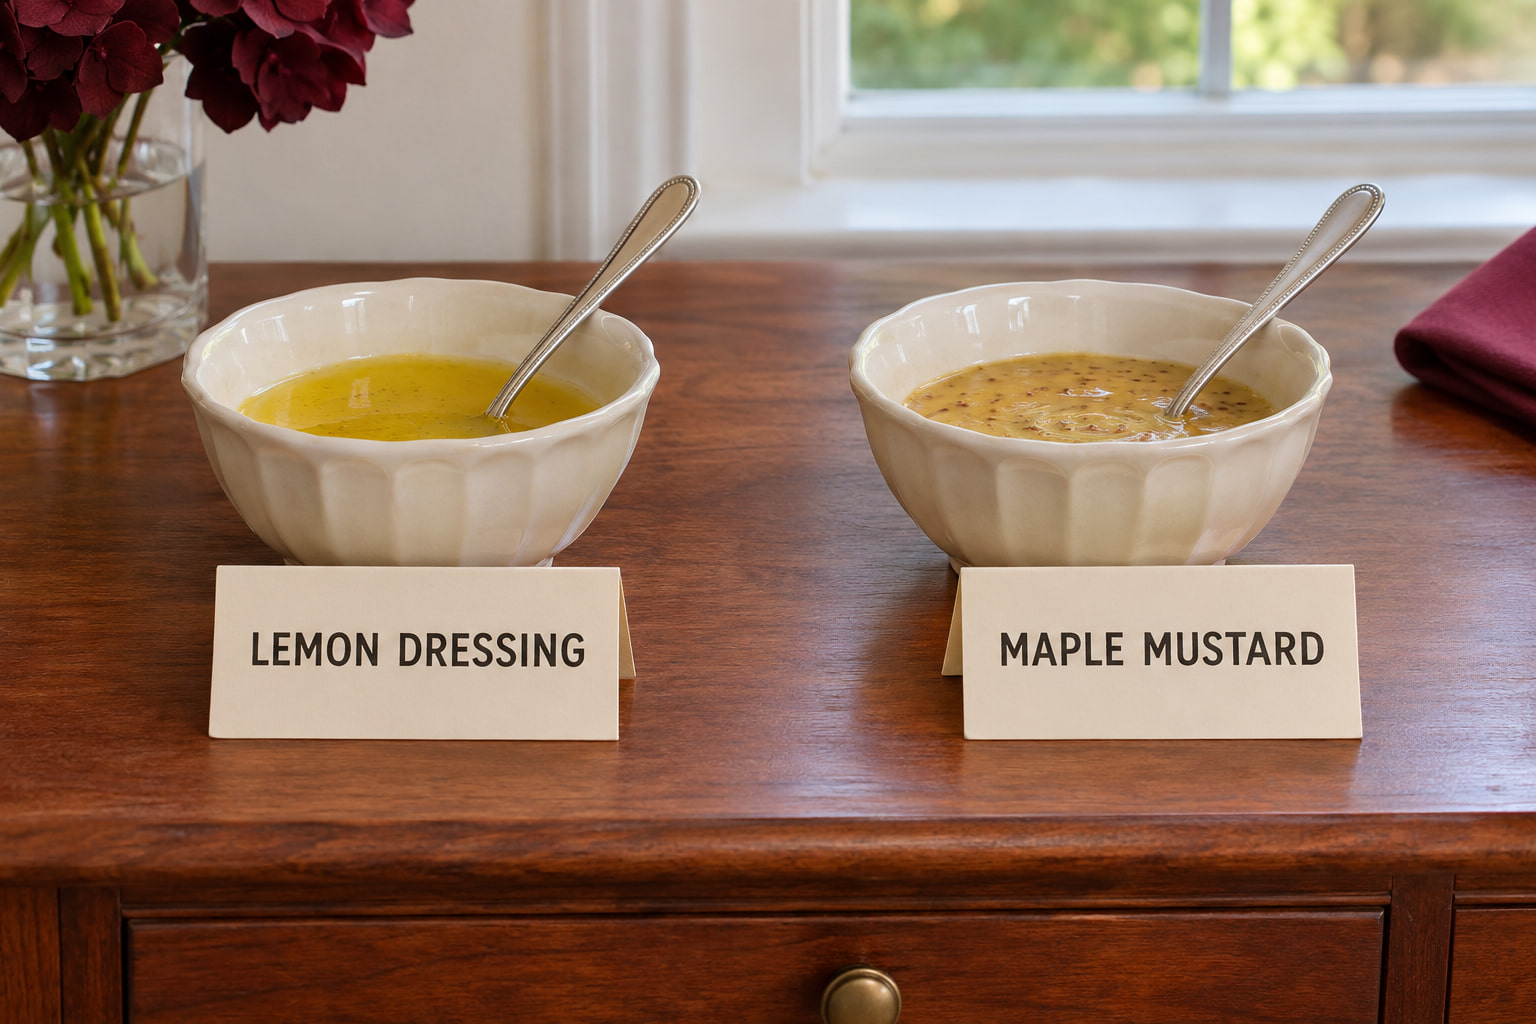
Two pale dressings or two dark sauces can look almost identical across a buffet. Put a small folded card beside each bowl, using the name you would give it if someone asked what was in it. For example, “Lemon Dressing” and “Maple Mustard” are easier to distinguish than two cards that both say “Dressing.” Leave each card close enough to its own bowl that the pairing still makes sense after someone serves.
Use large dark lettering on matte paper. Read it from the serving side and lower or move the card if it gets in the way of the spoon. If someone needs the full recipe details, keep the ingredient list handy and have the cook answer directly.
18. Pass the Butter and Finishing Touches at the Table
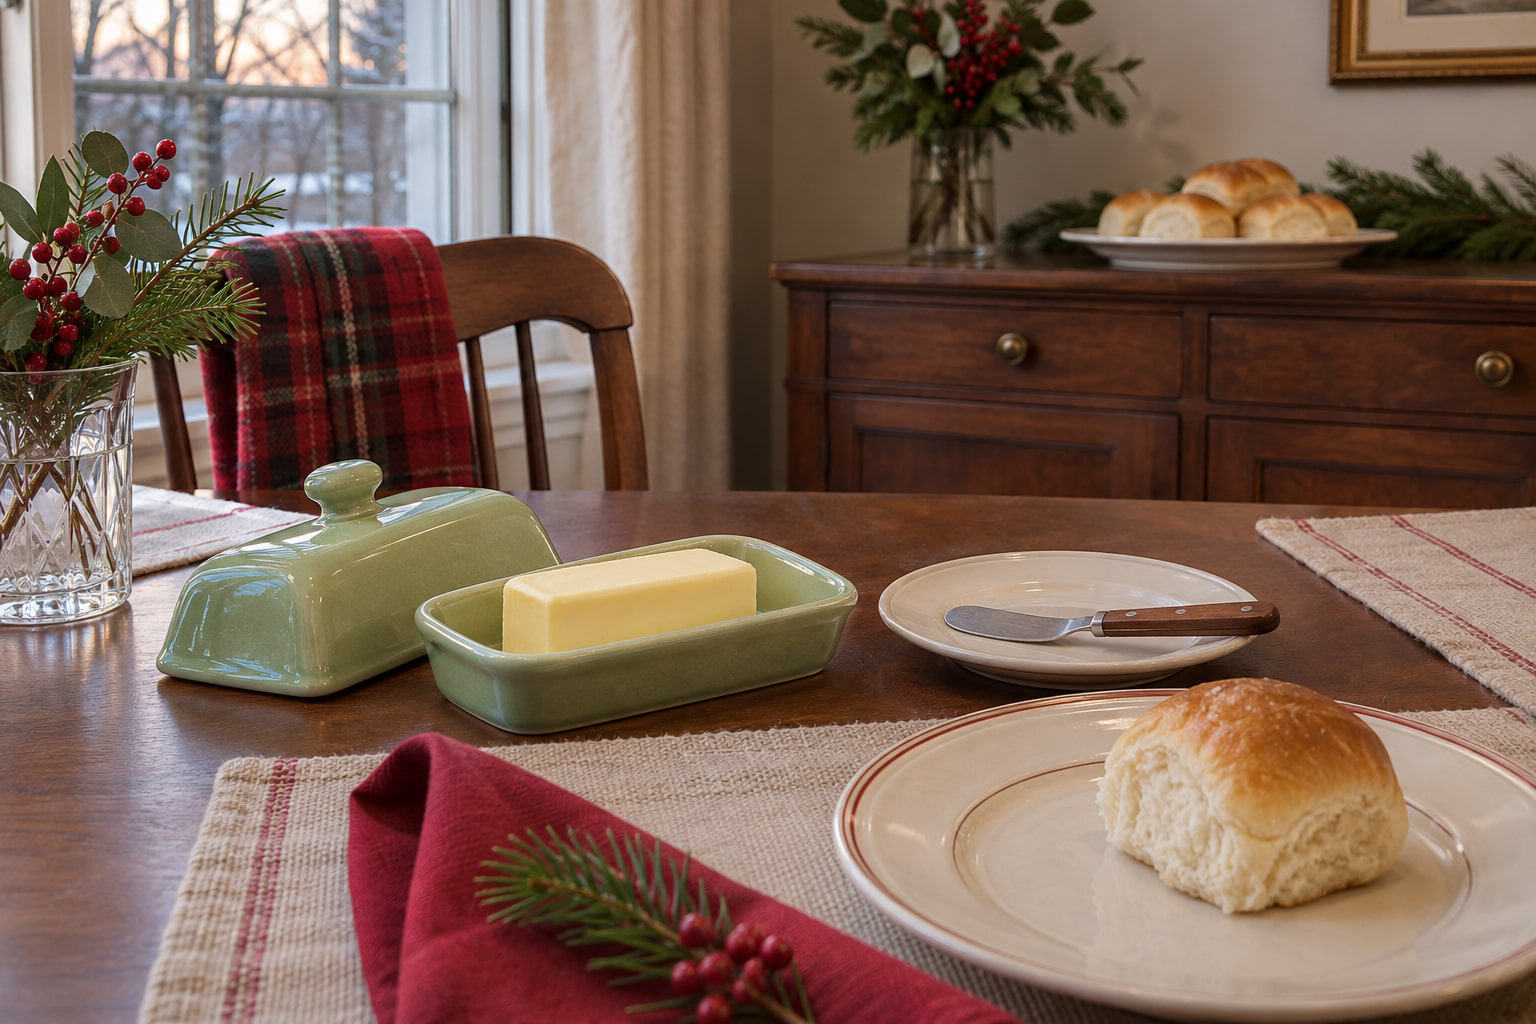
Let guests take the rolls from the buffet, then put the butter dish on the dining table. Give a lemon bowl or one favorite sauce the same treatment if guests tend to add it after they taste their food. That takes the fiddly work of balancing a plate, lifting a lid and using a spreader out of the standing line.
Choose one small piece that travels easily from person to person. A butter dish with a raised knob is simple to open, and a short spreader can rest alongside it on a saucer. At a long table, put the dish where someone can pick it up without reaching across a place setting. Bring it back to the kitchen when everyone is done.
19. Give the Same Surface a Second Life for Dessert
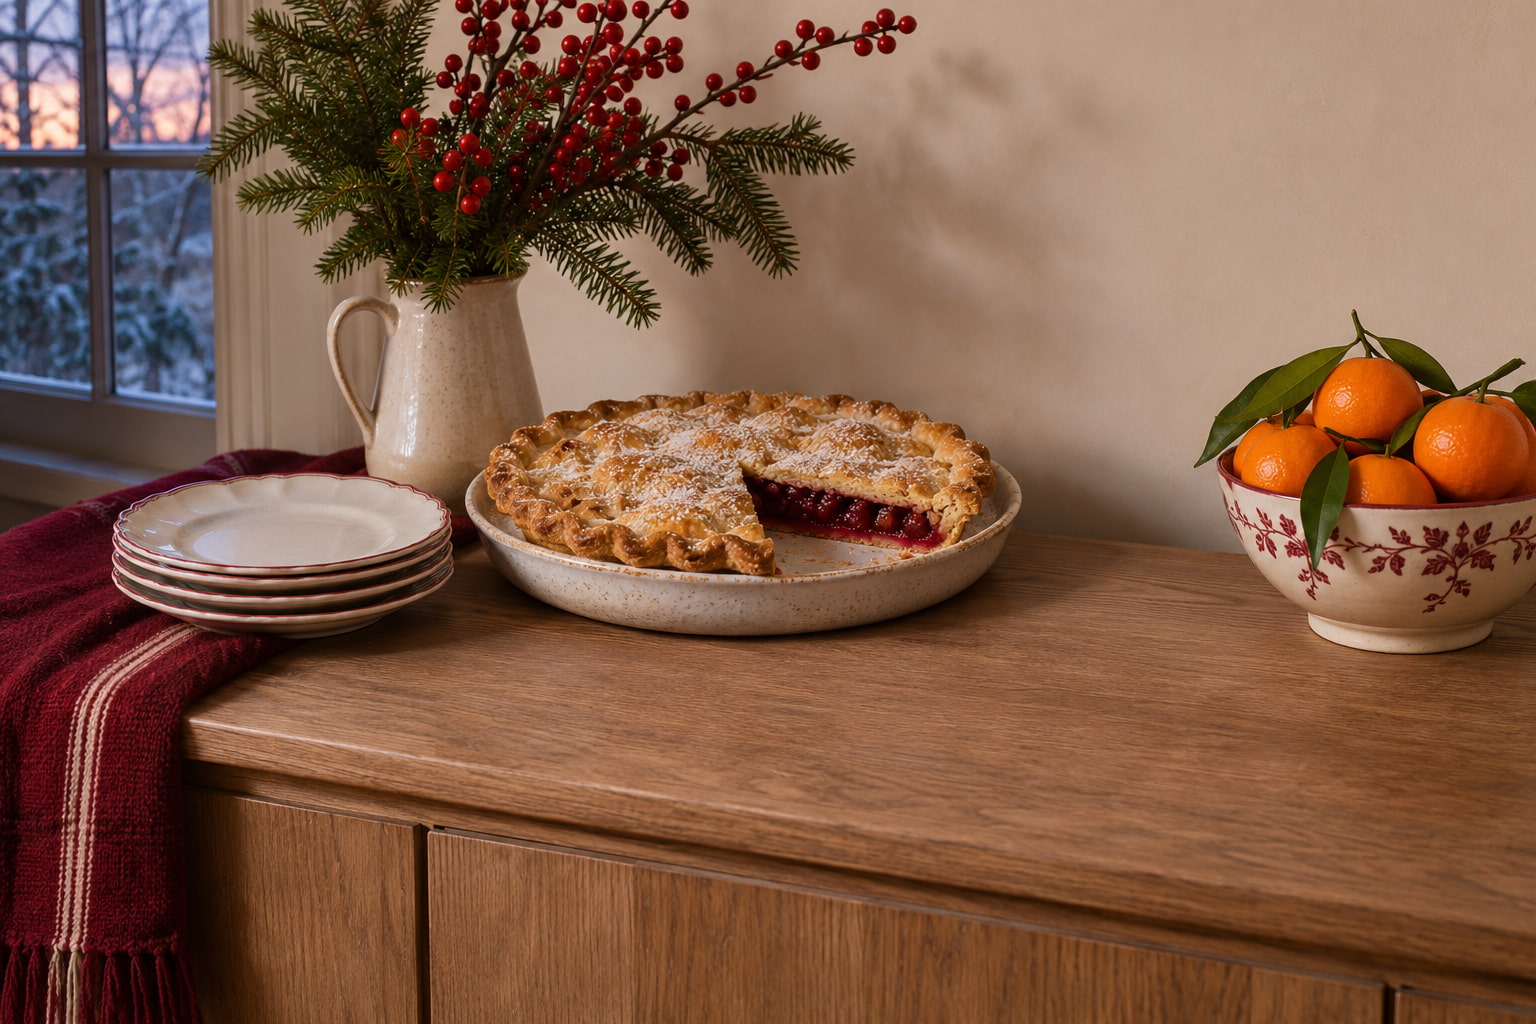
If a narrow sideboard is the only serving surface, let it do one job at a time. Set it for dinner and keep the dessert plates and server together in the kitchen. Once the main course is finished, clear the sideboard, wipe the top and bring out the dessert pieces. The new setup can stay small because it only has to serve one course.
Think about the reset before the meal. Choose vessels you can lift easily and give the dessert plates a clear starting spot when they come out. A pie platter and a bowl of clementines can fill a short sideboard without pushing either dish into a corner. Leave an empty patch for someone to rest a plate while taking a slice.
20. Unify Mismatched Serveware With Two Low Trays
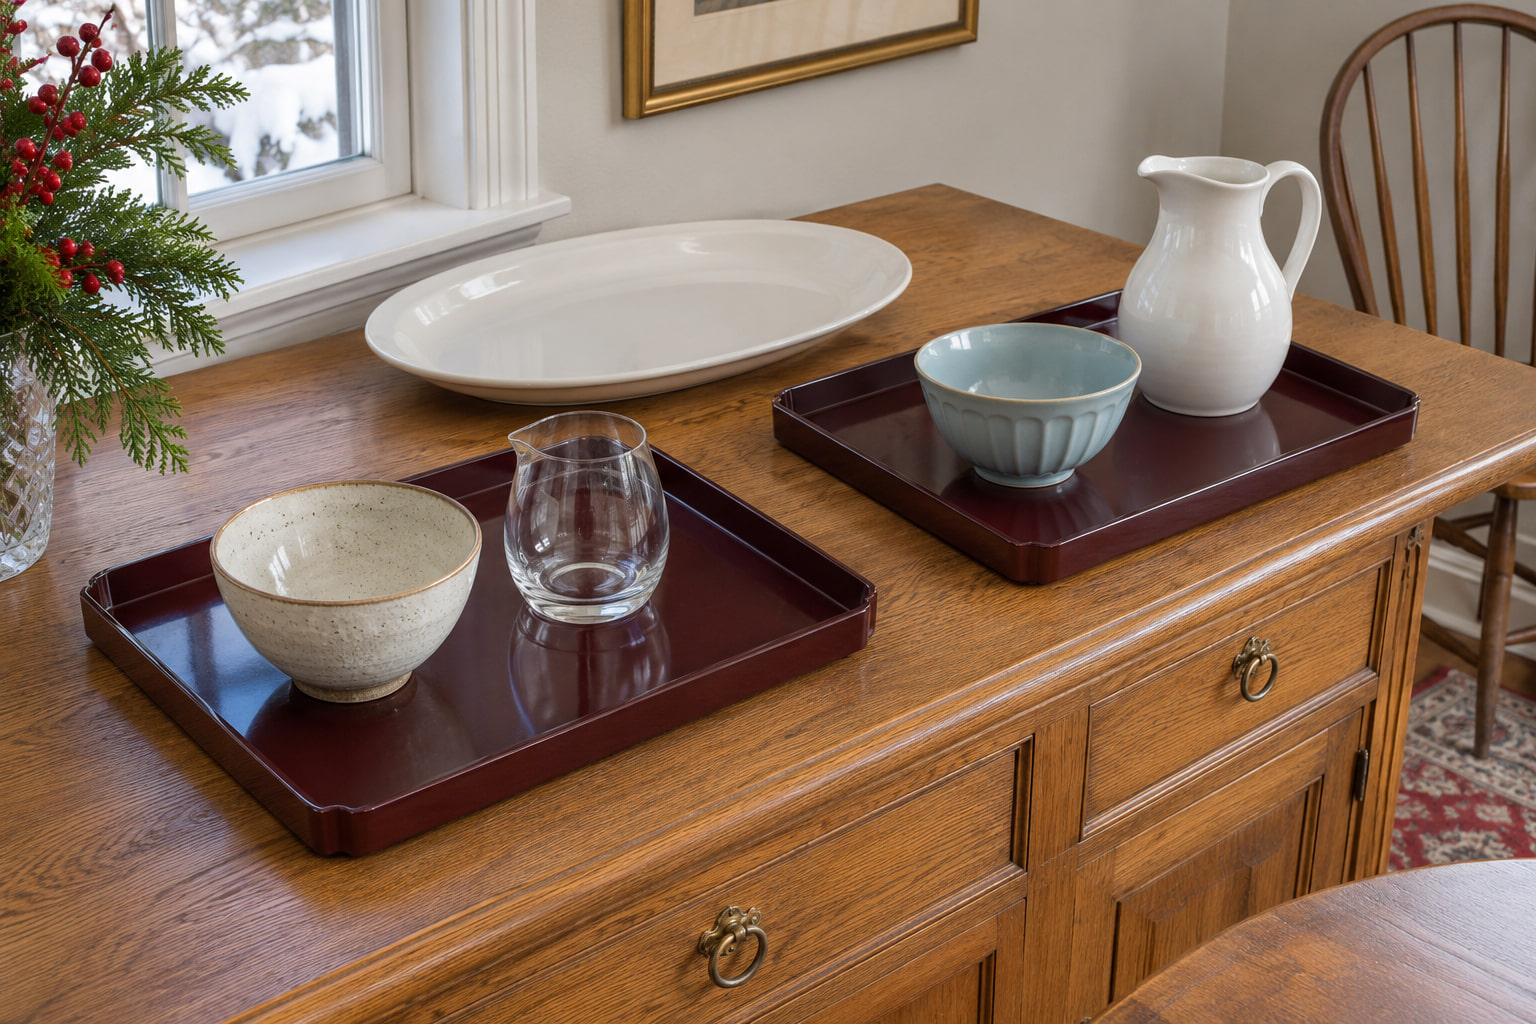
When the useful serving bowls come from different sets, give them a repeated base. Two shallow trays in the same color can make blue stoneware, a white pitcher and a clear glass bowl feel as though they belong together. Pick trays whose inside edges leave room to lift each piece. Put any large platter directly on the sideboard if the tray would crowd it.
Check the rims before you commit. A low rim lets you lift a bowl cleanly and gives a spoon handle somewhere to extend without tilting. Leave some wood or paint visible between the trays. That strip gives each group a recognizable edge and keeps the setup from looking like a single oversized tray crowded with dishes.
21. Let One Festive Serving Dish Supply the Color
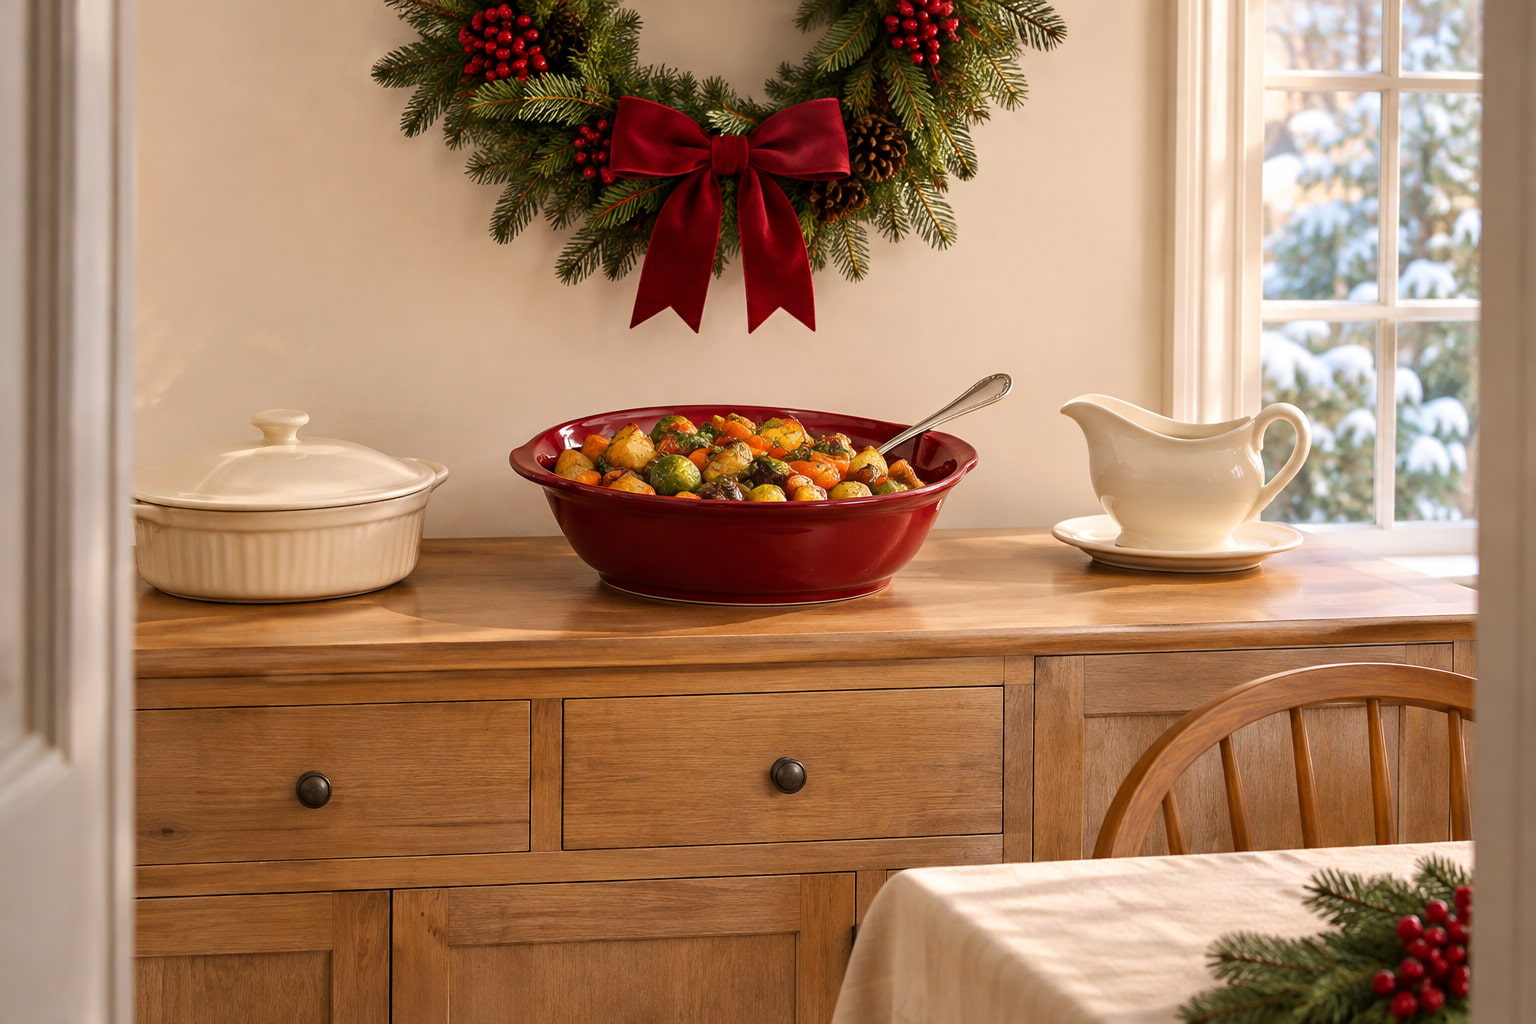
A small buffet can look like Christmas with one piece of serveware you already use for the meal. Try a cranberry-red serving bowl, a green glazed platter or a white dish with a thin holly border. Put it where the shape and rim can be seen from the doorway. Keep the vessels on either side quiet so the holiday piece stands out.
Match the piece to what it needs to hold. A broad red bowl lets a spoon move easily through roasted vegetables, while a shallow platter leaves room for a row of rolls and a set of tongs. If the color is on the rim, fill the dish far enough below that edge for the detail to show.
22. Put Short Ribbon Loops on Closed Sideboard Doors
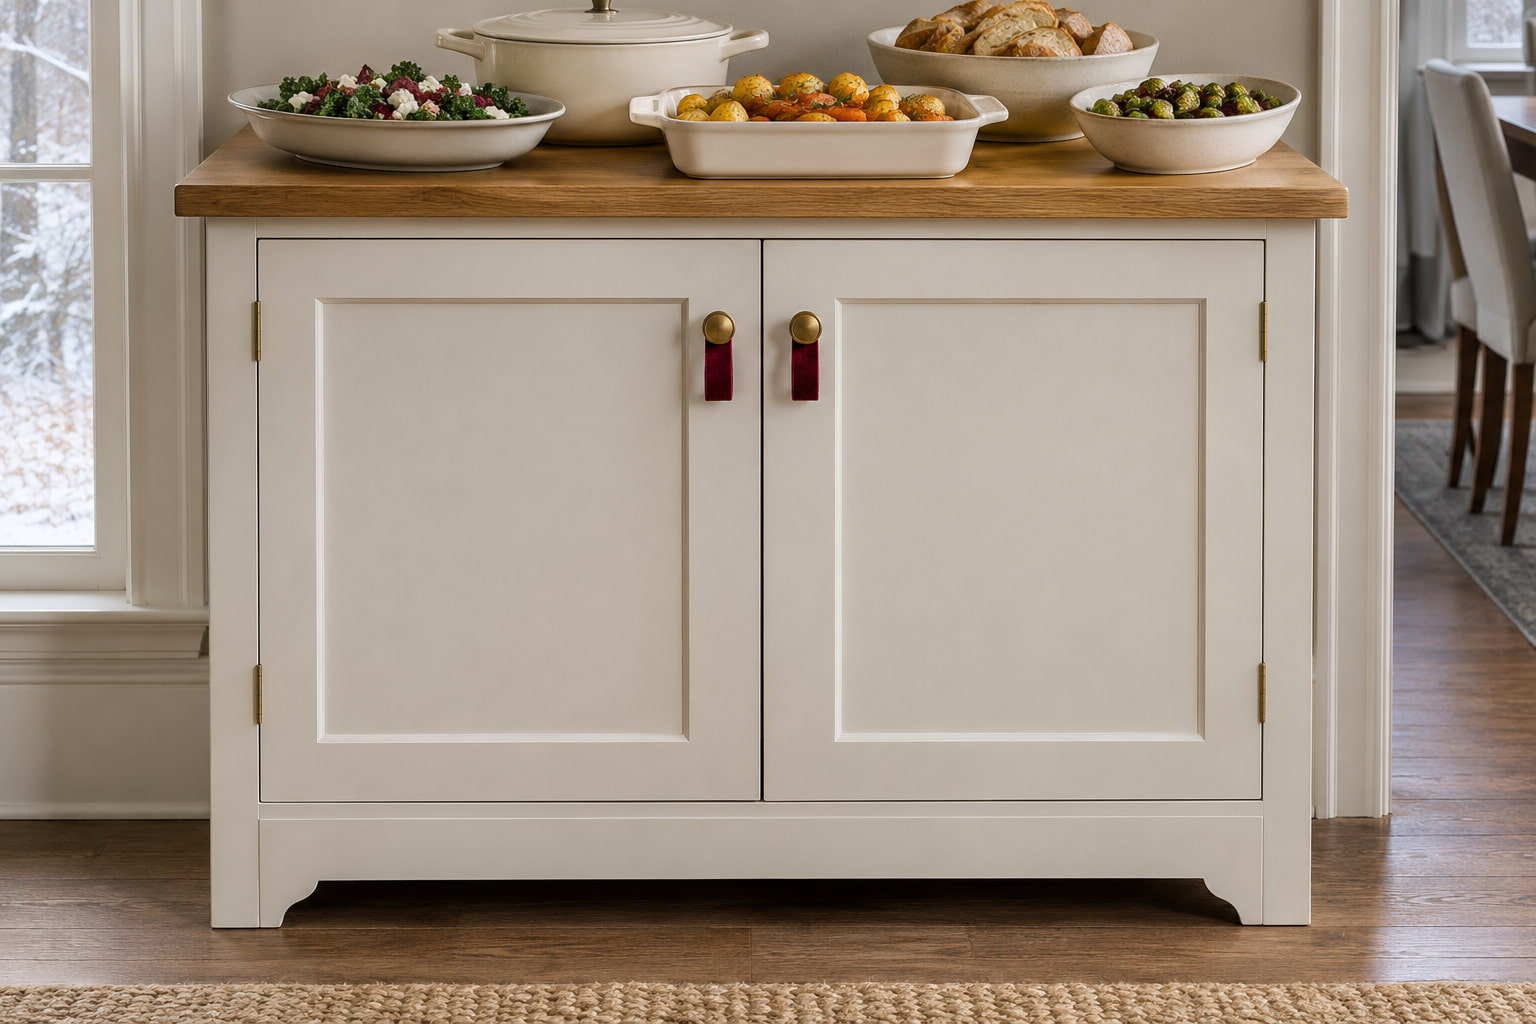
When serving pieces already fill the top, move the ribbon to the front of the furniture. Tie a short flat loop around each handle on a pair of sideboard doors you plan to leave closed. A deep red or fir-green ribbon reads clearly against pale paint and ties the two doors together visually. Keep both loops inside the width of the door panels and trim away long ends.
Check the front from the walkway and from a dining chair. The ribbon should lie flat where sleeves and plates will pass. If you need the doors for dishes or refills, skip their handles. The decoration works best when guests never have to touch it to get to anything they need.
23. Save a Place for the Dish a Guest Is Bringing
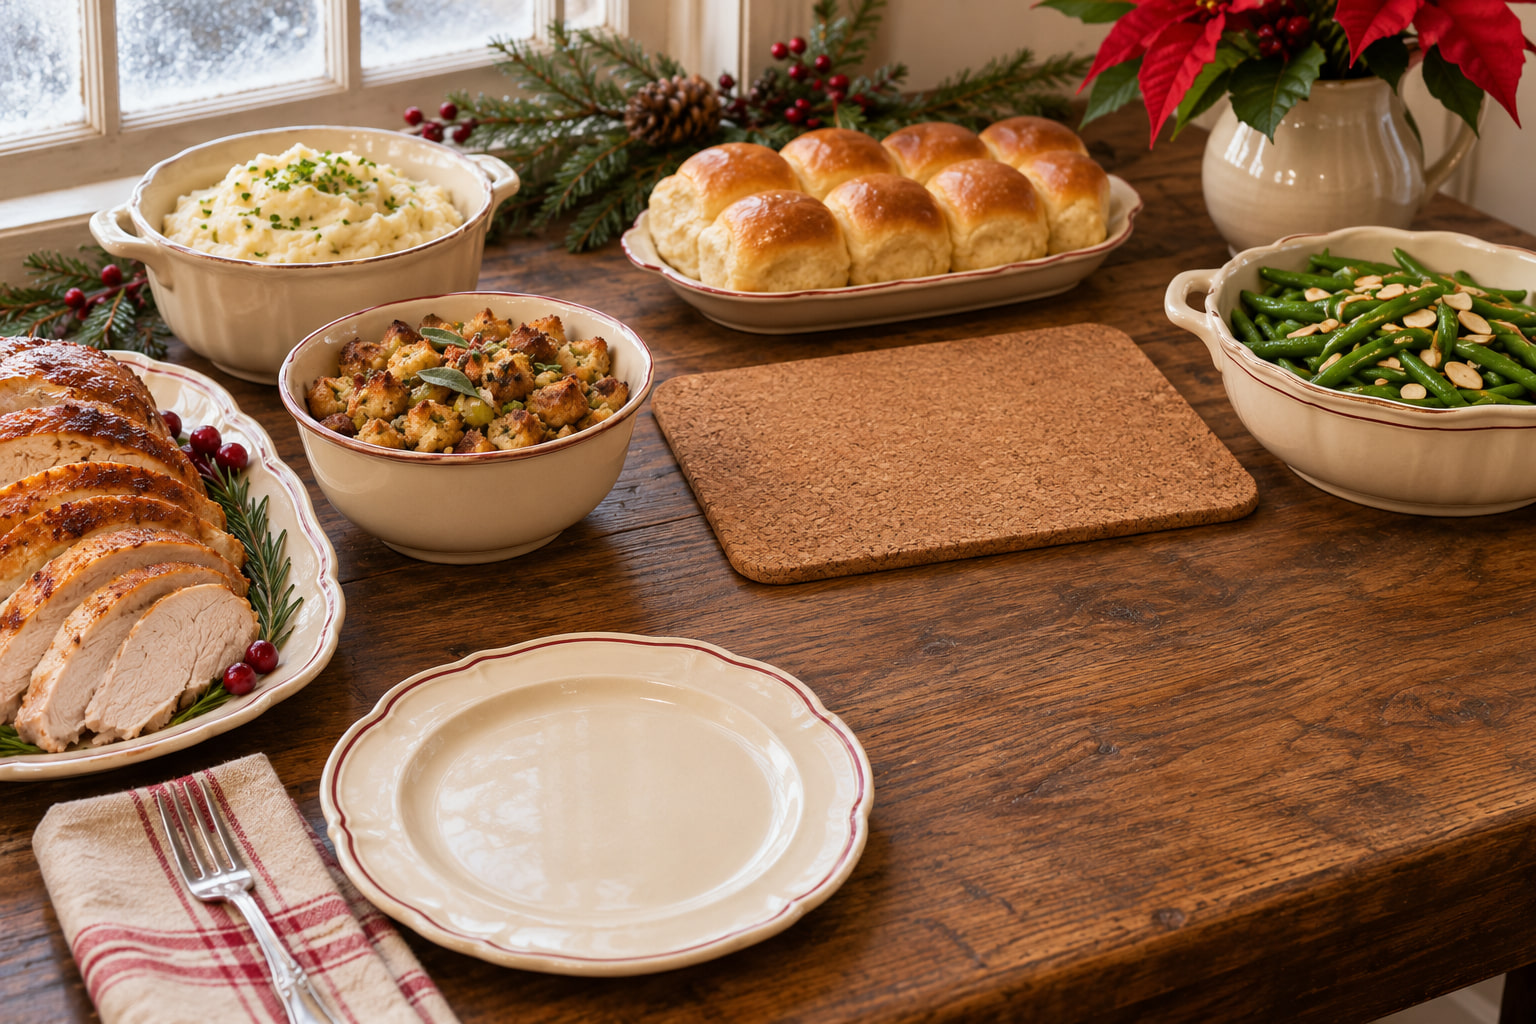
If someone is bringing a casserole or dessert, ask which serving dish they plan to use. A quick estimate of its size is enough to reserve a spot. Set an empty vessel of about the same size on the buffet during your setup, then arrange your own pieces around it. Leave room for the guest’s serving utensil and for a plate to approach the dish.
Take the placeholder away before the guest arrives. Keep a trivet ready if the vessel needs one, and have a spare serving spoon in the kitchen. If the contribution changes at the last minute, you can use the reserved space as a landing patch until you know where the new dish fits.
24. Set Small Plates and Napkins Where Children Can Reach Them
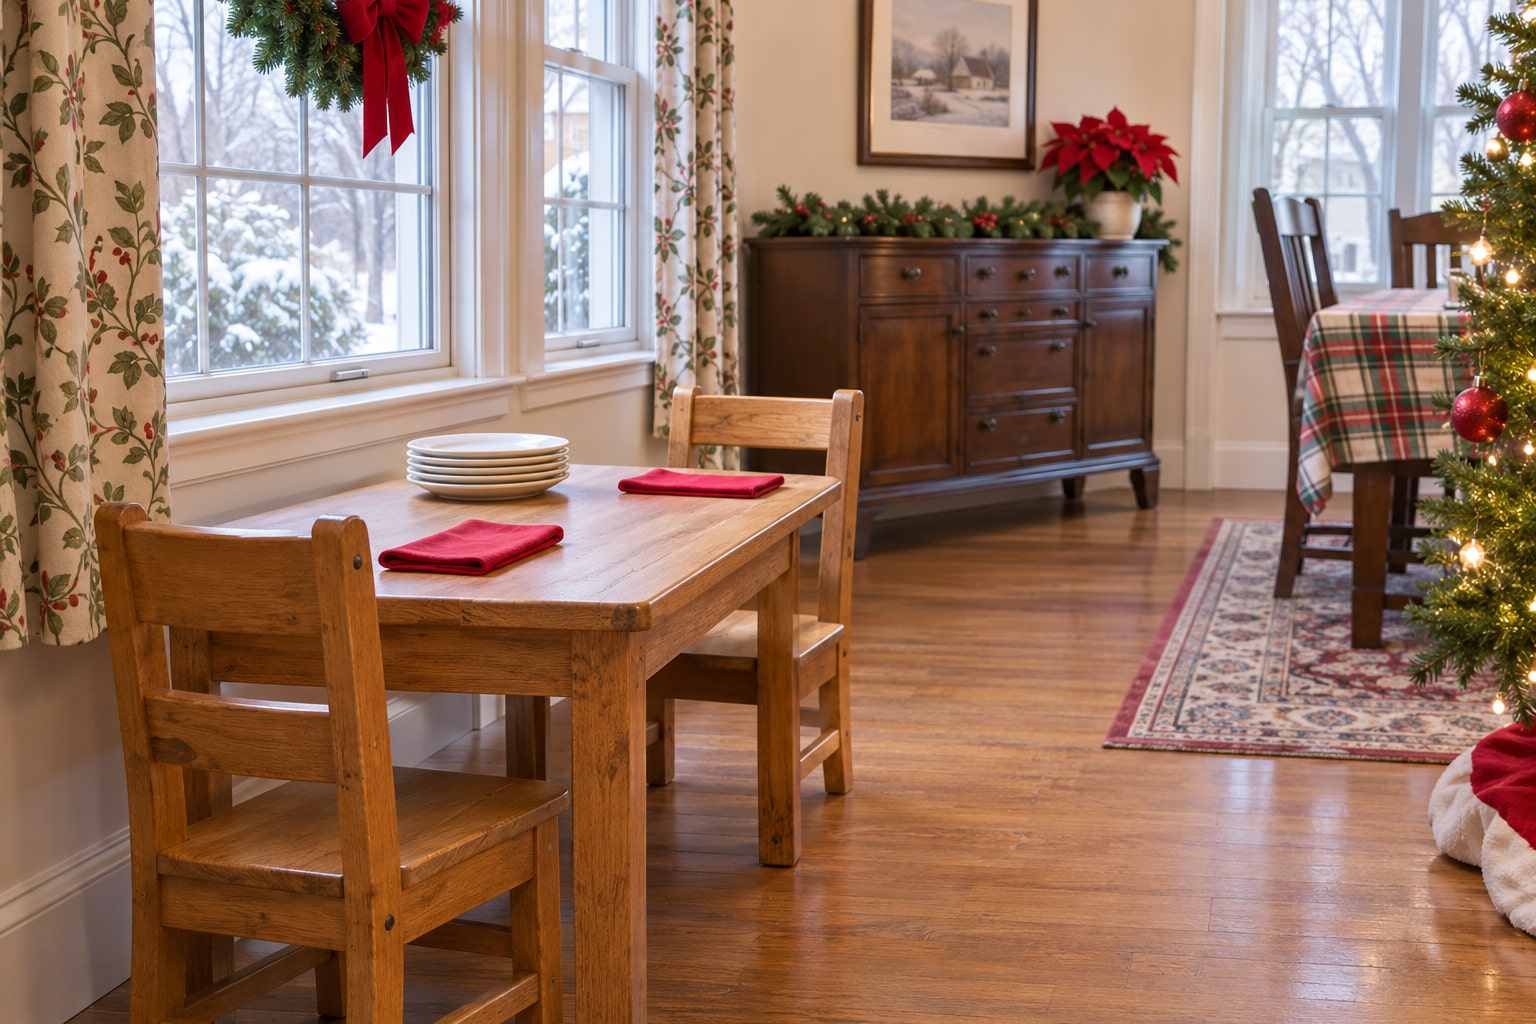
If children are eating at a nearby table, put their small plates and napkins on that table before dinner. Choose sturdy everyday plates they can pick up easily. Keep the stack away from the edge and put a napkin beside each seat so nobody has to sort through a pile while holding a plate. An adult can bring the food over as soon as the children are ready.
Set the table outside the main buffet line, with room for chairs to pull back and for an adult to reach each place. If children are eating at the main table, put their plates directly at their seats. The smaller setup is useful when it saves a trip through the standing crowd.
Choose where guests will start, where they will go next and which surface you can reach for refills. Once those three spots work, try one low holiday detail where there’s space for it. The arrangement is ready when you can walk the whole route with a plate and use every serving utensil without moving the decorations.
Discover more from HomeTrendora
Subscribe to get the latest posts sent to your email.