1. Keep the Last Outlet Inside One Backsplash Surface
At an open end, look at the last outlet before choosing the stop line. A faceplate is easier to seat and looks calmer when it falls wholly on one finished surface. Use a paper strip to compare ending before the plate or continuing beyond it. Give the plate and any profile their own margins so two thin details are not fighting for the same strip of wall. Stand in the adjoining room and compare the proposed endings with the upper cabinet and the working counter. Ask your installer to confirm that the tile thickness and plate arrangement work with the existing electrical box. Have any needed electrical changes handled by a qualified electrician before the tile and trim are ordered.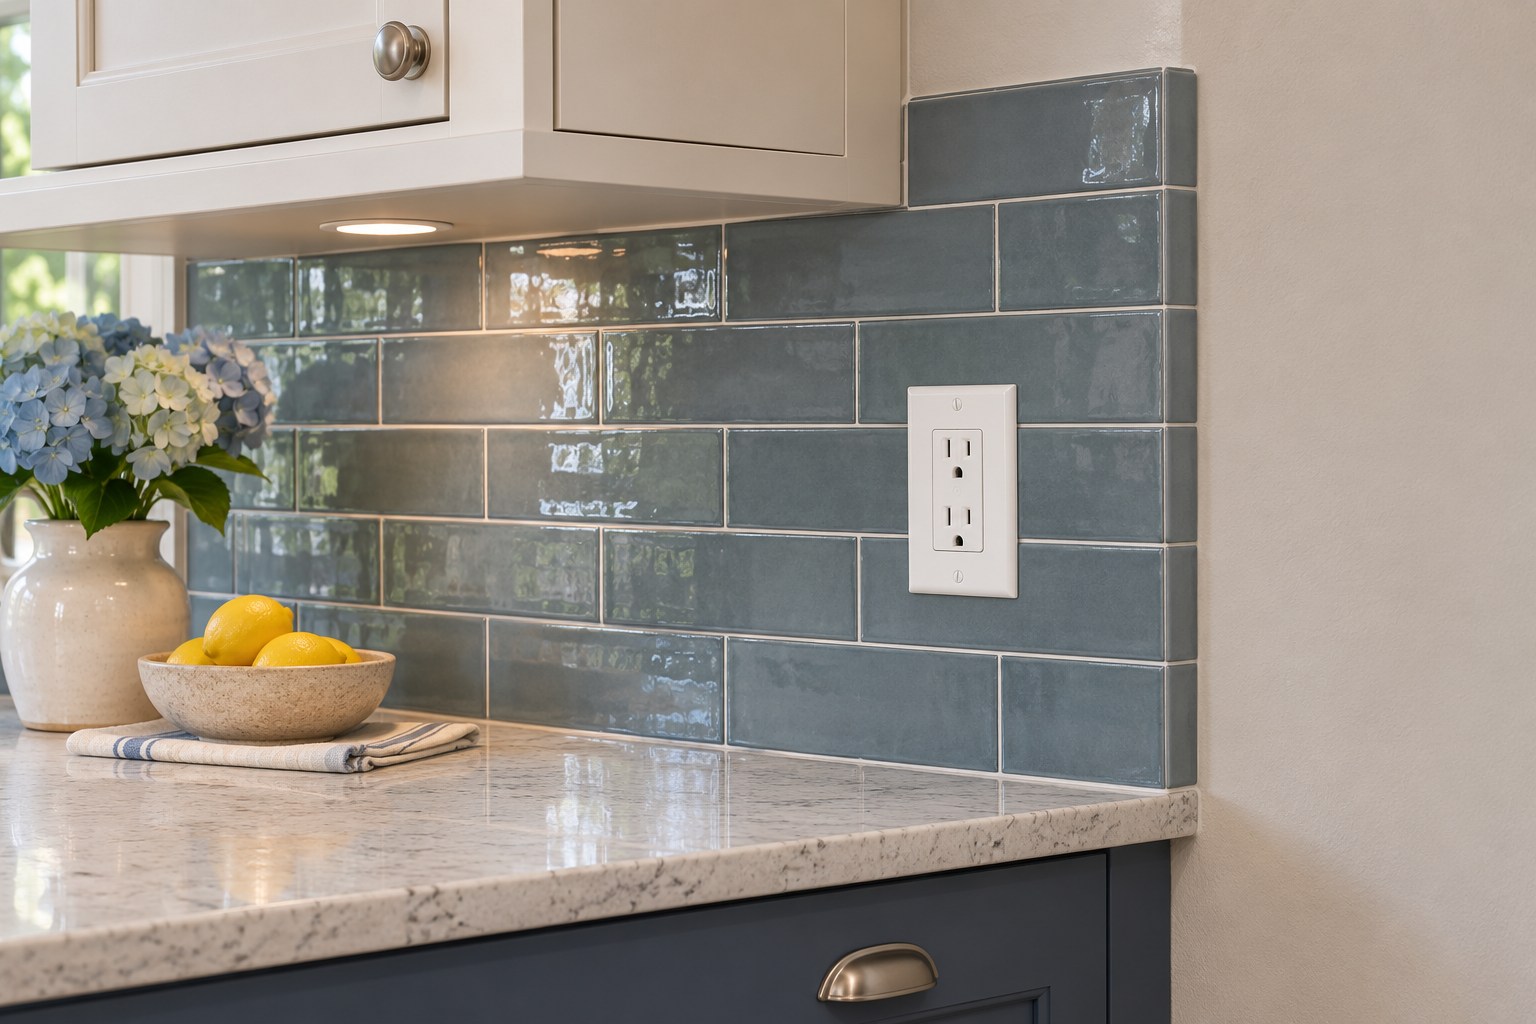
2. Mark the Last Tile Beyond the Working Splash Area
Observe where water and food actually land during normal use. A sink set near the end of the counter may need a longer wipeable zone than a counter used mostly for storage. Mark the boundary after checking how you rinse a pan, set down a wet spoon, and clean the wall behind the faucet. Carry that line over to the material sample. Choose a wall finish for the part beyond the tile that will suit the way the surface is used and cleaned. If a wide grout pattern pushes the end farther than you intended, test a full piece and a cut piece at the end before deciding how to start the row.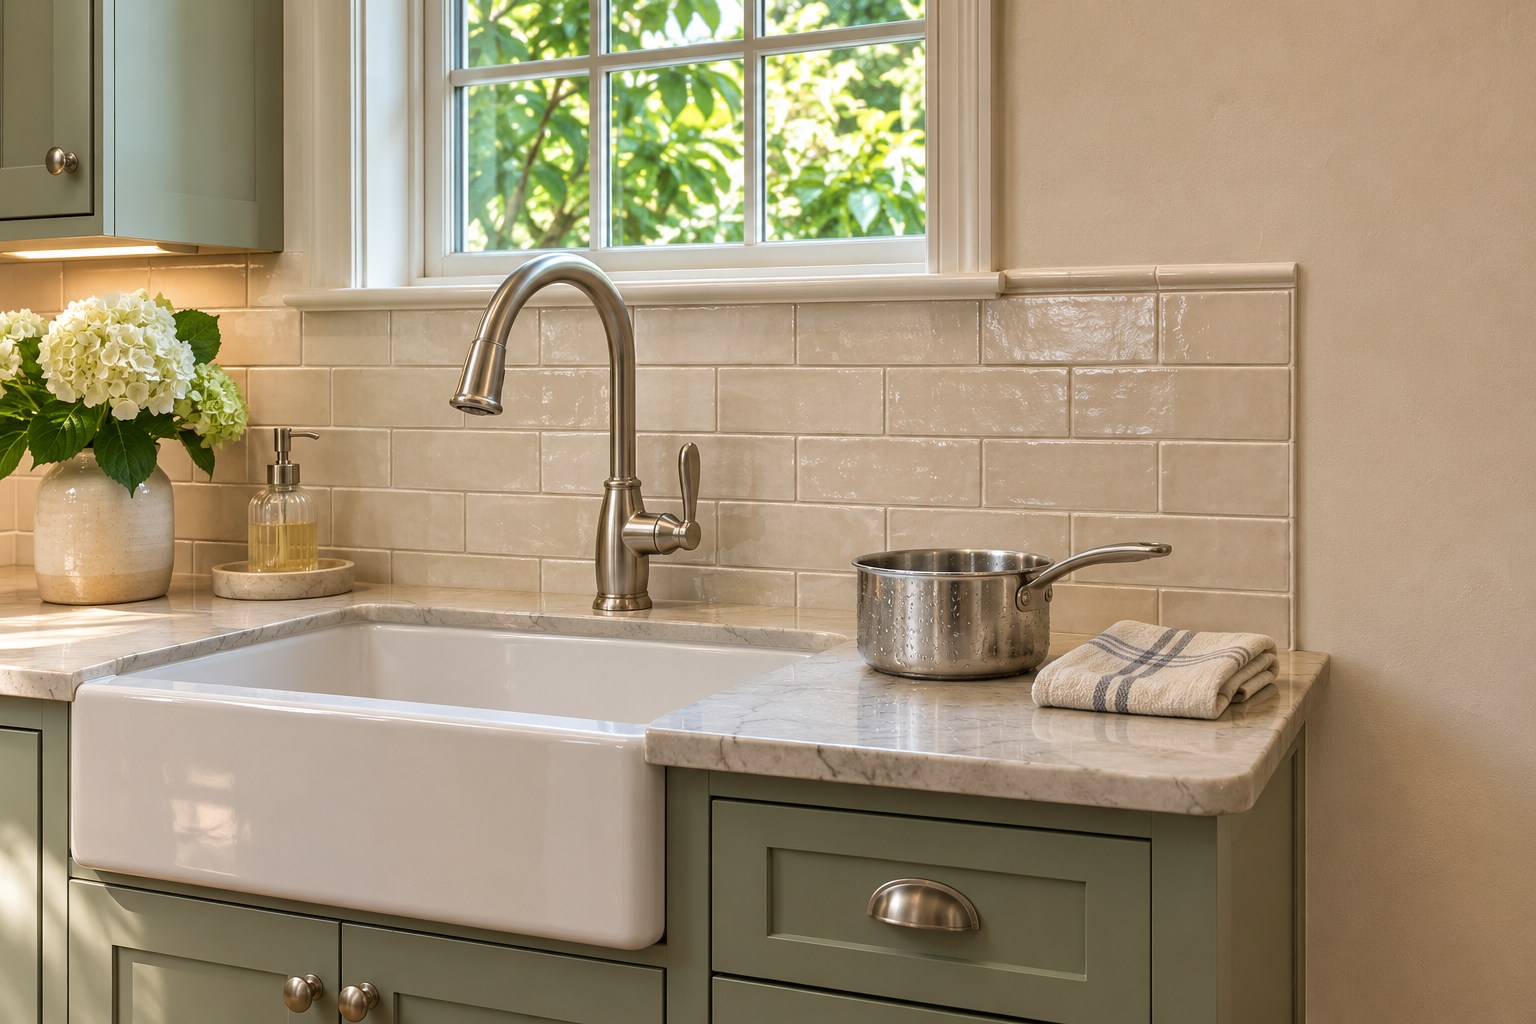
Keep the kitchen refresh on paper
Once you’ve marked the tile edge, write down the wall dimensions and the finishes you still need to decide on. The HomeTrendora eBook PDF, fillable room planner, and Excel budget tracker give you a place to plan those choices and record costs.
GRAB 10% DISCOUNT
Coupon code: HOMETRENDORA10
Use this code at Payhip checkout.
Bonuses included with your eBook purchase.
3. Stop Below a Shelf to Define the Coffee Corner
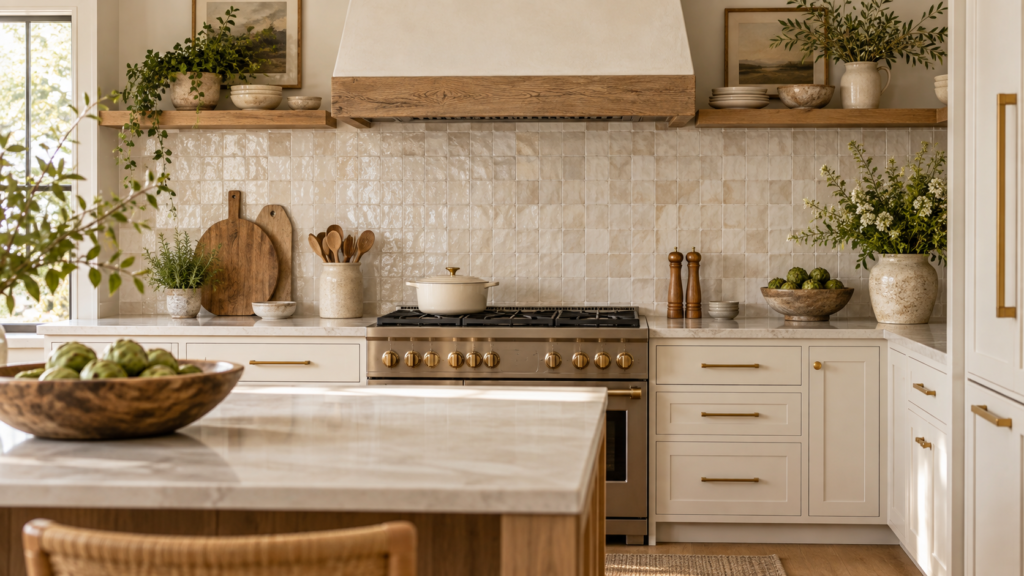
A short backsplash can give a small coffee corner its own width. Let the counter and the section of wall you wipe define that width, then use a single shelf above as a quiet upper boundary if it fits the equipment. In a light kitchen, handmade cream tile with a fine brown joint can sit comfortably below a warm oak shelf. Put the coffee maker in place before measuring. Allow the clearances the appliance needs to open, vent and be cleaned. Set out the cup you’ll use and see where you rest a spoon. A short strip of tile starts to feel purposeful when it covers that same spot from the counter to the shelf line.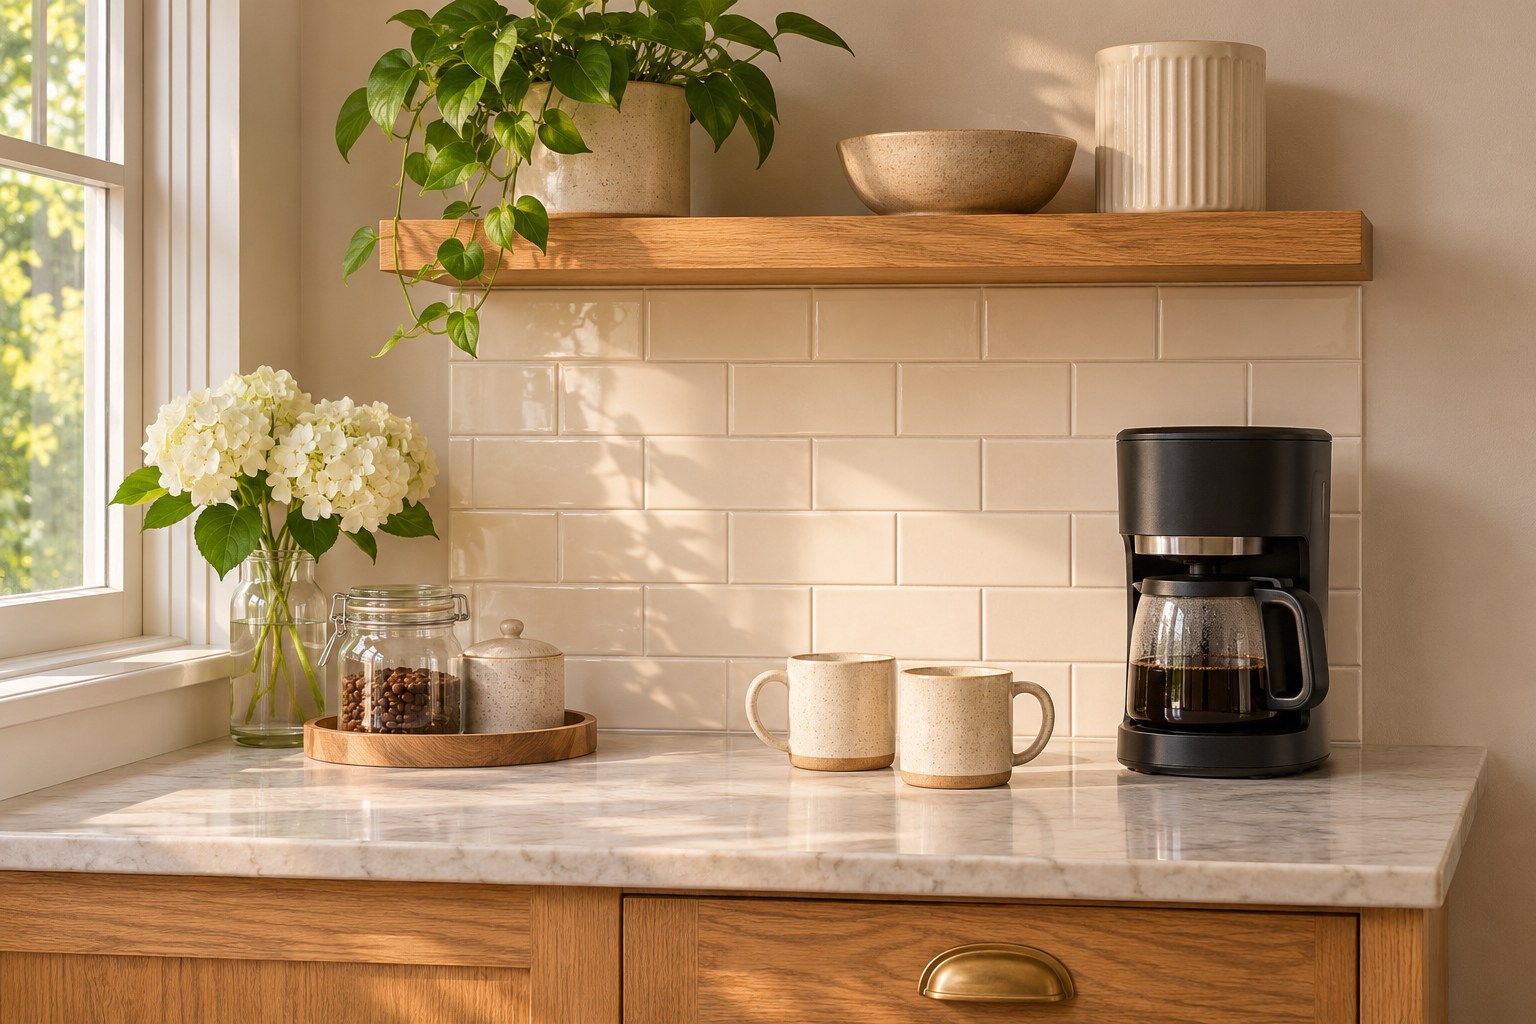
4. Give a Narrow Galley One Clear End Line
In a galley you often see the wall obliquely from one end. Test a single straight termination that runs from the counter to the top edge of the tile. An offset pattern can run up to that line and finish with cuts inside the field. The last outline should be legible from the hall. Use two or three actual-size paper tiles to compare cut widths near the end. A wider final piece is usually easier to read than a row of thin slivers. If both sides of the galley are visible from the next room, compare the two boundaries while standing there. The lines can relate without requiring both counters to have the same length or use.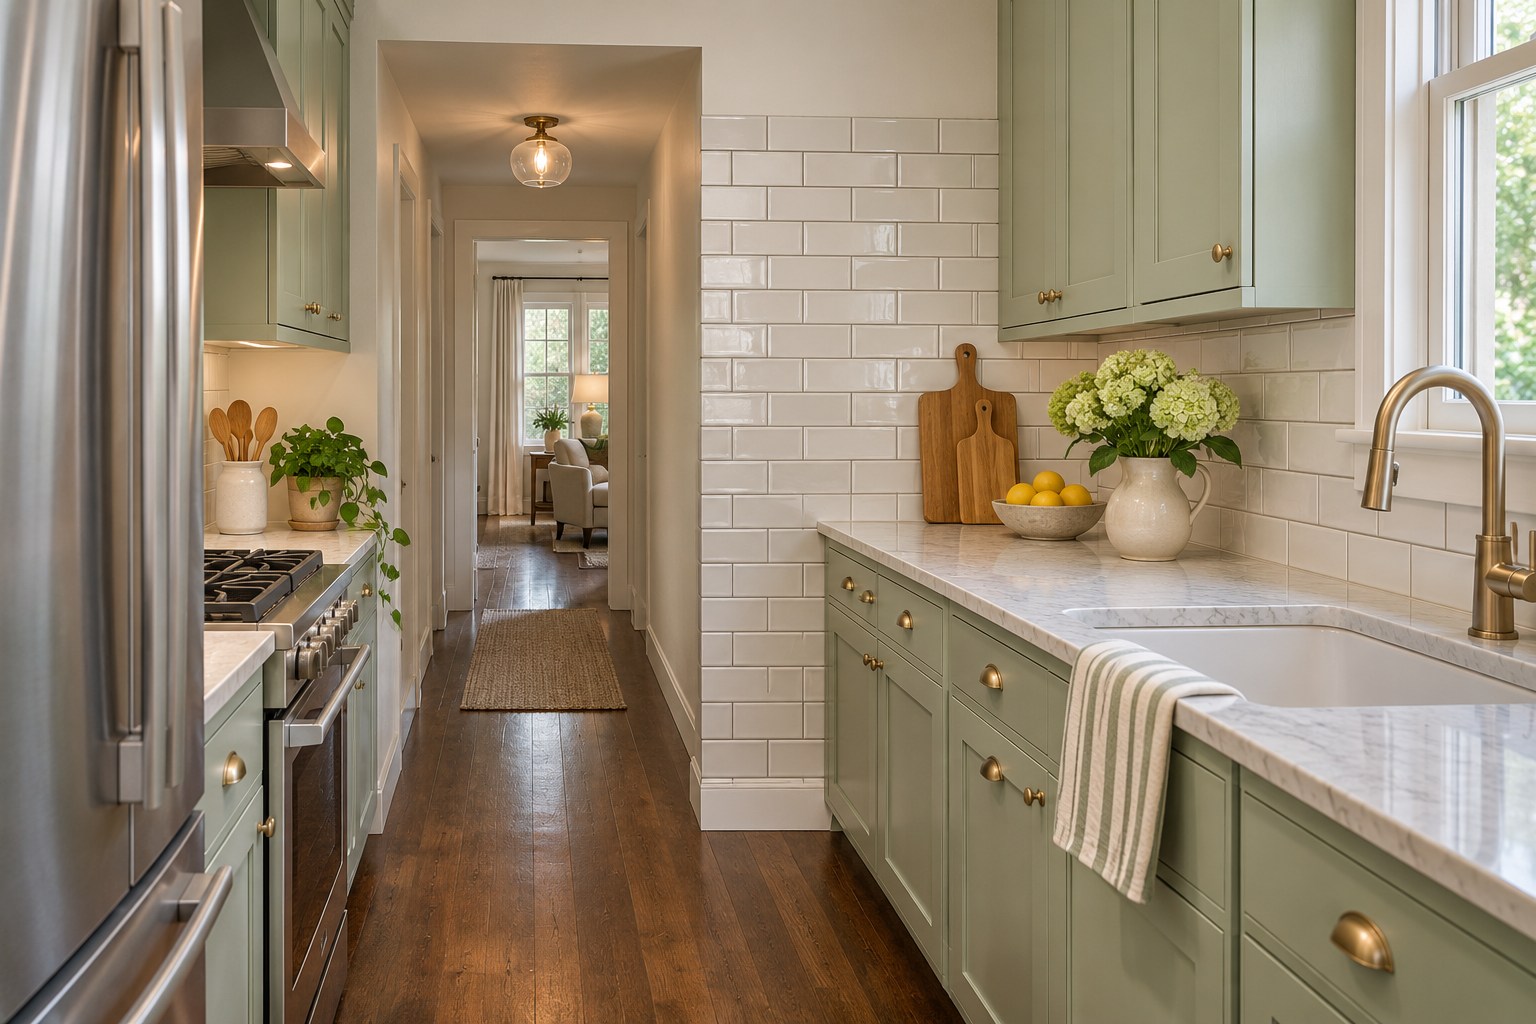
5. Use a Slim Metal Profile at the Exposed Tile Edge
A metal profile can give an exposed ceramic or porcelain edge a narrow, even border. Bring a piece of the actual tile to the profile display. Compare its face and thickness, including any irregular height at the edge. The profile should be sized for the tile and installation system. Check the manufacturer’s guidance and have the installer dry-fit the parts before ordering the run. Try silver and soft brass beside the cabinet pull, then look at each from the doorway. A polished edge can make a line stand forward. A satin one usually lets the tile hold the attention. Look at the return or top edge too if you want the finished line to turn the corner.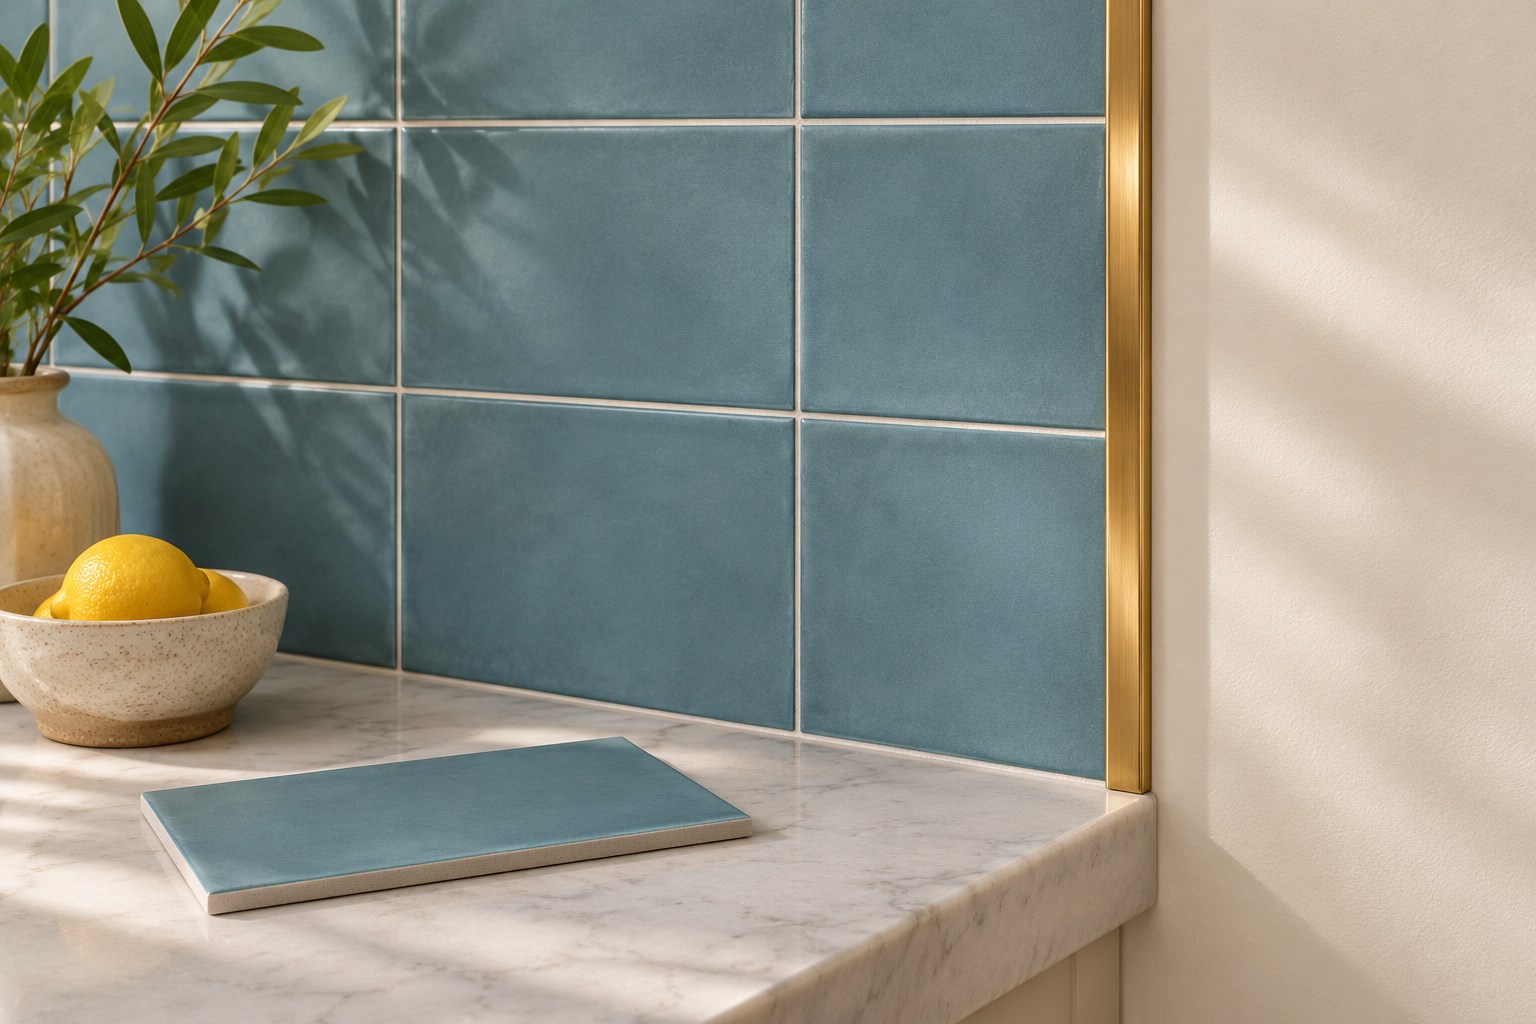
6. Choose a Glazed Factory Edge for Textured Ceramic
For softly uneven ceramic, ask whether the range includes a glazed edge, finishing tile, or coordinating bullnose. Hold it against a full piece to see how its color, thickness and surface variation compare. The visible end is part of the field, so the side you expose should have a finish intended to be seen. Lay a run of two or three pieces on a table and see whether the finishing piece follows the rhythm of the panel. One clay tone, a pale joint, and a restrained curve can keep the interest with the ceramic surface. The neutral kitchen backsplash guide can help when you’re still choosing the field tile.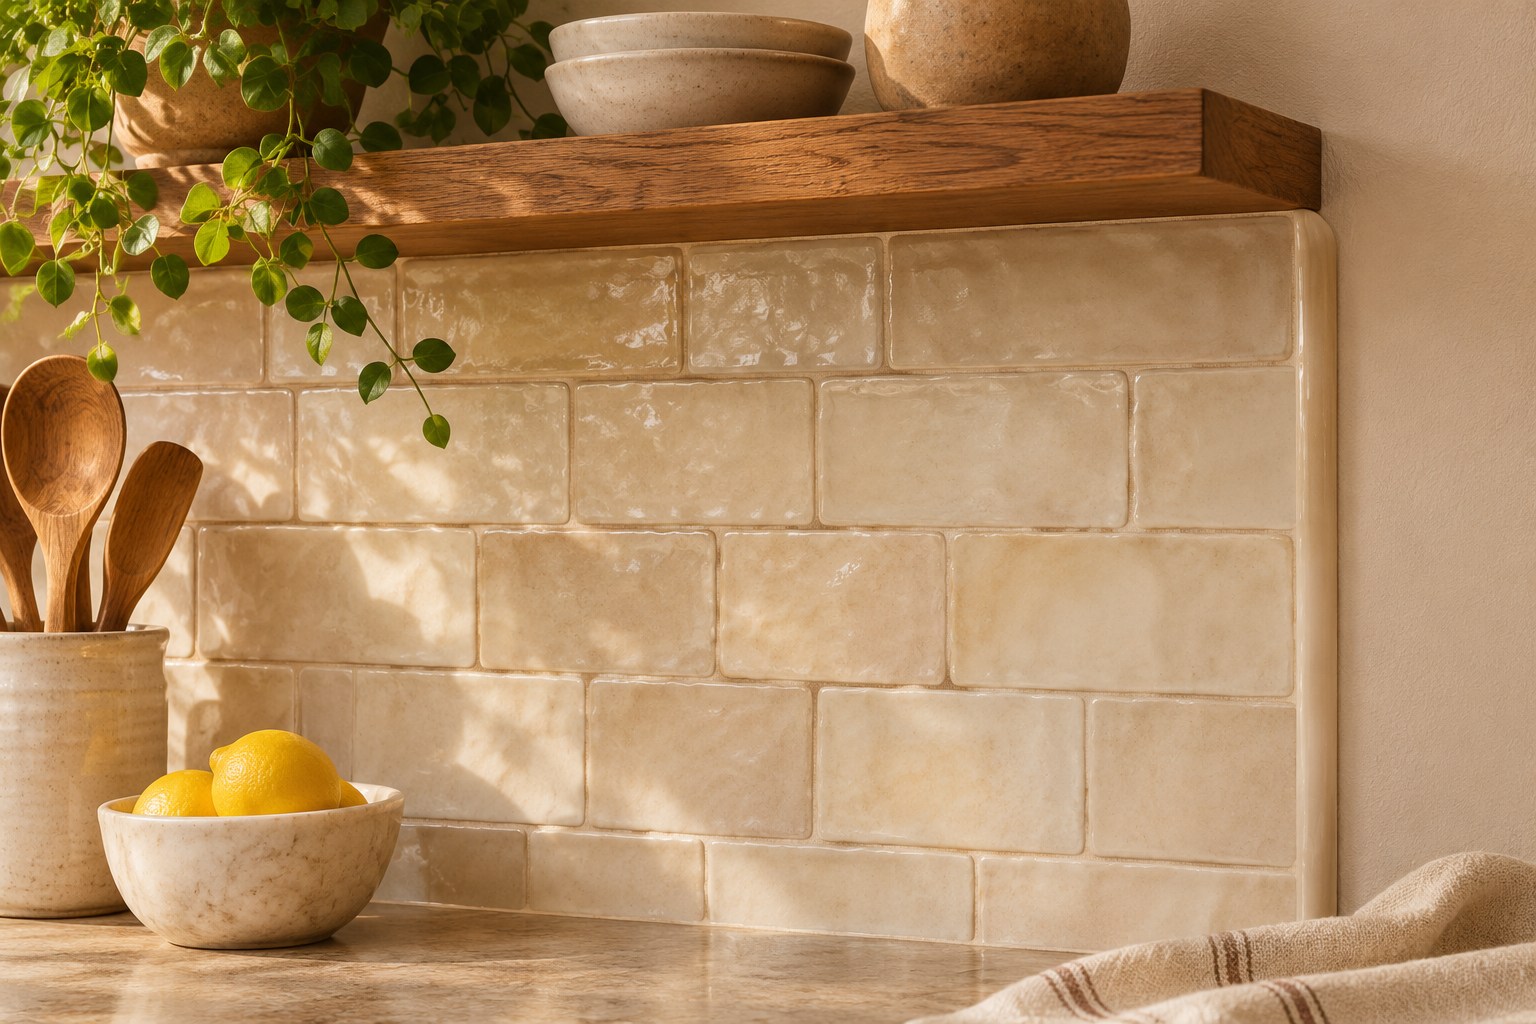
7. Give a Short Inside Return Its Own Reason
A small run beside a sink can turn a short distance onto a perpendicular wall. Decide what that extra piece will protect and where the new exposed edge will land. The next wall should have enough width for a useful piece and a clear finish. A narrow return created only by the cuts can look accidental. Compare how the joints read around the turn with the actual tiles in hand. Leave the appropriate compatible joint where the two walls meet, following the tile system and installer’s details for the change in plane. Once the corners are accounted for, the return can look like part of the same backsplash while serving its own patch of wall.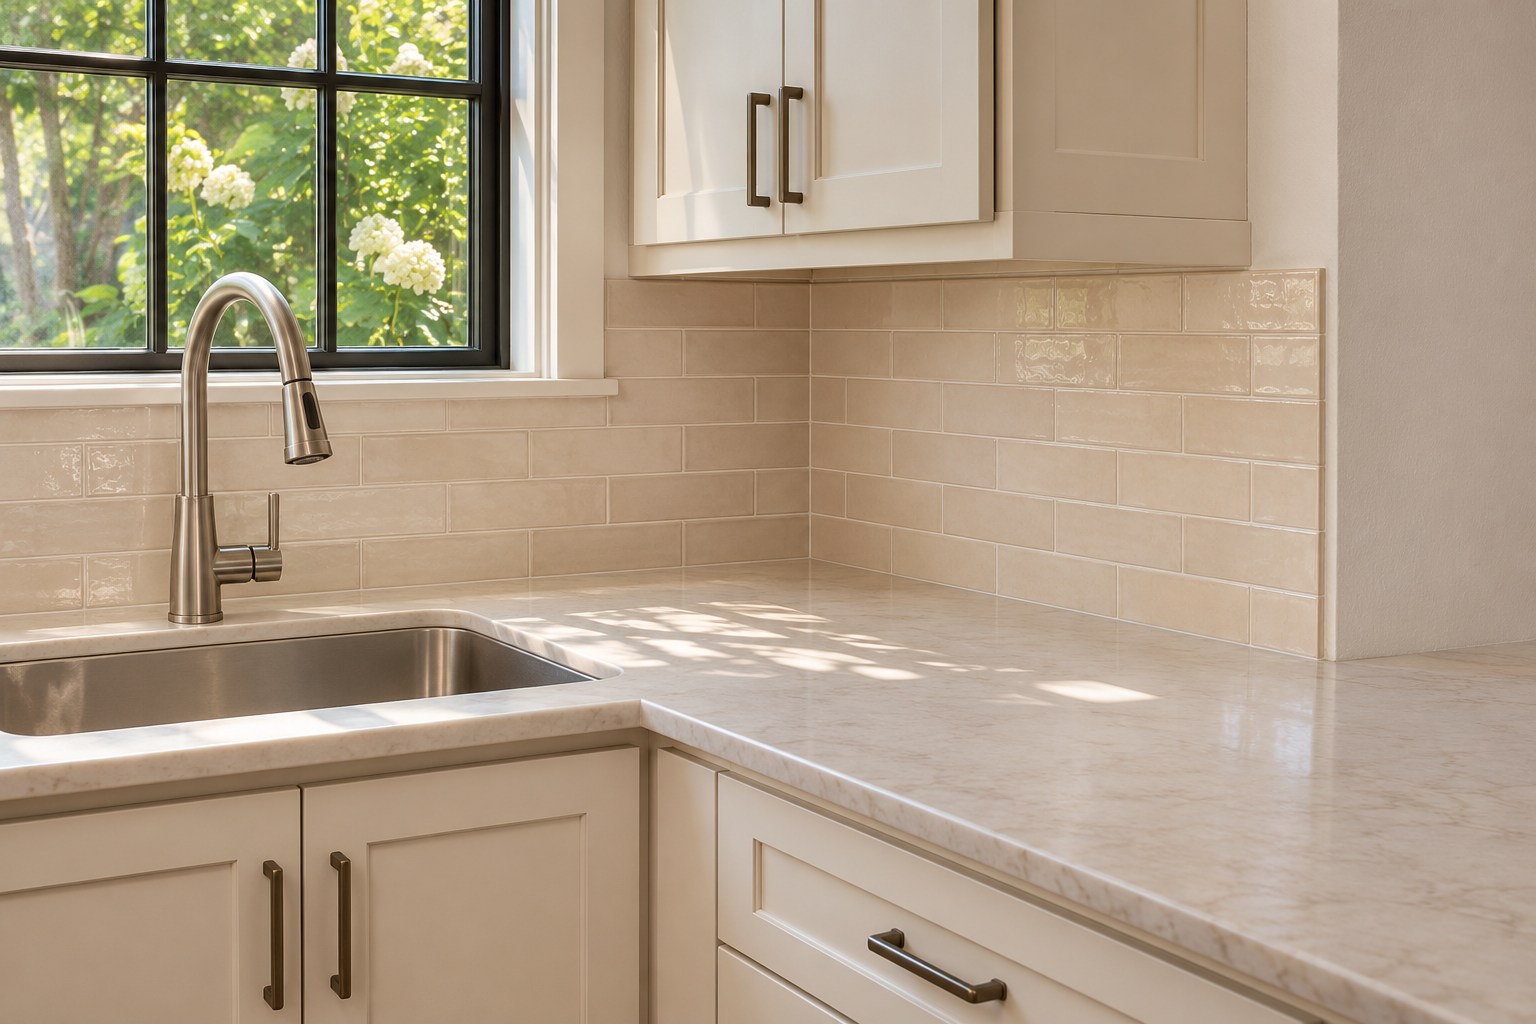
8. Match a Paint Transition to an Open-Plan Wall
When the tiled wall continues into a dining or living area, compare the paint against the tile at the stop line. A paint color with a related undertone can make the tile feel as if it belongs to both views. Choose a suitable wall finish for the conditions beyond the tile. Put a paint sample on a movable board close to the proposed location. Stand where you usually enter the kitchen and then sit in the adjacent room. If the dark edge profile becomes the first thing you see from each spot, try a quieter metal or a companion paint color. These north-facing kitchen paint ideas offer additional tests when the wall cools through the day.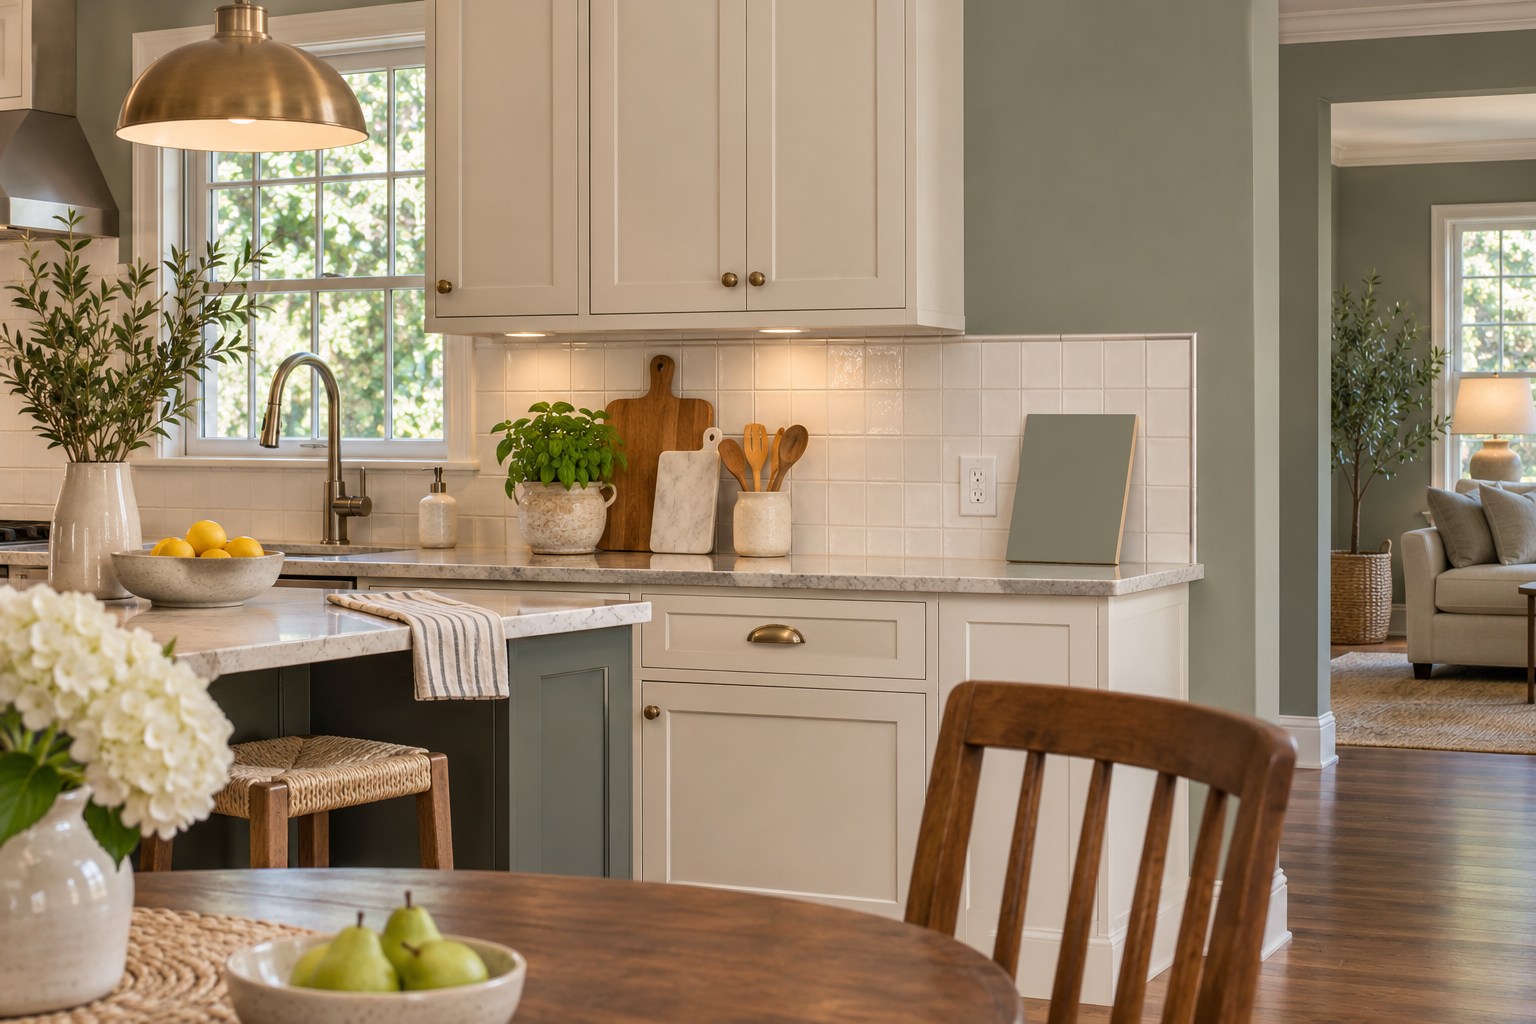
9. Finish at a Tall Pantry Side With a Clean Vertical Joint
A tall cabinet can serve as a clear boundary without a visible strip running up the open wall. Look first at the cabinet side, door swing and any applied panel. Bring a sample of the last tile up to the side to see which line is actually straight and visible. Have the installer detail the joint for the two different materials. Double-check the view from across the counter. Leave the full operation of the door and handle in view, and coordinate any cabinet fillers before finishing the wall. A tall pantry at the end of a peninsula or run can bring several lines together. The kitchen peninsula guide helps with the larger layout around it.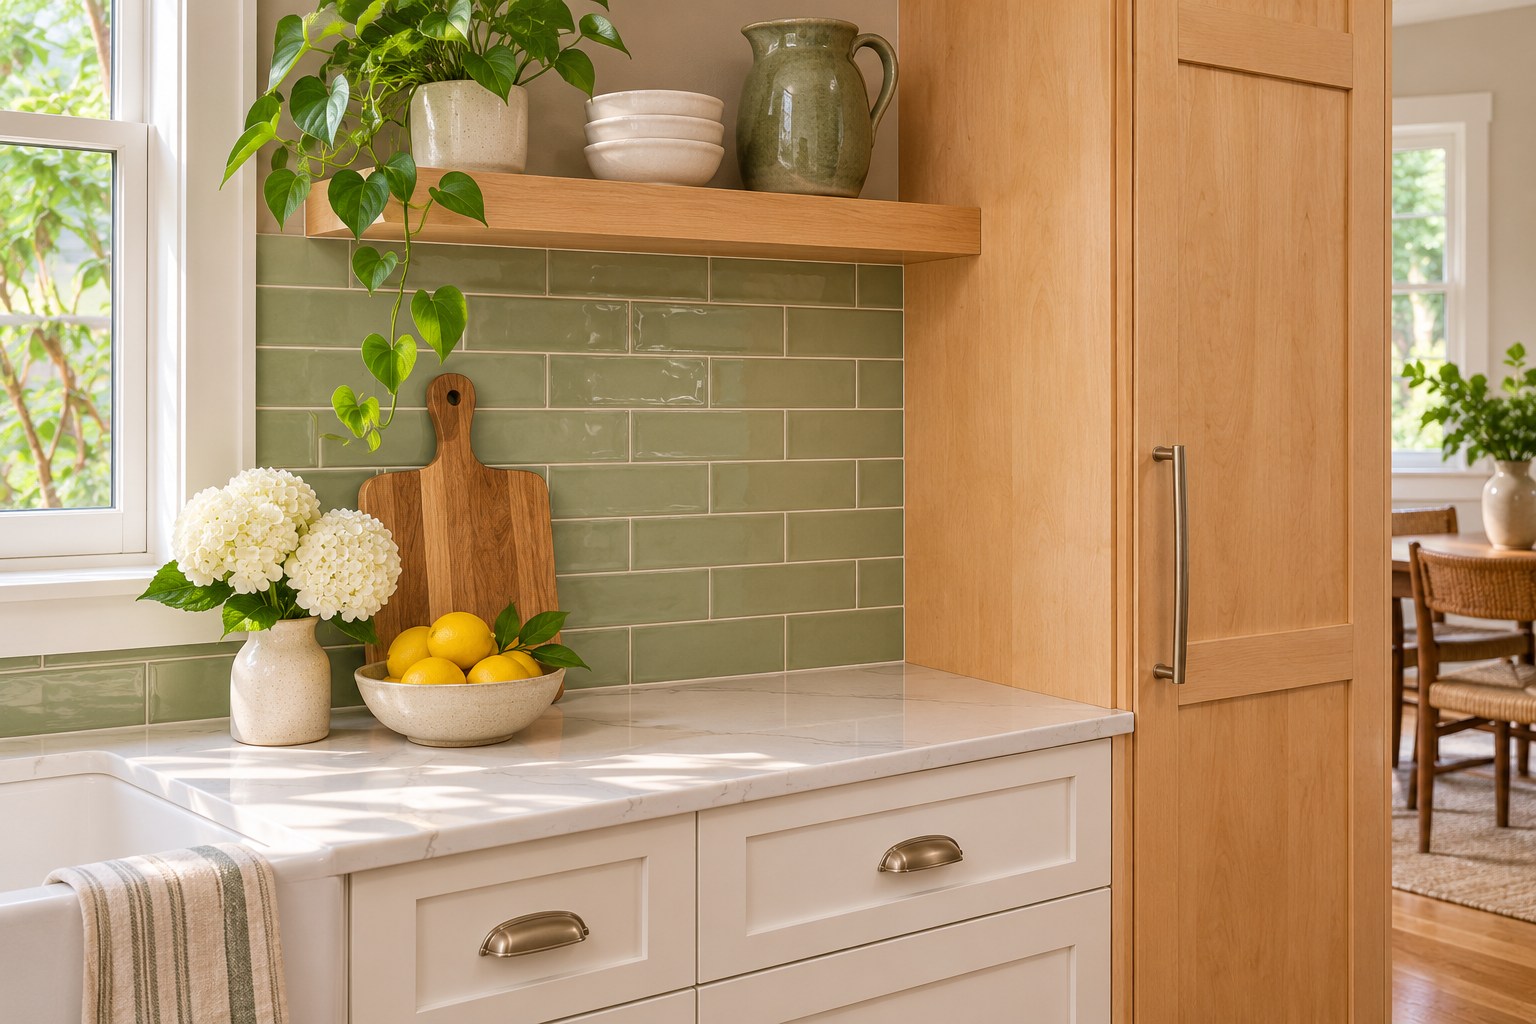
10. Resolve the Row Where the Tile Meets a Windowsill
Look at the sill from the sink and from a place farther back in the room. Decide whether the last full row can line up with the bottom of the sill or whether a shorter cut belongs there. A tiny irregular strip under a prominent window is more likely to be seen than a modest cut in an ordinary part of the backsplash. Open the window and check the trim and any water-management details before changing the finish. The sill, edge trim, and tile need a considered transition that fits the materials and preserves the window’s normal use. Surface sealants and fillers should follow the installation and window manufacturer’s guidance for the location.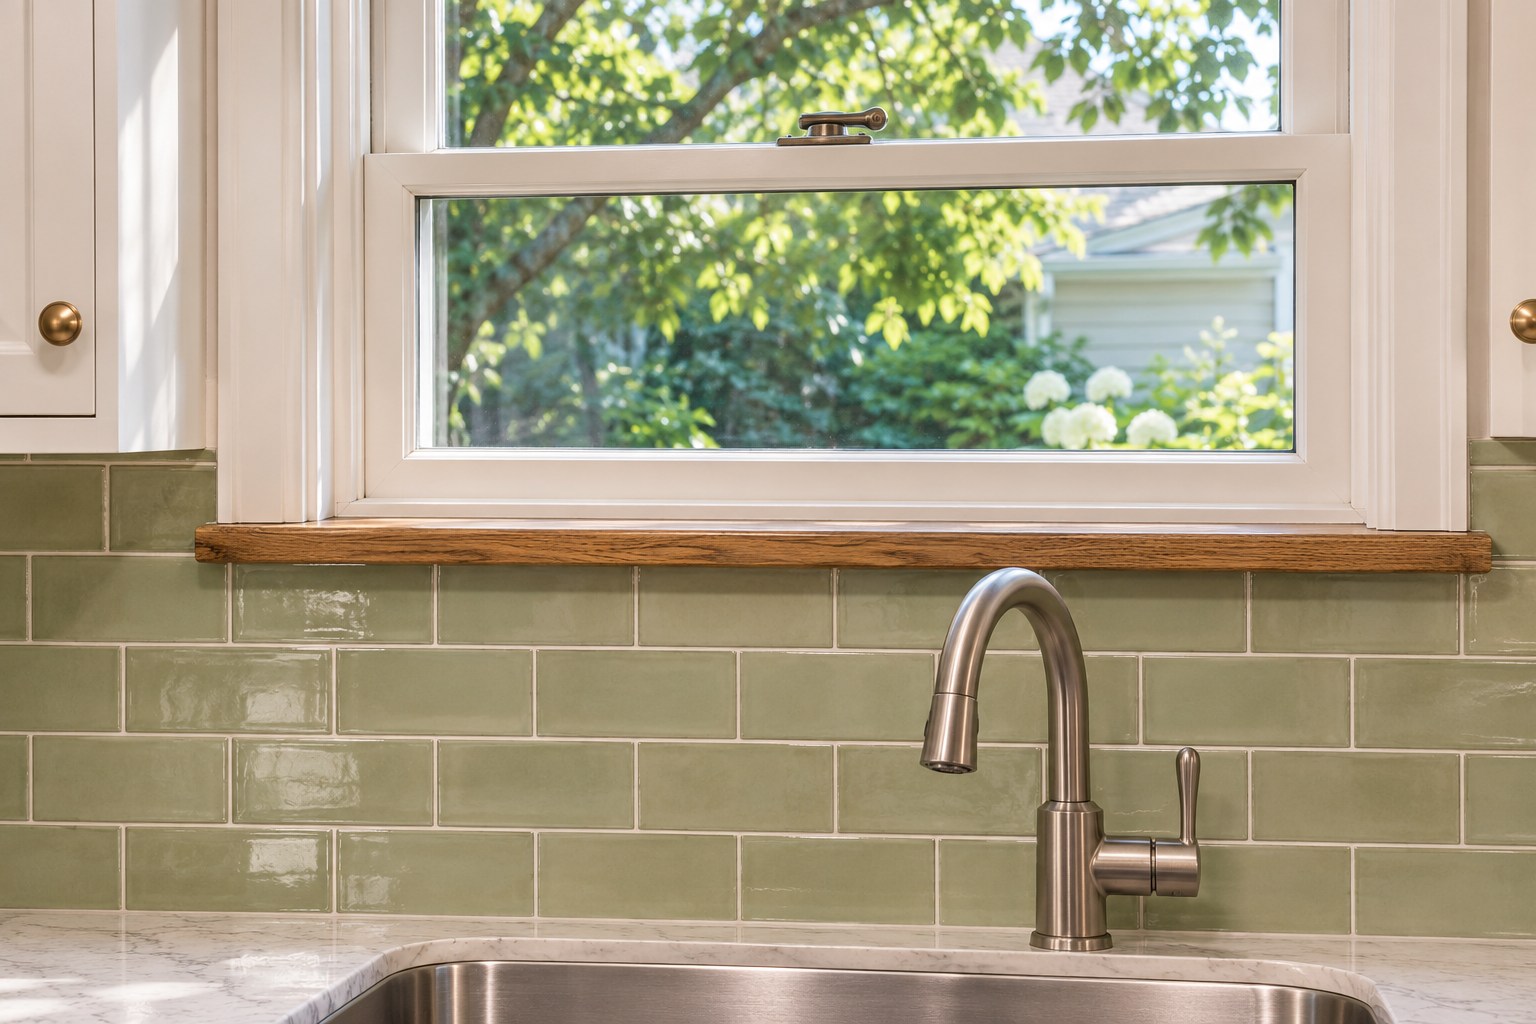
11. Use a Compatible Strip for a Thin Peel-and-Stick Tile Edge
A lightweight surface trim can finish the visible end of a compatible peel-and-stick tile. Compare its shape with a spare section of tile on the surface the adhesive system calls for. The lip should cover the visible edge without leaving a ridge that catches when you wipe the wall. Follow the tile and strip directions for preparation and approved locations. Measure the whole straight run, then cut a short offcut to check how the strip meets its end. Keep the detail for a dry, suitable area within both products’ use limits. A heavier ceramic tile or area exposed to heat can require a different edge system selected with the material and location in mind. This white peel-and-stick strip comes in a 10-foot roll for a compatible thin backsplash edge. Compare its width against an offcut and follow the trim and tile directions for the surface and location.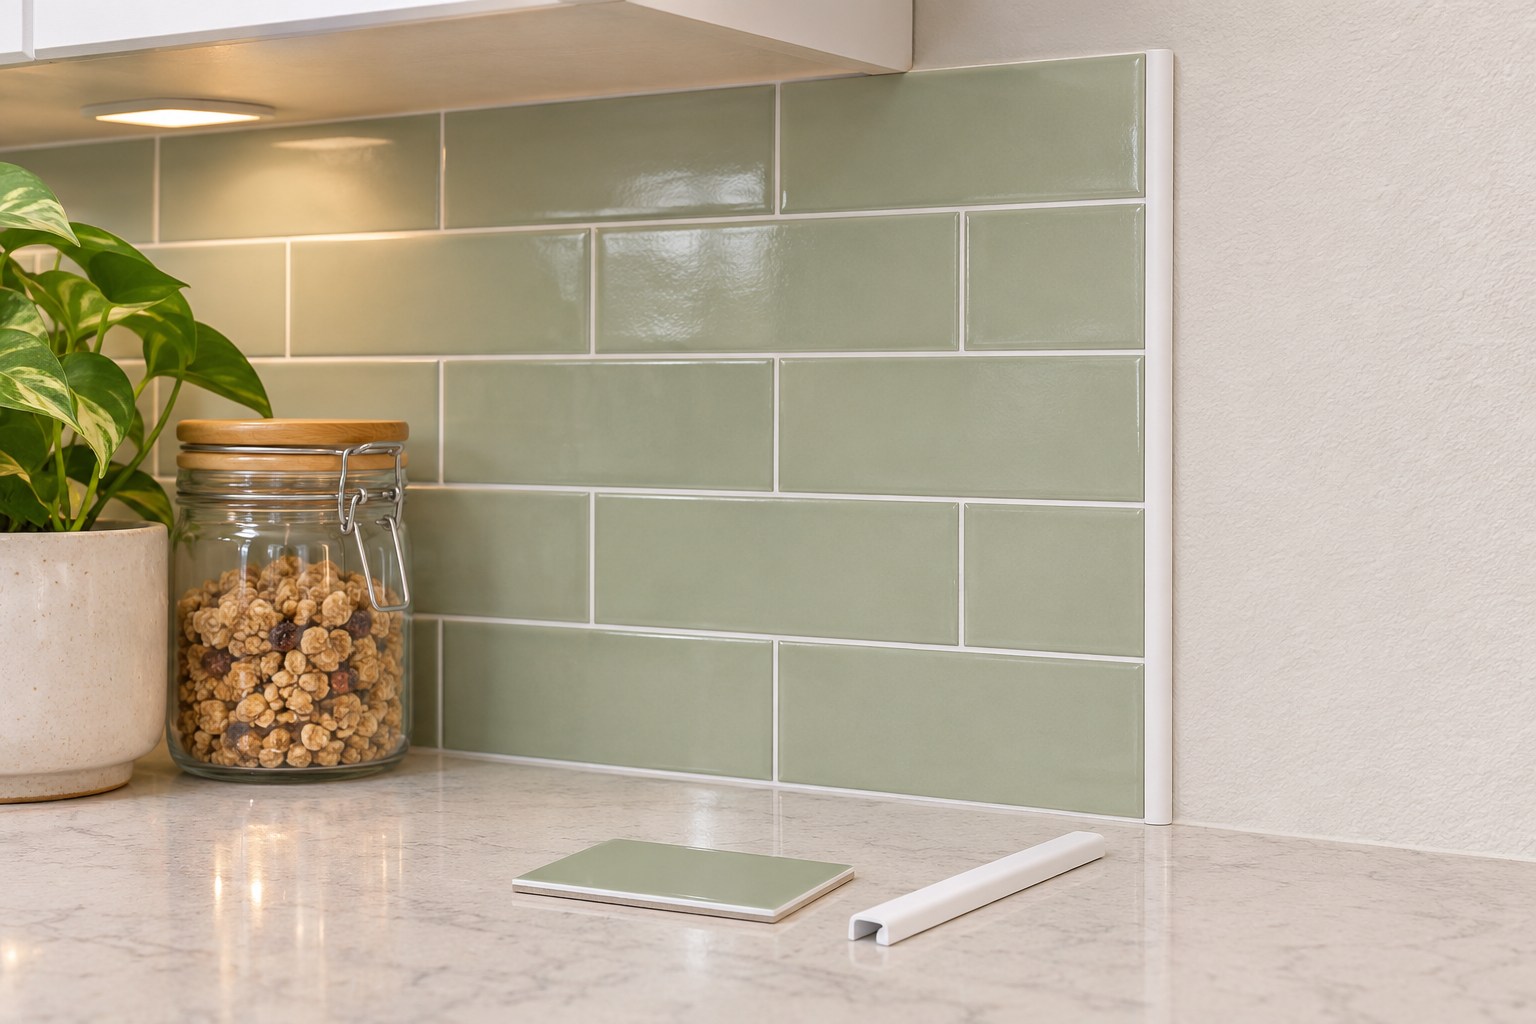
See the peel-and-stick edge trim(paid link)
12. Test the Last Tile and Edge Finish Under Evening Light
Hold the final tile and profile beside the place they’ll go. Look from the doorway in daylight and after switching on the under-cabinet light you’ll use. A relief pattern or shiny metal can throw a visible shadow at the end. Check how much of that detail remains when there are plates or ordinary kitchen objects on the counter. Try rotating the sample or comparing one quieter profile before you change the wall color. Shoot a photo from the dining side if you can see the edge from there. Once the line makes sense in both lights, record the exact tile, trim, and ending position so your installer can start from the same decision. The edge should look like part of the working kitchen from the sink and like a deliberate line from across the room. Settle the location first, then choose a finish that belongs to the tile and the surfaces around it.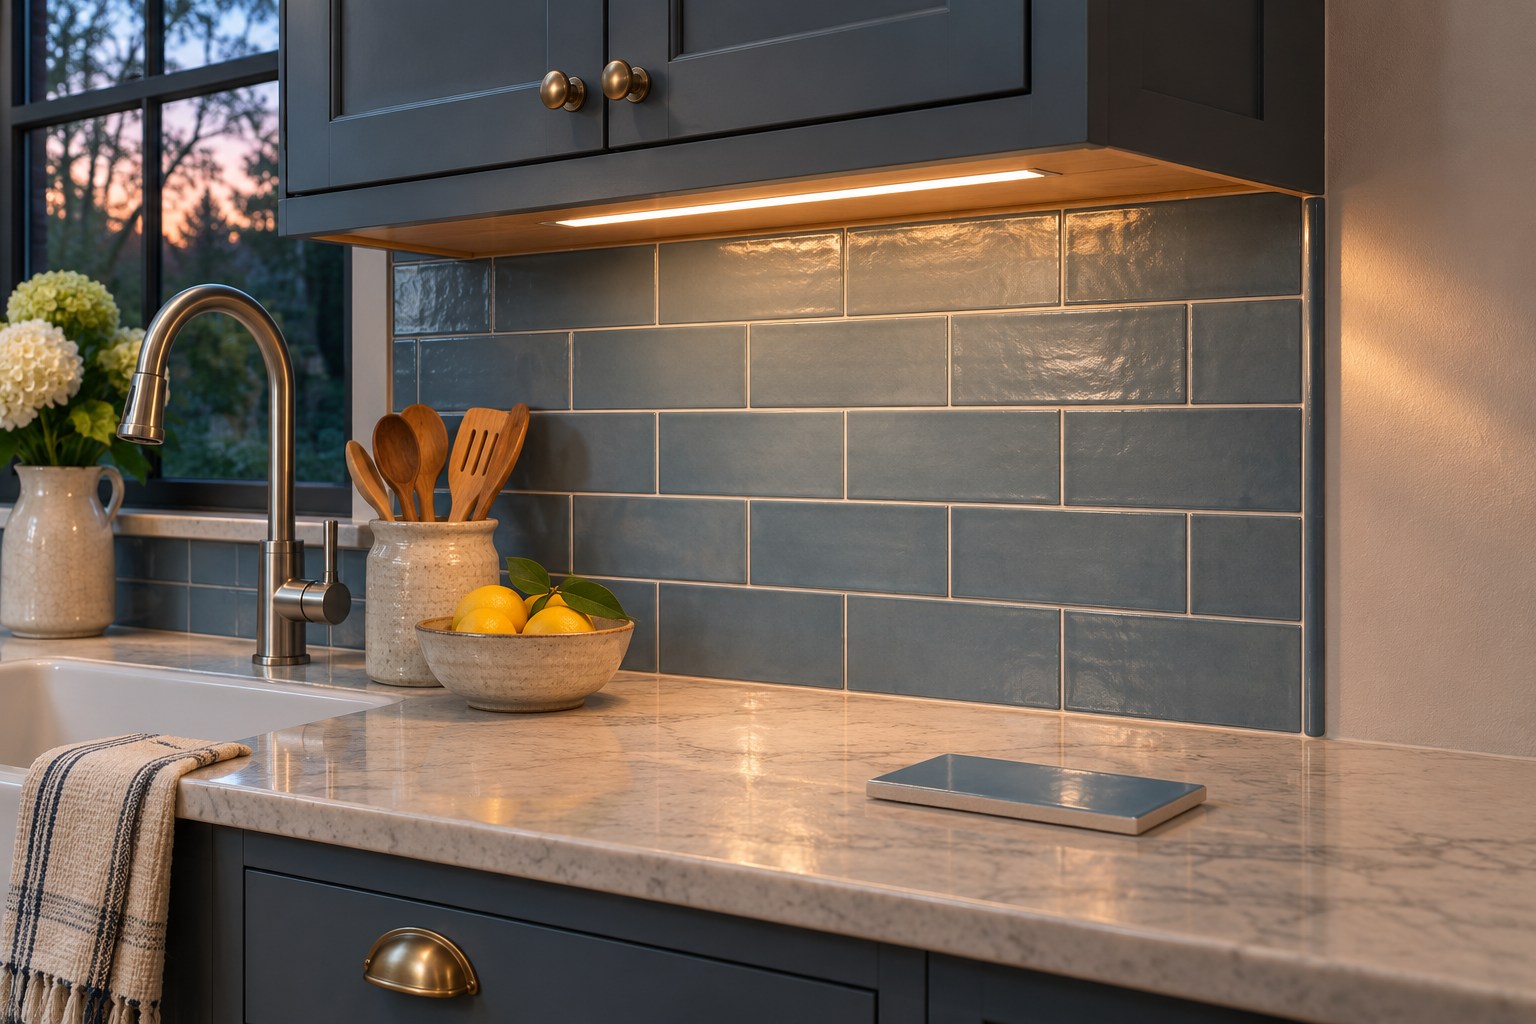
Discover more from HomeTrendora
Subscribe to get the latest posts sent to your email.