Two beds, two sets of belongings, and one strip of floor make decorating a shared dorm room a little different. You can make it feel like December with a small accent on each side and one spot you both agree on. The desks, dresser drawers, and path to the door still have to work when finals get busy.
These 18 dorm Christmas decor ideas help you choose what fits, from matching an accent to two different duvets to packing your decorations before winter break. Start with your residence hall’s rules, then pick the ideas you can use with the furniture you have.
1. Check the Housing Rules Before You Pick a Setup
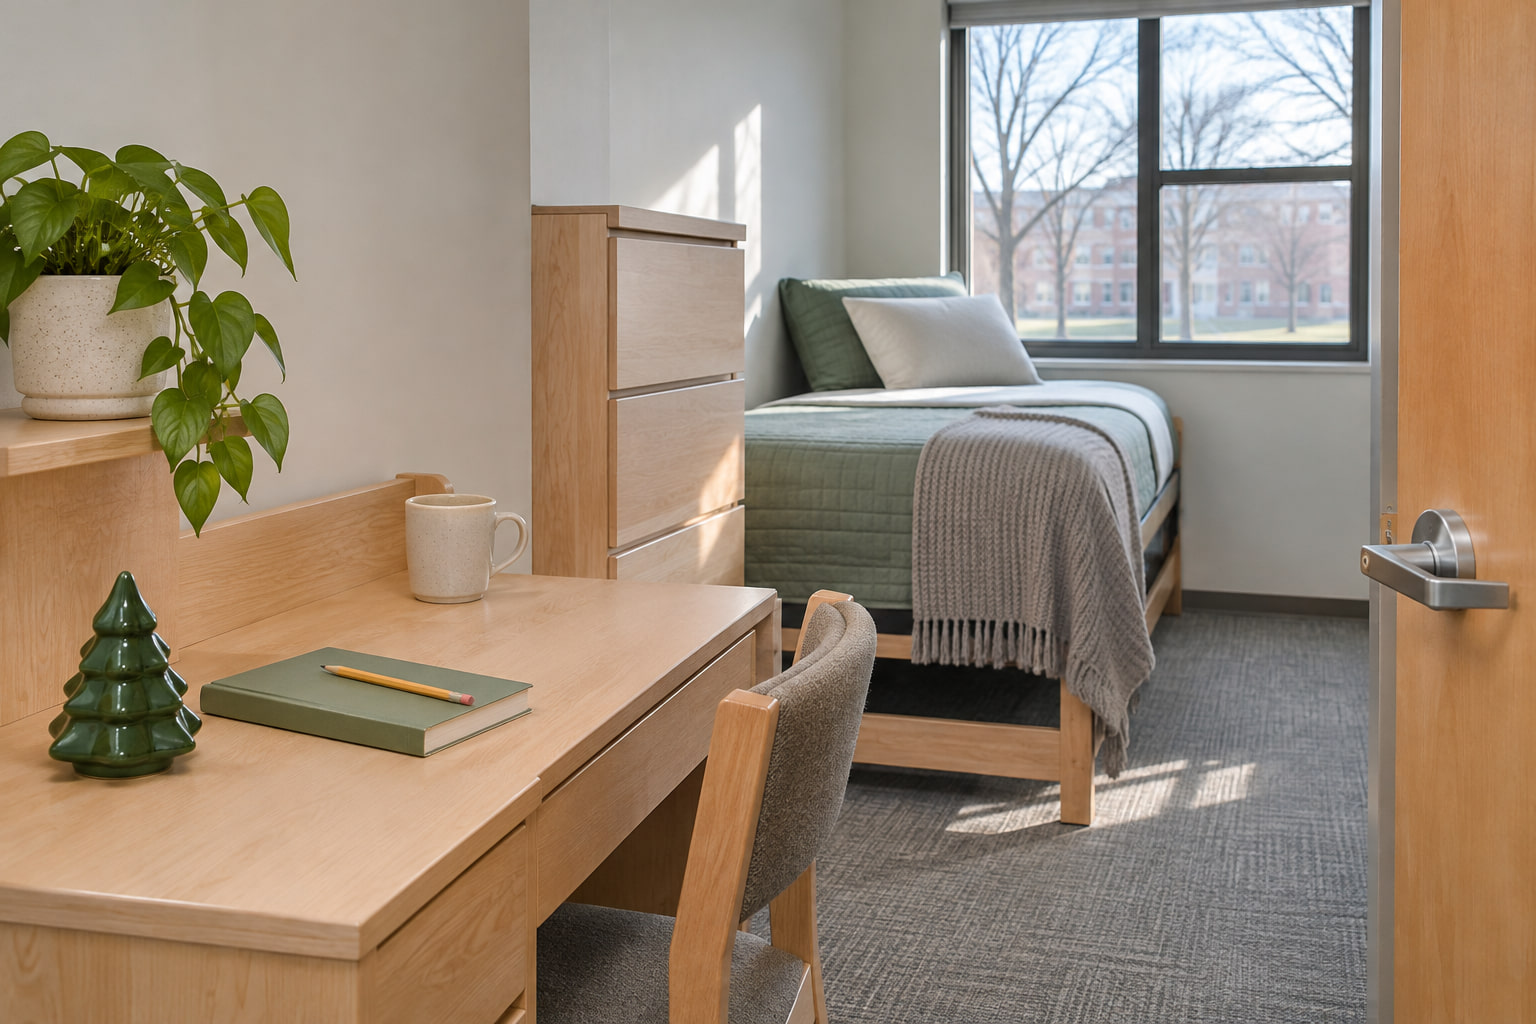
Start with the housing page for your building. Look up seasonal decorations, window and door rules, and any restrictions on trees, lights, adhesives, or materials. If the handbook sends you to another set of building rules, check those too. Ask your resident adviser about anything unclear before you put it up.
Give yourself a version you can use with no tree, cords, or wall fasteners. A small freestanding accent on your own dresser is a good place to start if the material is allowed. Save the housing page for break so you can check whether anything needs to come down before you leave. If you share a suite, check whether the rules change between bedrooms and the common area. Choose the spot after you know which set applies.
2. Choose a Shared Christmas Palette Around Two Different Bed Colors
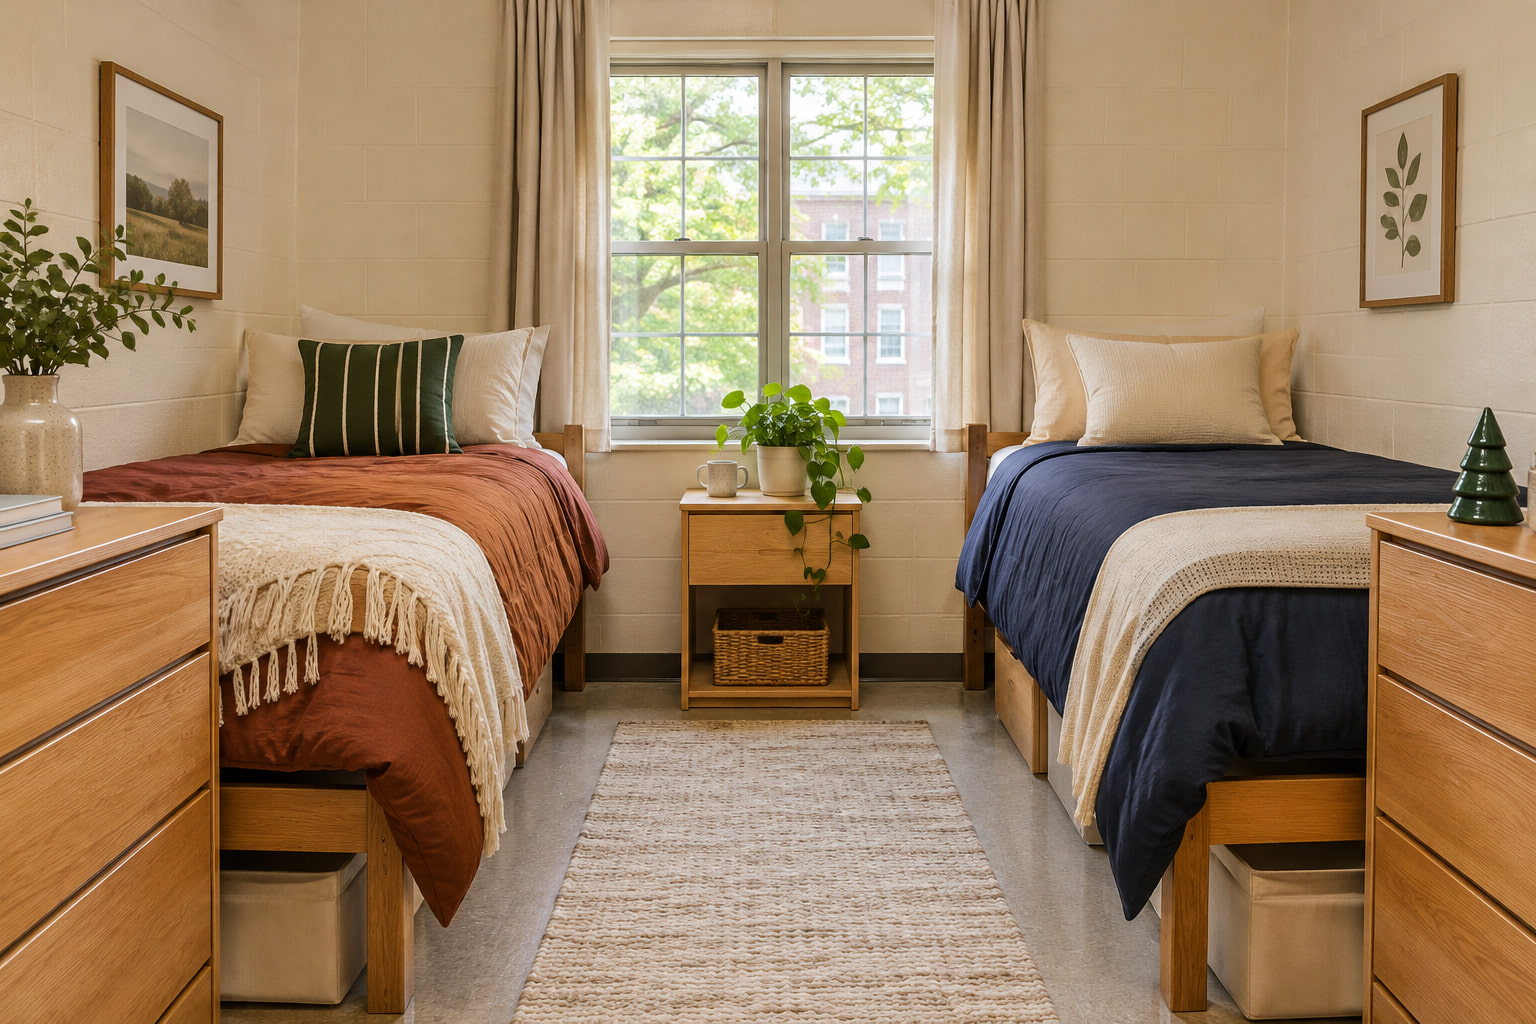
Take a look at both beds in daylight before you choose a Christmas color. If one duvet is rust and the other navy, a cream base and a small amount of deep evergreen can work beside both. Try the accent next to each duvet, then look at the two sides together from the doorway.
Repeat that color once in each personal zone and leave the rest of the bedding alone. On one side it might be the stripe on a cushion you already own, and on the other it could be a small object on the dresser. If you want to carry the color onto the bed itself, these Christmas bedding ideas show what a single visible layer can do. If the green looks too cool beside the rust, try an olive shade. Set both options near the navy before you pick the one you will repeat.
3. Keep Both Bed Ladders and the Shared Aisle Clear
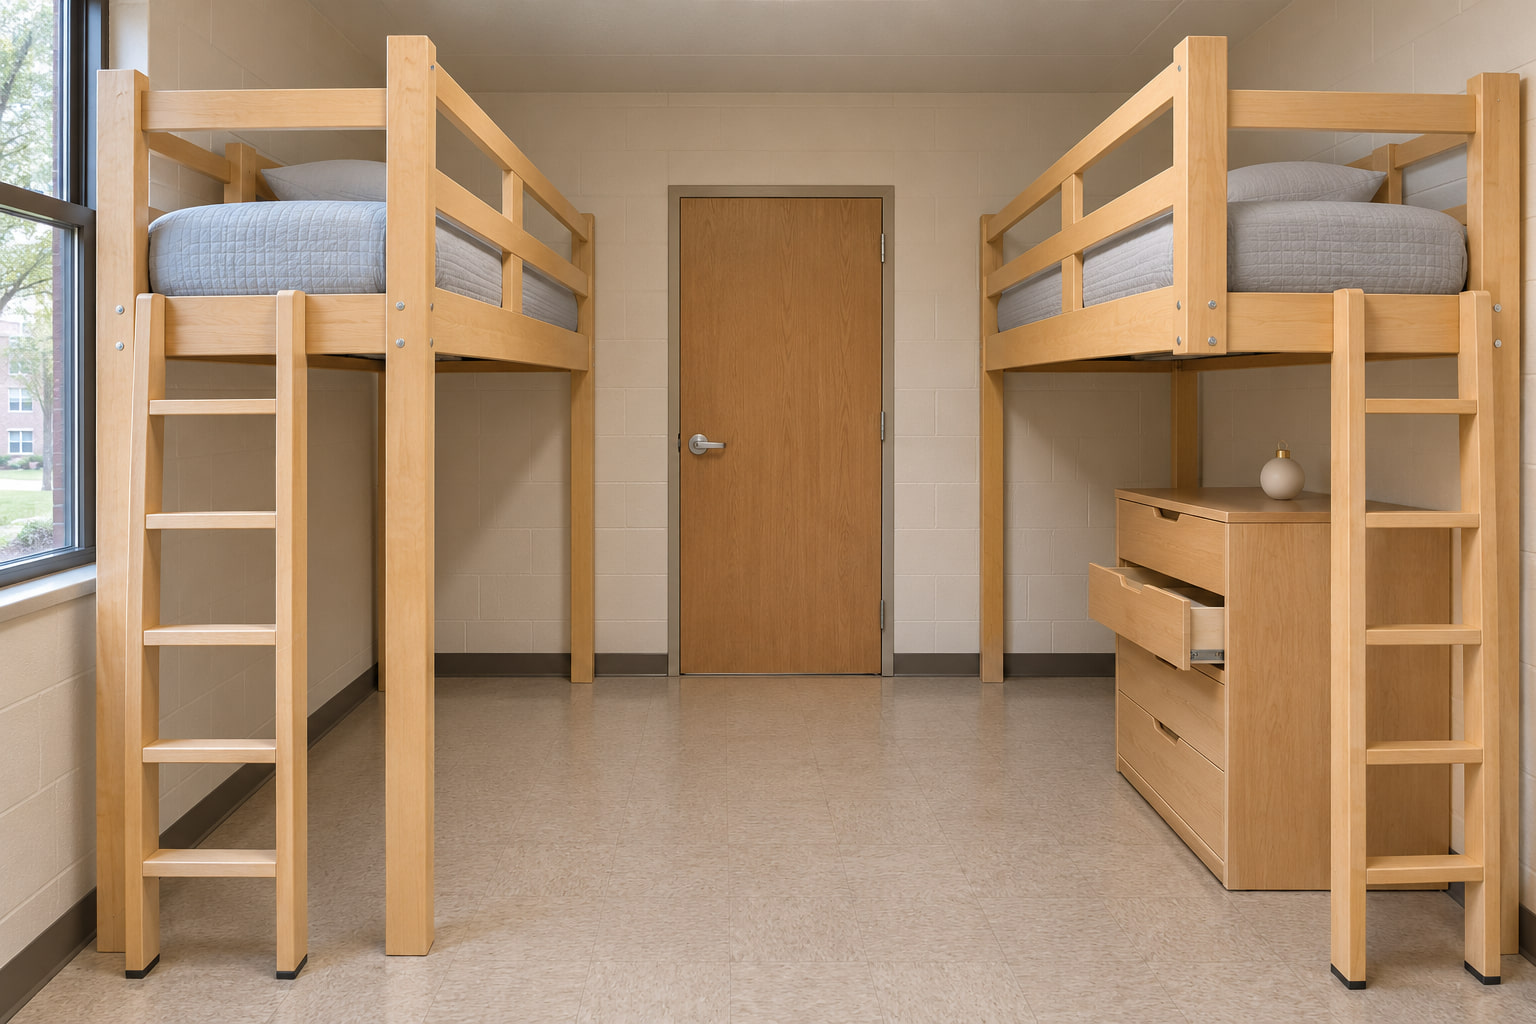
Walk to both beds before you settle on a display. If the room has ladders, walk up to the bottom rung from the direction you usually approach it. Pull out the nearest drawers and make sure the route to the door still works when a roommate is using a drawer or stepping down.
Move anything that sticks into the aisle back within the edges of your dresser or shelf. Leave the bed hardware and furniture arrangement as housing set them. If shoes and bags are already in the way, use these small dorm storage ideas to find them a home before you add something seasonal. Do that walk again with your backpack on. A display that looks tucked away when you stand still might catch a bag strap as you turn.
4. Set a Small Sculptural Accent on Your Own Dresser
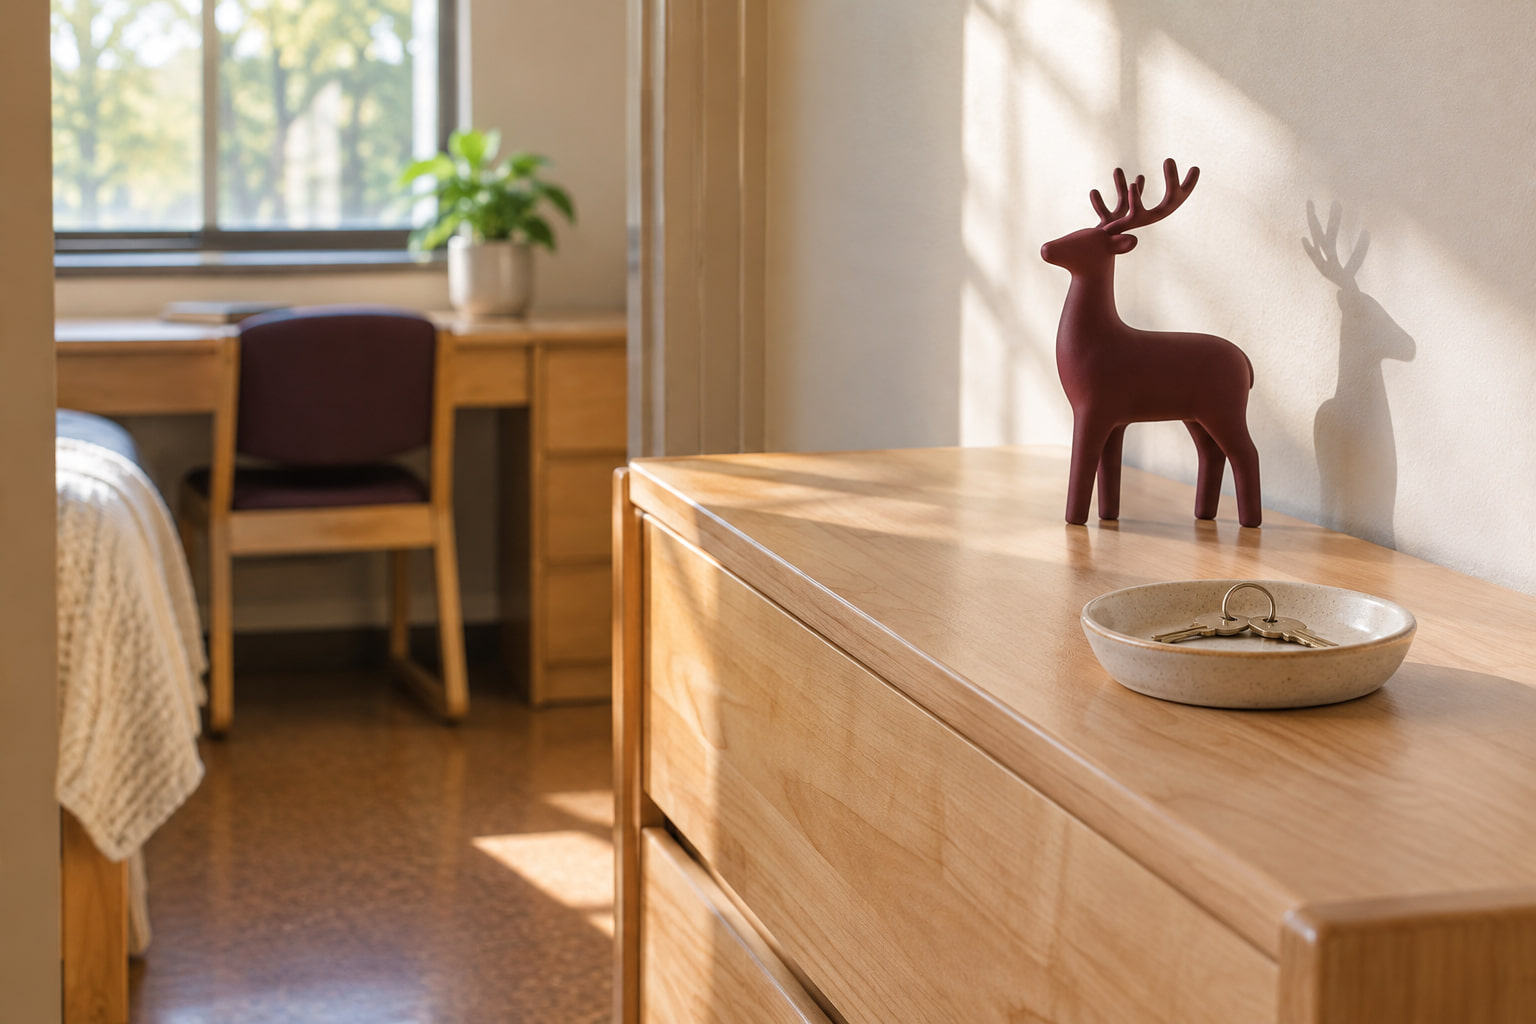
Pick an object with a silhouette you can read across the room. A small ceramic reindeer or an unlit, star-shaped piece will often do more on a crowded dresser than a row of little ornaments. Set it near the back of your own surface, where it has plain wall behind it and room around the sides.
If you need somewhere to put your keys, keep that spot at the front. Check the scene from the doorway and slide the object away from anything that hides its shape. Use an object with a steady base and skip the display if the dresser top already has to do too much. Use the dresser’s actual depth to judge the scale. You should be able to drop your keys into the dish without reaching around the decoration.
5. Use the Cotton and Wood Already in Your Room
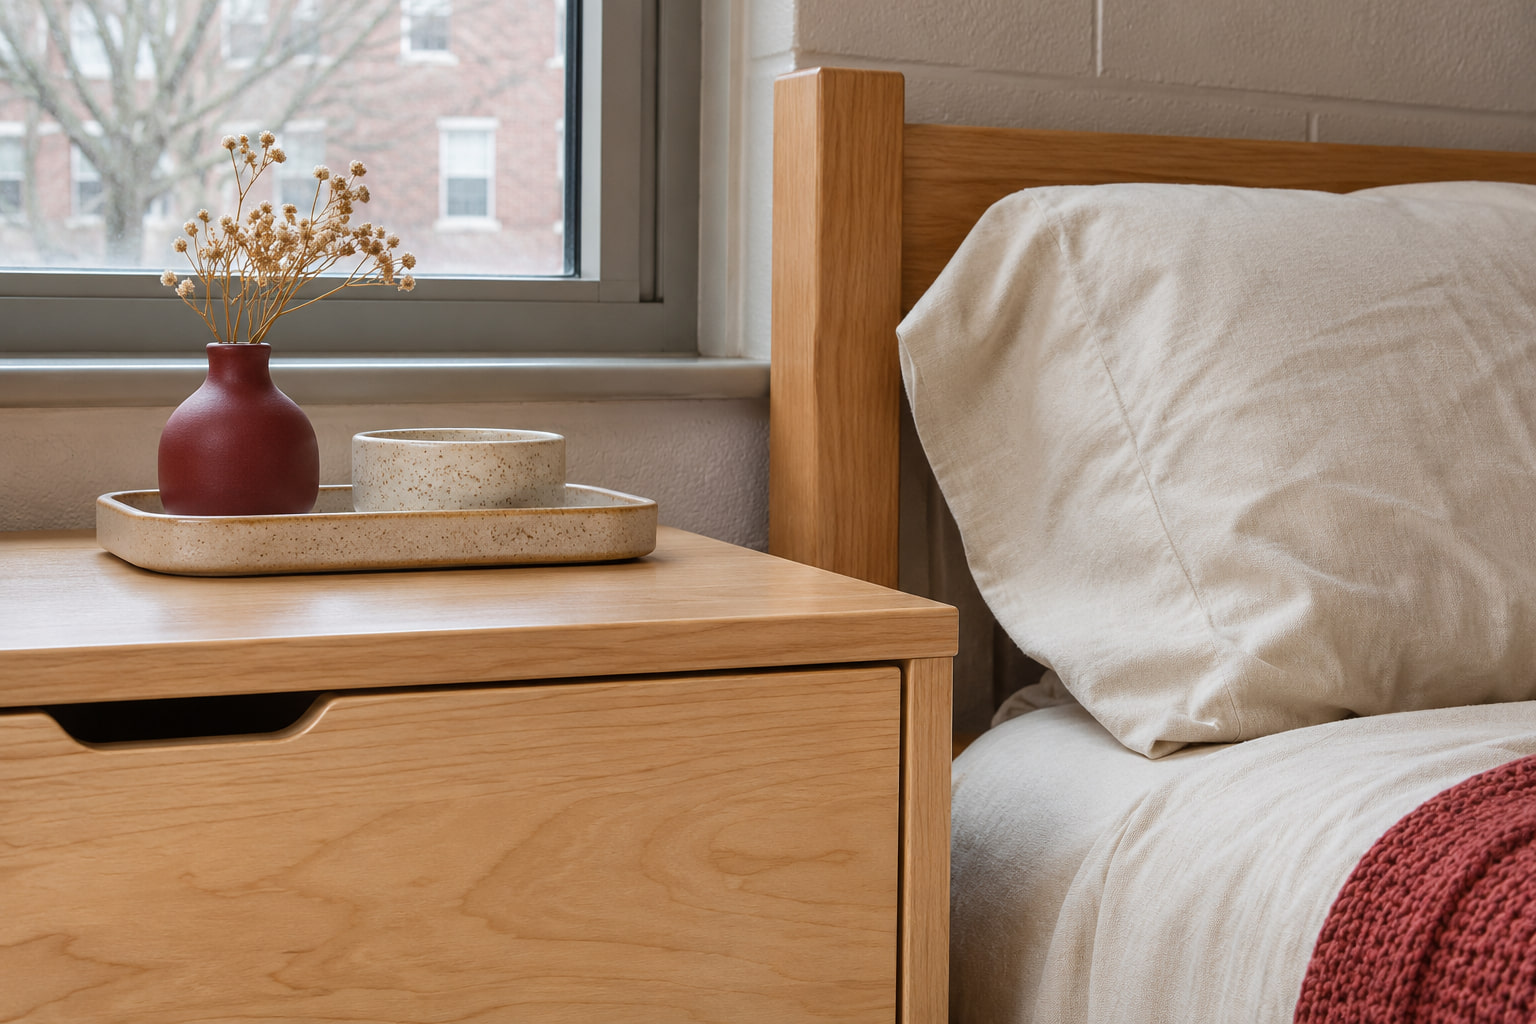
Use the textures you already see when you walk in. A maple drawer front looks warm beside a plain cotton pillowcase, so a little piece of holiday color between those two surfaces has enough contrast. A muted red ornament on an existing wood tray can connect the dresser to the bed without asking you to buy another throw.
Look at the surfaces up close before you add anything glossy. If the cotton is soft and the wood grain is already active, one matte object usually gives the eye a place to rest. Leave the pillow and bedding usable. The small accent can sit on the furniture you already have. If the tray is where you set your water bottle, use one unused corner instead of filling it. Leave enough room to lift the bottle straight up.
6. Turn Your Lower Bunk Into a December Reading Spot
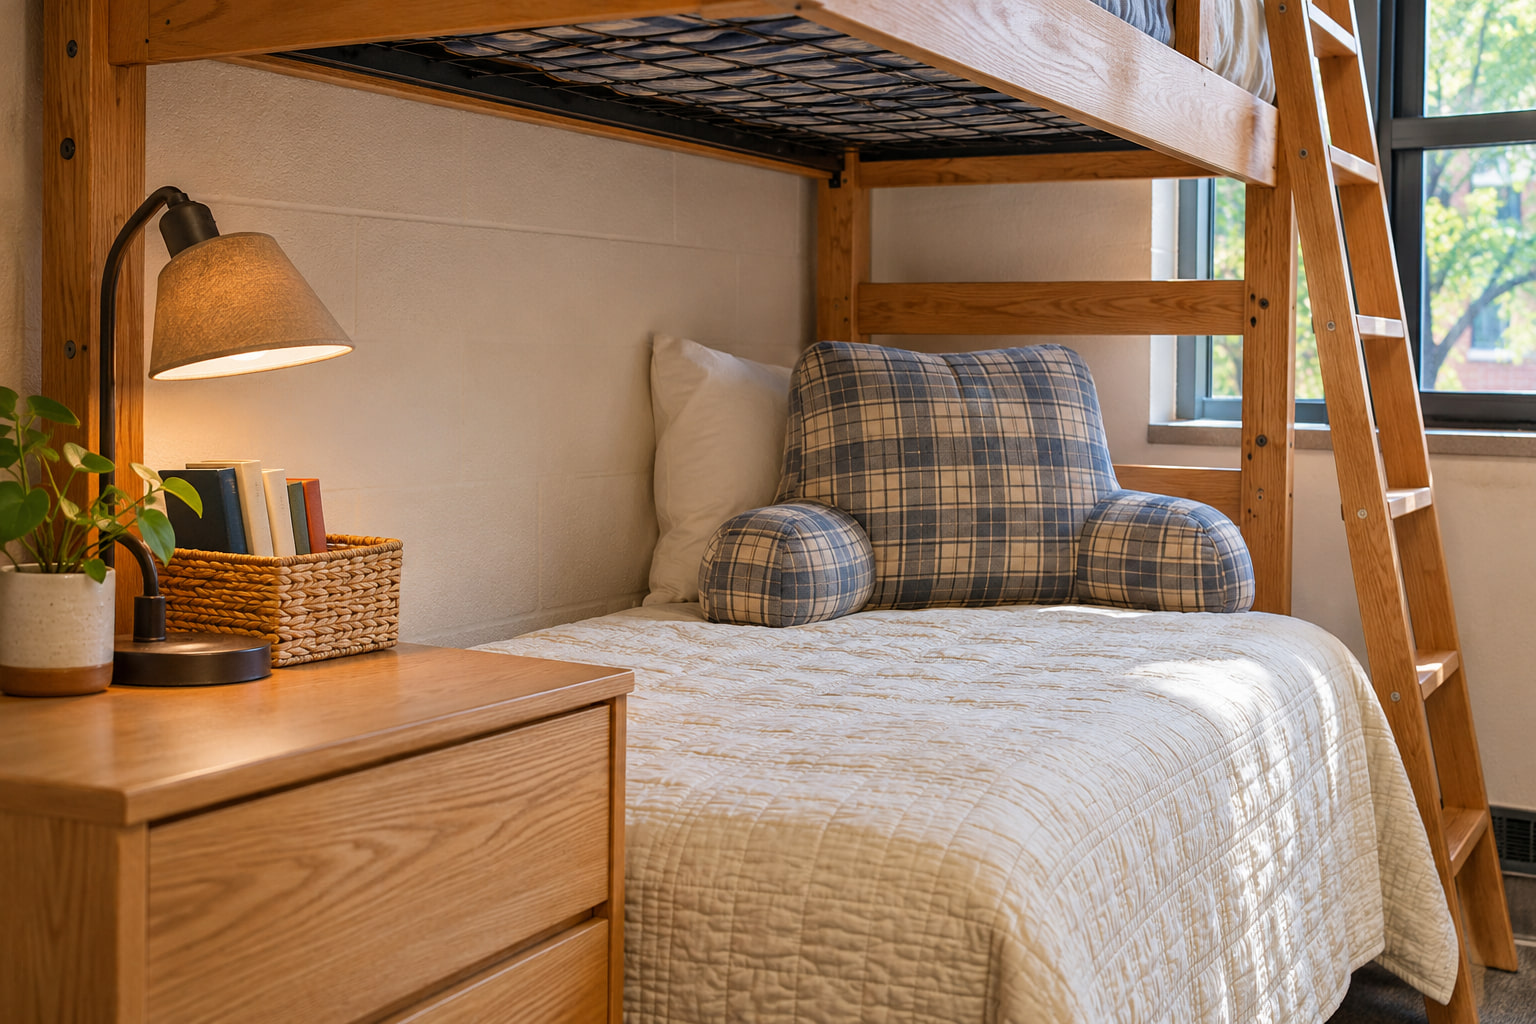
If you like reading on the lower bunk, start with the pillow you already use for sitting up. Put the book on a shelf or side table you can reach from the mattress. A low basket on that same surface can hold the book and a pair of glasses so they are easy to find after you turn in.
Where you already have a lamp that housing allows, aim it at the open page from the side and try the setup while you sit on the bed. Leave it on its normal stable surface and keep the bedding away from it. The pillow and book can make a welcome place to sit even if the room has only its regular light. Test the reach with a full book in hand. If you have to stretch across the lamp to put it down, move the basket toward the end of the surface.
7. Build a Small Star Grid on a Freestanding Display Board
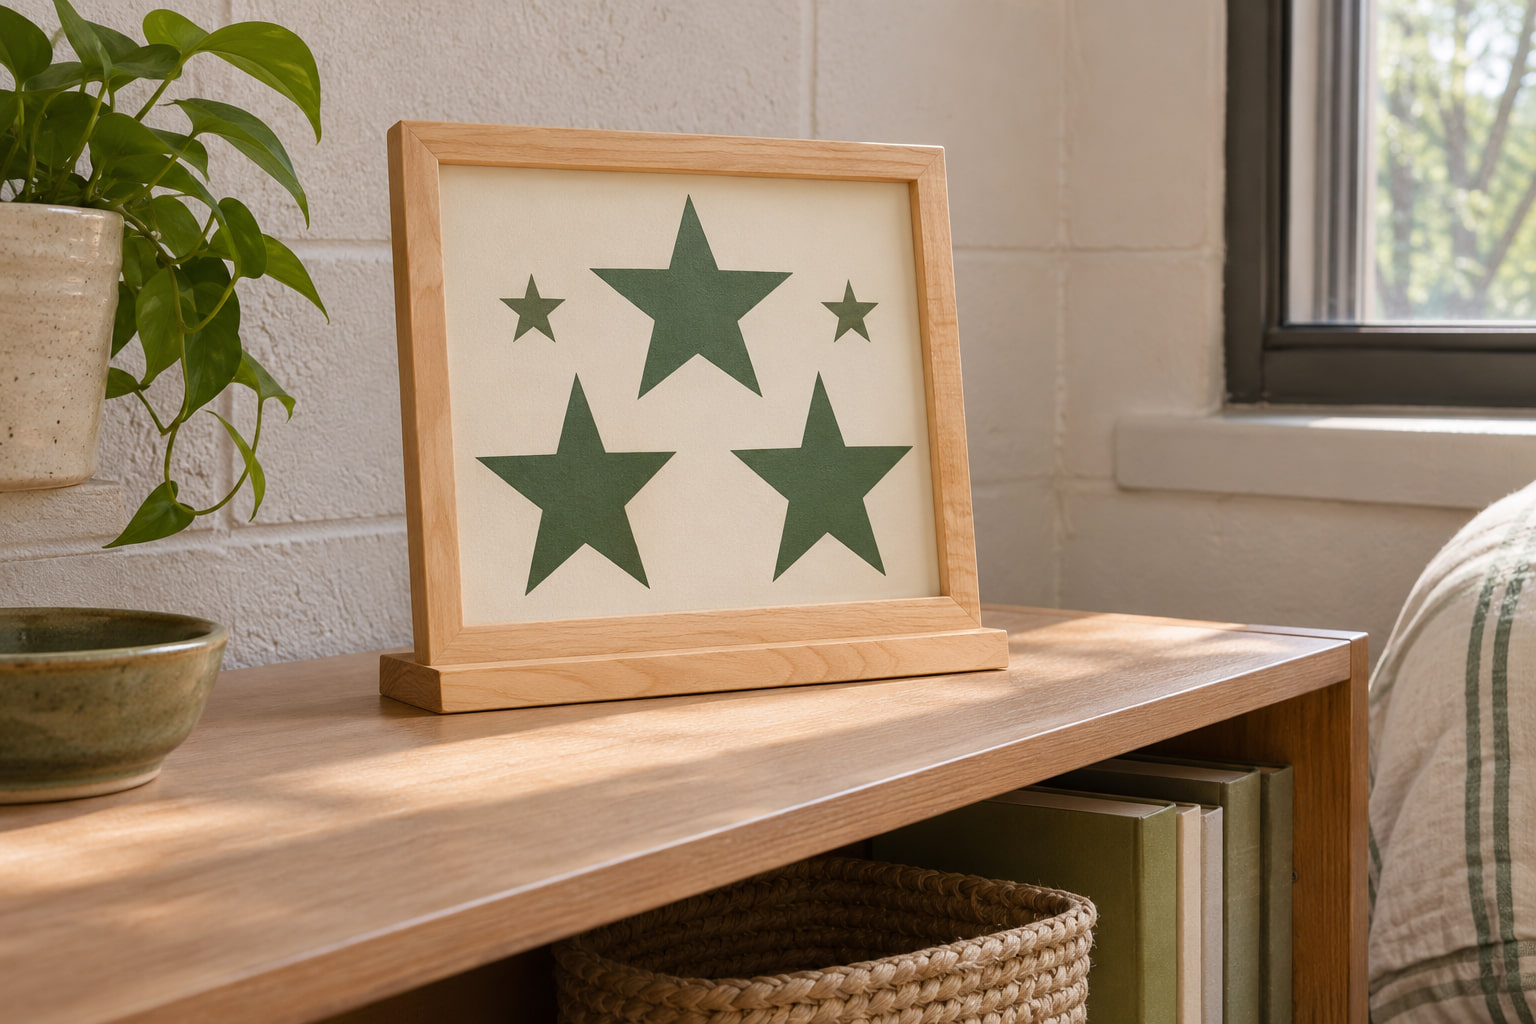
A tabletop frame with a broad foot can give you a Christmas pattern at eye level without using the wall. Test the design on the table first. A small grid of three large stars and two smaller ones will read better from the bed when the gaps between the shapes are easy to see.
Use shapes and a backing your building allows. Keep the frame on a level surface with its base fully supported. If the room has a lot of pattern already, give the stars a plain backing and one strong outline color. You can carry the finished frame away without leaving tape on painted furniture. Cut or draw the shapes on a practice sheet and look at it from the mattress. Enlarge the stars that disappear before you make the final insert.
For a green frame instead of the wood one shown, try the Gaevuian green 5-by-7-inch tabletop frame if your housing rules allow it. Make the star design on a flat insert so you can swap it for a photo after break.
8. Set One Small Christmas Scene in the Space You Share
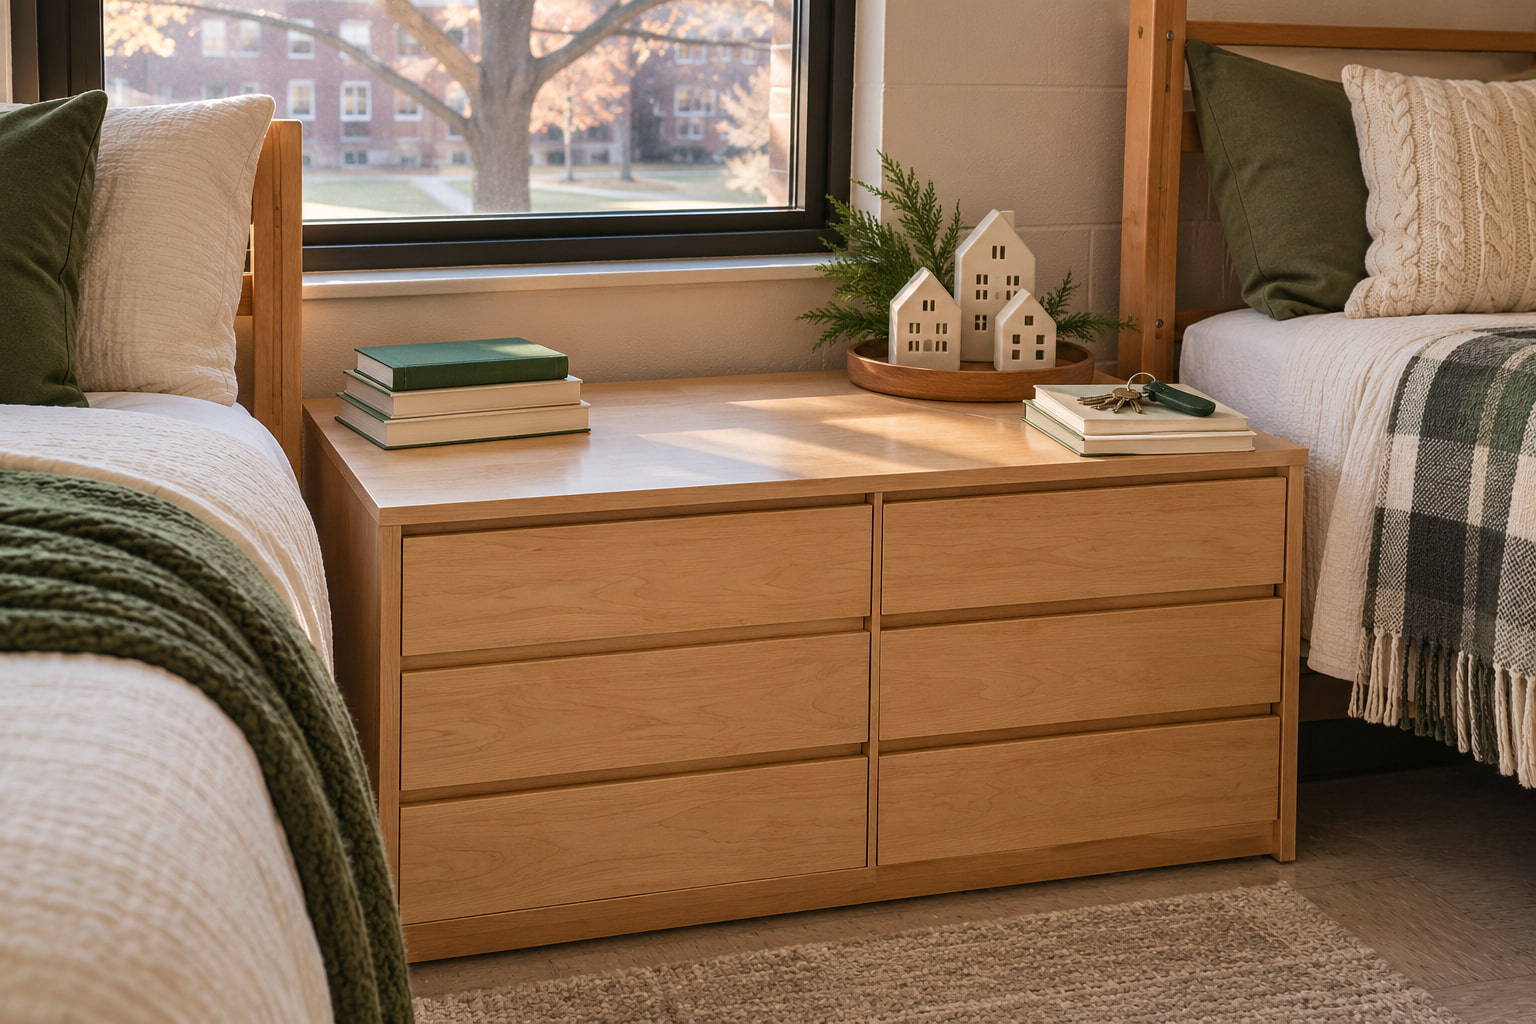
Pick one spot both of you already use, such as the clear back corner of a shared dresser. Agree on the look before either of you shops or unpacks. A little row of unlit ceramic houses on a shallow tray works as a complete scene, so it is easy for one roommate to move when the surface is needed.
Try the tray at the back with both roommates’ everyday things in their usual positions. If it takes up space either person uses, choose a smaller scene or keep the decoration on your own side. Skip candles and extra wiring in this version. The shape of the little houses carries the holiday look. Before you settle on a tray, lift it with everything in place. If the pieces slide when you pick it up, use fewer pieces and a smaller base.
9. Give Your Room a Daylight-Only Version
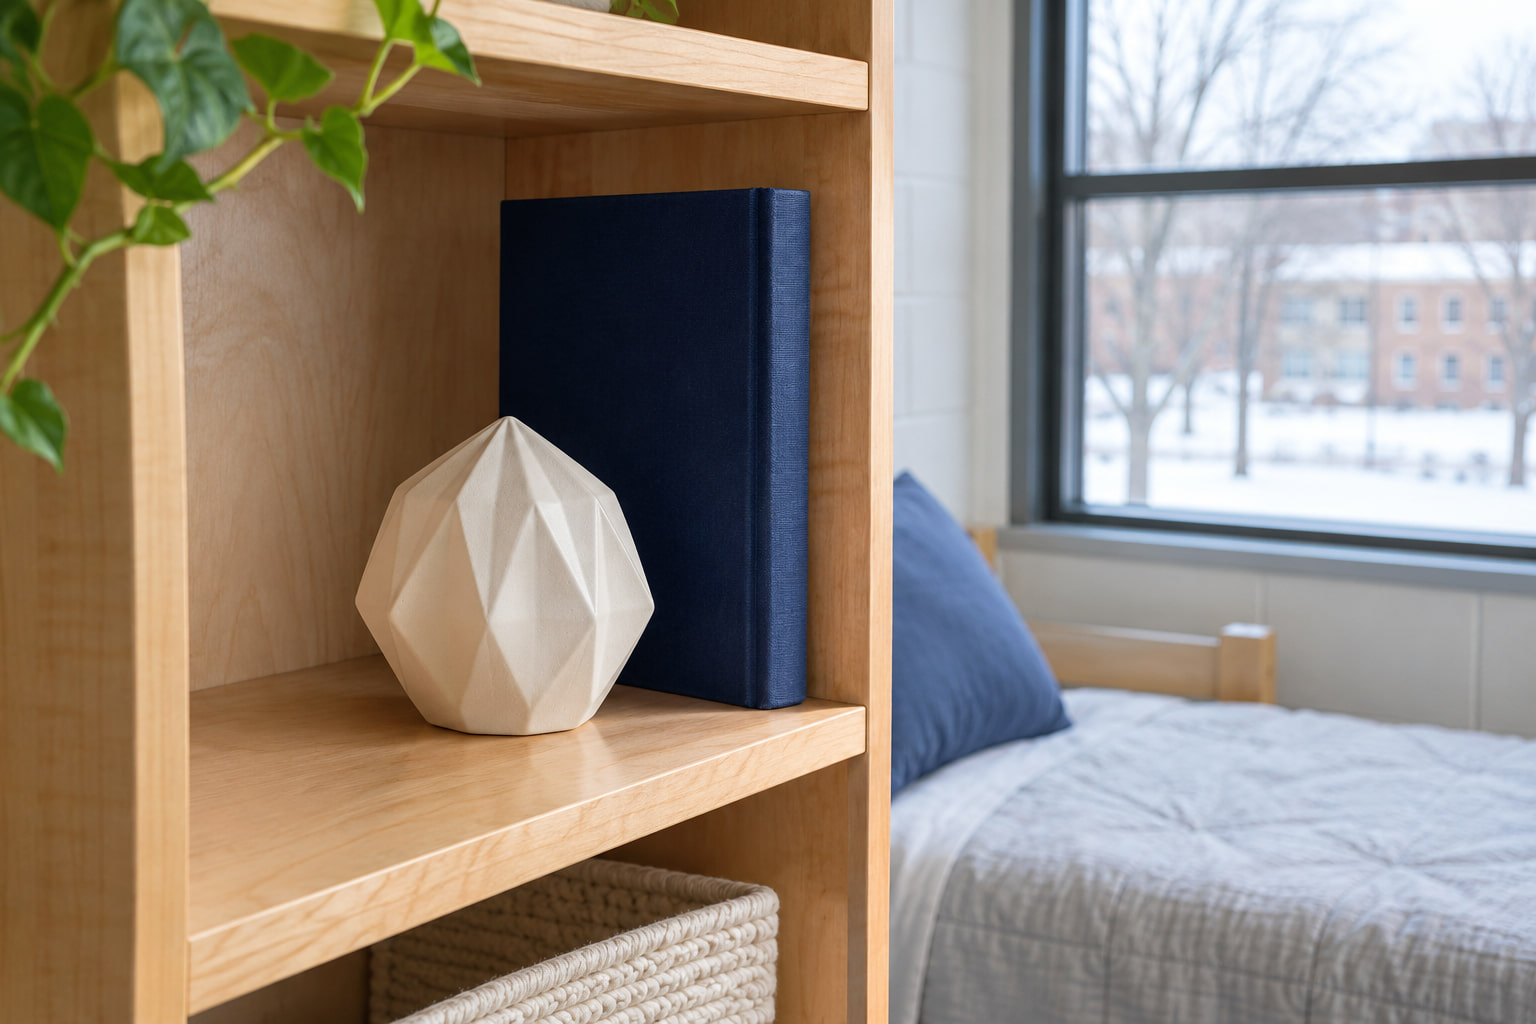
A Christmas detail can look finished at noon. Stand where you first see the room and pick a background with enough contrast. A dark green ornament is easier to read against a pale wall than beside a dark backpack, while a cream ornament stands out against a navy bookend.
Try the accent on a surface that catches ordinary window light and move it closer to the front only if it can sit securely. Leave the window and its hardware clear. These Christmas bedroom ideas without a floor tree offer more ways to work with furniture you already use. Check which ideas your dorm allows before adapting them. Check the spot again when the window light drops. If the shape disappears, try a contrasting backing or another existing surface rather than adding a cord.
10. Make the Decorations Fit Into One Flat Going-Home Kit
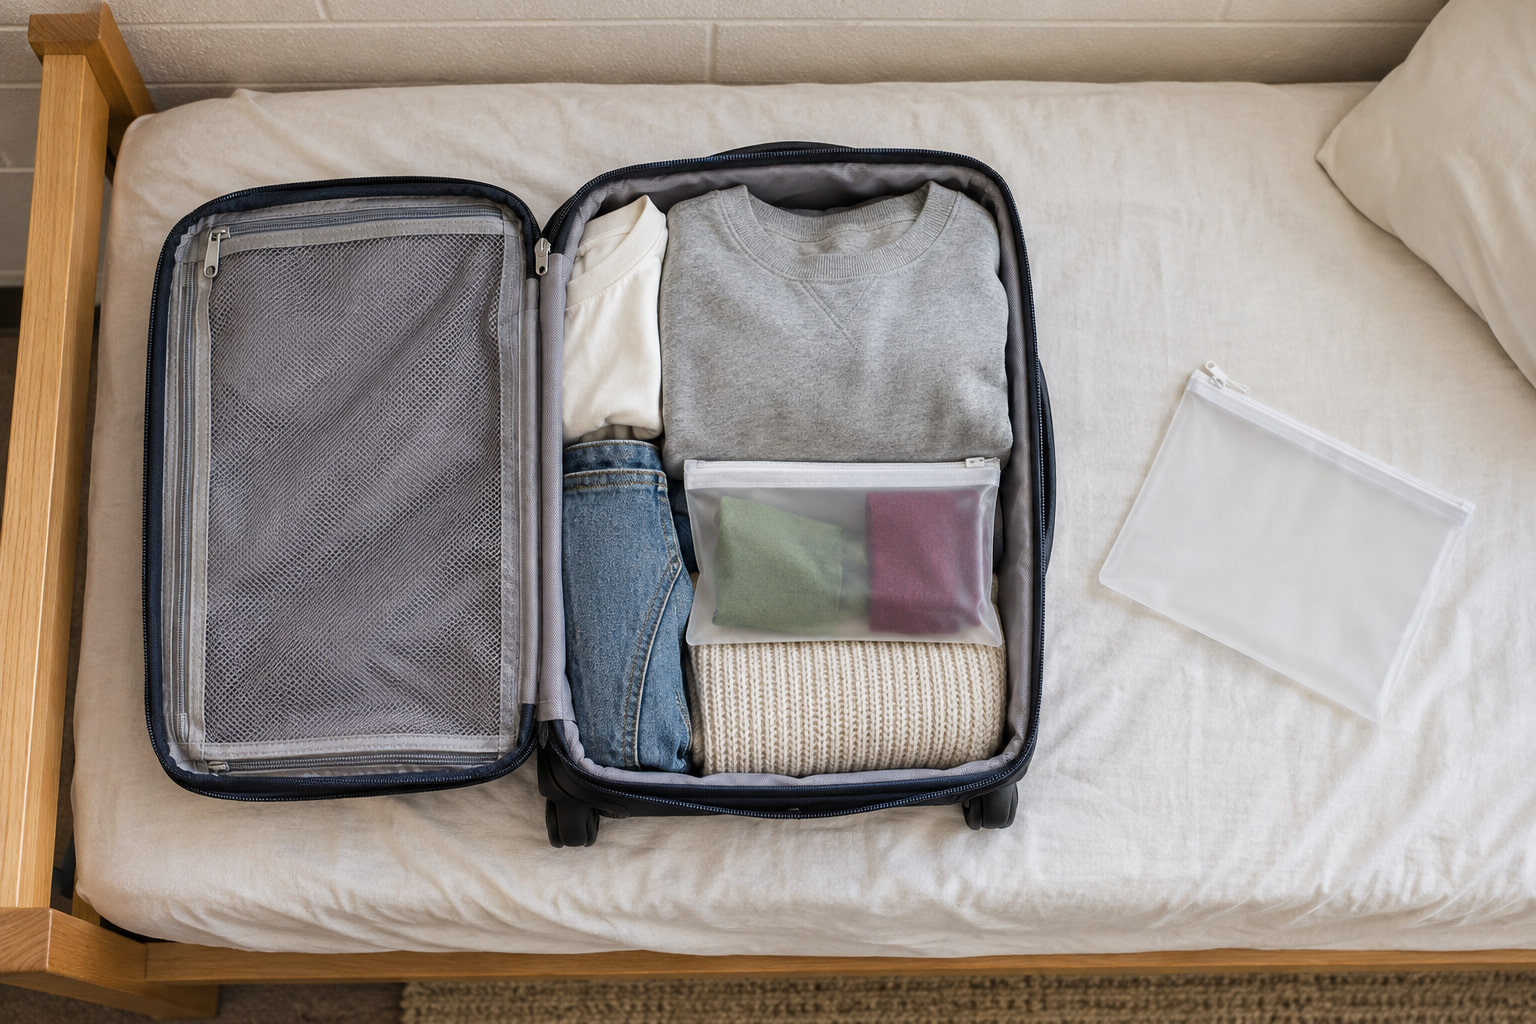
Decide what will go home before you set it out. Lay the flat pieces side by side in a slim zip pouch to see whether it closes comfortably. Wrap a small breakable object separately or leave it out of the dorm display if you have no good place to pack it. Group each roommate’s pieces in a separate pouch.
Slip the pouch into the luggage you already plan to take. If you cannot get it into the bag without bending the decorations, choose fewer pieces or use a different container. Leave your daily clothing drawers for clothes so packing for break does not begin with digging out a season’s worth of extras. Pack the flat pieces on top of soft clothes where you can see them when you reopen the case. Keep anything with sharp corners in its own sleeve.
11. Keep Holiday Parcels off Your Study Surface
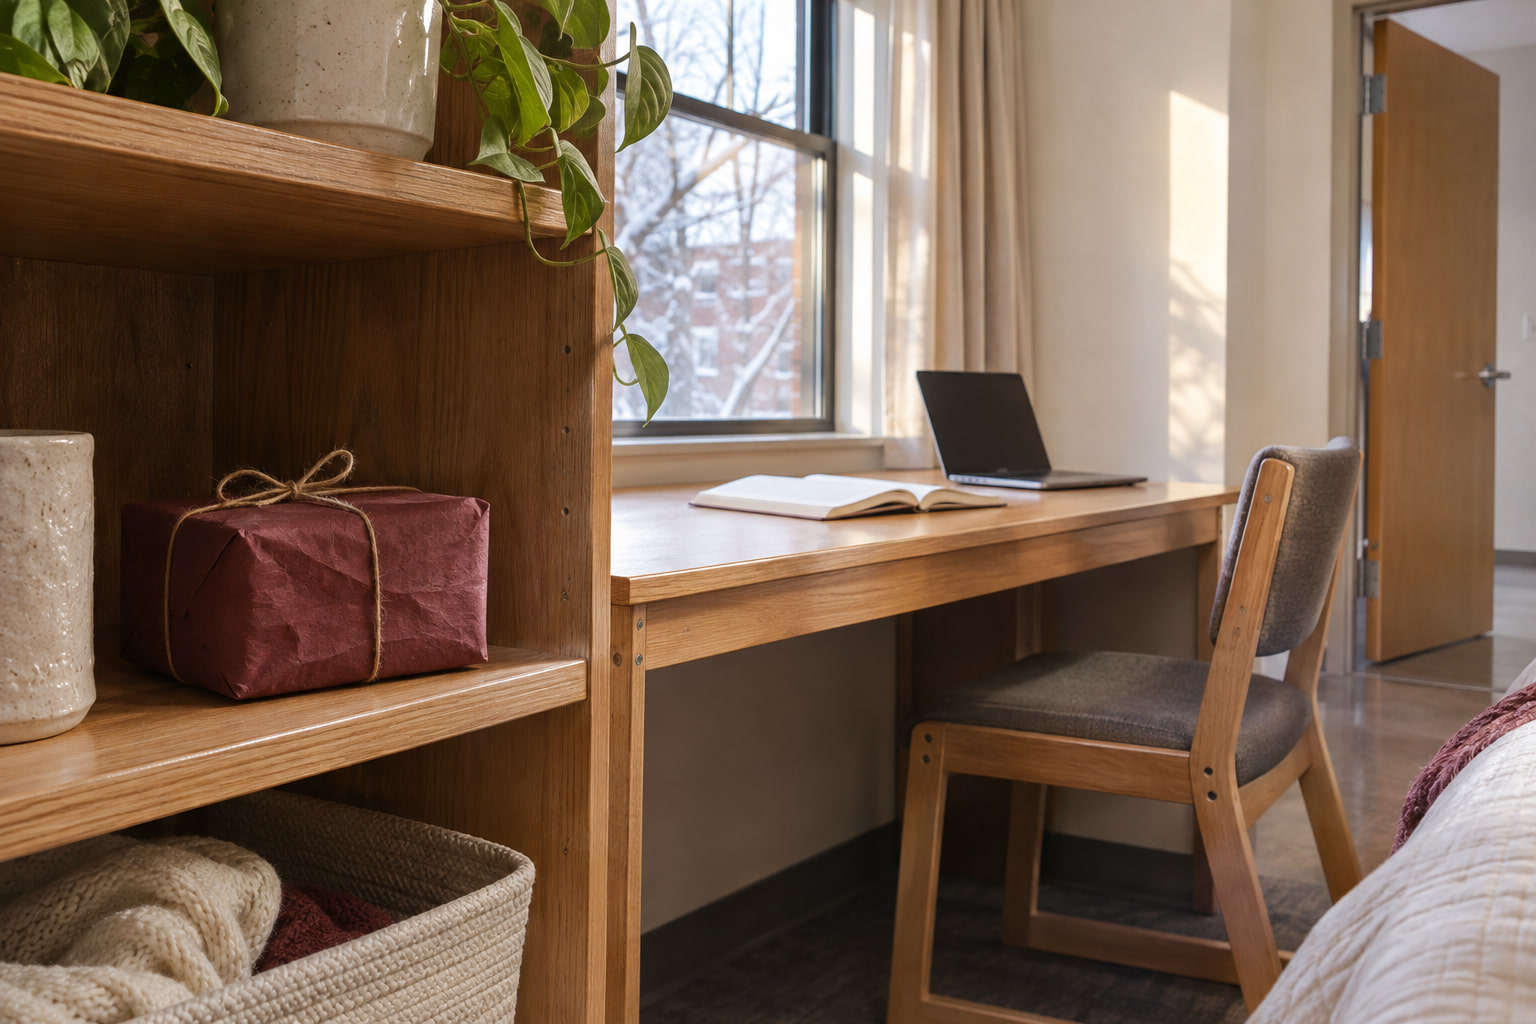
Give your parcels a parking spot before finals week. A low personal cubby or an open shelf that you can reach without moving your roommate’s things keeps a delivery out of the way of a laptop and notebook. If a box is too large for that spot, break down the outer packaging once you no longer need it.
Try the spot with the size of parcel you actually get. One unopened package can live there, but a growing pile is a sign to open or sort the deliveries. Keep the space beneath a desk for your legs and use your own shelf or closet rather than the shared walkway.
12. Give the Room a Five-Minute Pre-Break Reset
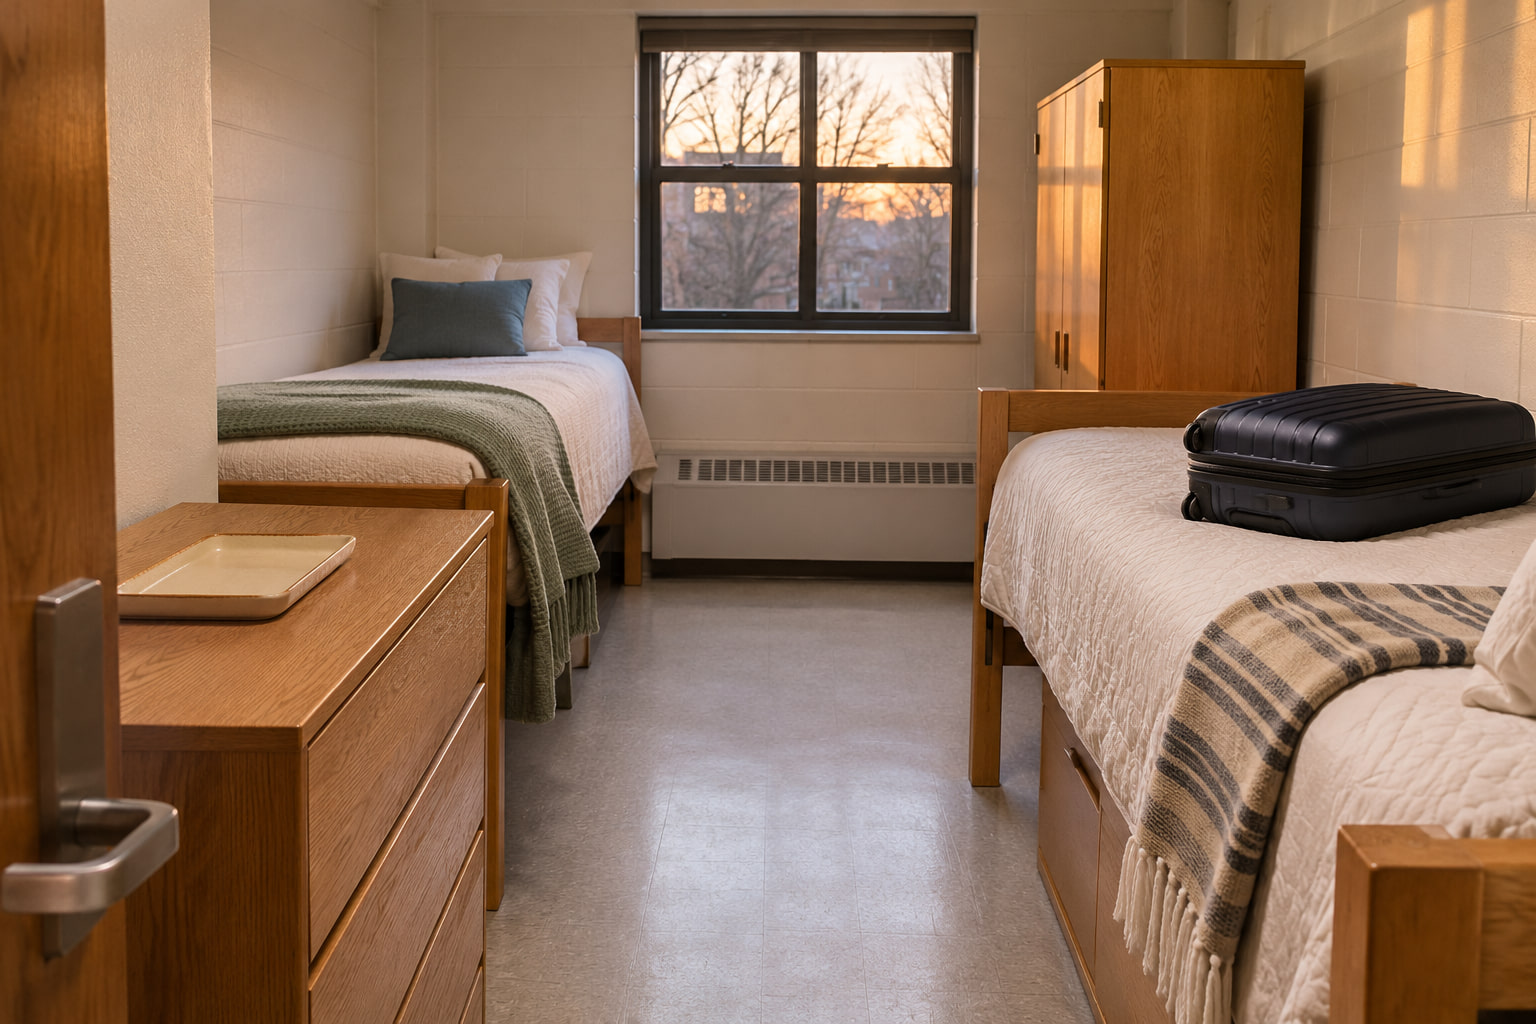
Do one last pass together when break begins. Lift the shared display off the dresser first, then collect the pieces from each personal area. Put away any decorations your building requires you to remove. Check both bed approaches, the door, and the window before you move on to the rest of the departure instructions.
Put the shared tray back where it usually lives and return anything borrowed to its owner. Keep the pieces you want next year together with the rest of your packed decorations. Let the housing checklist settle questions about room inspections and which devices to unplug, because those instructions are specific to your building. If one person leaves first, decide who will clear the shared surface. Leave the remaining roommate enough room to use it without handling anyone else’s decorations.
13. Give Your Desk Chair a Seasonal Seat Pad
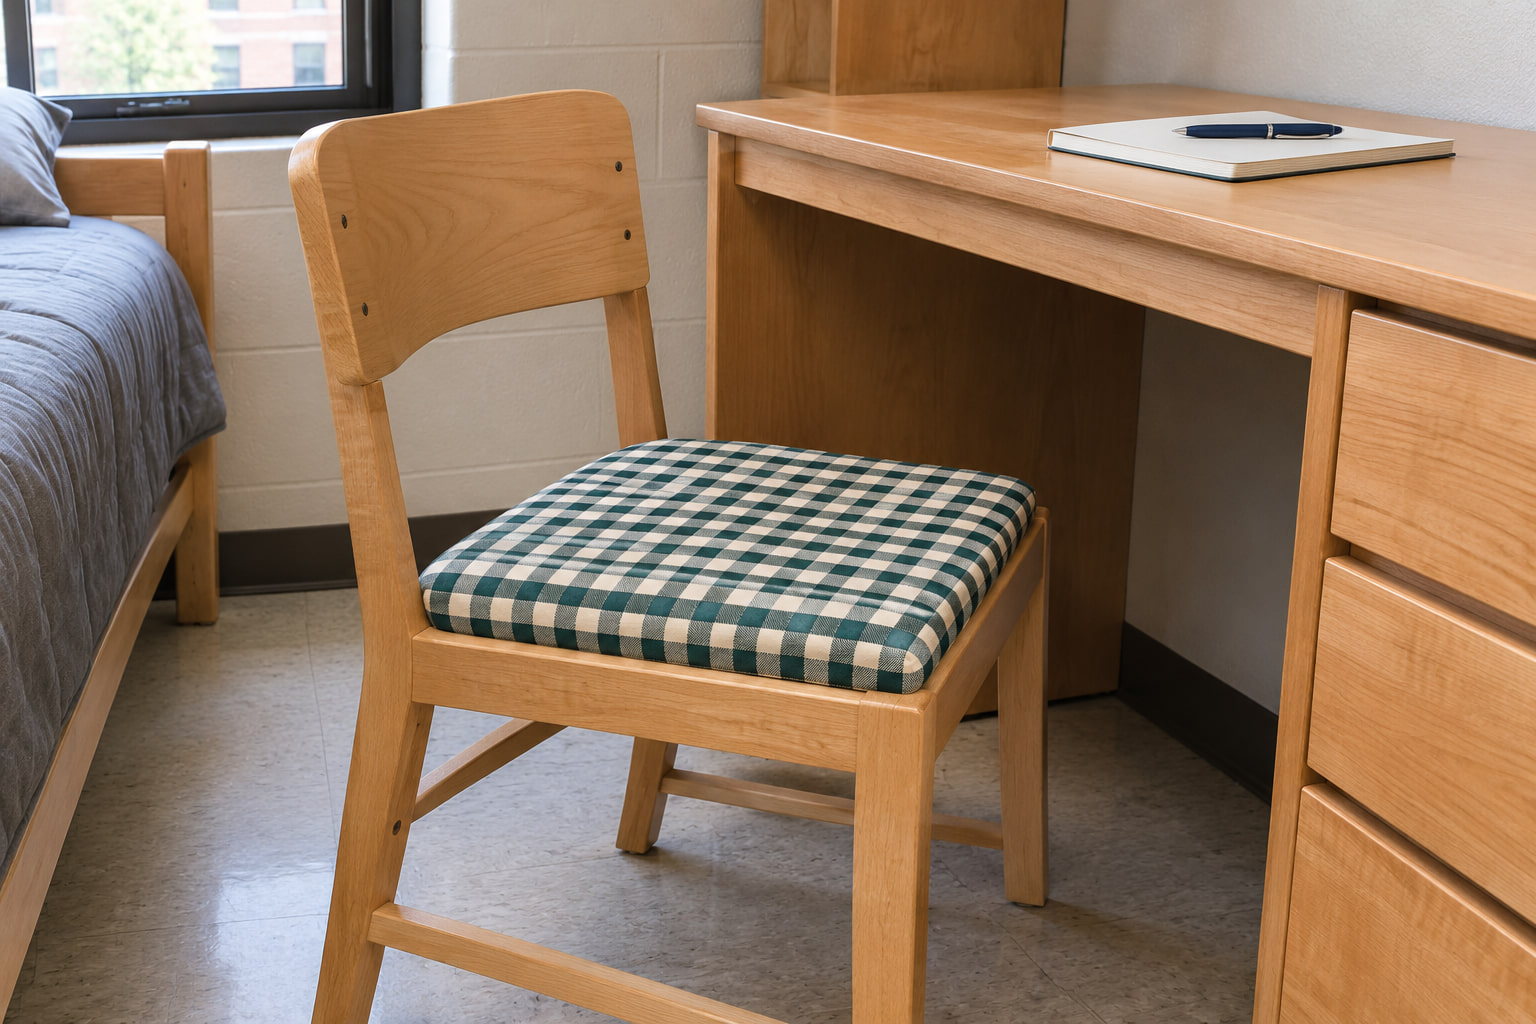
Try a single removable seat pad on the chair you use most. A small evergreen check can show from the door even when the desk is covered with class notes. Measure the flat part of the seat before choosing one. The pad should sit entirely on the chair with nothing trailing toward the floor or getting in the way when you slide the chair under the desk.
Sit down and check how the thickness changes your reach to the keyboard. A thin pad can be enough if the chair already feels comfortable. Put it away when you need the chair for a visitor who prefers the original seat. This is an easy way to give your own side a little color while leaving the desk and your roommate’s chair available for everyday use.
14. Mark the Final Week on a Freestanding Desk Calendar
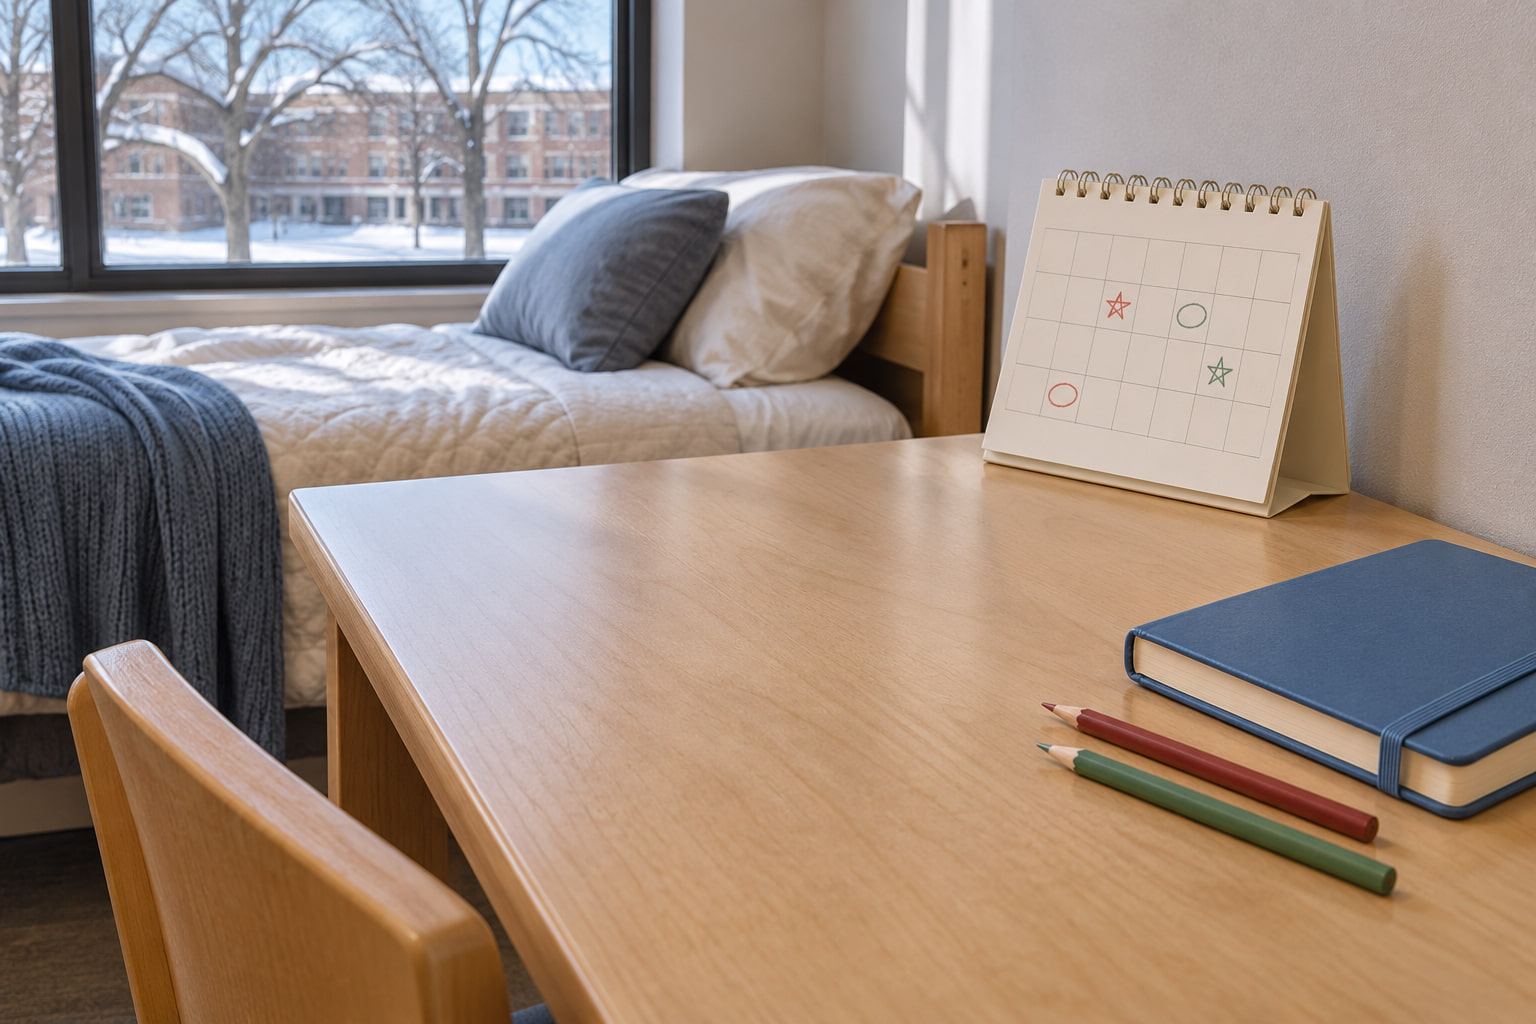
If you already keep a small standing calendar, use its last page before break for a December countdown. Circle your last class or final and your roommate’s departure date if they want to share it. A small star beside each of those dates gives the page a holiday detail while the actual dates keep it useful. Use the calendar in its usual spot so no one has to give up desk space.
Keep the rest of the page easy to read. If you both work from different schedules, pick one color for each roommate and check the dates together before you mark them. Decide whether the display should end with the first departure or the last. When the room empties, the page flips over with the rest of the calendar.
15. Set One Seasonal Coaster Where Your Mug Already Goes
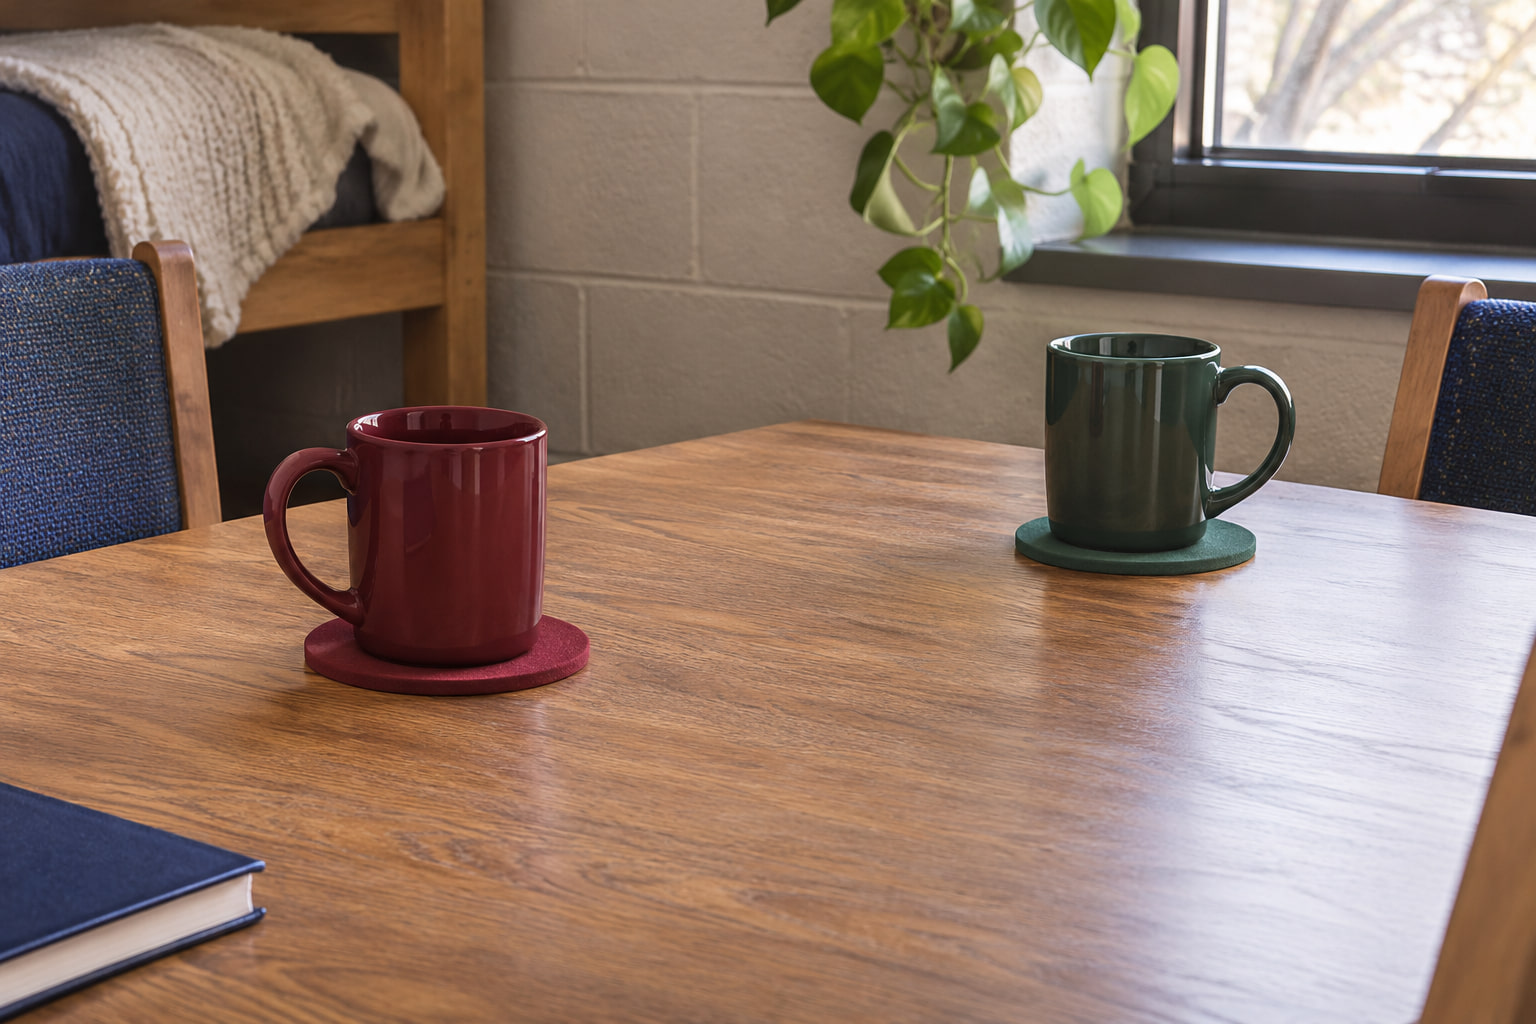
Use the spot where you already set your mug. A small green or cranberry coaster makes that corner feel seasonal with a piece you will use throughout December. Pick a flat one wide enough to hold the whole mug base and wipe it dry before you put it back on the desk. Try reaching for the mug while your laptop and notebook are open to see whether the spot actually works.
If two roommates share a small table, choose one coaster per person in different shades. Put each one where its owner naturally sits, with both mug handles easy to reach. The coasters can sit flat in a drawer when the table is needed for a group assignment or a meal. Two small pieces of color are enough to give a shared routine a seasonal touch.
16. Slip a Christmas Print Into a Binder You Already Use
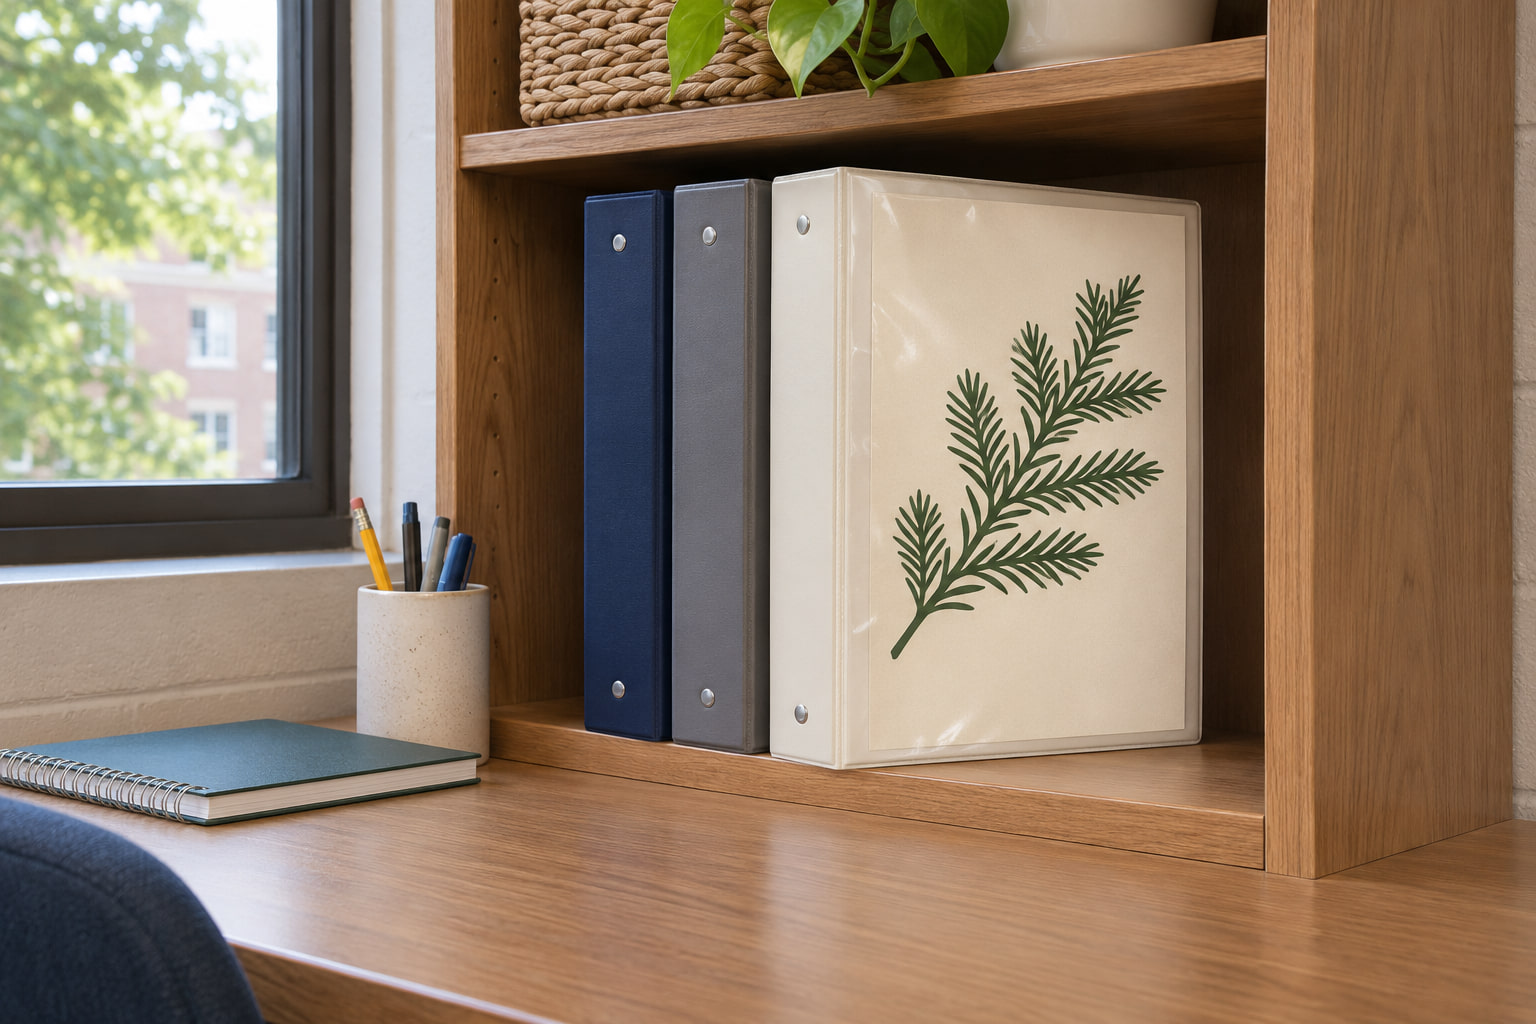
Use the clear front sleeve of a binder you already carry to class to hold one flat Christmas print. Cut the insert to fit the existing pocket and use a single shape that reads clearly when the binder is standing up, such as a green sprig silhouette on a cream sheet. Keep your course label where you can still see it, especially if the binder has the same color as another one.
When the binder is home, leave it in its normal upright slot with the print facing out if there is room. Check that the new sheet slides out without bending the pocket and that the binder still fits beside the others. The print travels with an item you use anyway, and you can swap the regular cover back in after break.
17. Put Your Winter Scarf Where You Will Actually Grab It
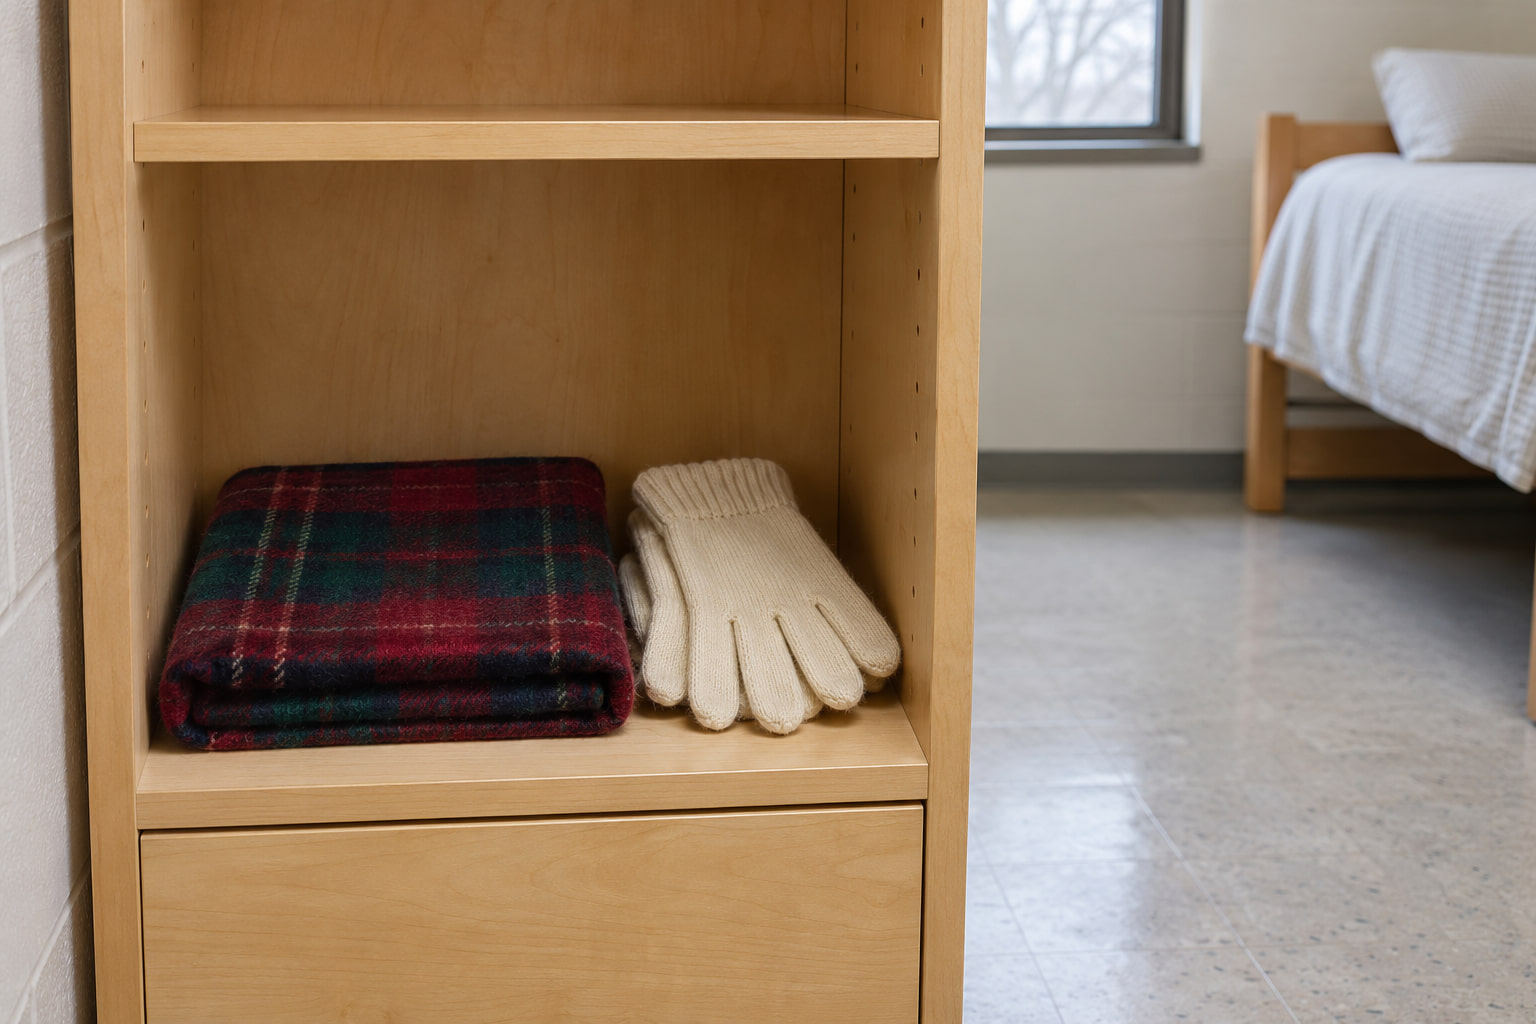
If you already wear a red or green plaid scarf, let it supply a bit of December color on the way out. Fold it in half and set it on your own open shelf or cubby with the folded edge facing you. Keep the loose ends within the shelf opening. You should be able to pick it up in one motion without moving your gloves or reaching into your roommate’s things.
Use the shelf you already pass when you get dressed so the scarf comes back to the same place when it is dry. Put matching mittens together at one end of the shelf so the scarf does not hide them. If that shelf is hard to reach or its front faces the shared aisle, tuck the scarf in farther. The color still reads when you walk in.
18. Let a Small Existing Mirror Echo One Holiday Color
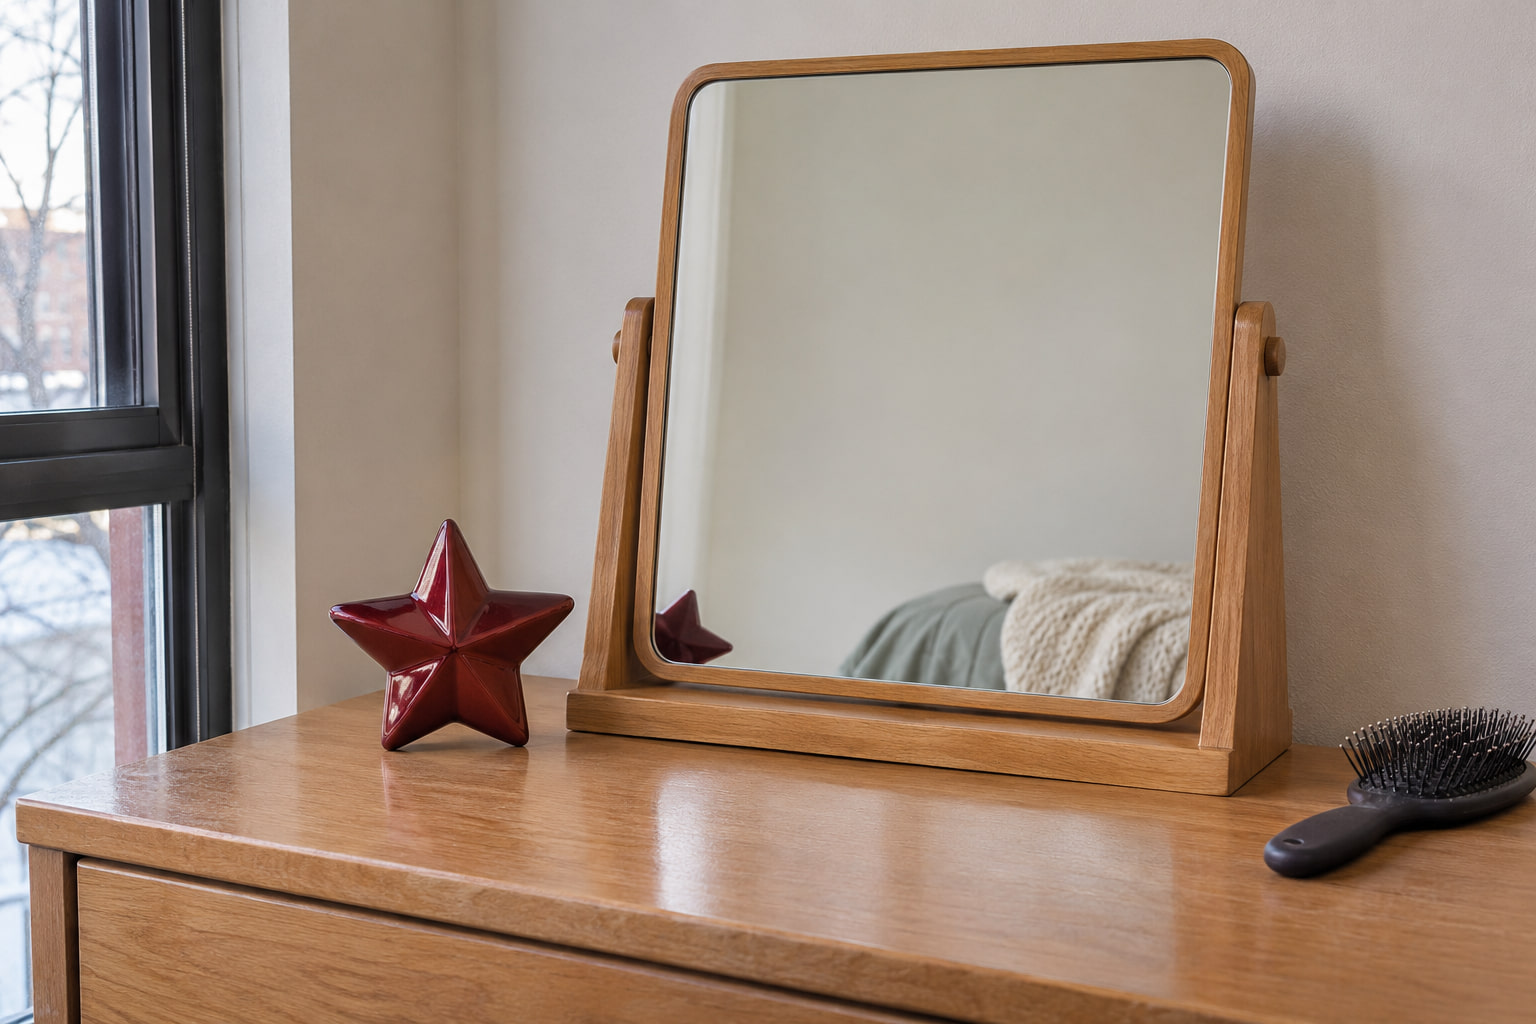
Look for a mirror that already sits securely on your side of the room. A small dresser mirror can pick up a deep red or green detail from elsewhere on the same surface. Put one low piece where it stays out of the part of the mirror you use and shift it until you can see the reflection from the doorway. Try a shape you already own before buying another.
Check the setup while you get ready. If the mirror mostly reflects your roommate’s bed, angle the existing stand toward your own side if it is made to adjust. You should still be able to use the mirror and pick up your everyday items easily. Skip the reflection idea if it calls for a taller object or a less stable position.
Choose the one spot that is easiest to see and the easiest to clear. Try your accent there first, then look at it from both beds and make sure the room still works for both of you. When it is time to leave for break, put the little scene away together and leave the everyday things where you will want them in January.
Discover more from HomeTrendora
Subscribe to get the latest posts sent to your email.