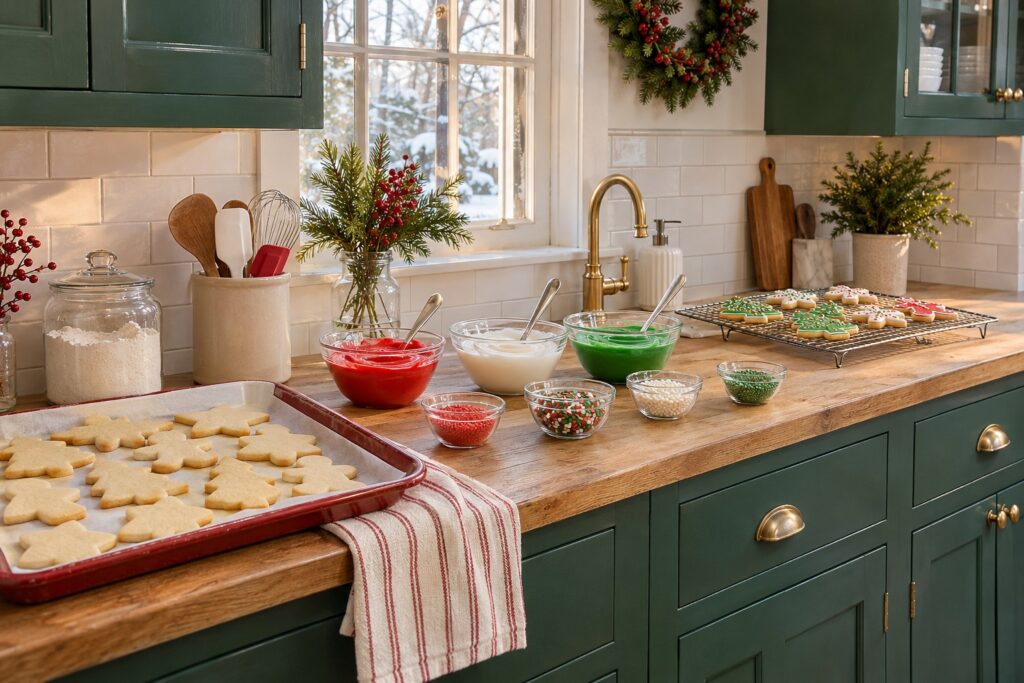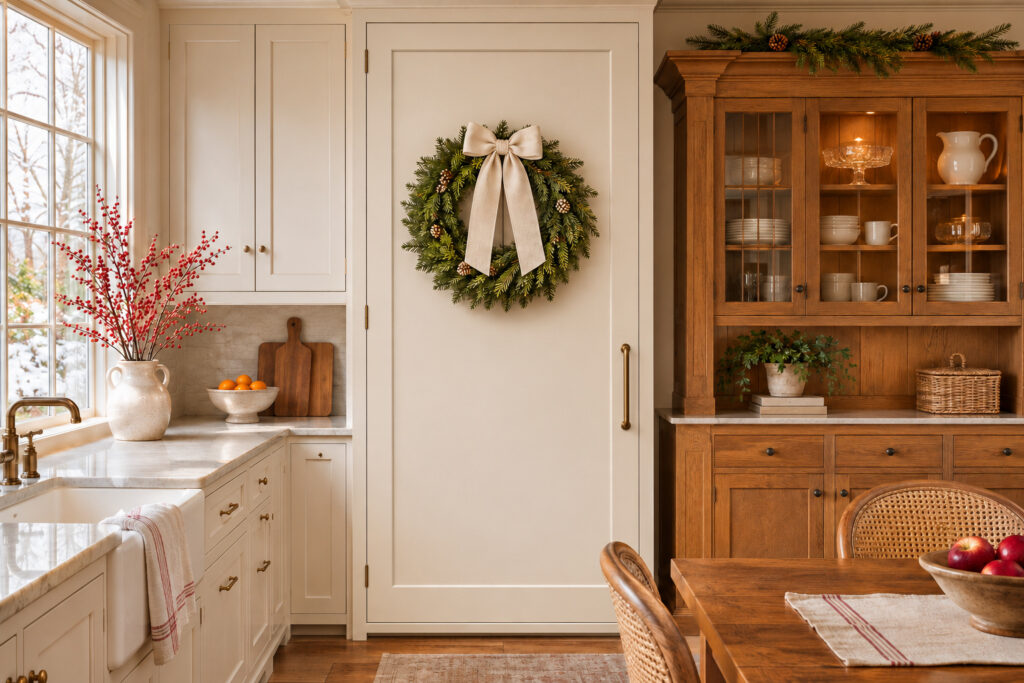
When people gather in the kitchen at Christmas, the same questions can follow you from the oven to the sink. Give a chalkboard one job and put it where that question comes up, whether you need to show what’s ready to pack or where guests can make their morning coffee.
Choose the spot before you pick the board. A short heading and two or three lines are usually easier to read from a few steps away than a detailed drawing. Check the board maker’s directions to see which kind of chalk it takes. If your board can take a liquid chalk marker, try the marker on an inconspicuous corner before drawing the full design. Keep chalk and erasers off food-prep surfaces.
1. Keep the Holiday Cooking Queue in View
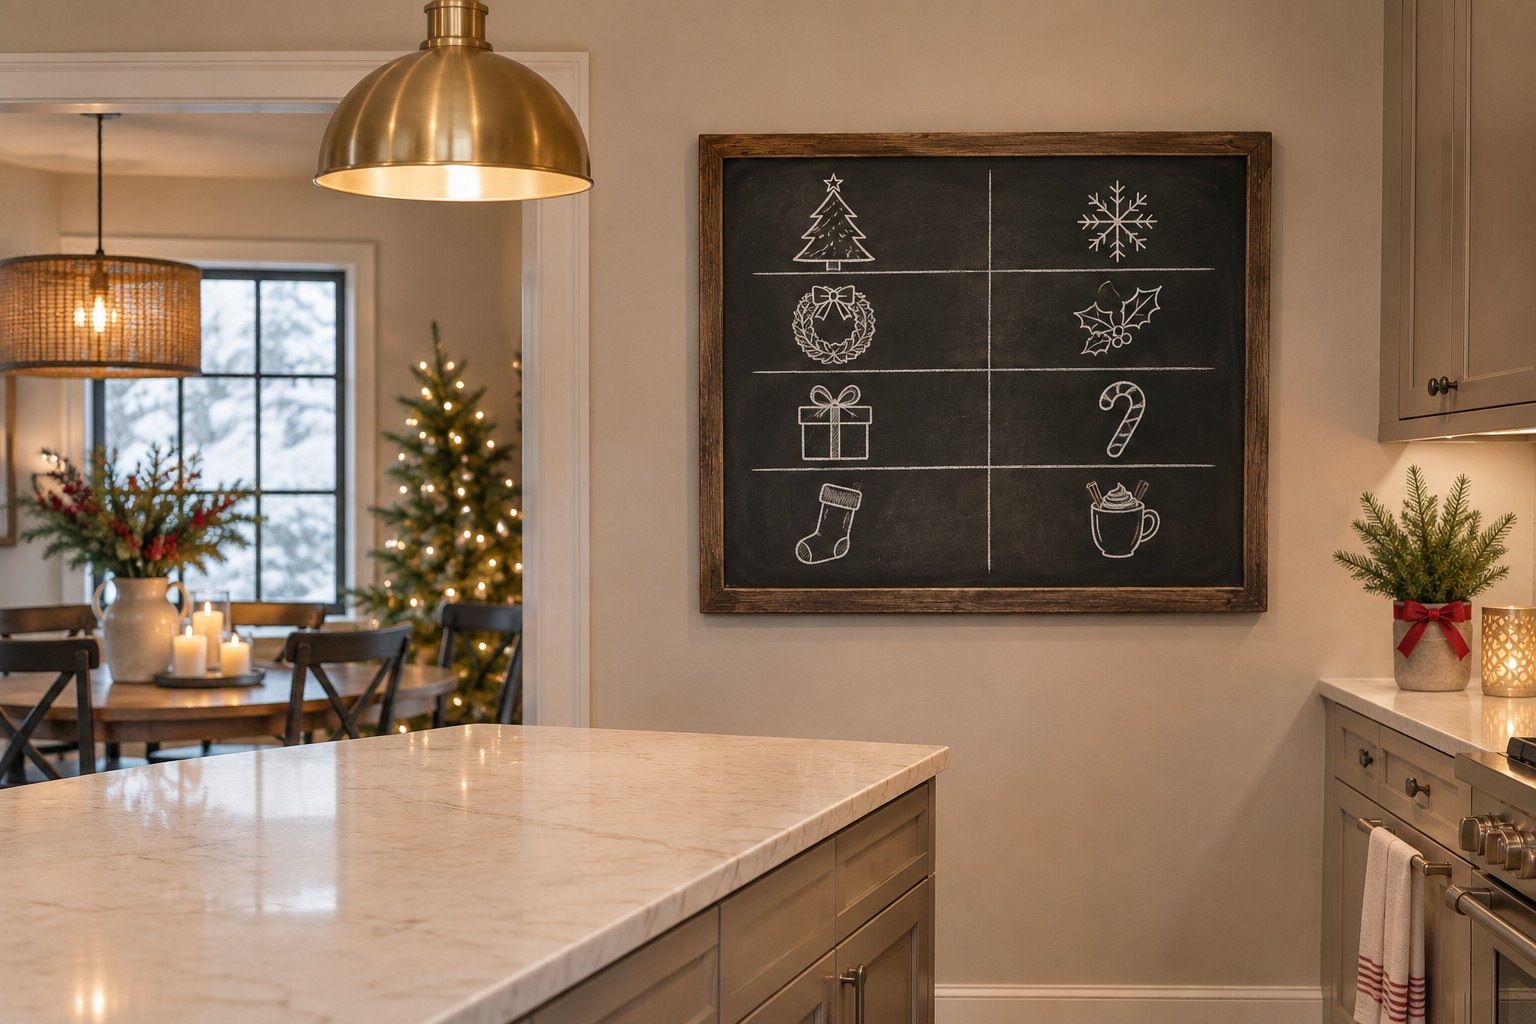
Put a wall board where you can read it from the prep counter. Divide it into two columns for what’s going in the oven and what’s coming out. Write the name of each dish on its own line and put an arrow next to the one you’re working on. When the schedule changes, you can move the arrow with a quick wipe.
Keep times and temperatures on the recipe or the kitchen timer. The board is there so someone can step in to help without asking you to repeat the whole plan. A little fir sprig in the top corner gives it a holiday look without taking space from the cooking notes.
2. Set Out a Small Cocoa Menu
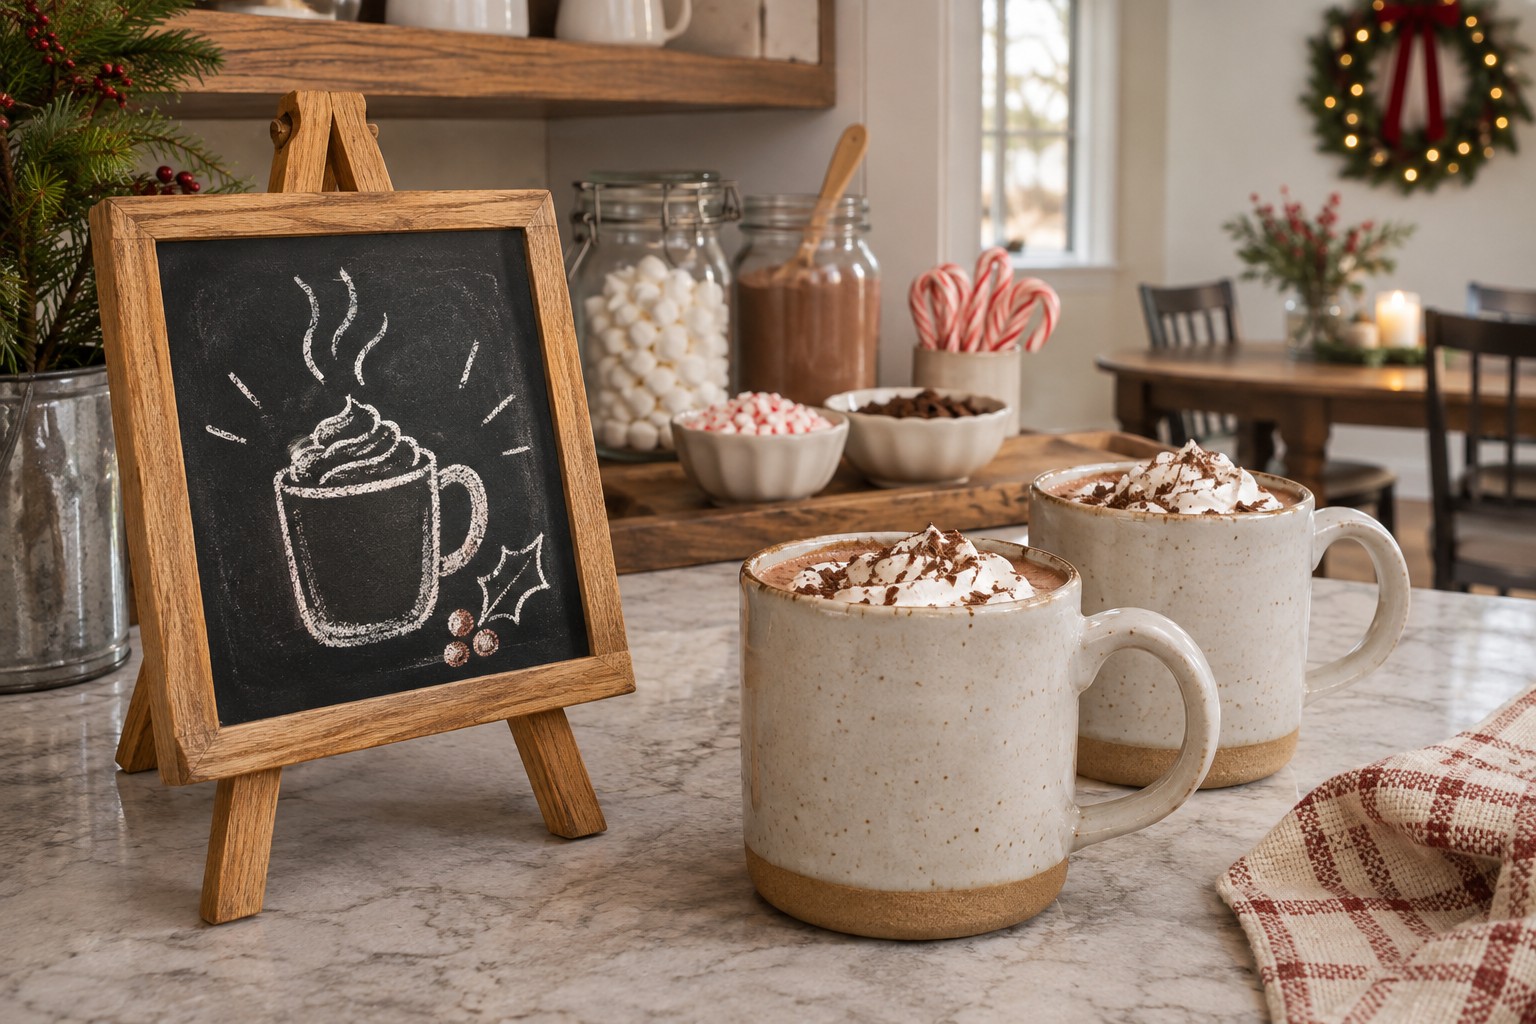
Put an upright board at the far end of the drinks surface and give the choices two short lines. One might be plain cocoa and the other cocoa with cinnamon. Put the mugs where guests begin, then set the toppings where they can build their drinks. Leave an open patch of counter wide enough to set down a mug while pouring.
If your mugs and toppings live in separate parts of the room, these Christmas cocoa station layouts show how a cart or a sideboard can bring them together. The board can face the direction guests approach from, even if that’s the short end of the counter.
White fine-tip chalk markers make it easier to fit two drink choices on a small board. Use them on a compatible nonporous surface and test a corner before you write the menu.
See the white chalk markers → (paid link)
3. Make a Christmas Eve Supper Board
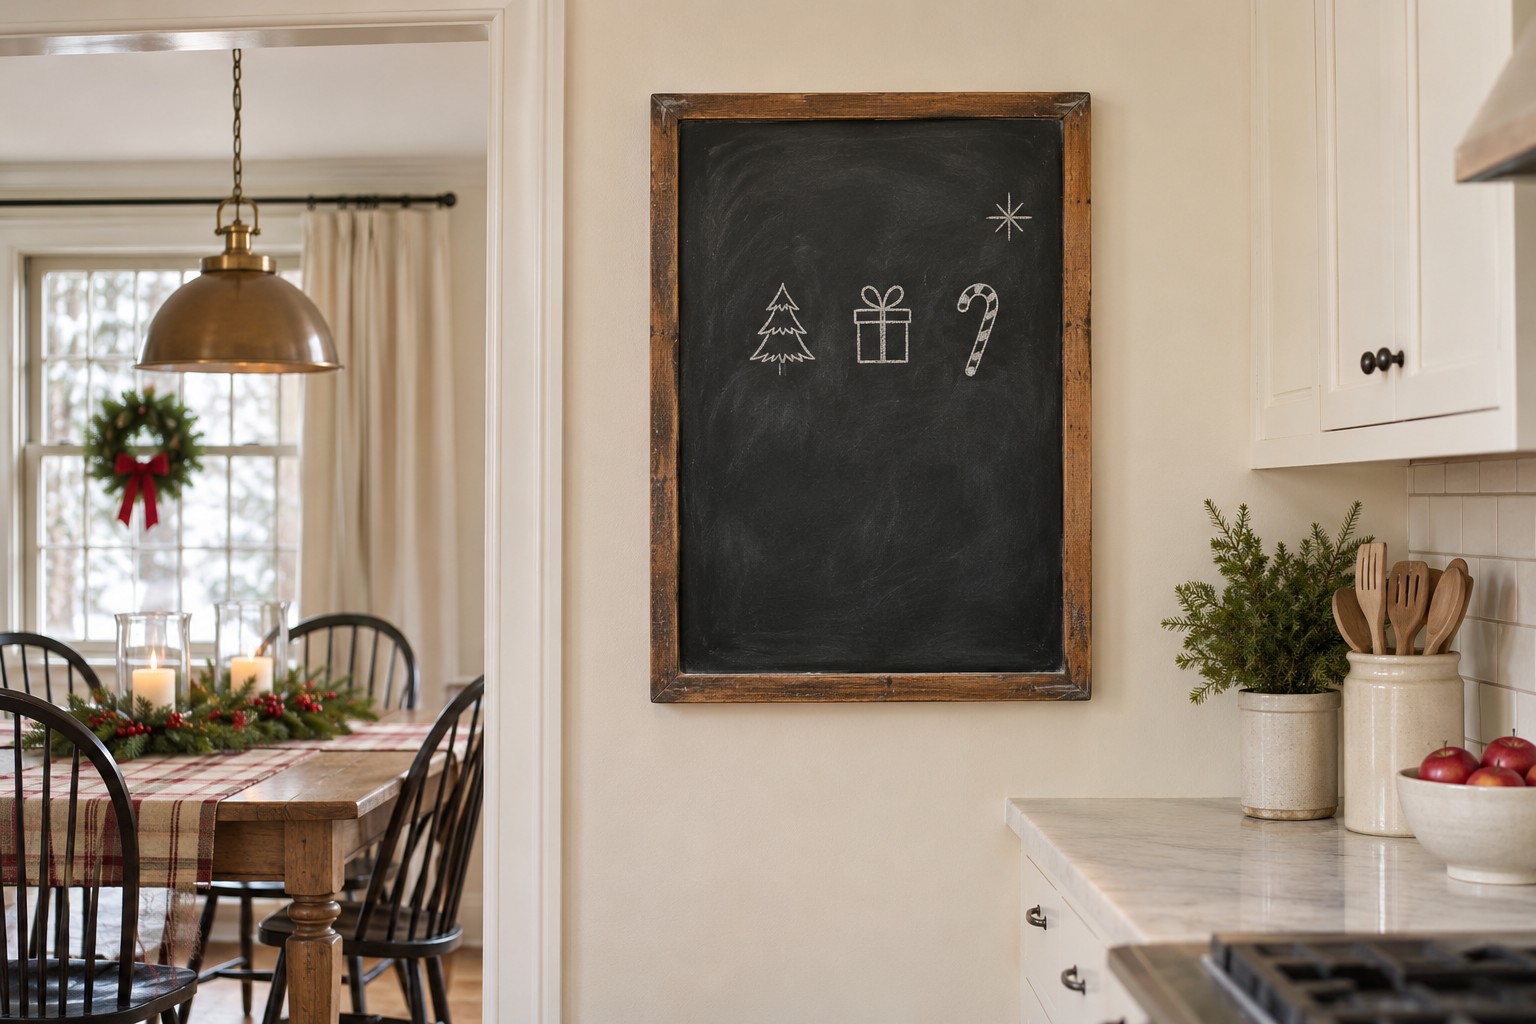
Put a single framed board on the wall beside the dining doorway. List the dishes in the order people will see them, starting with the main. If a dish will come out later, give it its own line so the first person in the kitchen can tell at a glance what’s ready to serve.
Stand where a guest first sees the board and check its legibility before adding a border. A star at the top and a plain bottom margin are enough. On a narrow wall, a portrait board fits a short list more comfortably than one long line of script.
If the doorway wall has room outside the walking route, a compact rolling cart can hold spare plates on top and folded napkins in its baskets. Measure the open spot and engage the wheel brakes before guests arrive.
See the compact serving cart → (paid link)
4. Show Which Cookies Are Ready to Pack
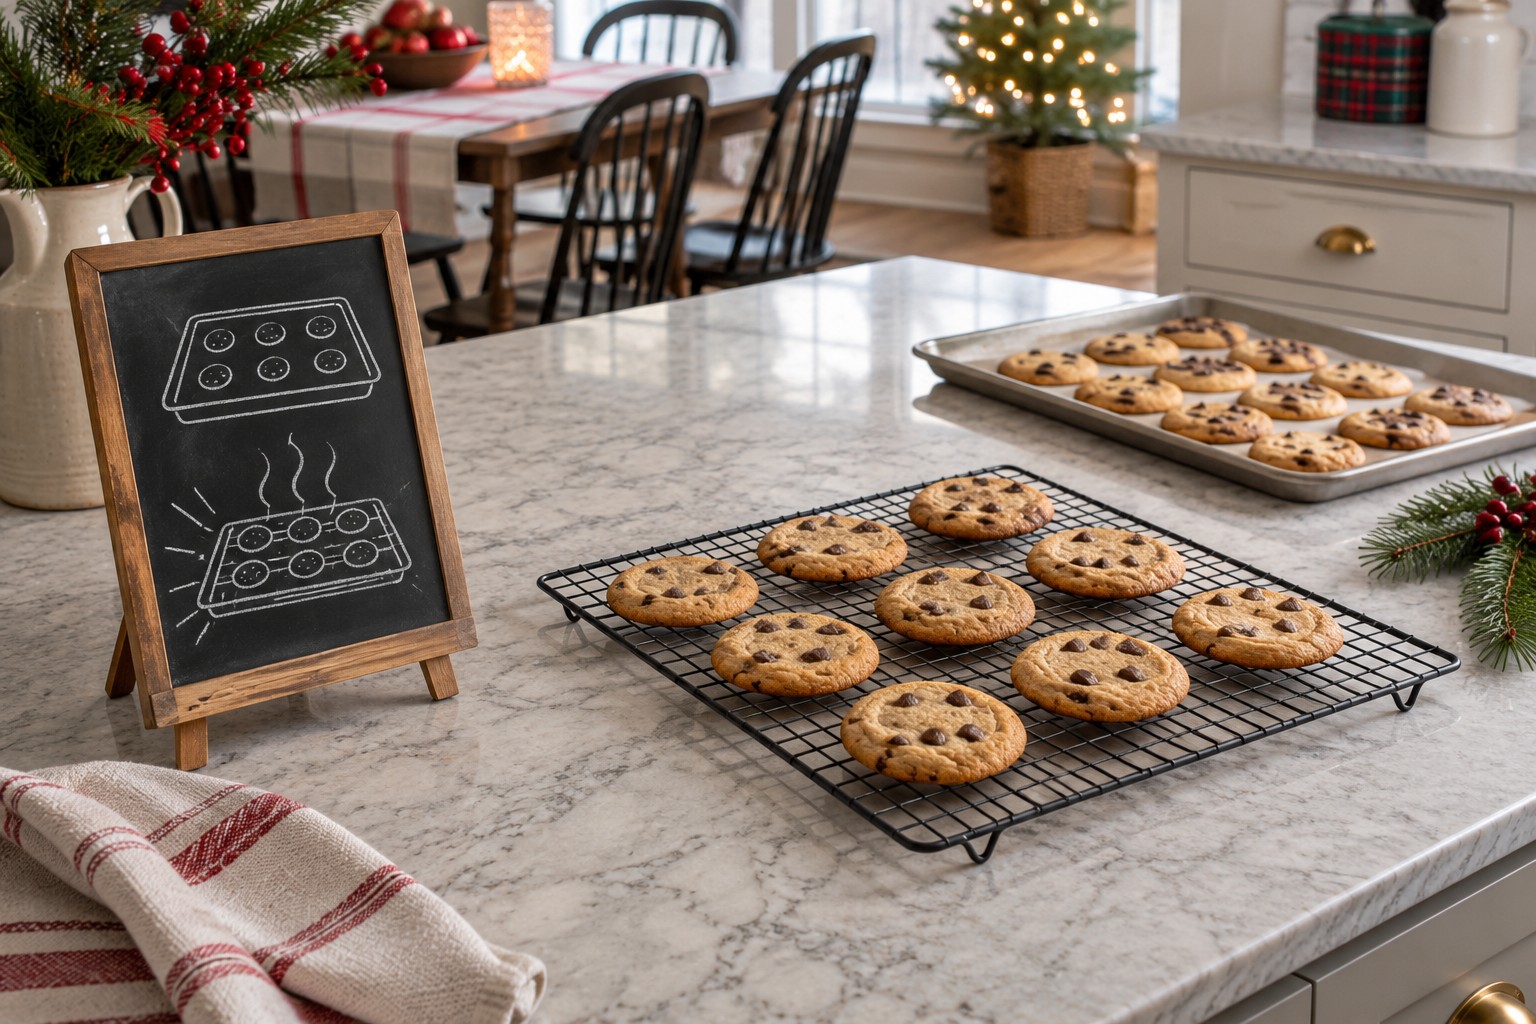
Set a board on an independent stand beyond the cooling area. Draw two simple tray symbols and write “cooling” beneath one and “ready to pack” beneath the other. Keep the finished cookies on their own tray so the label has an obvious match on the counter.
Leave a gap between the cooling racks and the packing supplies. If children are helping with bags or boxes, have them work from the finished end. A cookie decorating station for a busy kitchen offers more ways to keep the messy work in one spot.
5. Give the Cookie Swap a Two-Part Label
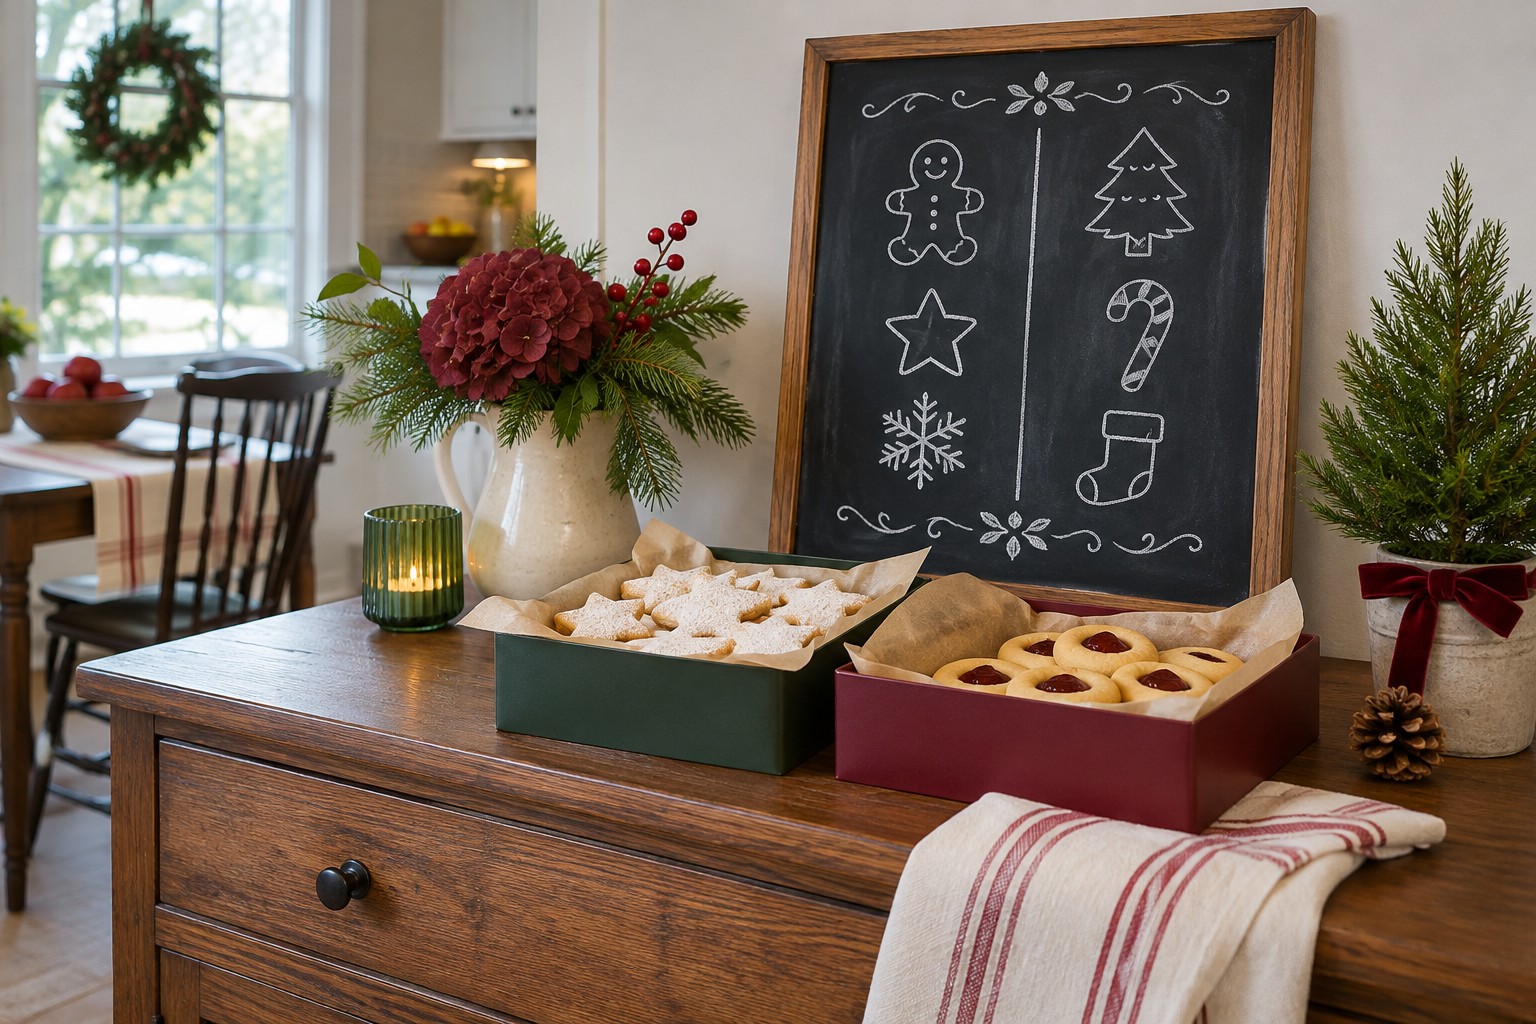
Use one board behind two matching places on the sideboard, one for arriving boxes and one for boxes that are ready to take home. Write the two labels above their own sides. At a crowded party, large words in matching positions are easier to follow than a long set of instructions in the middle.
Set a stack of blank cards near the arrivals side so guests can label what they brought. Keep ingredient and allergy information with each individual batch. A small burgundy ribbon at the corner of the frame can echo the wrapping without interrupting the labels.
6. Show the Brunch Options at the Start of the Line
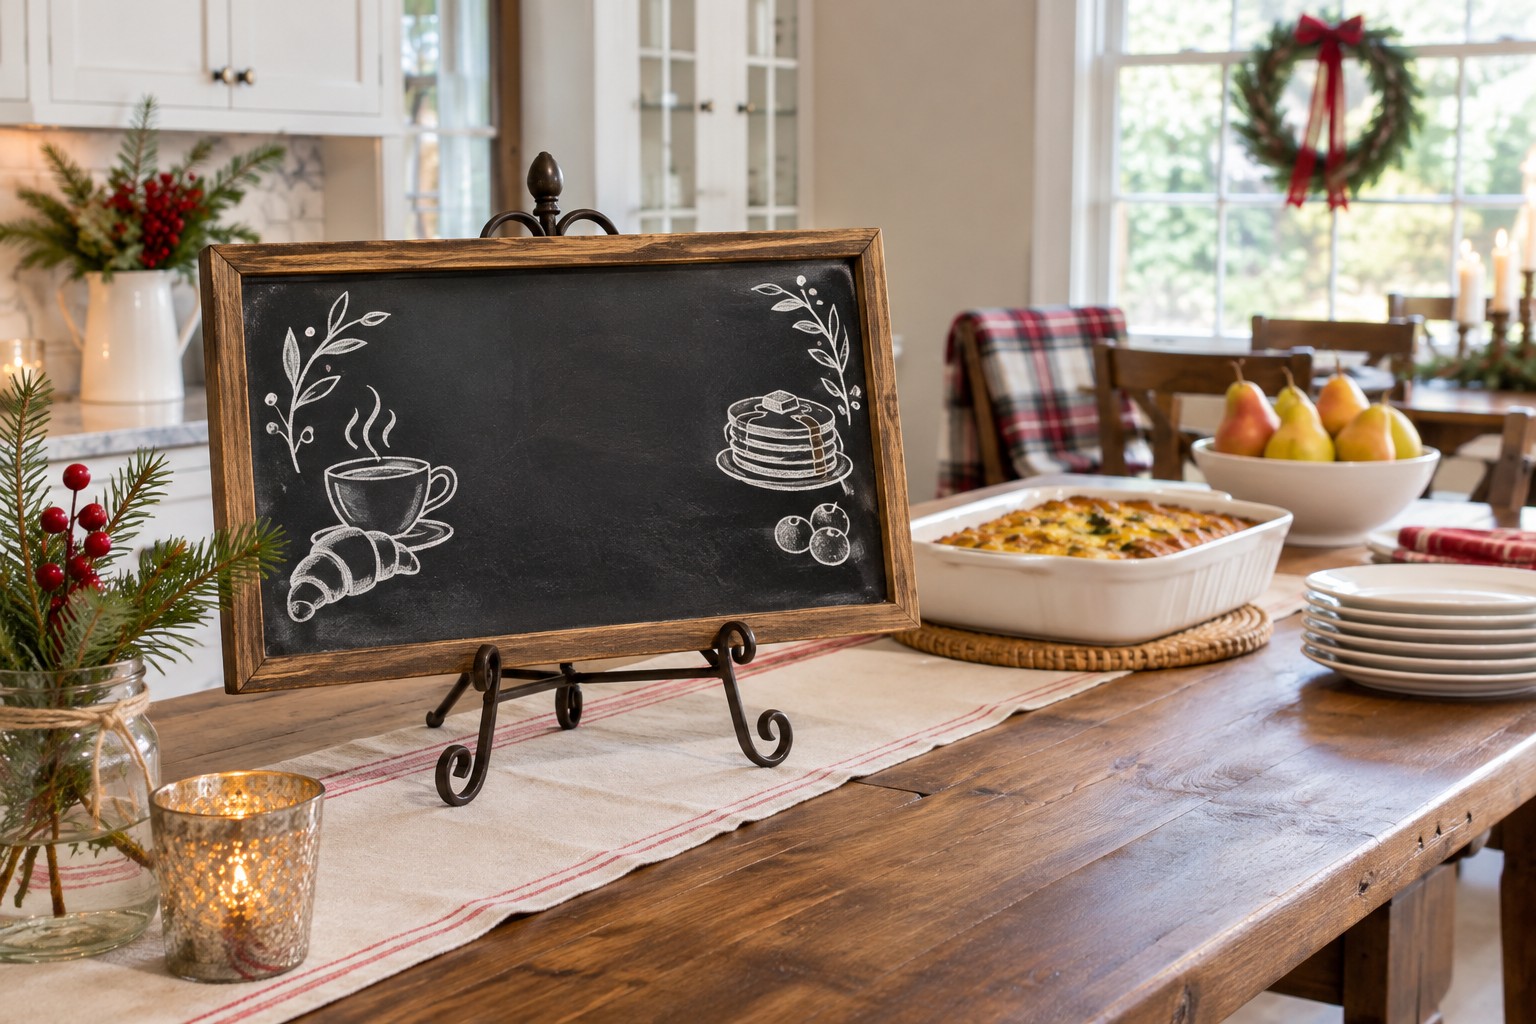
Give the breakfast buffet a low, wide board at the end where people pick up their plates. Write the two main choices across it in the same order they appear on the table. If you’re serving baked eggs and fruit, for example, put the eggs in the position that matches the left-hand label.
Set the board close to the back so the serving spoons and plates have room in front. Keep the display low enough for someone across the table to see what’s available. A few white chalk berries around the heading are plenty when the dishes already bring color.
7. List the Drinks That Are Ready to Pour
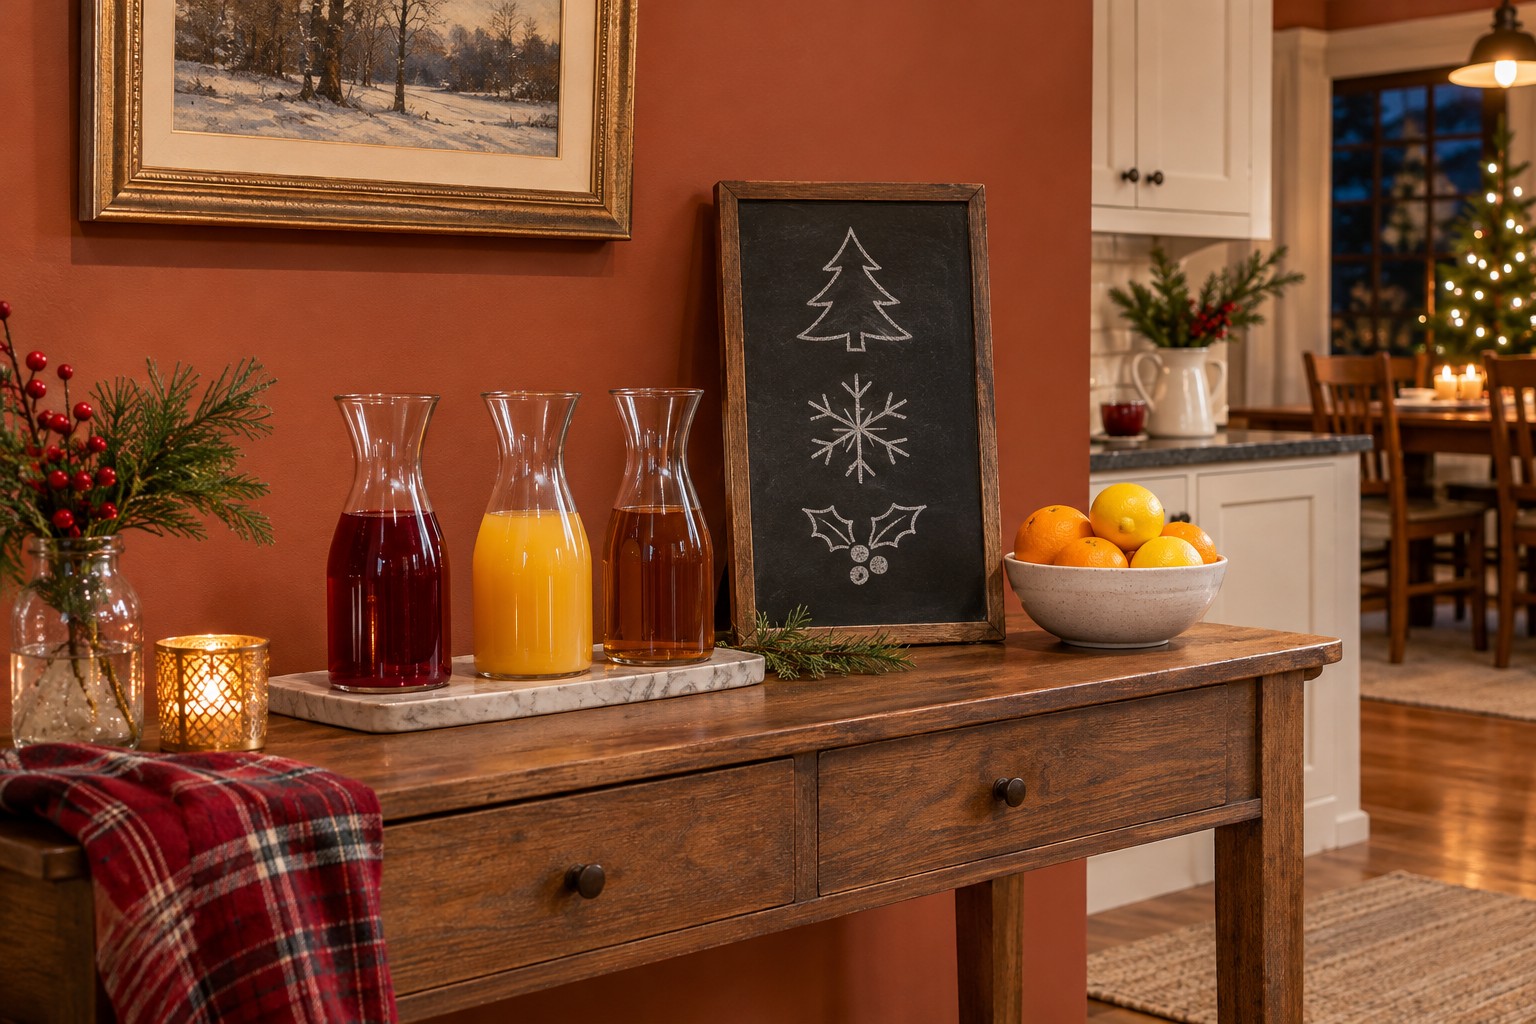
Place a little board behind a row of carafes and give each drink a distinct mark. A pear, an orange slice, and a plain circle are easy to sketch and can correspond to small labels on the vessels. Add the actual drink names beside those marks so guests can identify each one.
If you’re serving alcoholic and alcohol-free drinks, spell that out on the individual labels as well. Keep the board and the holiday greenery toward the wall so guests can lift and pour the carafes from the front.
8. Use a Board for Leftover Pickup
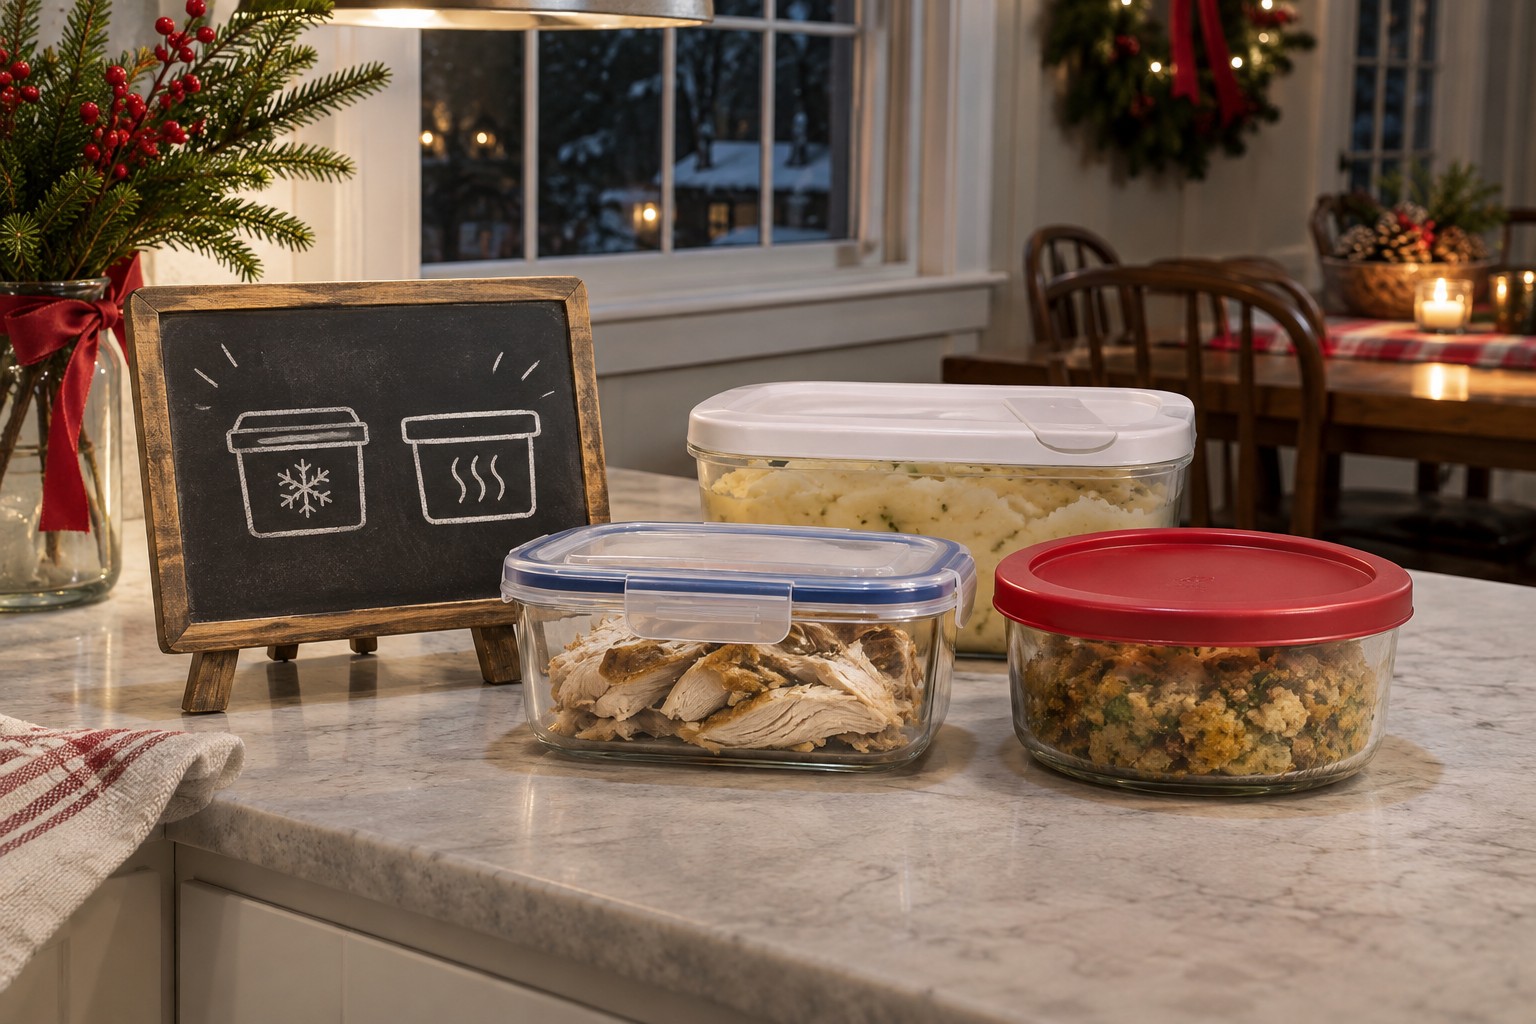
After dinner, put a small board beside a stack of empty containers on an unused counter. List the dishes you want to send home and leave a line for someone to claim their favorite. The board can be wiped and put away once the containers are spoken for.
Keep the container lids grouped by size so guests can find a match. Date and label filled containers separately. Let the board organize the pickup while the food stays stored as appropriate for the dish.
9. Give the Guest Coffee Corner a Morning Map
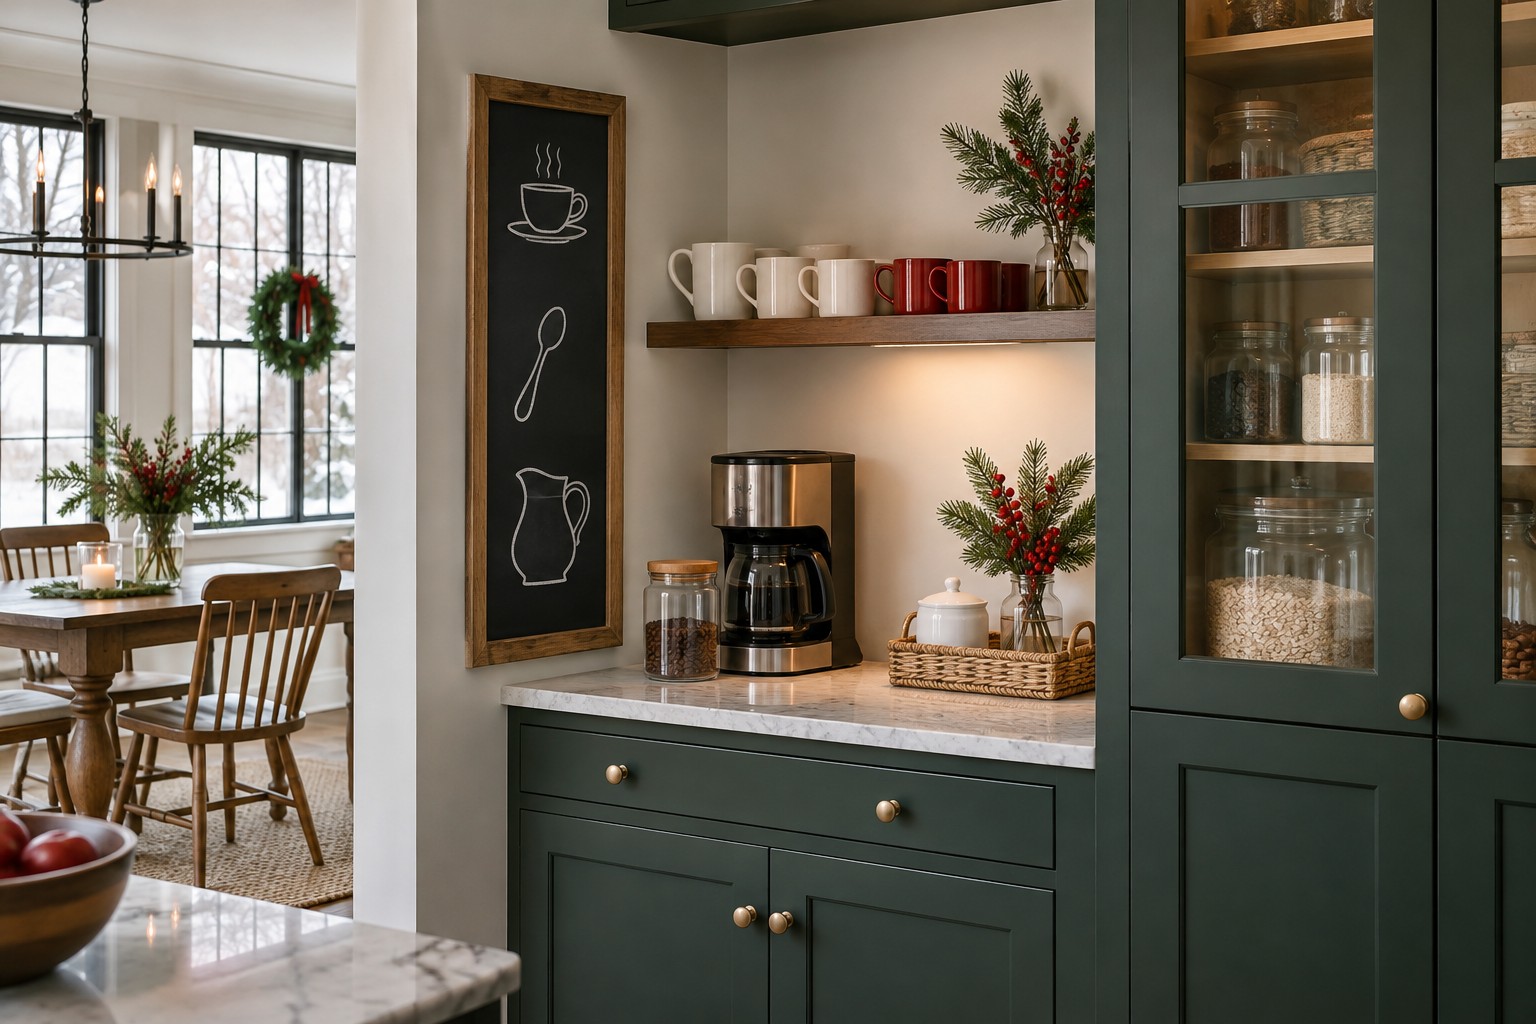
Hang a narrow board on the fixed wall near the mugs. Use it to answer the three things an overnight guest would otherwise have to ask. A line for where the cups live, where to find coffee, and where to put a used spoon is enough.
Put the board where it stays visible when the pantry or cabinet door is in use. If the coffee maker already crowds this spot, a compact coffee bar layout can help you free up the surface in front of it.
10. Set an Empty Board Out for a Family Vote
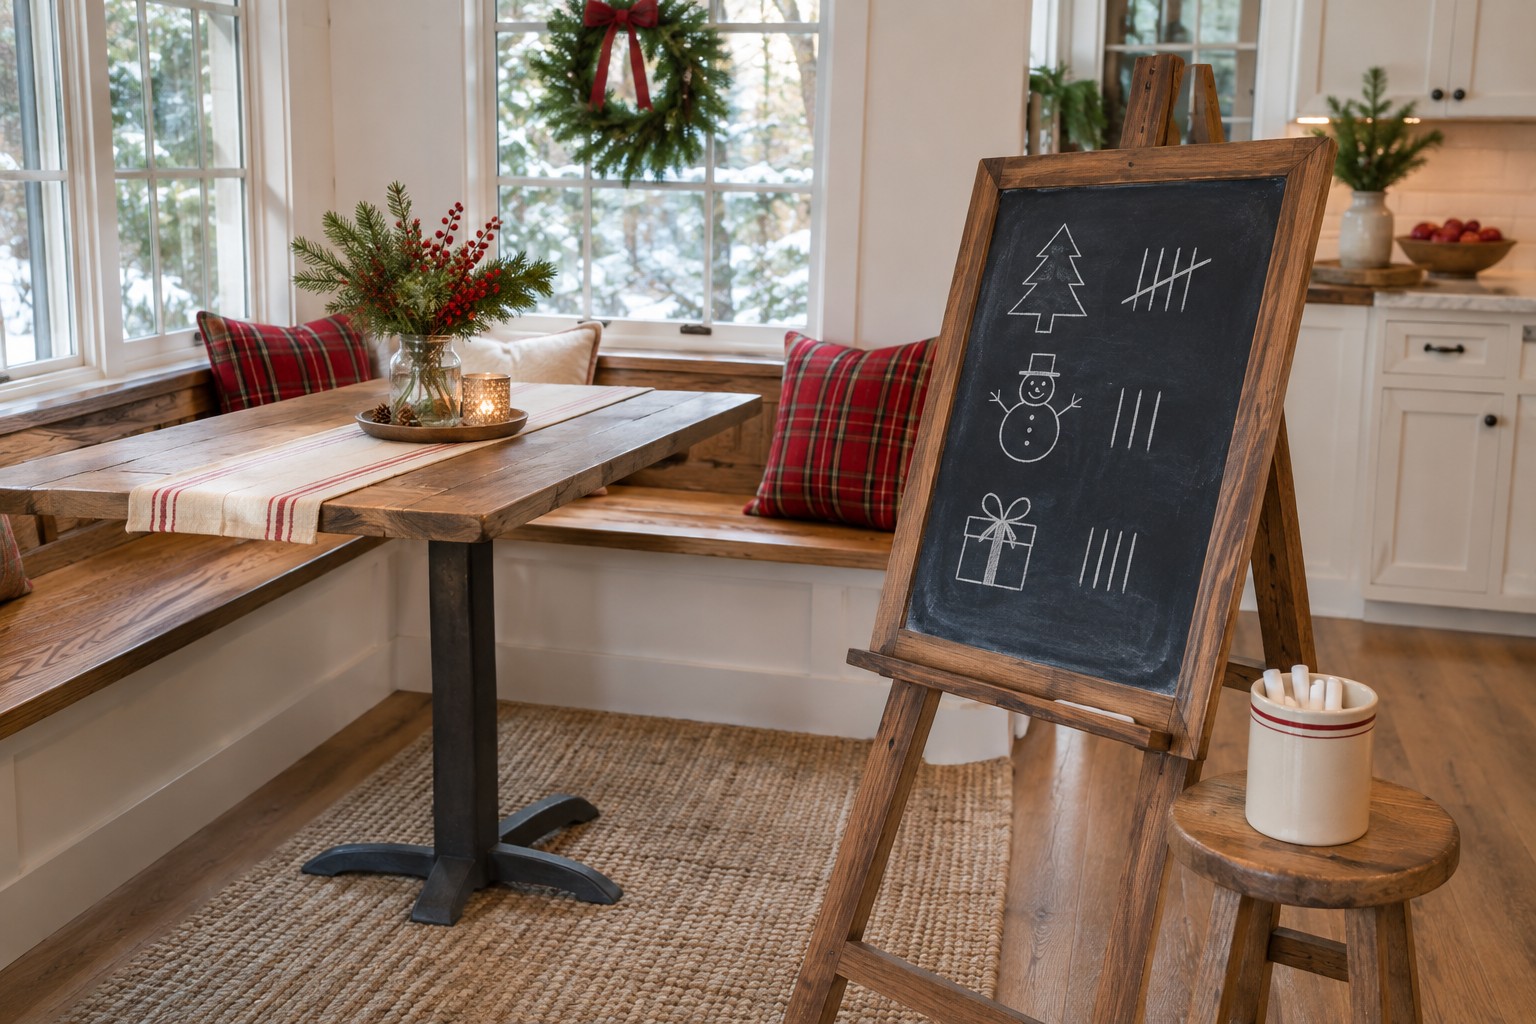
Give a board at the breakfast nook one question, such as which cookies to decorate next. Write three choices with enough room beside each for tally marks. Keep a piece of chalk in a small cup behind the board so the table can still be set for breakfast.
Draw the little icons with a light touch and leave the rest for the people who use it. The board will change through the day, which gives it a different role from a finished framed sign. Erase the tallies before you ask the next question.
11. Sketch One Ingredient Beside the Dish Name
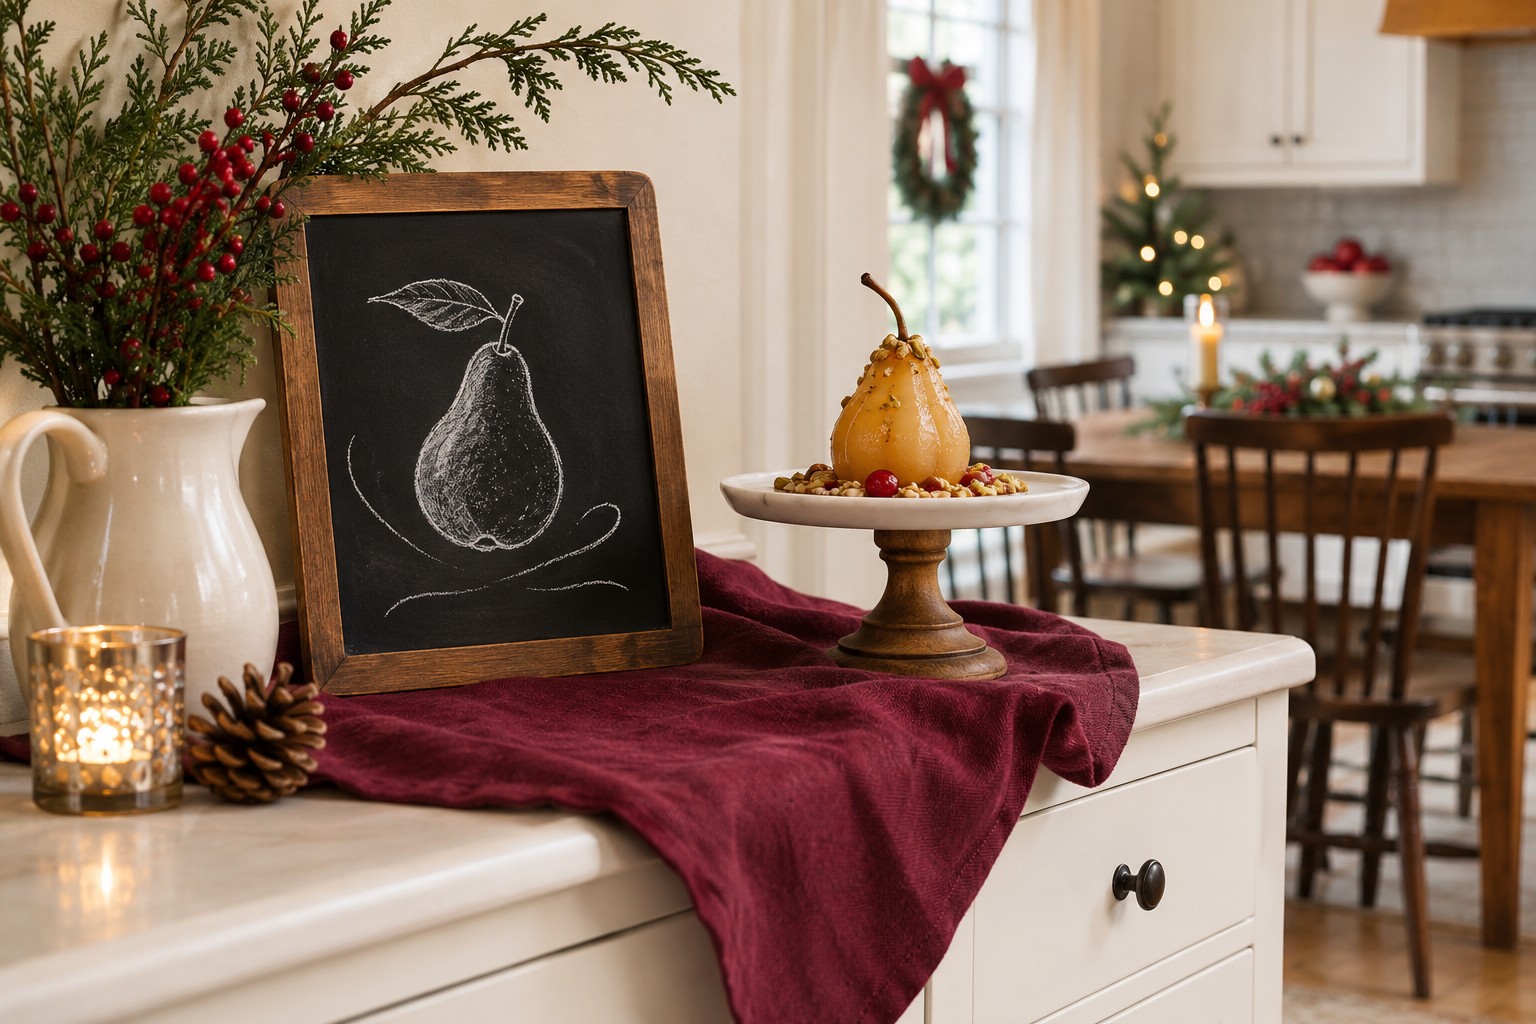
On a sideboard with one special dessert, a familiar outline can do a lot of the decorative work. Draw a small pear next to the name of the pear tart, or a cinnamon stick beside the name of a spiced cake. Make the words legible from the place someone stops to choose a slice.
Put the board on its own stand away from the plate and set the serving utensil near the front. Keep dietary information on a separate label with the dish. The drawing is a decoration and a visual cue for what’s on the stand.
12. Make a Welcome Board for the Kitchen Door
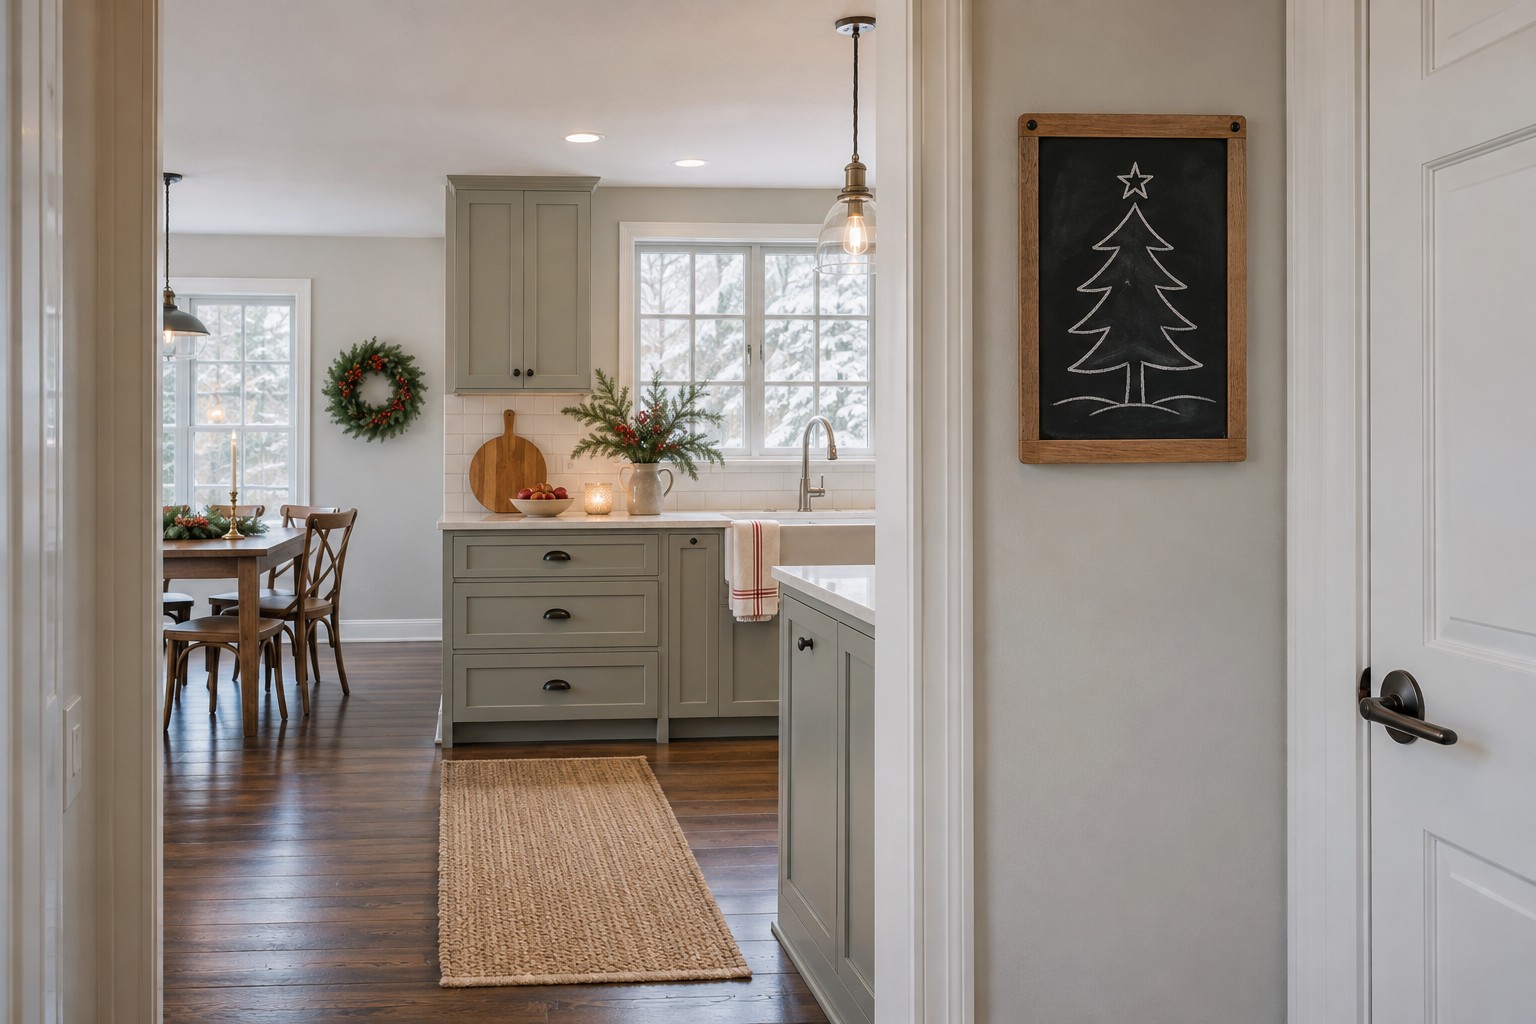
Put a small chalkboard on the fixed kitchen wall beside the doorway. Draw one simple fir and leave a short line below it where you can write where guests should set a dish or hang their coats. A thin board on the wall can stay visible in an entry where a freestanding easel would take up floor space.
Check that the door and its handle can move freely, and use hardware suited to the wall and the board. Pick a place you’ll be happy to see after the holidays, too. The same board can hold a weeknight note or a short grocery list in January.
Start with the thing guests are most likely to ask you. Give the answer a few clear words, put the board where they need it, and leave enough room for the kitchen to carry on around it.
Discover more from HomeTrendora
Subscribe to get the latest posts sent to your email.