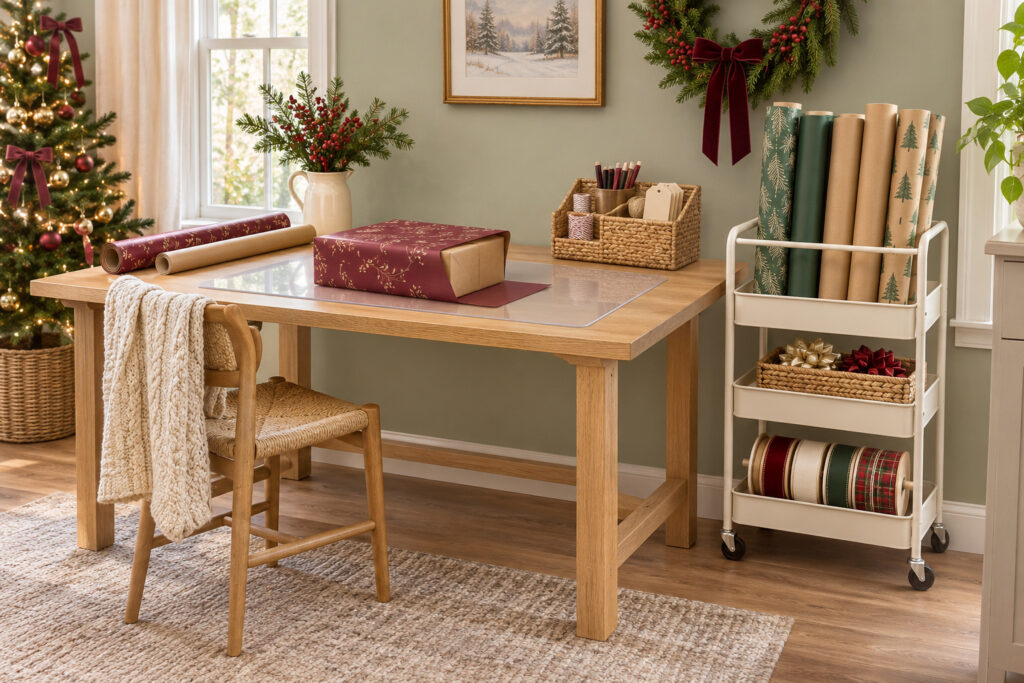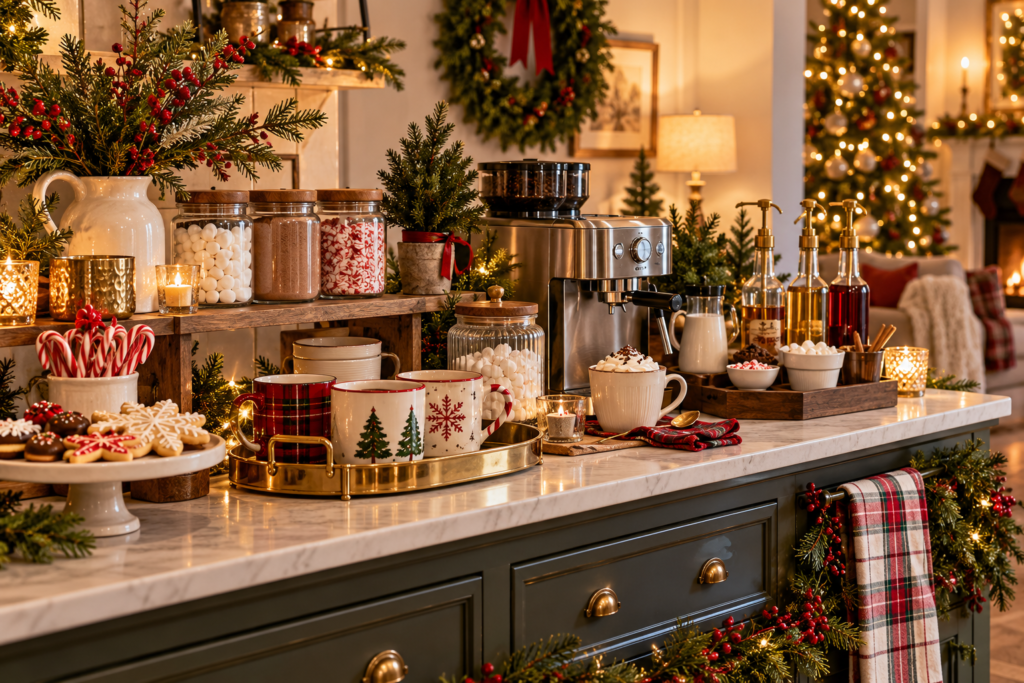
A row of iced Christmas cookies needs somewhere to go just when the next decorator wants a turn. Arrange the space around the moments when hands, trays, and half-filled piping bags move, and you can keep making cookies without clearing the kitchen every few minutes.
Walk through the setup with one empty tray before people arrive. Try carrying it to the next spot, opening the drawer you’ll need, and getting to the sink. If any of those moves involves asking someone to shift, start there.
1. Set the Christmas Cookie Station in Three Distinct Zones
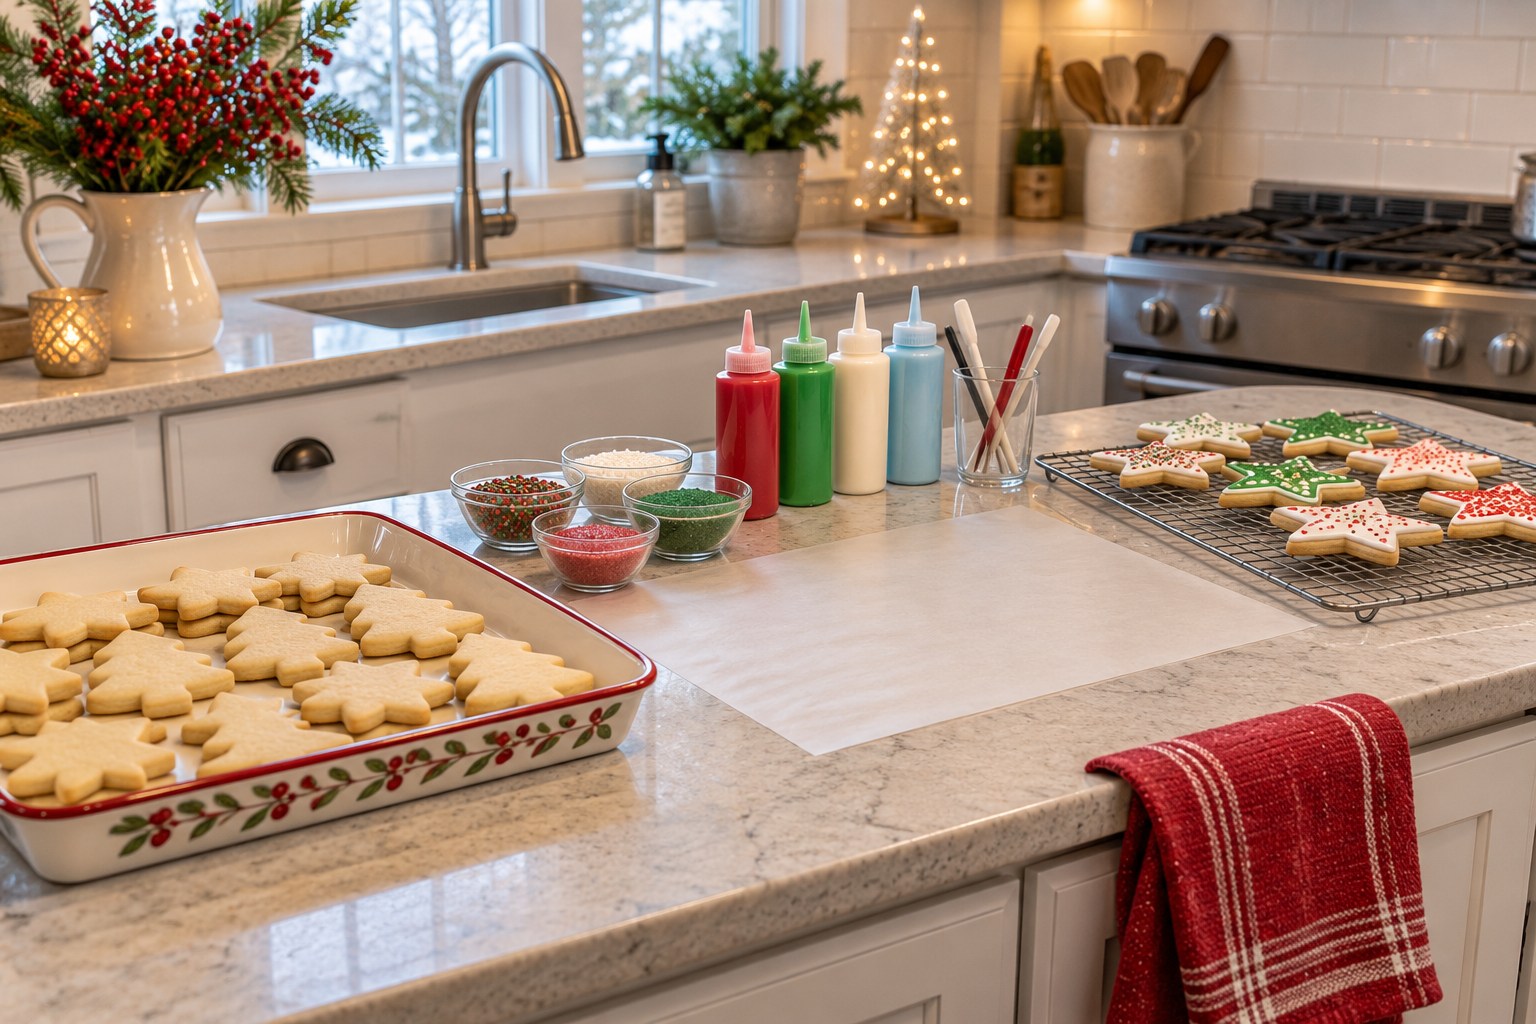
Give plain cookies a landing spot, keep the middle free for icing and toppings, and set finished pieces down beyond the working area. In a small galley, the first and last spots can be at different heights or on separate surfaces. Carry one empty tray through the sequence before you arrange the decorations.
Use a few cranberry or evergreen accessories to make the zones easy to see. A red-rimmed tray can identify cookies ready to decorate, while the plain rack signals where finished pieces go. Repeat that color on something you already use, like a kitchen towel outside the food area. The working space becomes the Christmas scene.
2. Give Each Decorator a Tray That Fits the Counter
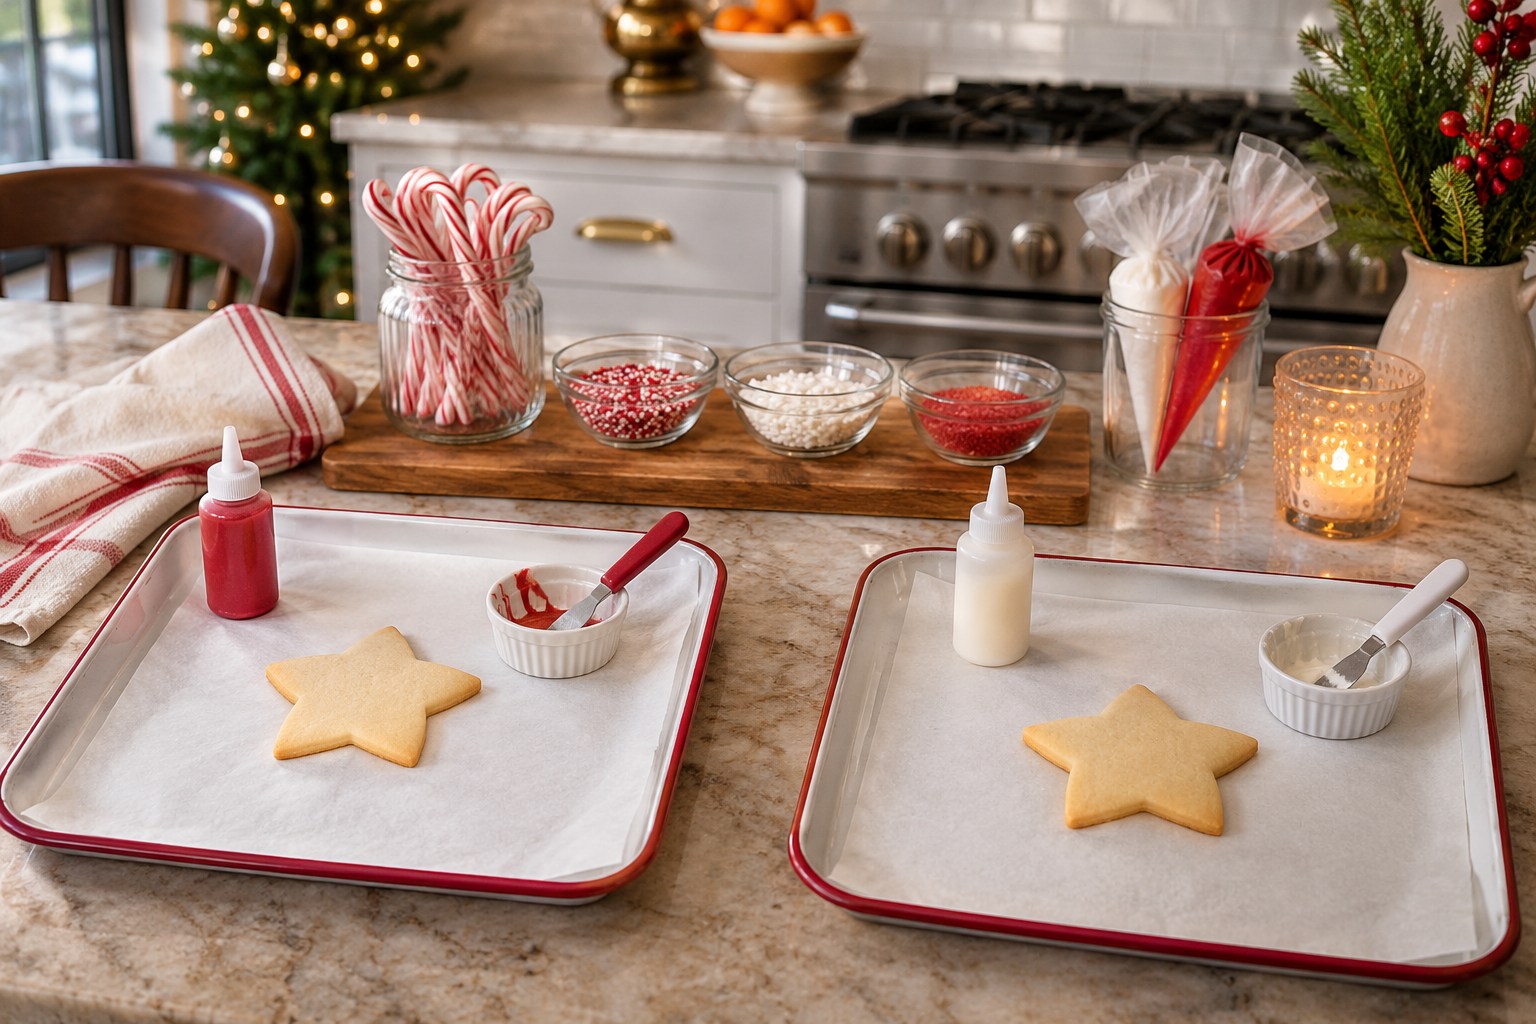
Put a small rimmed tray in front of each person. It needs room for one cookie, a squeeze bottle, and a decided place to rest the messy tool. Test the width with the trays side by side and someone’s elbows in their normal position. Fewer comfortable places may be easier to use than a full row squeezed across the counter.
Line the trays with food-safe parchment if it suits what you’re making. Leave a spot outside the trench of crumbs and sprinkles where each person can set their elbows or hands down. A small individual station also makes it easy to pause and move when someone needs to open a drawer below.
HOMETRENDORA PLANNING BUNDLE
Plan the room before adding more decorations.
Leave room for everyday life as you decorate. The Home Design Book includes room-planning guidance, a fillable planner and a budget tracker to help you decide what fits, what to reuse and what to buy.
160-page PDF + fillable room planner + Excel budget tracker
Bonuses included with your eBook purchase.
GRAB 10% DISCOUNT
Coupon code: HOMETRENDORA10
Use this code at Payhip checkout.
3. Stack Setting Trays on the Short End of a Galley
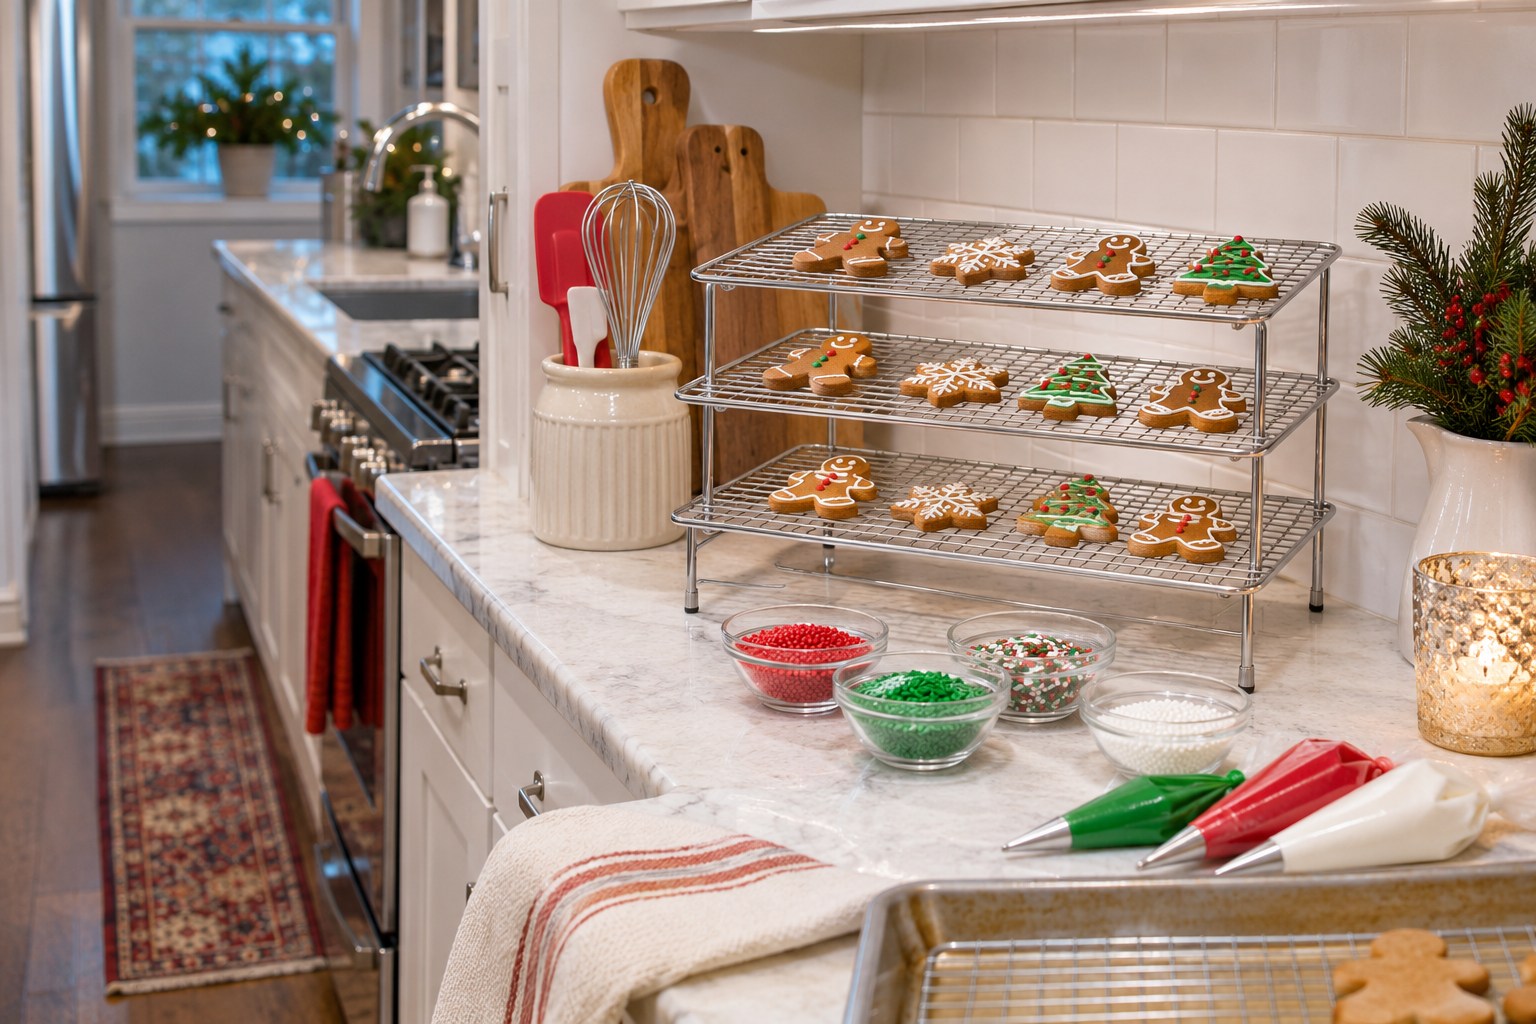
Use a stable rack designed to stack one level above the next. Give the rack a spot on the short end of the kitchen where its feet fit fully on the counter. Check that you can take a tray out without leaning across freshly decorated cookies. Keep the lowest working level easy to reach if it will fill first.
Test the gap above the tallest finished cookie, including any piped shape or topper. Make sure the surface holding it fits and stays level. If clearance is limited, use fewer levels or move the tall pieces to another stable spot. This part of the station should stay still once people begin to use it.
4. Give Piping Bags Their Own Rest Between Turns
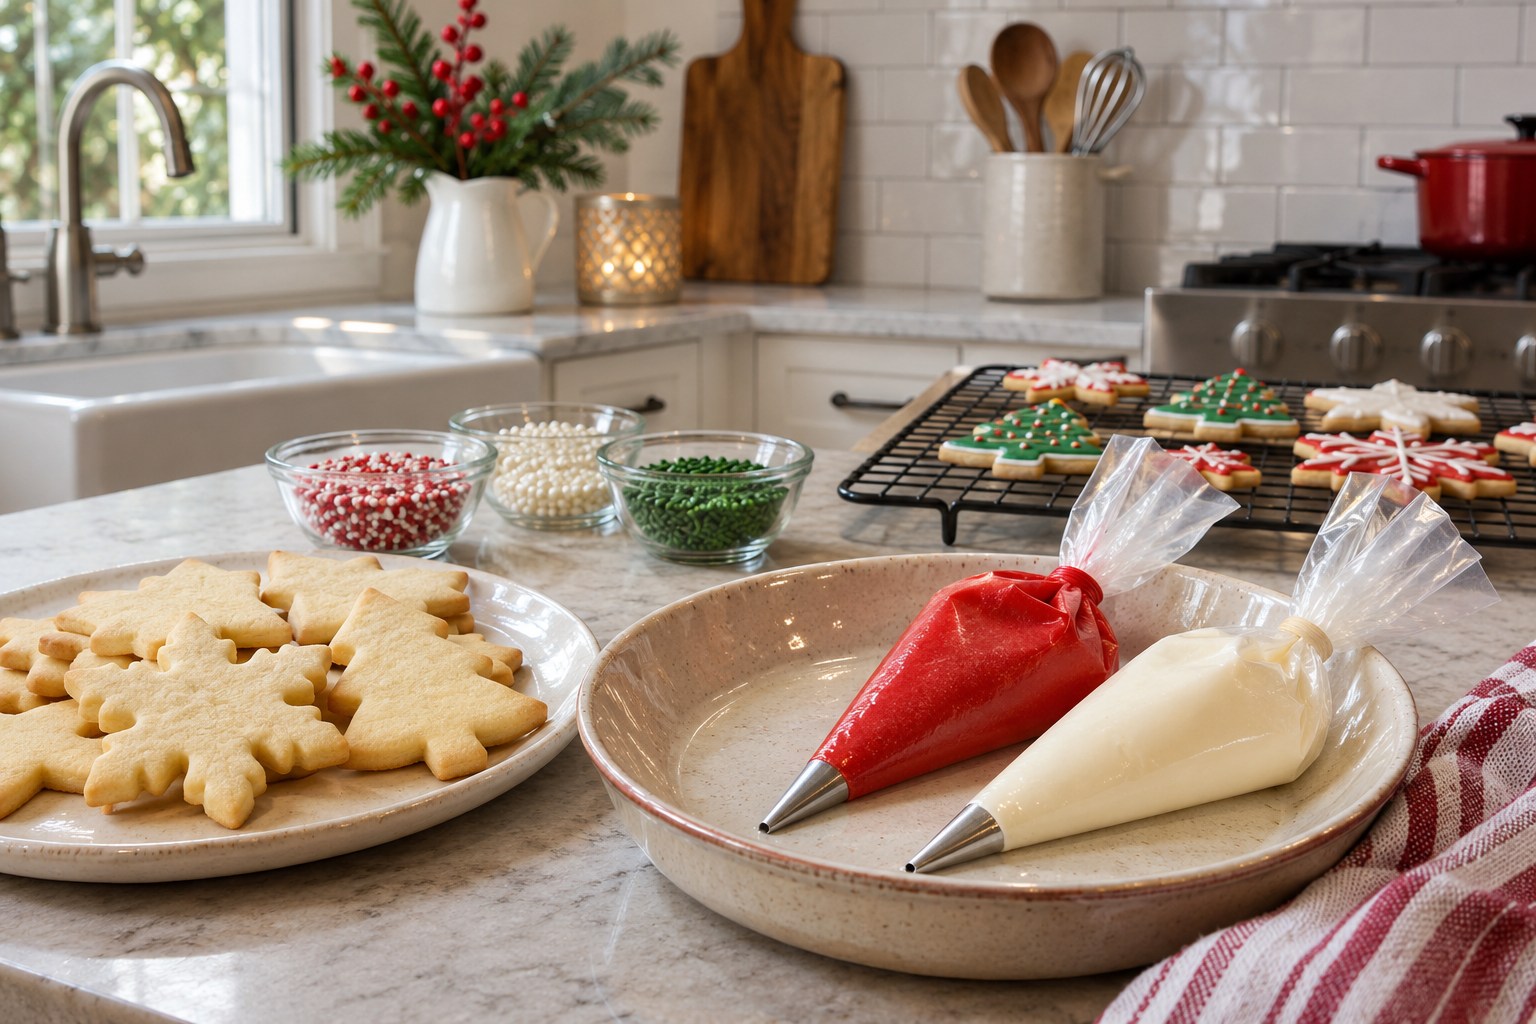
A shallow dish on the side you naturally reach toward can keep the decorating end of a piping bag off the counter. Set the dish where the nozzle end has space to land and the full bag can’t roll against a cookie. If several colors are in use, split the rest into two positions. Leave a clean edge where a new person can pick up a bag.
Choose a plate that’s easy to wash, and replace the liner or clean the surface when it gets messy. You want a real resting place for the working tool, rather than a cup so tall the bag tips over every time someone lets go.
5. Keep Piping Tips in a Shallow Drawer Insert
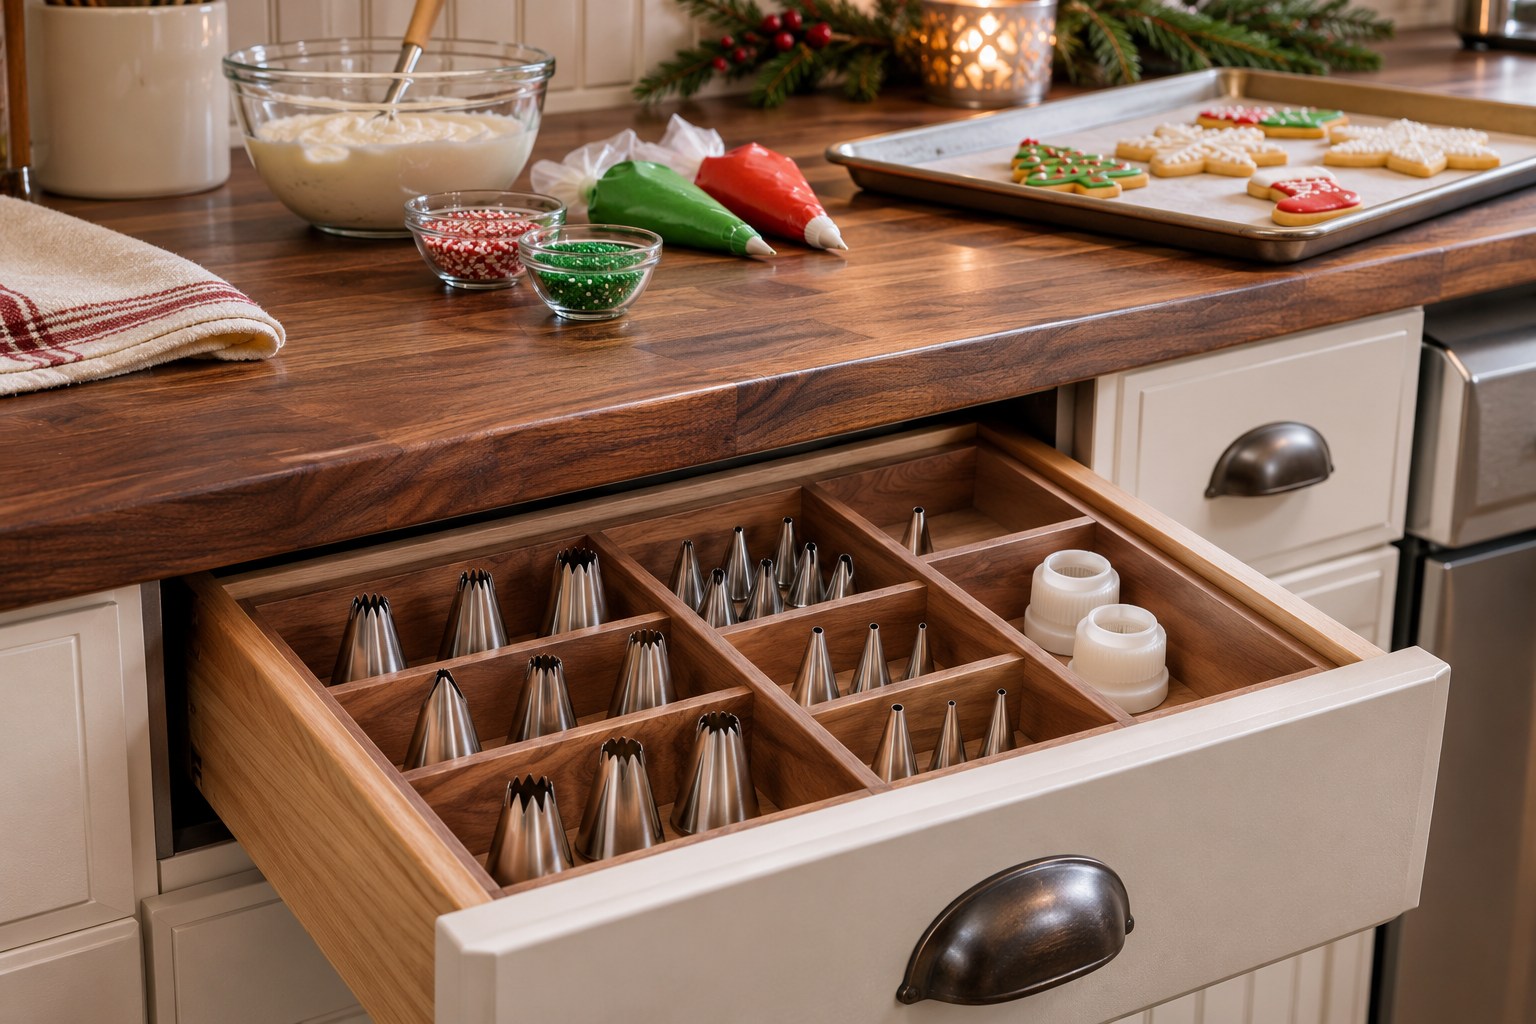
Put the clean tips and couplers in a shallow insert in a drawer close to the decorating zone. Set small tips in one row and wider ones in another. Try taking out the smallest without reaching across the other pieces. Keep used items in a different washable container until they’ve been cleaned and dried.
Give the insert no more drawer space than it needs. The purpose is to put the entire assortment away between batches. If an insert covers the only drawer you need for regular cooking, use a smaller removable box that fits elsewhere when Christmas baking is over.
6. Give Younger Decorators a Seated Work Spot
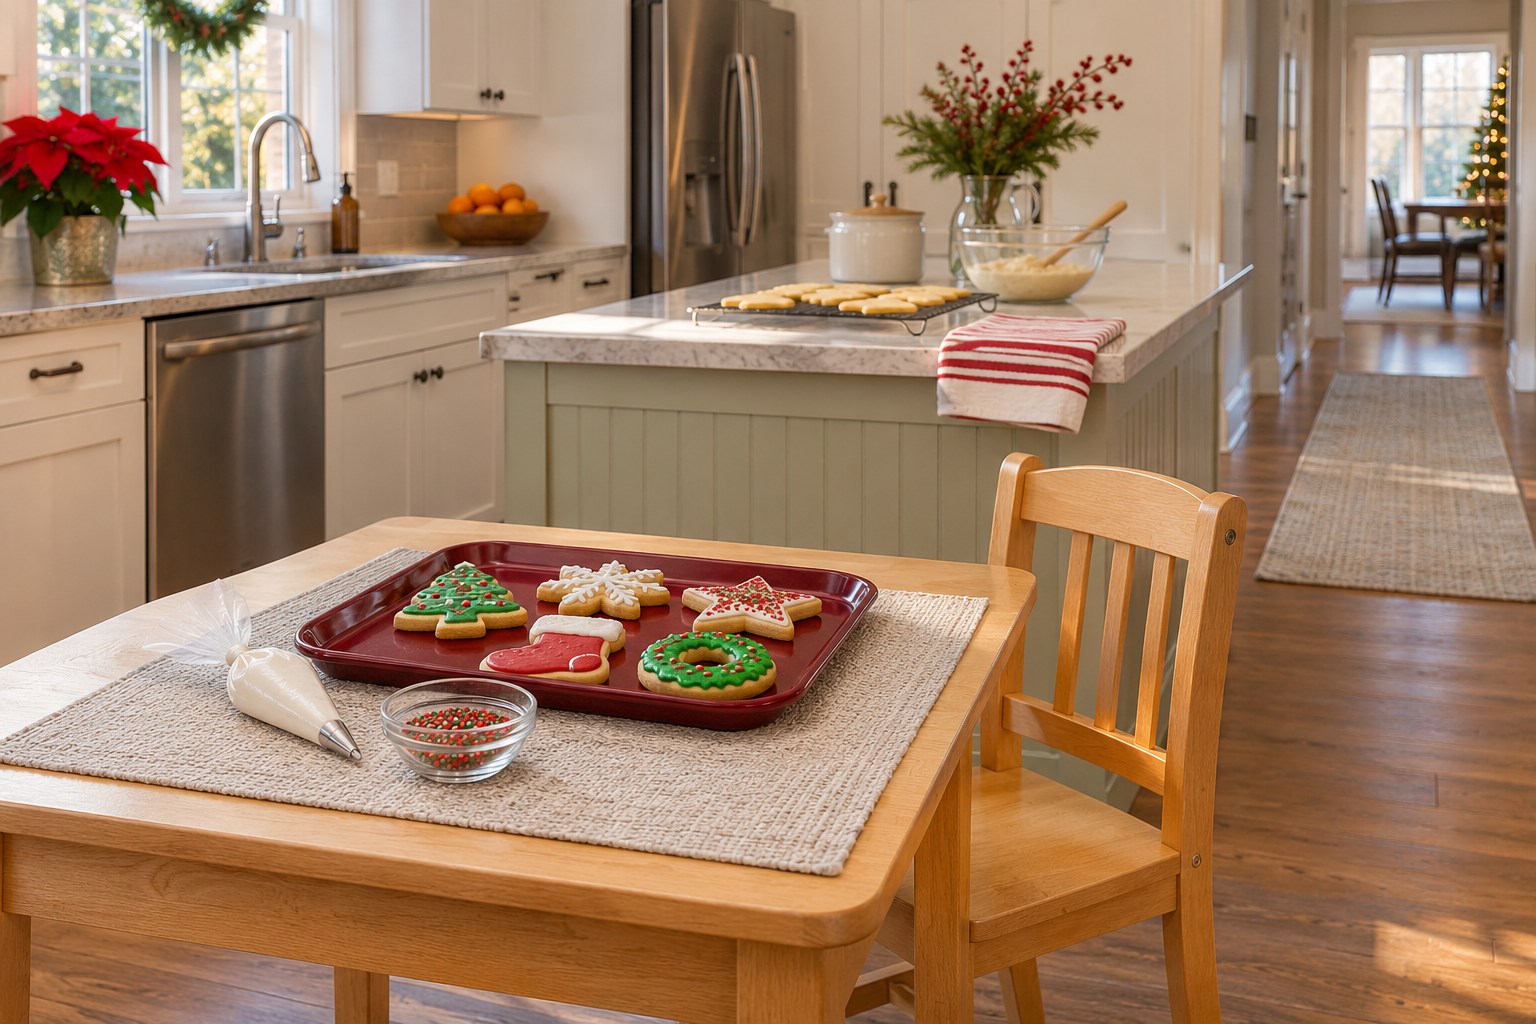
Try a proper seat at a lower kitchen table beyond the cook’s route. Use stable, age-appropriate seating and stay with younger decorators. Put the tray within an easy reach and let an adult bring over prepared cookies and the toppings, so children have fewer reasons to cross the working aisle.
Run your hand along the table edge and move anything that can be pulled down with a cloth. Put the festive color on the placemat or the rim of the tray. The child should be able to concentrate on their cookie, with the surface and tools as easy to see as the top of the cookie itself.
7. Build a Warm Wood and Linen Backdrop
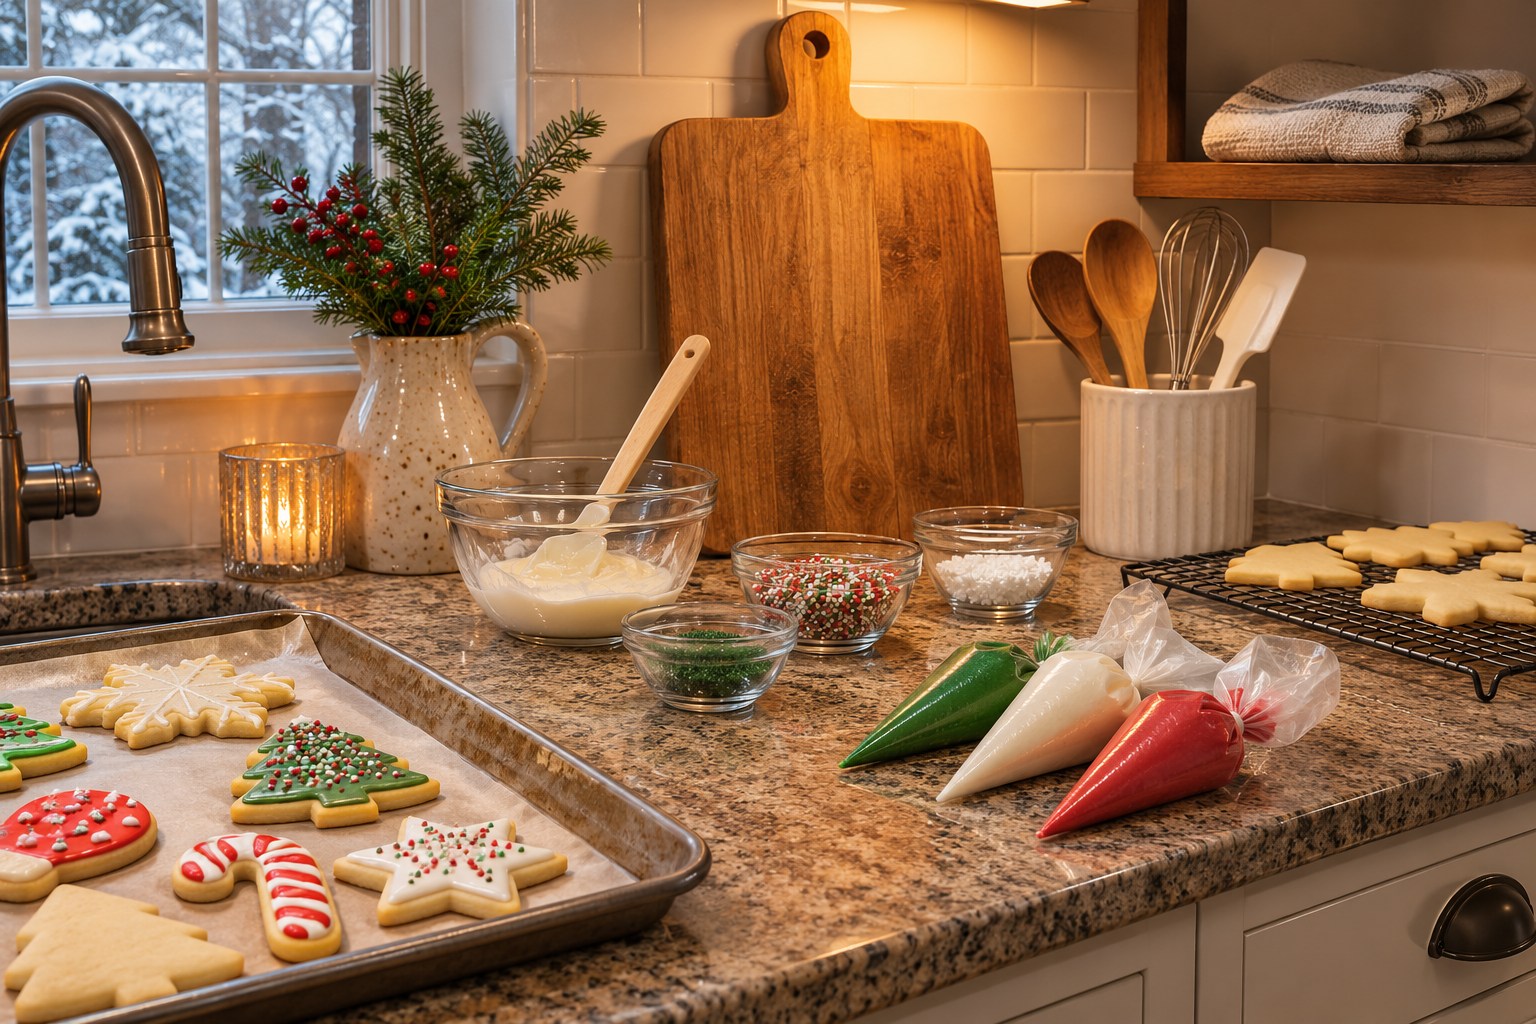
Pick one wall-side strip of counter outside the working area for a warm natural finish. A standing oak board can give the station a soft frame, with a neatly folded flax towel on a dry shelf beside it. Light the wood with a shaded lamp from a safe, dry surface elsewhere if that agrees with the light and outlet you already have.
Compare the view with the counter’s usual overhead lighting on. If the wood casts a shadow onto the task area, move the backdrop, leaving the working surface clearly lit. Keep non-food decor separate from the tools. The warmth should come from the relationship of grain, fabric, and light.
8. Make an Oversize Gingerbread Shape the Focal Point
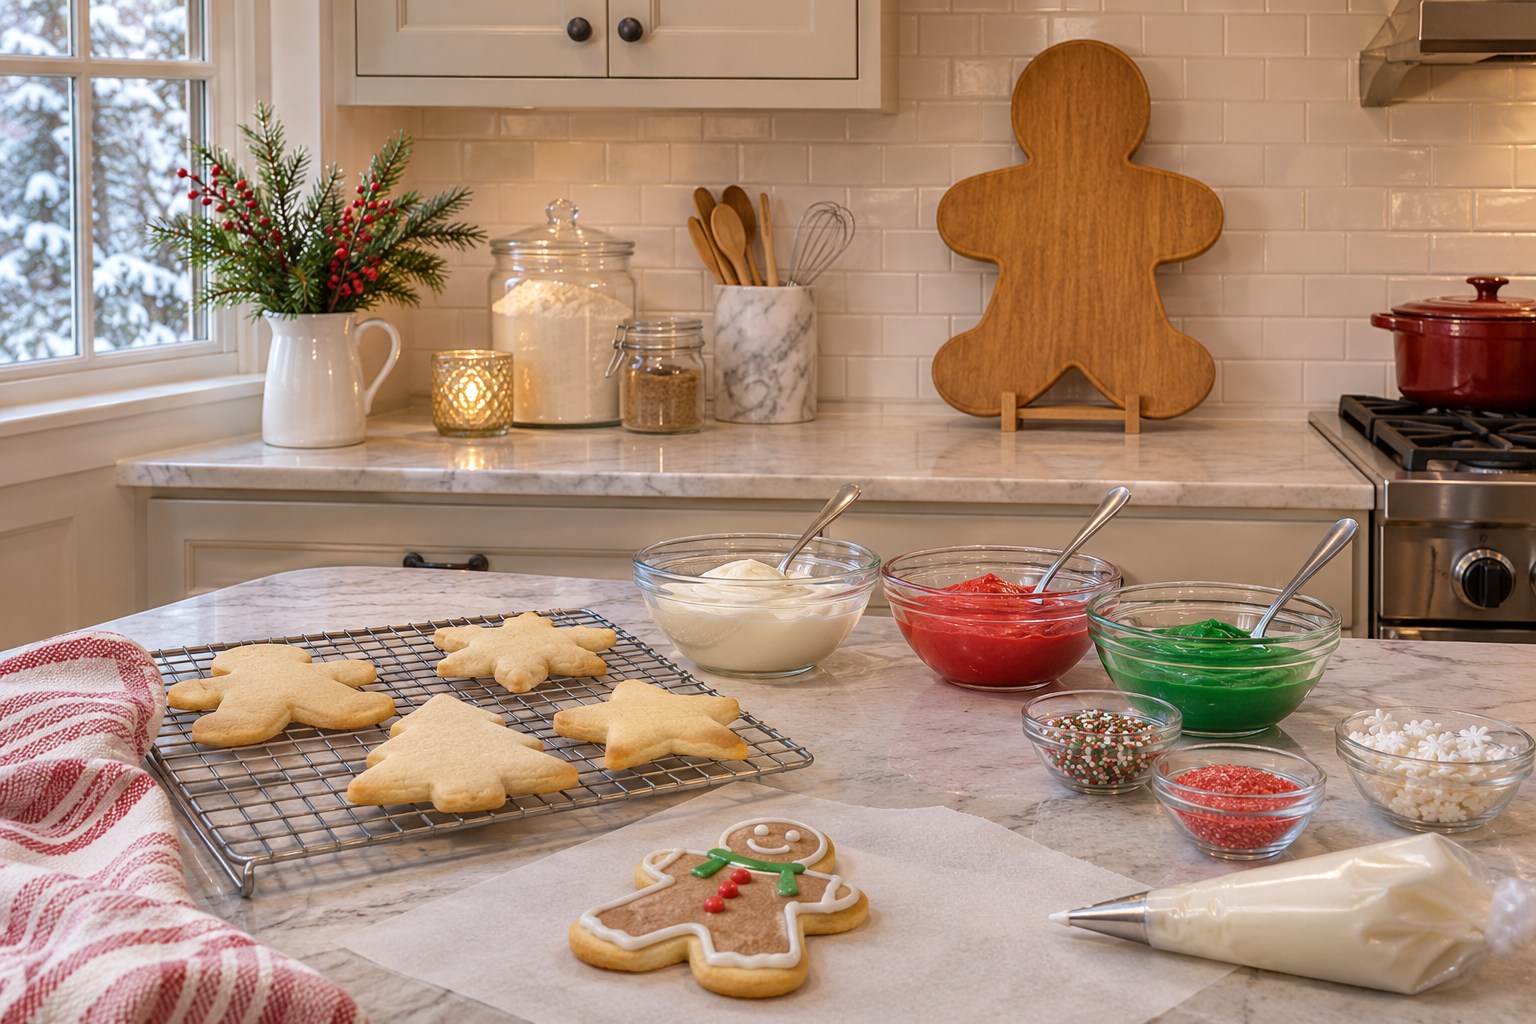
One large gingerbread silhouette above the back edge can make a small station read as Christmas from across the room. Try a lightweight wood shape on a stable stand beyond the working surface. Pick a simple outline with enough contrast against the wall so its edges are clear. A cinnamon-colored shape against cream tile can do the job on its own.
Stand where people enter the kitchen. If the silhouette crosses the line of the bag holders or blocks the view of the trays, move it up or to the side. Keep it well clear of the cooktop, moving doors, and food. The Christmas kitchen island ideas give a separate surface some companion looks.
9. Give Christmas Sprinkles a Short, Reachable Line
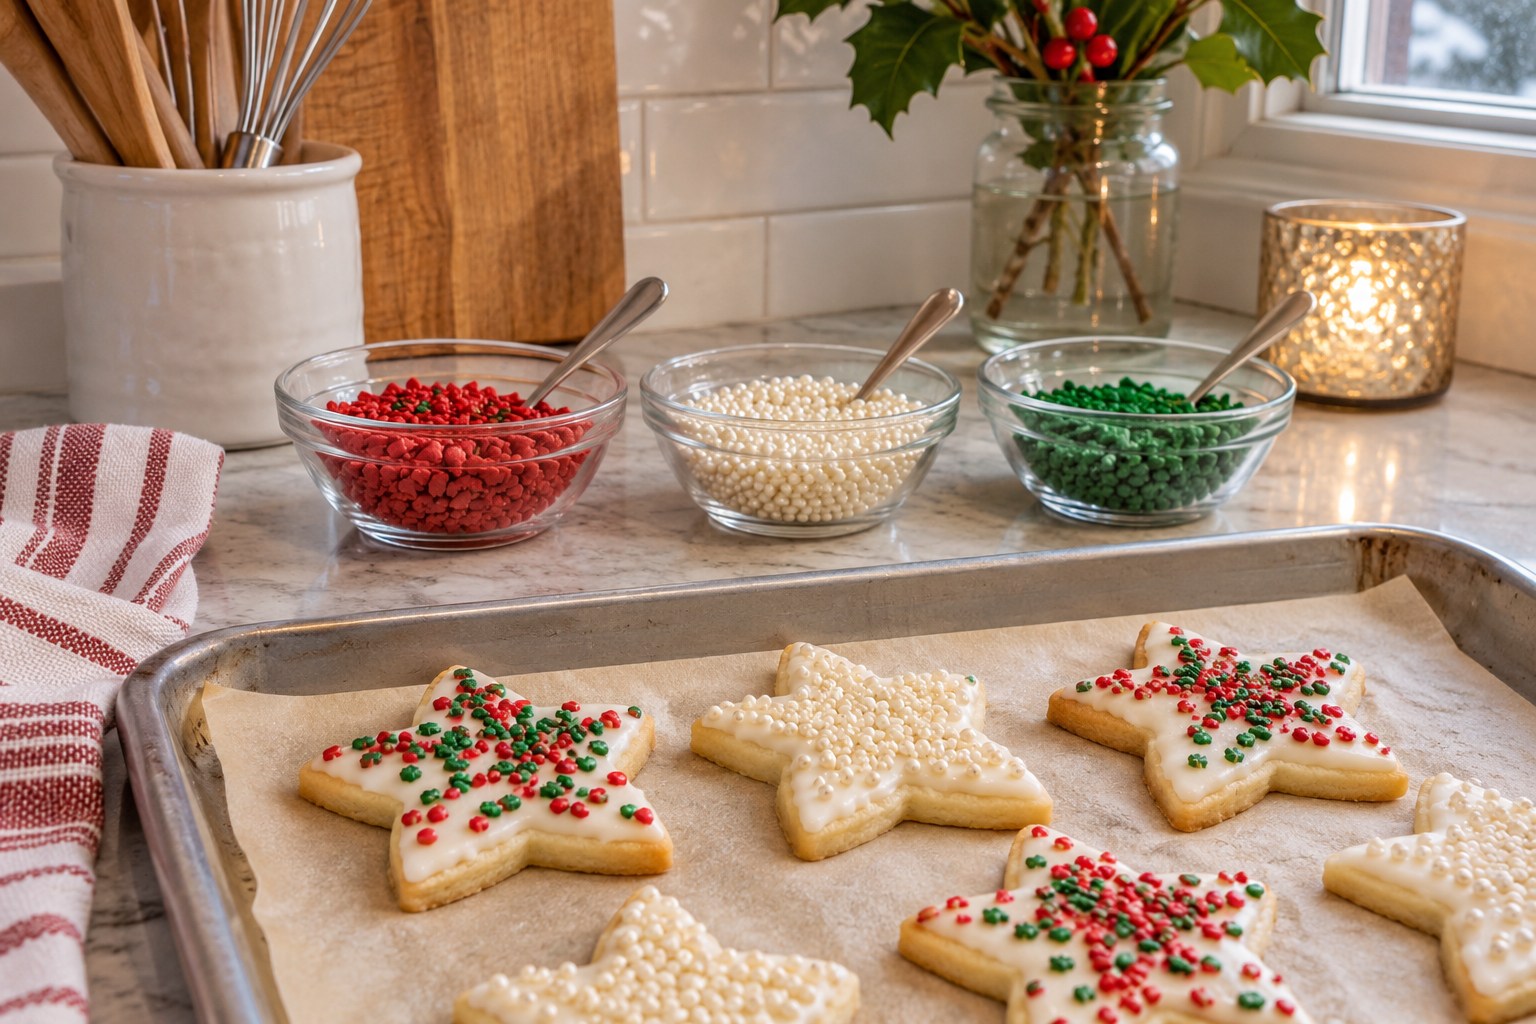
Set out the sprinkles you’ll actually use in order from the lightest to the darkest. Use small food-safe bowls with enough room for a scoop, or keeper jars if dispensing from the jar works better. Put the row to one side, where people can reach it without reaching across iced cookies. Keep the unused portion in its labeled package.
Make the colors part of the Christmas display. You might set holly red and evergreen at the ends and keep a quieter white between them. Try the arrangement with just three containers first. If everything can be seen and reached, the tidy line will usually be more inviting than a full shelf of supplies.
10. Set Up a Separate Spot for Labeled Ingredients
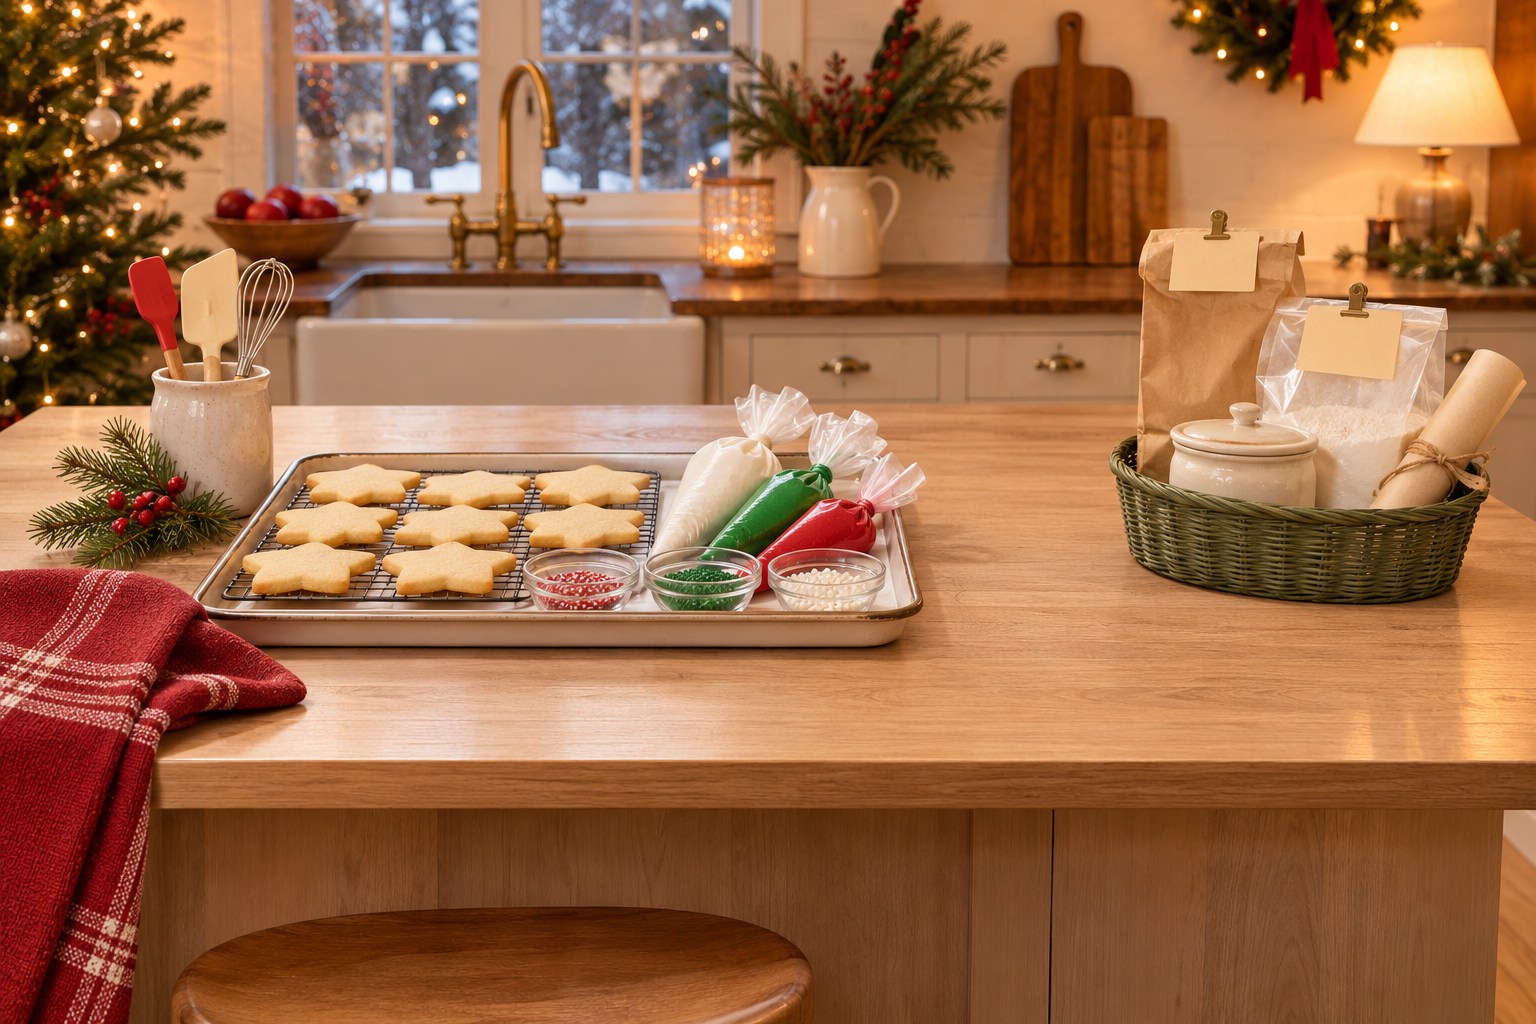
Keep ingredient packages at one end or in a small box that can come out when someone asks what’s in a topping. While everyone is planning, ask about food allergies and discuss what you can reasonably provide. If a guest needs to avoid an ingredient, coordinate a suitable plan with them before the decorating starts.
A label helps people find information, and a separate decorated tray helps keep batches apart. Individual trays alone can’t prevent cross-contact when ingredients and tools are shared. Keep anyone’s agreed separate supplies and tools apart. Show guests where ingredient information is rather than asking them to guess based on a color or shape.
11. Put the Packing Station Beyond the Icing Area
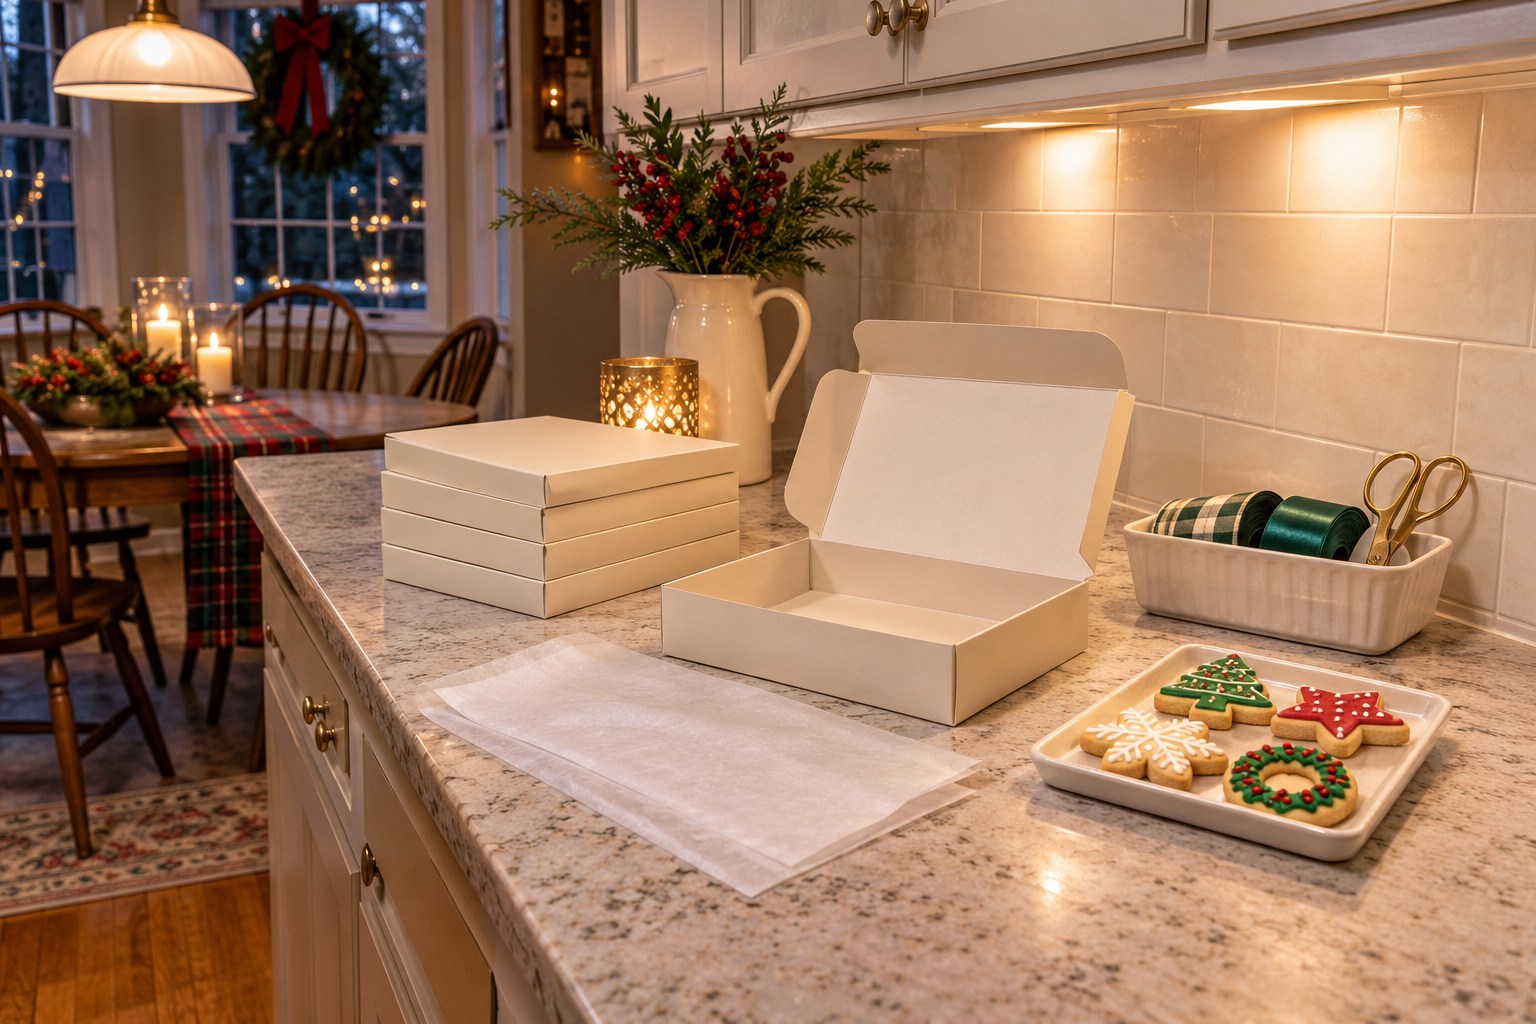
Set up flat boxes and sheets of food-safe paper at the far end of the operation. Keep ribbons, labels, and scissors in a separate shallow container so packaging paper keeps its own clean place. Try folding one box while two people are already decorating. If you have to slide a fresh cookie out of the way, move the box supplies to a nearby surface.
Wait for the icing to set according to the recipe before packing. Make the box size suit the largest decorated cookie and the way you plan to place it. A cleared packing zone is especially helpful when people are taking different assortments home.
12. Use a Small Cart When the Counter Has Only One Working End
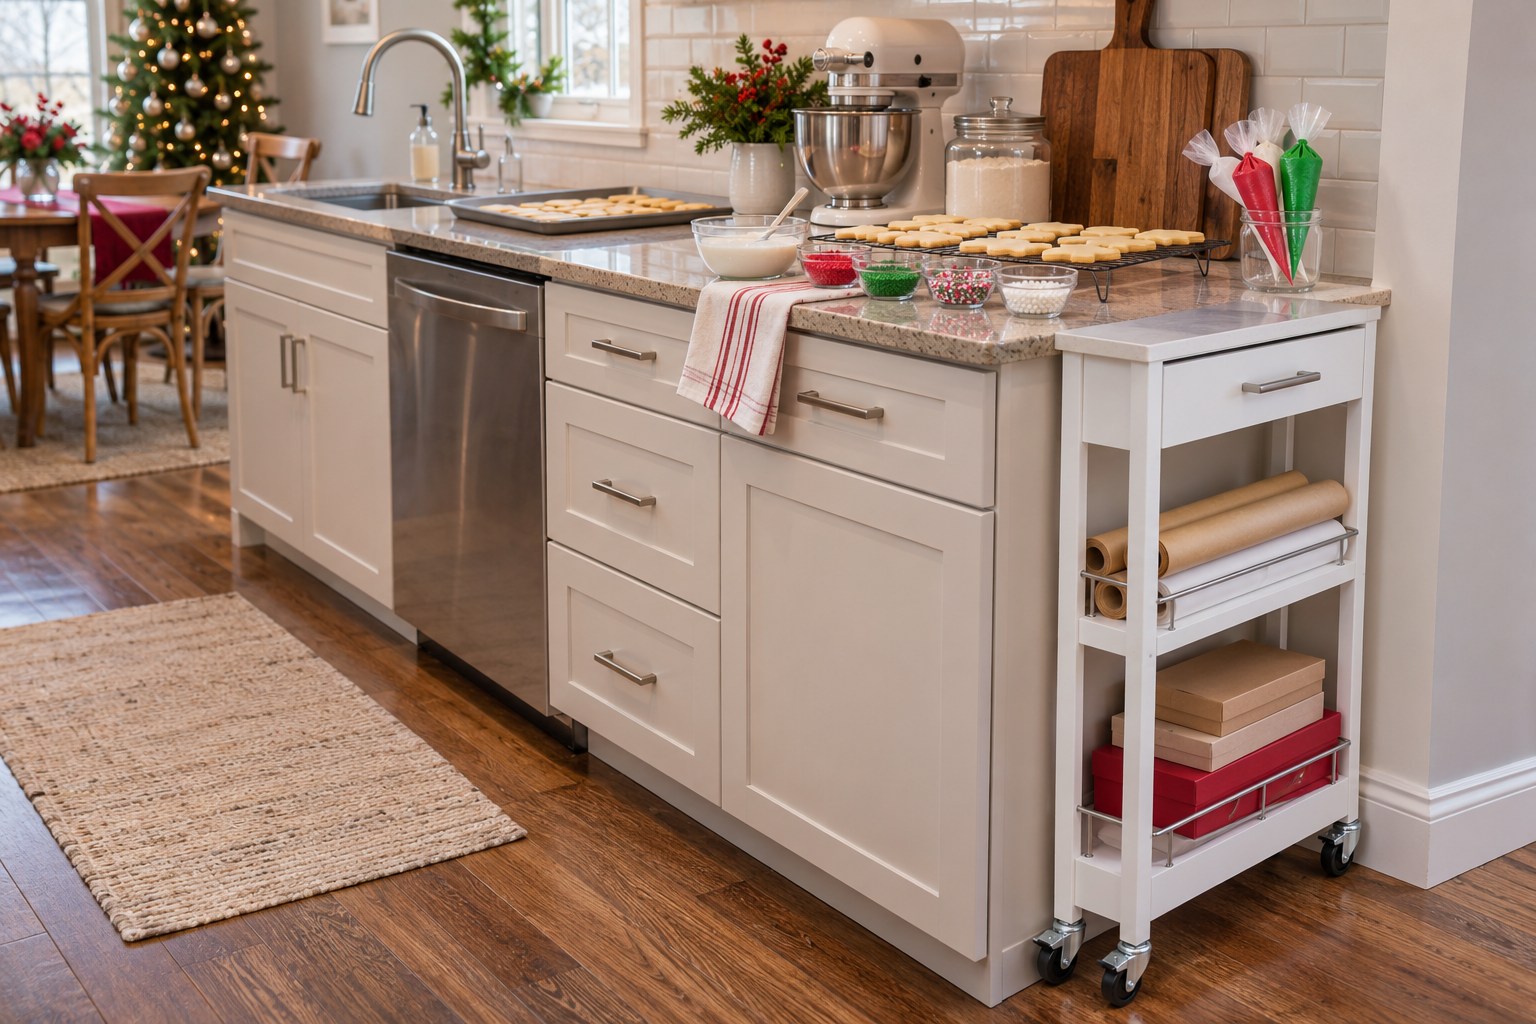
A narrow cart can hold spare boxes, rolls of paper, and clean towels where the counter has no extra room. Start by choosing where it will stand throughout the session. Mark its footprint and open the adjacent cabinet or dishwasher to check they both have room to move. Make sure people can use the floor route while the cart stays parked.
Put the supplies you use most on the upper level, keep heavier items lower, and lock the wheels where the equipment provides brakes. Use a separate food-safe tray for anything that touches cookies. If there’s no parking spot beside the work, use one just outside the kitchen and carry the paper or boxes in as needed.
The narrow HOMCOM cart measures 9.75 inches across its short side and has a drawer for packing supplies. Measure the parking spot with the nearest door open before deciding whether it fits.
See the narrow rolling cart(paid link)
13. Reset the Station in the Order You Use It
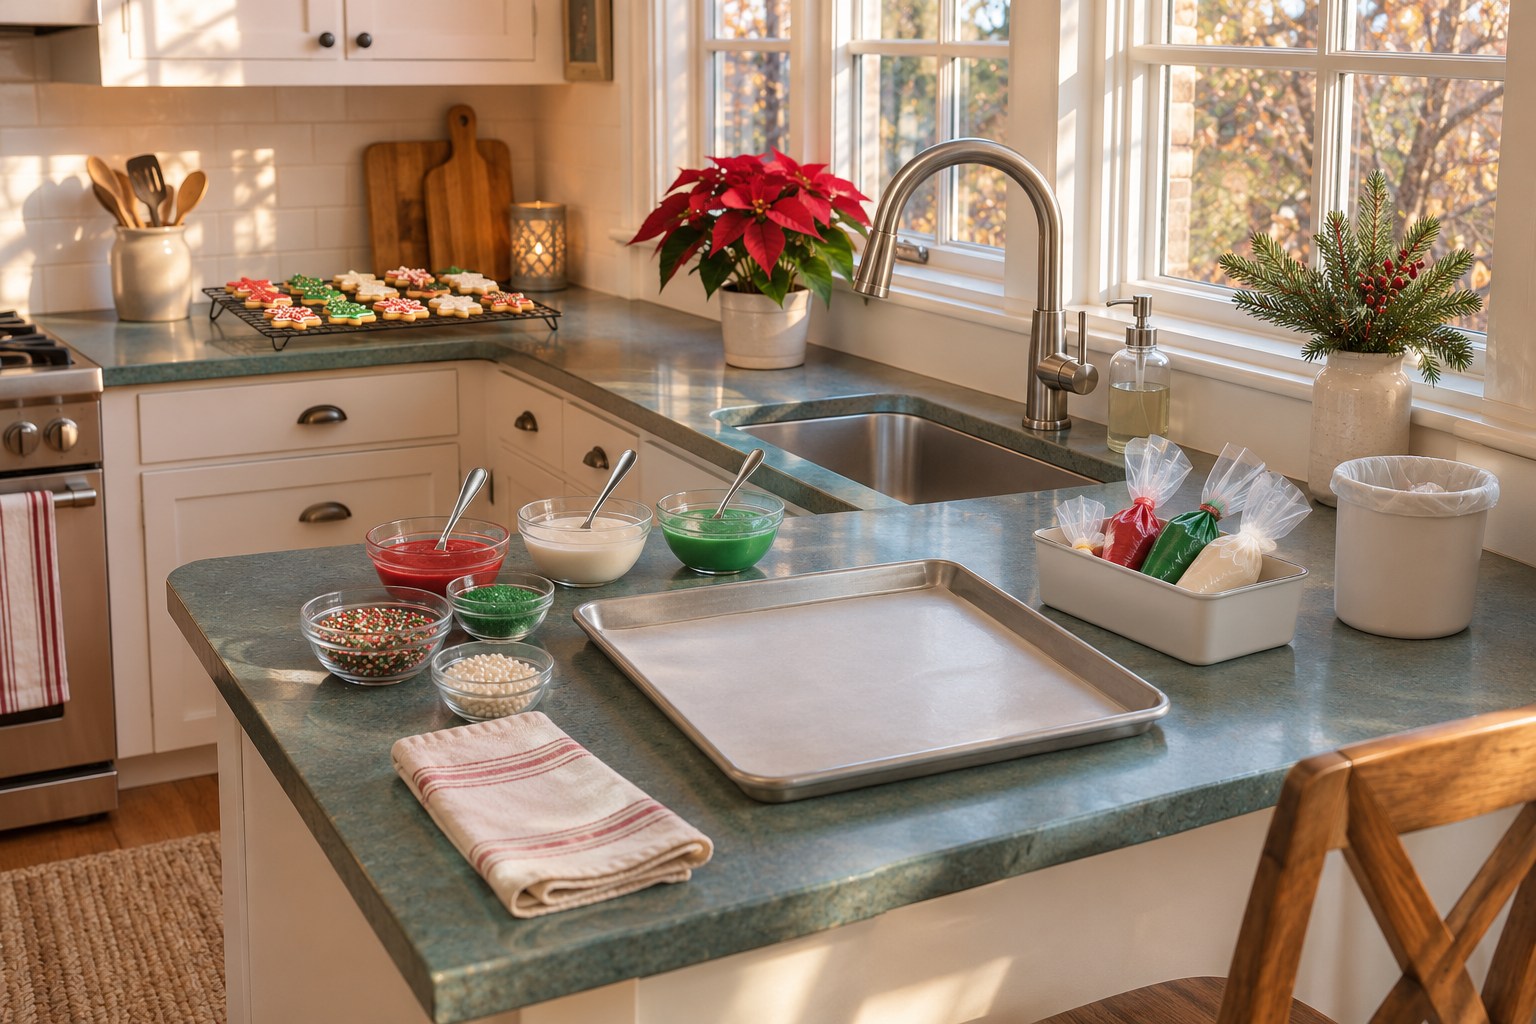
Before the first person starts, choose where used tools and empty trays will go. After each round, move what needs washing away from the finished cookies. Refill the few items actually running low, wipe the food-contact work area according to the surface instructions, and set down a clean tray for the next turn.
At the end, take the seasonal pieces off as one group so you can return the kitchen to its normal use. The everyday kitchen counter guide can help you decide which of the useful organizers should stay on the counter after Christmas.
The station is ready when you can carry one finished cookie all the way to its box while someone else starts another. Arrange for that overlap, and the kitchen can stay busy without feeling crowded.
Discover more from HomeTrendora
Subscribe to get the latest posts sent to your email.