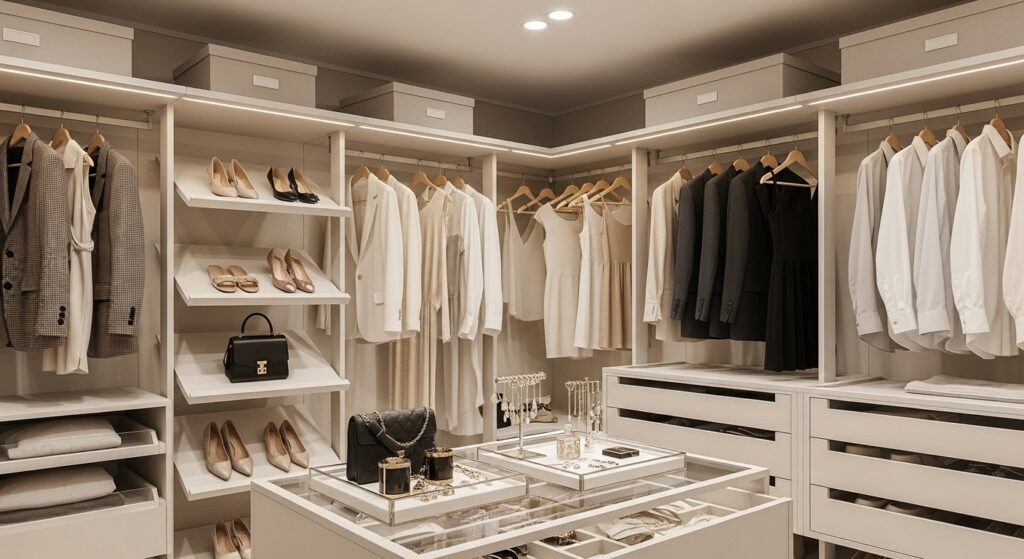
Wrapping a Christmas present is much easier to begin when the paper is not crushed behind a chair and the tape has a regular home. A useful wrapping station gives the supplies somewhere to wait and leaves enough open surface to turn a box. That can be a dedicated corner, a cart beside the table, or a kit that comes out only when needed.
These 13 Christmas gift wrapping station ideas cover the work surface, storage for awkward materials, and the point where a finished present leaves the table. Start with the part that interrupts your wrapping most often. Check each container against your actual rolls and bags, and choose a setup you can put away without undoing every bit of organization.
1. Choose a Cart That Travels with the Supplies
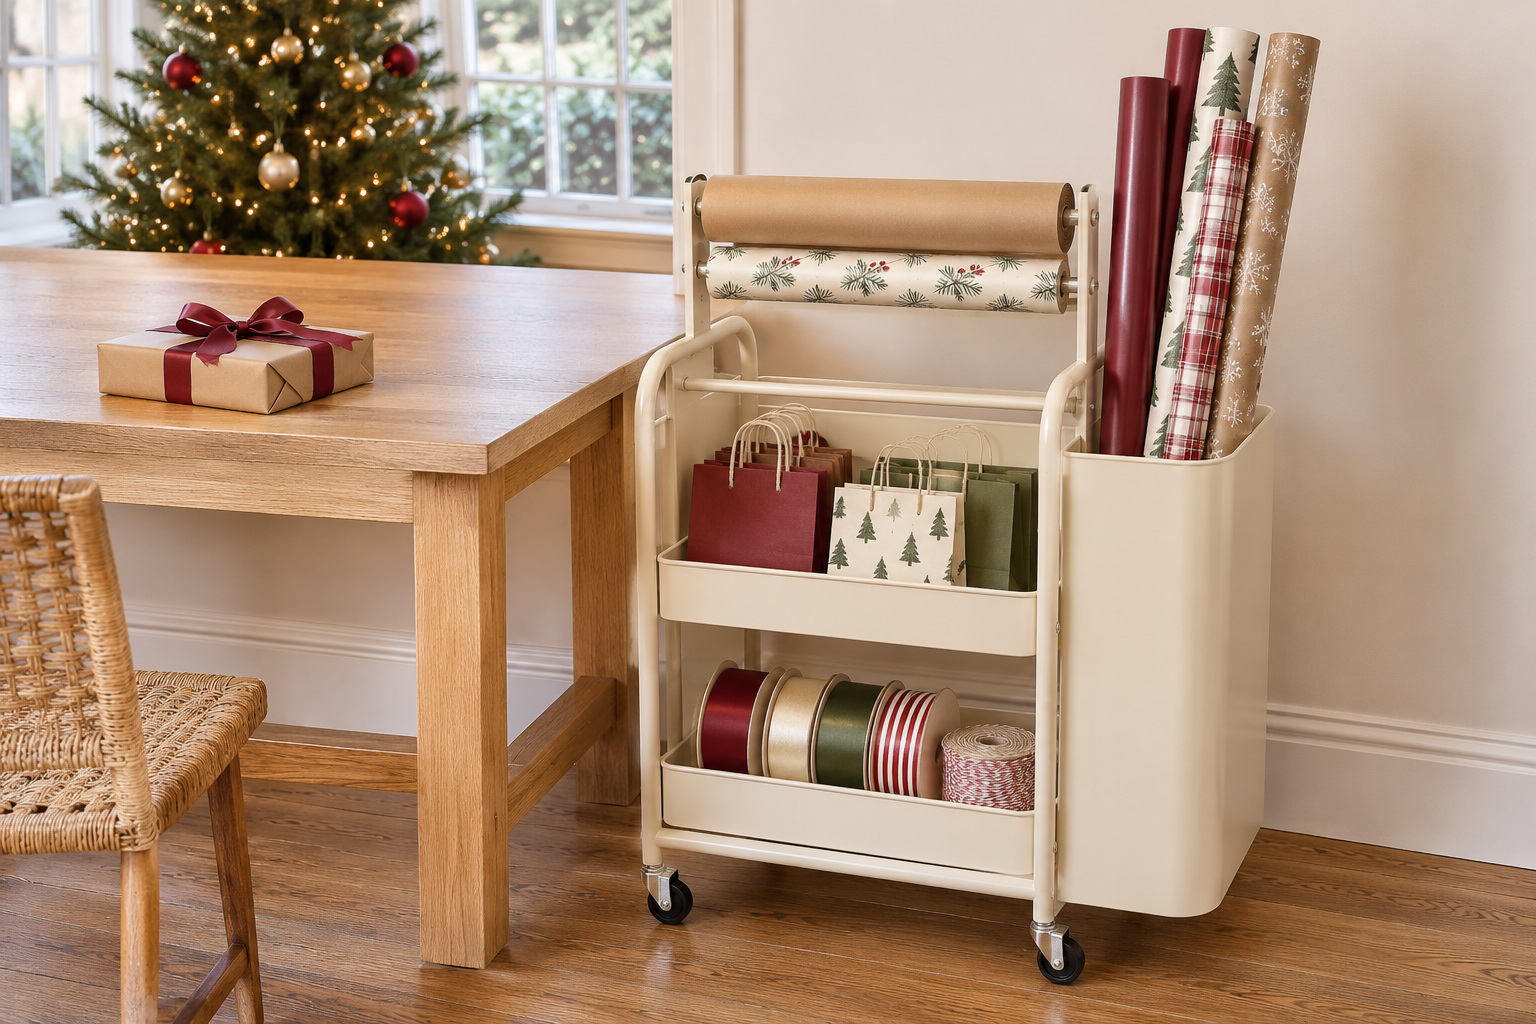
A wrapping cart is useful when the best work surface is in a different room from the supplies. Choose one with a proper compartment for long paper rolls and separate space for ribbon, tape, and folded bags. Park it beside the table so the top remains available for the box you are wrapping.
Look at the complete cart rather than only its upper tray. Rolls need support that keeps them contained during movement, and the handles should remain easy to reach. Follow the cart’s loading and wheel instructions, then test its route to the table. Burgundy paper, simple kraft wrap, and green ribbon can make the stored kit feel seasonal without using the work area for extra decorations.
2. Make the Dining Table Easy to Reset
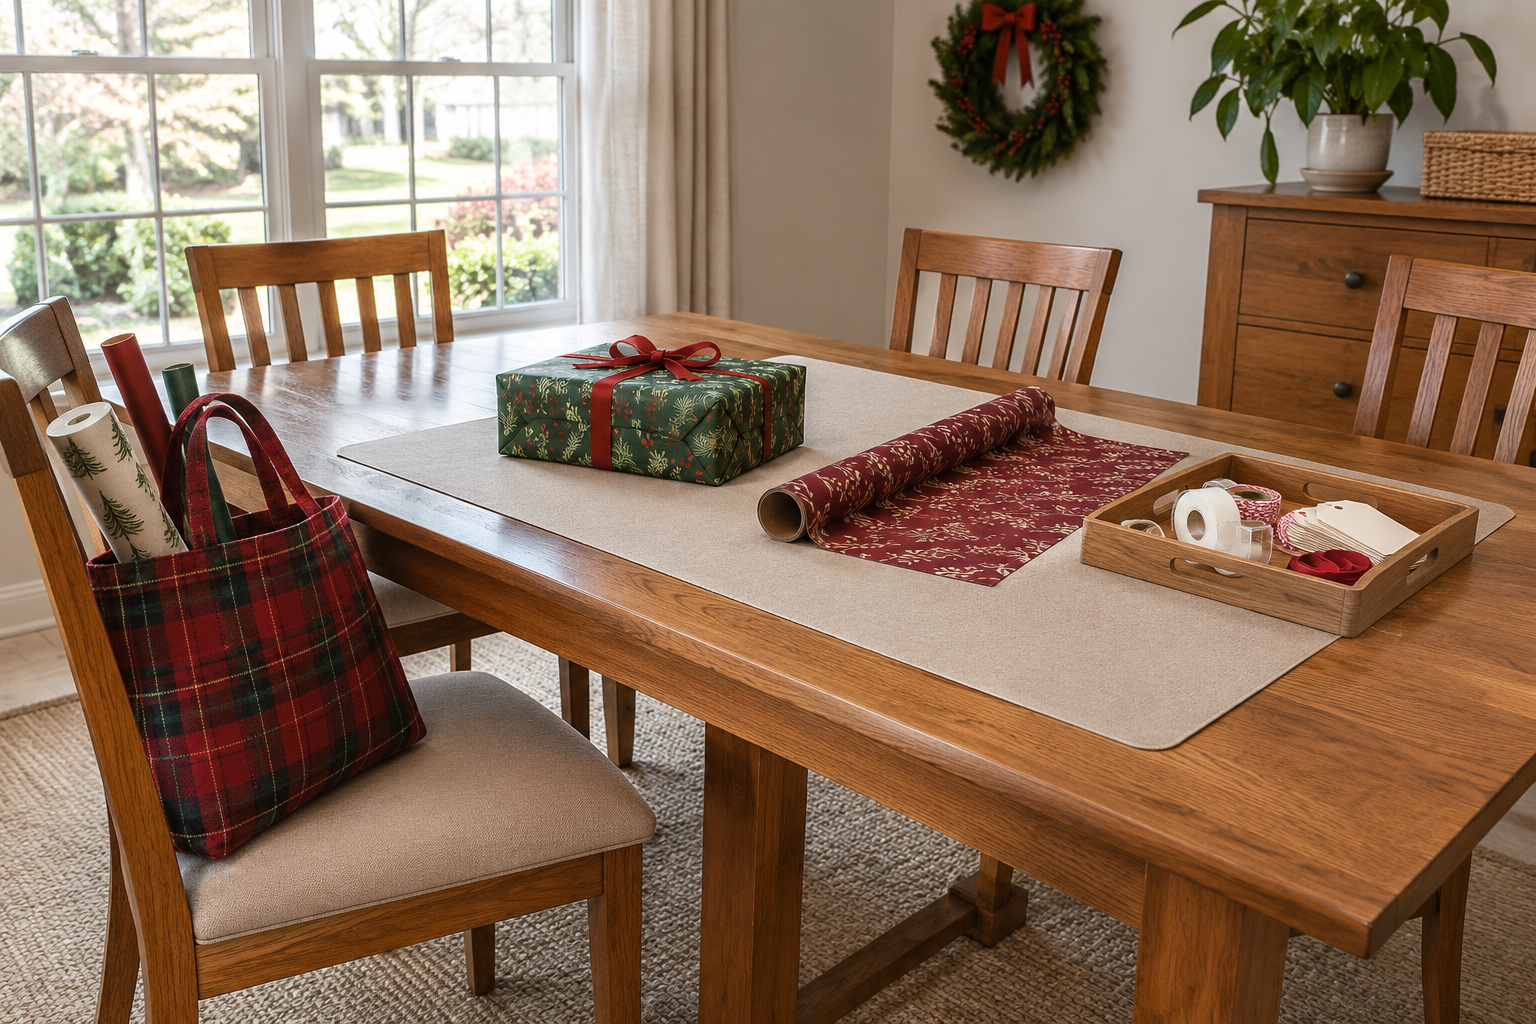
For an occasional wrapping session, the dining table can work without becoming a permanent craft area. Clear the dishes, protect the surface with a suitable mat, and bring only the paper and tools needed for that session. A tray at one side can hold tape and tags while the middle stays open for turning packages.
Plan the reset before spreading out. Keep a nearby basket ready for the supplies and remove everything before the next meal. Never leave cutting tools, loose fasteners, or scraps mixed with place settings. A red plaid storage tote and a few wrapped boxes provide the Christmas character here; the table’s main job remains dining, with wrapping as a temporary use.
3. Put a Fold Down Table on an Unused Wall
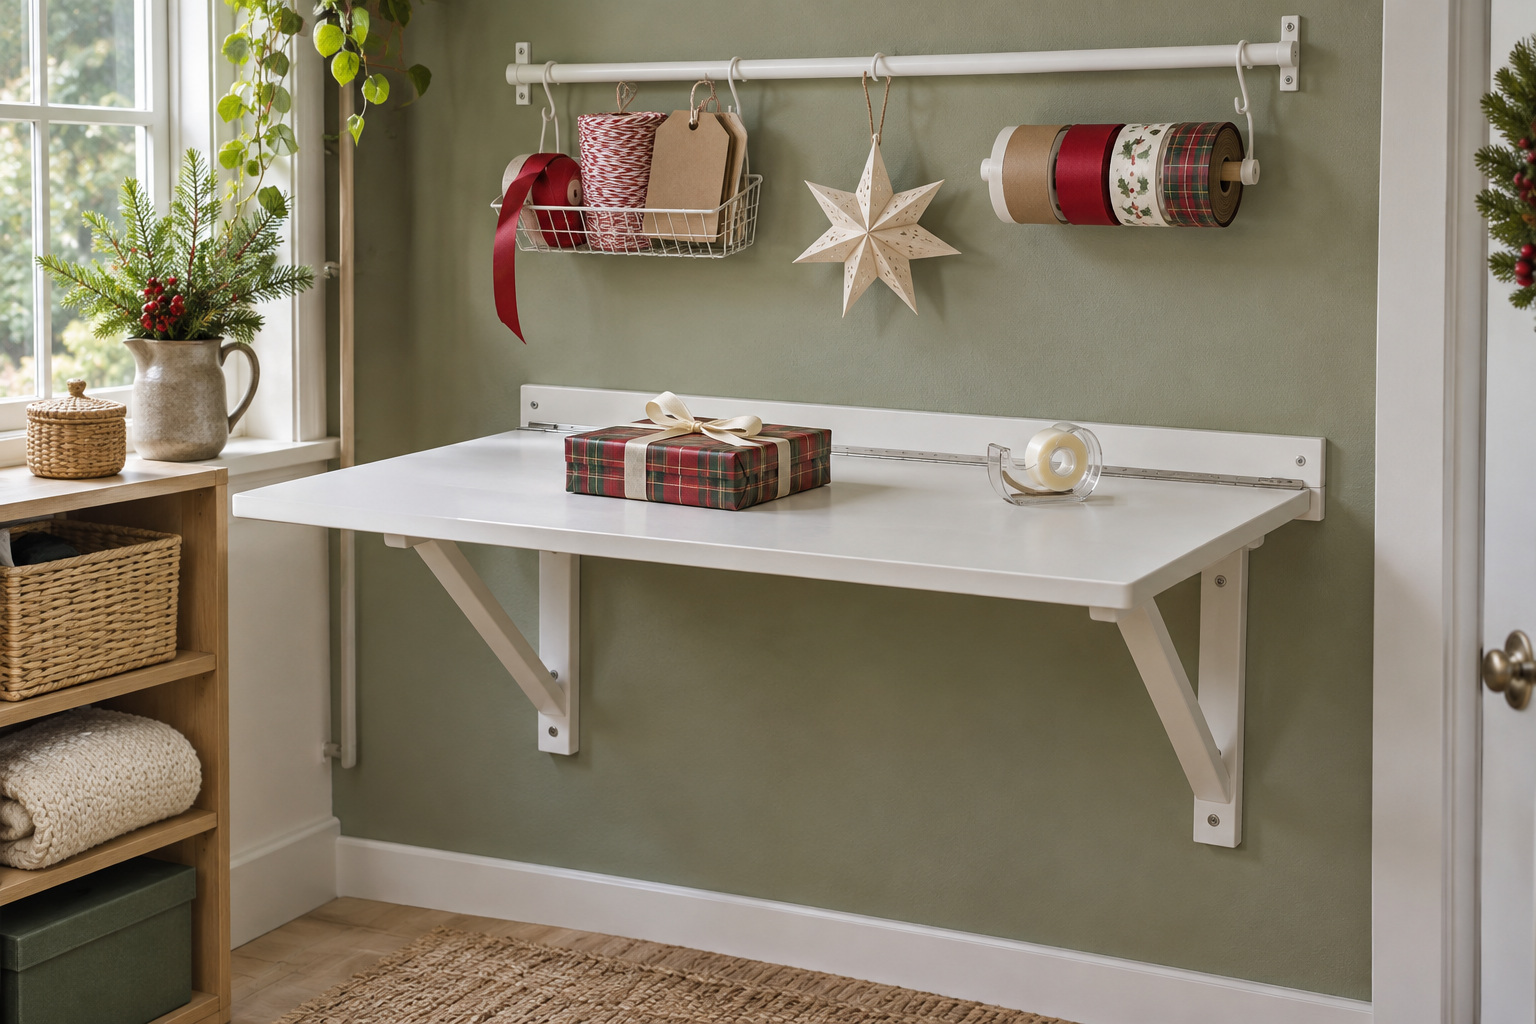
A finished fold down table can create a wrapping surface in a room that cannot keep another table open all month. Put it where the lowered top will have clear space in front and enough width for your normal packages. Nearby storage can hold the materials, leaving the table itself free of permanent accessories.
Choose a product intended for that use and follow its wall, fixing, and load requirements. Try the open arrangement with a chair or standing position before making it part of the room. Clear the top before folding it away. This works best for small and medium gifts; oversized boxes may still need a larger table elsewhere.
4. Use the Back of a Closet Door for Tall Rolls
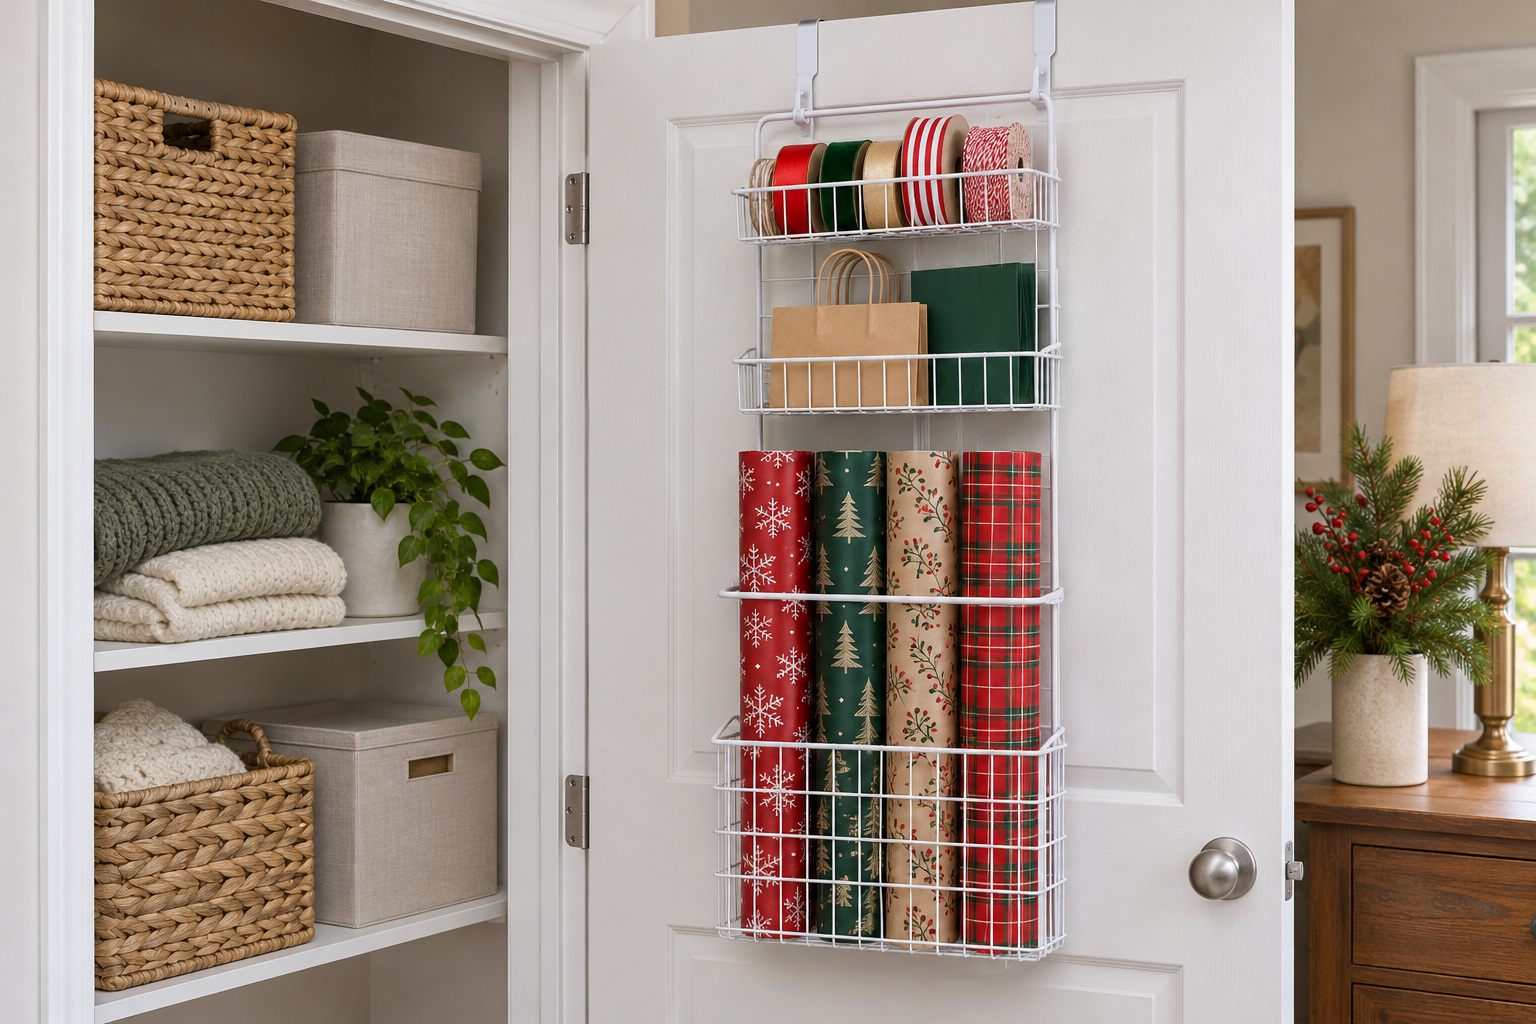
The inside of a closet door can keep long rolls visible without taking over the closet floor. Look for a purpose made organizer with a deep lower pocket or basket and an upper restraint that keeps the rolls upright. Smaller compartments can hold light bags and ribbon separately.
Measure the actual door and the clearance behind it. The organizer must allow the door to close normally without pressing the rolls against shelves or covering hinges and latches. Use the attachment method and capacity specified for that product. Open storage is helpful only when the paper can be removed easily, so leave a little room between rolls rather than filling the rack as tightly as possible.
5. Keep Paper Rolls Upright in a Divided Bin
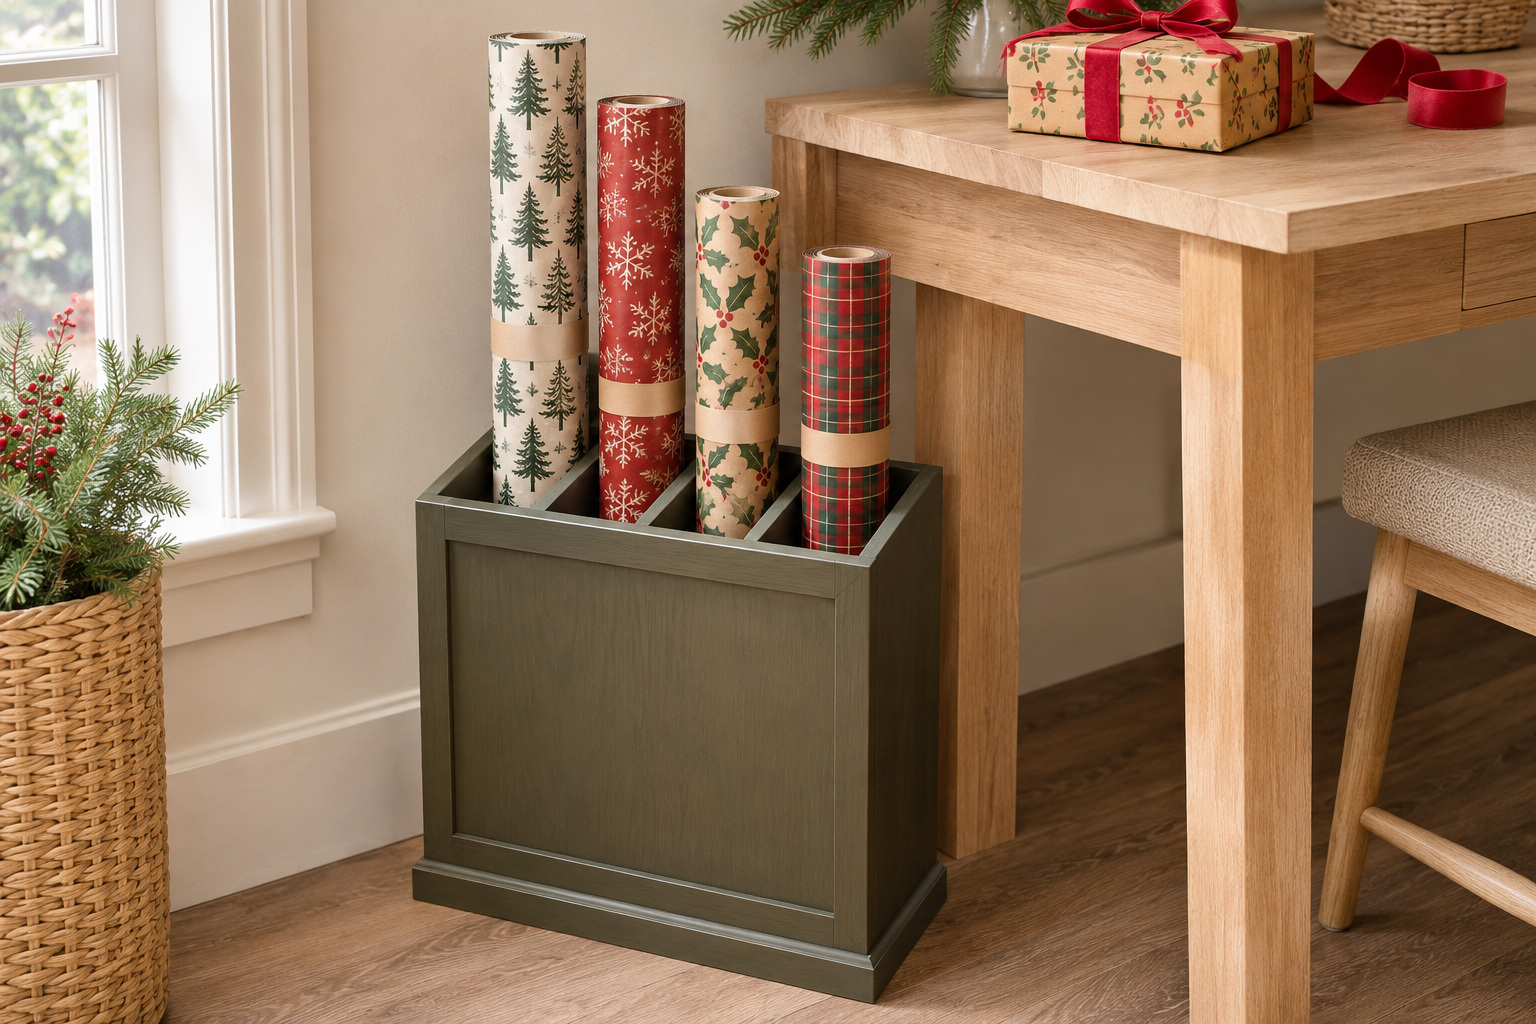
A deep divided bin gives paper rolls individual spaces and makes the available patterns easier to compare. Position it beside the wrapping surface, where a roll can be lifted straight out. The divider keeps a short roll from disappearing behind taller ones and helps separate opened paper from spare rolls.
Check the depth and base against the paper you own. The bin should remain steady as a roll is removed, with the ends protected from a damp floor. Close loose paper with a gentle paper band or suitable reusable fastener rather than tightening it enough to crease the design. Keep offcuts elsewhere so the roll storage stays simple to browse.
6. Slide a Complete Kit Under the Bed
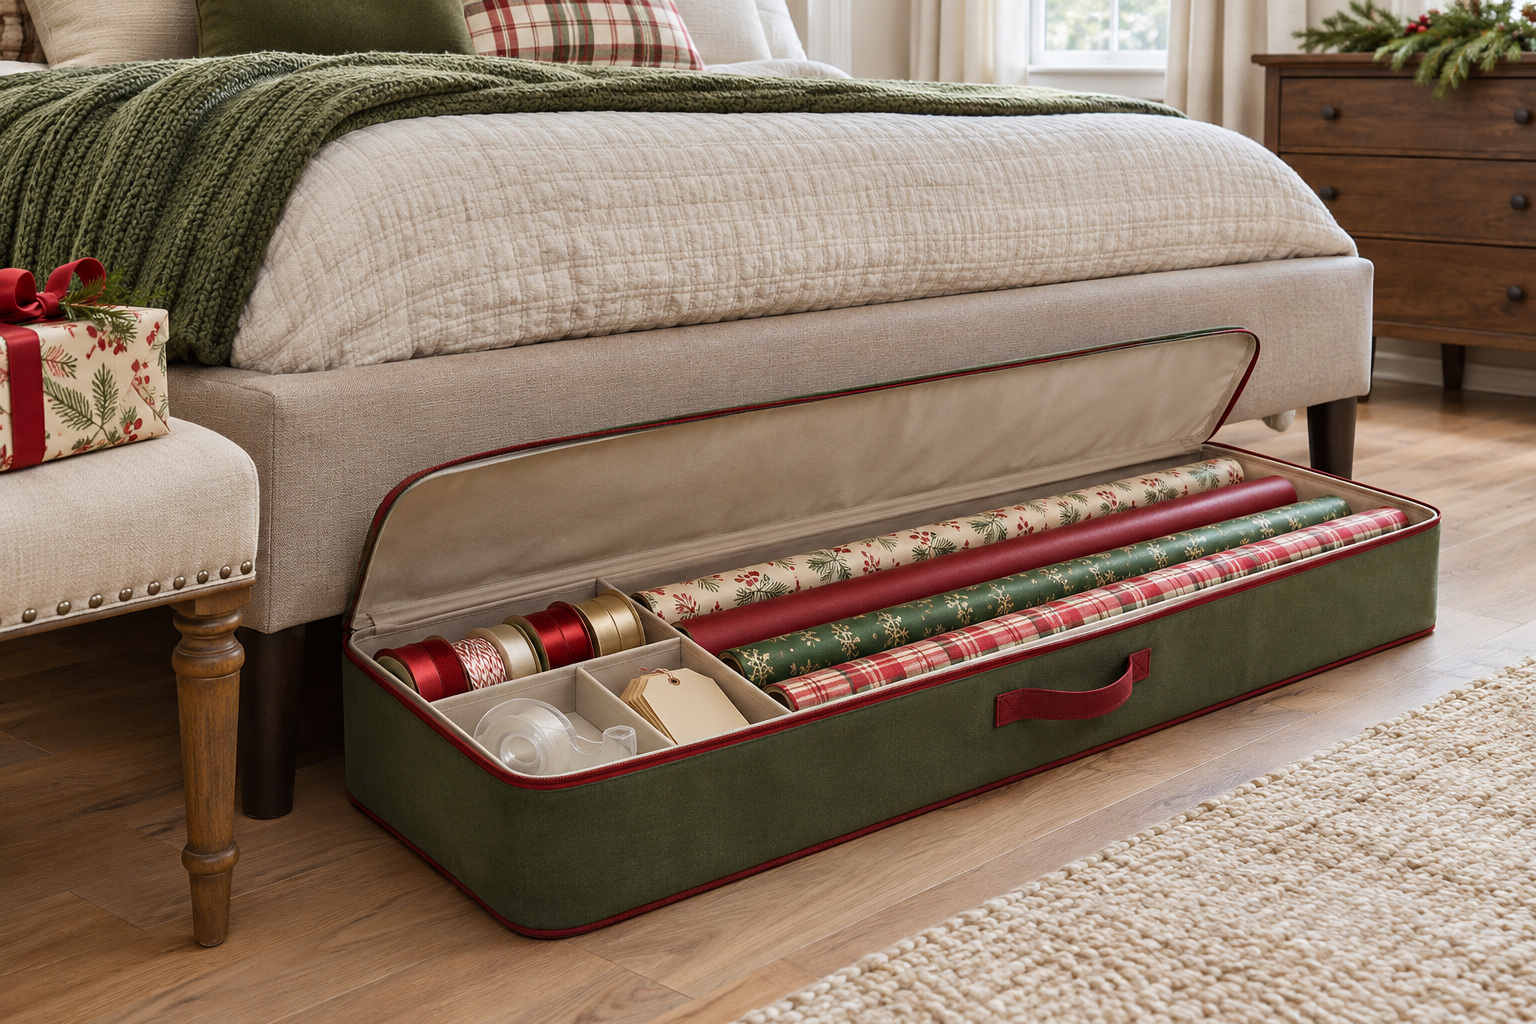
An underbed kit can suit a home where wrapping happens a few times during December. Choose a long, low container that fits your rolls without bending them, then use its smaller compartments for tape, tags, and ribbon. With everything stored together, the kit can come to the table as one group.
Check the full clearance beneath the bed, including the route past its legs. A lid helps keep dust away, but the supplies should be clean and dry before storage. Keep bows in a compartment where they will not be flattened by the paper. This is storage between sessions, so take the kit to a comfortable work surface instead of using the bedroom floor as the wrapping station.
7. Let Ribbon Unwind from a Proper Spool Rack
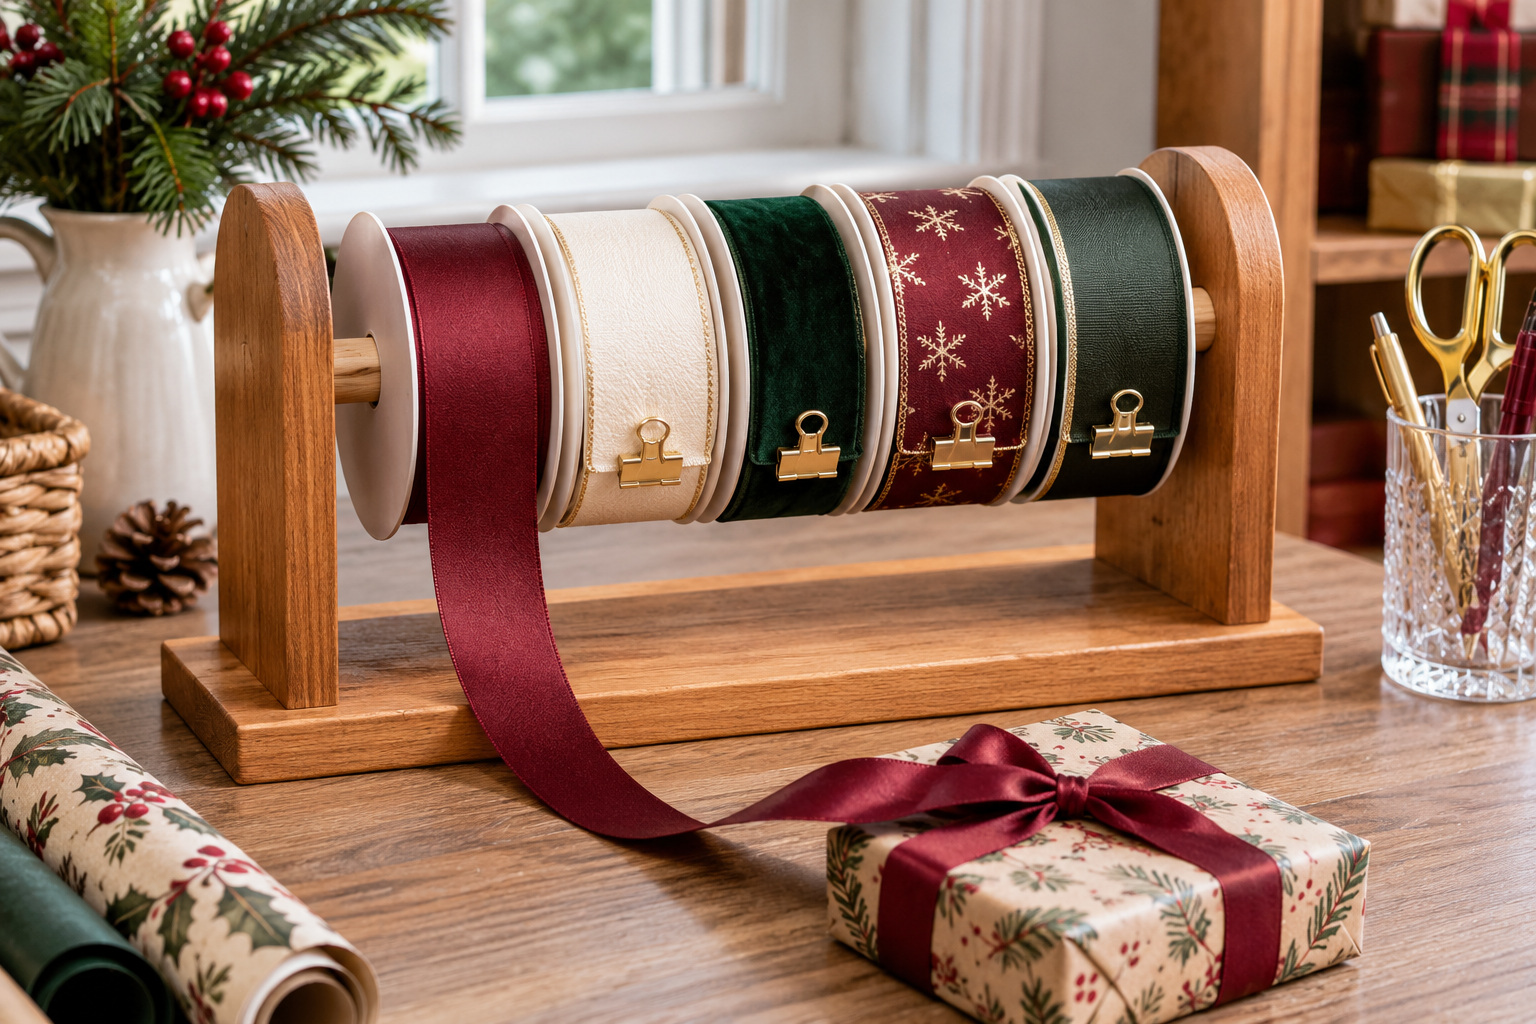
Ribbon is easier to use when the spool can turn without the rest of the collection spilling out. A finished spool rack or compatible rod system can hold a small selection above the wrapping surface. Leave space between spools so one ribbon can be drawn forward without catching its neighbor.
Choose supports suited to the rod, spool openings, and intended weight. Keep scissors in a separate holder, and secure ribbon ends gently when the session ends. Start with the colors you are using this Christmas rather than displaying every spool you own. The visible row can look orderly, but its useful job is controlled unwinding and a clear place to return each ribbon.
8. Store Tissue Paper Flat in a Shallow Drawer
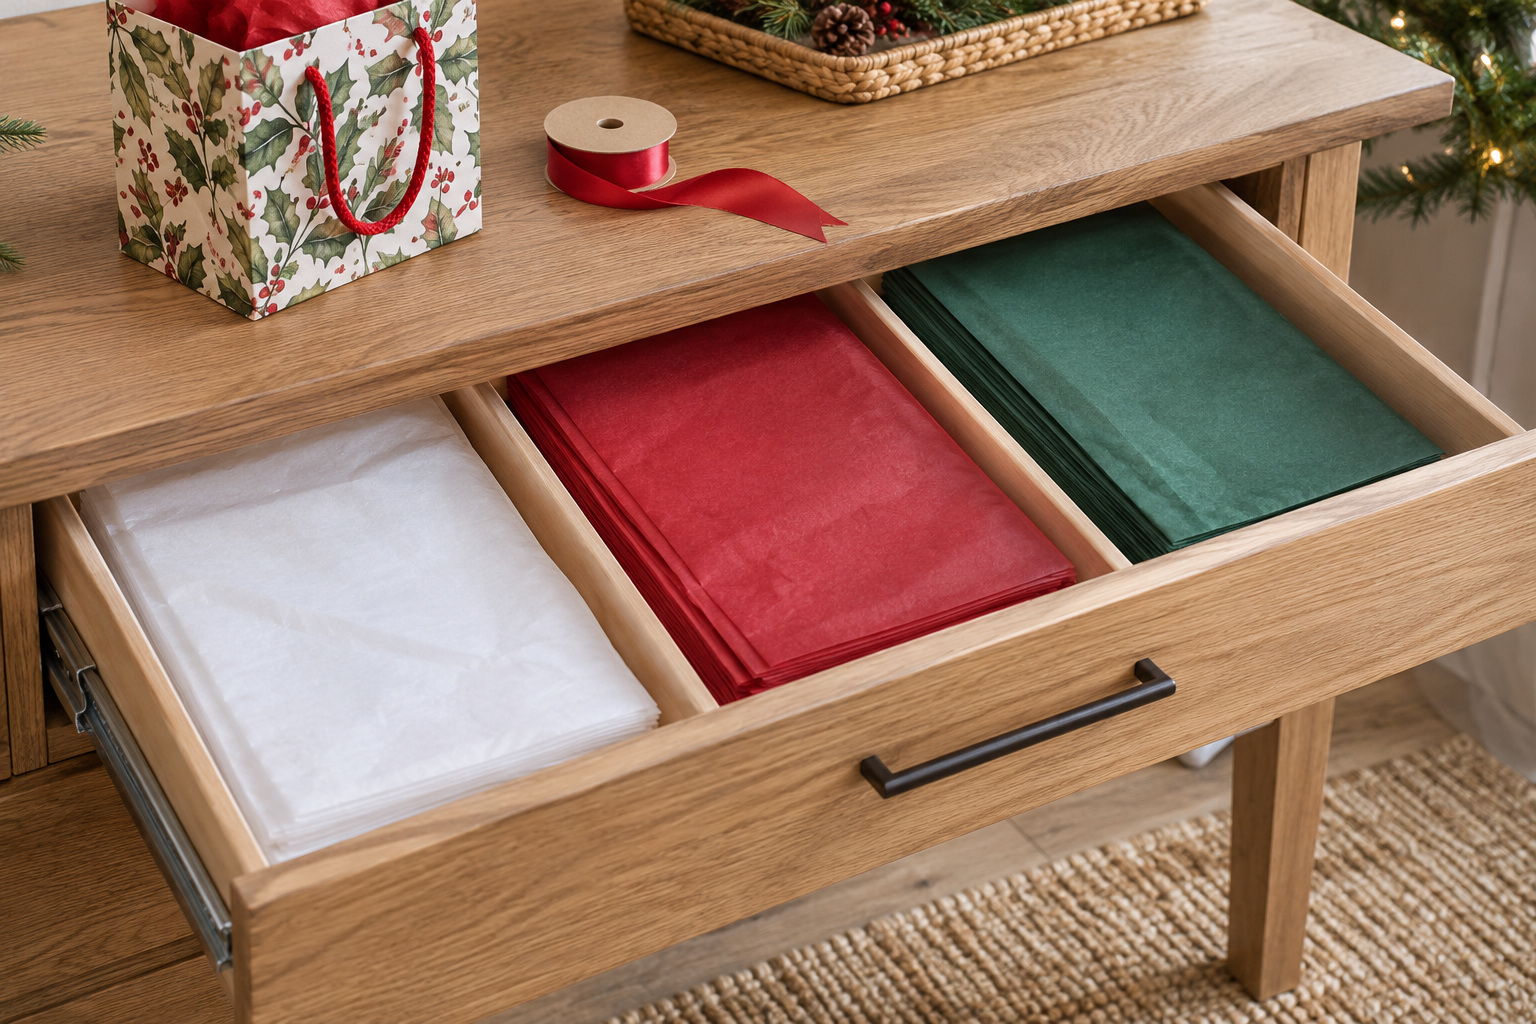
Tissue paper benefits from a flat home where you can see the available colors before pulling out a sheet. Use a shallow drawer or a flat box that fits the folded paper, with light dividers between the main groups. Put the colors used most often nearest the front.
Avoid storing tape dispensers, scissors, or heavy ribbon spools on top of the tissue. They can leave marks or make it harder to remove a sheet cleanly. Keep only usable pieces in the drawer; crumpled packing tissue can have a different home if you still need it. A simple stack of white, red, and green paper gives the station a Christmas palette while remaining easy to lift and replace.
9. Stand Gift Bags in a Wide Magazine File
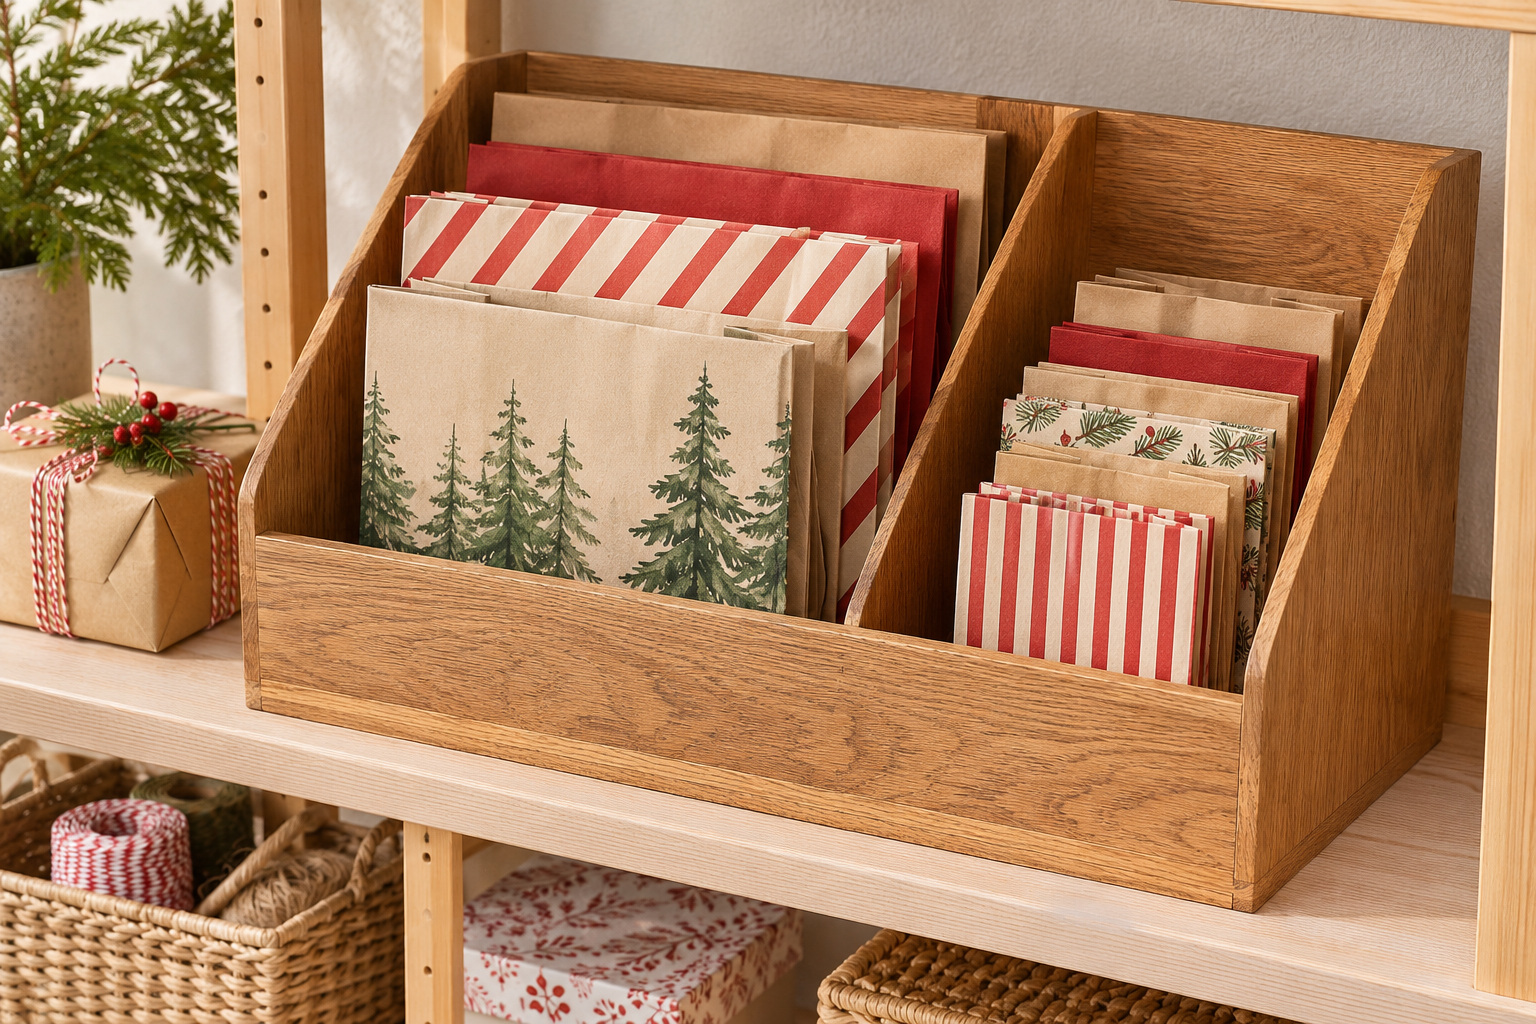
A wide magazine file can hold folded gift bags upright, provided it is large enough for their actual shape. Group smaller bags inside one divider and keep larger ones beside them, with the handles contained rather than dangling into a drawer. The open side makes it easier to judge which bag fits the gift.
Choose a file that supports the lower edges without forcing folds into the paper. Separate tissue and bulky decorations so the bags can slide out freely. Store this file on a shelf close to the wrapping area, leaving room above for removal. It is especially useful for keeping the good bags you intend to use again from turning into an awkward flat stack.
10. Carry Small Tools in One Caddy
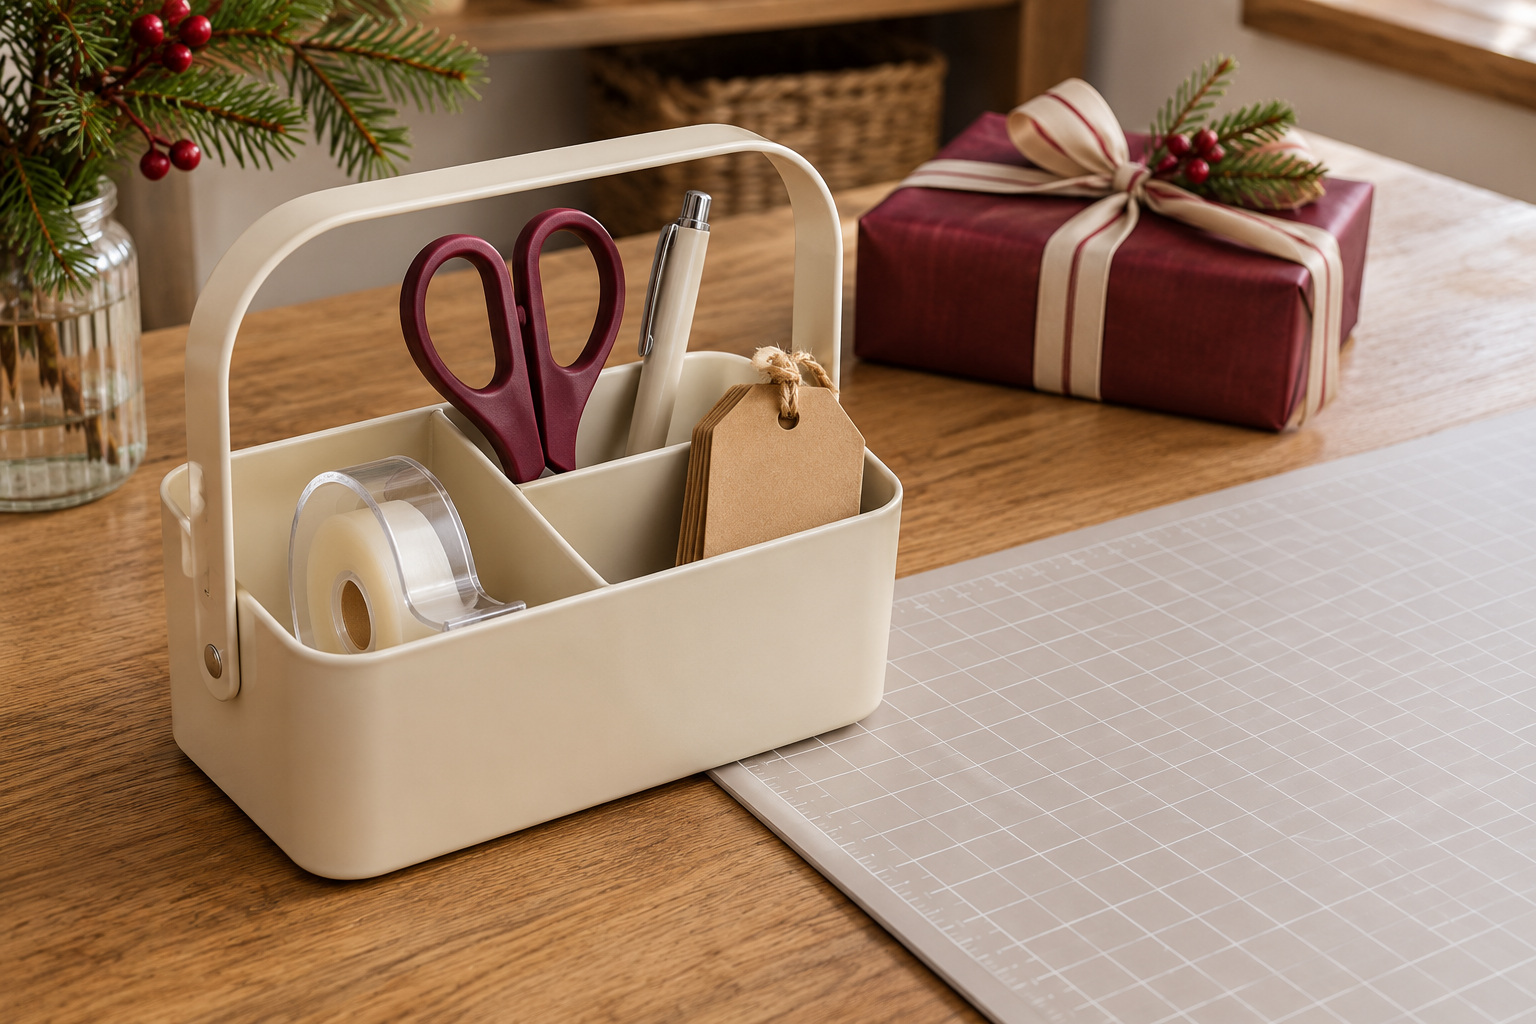
A small handled caddy can move the everyday tools between the storage shelf and the work surface. Give the tape dispenser, closed scissors, pen, and blank gift tags separate compartments. Keep the handle free so the whole kit can be lifted without rearranging its contents.
The caddy should contain the tools you reach for during a session, with refills stored elsewhere. Choose compartments that let you remove an item by its proper grip, and keep sharp or unsuitable small items out of reach where the household requires it. A compact cream or red caddy can sit quietly beside patterned wrap. Its success is measured by whether the tape returns to the same spot after each package.
11. Give Reusable Fabric Wrap Its Own Basket
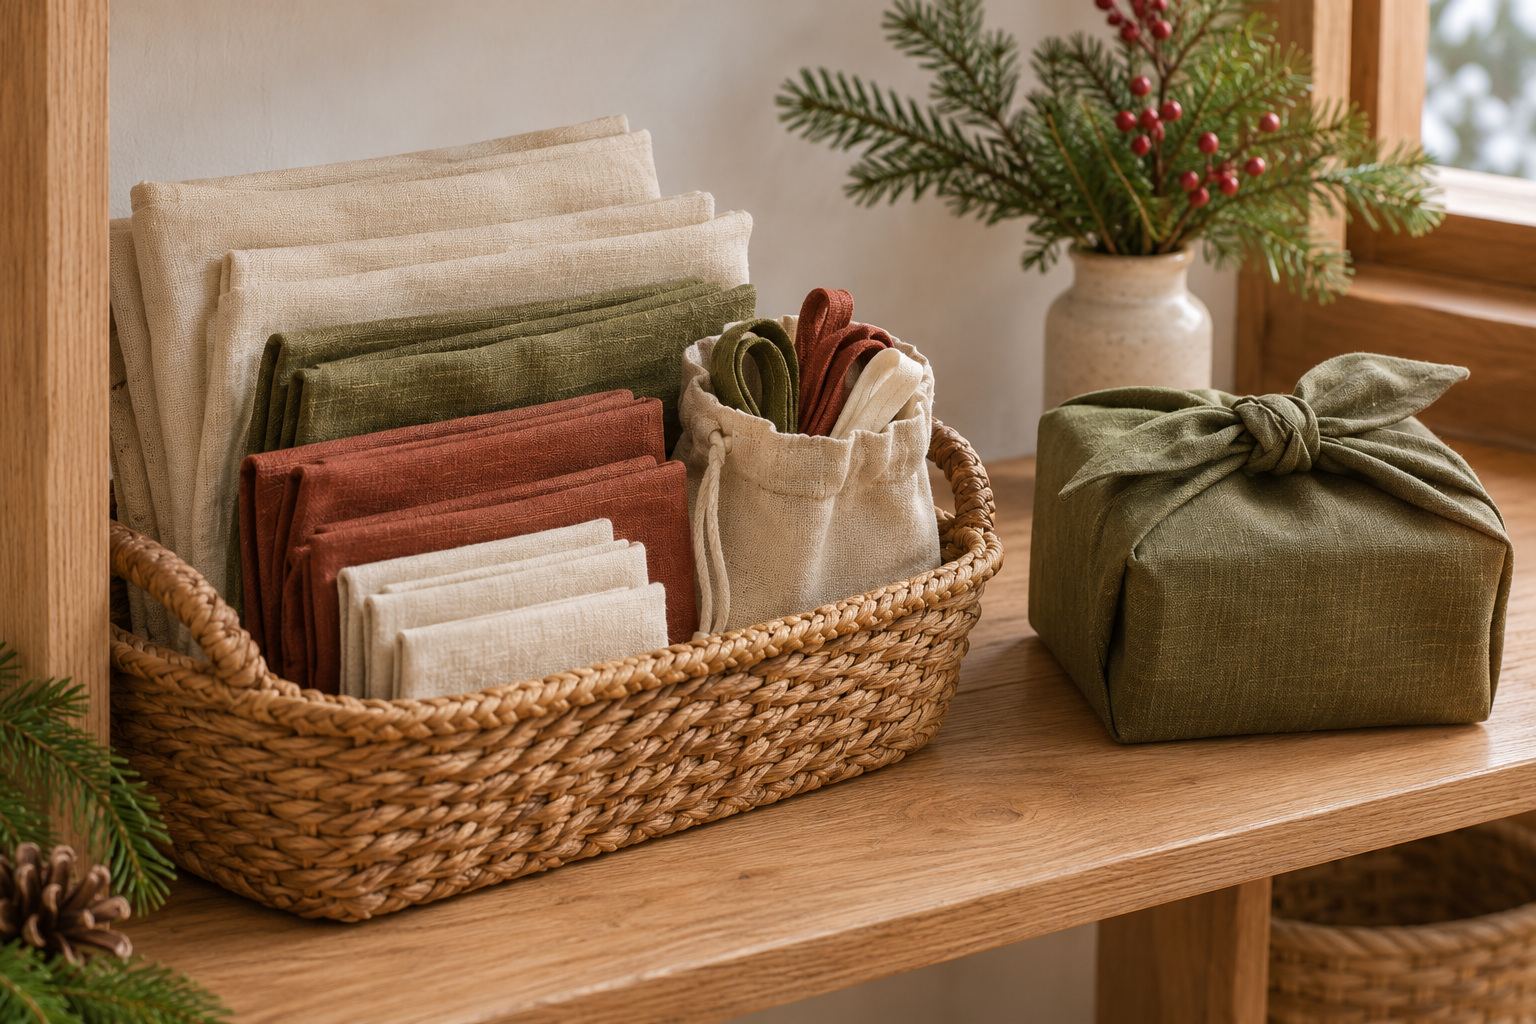
Fabric wrap needs a different home from paper rolls. Fold clean, dry cloths into a shallow basket, grouping them by size so you can compare a piece with the gift before opening the whole collection. A smaller pouch beside the folds can hold the ties you use with them.
Plain cotton or linen cloths, a woven basket, and warm wood can make this part of the station feel calm among brighter Christmas patterns. Follow the care needs of the fabrics and keep pieces that stain or shed separate from delicate gifts. The basket organizes materials you already intend to reuse; it does not require replacing a useful paper collection or promising a measured environmental benefit.
12. Leave a Shelf for Finished Gifts
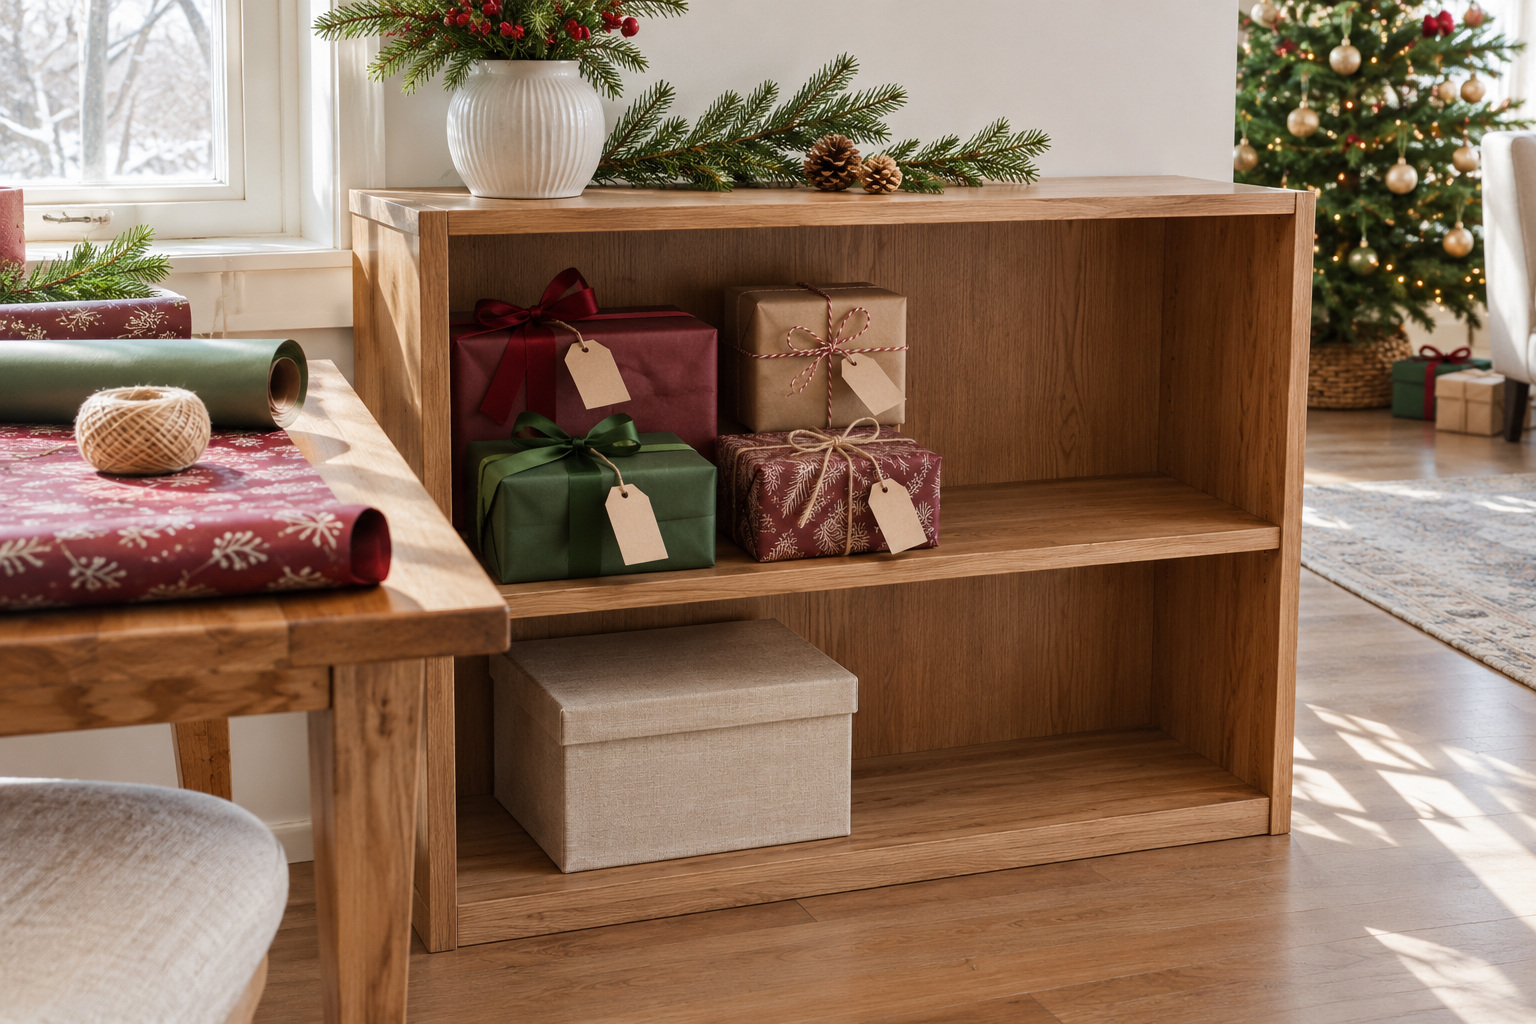
Finished gifts need a destination away from the paper and tools. Reserve a nearby shelf for packages that are ready to leave, keeping a section open for the next completed gift. Arrange them so their tags can be checked without lifting a tall stack or pulling on a bow.
Group packages around the next visit or handoff rather than moving every present to the door at once. Use a shelf that supports the actual weight and depth of the boxes, with nothing projecting into the walking route. This small staging area separates work in progress from gifts that are truly ready, which makes it easier to clear the wrapping table when the session ends.
13. Set Up a Seated Wrapping Desk
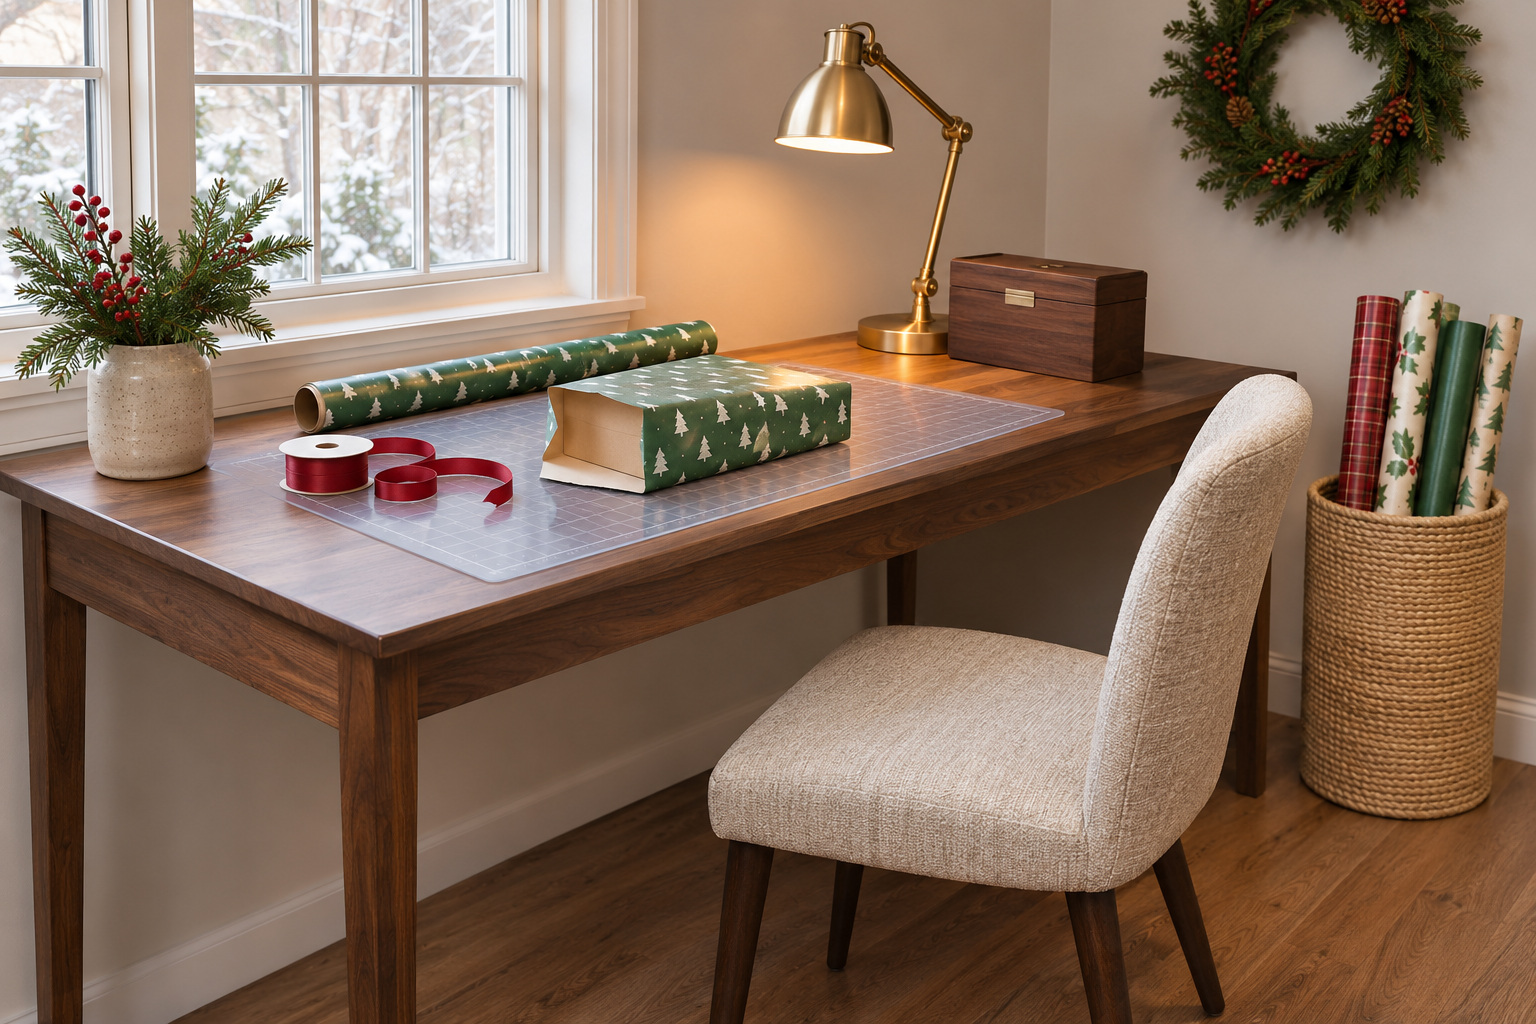
A dedicated desk can make sense if you prefer to wrap while seated and have a corner available through December. Keep the space beneath the top open for your legs, place the paper within an easy reach, and move bulky storage to the side. A small task lamp can help you see the fold without taking over the surface.
Try the chair and table together with a real box before settling the layout. You should be able to turn the package, stand up, and move the chair without catching a roll or ribbon. Limit the desktop to the current gift and the small tool kit. If this is also your usual office, return the work materials to their normal places after wrapping rather than mixing two active projects.
For a desk that also handles everyday work, our home office organization ideas explain how to give the regular papers and tools their own homes.
Build the station around the way you wrap. A cart brings supplies to a shared table, a door rack gives long rolls a home, and a flat kit can disappear between sessions. Leave room for the current box and give finished gifts somewhere else to wait. When each part has a useful place, you can put the Christmas supplies away as deliberately as you brought them out.
Discover more from HomeTrendora
Subscribe to get the latest posts sent to your email.