

An unfinished wooden nutcracker has enough little edges and carved details to make the first brushstroke feel like a big decision. These 12 painting ideas help you choose one clear design, then decide which details to paint and which to leave quiet.
Start with a decorative wood blank rather than a collectible or a working kitchen tool. Check the blank and paint makers’ preparation directions, remove loose dust, and test your paint on a spare piece of similar wood. Use a compatible preparation coat where required. Keep paint out of moving joints, work with the ventilation the products require, and let each layer dry as directed before adding the next one. The finished figures here are indoor decorations, not food-contact utensils or children’s play toys.
1. Start With a Clean Two-Tone Uniform
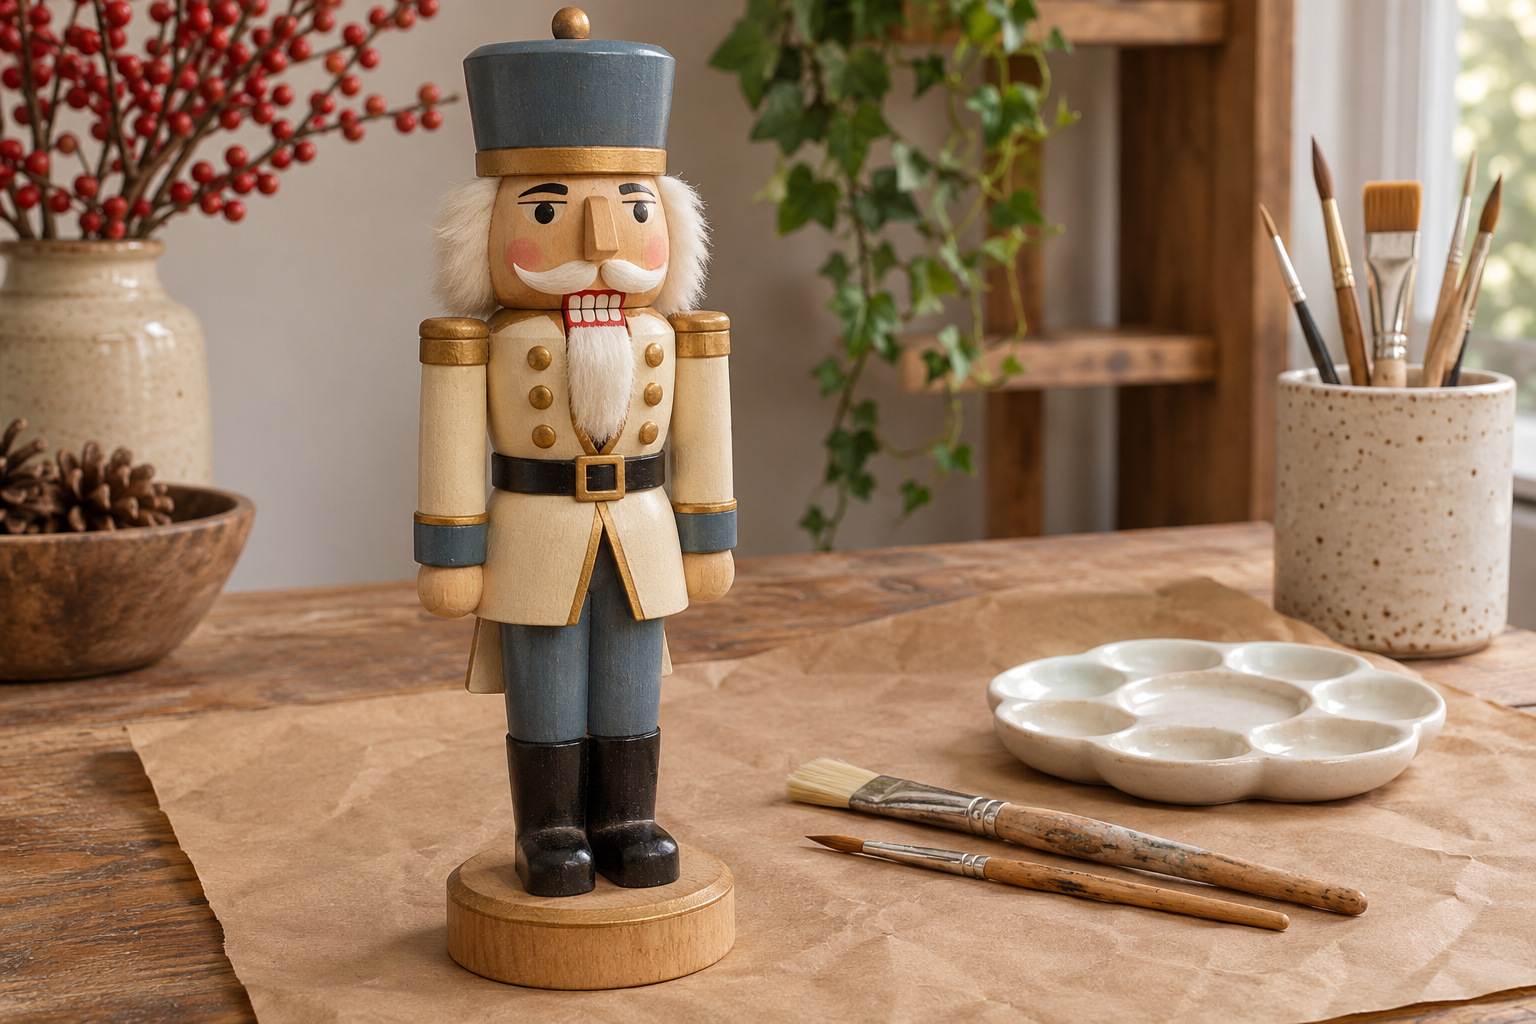
Choose one color for the coat and a second for the trousers, with the boots and hat giving the figure a simple outline. A cream coat over muted blue trousers is easy to read because the larger areas remain separate. Sketch the coat opening lightly before you start, especially where the carved arms meet the body.
Paint the broad areas first with a small flat brush, then change to a finer brush near the cuffs and collar. Leave the face simple while you learn how much detail the blank can hold. A carefully painted coat edge usually contributes more than another row of tiny buttons. Stand the figure upright between stages so you can judge it from the angle it will actually be displayed.
For a similar painted finish, this matte acrylic set includes separate colors to mix; check the wood blank and paint preparation instructions before starting.
Explore the matte acrylic paint set (paid link)
2. Leave a Wood-Grain Panel Unpainted
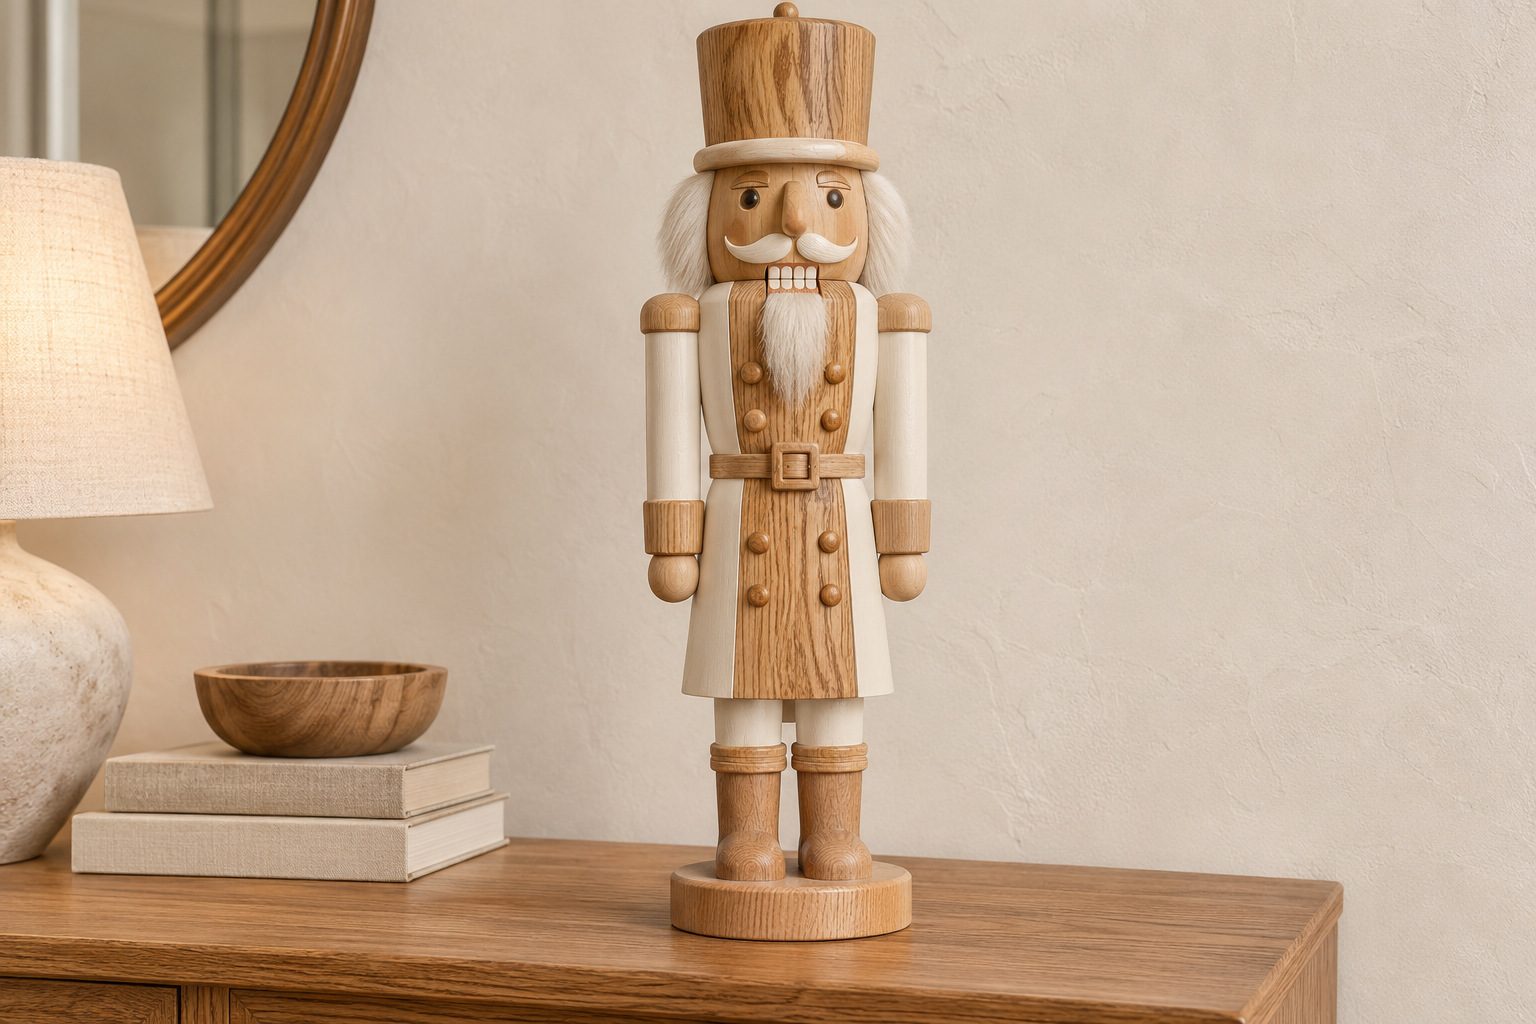
Use the timber as one of the design’s colors. Draw a narrow panel down the front of the coat and keep that area free of opaque paint, carrying a muted green or warm white around it. Pick a blank with grain you like on the visible front; a patchwork of glue lines may call for a different approach.
Decide how you will finish the exposed wood before painting its border, following the selected coating’s directions. Test the combination on scrap rather than assuming a clear product will leave the color unchanged. A restrained grain panel gives the figure a different character from a fully painted soldier. Once it is dry, a plain wood shelf or an uncluttered spot in an everyday Christmas entryway lets that material remain visible.
3. Build a Checkerboard From a Pencil Grid
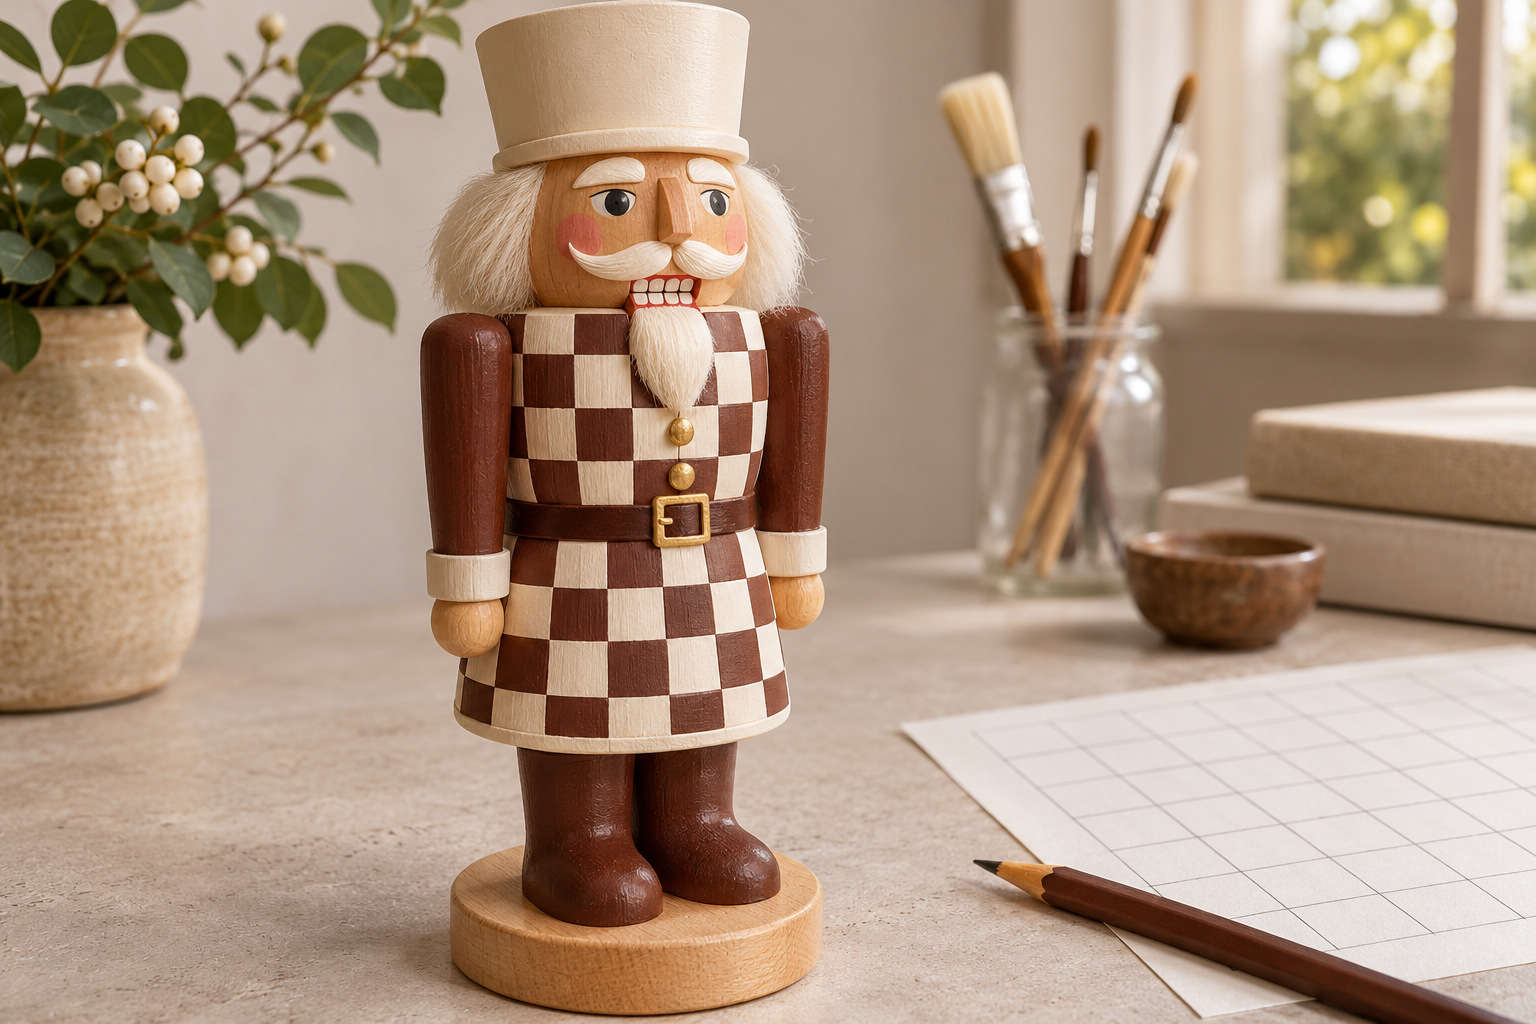
Keep the checkerboard on one broad coat panel. Mark the center first, then draw a few lightly spaced lines across and down. On a rounded figure, let the outer squares narrow as they turn away from the front. Trying to make the entire curved surface look like flat graph paper creates more work than the little pattern needs.
Fill alternate squares with a fine flat brush, letting the first color dry before working beside it. A soft white-and-cocoa check gives the carving enough contrast without several bright colors competing. Keep the sleeves plain. If your blank has a very narrow body, use fewer, larger checks so the pattern stays readable when the figure leaves the worktable.
4. Wrap Broad Candy Stripes Around the Hat
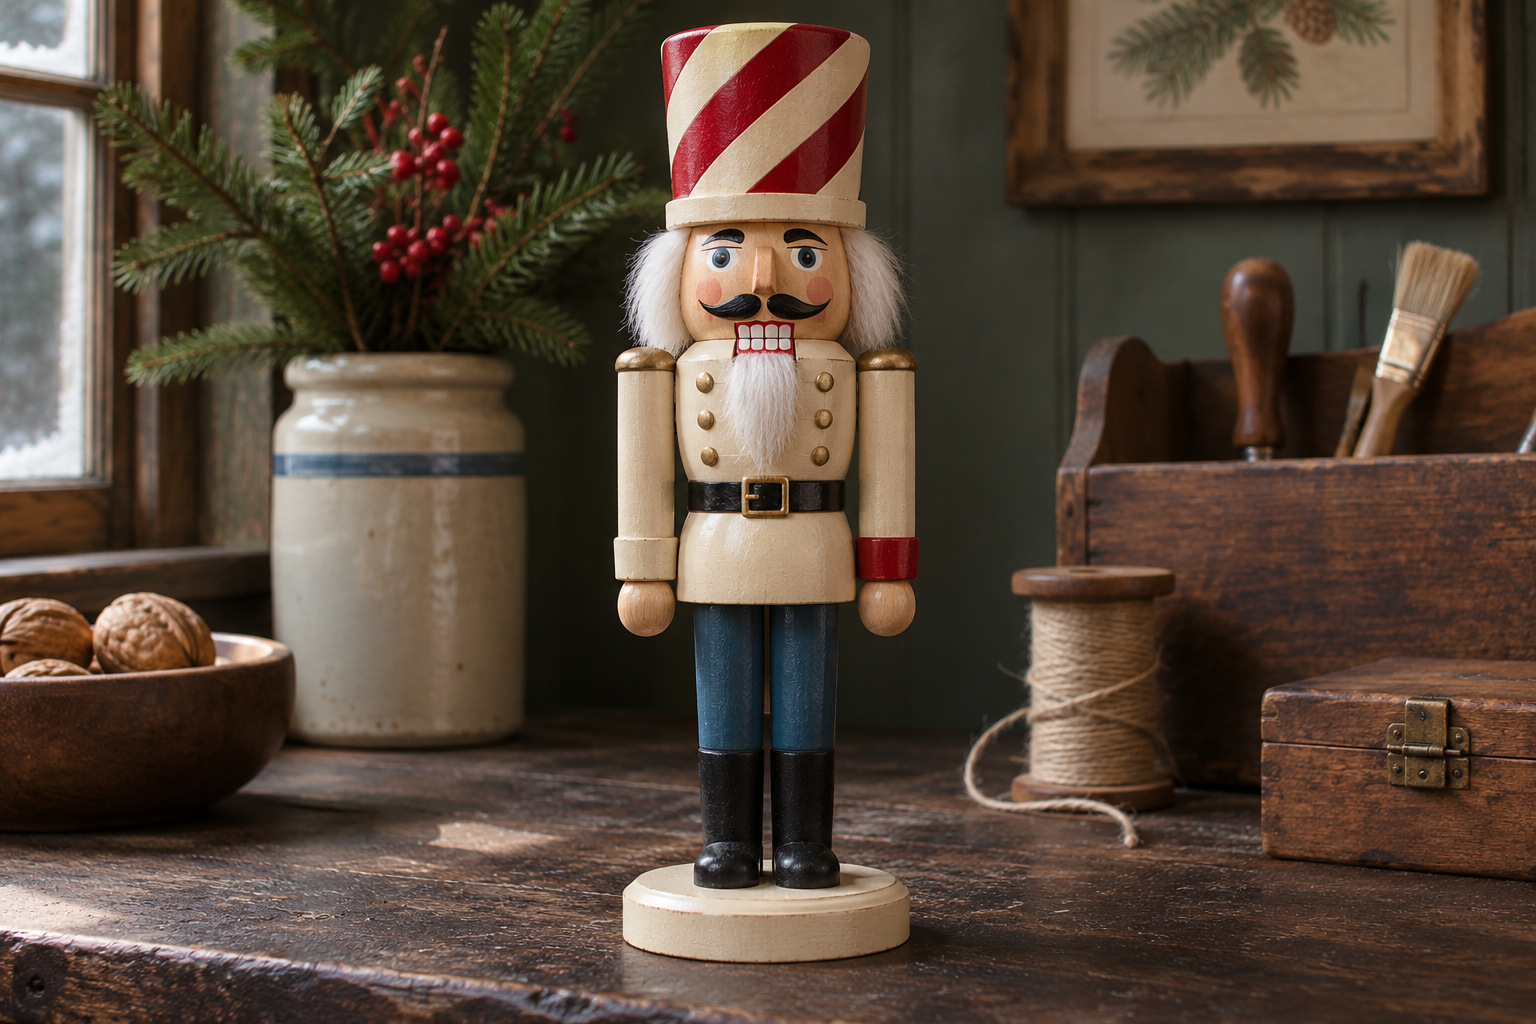
Put the stripes on the hat and leave the coat mostly solid. Draw a few diagonal guides around the hat’s curve, checking the front before continuing onto the back. Wider bands are easier to follow around a small cylinder than a dense set of pencil-thin lines.
Paint the lighter base first. Once it is ready for another layer, add the darker stripes with a small flat brush, turning the figure rather than twisting your wrist into every angle. Stop the stripes at the hat’s real edge. A tiny matching cuff can repeat the color lower down, but the hat should remain the main patterned area. This is particularly useful on a blank whose carved uniform already has plenty of detail.
5. Stencil a Small Leaf Motif on the Coat
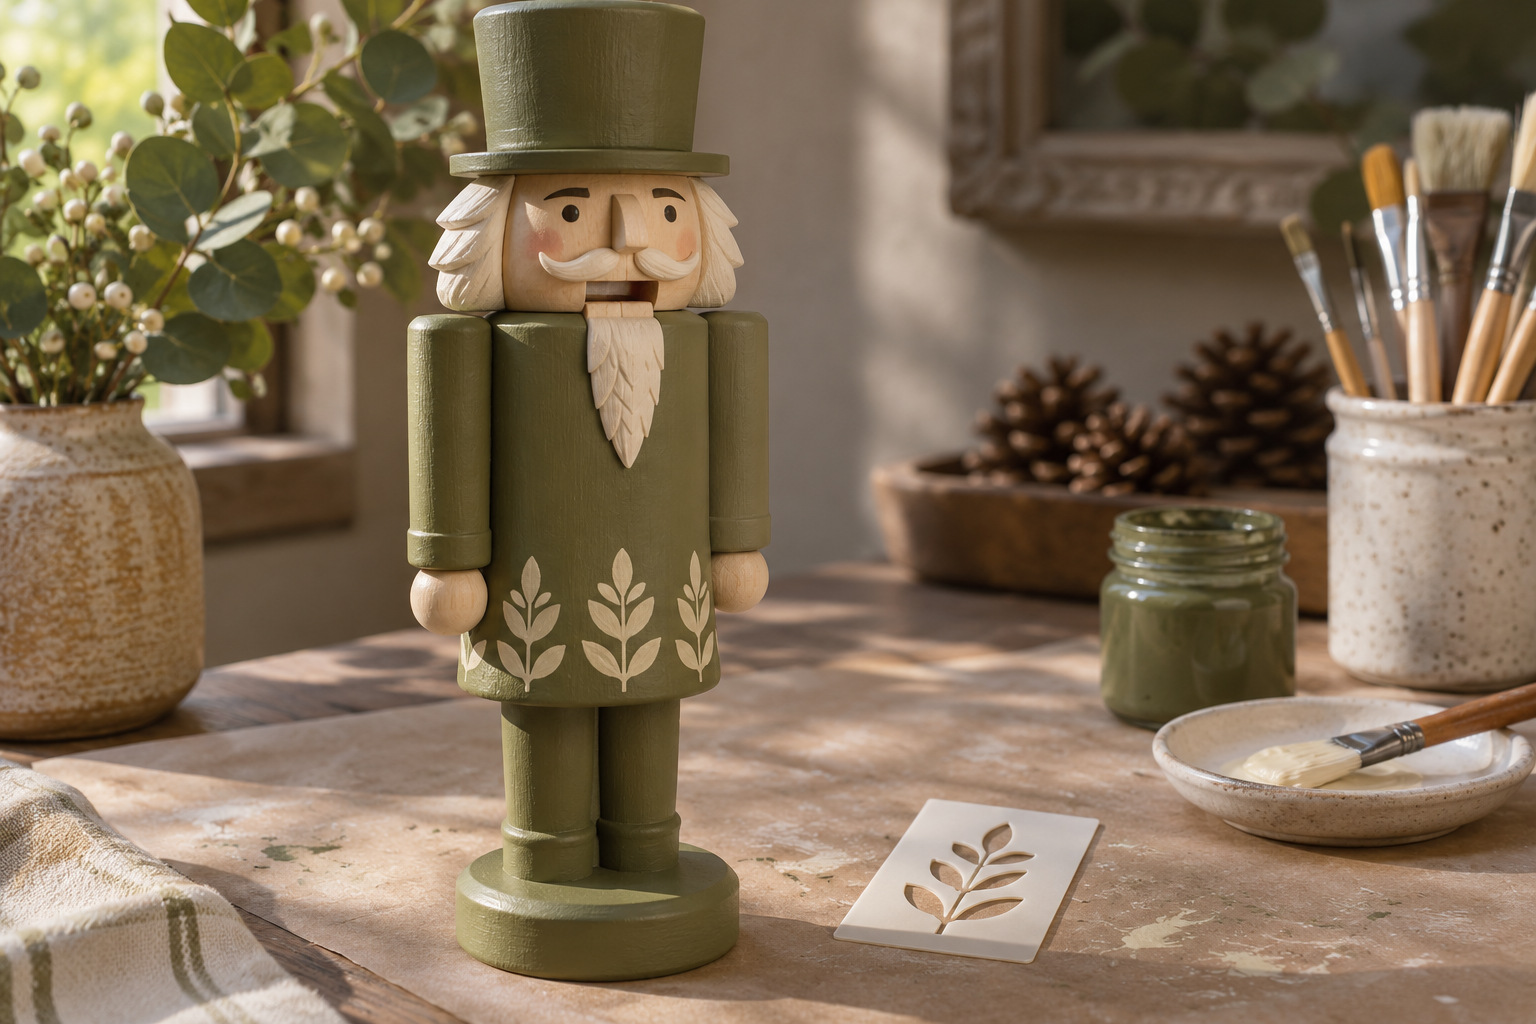
Choose a simple leaf shape that fits within the flattest part of the coat. Make a test impression on scrap with the same base color. Load the stencil brush lightly, then remove excess paint before working over the openings; a flooded stencil can turn a small leaf into an indistinct patch.
Hold the stencil in place without forcing it across a ridge. If the figure is too curved for the full motif, use one separate leaf at a time. A short repeat along the lower coat can suggest a botanical border while leaving the chest clear. Lift the stencil carefully and allow the marks to dry before deciding whether they need a second pass. The spaces between the leaves are part of the design.
6. Dry-Brush the Raised Carving
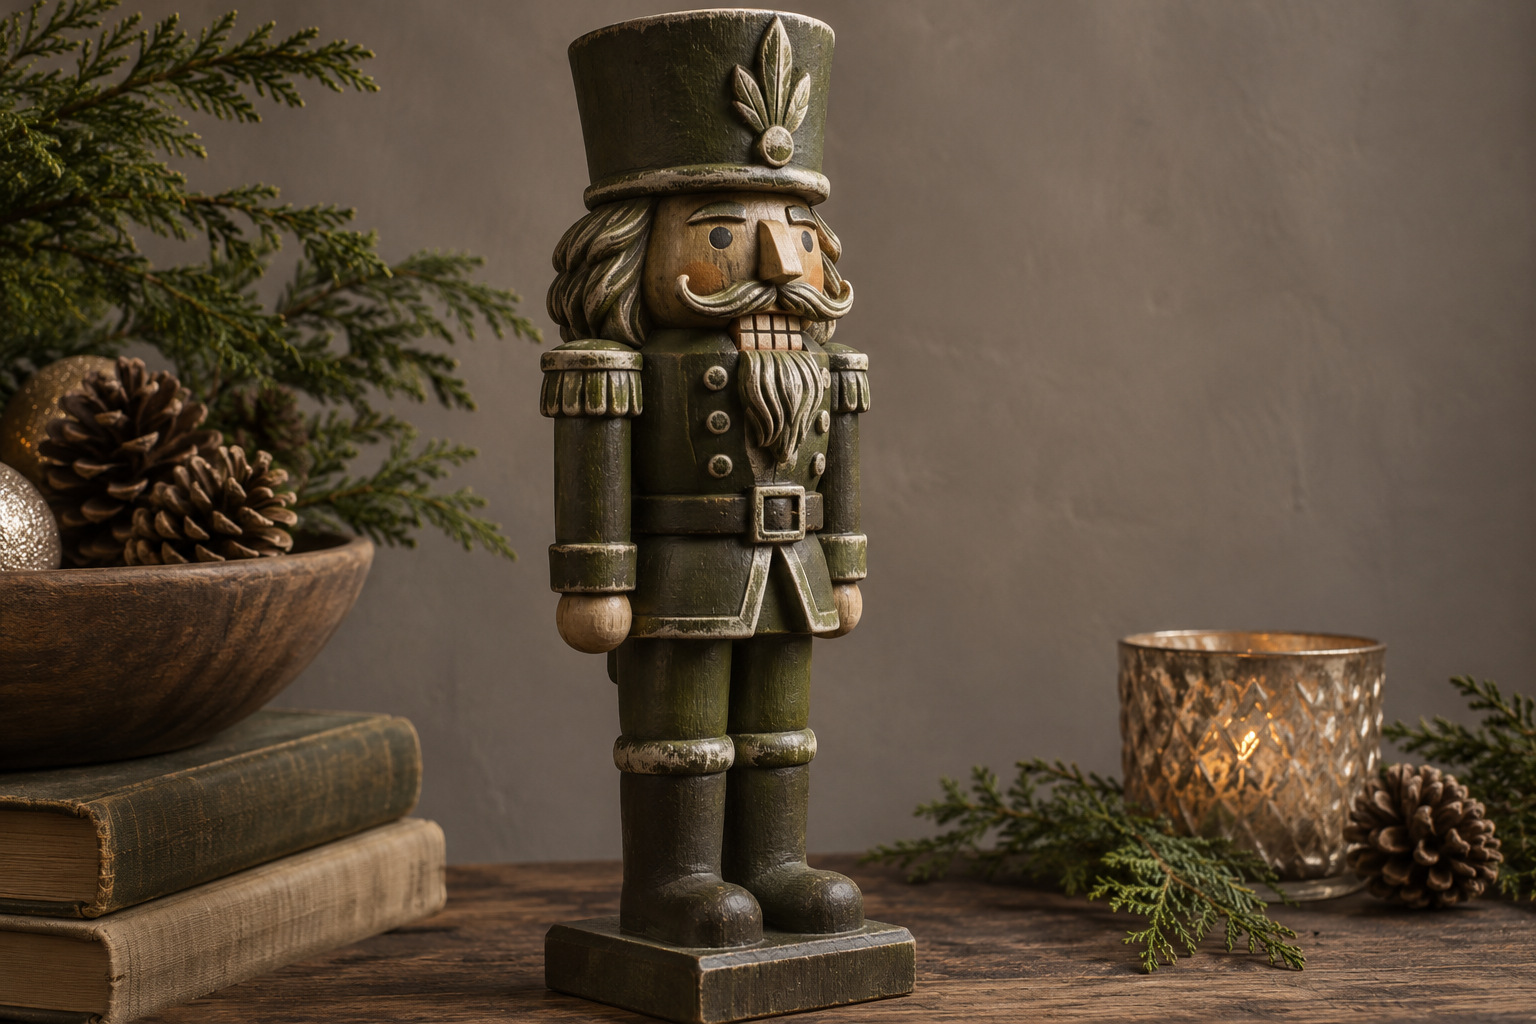
Use this approach when the blank has pronounced ridges in its hat, beard, or boots. Over a dry base coat, pick up a little lighter paint on a relatively flat brush and work most of it off on scrap. Pass the brush lightly across the raised edges so the darker color remains visible in the recesses.
Check the first few strokes before repeating the effect over the whole figure. If the highlight becomes a solid stripe, reduce the paint on the brush. Choose one or two carved areas to emphasize rather than outlining every edge. An olive figure with a soft stone-colored highlight can show its shape without a high-gloss finish. This is a painted treatment, so describe it as aged-looking rather than pretending the ornament is an antique.
7. Keep Metallic Paint on the Trim
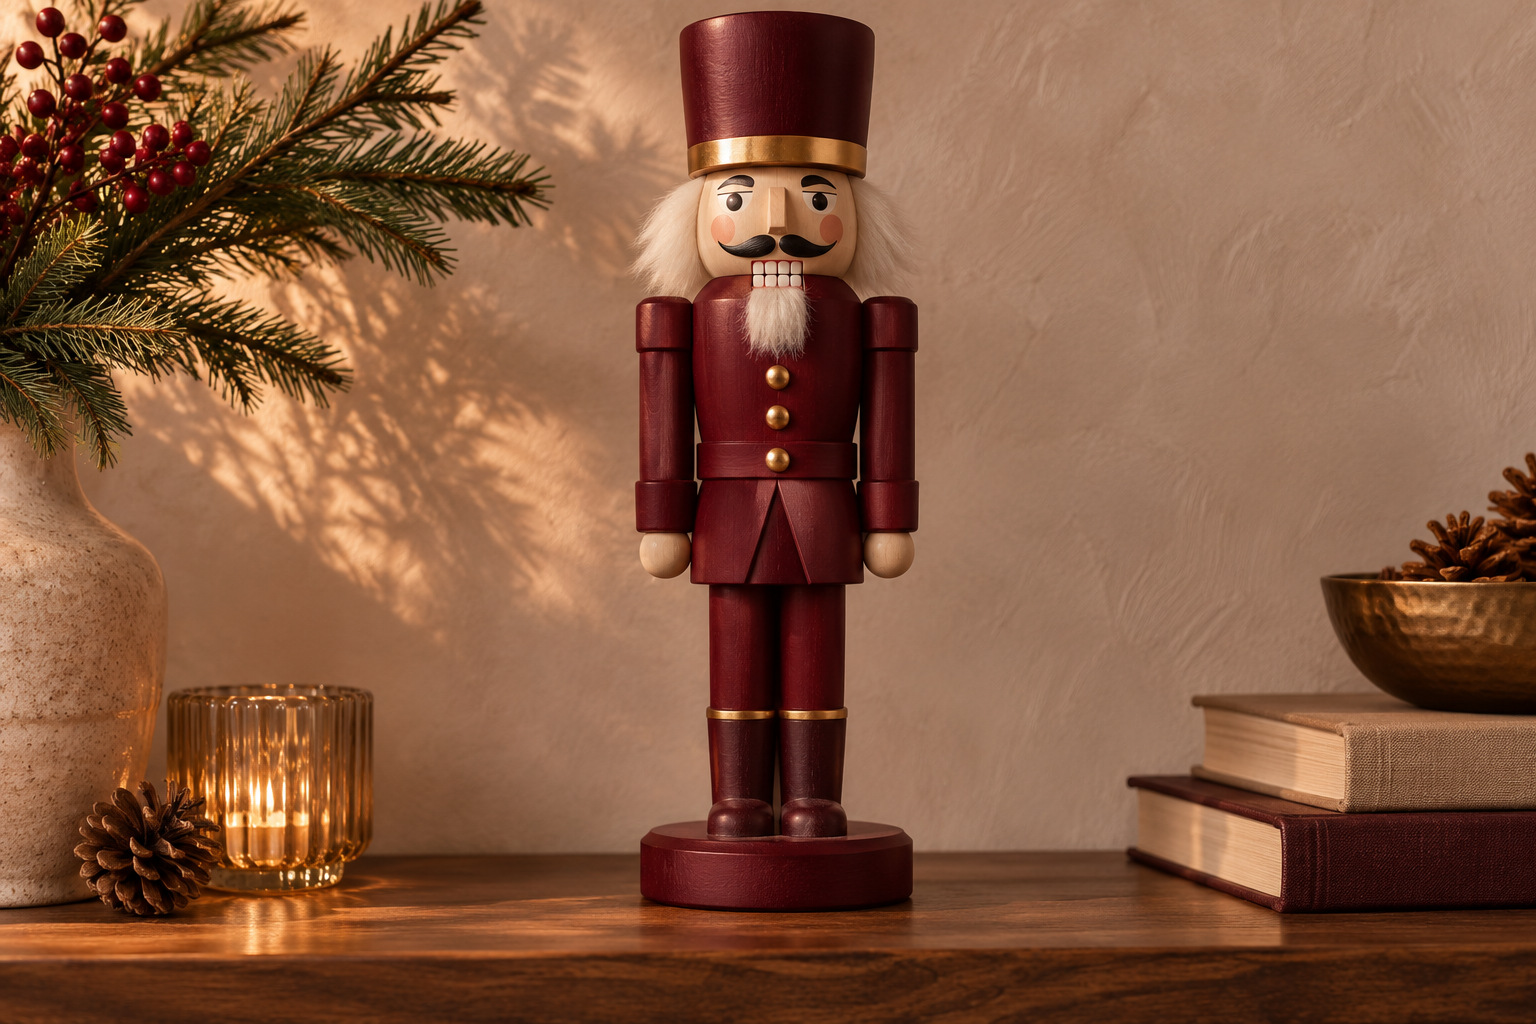
Let a matte coat carry most of the figure and use metallic paint on the hat band, a few buttons, or the edge of the boots. The change in sheen supplies the contrast; you do not need to cover every raised detail in gold. Test the metallic color over your actual base, because its coverage may differ from the ordinary acrylic beside it.
A small pointed brush gives more control around buttons than the brush used for the coat. Work on one trim area, let it dry as directed, and look at the figure under the lamp near its future display. If the metal becomes the first thing you notice everywhere, leave the remaining edges matte. Check the chosen clear finish on a sample before using it over both surfaces.
8. Stamp a Soft Dotted Pattern
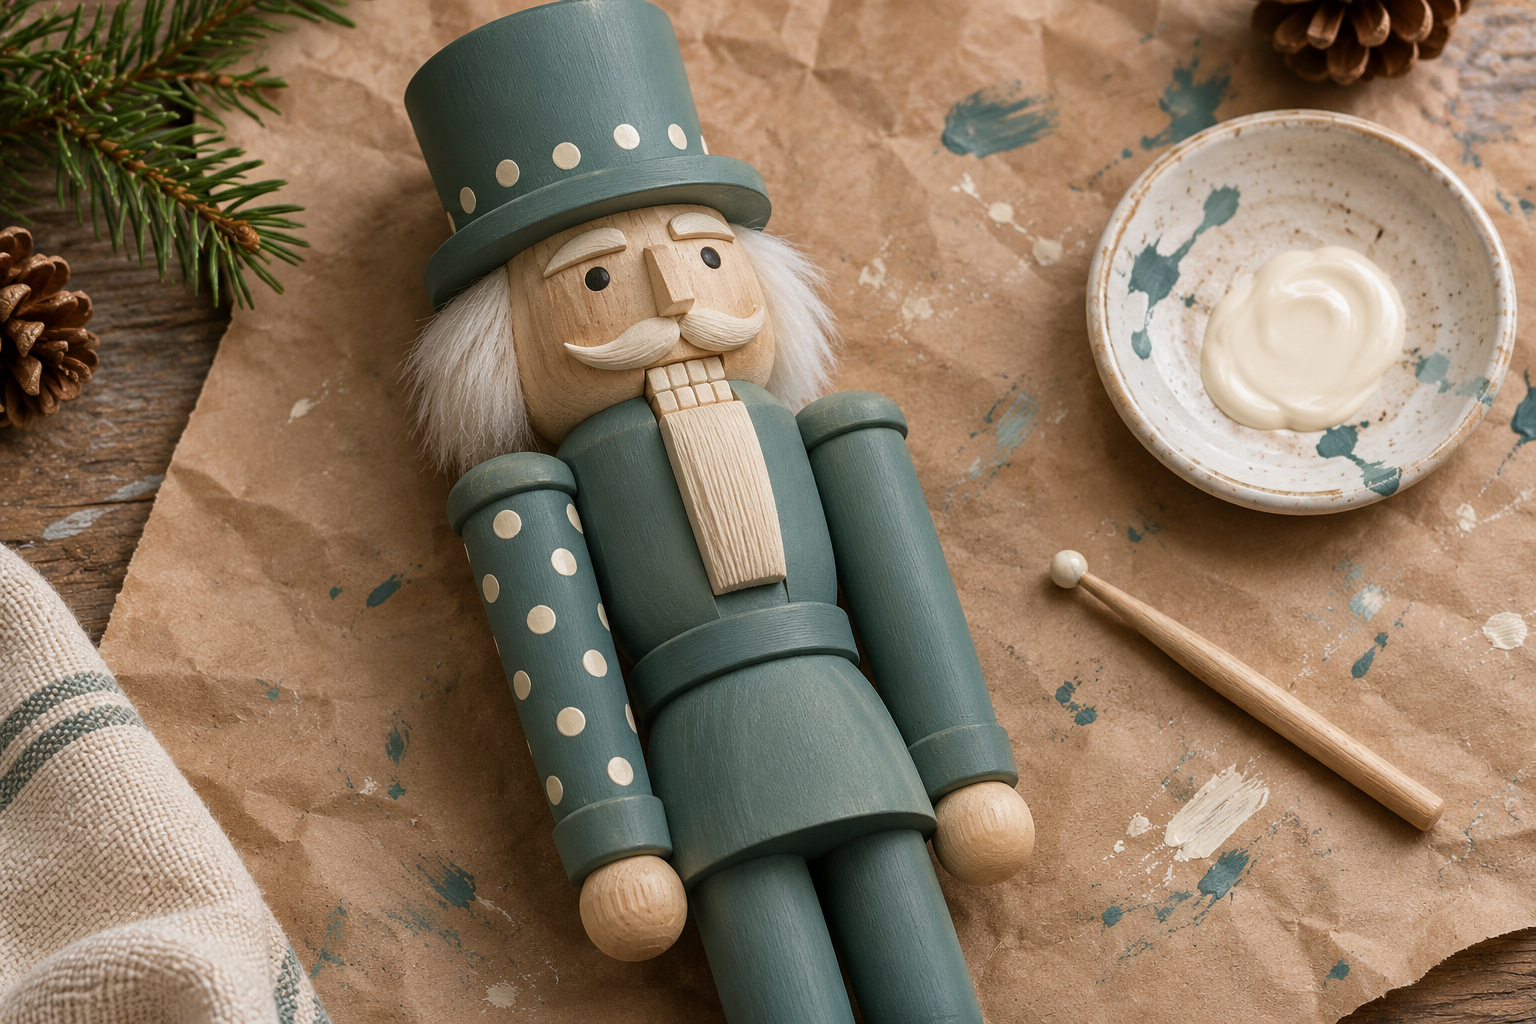
The flat end of a small, smooth dowel can make a repeated dot without drawing a series of circles. Try several amounts of paint on paper first. A light, even film creates a cleaner mark than a heavy drop. Place a few guide dots at the top, middle, and bottom of the intended panel, then fill the spaces between them.
Leave room between the marks so the base coat still reads as a complete color. One dotted sleeve or hat can be enough on a figure with a busy silhouette. Wipe the end of the tool when paint builds up and test it again before returning to the wood. Slightly irregular hand-stamped dots suit the method; the aim is a readable repeat, not a factory print.
9. Paint a Tiny Winter Scene Inside One Panel
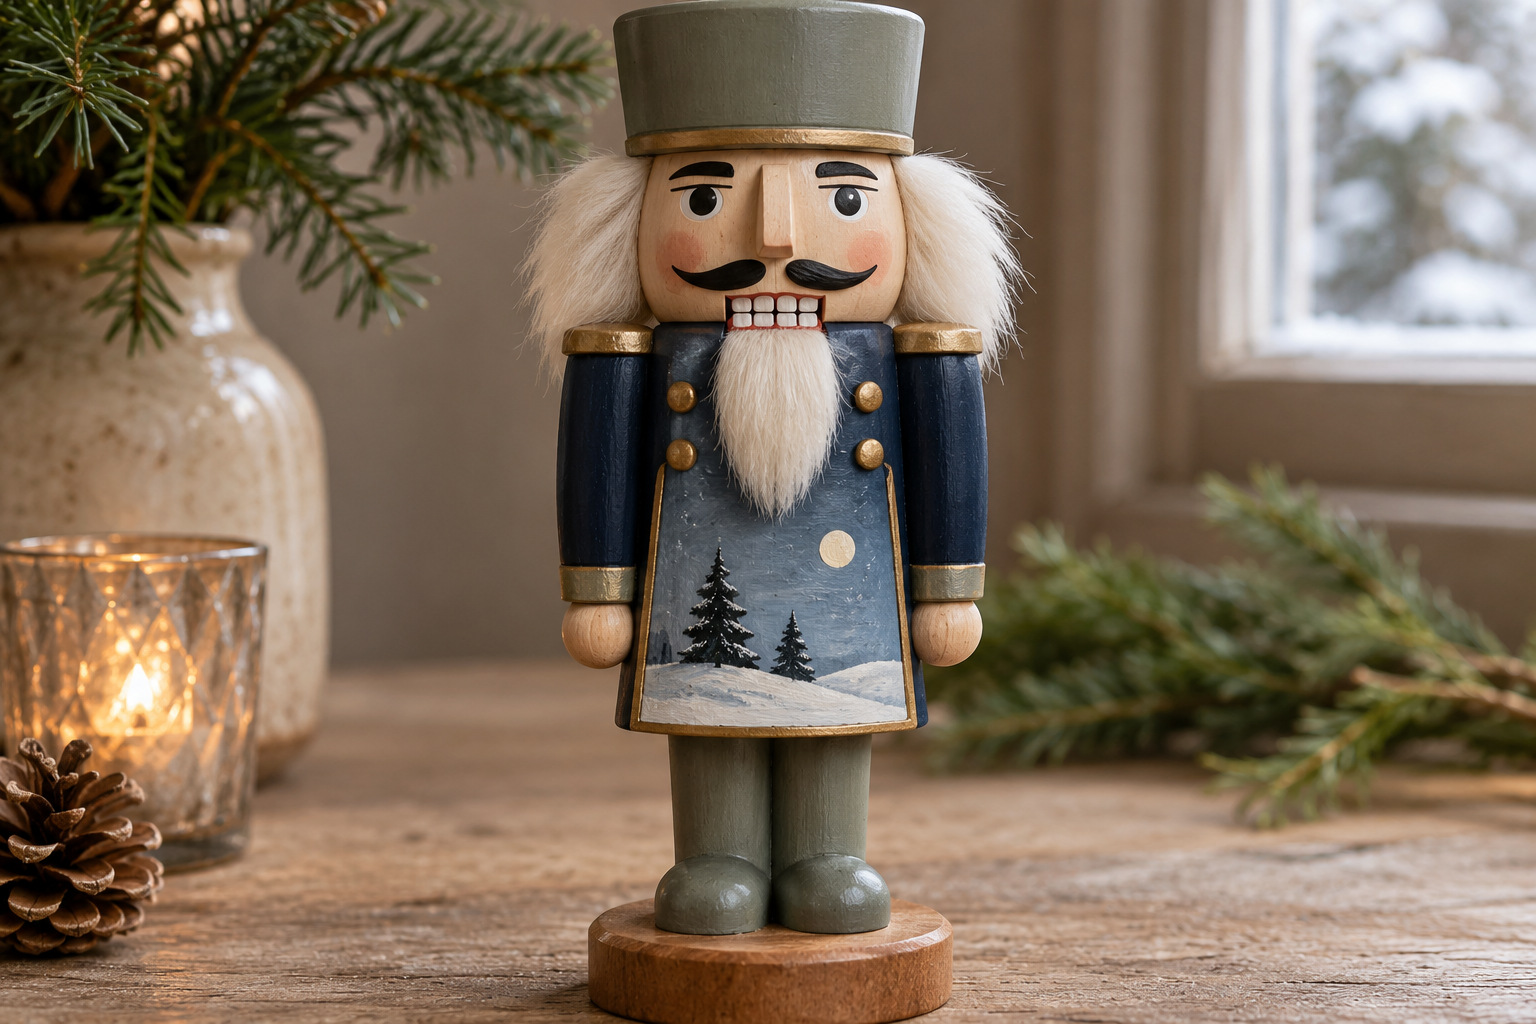
Treat the front of the coat as a small picture rather than spreading a landscape over the entire figure. Mark a simple boundary, fill it with a quiet pale background, and add a low horizon. Two dark fir silhouettes and a small moon provide enough information at this scale.
Keep the arms, face, and hat plain so the little scene has room to work. Paint the largest shapes first and reserve the smallest highlights for the end. View the figure from a shelf’s normal distance before adding another tree or star. If the scene disappears, simplify the forms or strengthen the contrast instead of adding more detail. A single small picture can make an otherwise plain blank feel personal.
10. Build Folk Flowers From Simple Brushstrokes
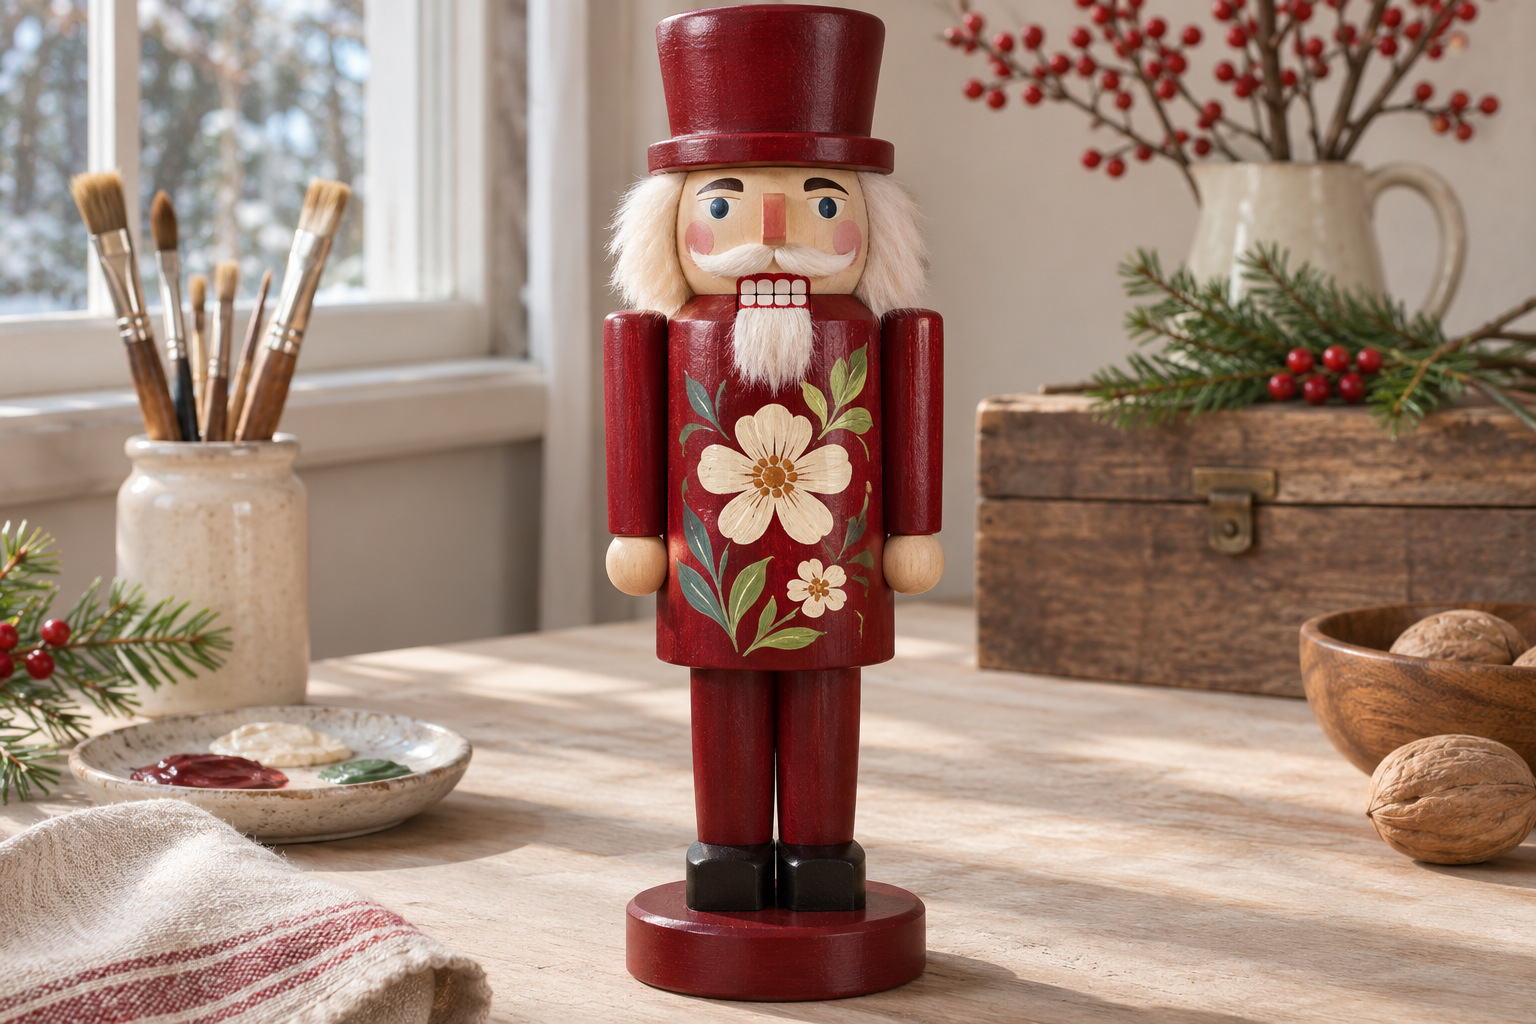
Start with one central flower on the coat. Use a few short rounded strokes for petals, a small center, and two leaves angled away from the stem. Practice that group on paper until you can repeat it without sketching every petal. The repeated brush shape gives the design its rhythm.
Add a smaller flower below or to the side rather than covering the figure evenly. A deep red base with cream petals and muted green leaves makes a clear holiday palette, but the method works with quieter colors too. Keep a plain border around the coat so the flowers do not merge into the arms. These are original decorative motifs; you can invent your own arrangement without borrowing a recognizable character or another maker’s pattern.
11. Mask Off Diagonal Color Blocks
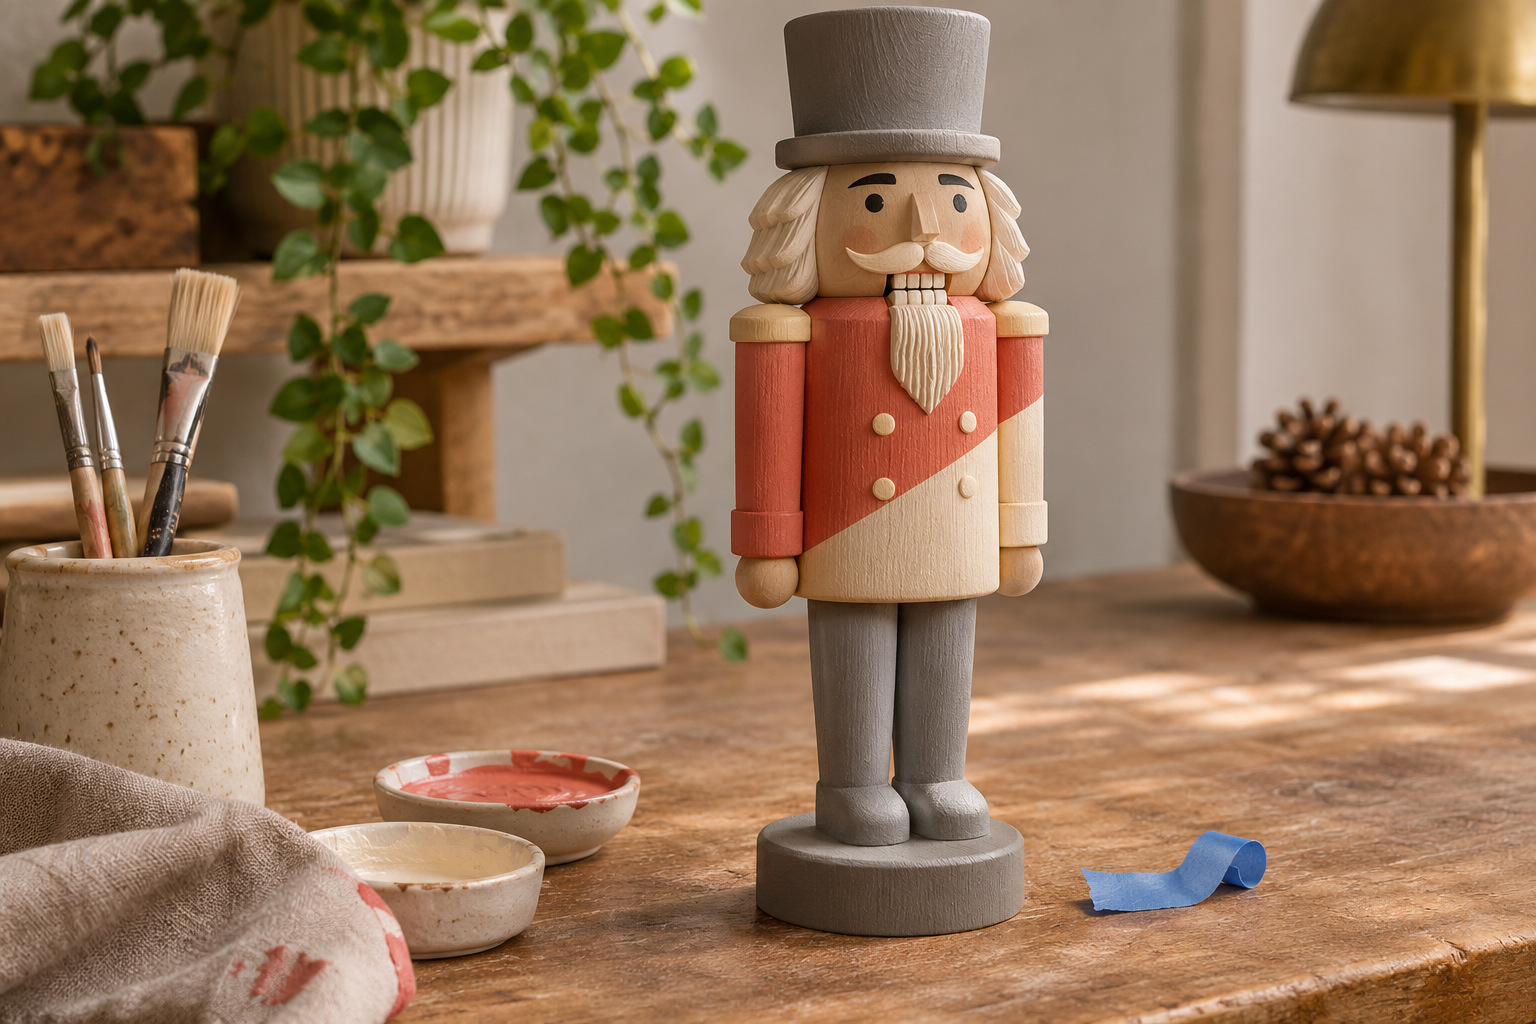
Use two broad diagonal shapes when you want a graphic design with fewer tiny details. Sketch the division on the front, then carry it around only as far as the blank’s carving allows. Choose masking tape suitable for the surface and test it over the prepared, dry base before using it on the figure.
Press the edge gently along the smoothest area and use thin coats near the boundary. Follow the paint and tape directions for removal rather than letting a thick paint ridge form across the join. Where the surface curves sharply, finish the last short edge with a fine brush. Keep the trousers solid so the diagonal on the coat remains deliberate. A narrow carved blank may need just one simple slant instead of several intersecting blocks.
12. Carry One Pattern Across a Matched Pair
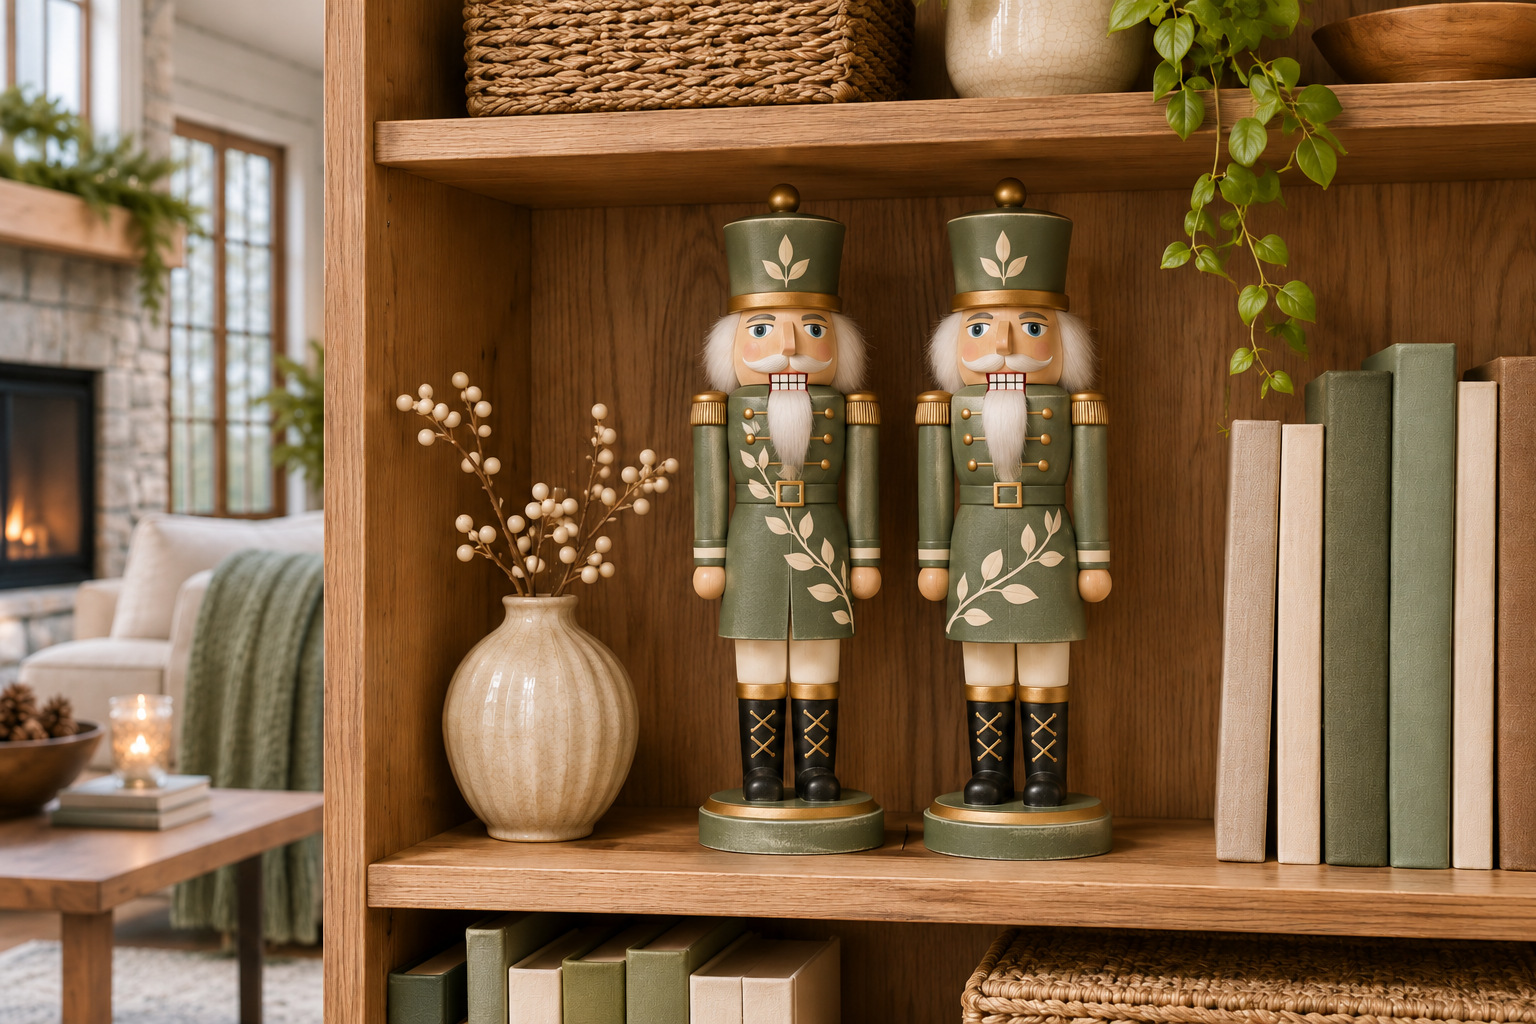
Set two similar blanks beside each other before drawing the design. Make a curved leaf trail or a broad ribbon shape finish near the inner edge of the first coat and begin again on the second. Each figure should still look complete on its own, with the connection becoming a small discovery when they stand together.
Keep their bases separate and decide the display gap while the sketches are still easy to change. Repeating the same base color and trim helps the pair read together even if the carvings differ slightly. After the paint and any suitable finish have cured as directed, give them one clear display bay. These Christmas shelf styling ideas help you leave space for the figures without hiding books you still want to reach.
Choose the method that suits the blank in front of you: a flat panel welcomes a picture or a grid, while deep carving gives a dry brush something to catch. Finish one main area, stand the figure where you can see it properly, and let the next detail earn its place.