An art collection rarely stays exactly the same. These 14 picture ledge ideas give framed prints, postcards, and small textile pieces a clear place while leaving room to change the arrangement. The ledge is part of the composition, so its depth and finish matter as much as the pictures.
Start with the frames you want to display and a ledge intended to support them. Follow its limits for frame height, combined weight, placement, and wall installation. A raised lip is not a substitute for appropriate support. Keep the display clear of moving furniture and consider the risk of falling objects when choosing its position. Use suitable professional help if the wall or installation is uncertain.
1. Fit the Ledge to the Frames You Already Own
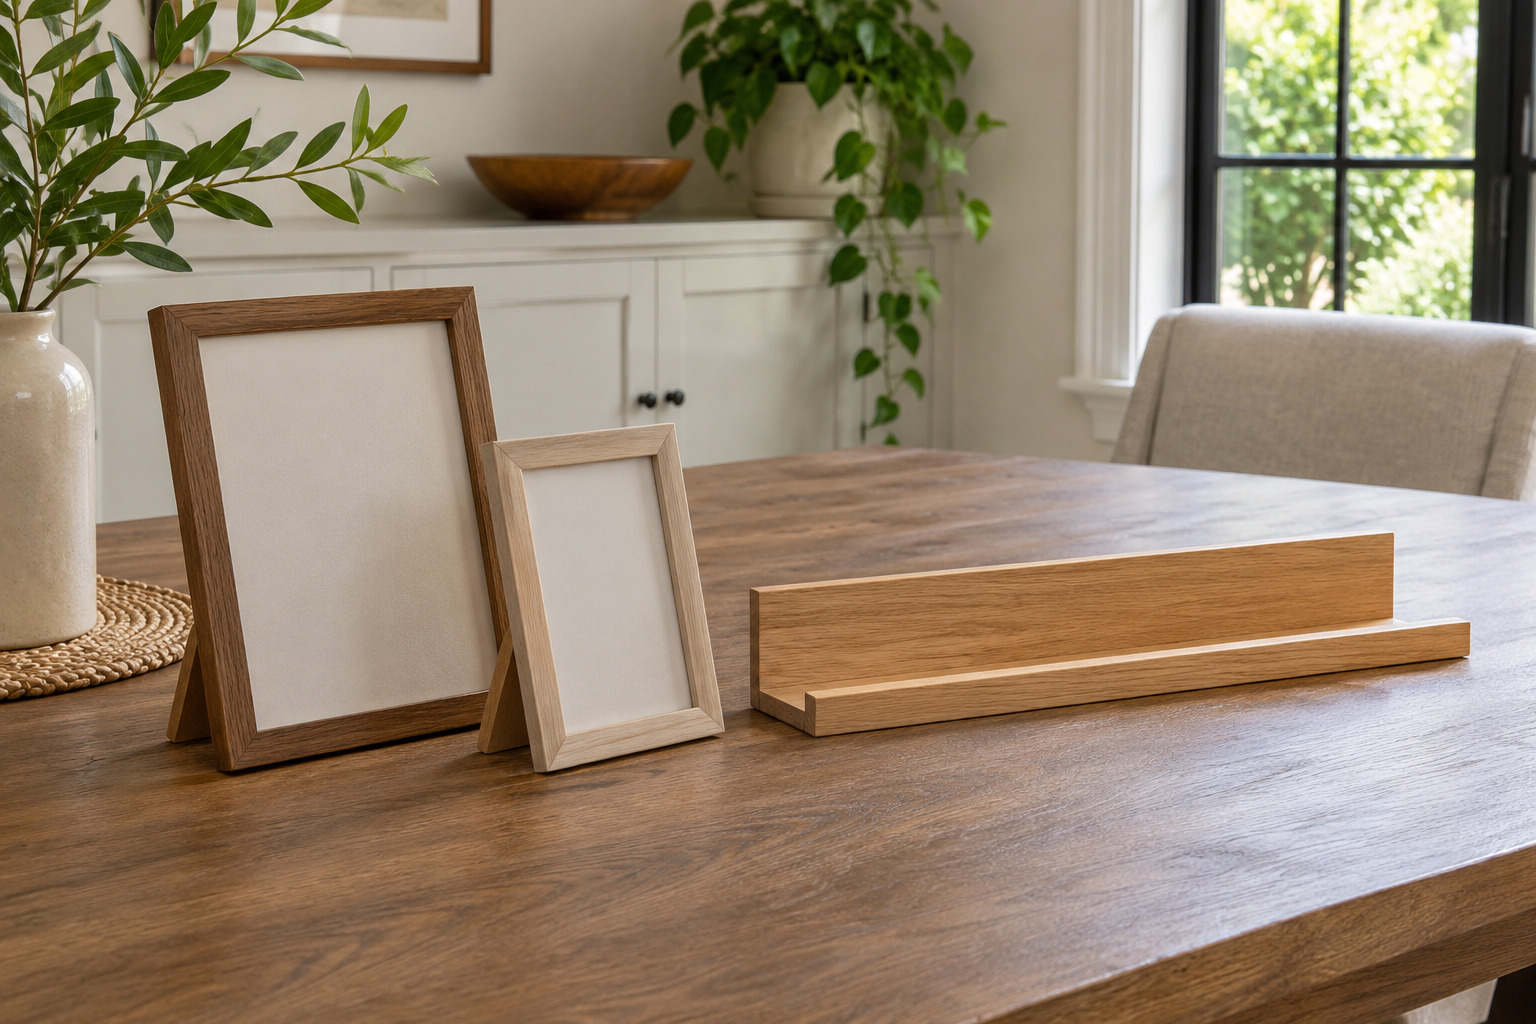
Stand your intended frames on a protected table and measure their full bases, including the depth of any overlapping pair. Compare those dimensions and the frames’ height and weight with the ledge maker’s limits. The outside width of the art alone does not tell you whether it will stand properly.
Choose a ledge with the appropriate retaining feature and enough usable depth for your actual arrangement. Keep some empty length at both ends instead of filling the measurement exactly. Lay out its position on the wall before installation and check the view from the main entrance.
Compare your frames’ base depth, height and combined weight with the supplied ledge instructions before ordering.
Check the small white picture ledges (paid link)
2. Give One Landscape Print a Smaller Neighbor
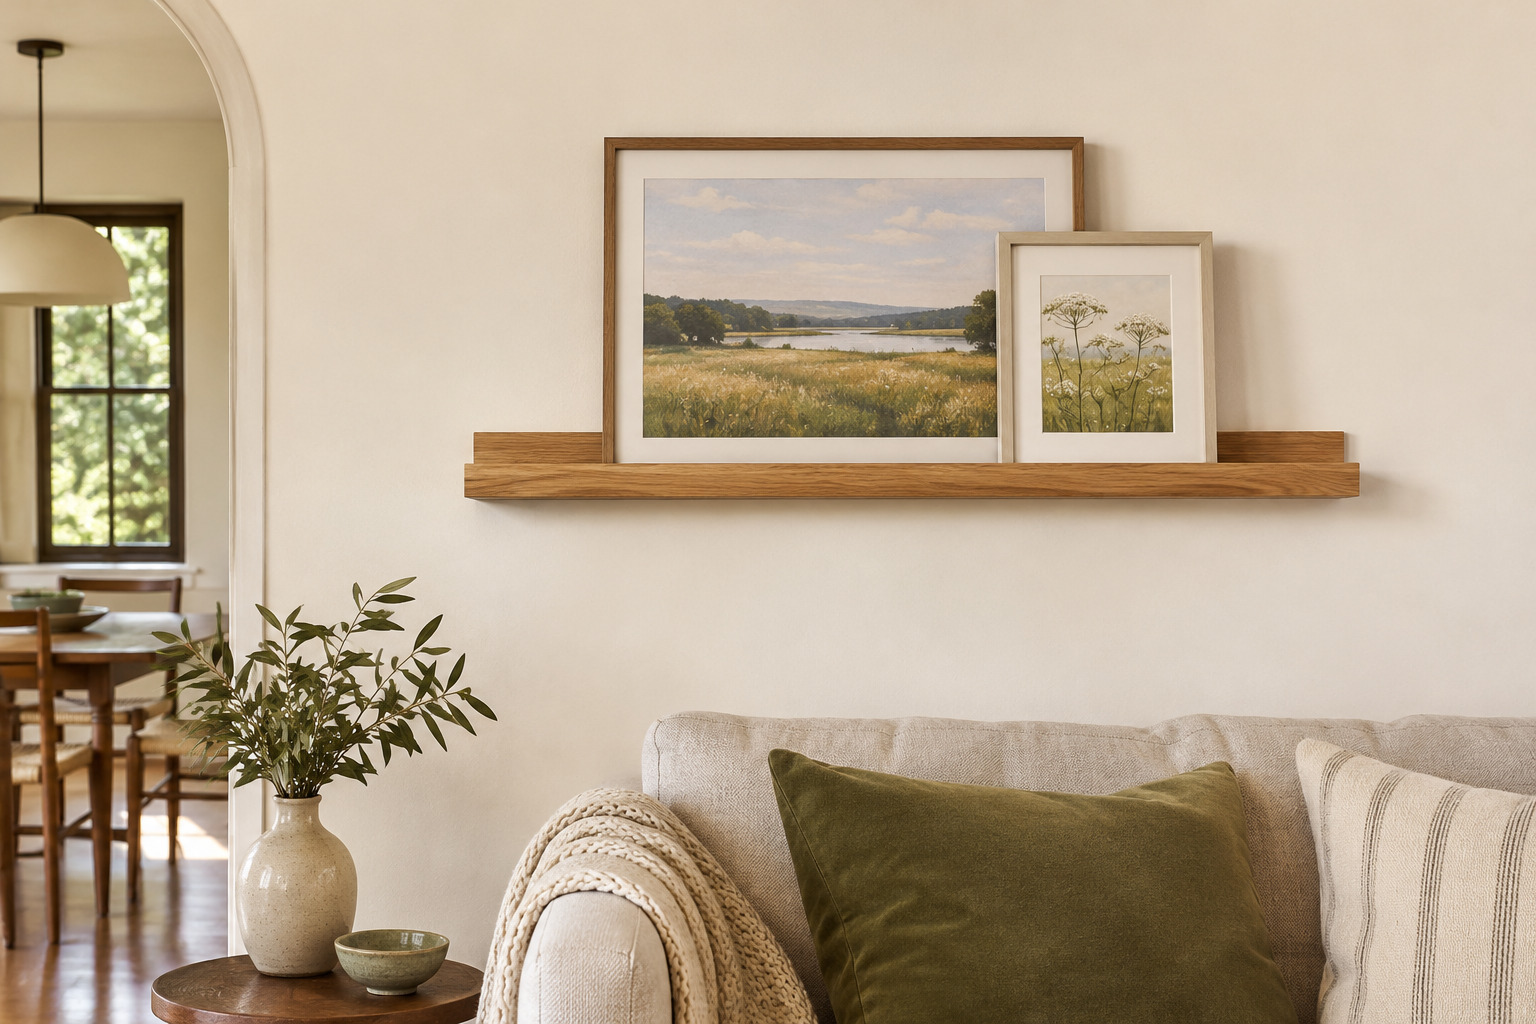
Let a horizontal landscape print set the direction of a short ledge, then add one smaller frame beside it. A little overlap can connect the two if both bases remain properly supported. Keep the landscape’s most important detail visible.
Try the smaller frame at either end before settling on the arrangement. The group can feel more relaxed when its heights differ, while a shared mat color gives the pictures something in common. Leave a clear patch of ledge beyond the shorter frame so the display ends deliberately rather than meeting the wall edge in a rush.
3. Make Two Short Rows Into a Quiet Grid
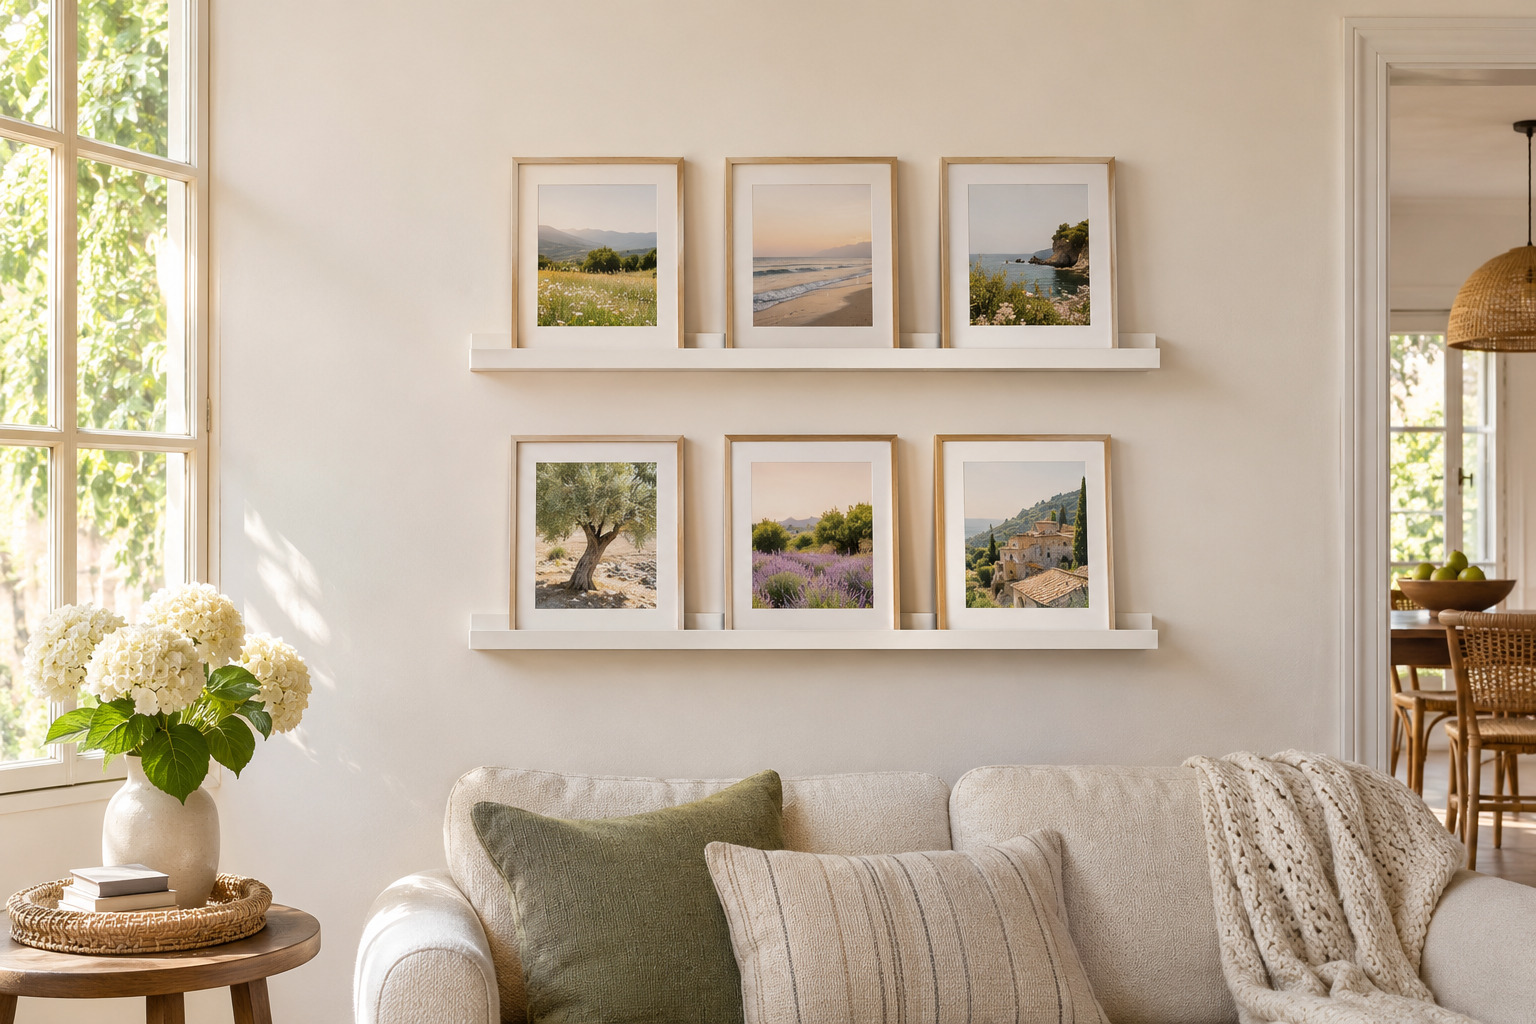
Use two matching short ledges and a few similarly sized frames for a more ordered art wall. Test their paper outlines before installing, allowing enough space above the frames to lift them out as directed. Align the ledge ends or the outer edges of the picture group, depending on which rectangle you want to emphasize.
Keep the art related through subject or color so the grid does not have to carry every difference at once. A pair of modest rows can suit a smaller wall without needing a deep shelf or a large salon-style collection.
4. Keep a Breakfast Nook to One Rotating Print
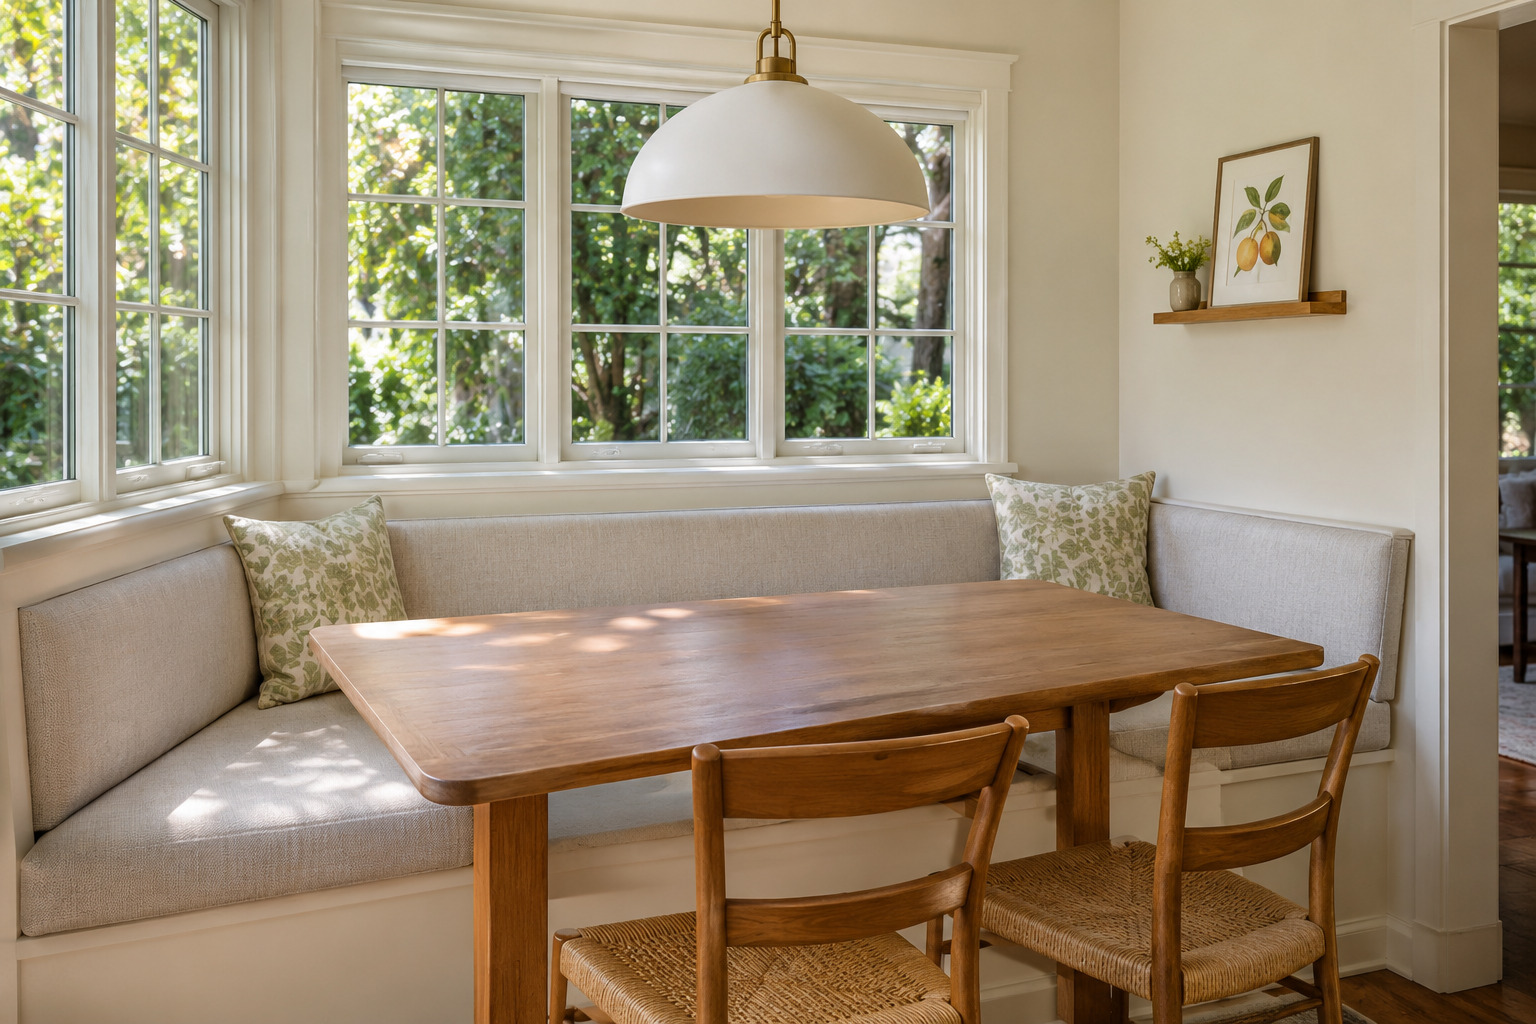
Put one small framed print on a suitable ledge in a breakfast nook, away from the movement of seated people. A simple fruit drawing, landscape, or abstract can give the wall a focal point while leaving the table free for meals.
Check the position from the actual seats, including the nearest person’s head and shoulders when standing up. Keep the ledge and frame clear of hands carrying dishes. If you are still choosing the nook furniture, the small dining area ideas can help you plan the seating before adding the display.
5. Let a Ledge Blend Into a Strong Wall Color
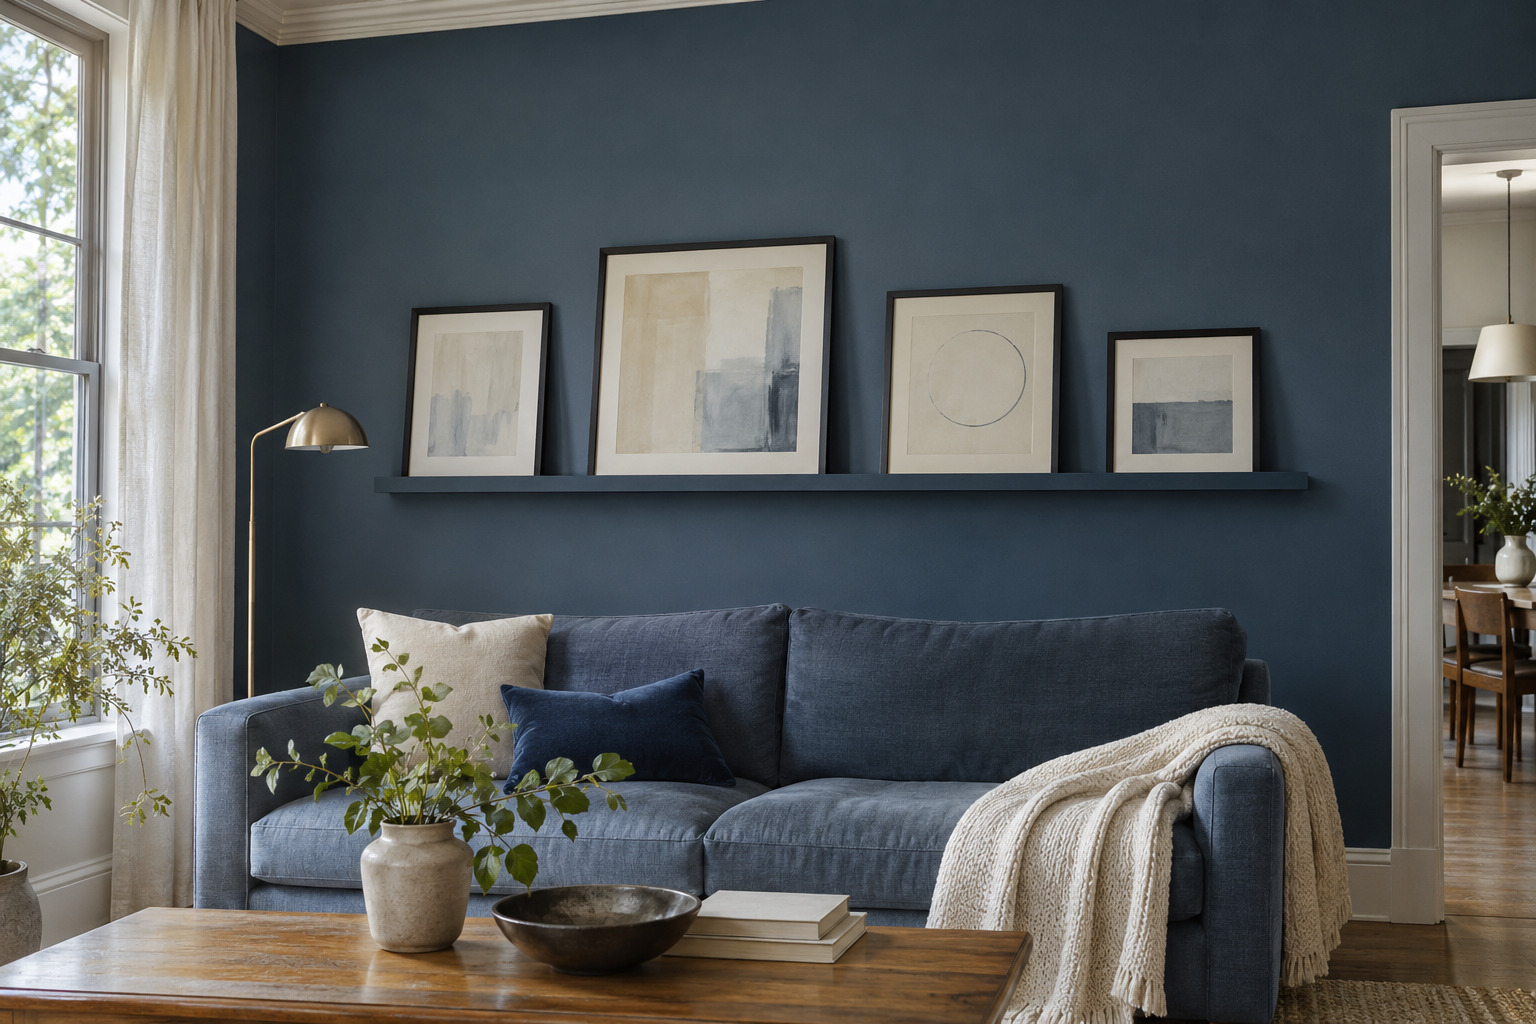
Compare the ledge finish with a strong backing wall before choosing the frames. A ledge that closely relates to the wall can recede, letting pale mats and artwork become the main shapes. An exact commercial color match is not essential; judge the real samples together.
If refinishing a ledge is appropriate, follow its material and coating instructions and keep the retaining features functional. Test a small sample rather than covering the whole piece immediately. A deep blue wall with quiet dark frames can feel quite different from the same wall filled with bright white rectangles.
6. Use Black Frames to Sharpen a White Ledge
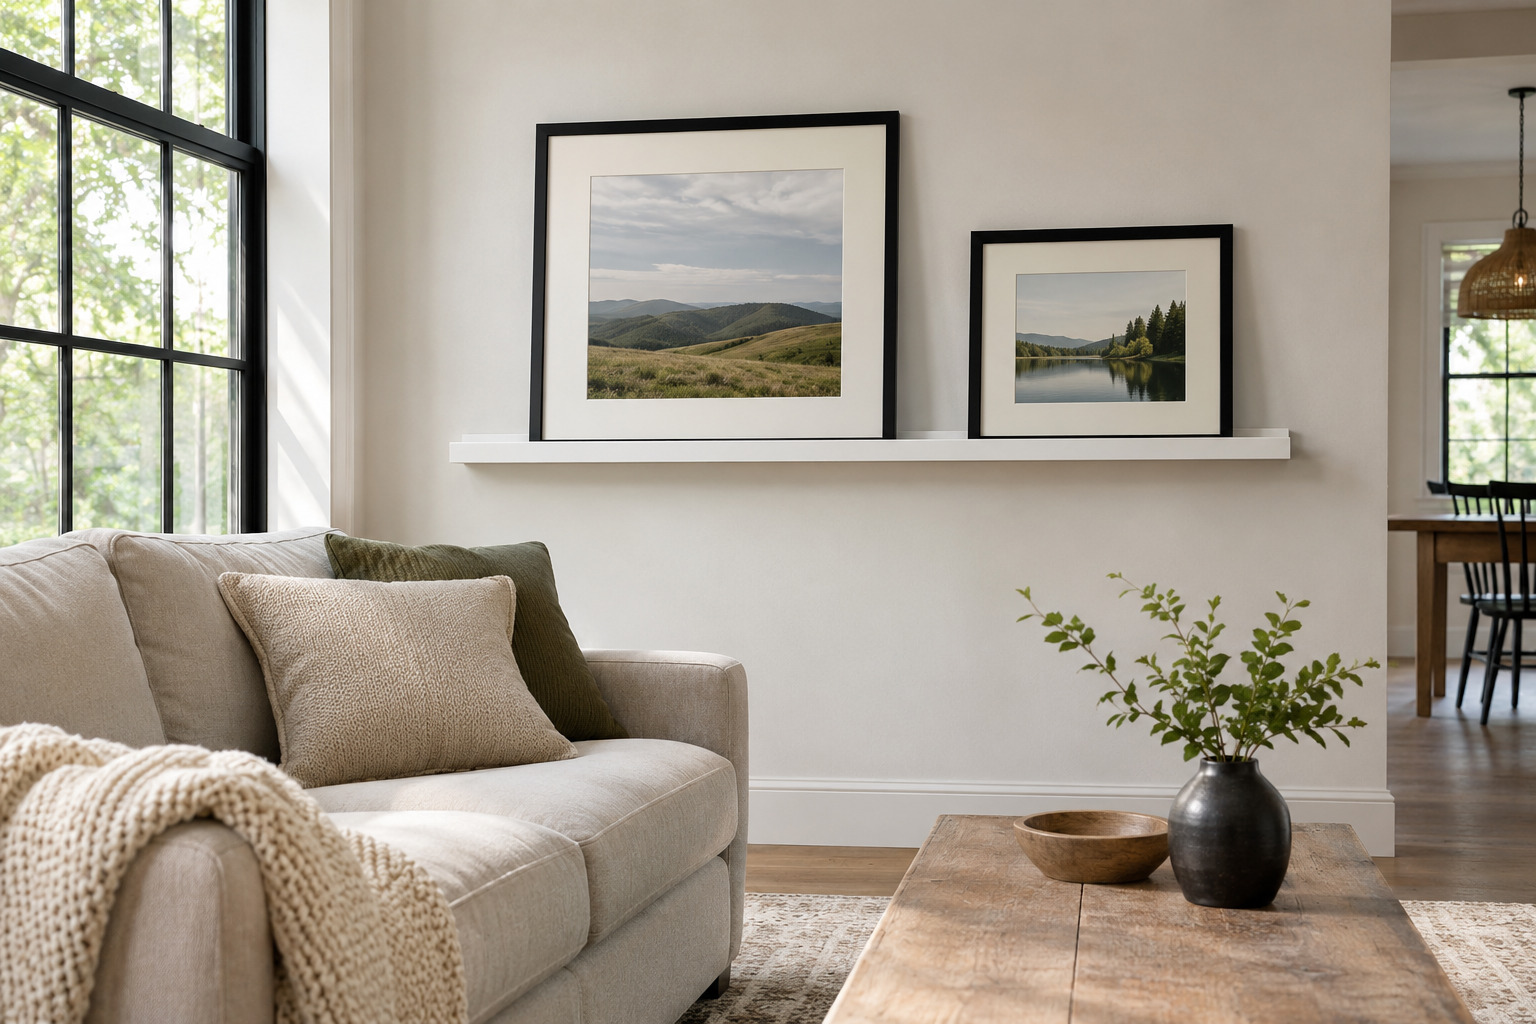
A white ledge can blend with a pale wall while black frames give the art a clear outline. Try one larger black frame and a smaller one with the same profile. Keep the subjects quiet enough that the repeated borders remain easy to see.
Look at the group alongside nearby window frames and furniture legs. One existing dark line elsewhere can make the ledge feel connected to the room. Avoid filling every gap with another accessory; the light shelf and dark rectangles already create a complete graphic relationship.
7. Offset Two Ledges on a Tall Wall
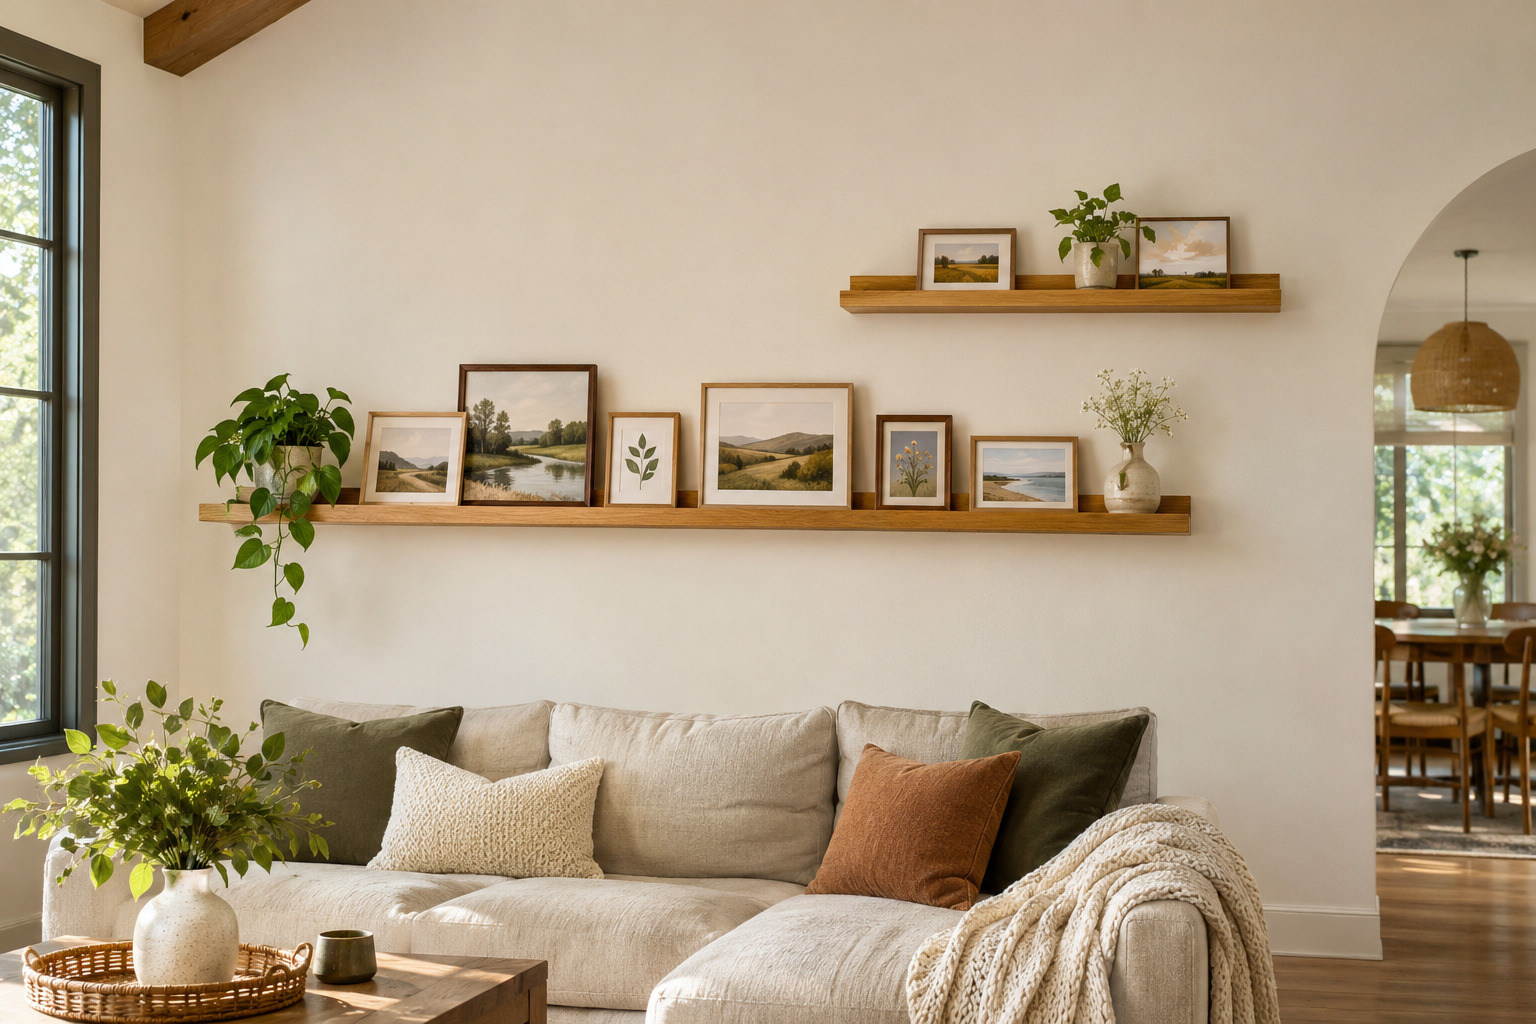
Test two ledges at different heights and with a deliberate sideways offset. Put the longer or visually fuller group lower in the composition, then let the smaller group step upward. Paper templates help you see the whole outline before choosing mounting points.
Keep enough space between the levels for the actual frames and their removal. The empty wall inside the stepped arrangement matters as much as the art. Use a related finish on both ledges so the shift feels intentional rather than like two unrelated shelves finding spare space.
8. Fit a Short Ledge Inside a Shallow Alcove
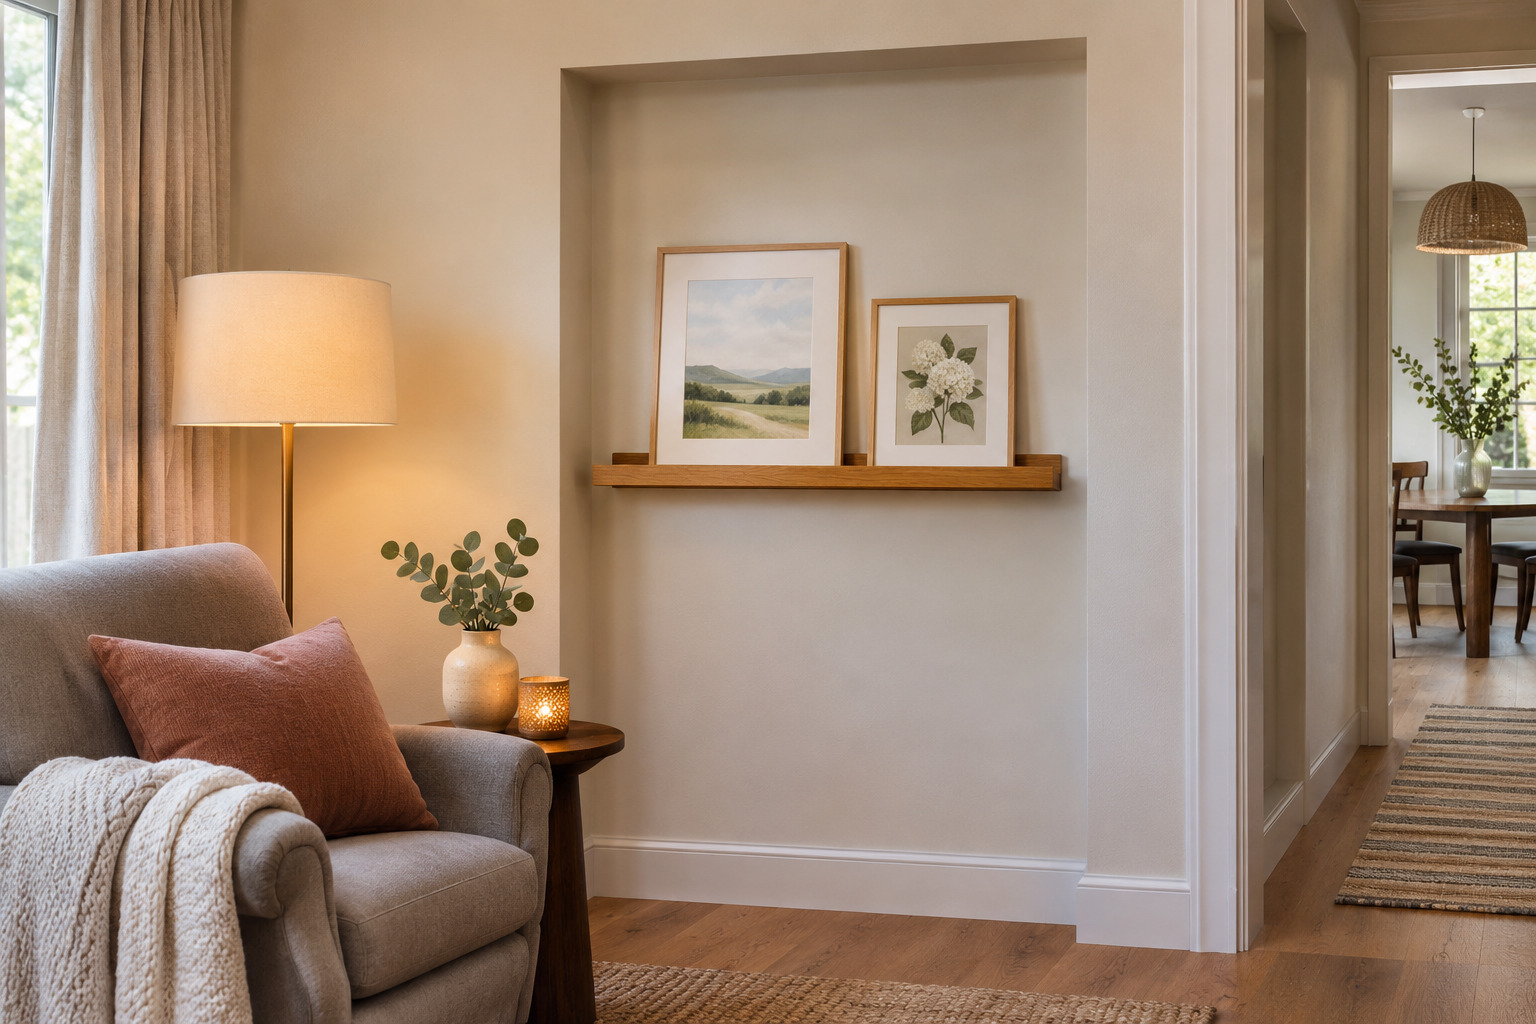
A shallow alcove can give a short picture ledge a natural boundary. Measure the usable recess and compare the ledge’s projection with the wall edges. Choose a length that leaves a little space at each end rather than forcing a tight fit.
Keep the frames modest enough for the ledge and the recess. Check that the display stays out of a passing person’s route and does not conflict with switches or opening doors. A small, contained group can make the alcove useful without turning the main walking space into a display area.
9. Group Postcards Without Hiding Their Pictures
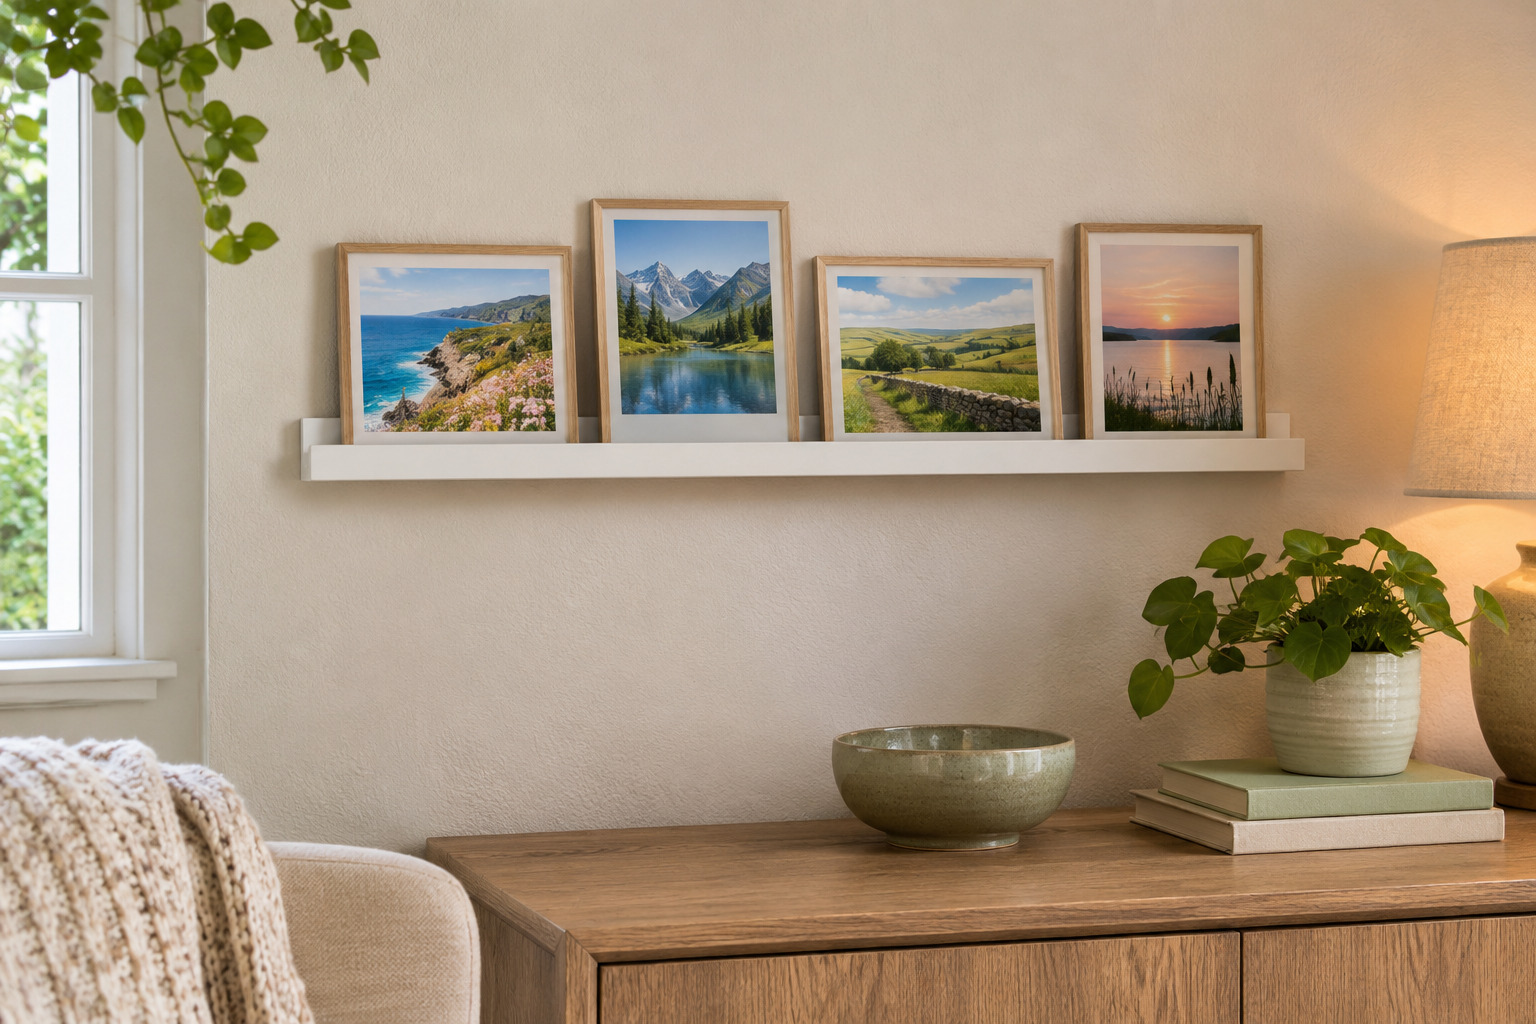
Put a small selection of postcards in suitable lightweight frames or supports intended for the ledge. Arrange them by a shared place, color, or subject rather than lining up everything you own. Keep the important part of each image visible if the frames overlap.
Give the group a clear beginning and end, with one slightly taller piece breaking the line. Store the remaining cards so you can rotate them without overcrowding the row. The trinket shelf ideas cover other ways to organize a growing collection when it includes deeper objects as well as flat pieces.
10. Pair Natural Wood With Soft Botanical Art
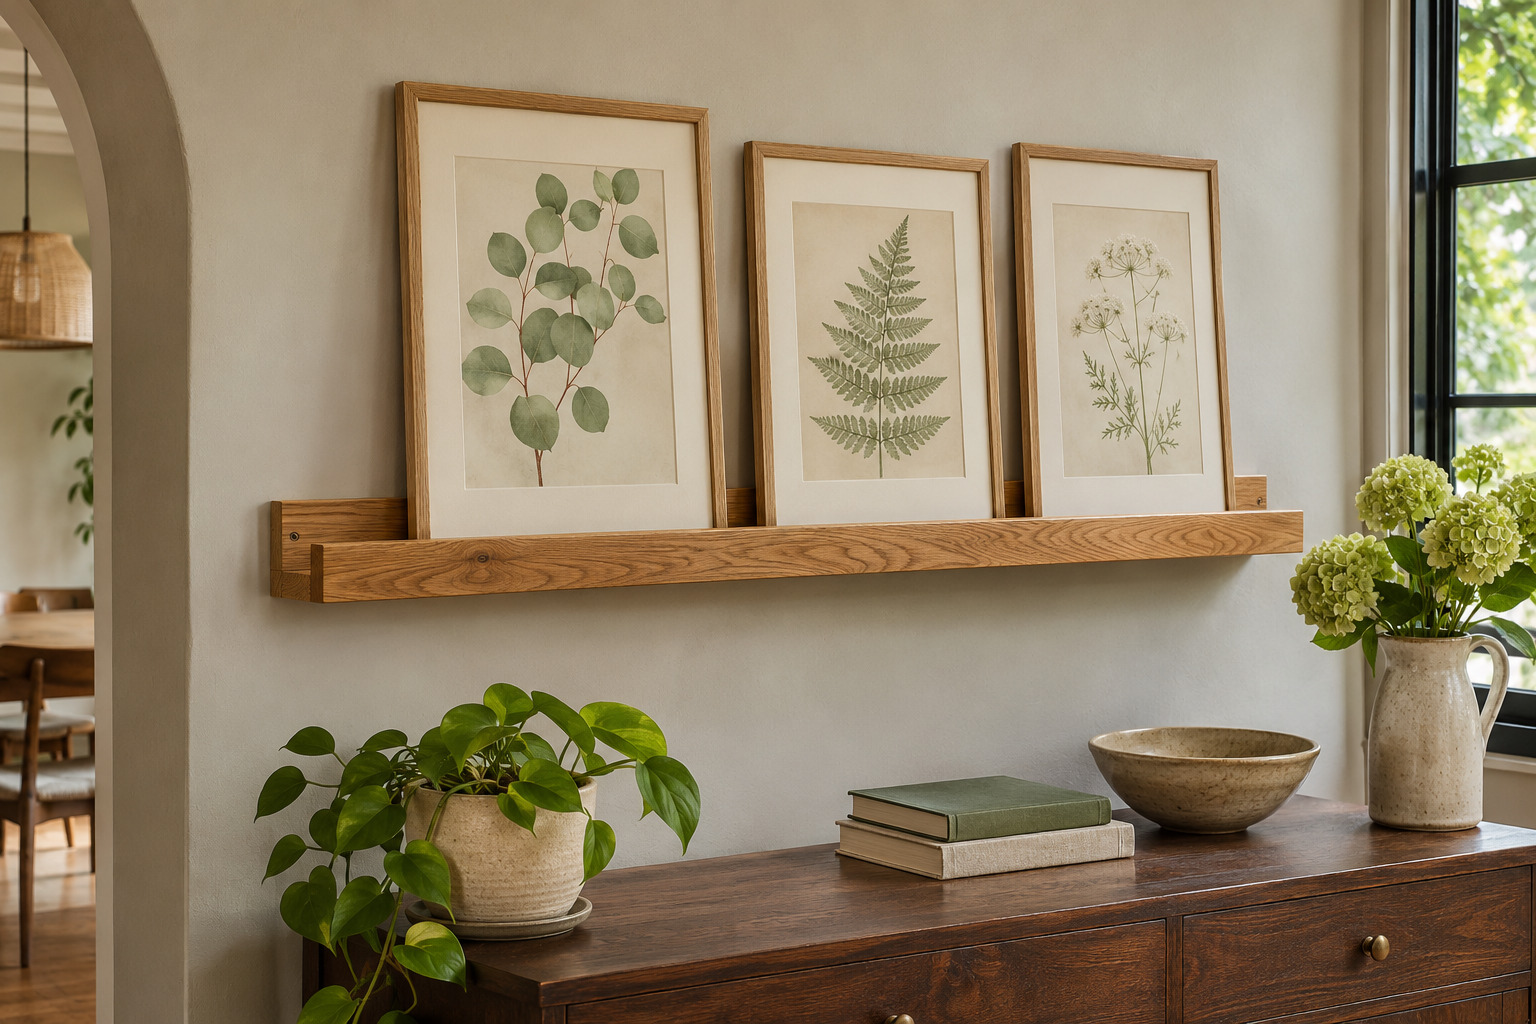
Choose a ledge whose wood grain you enjoy seeing, then use a few botanical prints with quiet greens and cream backgrounds. Let the grain show between the frames. Plain mats can separate the artwork from the more varied timber surface.
Compare the ledge with the actual room’s wood instead of trying to make every tone identical. A lighter shelf can sit comfortably near deeper furniture when the artwork keeps the palette restrained. The material should remain visible rather than becoming only a narrow edge beneath a dense row of overlapping frames.
11. Give a Sideboard Art Its Own Clear Level
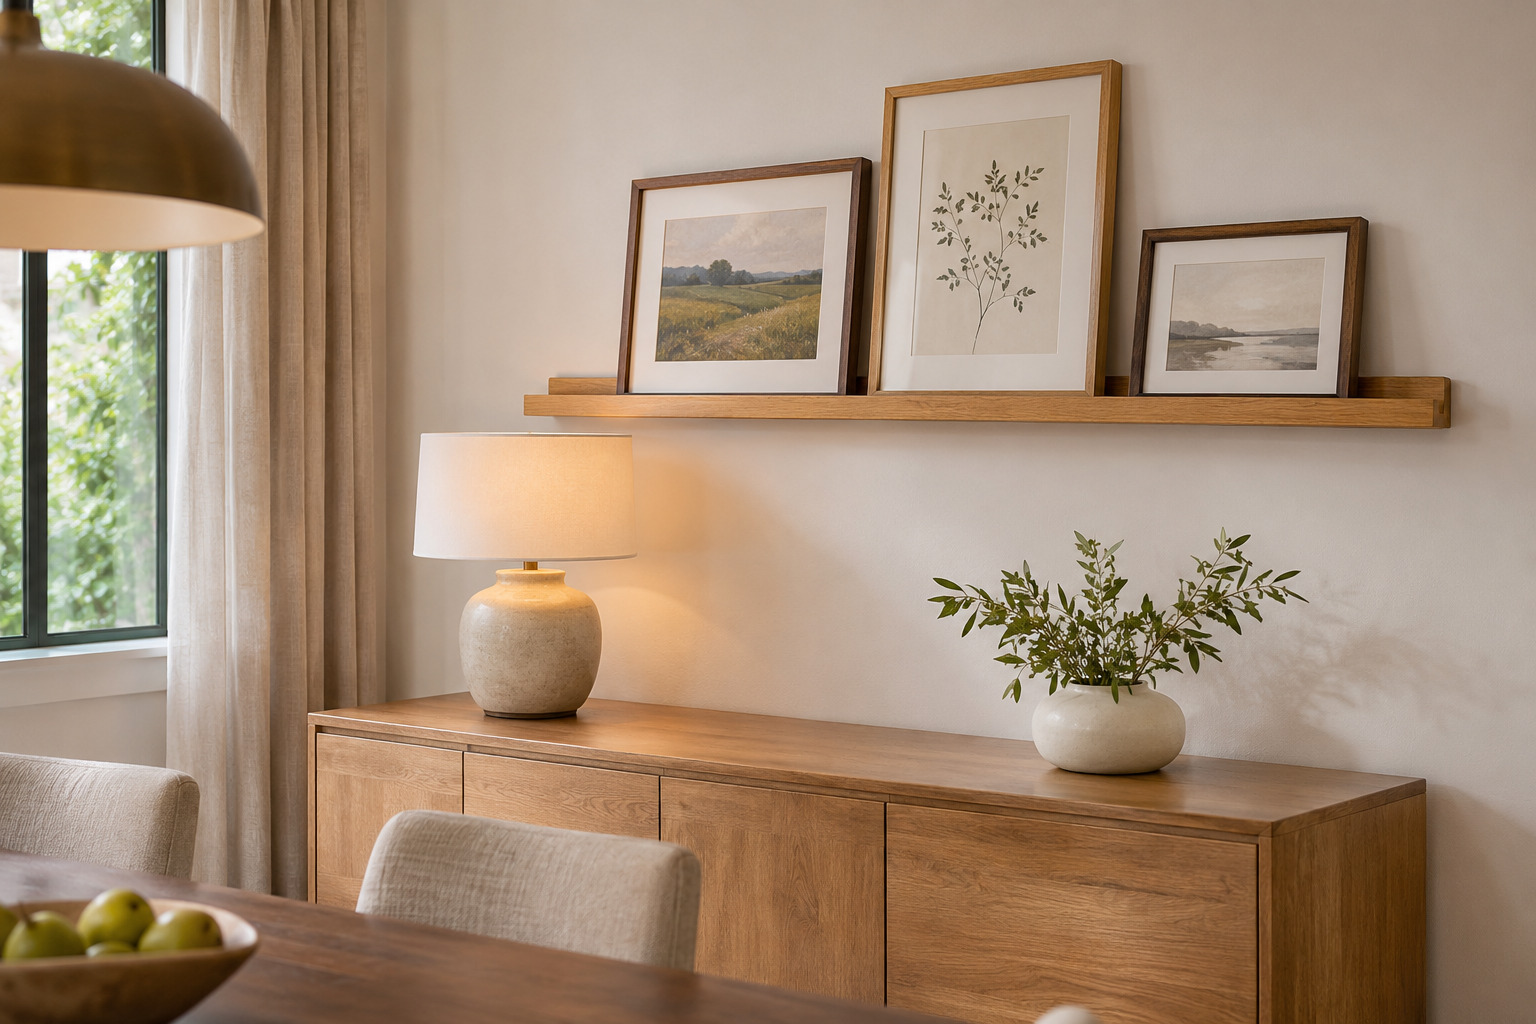
Place a ledge above a sideboard so the pictures have their own horizontal line, separate from the furniture’s useful surface. Set out the lamp, vase, or serving pieces below before judging the height. The art should remain readable once the sideboard is doing its everyday job.
Keep the ledge’s weight and frame limits independent of what the furniture happens to support. A few smaller pictures can feel more settled than one very tall frame that exceeds the ledge’s guidance. For a different fixed arrangement, see the living room gallery wall ideas.
12. Use a Narrow Strip of Wall Beside a Desk
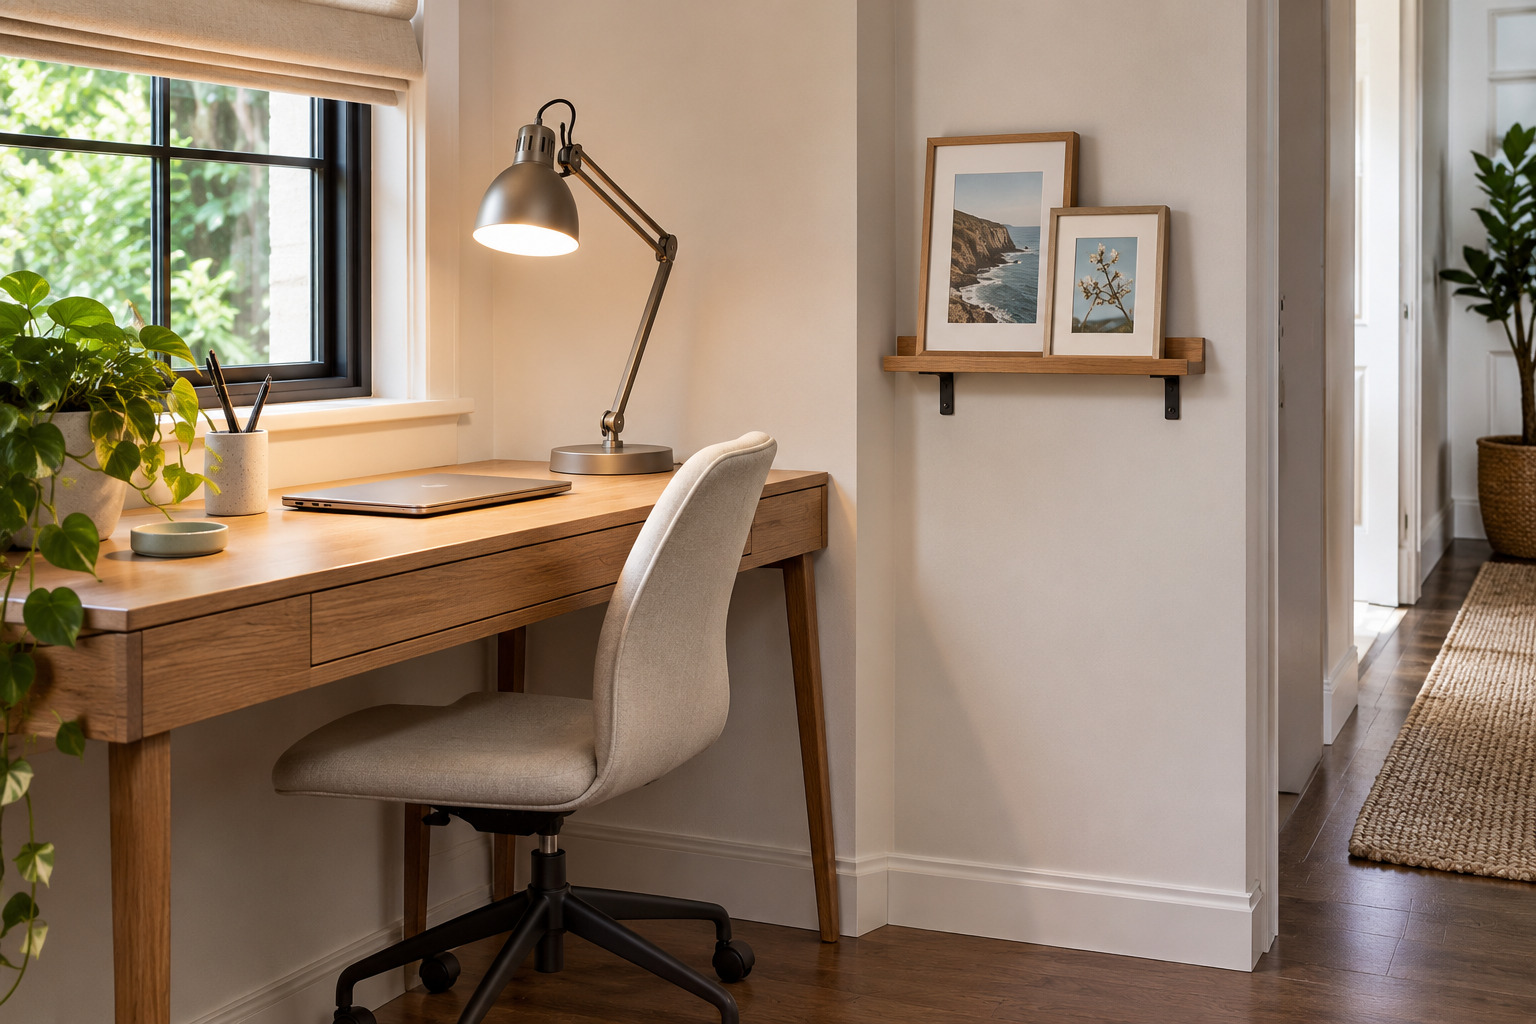
Try one short ledge on the wall beside a desk, where a small picture can be seen without occupying the worktop. Choose a position away from the chair’s movement and from anything you regularly lift or open. Keep the picture count modest.
A landscape or a few related small prints can give the workspace a personal view. Leave the desk’s task lighting and useful wall controls clear. If the wall strip is too narrow for the ledge and its mounting requirements, choose a different display location rather than squeezing a longer shelf into the gap.
13. Mix One Small Textile Piece With Framed Prints
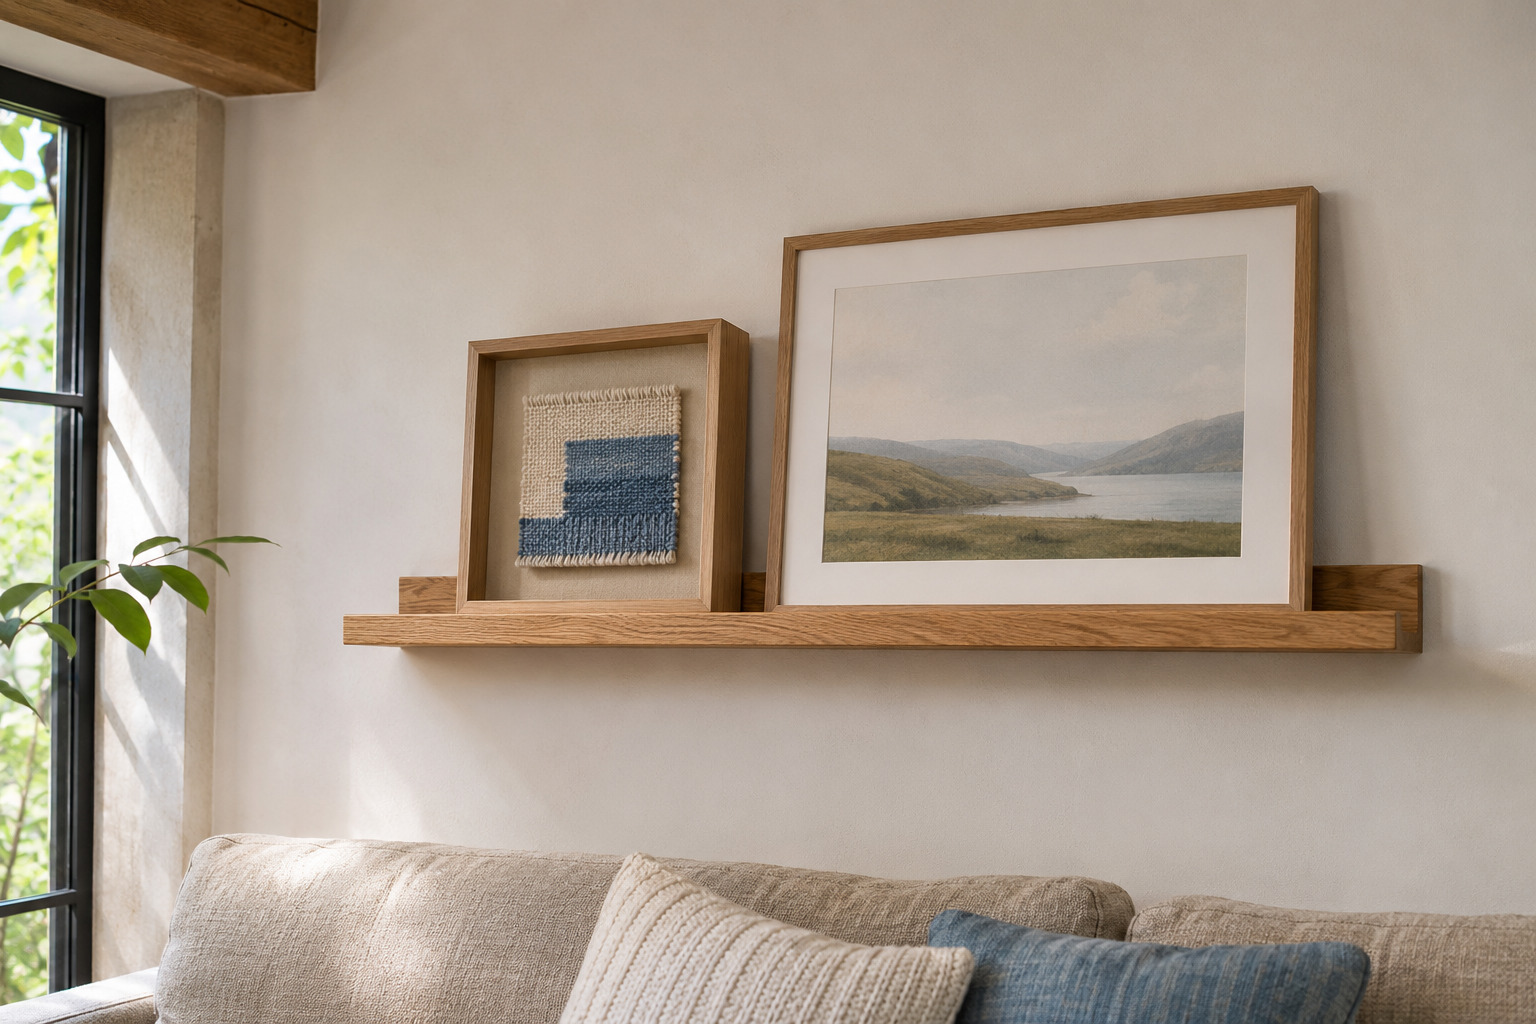
Put a small framed textile piece beside a quieter print, using a frame suitable for the fabric’s depth. A woven pattern or a simple stitched shape can introduce a different surface without needing an extra loose object on the ledge.
Keep the textile within the actual frame and ledge limits, and use appropriate conservation advice for anything valuable or fragile. Repeat a small color from the fabric in one neighboring picture. The mix works best when both pieces stay legible and neither frame is pushed forward beyond its intended support.
14. Leave a Clear Gap for the Next Picture
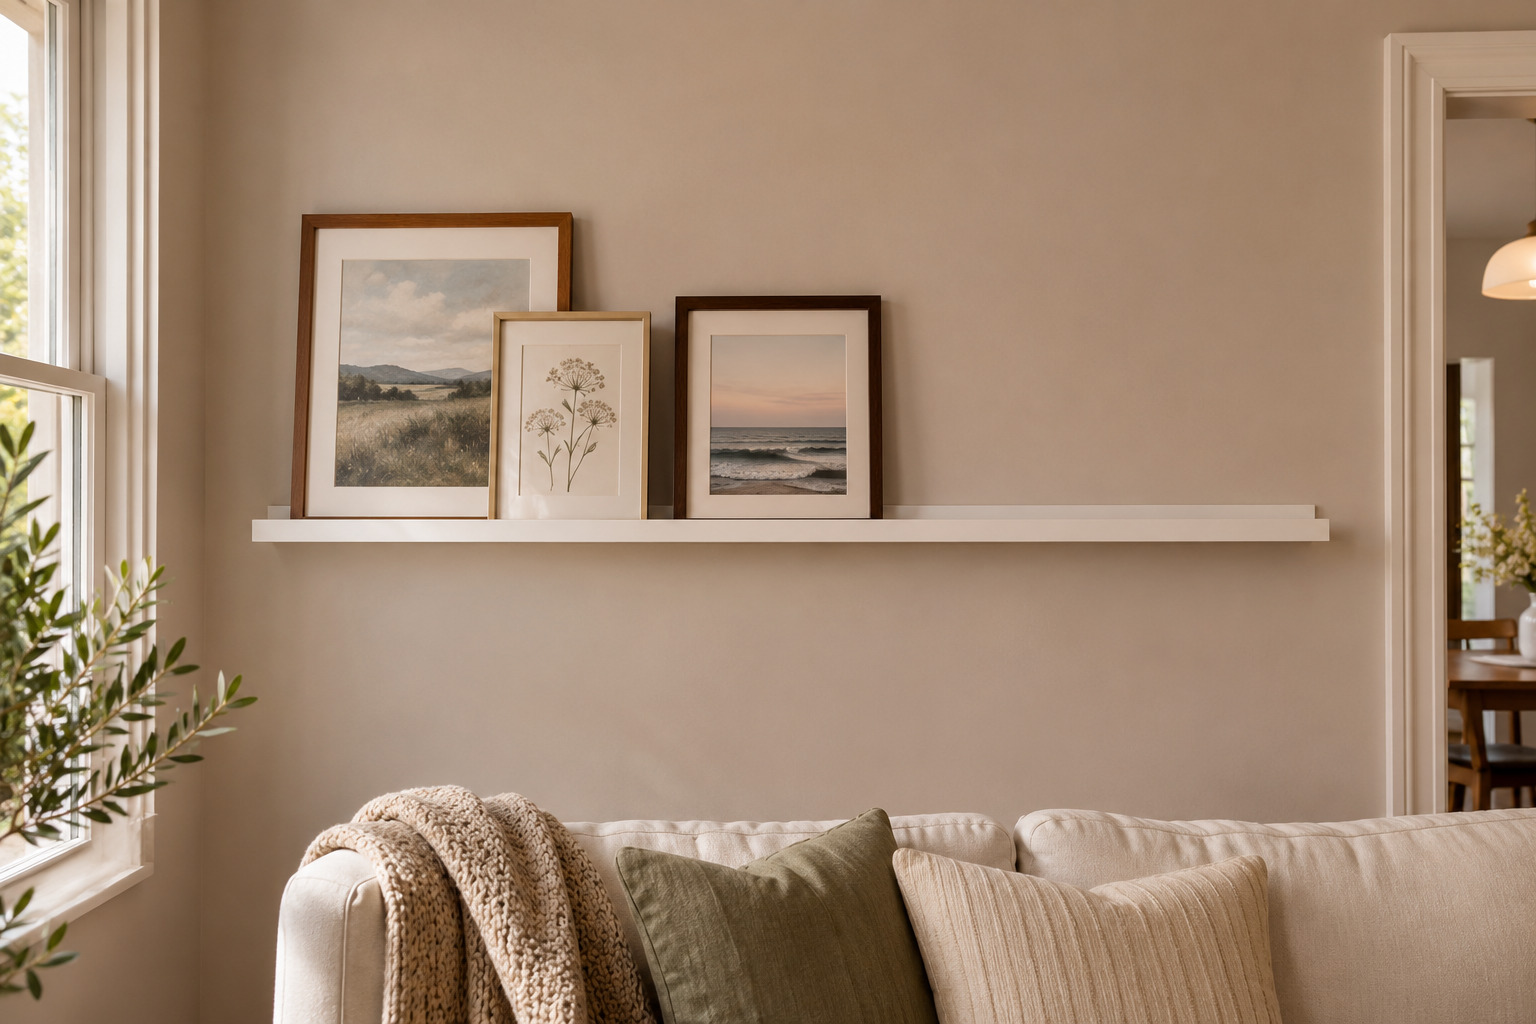
Treat an empty stretch of ledge as part of the arrangement. Set up the pictures you most want to see, then leave one opening instead of adding a filler object. The gap gives the shapes room and lets a new favorite join the group later.
Take a reference photo if you want to remember the arrangement. When adding a piece, reassess the combined load, the frame dimensions, and the visibility of the existing art. A changeable display works better when every new picture gets a considered place rather than being tucked into the last available corner.
Choose the ledge for the frames first, then test the composition with only a few pieces. Let their shapes, the shelf finish, and the wall make a clear group. The freedom to rearrange is most useful when the art still has room to be seen.
Discover more from HomeTrendora
Subscribe to get the latest posts sent to your email.