Picture frame molding can make a plain wall feel finished, but a rectangle that looks right on paper can land behind the sofa or almost touch a light switch. Mark the big shapes first and look at them from the doorway. A small shift in width or height can solve the problem before you buy trim.
These 12 picture frame molding ideas cover tall walls, hallways, art, built-ins, and small bathrooms. Start with the wall and furniture you have, then choose a profile and finish that suit the way you use the room.
1. Tape the Frame Layout Before Buying Trim
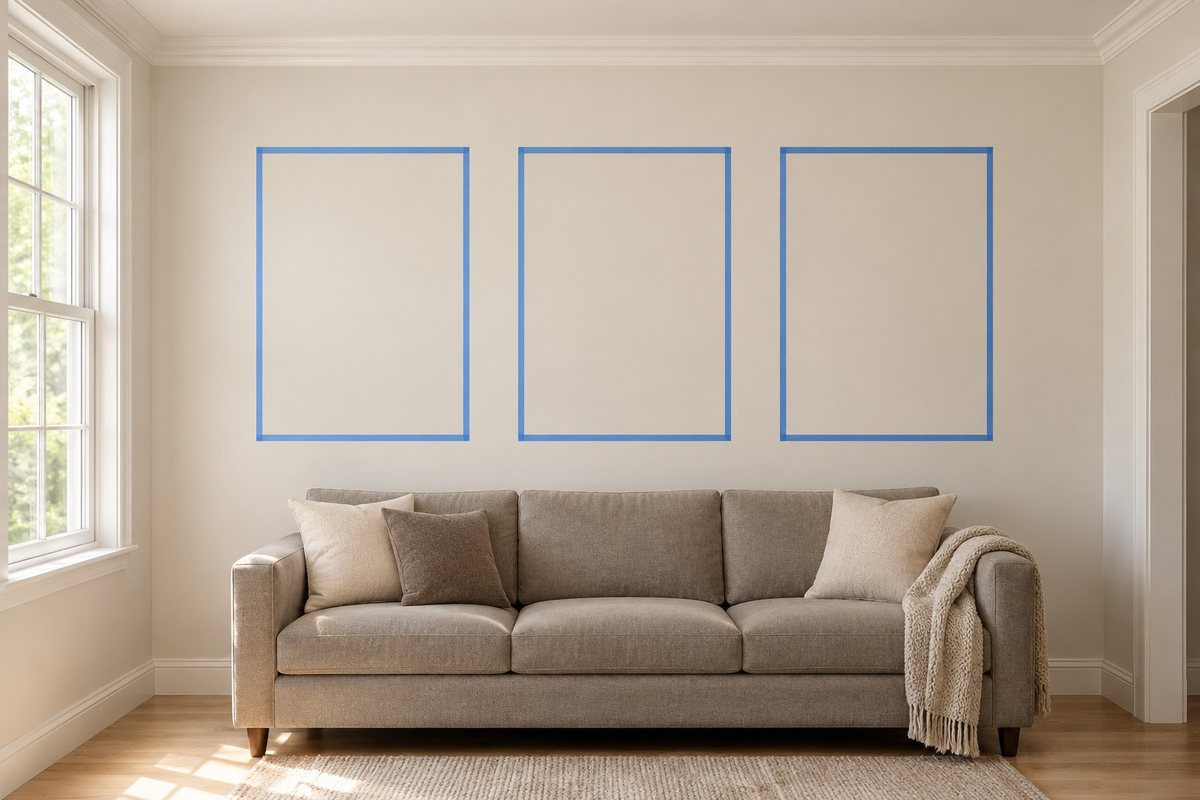
Start by marking the wall area you can actually see around the furniture. Try two or three tape rectangles and leave an even margin around them. Use a low-adhesion painter’s tape labeled for your particular surface and test it in an inconspicuous spot first. If the wall is delicate, use a paper mockup you can hold in place. Follow the tape and paint makers’ directions.
Look from the doorway and from the seat you use most. If the rectangles feel crowded, try reducing the number before shrinking every box. Write down the outer dimensions and the gaps after you find an arrangement you like. That is the version to measure for your trim.
For a mock-up on a sound painted wall, test the low-adhesion FrogTape Delicate Surface tape on a small hidden patch first, then follow the tape’s surface and removal directions.
Explore low-adhesion FrogTape Delicate Surface tape (paid link)
2. Use Tall Frames on an Unbroken Wall
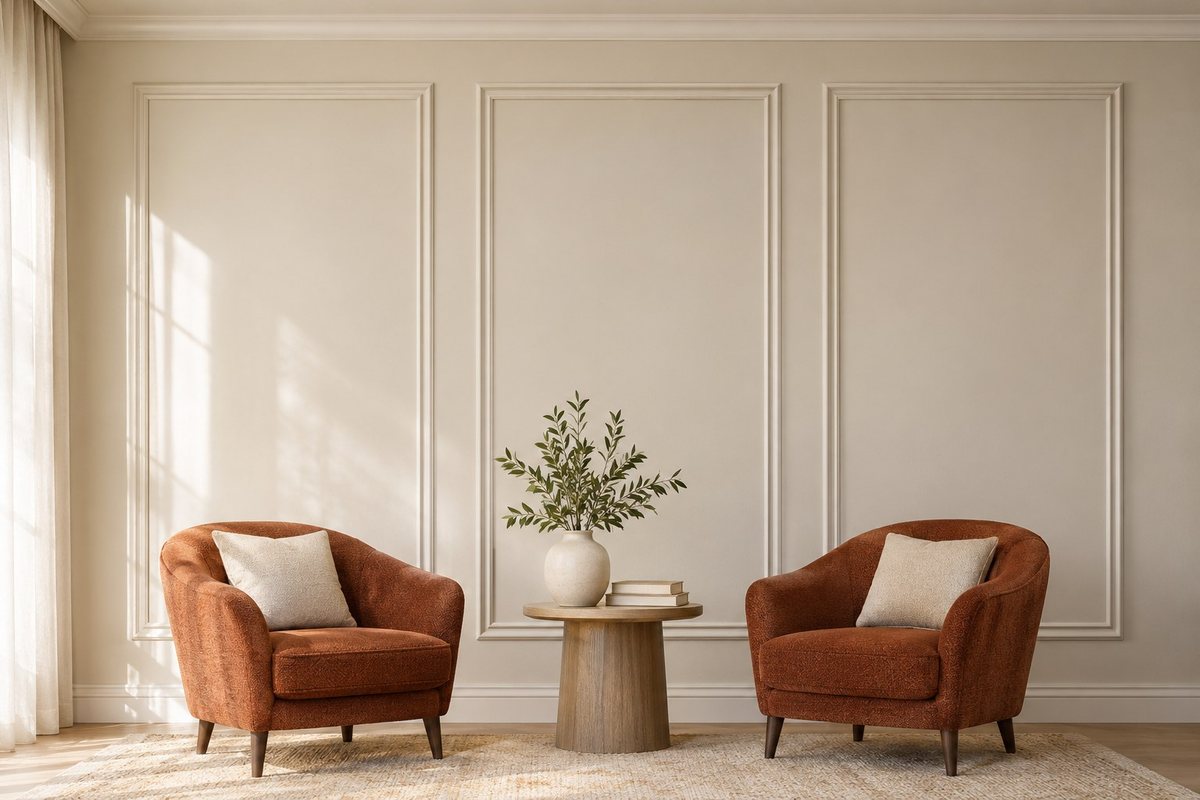
On a long uninterrupted wall, tall rectangles can make the height feel more deliberate. Mark a top line below the existing ceiling trim and a bottom line above the baseboard. Leave both borders visible. Try the same overall height for each box, with widths that fit the section of wall you see from the main seat.
Look at the area behind the furniture as well as above it. If the sofa hides most of the lower third, raise the base of the frames or use a separate low treatment. On a blank wall, finish the molding close to the wall color so daylight can show the relief.
3. Pair Low Frames With a Two-Tone Wall
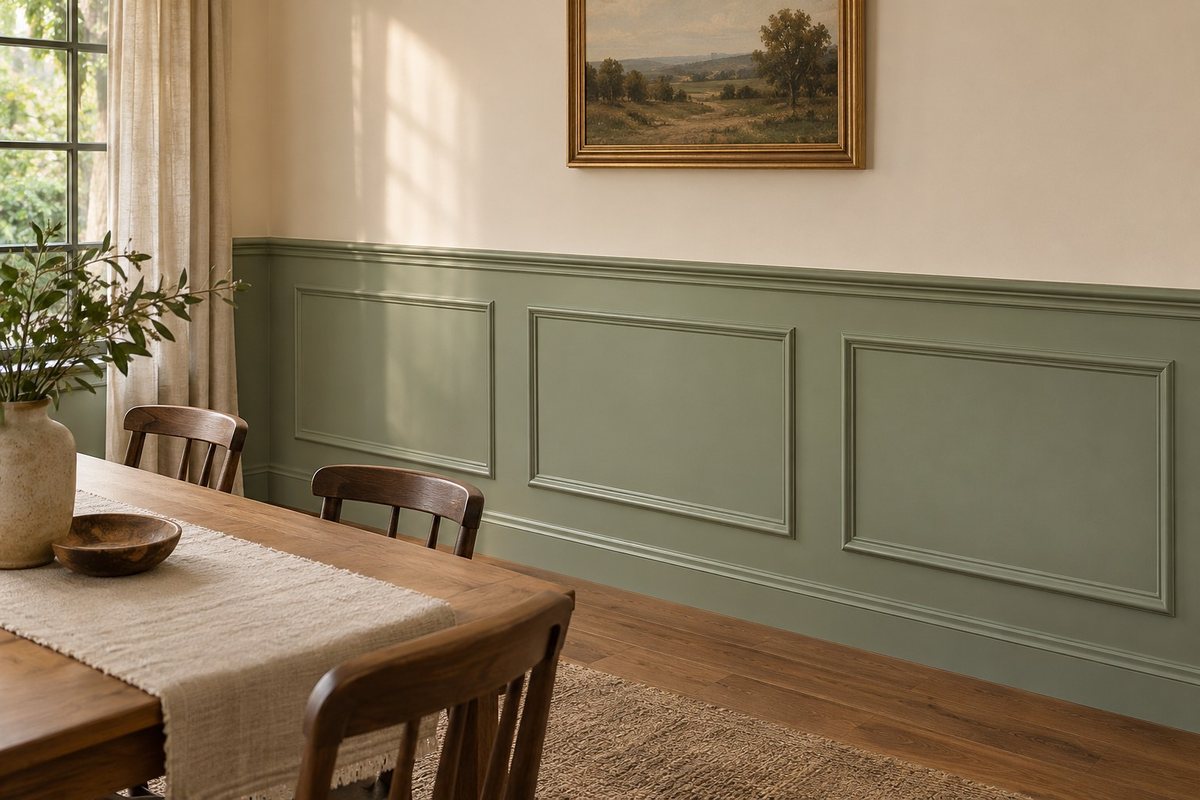
Low frames work with a two-tone wall when the color break relates to the furniture. Hold a strip of paper at the proposed rail height and look across the room with chairs in place. In a dining room, try a height that is clearly above or below the main line of the chair backs. That keeps the wall and furniture from looking accidentally misaligned.
Choose the two colors together and see them in the light you use for dinner. A muted lower shade and a warm upper cream can look soft in evening light. These warm neutral dining room ideas offer other ways to relate the wall finish to wood and fabric.
4. Align the Frames With Existing Doors and Windows
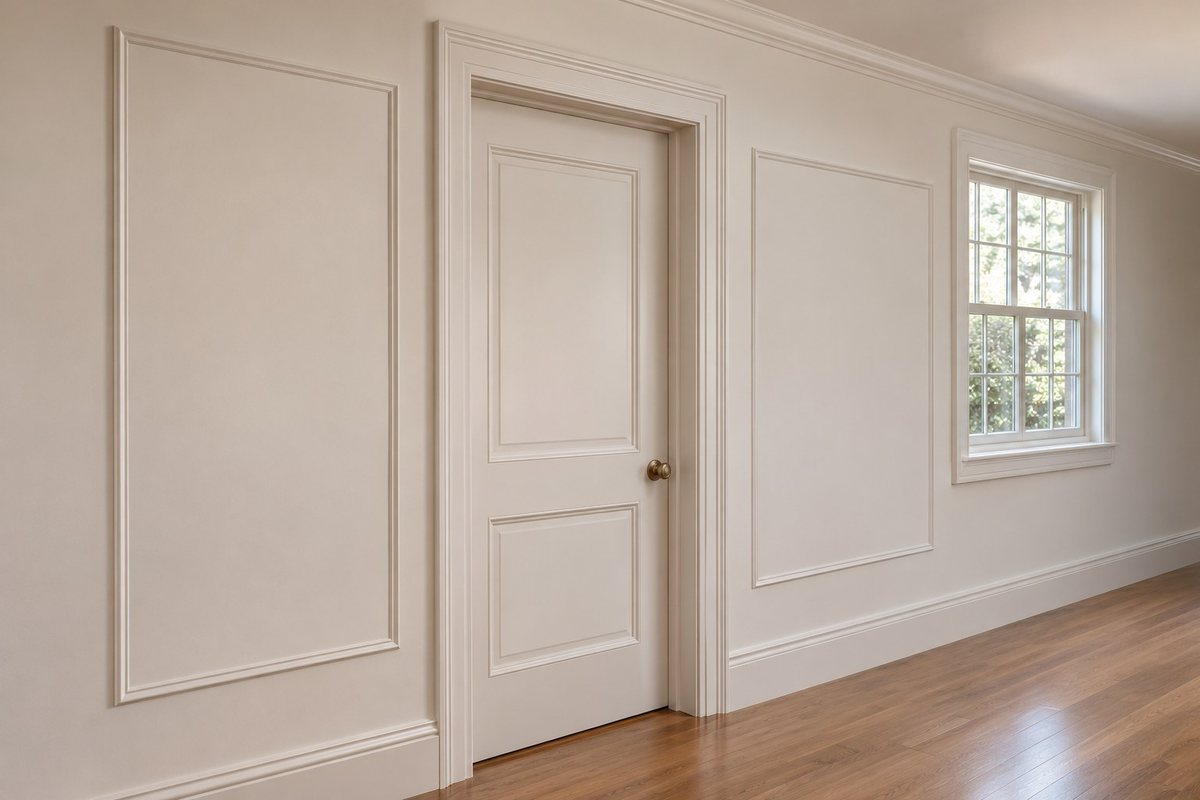
Use the door and window casing as fixed lines when you draw the frames. Start at the most visible opening and measure to the next corner, switch plate, or window. Leave deliberate space beside the casing. If the available spans differ, make the largest wall feel orderly and give the short return its own frame size.
Check the outline from both directions in a hall. An outlet that sits too close to a trim corner can look awkward and become harder to reach. Shift the box or change its size before ordering. Have any needed change to electrical fixtures handled by a qualified professional.
5. Frame a Small Area of Wallpaper
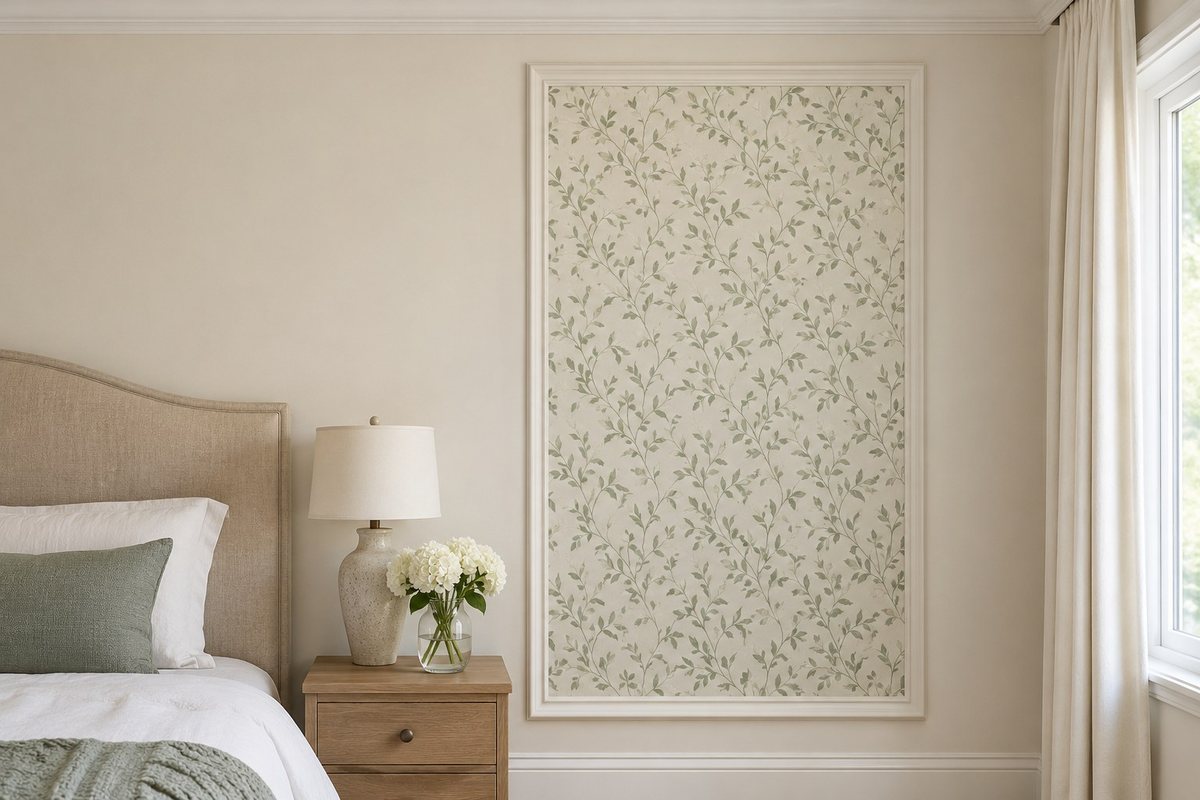
A single framed wallpaper insert lets you use pattern without carrying it across the whole room. Mark the trim’s inside opening, then hold a sample within it. If the design has a large repeat, see what part will fit inside the rectangle. Give the feature a clear edge on every side.
Check the paper next to the wall paint and trim finish in daylight and after dark. Ask the paper and molding makers how the finishes should meet and what surface preparation each material needs. In an older home, check for lead-safe renovation requirements before work disturbs existing paint.
6. Give One Artwork a Frame Within the Wall
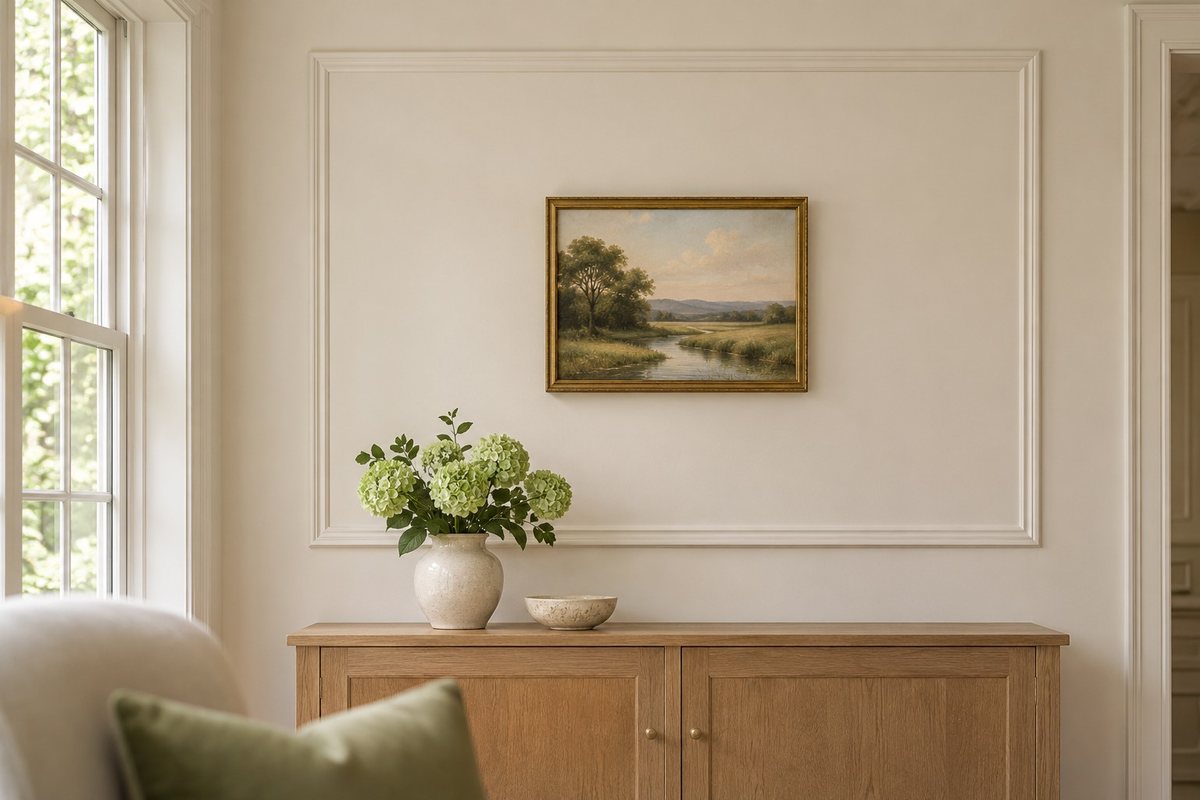
Choose the artwork first and mark its outer dimensions on the wall. Draw the molding outside that shape and leave enough wall visible between the two edges. A quiet painted profile can frame the area without making the artwork feel crowded. Check the balance with the cabinet or chair below it.
Try the art at the height you will see it from most often. A picture above a sideboard can feel high when you sit across from it. Make sure the hanger and any hardware suit the wall and the weight of the piece. Leave space to lift it off its mount.
7. Fit a Small Gallery Inside One Large Frame
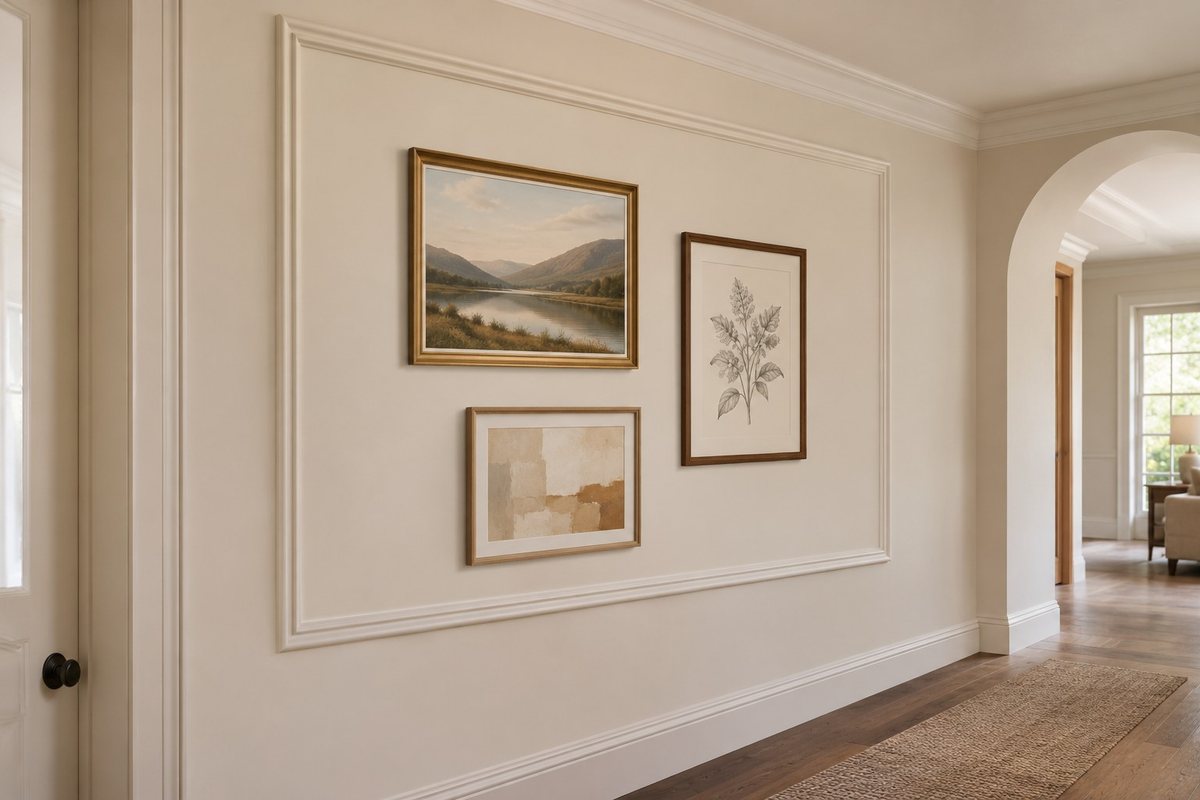
A group of small frames can share one large molding box. Arrange the pictures on the floor, then use paper cut to their outer dimensions to try the grouping on the wall. Leave a visibly wider margin between the gallery and the trim than between the pictures themselves. This helps the wall frame read as a boundary.
Walk past the group and see whether anything feels squeezed into a corner. Try removing the smallest piece before making the wall box bigger. These living room gallery wall ideas show more arrangements you can adapt to the inner opening.
8. Use Shallow Frames on the Dry Side of the Bath
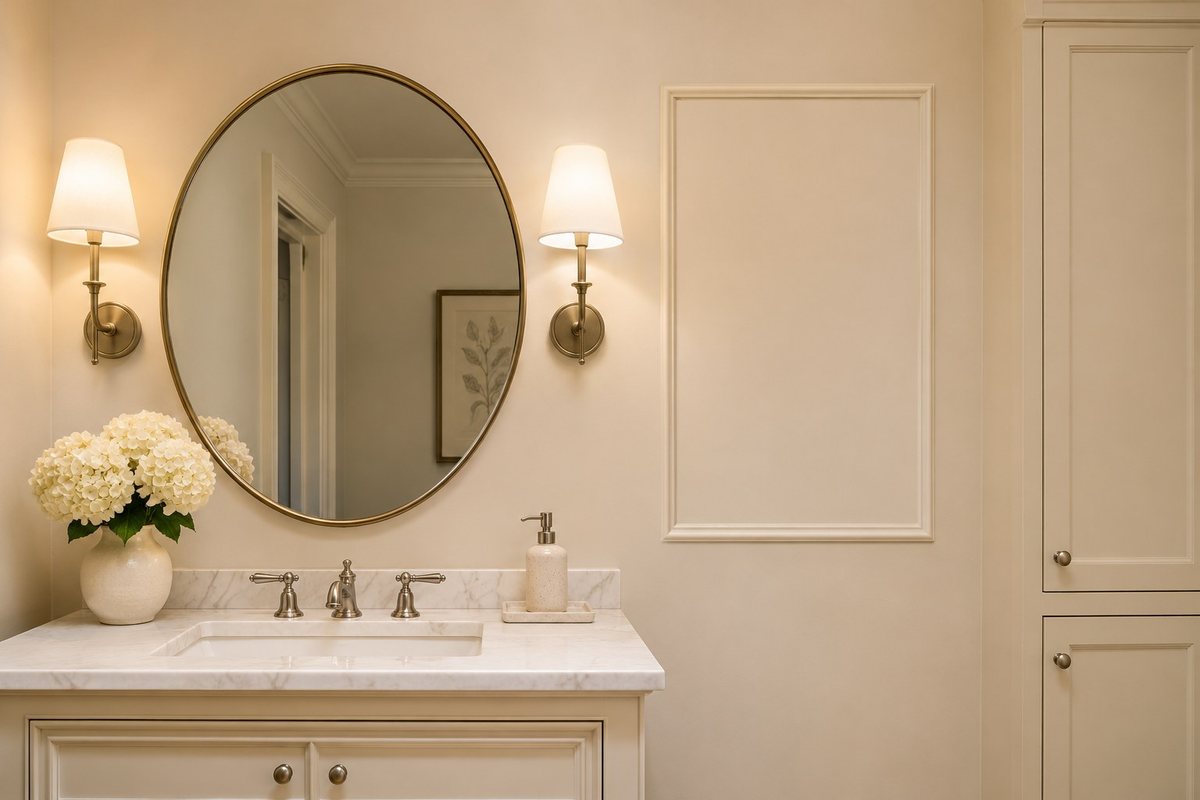
A powder room or the dry side of a bathroom can take a little shallow trim. Stand at the basin and check where water lands during normal use. Put the molding away from that splash area, outside the shower and away from corners that stay damp. A shallow profile is easier to wipe around than a deep ledge.
Check whether the trim, finish, and installation system are suitable for the conditions in the room. Keep access to any shelf or cabinet that uses the same wall. For lighter changes near a mirror or small vanity, these small bathroom decor ideas offer other ways to use the available wall.
9. Plan the Molding Around Existing Sconces
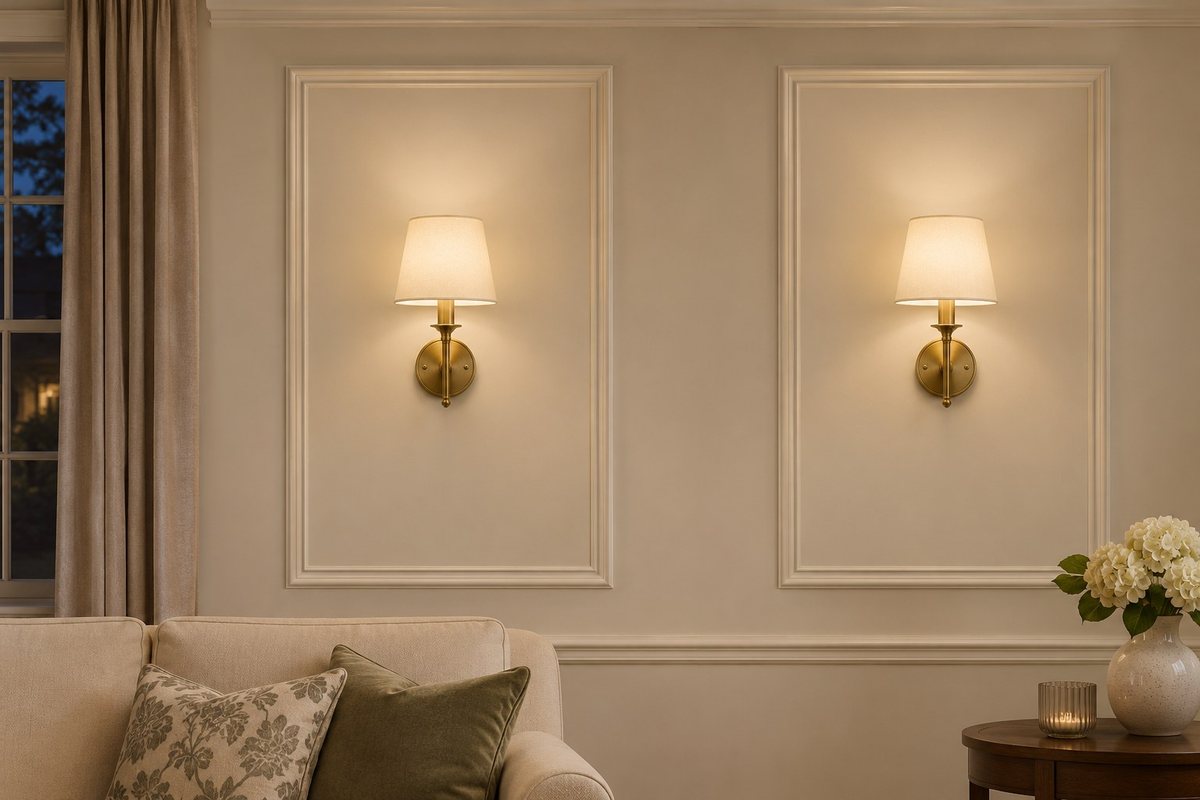
Lay out the molding around the light fixtures you already have. Place a paper template around each sconce and look at it with the light on. The base plate should sit fully inside the panel and the shade should have clear room around it. Choose the frame width based on the whole fixture, including the space you need to reach it.
Check that the trim will leave the fixture plate and mounting hardware accessible. Follow the light maker’s clearance directions and ask a qualified electrician to handle any relocation or wiring. If there is too little room for a frame, put the molding in an adjoining part of the wall instead.
10. Give an Accent Wall One Repeatable Pattern
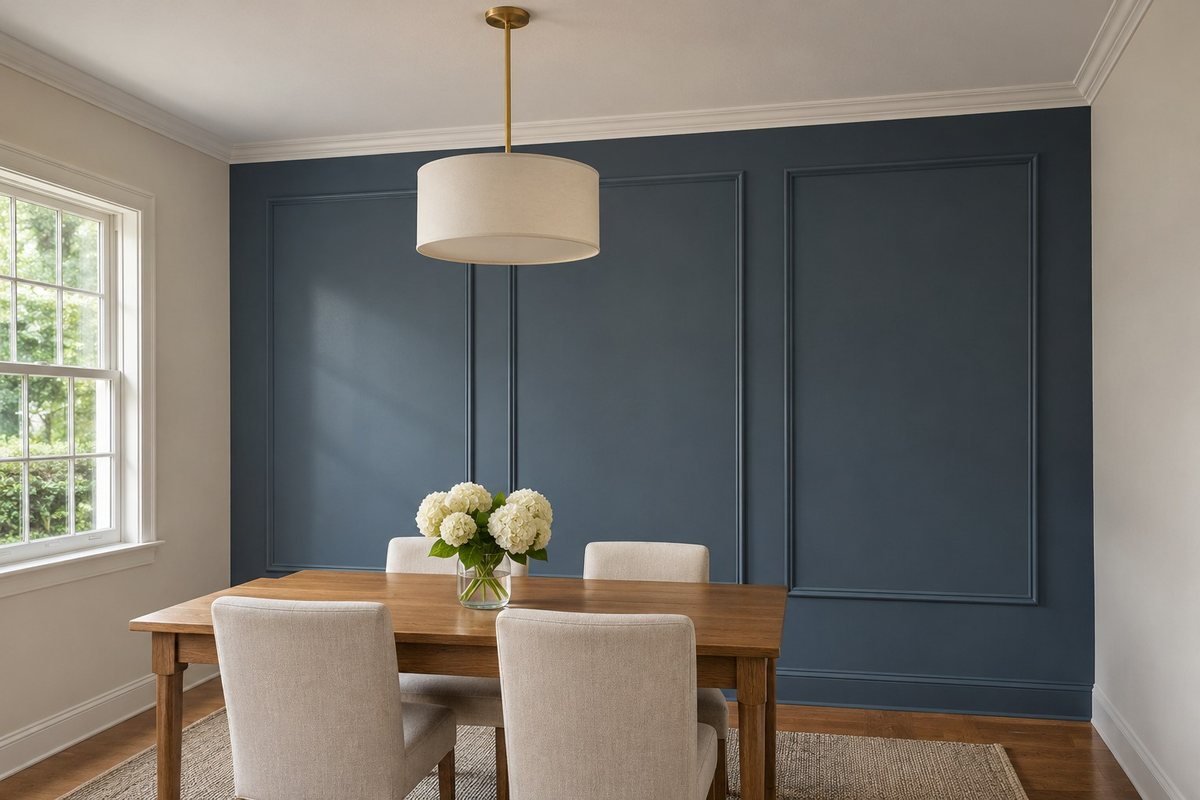
Choose a wall you can see as a complete shape, such as the end of a dining room or the wall behind a bed. Try a single repeat across it. Use the same molding profile and a consistent gap from box to box. If the wall has one strong color, keep the layout quiet enough for the color to show between the frames.
View the pattern from the next room before committing. Dark paint and a deep profile can both add strong shadows, so try a shallower trim if the end wall starts to feel too busy. These colorful minimalist decor ideas show other ways to give color one clear place.
11. Check That Built-In Doors Still Open Freely
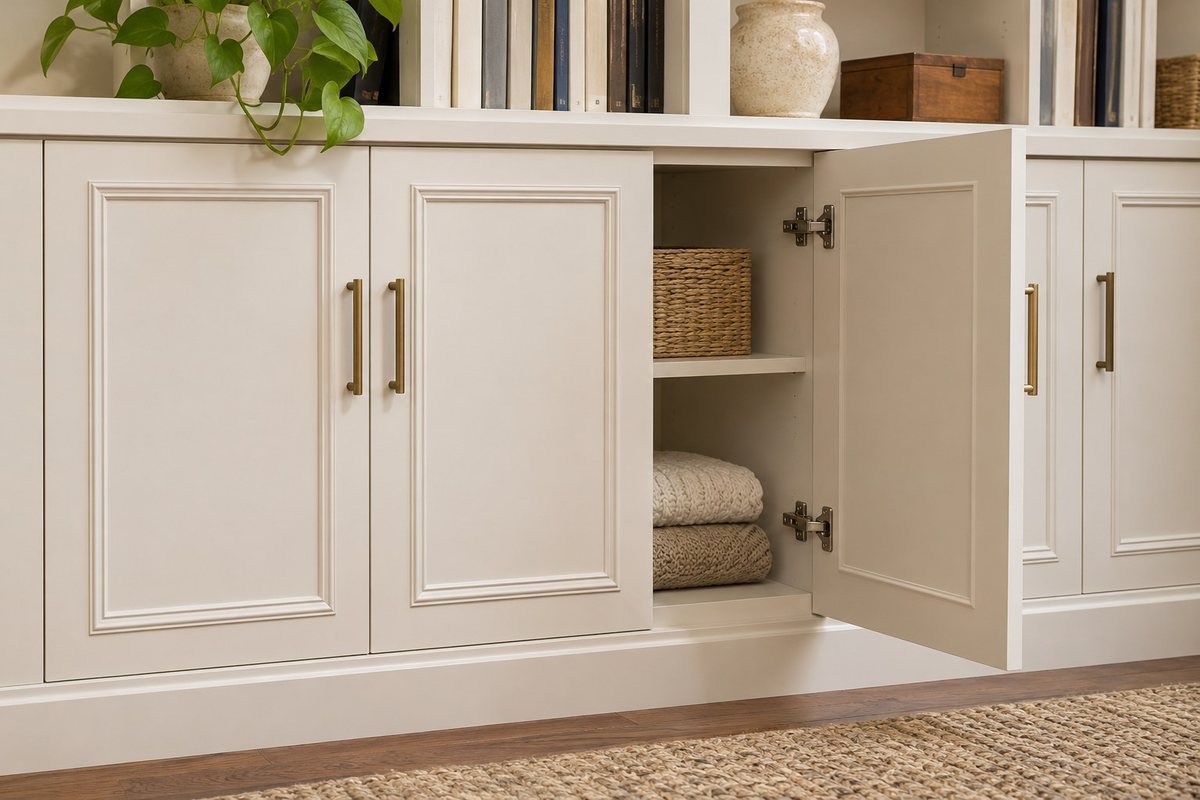
Built-in cabinet doors can take a thin decorative border when it fits their movement. Check the doors with their hinges fully open and note where they approach a wall, handle, or neighboring door. Use a loose sample of the proposed trim to see how much thickness it adds. Check drawers and any adjacent shelves as well.
Choose a profile and finish suited to the cabinet material and the places you touch. Mark the border in relation to each door edge so it repeats across the run. Ask a cabinetmaker to confirm the attachment and the effect of added thickness if the fronts already fit tightly.
12. Keep Hallway Molding Slim Where People Pass
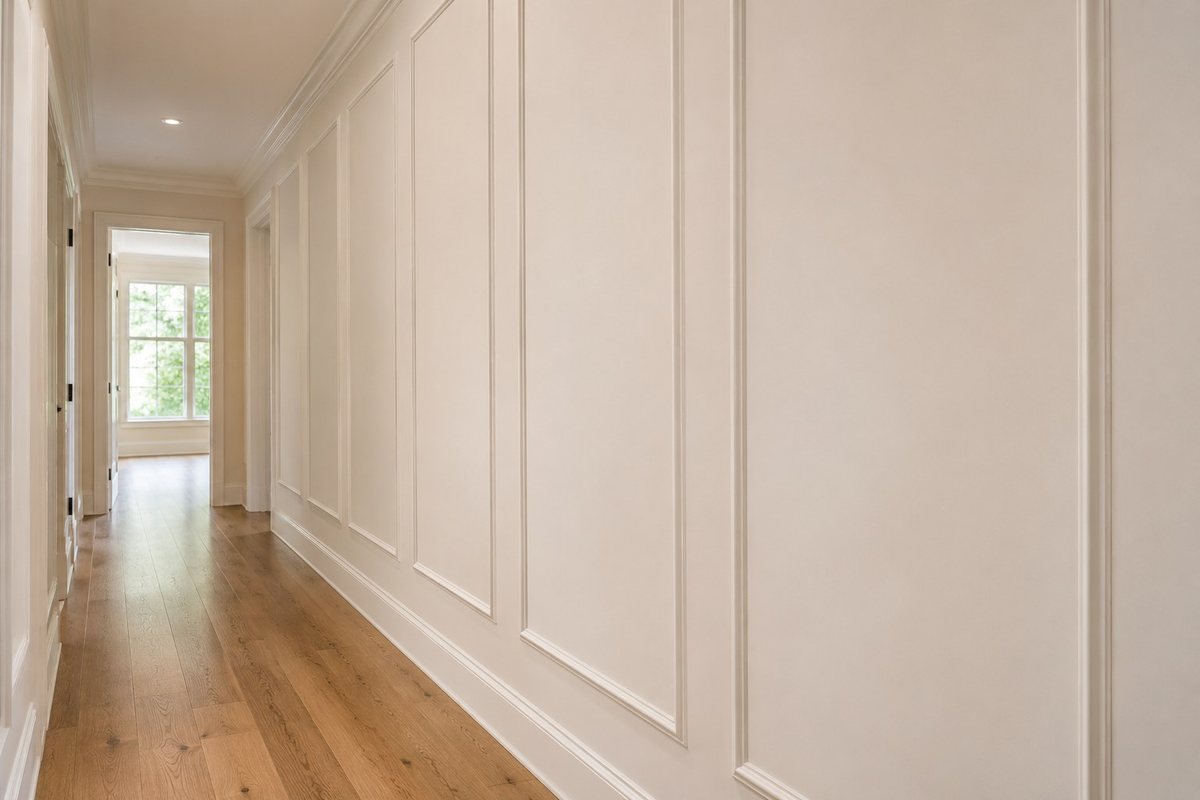
A narrow hall needs room for people and the things they carry. Hold a shallow molding sample on the wall where the hall turns or narrows. Walk past it with a bag and check the view when nearby doors are open. A gentle relief may give you all the detail you need.
Draw the frames around the longest open stretch first. Leave enough room to clean around the baseboard and service switches or outlets. If a short wall is already full of casing and hinges, use a plain painted finish there and continue the molding where there is room for it to read.
Mock up one wall before you order enough trim for the whole room. Check the frames against the furniture, openings, and fixtures from the places you use every day. When the margins look comfortable and everything still works, you can choose the profile and finish with a clearer idea of what the wall needs.
Discover more from HomeTrendora
Subscribe to get the latest posts sent to your email.