

A colorful playroom gets harder to use when books, blocks, and half-finished projects all compete for the same patch of floor. Decide which activities need their own place, then use color to make those places easy to recognize.
These 18 colorful playroom ideas focus on preschool and school-age rooms that change throughout the day. Start with the furniture and toys your household actually uses. Follow age guidance, secure furniture as its maker directs, and keep a clear route through the room before adding another feature.
1. Frame Picture Books With One Painted Color
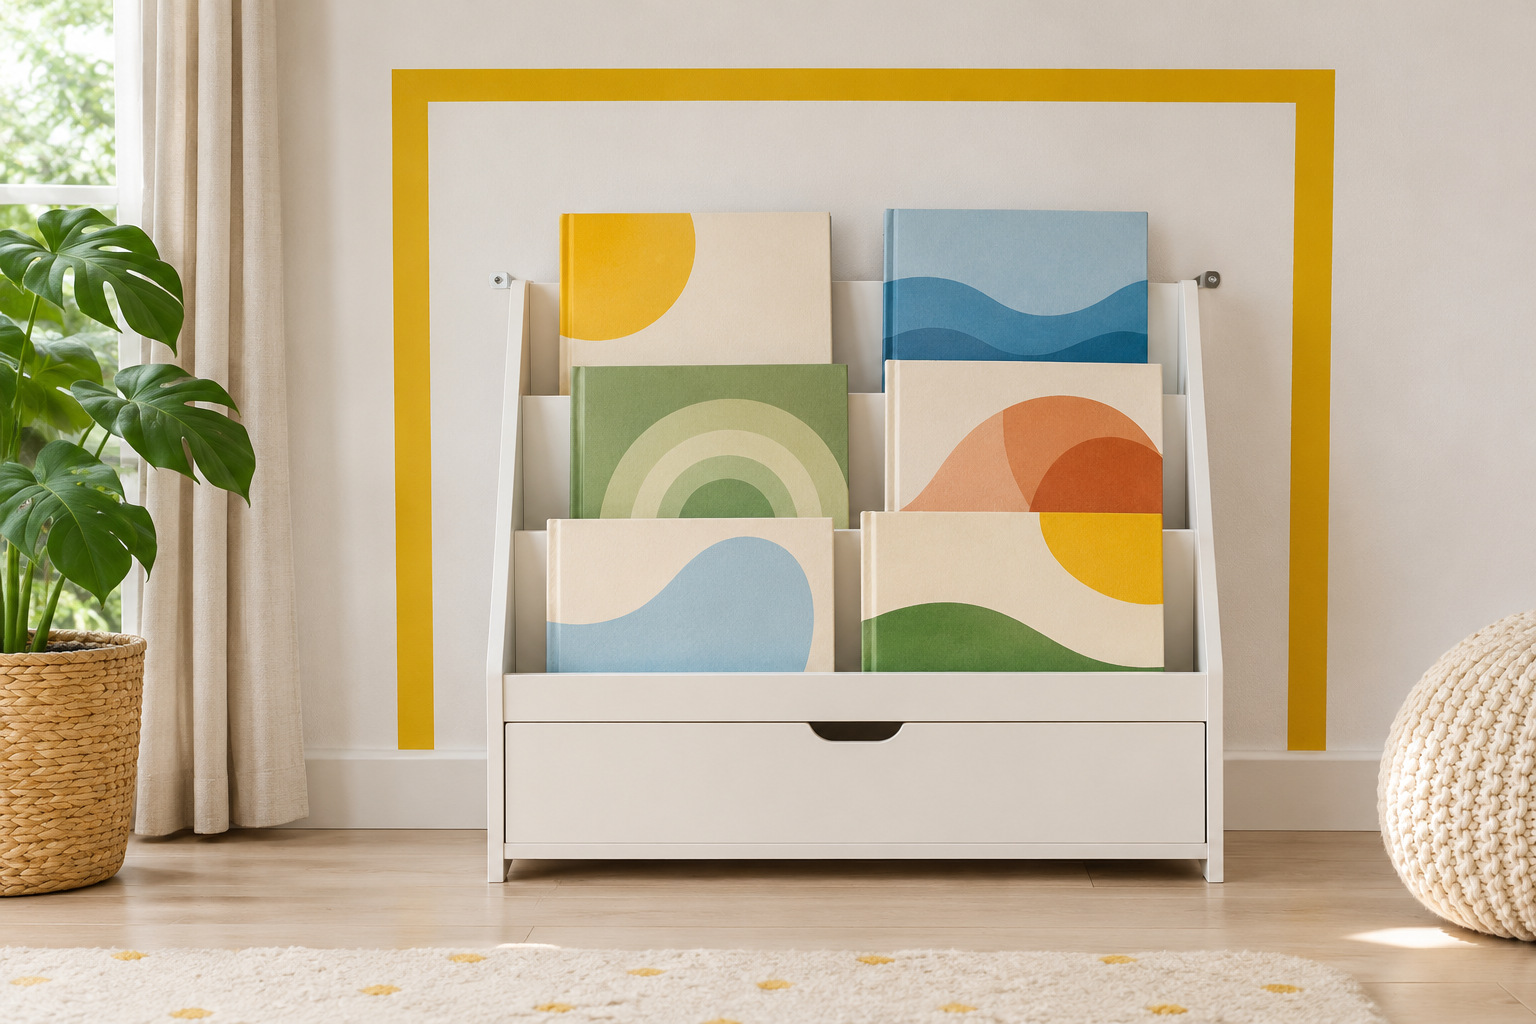
A rectangle of color behind a front-facing book rack can give the reading area a visible boundary. Try a warm mustard panel on a pale wall, letting the books supply the smaller colors. Size the painted area around the rack you intend to use rather than filling the entire wall automatically.
Put a manageable selection of books on the accessible shelves, with room to take one out and return it. Check the shelf depth against the books, including their covers. Picture books often have very different shapes, so a rack that fits one collection may need a different arrangement for another.
Secure the furniture using the manufacturer’s instructions and suitable wall hardware. Keep the painted border decorative: do not place attractive toys above the rack where reaching them might encourage climbing. A lower drawer can hold appropriate larger reading-area supplies without taking over the book display.
This 23.5-inch-wide book rack needs 35.5 inches of height plus room to open its bottom drawer; check book sizes and fit the required anti-tip attachment using suitable hardware.
See the book rack with lower storage (paid link)
2. Park Art Supplies Beside a Washable Worktop
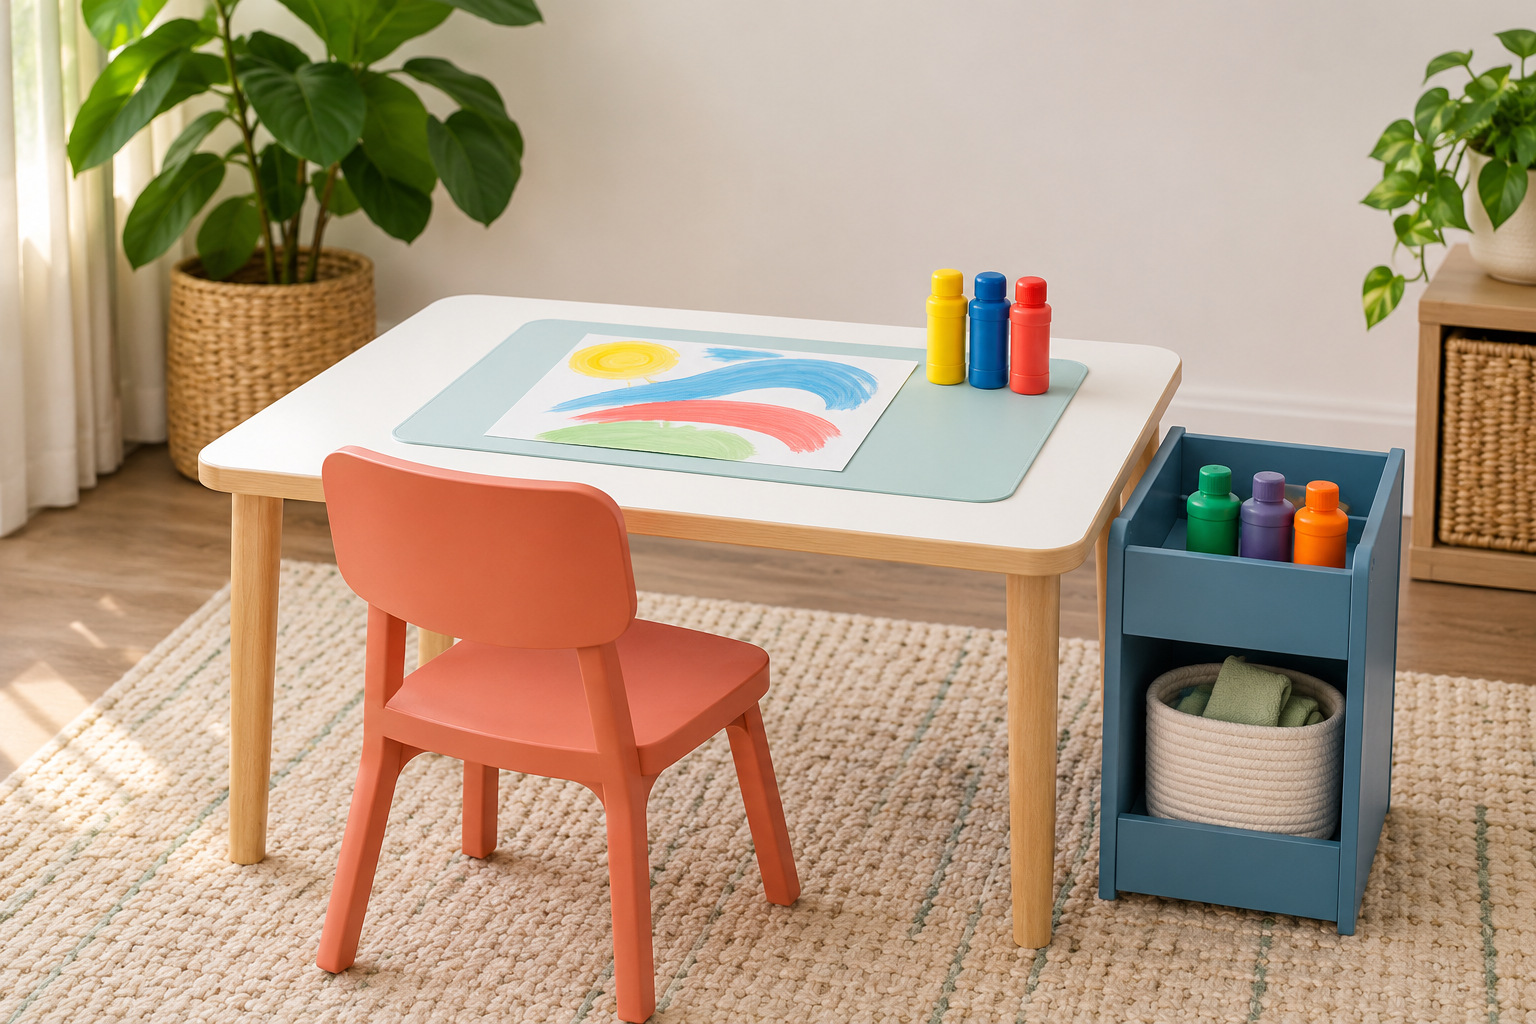
Give making a defined edge of the room, with a worktable and a small supply organizer beside it. A blue storage tray and a coral chair can mark the area while the tabletop stays plain. Keep only the materials suitable for the planned activity on the work surface.
Choose furniture and finishes intended for the users and the kind of cleanup involved. Washable markers still have their own surface and care limits, so follow product guidance rather than assuming every mark will come off the table. An appropriate removable work mat can provide a replaceable making surface.
Keep sharp tools, adhesives, and small items adult-controlled as needed. After a project, put the unused supplies away before the tabletop becomes the room’s general dumping spot. The clear surface is what makes the next activity possible.
3. Mark a Block Building Patch With One Flat Rug
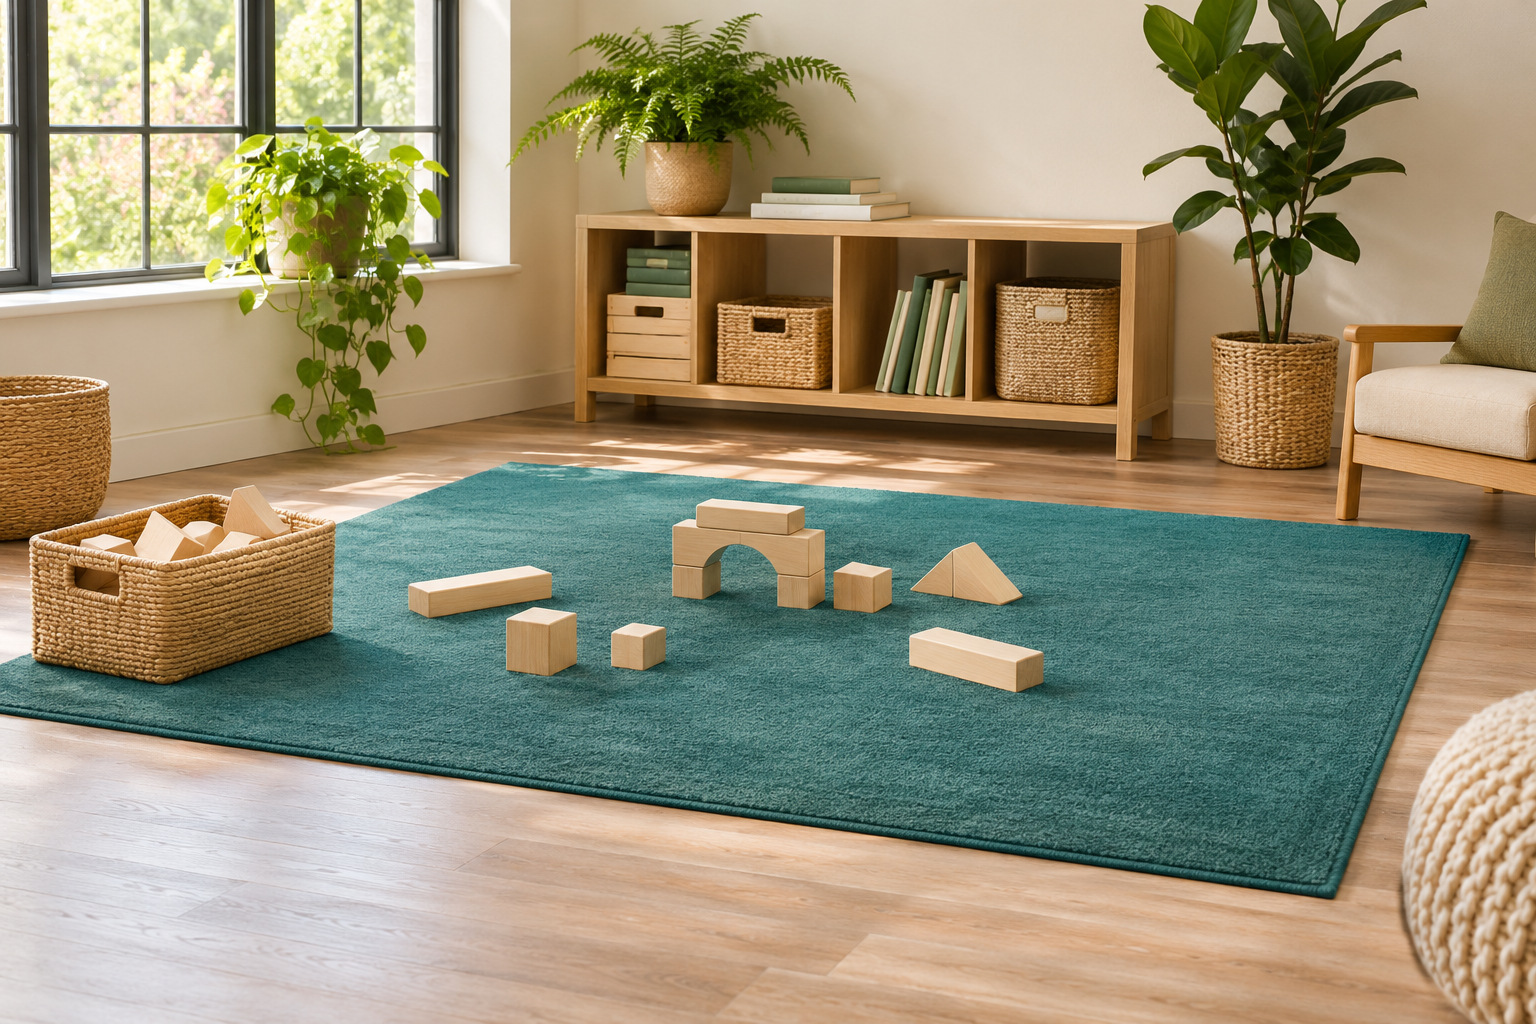
A flat, low-pile rug can give block building a recognizable footprint. Try a strong teal rectangle with enough plain surface for the shapes to stand out. Position it outside the door’s movement and the route between storage and seating.
Test the actual blocks on a rug sample or on the rug you already own. Tall narrow constructions may work better on a smooth firm floor; in that case, let the rug define the edge of the area while building happens beside it. Use a suitable nonslip arrangement and keep all edges flat.
Place the block container nearby at a usable height. Leave enough empty floor around the building patch to sit, turn, and put away the pieces without moving a reading chair first.
4. Put Dress Up Clothes on a Low Secure Rail
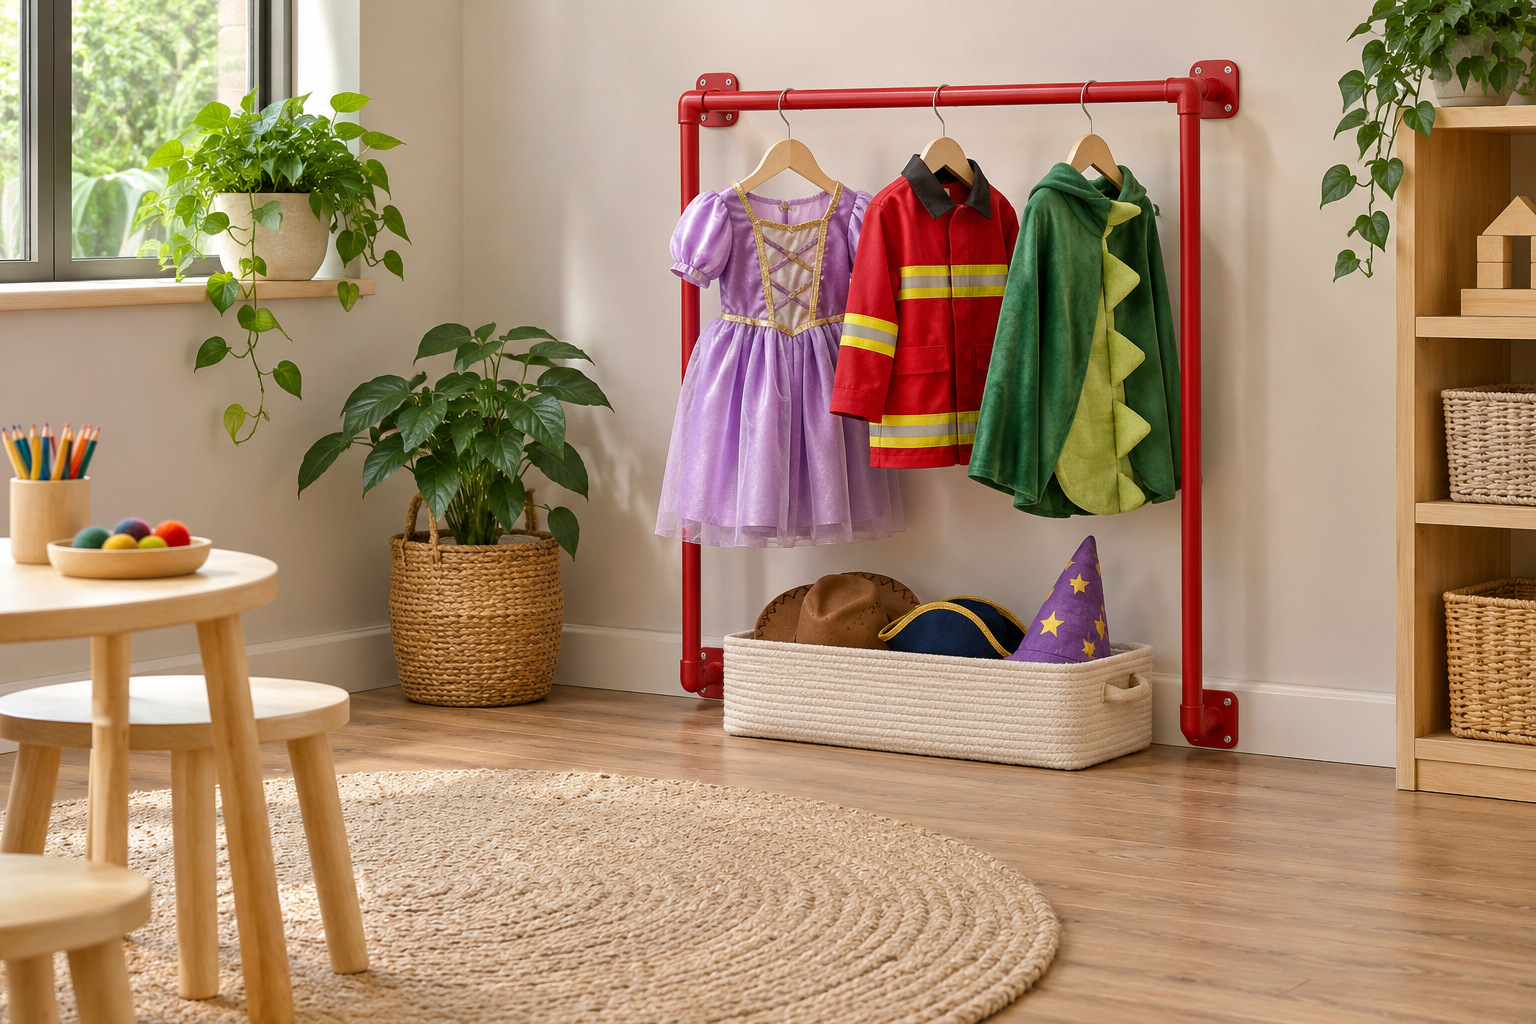
A short rail can keep a small dress-up selection visible without using a full wardrobe. Choose a purpose-designed, stable unit appropriate to the room and secure it as directed. A warm red rail against a plain wall makes the activity easy to spot from the door.
Hang only a few suitable garments with their hems clear of the floor. Put bulky hats or soft accessories in a separate appropriate bin below. Check costumes and accessories for the users’ ages and remove pieces that are damaged or no longer suitable.
Keep a clear patch in front of the rail for changing. A mirror, if included, needs to be suitable for this setting and mounted according to its instructions; the room does not need one for the dress-up area to work.
5. Leave a Clear Pretend Kitchen Work Zone
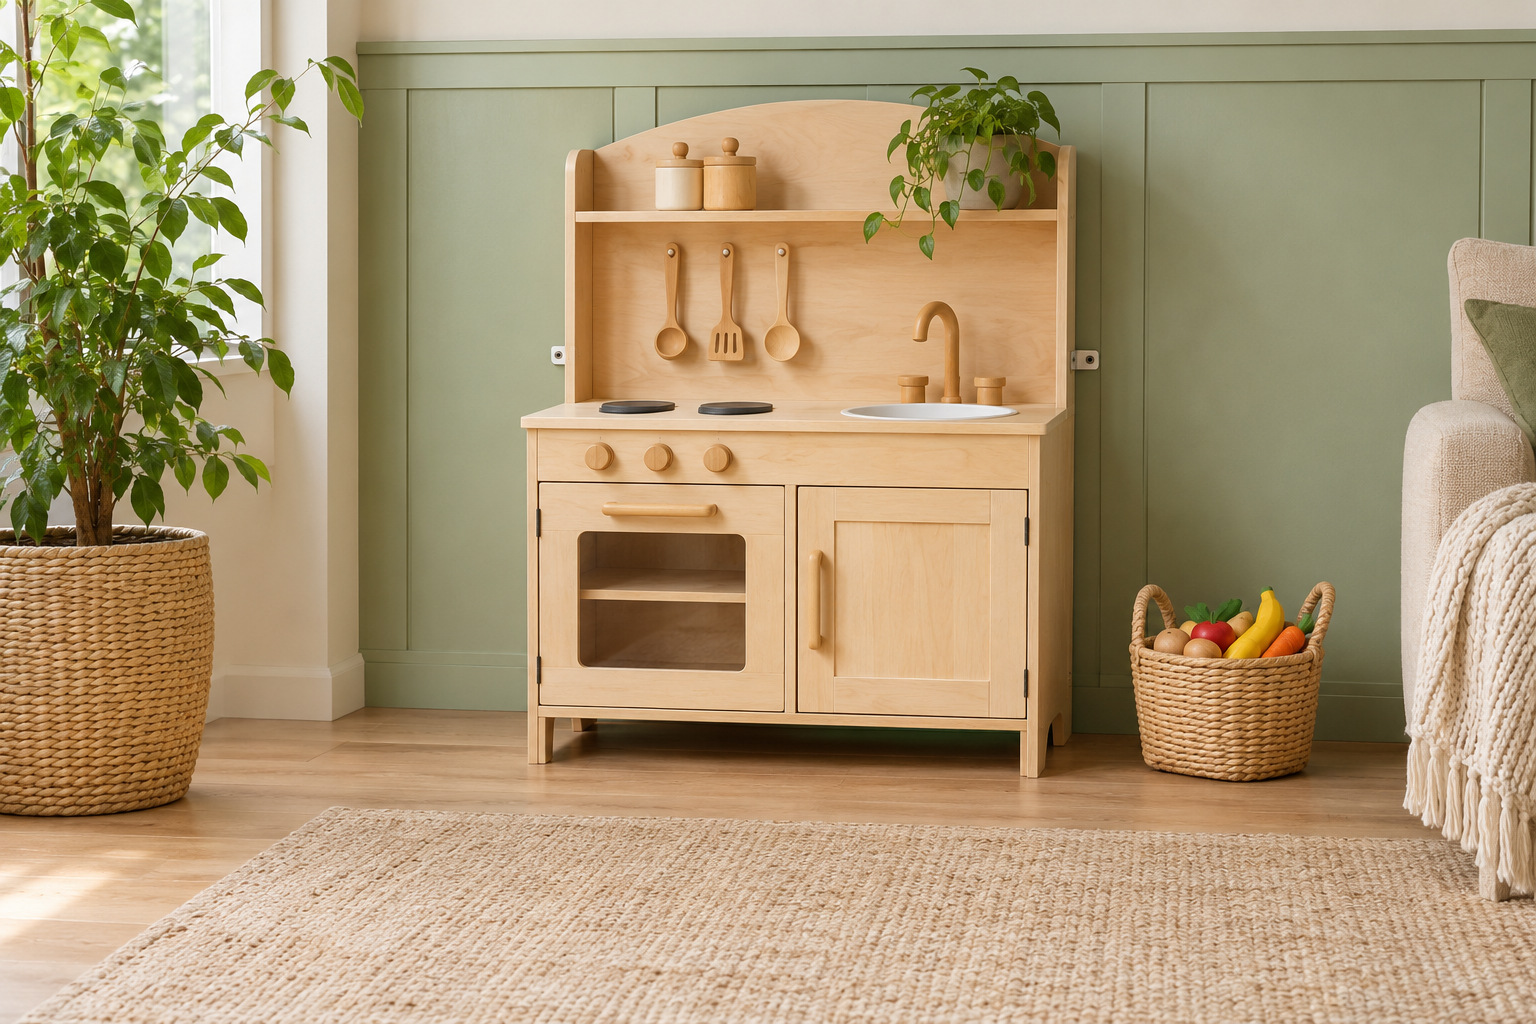
Set a pretend kitchen against a defined wall, with space in front to open its toy doors and move around. A pale green backing panel can mark the zone while the play unit remains a quieter color. Keep the activity outside the route to the room’s actual door.
Follow the toy kitchen’s age, assembly, and anchoring instructions. Store only compatible, age-appropriate play pieces in its cupboards. An adult household pan or kitchen appliance should not become a toy simply because it fits the color scheme.
Keep a small basket for the current pretend-food selection near the unit. Leave the toy worktop mostly clear at the end of play so it is ready for the next game. The zone needs usable space more than it needs extra miniature furniture.
6. Keep a Soft Reading Seat Out of the Building Area
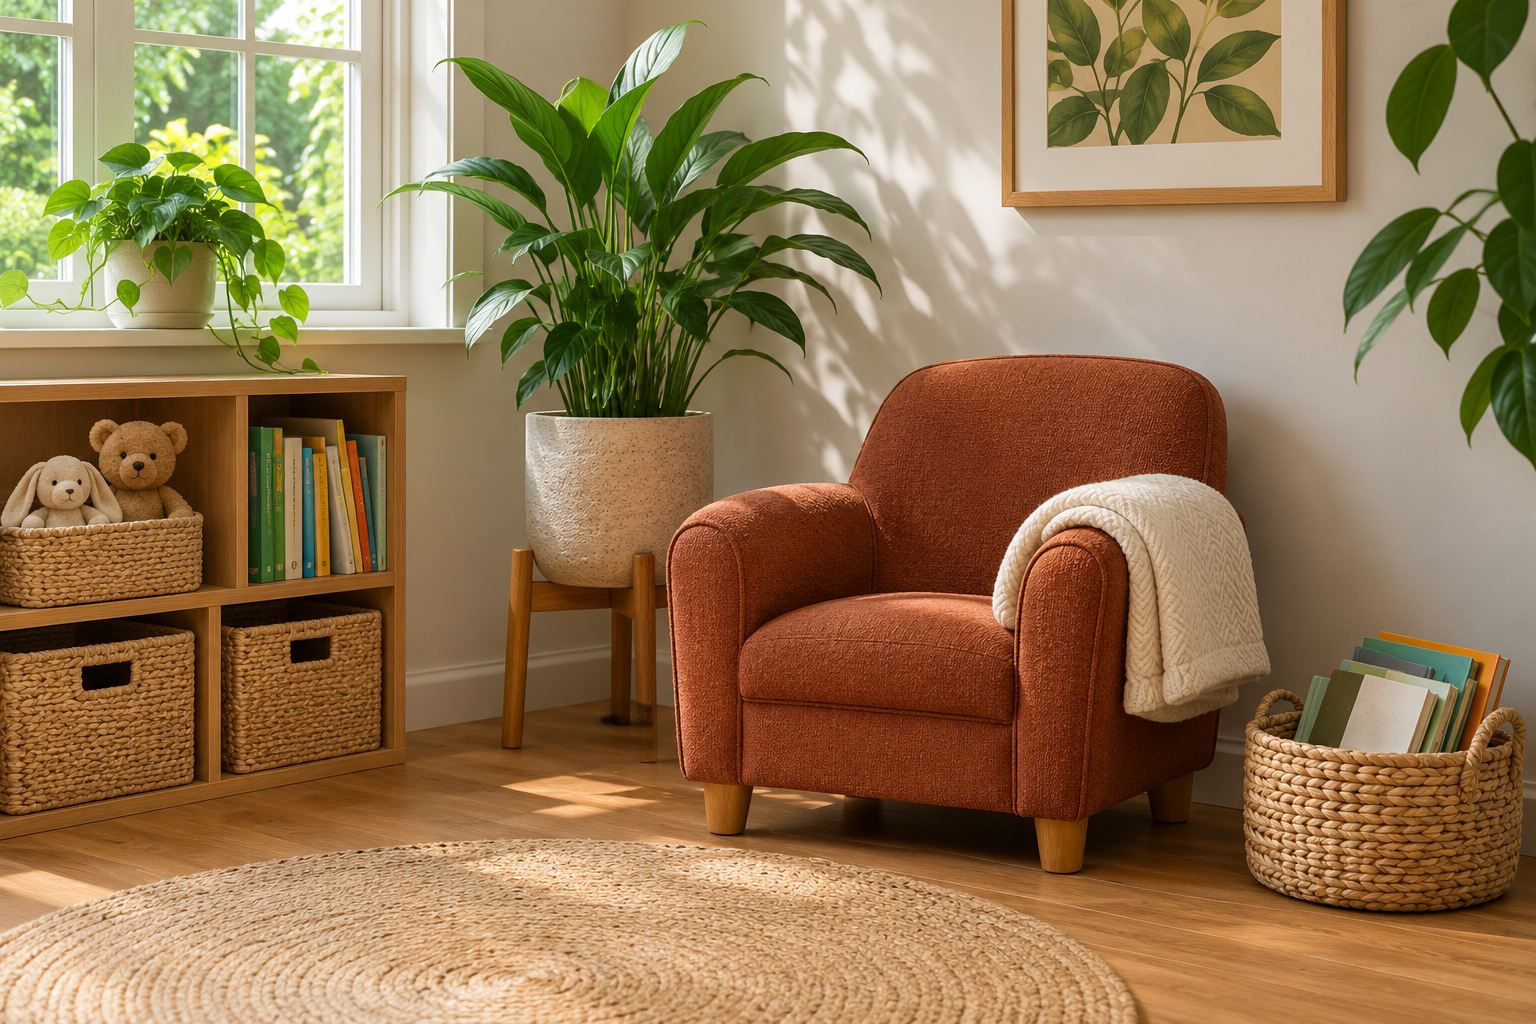
A comfortable reading seat can have its own quieter corner, separate from the blocks on the floor. Use a small age-appropriate chair or a firm floor cushion suited to the household. A russet cover and a plain cream throw can make the corner warm without introducing another busy pattern.
Check the space with someone sitting down and getting up. Books should be accessible without reaching over a building project, and the seat should not block drawers or the room’s walking route. Keep lighting and any window-covering cords appropriately controlled.
If the corner is especially compact, these reading nook ideas for small spaces offer other furniture and placement options to assess. Choose the arrangement for the actual user rather than treating every adult reading setup as a children’s solution.
7. Use Different Bin Colors for Different Toy Families
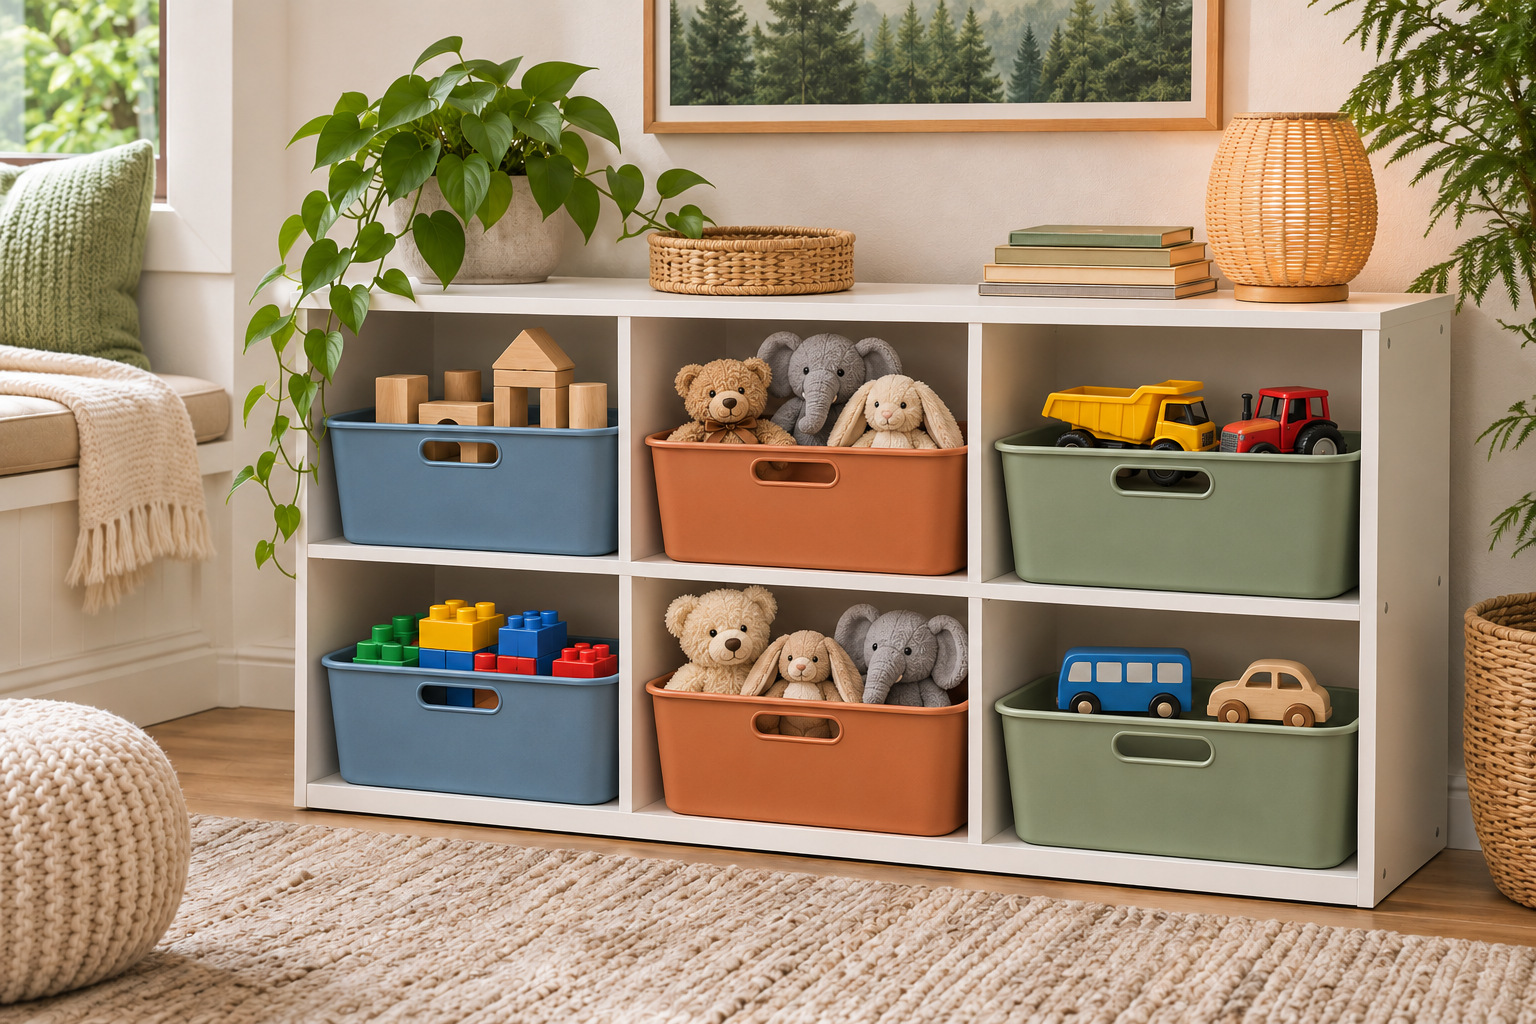
Assign one bin color to each broad kind of toy that actually needs a container. For example, blue can hold larger building pieces and terracotta can hold soft play animals. Use bins that fit the same shelving so the furniture stays orderly even when the colors differ.
Begin with a few categories people can distinguish during cleanup. If two toy groups always get used together, they may need one shared bin instead of a more elaborate sorting system. A picture marker can help where color alone is unclear.
Leave the bins loose enough to pull out and return comfortably. Check usable internal space, handles, and weight, and follow the containers’ guidance. A color system is useful only when the things inside still fit without being forced down.
8. Let Wooden Shelving Quiet Saturated Wall Color
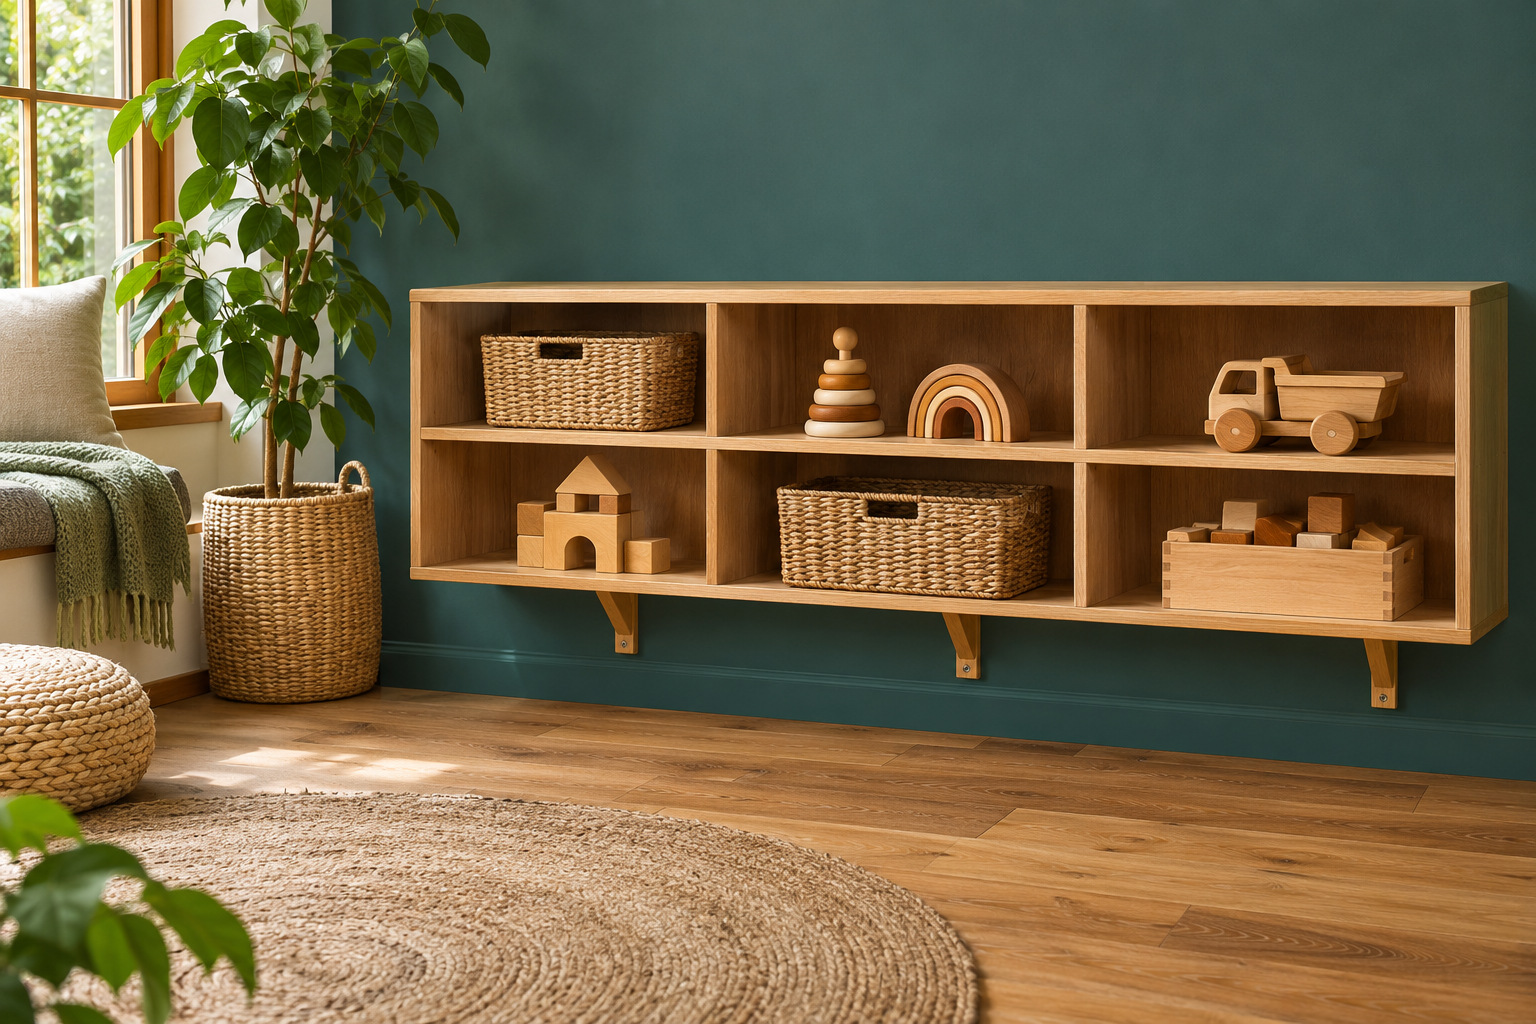
Natural wood grain gives a bright playroom a quieter material to repeat. Try plainly finished oak or birch shelving against a saturated blue-green wall, with a few baskets and robust wooden toys. The wood’s tone and texture keep the background from becoming another graphic pattern.
Choose well-made storage appropriate to the load and users, with finished edges and the required anchoring. Measure the shelf openings against the actual bins before buying. A wall of small decorative compartments can be less useful than a few bays that take the toys your household owns.
Keep some of the timber visible between stored pieces. The room can still feel colorful when the shelving itself remains natural and the strongest color occupies a clear, bounded wall area.
9. Give Two Play Zones a Shared Paint Line
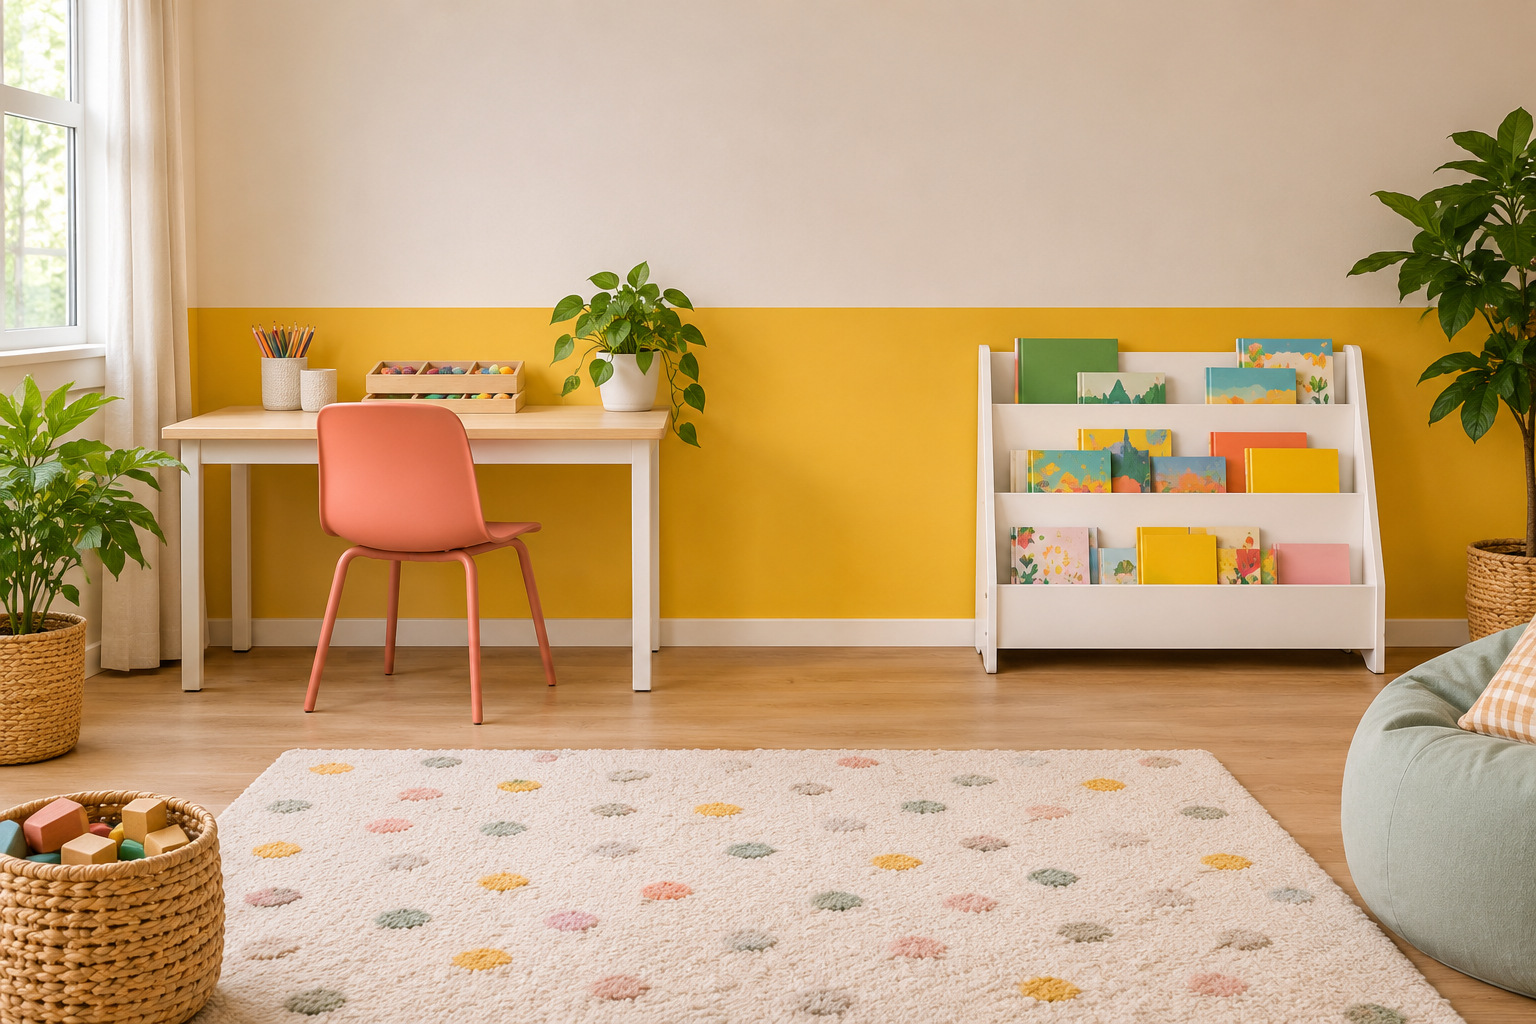
One continuous lower-wall paint line can connect two different activities without blurring their layouts. Run a warm yellow band behind a making table and the adjacent book area, then let each activity keep its own furniture footprint. The shared line creates continuity across the room.
Lay out the furniture before deciding where the color division belongs. Mark the proposed line and view it from the entrance, checking how it meets window trim and corners. Use a coating suited to the wall and allow the room to return to use according to the maker’s directions.
Keep the floor between the two activities open. The painted band links the spaces visually; the table, book rack, and available working room still tell you what happens in each zone.
10. Use a Shallow Gallery for Changing Artwork
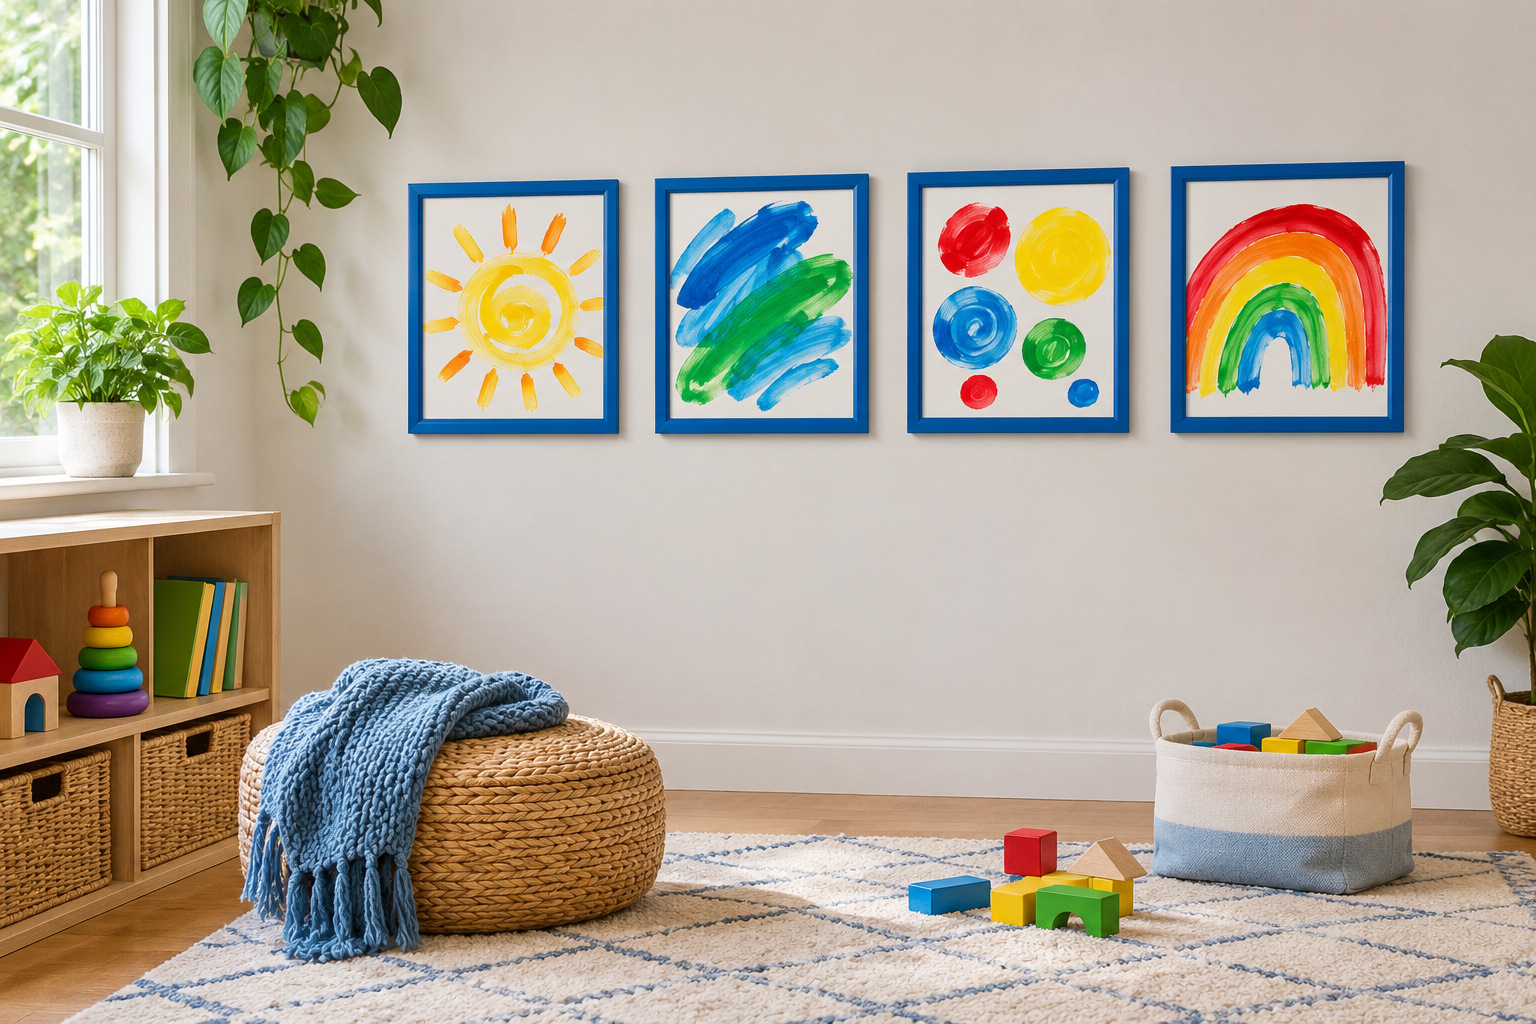
A small artwork gallery can hold the latest drawings without spreading paper across every wall. Choose a display system appropriate to the room, with securely retained work and suitable hardware. A row of simple frames in one color gives different paintings a common boundary.
Put the gallery where it can be seen comfortably, away from the backs of chairs and from furniture that might be climbed to reach it. Let an adult handle updates where the fittings, glazing, or height require it. Avoid loose hanging cords and accessible sharp clips.
Choose a limited number of current pieces. Store the rest elsewhere, with the household’s preferred approach to keeping or photographing old work. The gallery remains a changing display rather than another deep paper-storage area.
11. Fit a Fold Away Craft Surface in a Small Room
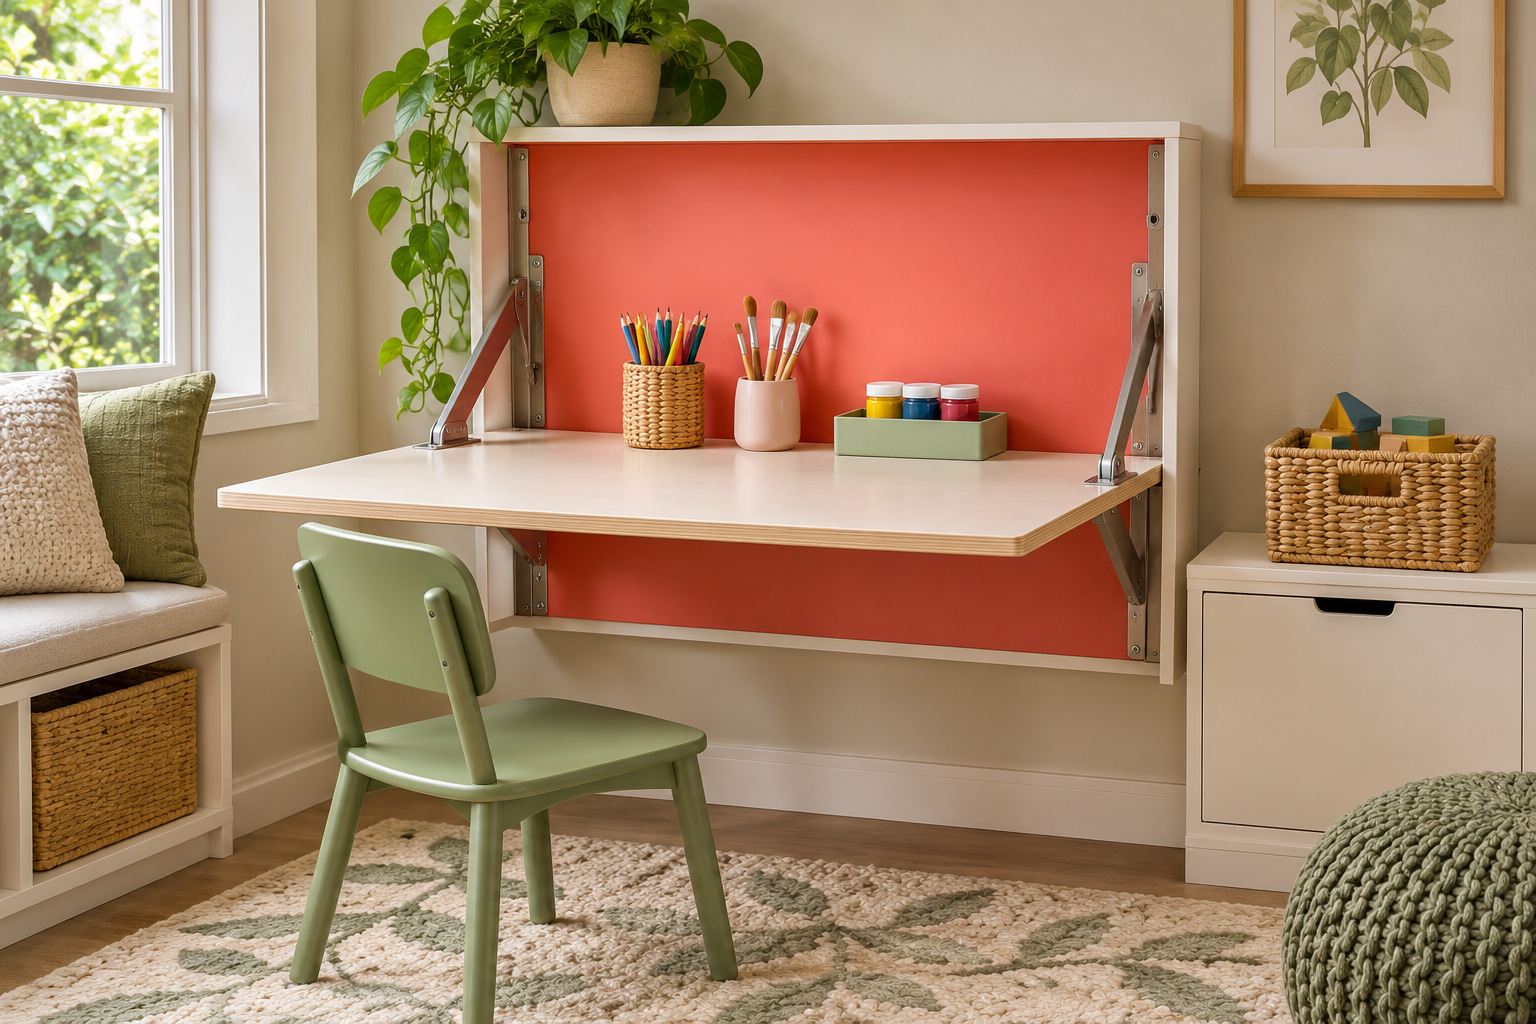
A purpose-built fold-away table can free floor space when making is finished. Choose a model appropriate to the users and planned load, installed exactly as directed. A coral wall panel behind a plain tabletop can give the closed unit a useful visual home.
Measure the complete open footprint, including the chair and the route around it. Check the closing mechanism, support, and pinch-point guidance with the manufacturer; an adult may need to operate and secure it. Decorative hinges added to an ordinary shelf are not a substitute for a properly designed table.
Keep a separate accessible place for an unfinished project before closing the surface. The space-saving benefit disappears if everything has to be stacked on the floor each time the table folds away.
12. Give a Puzzle Shelf One Colored Back Panel
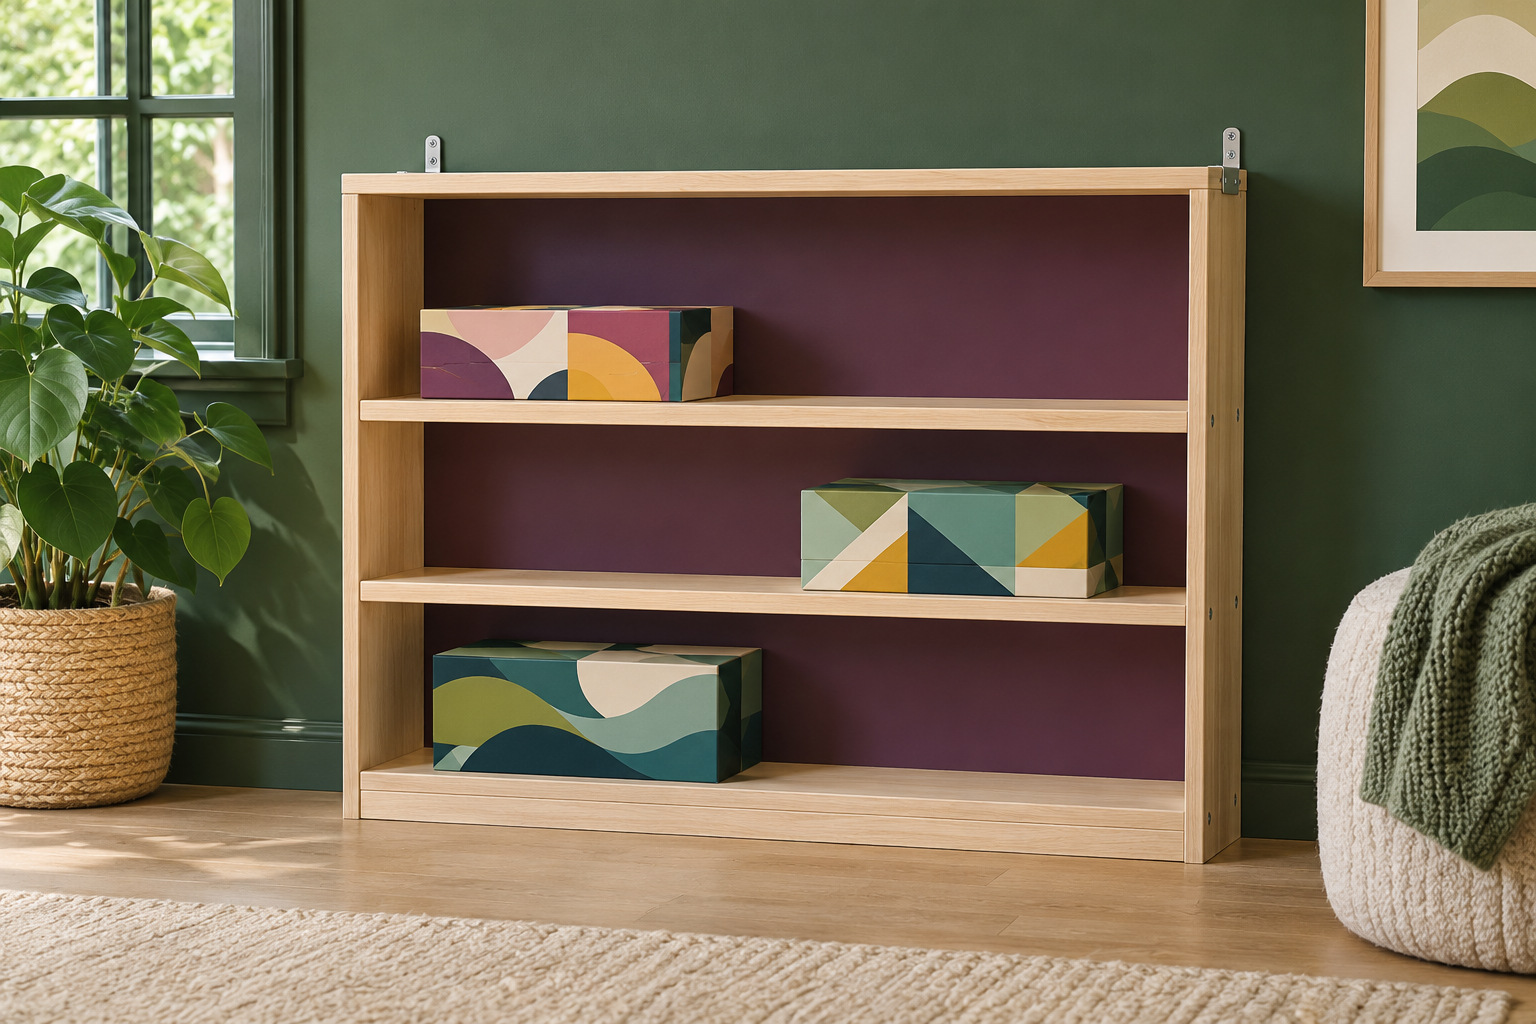
A contrasting back panel can identify the shelf where puzzles belong. Try plum behind plain wood shelves, with the boxes stored so the current selection can be removed individually. The color is a background cue, while the useful shelf openings do the organizing.
Measure the largest puzzle box in the orientation you want to store it. Leave enough room above and beside it for hands, and avoid tall leaning stacks. Keep loose puzzle pieces in suitable closed storage rather than mixing them at the bottom of a shared bin.
Use a removable backing or suitable finish only where the storage maker allows it. Secure the furniture and leave the upper surface free of an enticing extra display. The goal is a clear return spot for the puzzles in use.
13. Give Two Children Separate Personal Drawers
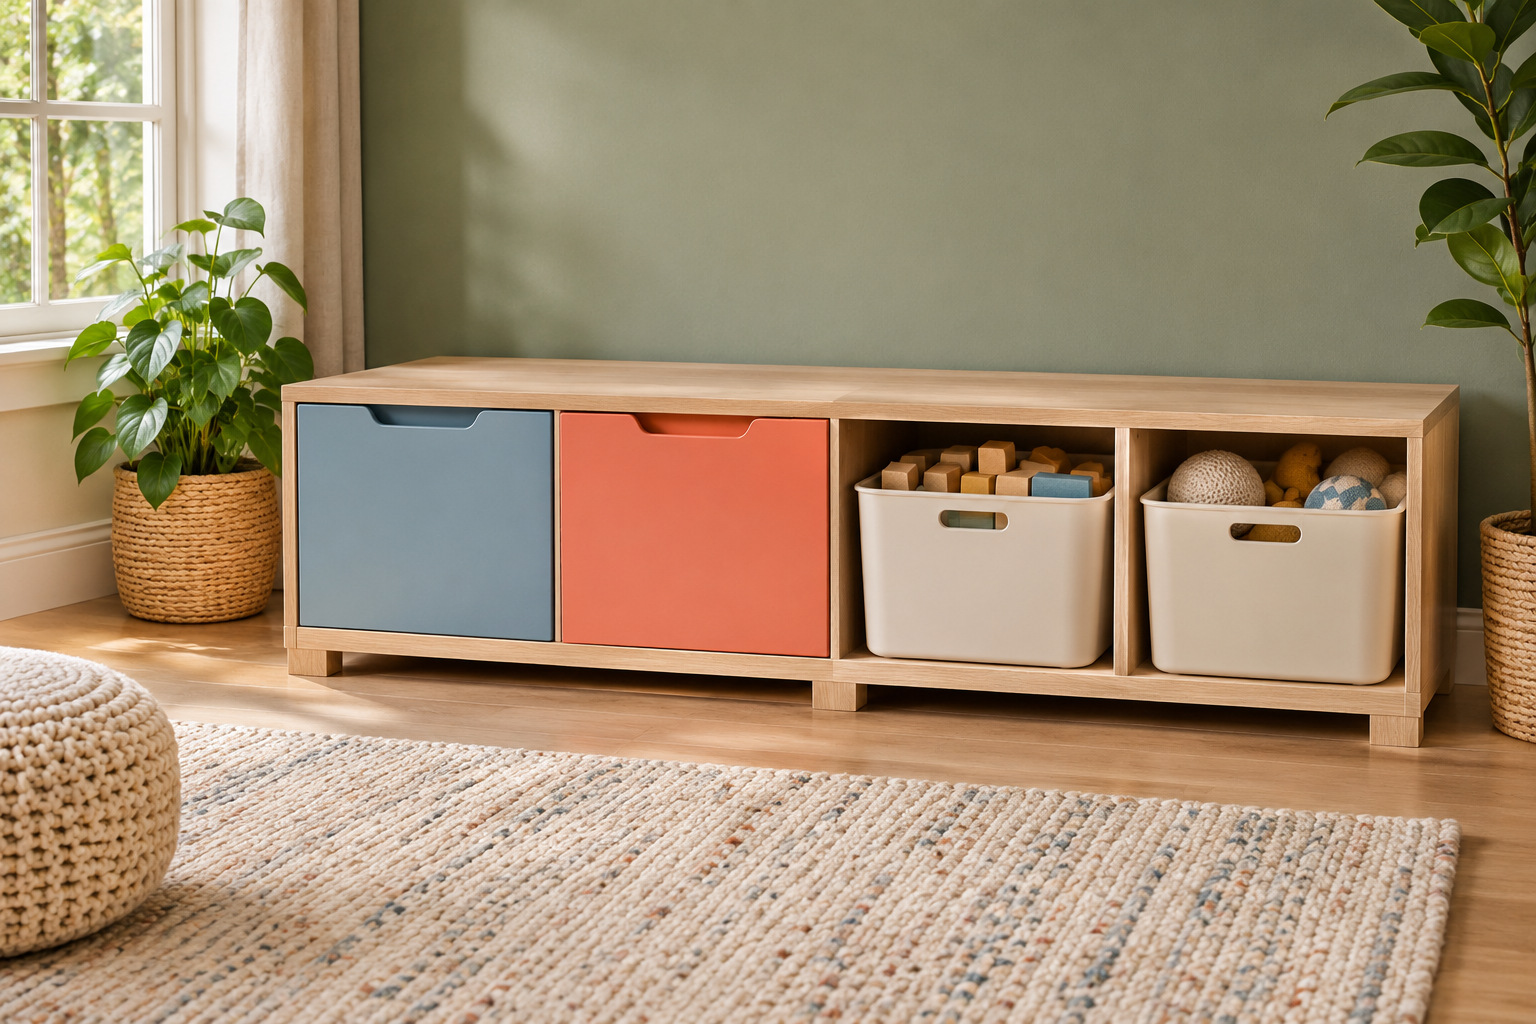
In a shared playroom, two distinct drawers can give personal treasures a clear home beside the shared toys. Use differently colored drawer fronts or simple picture markers that the household recognizes. Keep the drawers comparable in usable space if both children need a similar amount of storage.
Agree on what belongs in the personal drawers before filling them. Shared building pieces can stay together, while a favorite notebook or suitable personal collection gets its own place. Check the furniture’s operation, load guidance, and anchoring, and avoid overfilling drawers so they still close easily.
Leave room for preferences to change. These are useful everyday spaces, not a display that has to stay arranged exactly as it was on the first day.
14. Keep an Indoor Hopping Pattern Flat on the Floor
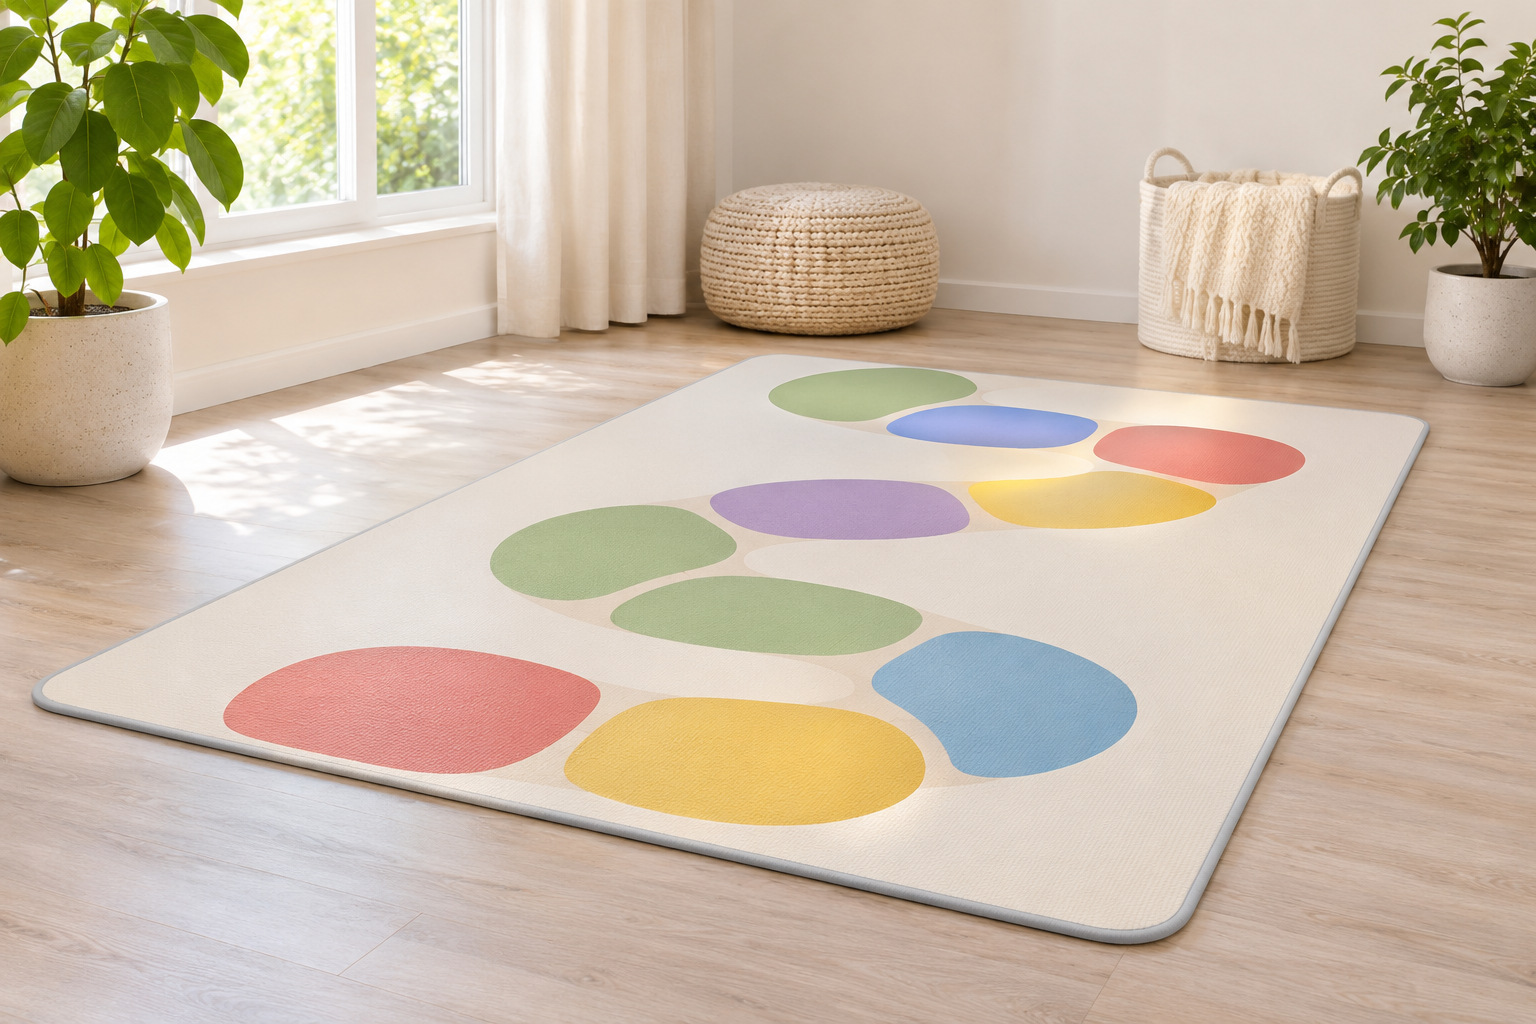
A few broad colored shapes can make a clear patch of floor feel playful. Use an age-appropriate purpose-made floor mat or a floor-compatible system that remains flat and follows its maker’s slip-resistance guidance. Keep the route simple, with generous empty space around it.
Place it away from hard furniture corners, doors, steps, and the main walking route. Assess the activity for the users and room; a compact playroom may need a calmer floor game instead of hopping. Adult supervision and the product’s instructions remain part of the choice.
Choose a small set of colors already used elsewhere in the room. The pattern can stay visually clear without adding raised loose pieces or turning every available floor area into an obstacle course.
15. Define a Play Corner With Anchored Low Storage
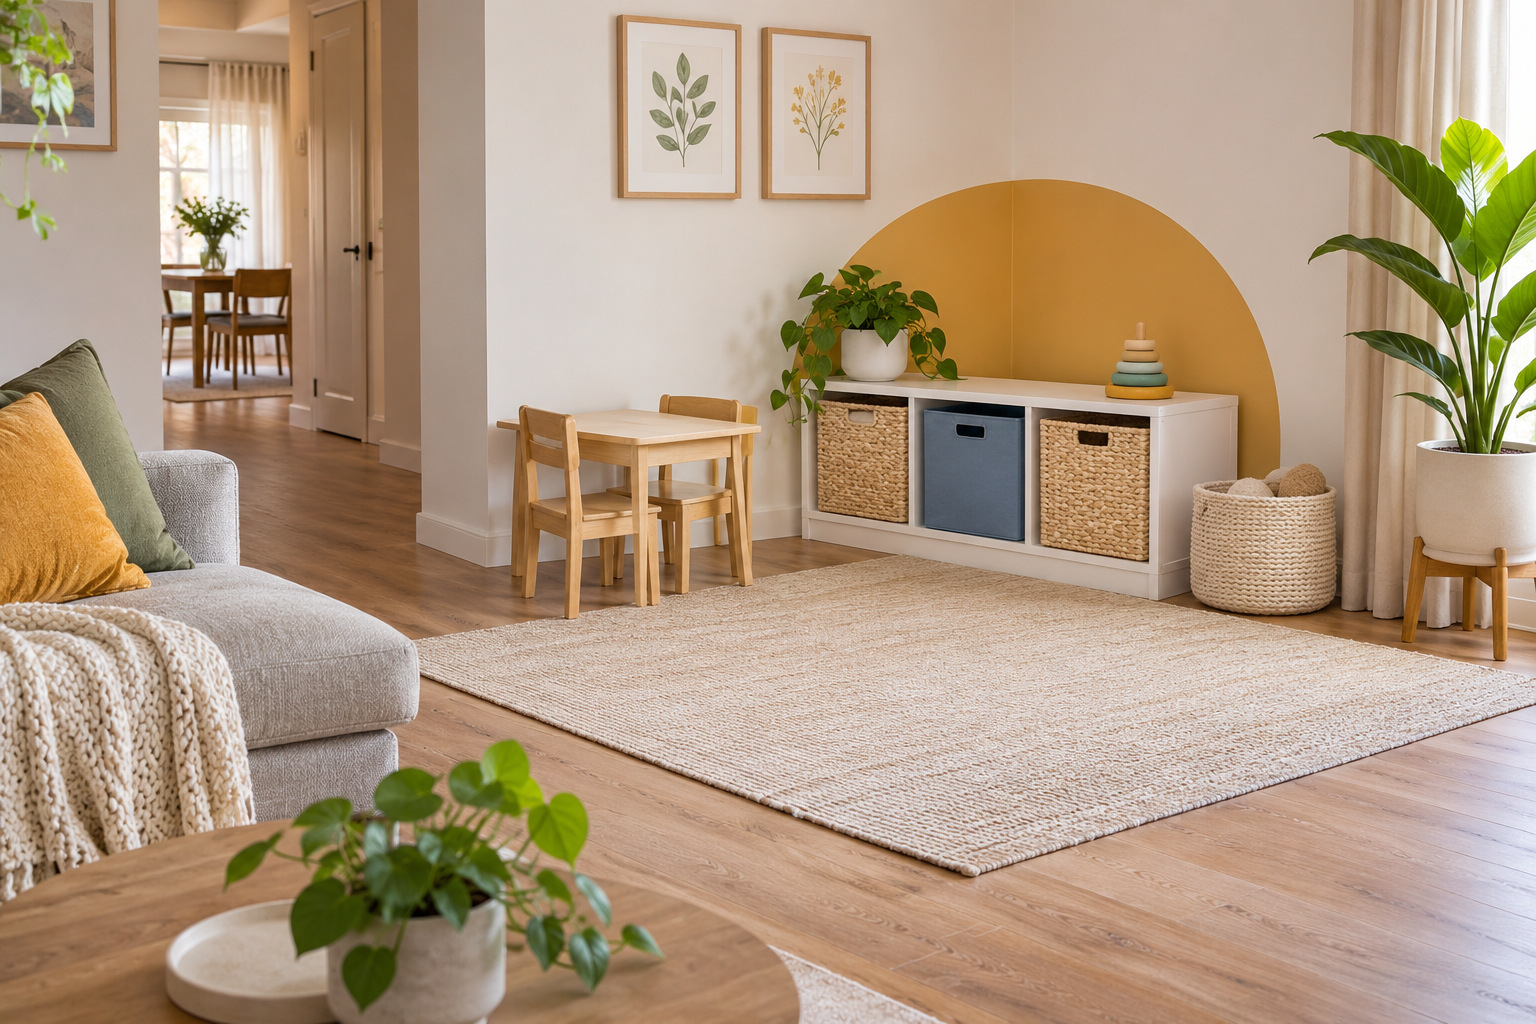
In a shared family room, a low storage unit can mark the play corner while leaving the rest of the room open. Position the unit against a suitable wall and anchor it as instructed. A blue bin and a yellow wall detail can identify the corner without requiring a separate themed room.
Measure the space with doors, seating, and drawers in use. The storage should not extend into the route through the room or narrow access to a sofa. Keep the top simple and avoid high stacks of tempting toys.
Use the floor in front for the current activity and return the pieces afterward. If dolls are a major part of that selection, these Barbie storage ideas address their different shapes, clothes, and small accessories in more detail.
16. Keep the Rotation Set in a Cupboard Adults Control
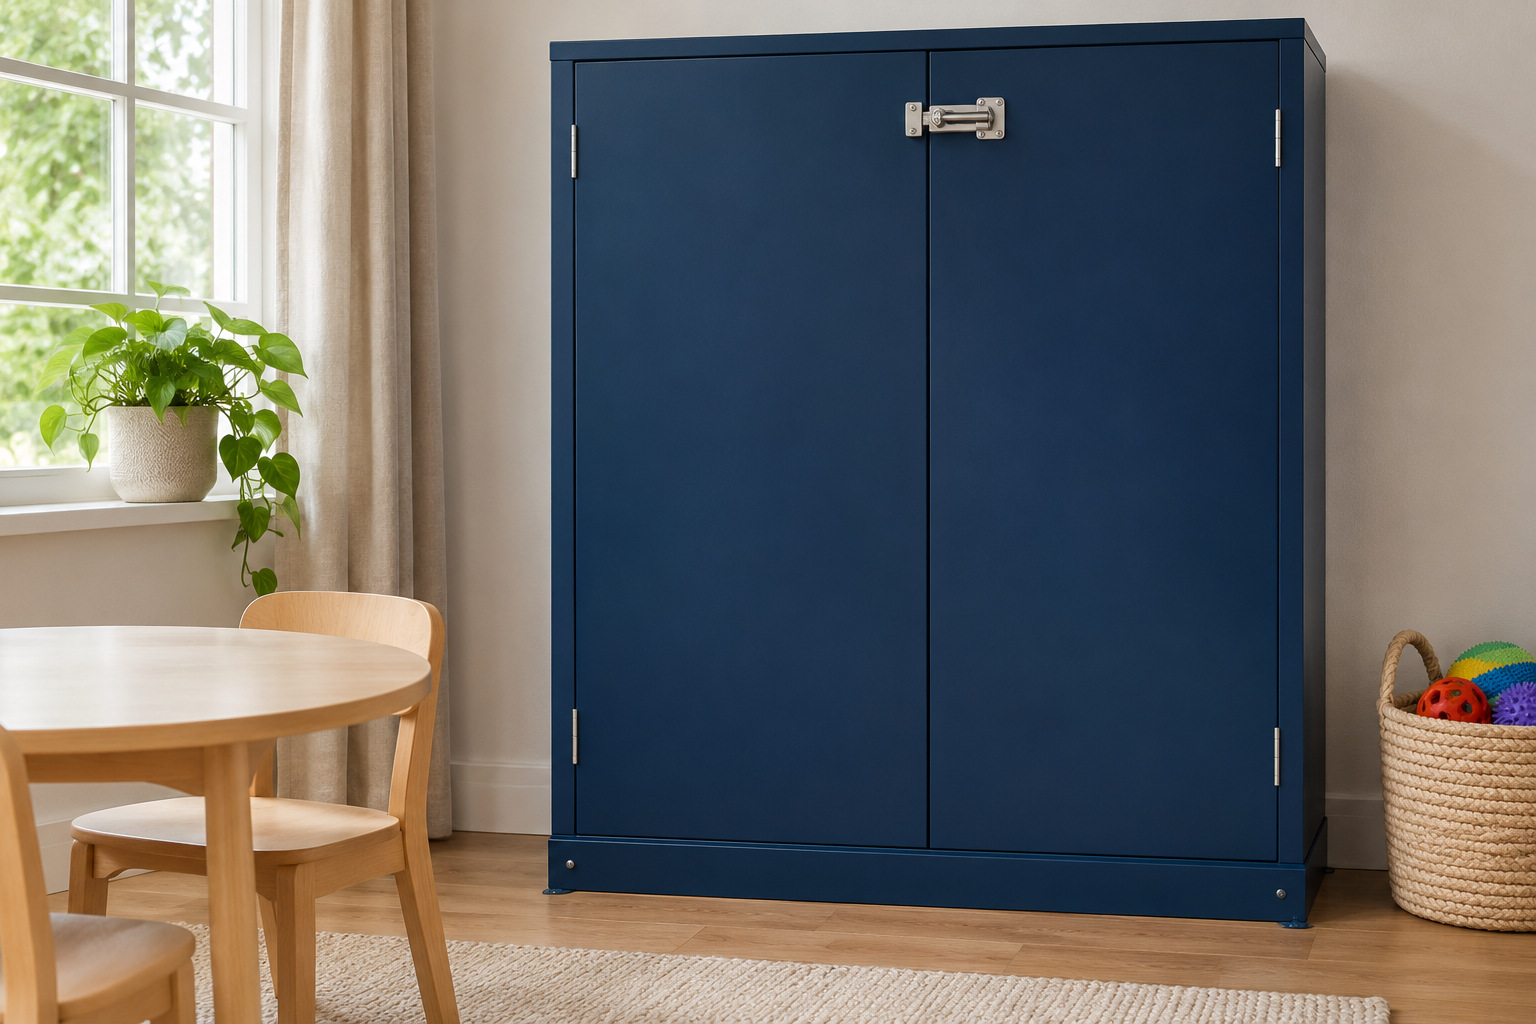
Extra play materials can stay outside the active play area in a secure, adult-controlled cupboard. Group complete sets in suitable containers so the next selection is easy to find. Keep the cupboard visually quiet, letting the current play zones supply the room’s color.
Follow the furniture’s load and anchoring instructions, and keep small parts inaccessible where younger children share the home. A normal cabinet door or storage-box lid is not automatically child-resistant. Choose the access control for the actual users and contents.
Bring out one suitable selection when another is put away. If the room still feels crowded, review the number and size of active activities before buying more bins. Rotation works best when it preserves usable room for the toys currently available.
17. Connect Play and Living Areas With Two Repeated Colors
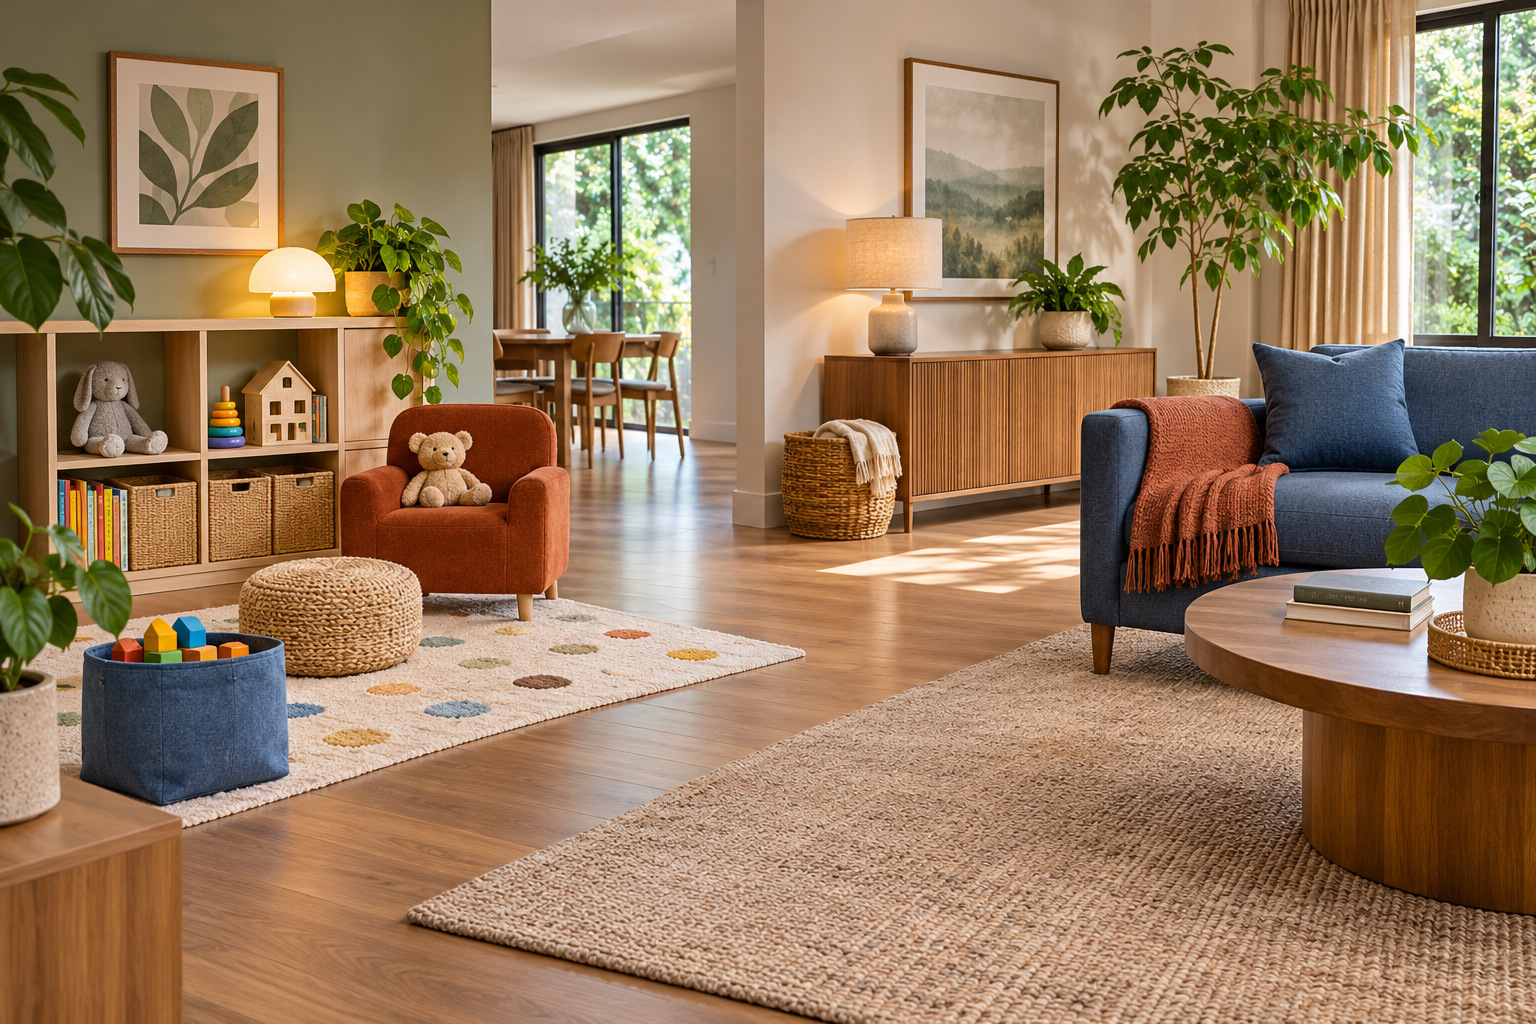
Two repeated colors can help a play corner belong to the adjoining living space. Try blue on a playroom bin and a living-room cushion, with a warm rust accent appearing in one place on each side. Keep the larger shared furniture finishes related so the rooms do not feel visually disconnected.
View both areas from the doorway or sofa where you normally see them together. A small bright piece close to you can look stronger than a larger one farther away, so judge the balance from that ordinary view. You do not need identical objects in both spaces.
Keep each area functional on its own. The living room can retain its seating and the play corner its usable floor, with color supplying the connection across the boundary.
18. Park Bigger Toy Vehicles Below the Display Line
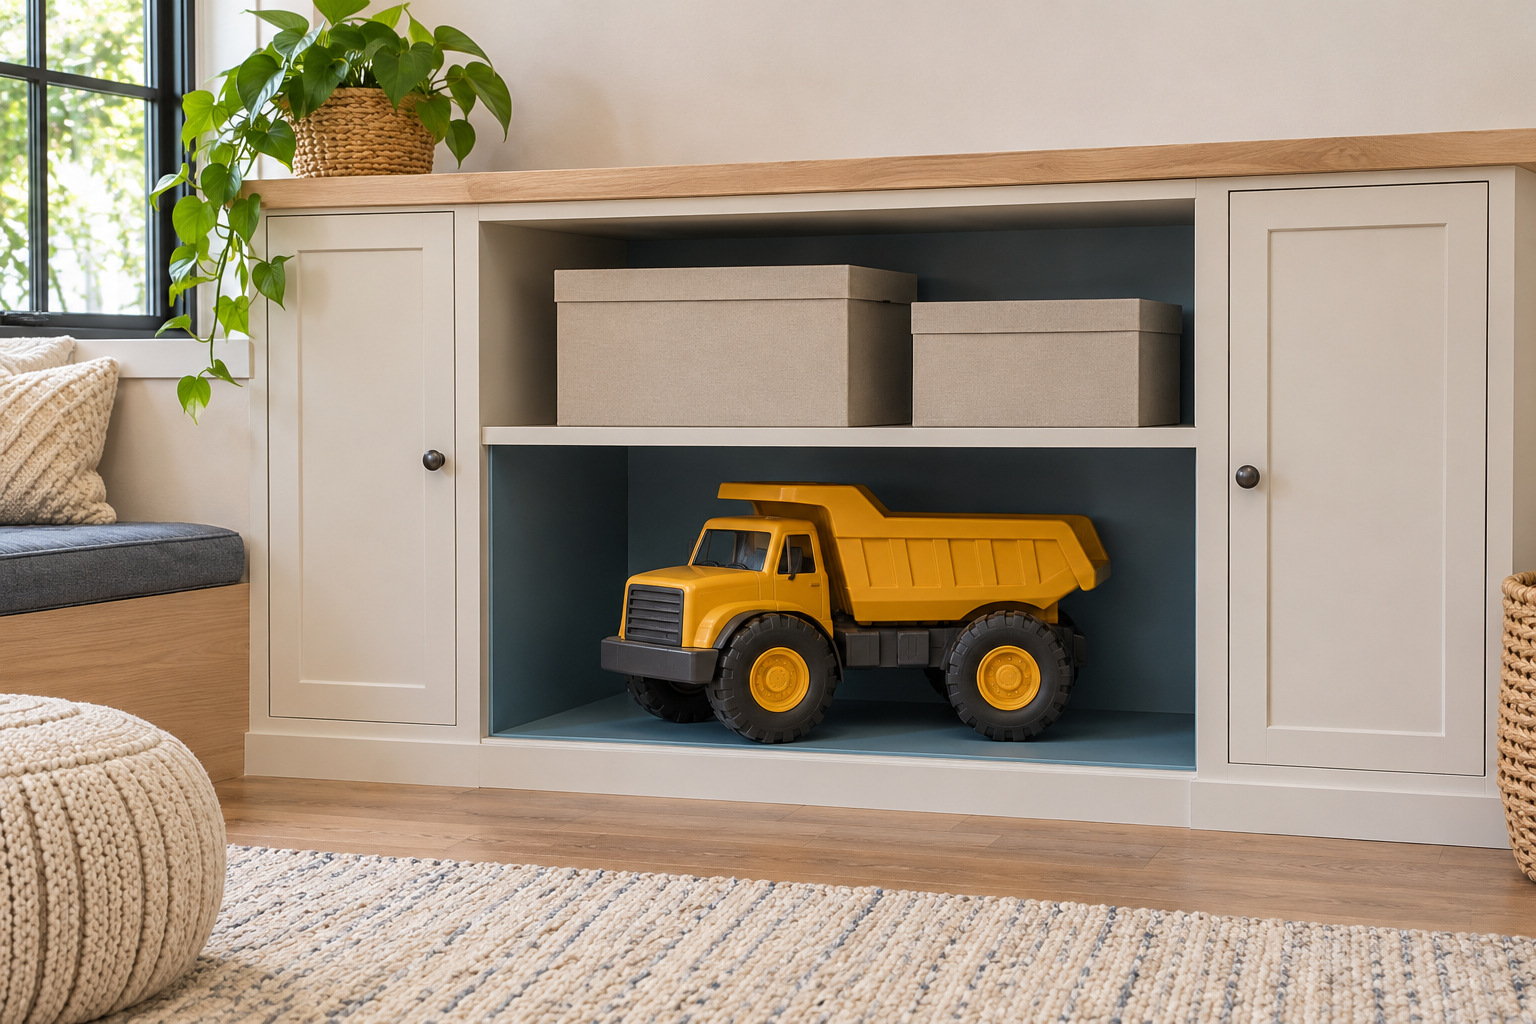
Larger toy vehicles need a full-size parking space rather than a leftover gap between bins. Use a low appropriate bay or a defined floor spot outside the walking route. A simple colored backing can distinguish the return place while the vehicle itself remains easy to reach.
Measure the complete toy, including mirrors, handles, and any raised parts, and follow its storage instructions. Keep the bay deep enough that the toy does not project into the room. A ride-on toy may need a separate floor-level parking place rather than being lifted onto a shelf.
Keep the shelf above useful for robust, appropriate storage without creating a high attraction to climb toward. The room looks more settled when its largest toys have honest-sized homes instead of being hidden behind a row of small matching baskets.
Start with the activity that currently spreads farthest across the room. Give it a usable surface, the right storage footprint, and one clear color cue. Add the next zone only after the first one leaves enough space for getting around and changing the game.
Discover more from HomeTrendora
Subscribe to get the latest posts sent to your email.
