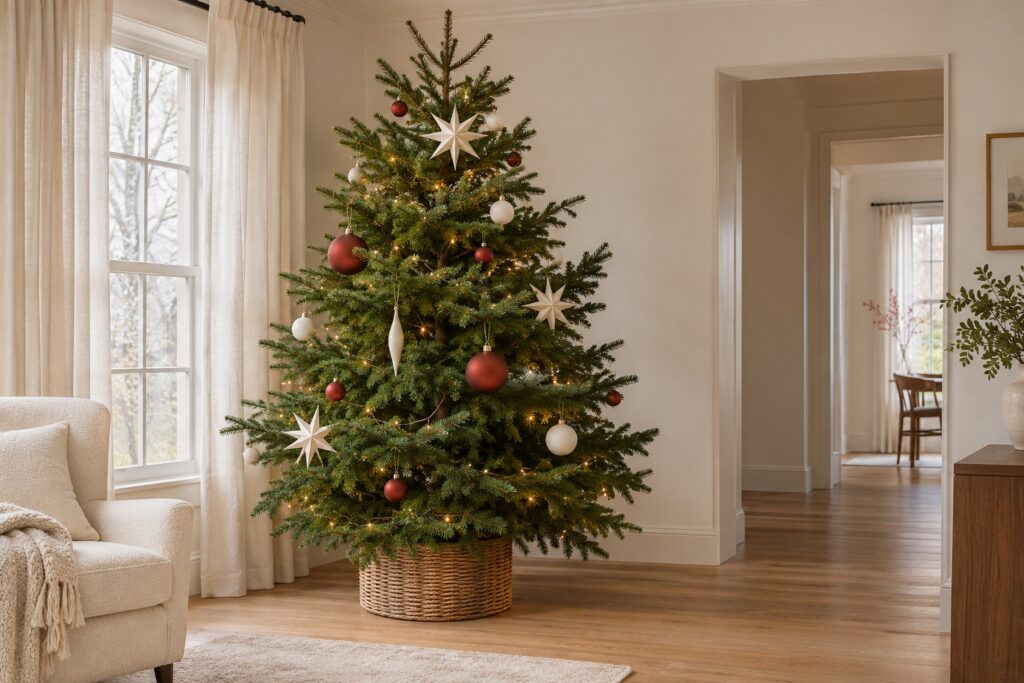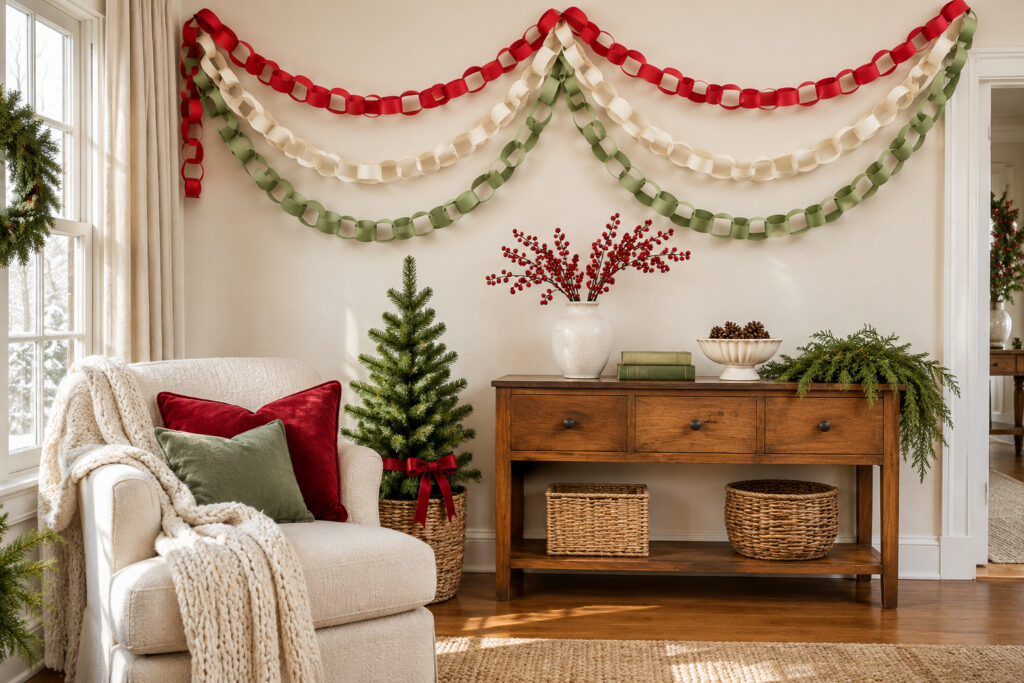
Candy cane decorations can quickly crowd a room when every surface gets the same stripe. Choose the place you want to dress first, then decide whether it needs a recognizable cane shape, a softer textile detail, or one red-and-white pattern.
These 16 candy cane Christmas decorations work at different scales, from a painted frame to a single porch feature. Use decorative canes for arrangements that involve paint, adhesive, or hanging hardware. Keep edible candy wrapped, stored according to its label, and separate from craft supplies.
1. Paint Candy Stripes on a Plain Wood Frame
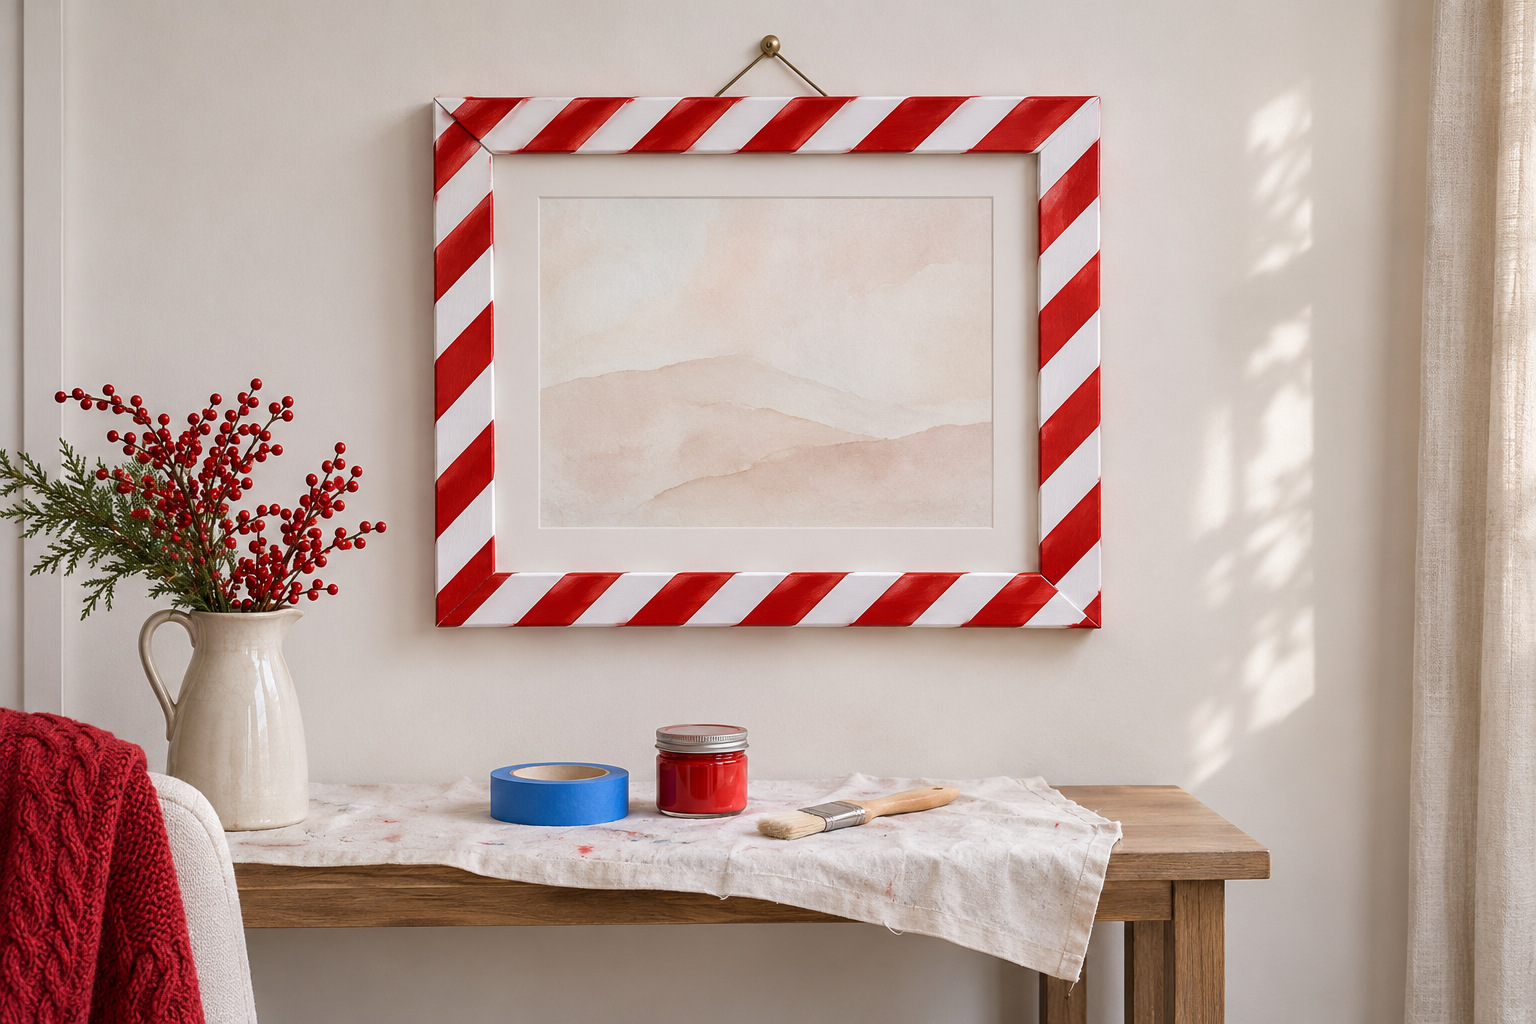
Give a plain wood frame diagonal red bands over a white base. Start with a simple flat profile so the stripe can travel across it cleanly. Sketch the stripe width on paper first, then hold the empty frame against the wall to see whether the pattern is strong enough at that distance.
Choose paint and preparation appropriate to the frame, and let the base coat cure as its maker directs. Use painter’s tape compatible with that cured surface, testing a hidden area before laying out the diagonal bands. Medium-adhesion tape is not the right choice for every delicate finish. Follow the tape instructions for application and removal rather than assuming it can be left indefinitely.
Put a quiet original print inside the finished frame, or hang the frame empty where its striped outline can be the decoration. Use suitable wall fixings and let the surrounding wall remain visible.
This 1.88-inch-wide roll suits a broad stripe layout; test it on the fully cured frame finish first, and choose a delicate-surface tape instead if the coating requires one.
Compare the painter tape for the stripe pattern (paid link)
2. Cross Two Oversized Canes on an Interior Door
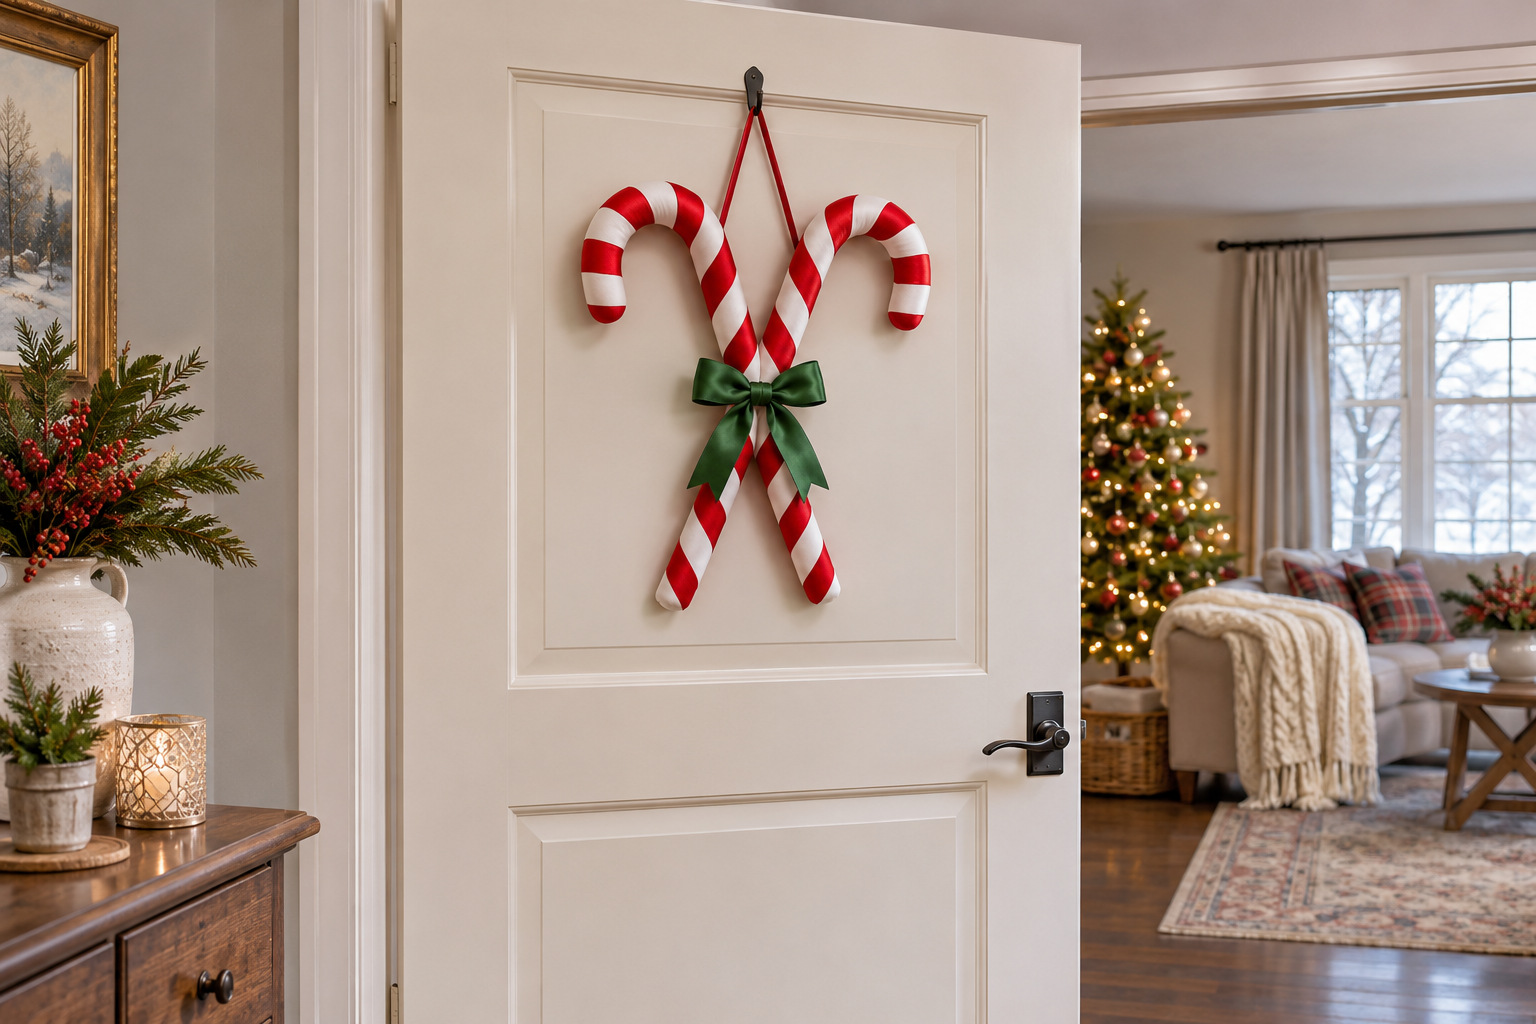
Two lightweight decorative canes crossed near their straight ends make a readable Christmas shape on a plain door. Lay them out on a table and secure the pair together as a complete decoration before deciding where it will hang. A short green bow at the crossing can give the red and white a separate accent.
Choose an attachment method rated for the complete decoration and compatible with the door finish. Open and close the door through its full movement, checking the frame, handle, and wall behind it. Keep the cane ends away from the latch and from the place your hand reaches.
If the door cannot operate normally with the pair in place, use an adjacent fixed wall instead. The crossed silhouette remains clear without making a frequently used door awkward.
3. Stand a Candy Cane Pair in a Low Entryway Vase
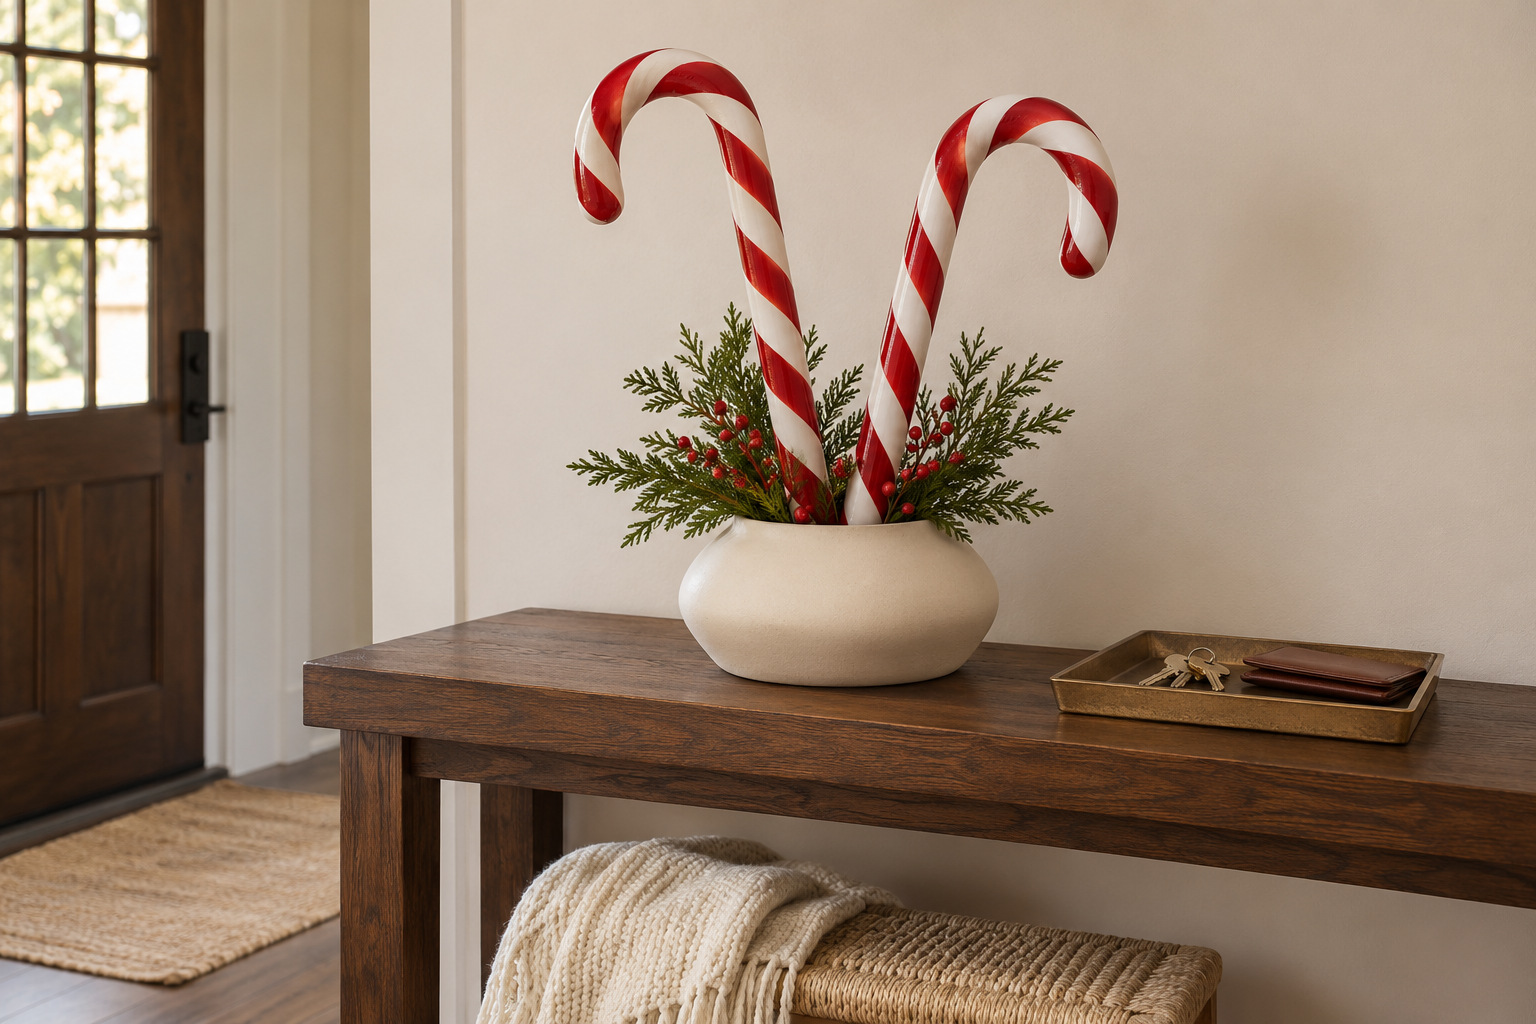
A broad, low vase can hold two large decorative canes upright on a console. Turn their hooked tops slightly apart so both profiles show. Keep the container lower and visually heavier than the canes, giving the arrangement an obvious base.
Use suitable internal support for the particular decorations and vase rather than relying on the curved tops to balance them. Check the assembled display for stability before leaving it on the console. Set it back from the edge, outside the place where keys, bags, and sleeves pass.
A plain ceramic vase gives the stripes a quiet backdrop. Keep the rest of the entry tabletop mostly available, with one practical tray beside the display if that is where the household normally drops small things.
4. Keep Wrapped Candy Canes on a Kitchen Cocoa Tray
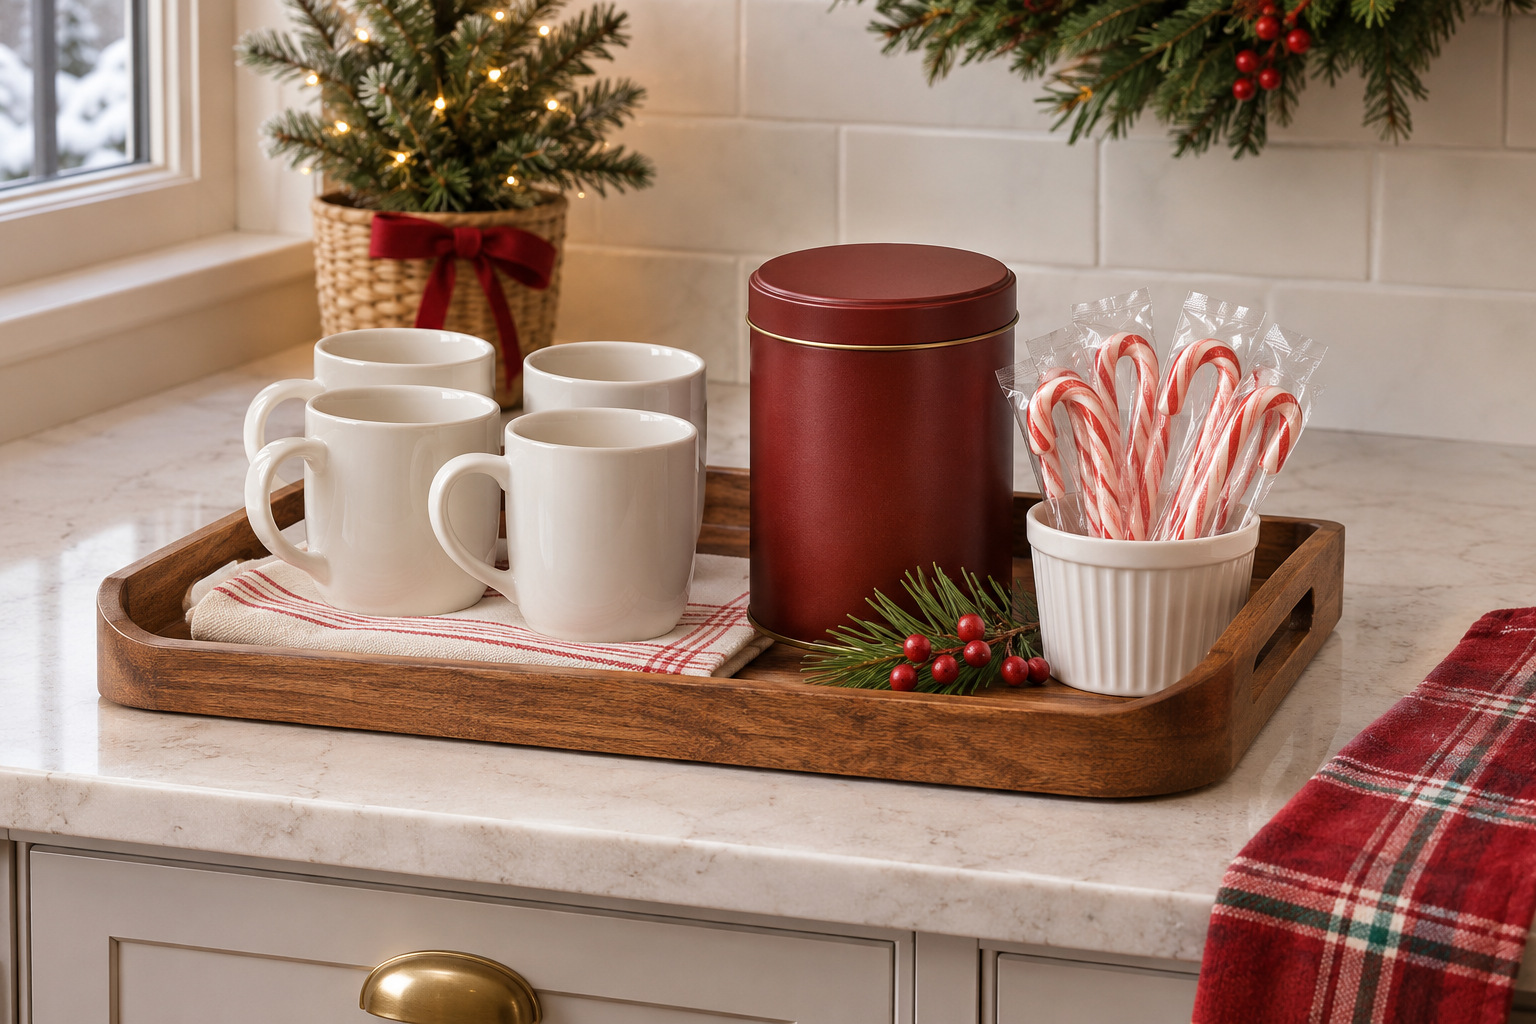
Give the cocoa supplies a small, defined footprint on the kitchen counter. Put individually wrapped candy canes in a clean food-suitable container beside plain mugs and a closed cocoa tin. The red-and-white wrappers supply the pattern, so the tray can stay simple.
Place the tray on a dry counter away from the stove and splashes. Follow the food labels for storage and age suitability, and keep the arrangement separate from decorative canes that have been painted or glued. A kitchen styling idea should still leave room to prepare and carry a drink comfortably.
Choose a tray you can lift or move when the worktop is needed. Return extra packets to the cupboard instead of adding more layers to the display. A small current selection keeps the cocoa corner useful throughout the season.
5. Make a Flat Candy Cane Tree on the Wall
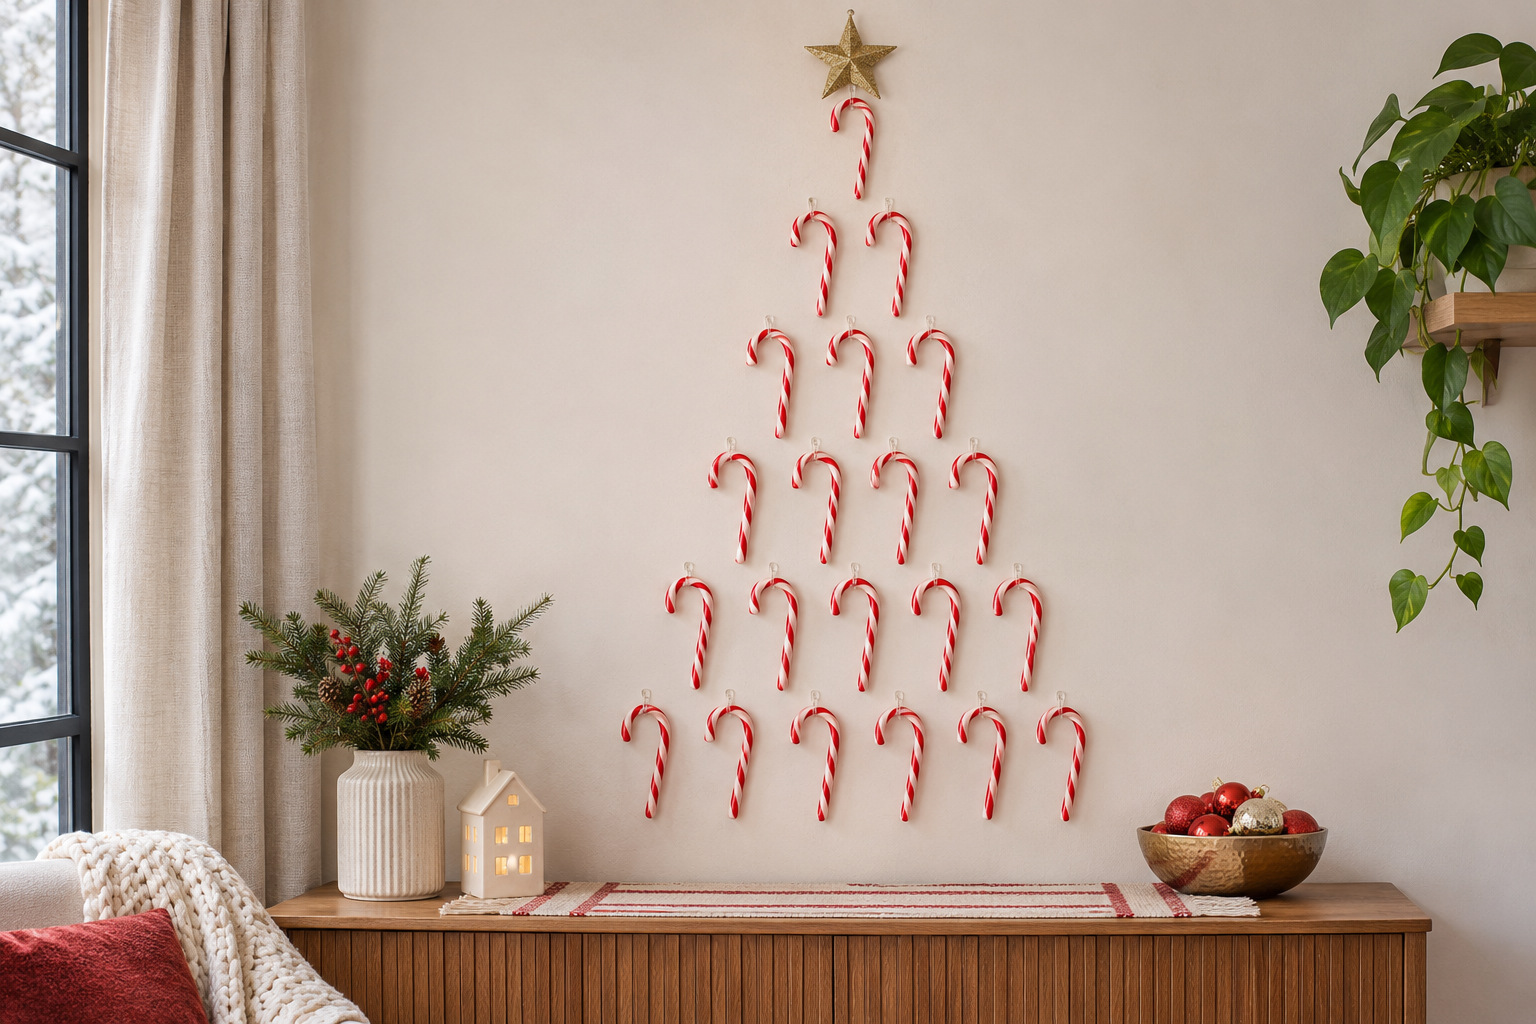
A flat arrangement can suggest a Christmas tree when floor space is limited. Lay out lightweight decorative canes in short horizontal rows, widening each row toward the base. Turn the hooks consistently so the overall outline reads as a triangle from across the room.
Make a full-size paper layout before attaching anything. Use a wall-compatible mounting method suitable for every piece, and keep the display away from switches, heaters, doors, and places children can pull at it. The example is a wall decoration, not a hanging toy.
Leave a little bare wall between rows. That space helps the separate cane shapes remain visible and keeps the tree from becoming a dense block of stripes. A small plain tree topper is enough if the triangular outline already reads clearly.
6. Put Candy Stripe Piping on One Sofa Cushion
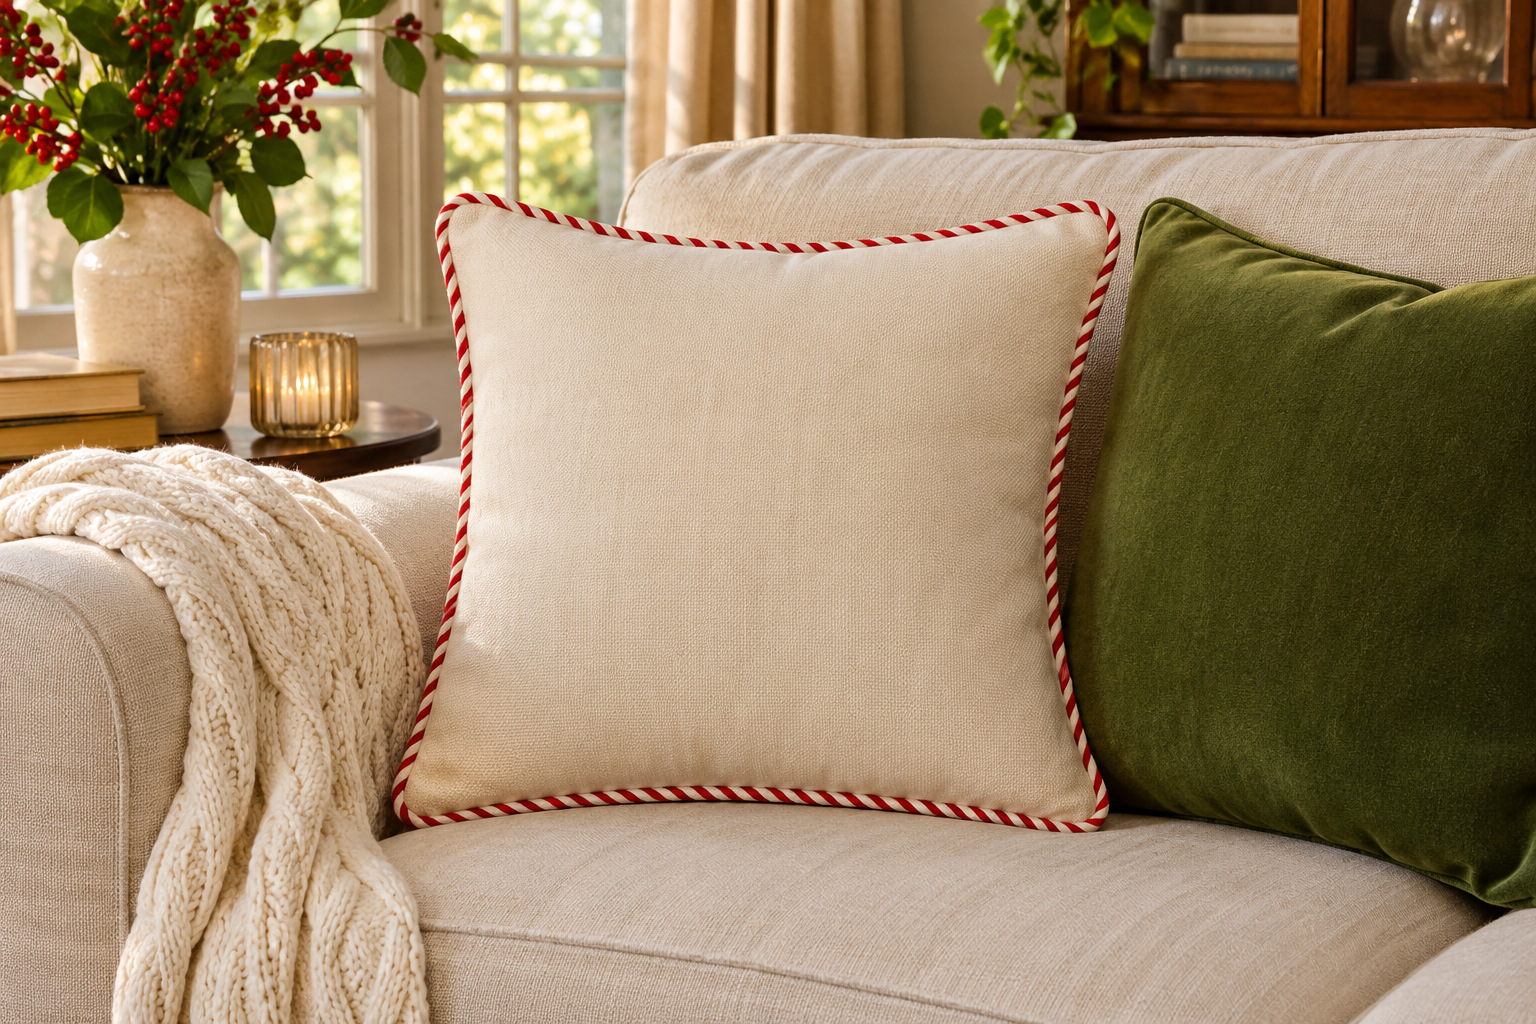
Fine red-and-white piping gives a plain cushion a Christmas outline without covering the sofa in pattern. Use it around a cream, moss, or muted red cover, where the diagonal stripe stays visible along the edge. A single patterned border can sit comfortably beside the room’s existing throws.
Choose a finished cover or have one made for the insert you own. Check the fabric care and closure before buying; a cushion used every evening needs to remain comfortable and washable as directed. Loose ribbons tied around a seat cushion are less practical than a properly constructed cover.
Keep the neighboring cushion plain and let a textured throw do the softer work. The candy cane reference comes from the narrow edge, leaving the seating area inviting when the rest of the room is already decorated.
7. Run Short Cane Pairs Along a Linen Table Runner
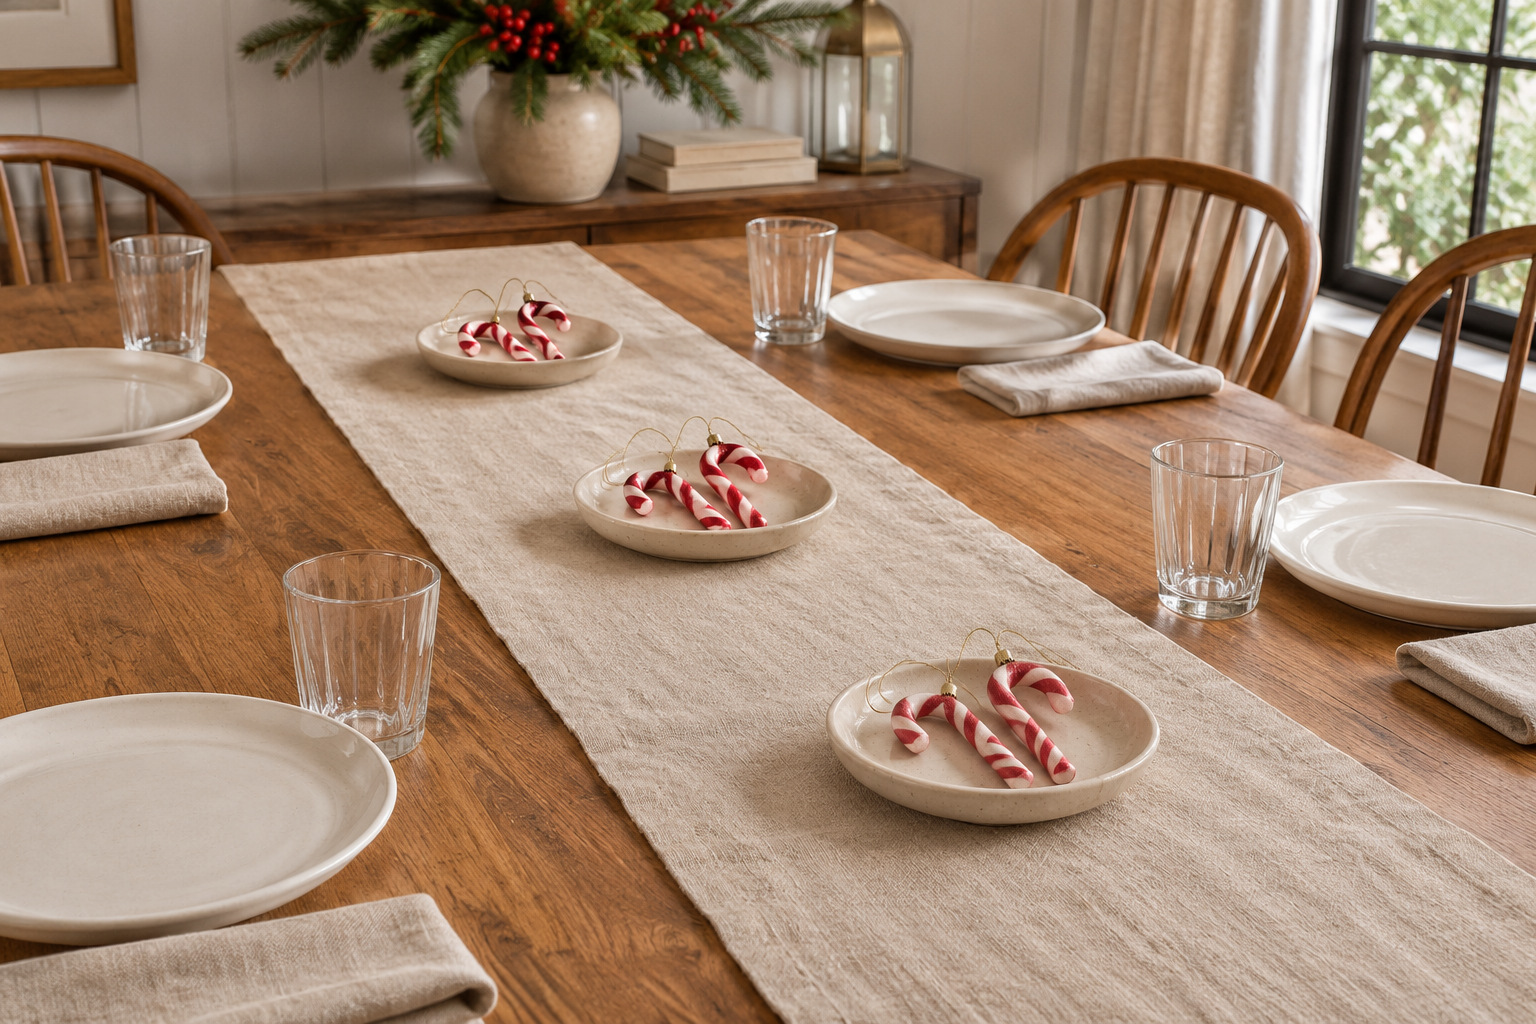
Use a plain flax-colored runner to quiet a few pairs of short decorative canes. Lay the pairs at intervals down the center of a wood table, with each pair contained on a small low dish. Their hooked ends make a recognizable pattern without requiring a tall centerpiece.
Set the plates, glasses, and serving dishes out before placing the decorations. Move a pair aside if it occupies space a shared bowl will need. Keep anything fragile or unsuitable for food contact separate from the food, and remove small decorative pieces when the table’s users require it.
For a different centerpiece format, these Christmas table centerpiece ideas show other arrangements to consider. The linen-and-wood version can stay particularly spare when the room has plenty of greenery elsewhere.
8. Give a Small Tree a Simple Candy Cane Collection
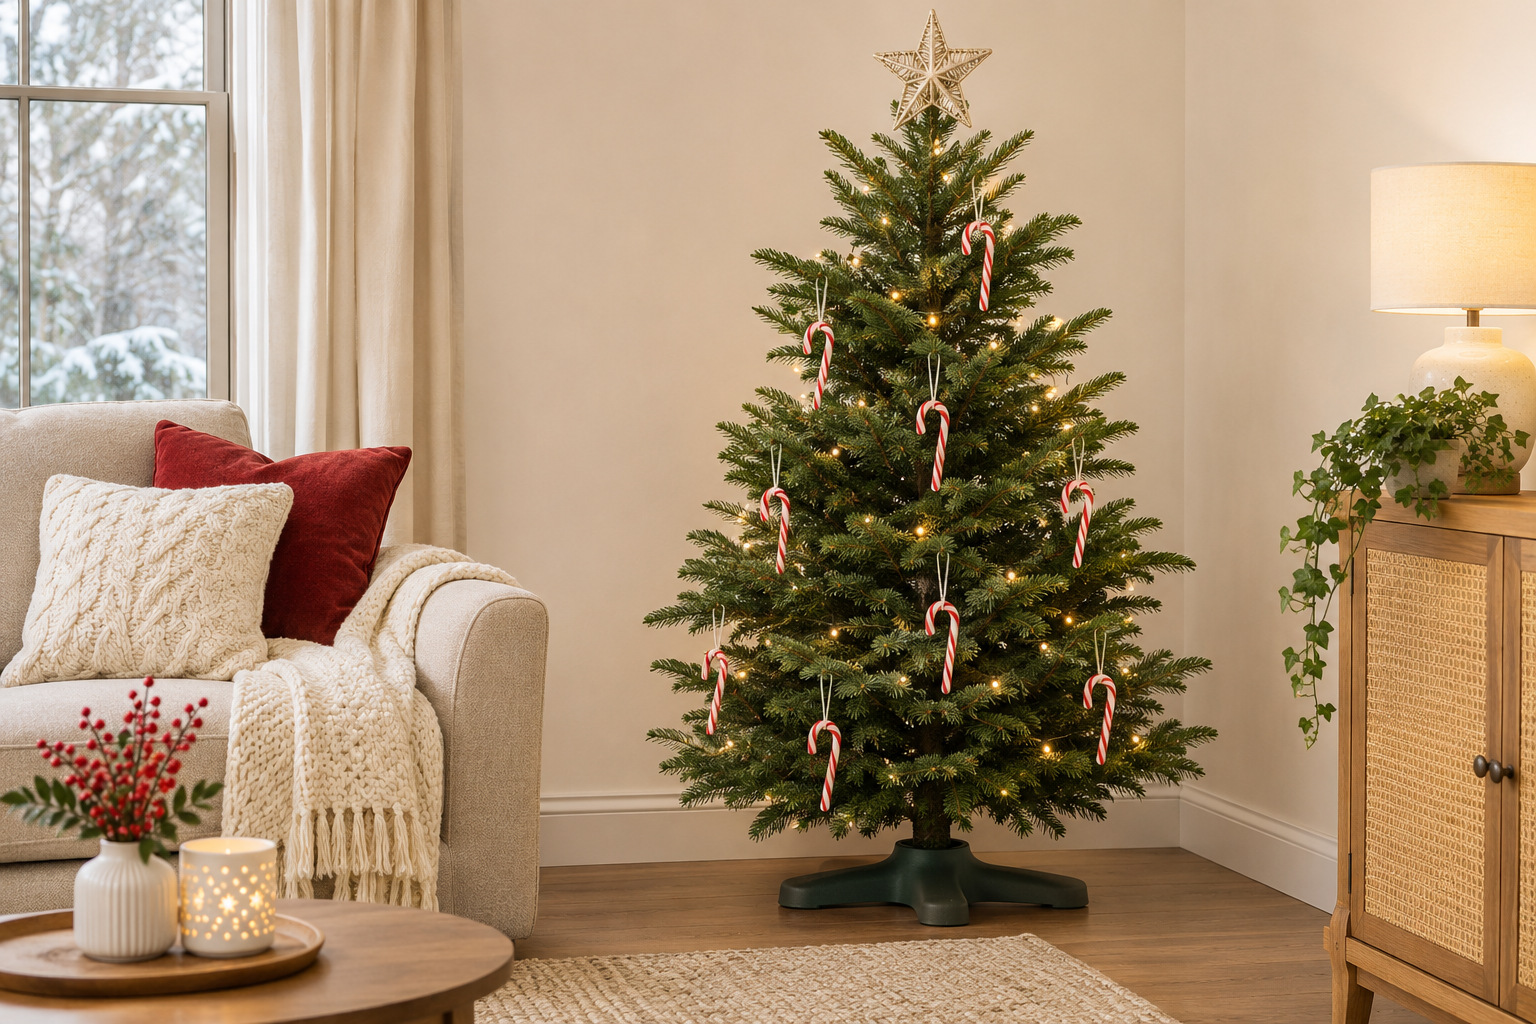
Choose a few lightweight cane ornaments that suit the branches of a small tree. Hang them on individual suitable loops so the curved tops face the room, with open green needles around each shape. Start where you see the tree from the sofa rather than filling every branch tip.
Keep the ornaments within the tree’s outline where they face a walkway, and follow the tree and light manufacturers’ instructions. Match each ornament’s weight to a branch that can support it. A few clear hooks are easier to recognize than many canes pushed into a narrow tree.
If both colors still feel uneven, use these red and white Christmas tree ideas to assess the wider arrangement. Keep this collection focused on cane shapes while plain ornaments provide the background.
9. Stand Collected Canes in a Divided Display Box
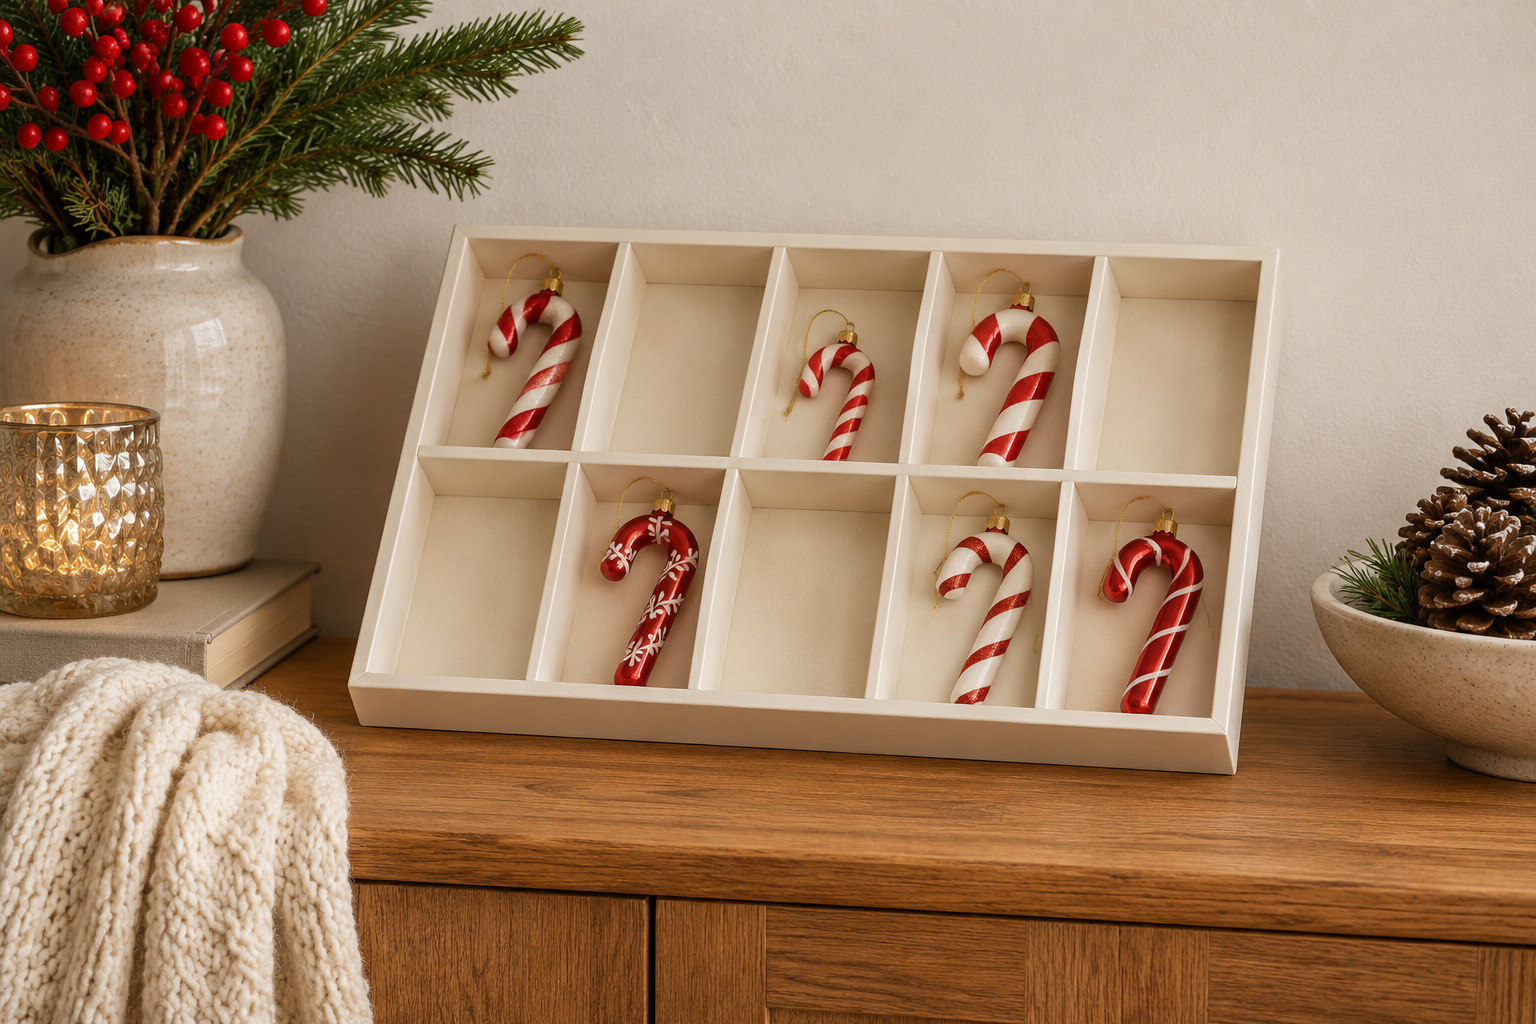
A shallow divided box gives a small collection a home on a sideboard. Use the compartments to separate different cane shapes or finishes, leaving some sections empty. A cream backing makes the red details easier to see, especially in a room with patterned wallpaper.
Check the depth and support of the box against the ornaments you own. A piece with a rounded underside may need an appropriate support within its compartment; do not balance it precariously on the front edge. Secure a wall-mounted box according to its maker’s guidance or use a stable purpose-designed tabletop version.
Keep the display at a height where it can be viewed without becoming an invitation to climb. Store valuable or fragile ornaments differently if the chosen spot is within reach of young children or pets.
10. Set a Peppermint Backdrop Behind Kitchen Shelf Dishes
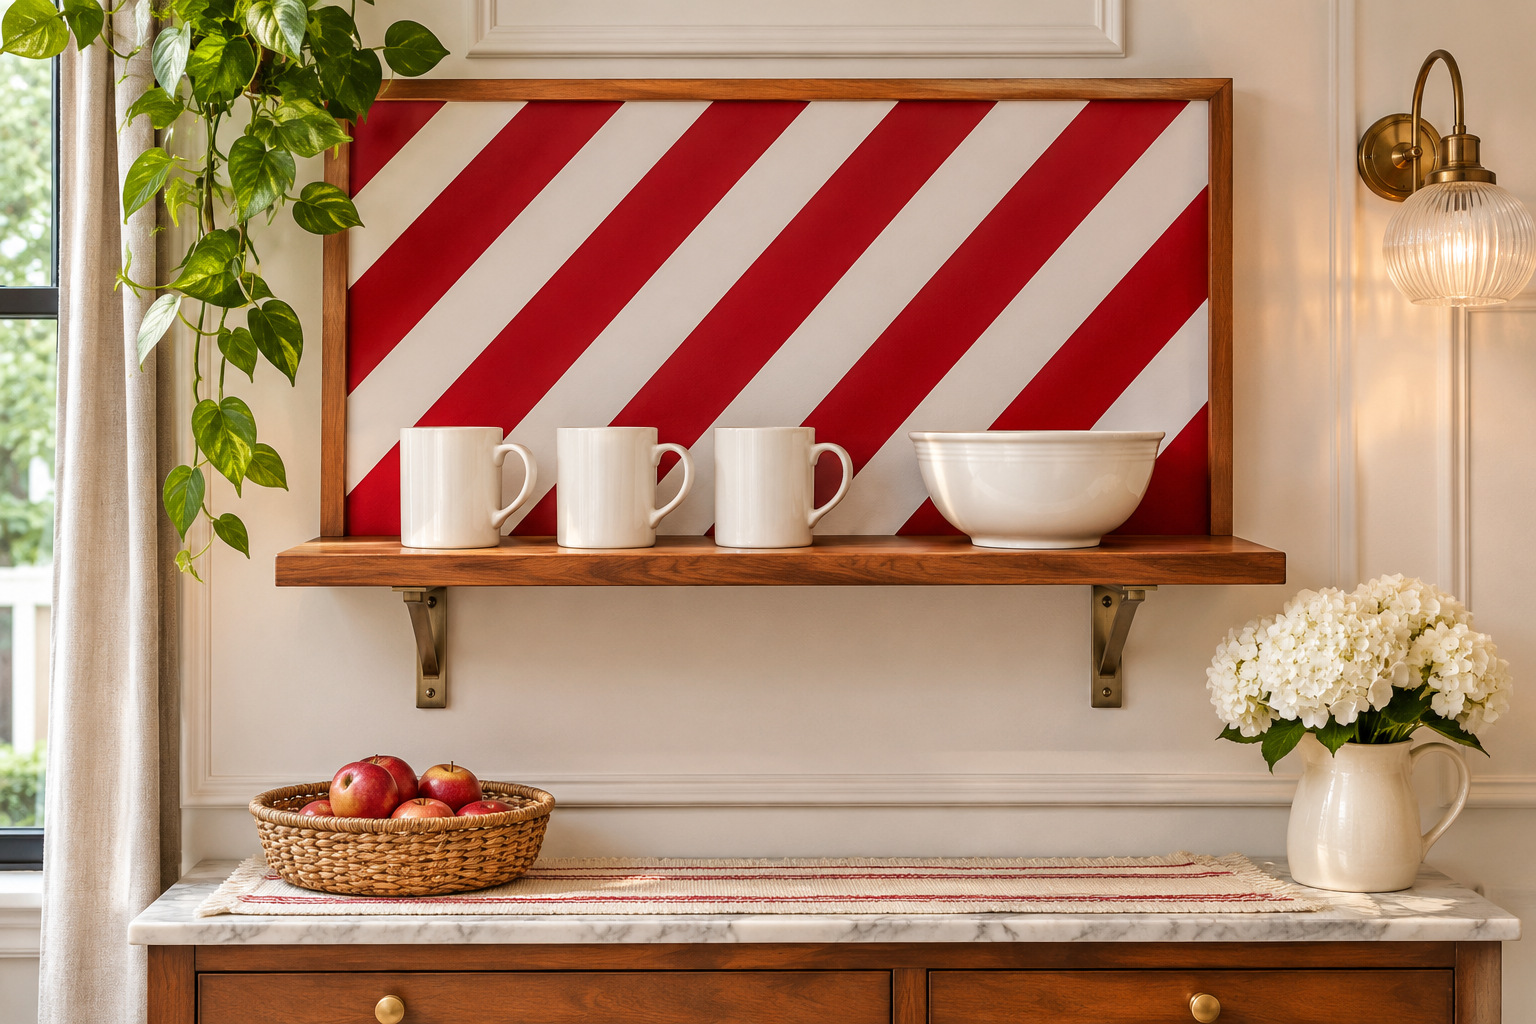
A red-and-white striped removable panel behind a short kitchen display shelf makes plain dishes feel seasonal. Put the panel on a dry decorative wall away from the cooking area. Keep the pattern broad enough to show between a few white mugs and a simple serving bowl.
Choose a panel and support method suitable for the location, weight, and wall finish. Do not place paper or fabric over vents, electrical fittings, or a splash zone. If you cannot attach the panel securely, use a small framed striped artwork on an appropriate fixed wall instead.
Keep the shelf’s front edge and useful depth available for the dishes. The backdrop supplies the decoration, so the mugs can still be taken down without moving ornaments first.
11. Wrap Tabletop Cones in Candy Stripe Fabric
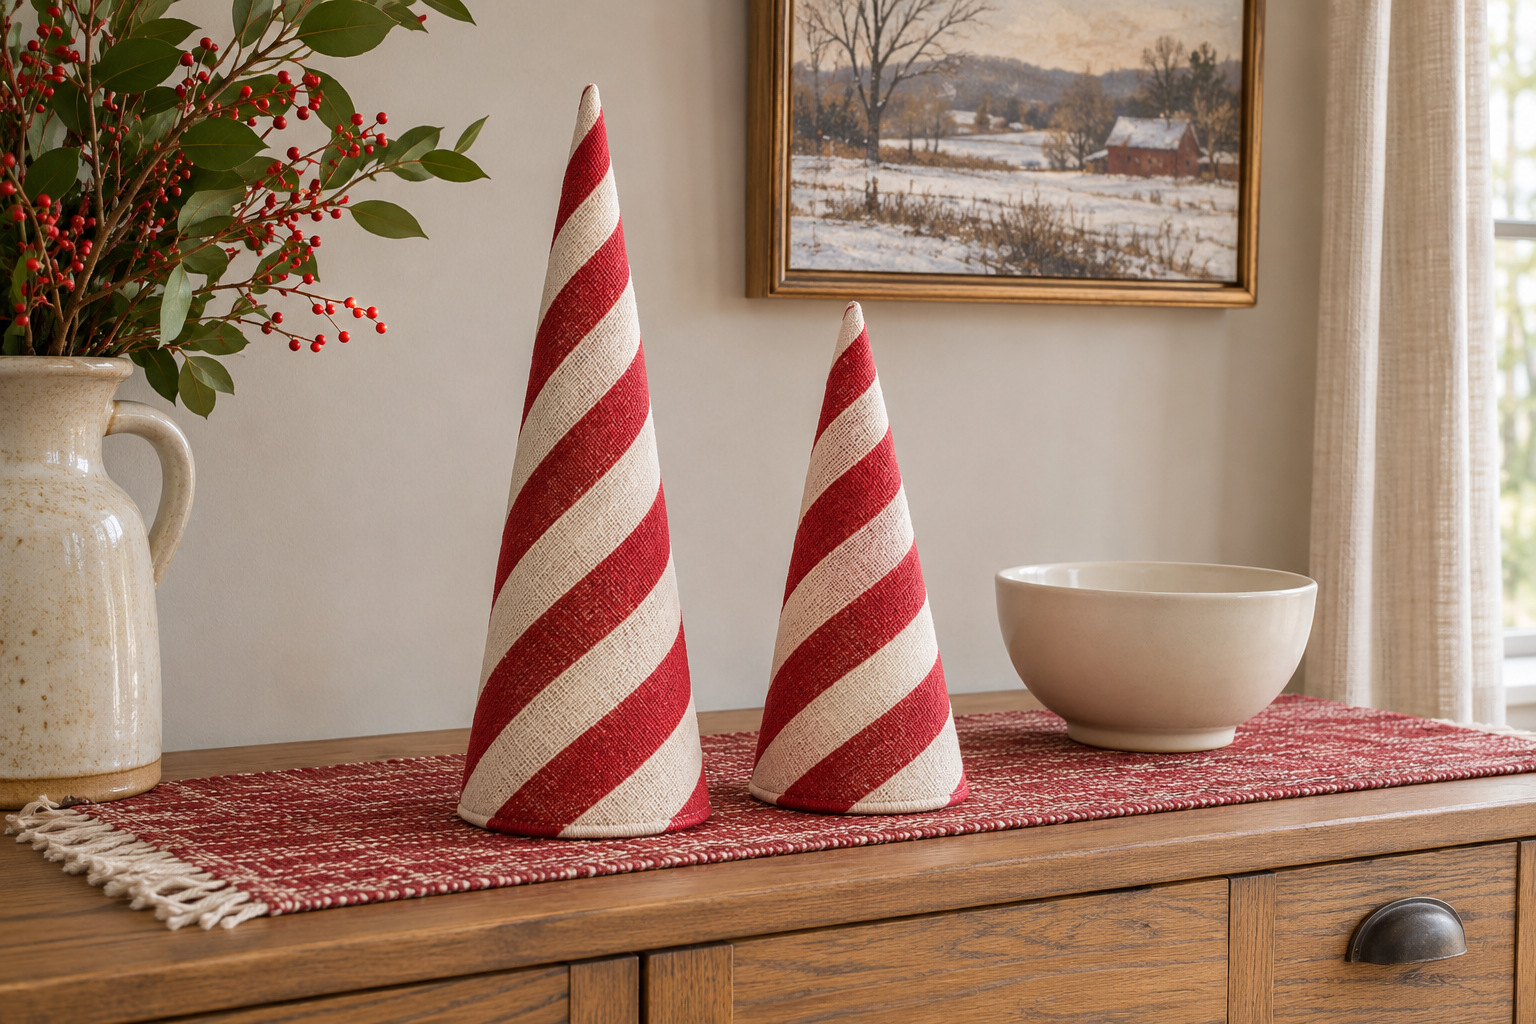
A fabric-covered cone gives diagonal stripes a taller, sculptural form. Use a stable craft cone intended for display and test the fabric around it before attaching it. The pattern will change as the material tapers, so place the seam on the side least visible from the room.
Use an adhesive compatible with both materials and follow its handling and drying instructions. Finish the lower edge neatly without adding loose trailing fabric. Keep the completed cone away from heat and real candles; it is a decorative object, not a light cover.
Try two different heights on a low sideboard with space between them. A plain ceramic bowl nearby can provide a quieter shape, keeping the striped cones from competing with another busy collection.
12. Let One Outdoor Candy Cane Mark the Porch
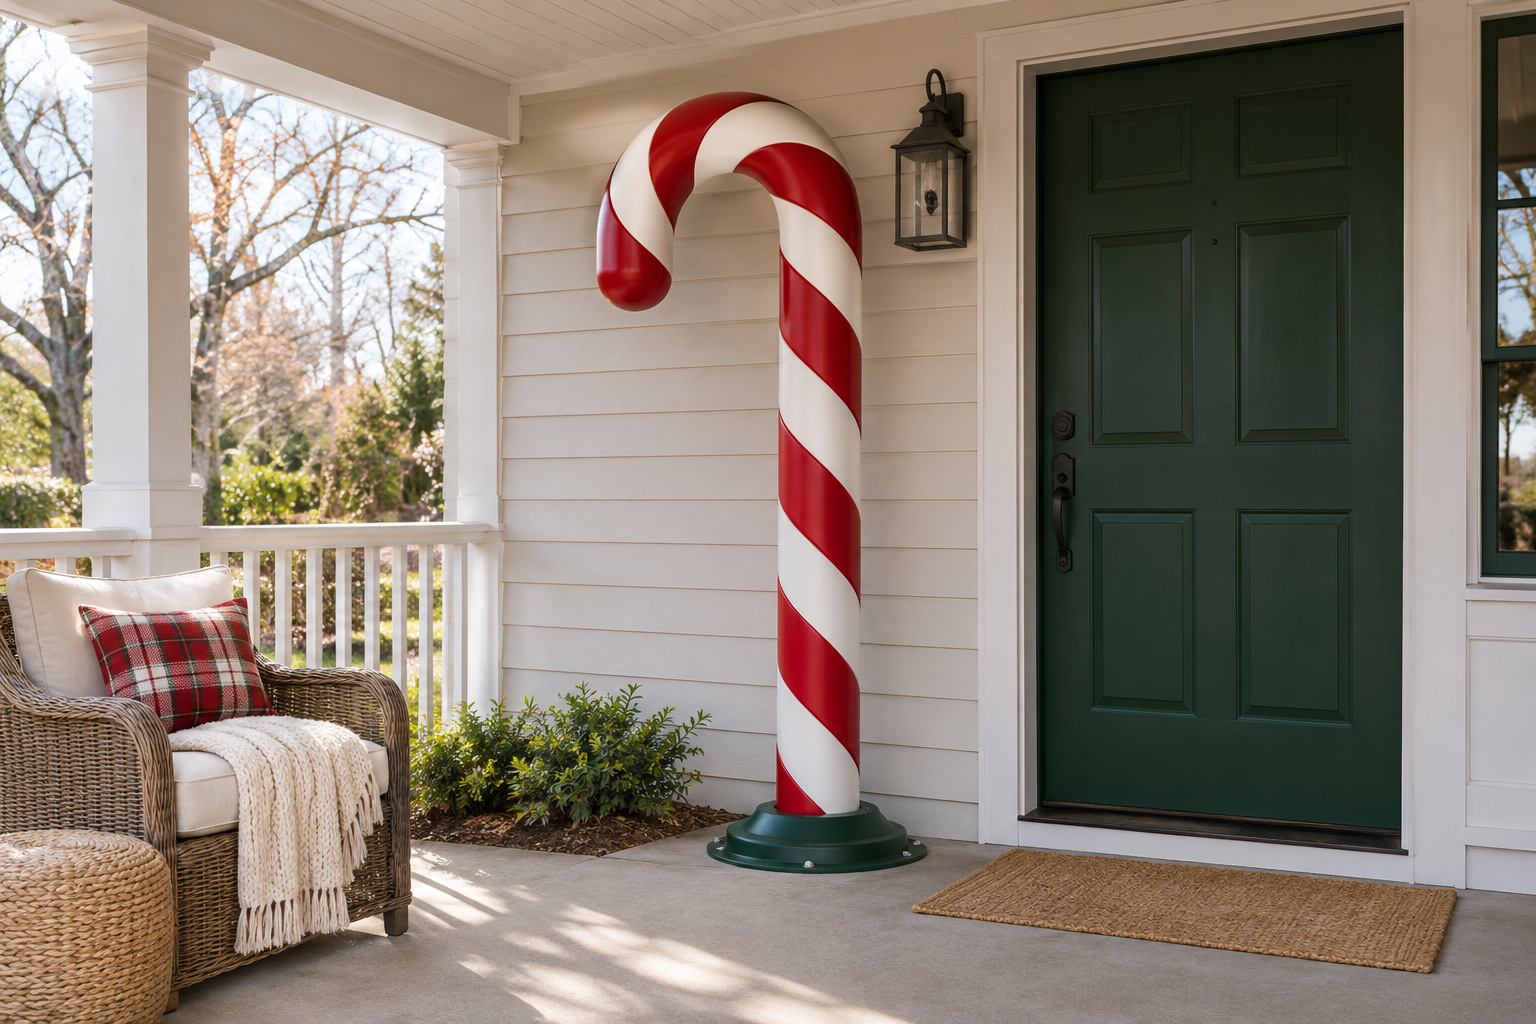
One oversized red-and-white cane can mark the front entry more clearly than a row of small ornaments. Choose a decoration explicitly rated for the outdoor conditions where it will stand. A porch beside a plain front door gives the curved silhouette a clean backdrop.
Use the manufacturer’s specified base, stakes, or fastening method, checking wind and weather requirements. Keep it outside the walking route and clear of the door’s full swing. If it is illuminated, follow the complete product’s outdoor electrical instructions rather than adding an indoor light string to a decorative prop.
View the cane from the approach to the house. Move it within its safe placement area until the hooked top stands apart from the door trim. Keep nearby greenery low enough that it does not hide the main shape.
13. Use a Candy Stripe Band Above a Working Window Shade
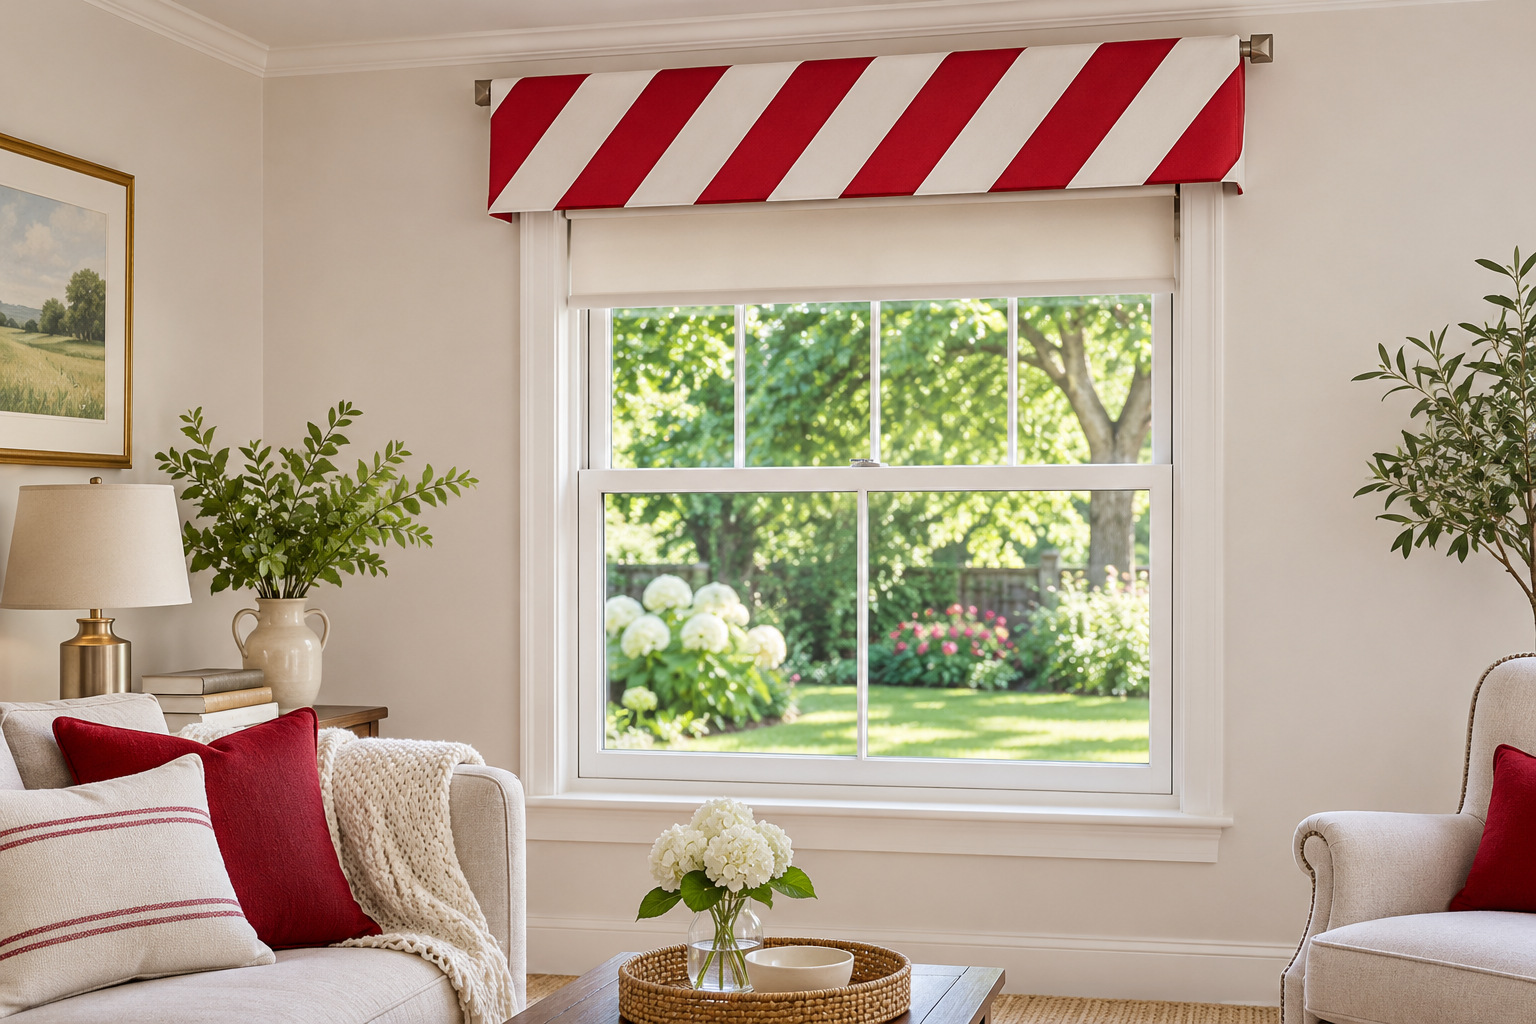
A short fabric valance can give an ordinary window a seasonal upper edge. Use broad red-and-white stripes and keep the lower line simple. The stripe has more presence when the operating shade beneath it is plain.
Plan the valance on a separate appropriate support, with enough room for the shade to raise and lower normally. Keep fabric away from any window hardware, radiator, or heat source. Follow the window-covering instructions and use cordless options where children are present.
Test the full window movement before treating the arrangement as finished. If the valance takes away too much daylight in a small room, a narrow flat band on the wall above the opening can provide the same color reference without covering the glass.
14. Give Plain Stockings a Candy Stripe Cuff
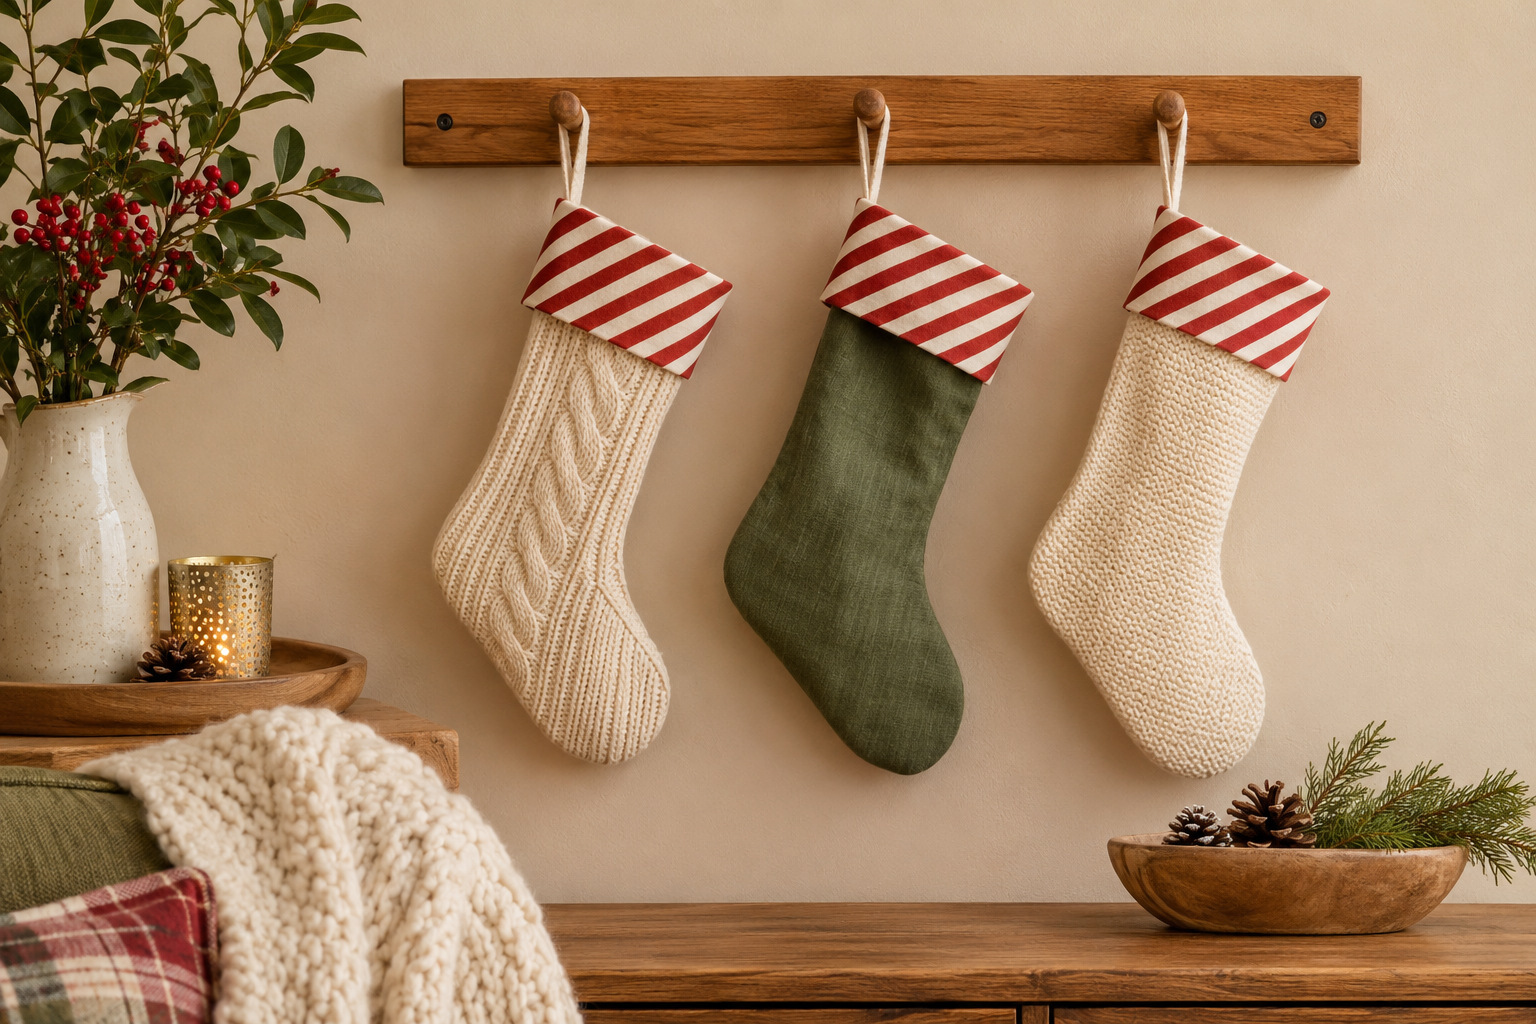
A striped cuff can connect a set of otherwise different plain stockings. Use the same scale of diagonal red-and-white fabric on each one and let the stocking bodies keep their individual textures. Cream knit and muted green cloth can sit together when the top edge repeats.
Choose a finished stocking or a properly sewn cuff suitable for the fabric. Hang the stockings from fixings appropriate to their actual loaded weight, not simply the empty fabric. A decorative peg rail on a wall can be more useful than a location close to a working fireplace.
Keep the striped edge visible by using short, tidy hanging loops. Extra ribbons and long greenery tails can obscure the cuff and make the arrangement harder to manage when gifts are added.
15. Wrap Empty Display Boxes in Diagonal Stripes
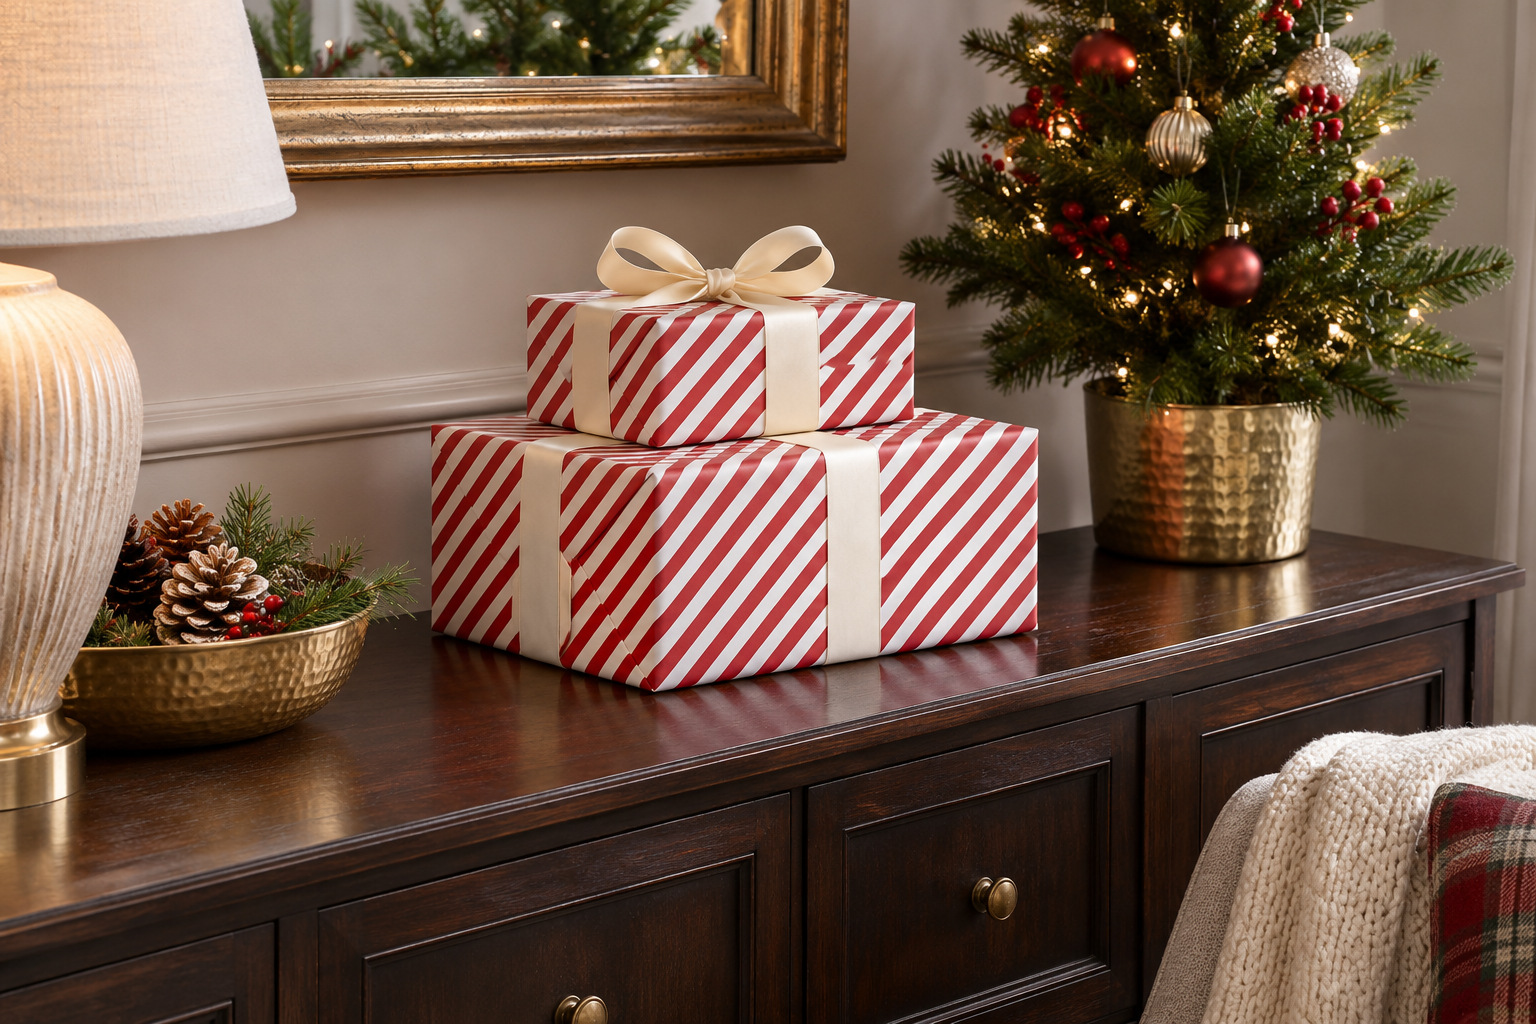
Empty boxes can provide a temporary Christmas display without putting real gifts in a busy walkway. Wrap two sturdy boxes in red-and-white paper, with the stripe direction aligned across the visible top and front where practical. Use plain ribbon so the paper pattern remains clear.
Put the boxes on a stable sideboard or in a deliberate display space outside the route through the room. Keep the stack low and secure, with the larger box as its base. Do not place a tempting tower of decorative parcels on furniture children might climb.
Label them discreetly for storage afterward so they can be reused as display props. A pair of cleanly wrapped boxes can be enough beside an existing tree; there is no need to fill every gap around its stand.
16. Keep Small Glass Canes in One Quiet Dining Display
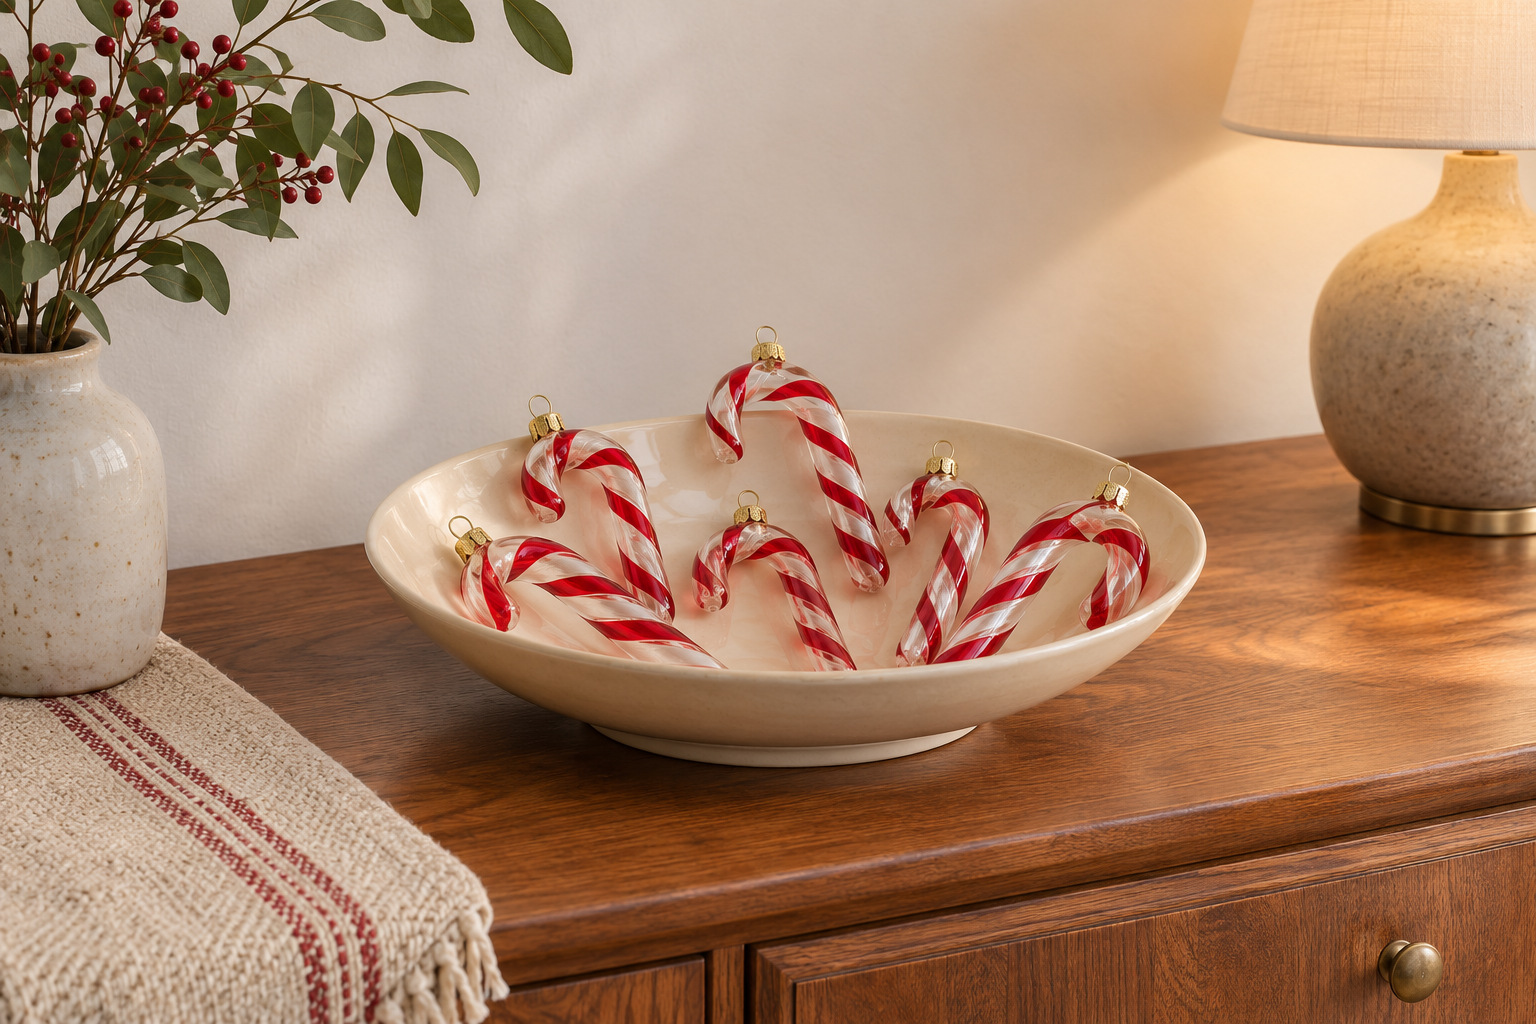
Small glass cane ornaments can sit together in a low, plain display bowl on a dining sideboard. Use a shallow, stable arrangement with the hooked ends facing different directions, leaving their shapes readable. Set the bowl on a surface where the glass will not be regularly brushed or moved.
Follow the ornaments’ care instructions and protect delicate pieces from rubbing if needed. Keep the collection away from food service, children, and pets. For a frequently used or accessible surface, choose robust decorative alternatives instead of fragile glass.
Let the surrounding furniture stay quiet: a pale wall, wood grain, and one simple lamp can give the little collection enough context. The effect comes from seeing the canes together, not from adding more decorations around them.
Pick the candy cane idea that fits the surface you actually use. Set up that one feature, live with it for a day, and keep the surrounding space available for meals, sitting, and coming home. The familiar red-and-white pattern can carry Christmas without taking over the room.
Discover more from HomeTrendora
Subscribe to get the latest posts sent to your email.