A bathroom can look bright from the doorway and still leave a shadow at the mirror, glare off the tile, or a dark patch between the sink and shower. Look at those three spots with the lights you normally use. Then choose the first change you would notice in an ordinary morning or evening.
These 30 budget-friendly bathroom lighting ideas start with changes you can test before buying a fixture, including matching bulbs, window light, and shade shape. For electrical changes or fixtures near a tub or shower, have a qualified electrician verify the location, product markings, installation instructions, and local requirements.
1. Find the Shadow That Bothers You Most
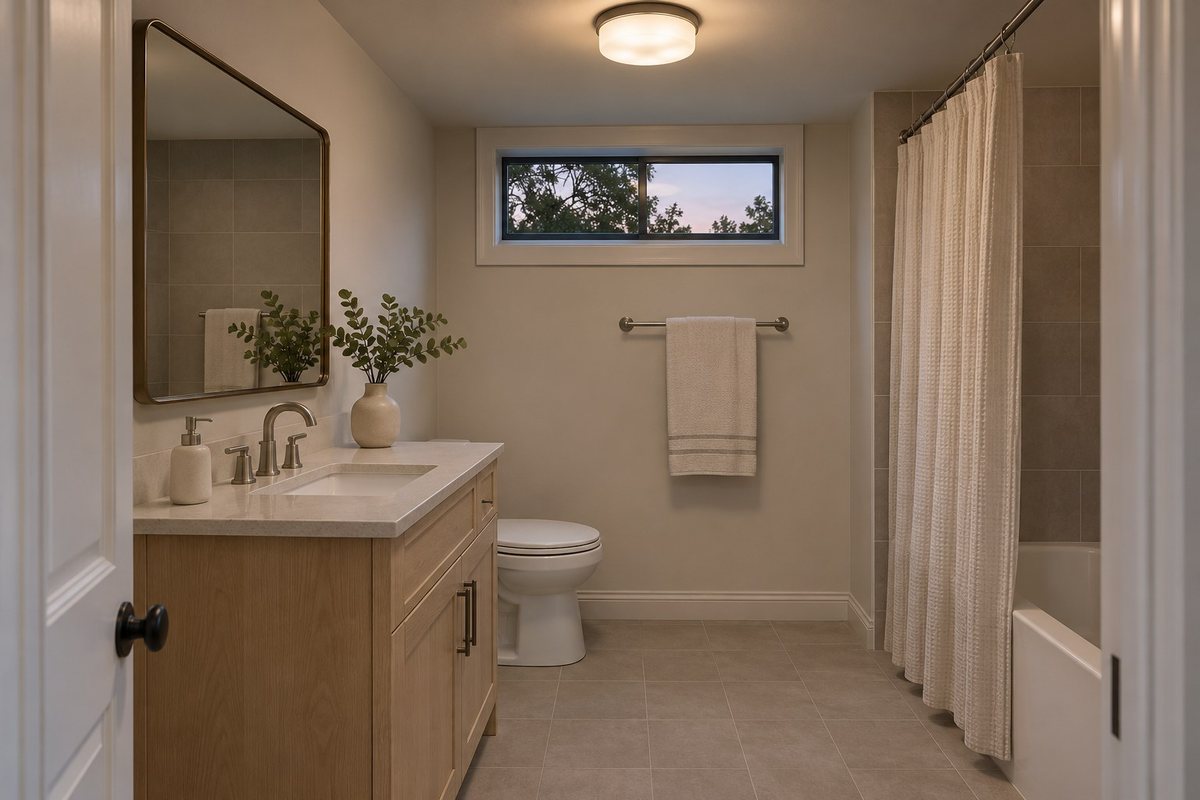
Stand where you brush your teeth and look at the light on both sides of your face. Then step back to the door and check the floor and the shower entrance. Take a quick photo from each position in the morning and again after dark. It will be easier to see which problem happens every day.
Choose the first change for the task you actually do there. A darker shower entrance calls for a different fix from harsh glare at the mirror. If the fixture is adequate and a tall countertop organizer casts the shadow, move it before you price new lights.
2. Keep the Existing Vanity Box Where It Works
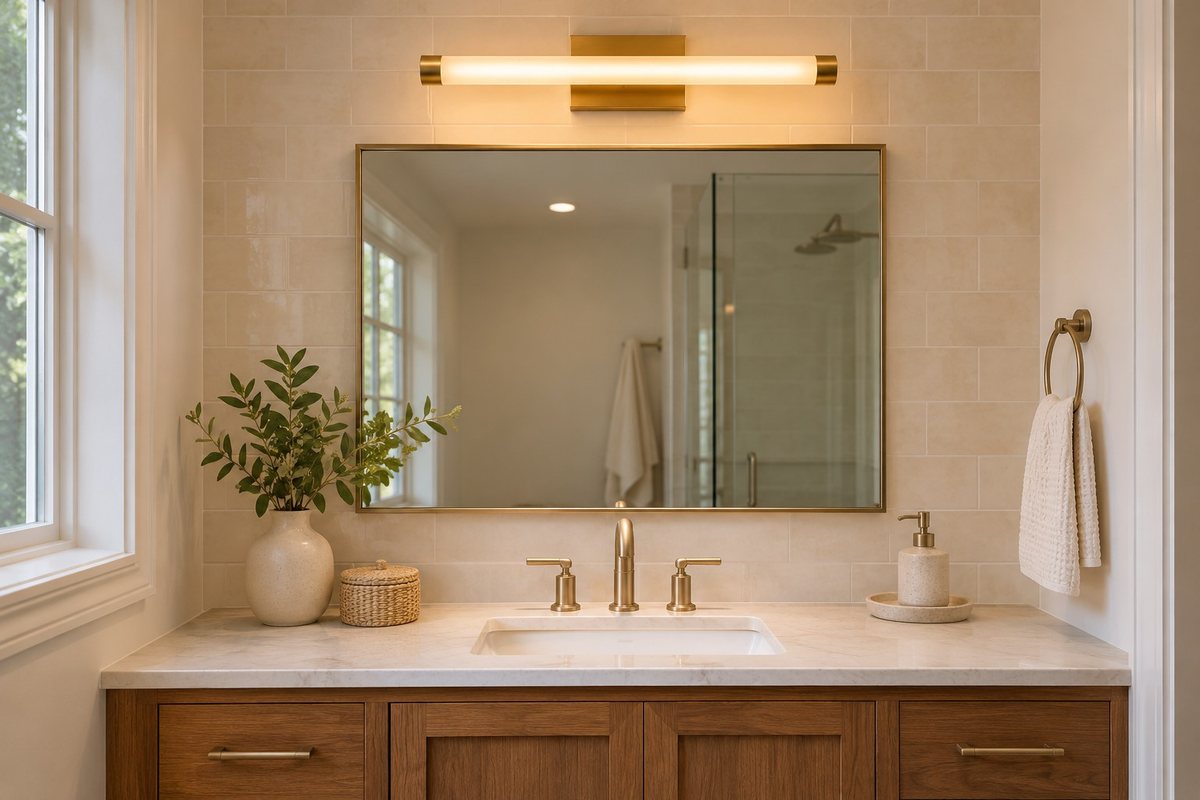
If the existing light is already centered in a useful place, look for a replacement that can use the same mounting location. Compare the current backplate size with the proposed one and check what it will cover. Some rooms need a little paint touch-up around a smaller plate.
Have an installer confirm the box, support, wiring and replacement fixture are compatible. This is a good time to check whether the fixture’s shape and shade work over the mirror. Keeping the same location can narrow the scope of the work when there is room for the light you want.
3. Flank the Mirror to Light Both Sides of Your Face
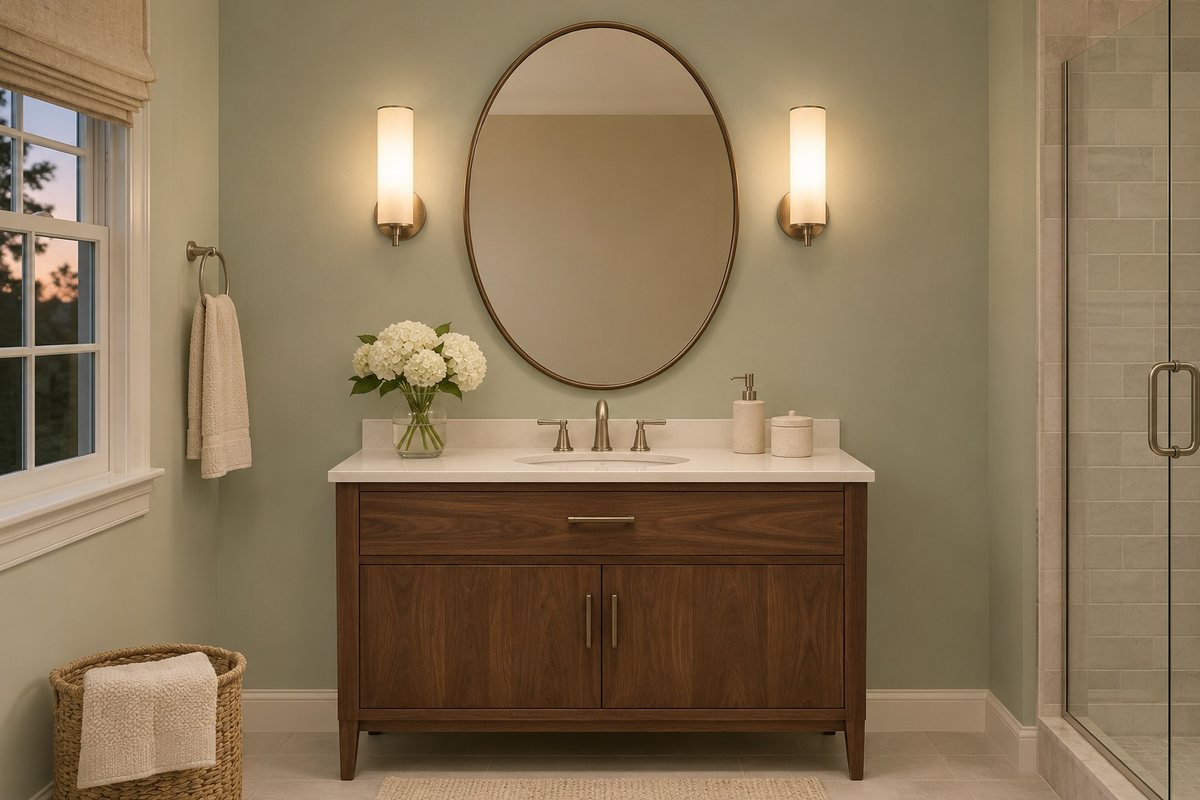
Try light beside the mirror when overhead light puts deep shadows under your eyes or chin. Mock up the wall plates with paper and see how they fit beside the frame. Stand at the sink and look straight ahead. Keep the visible light soft on both sides of the face.
Account for window trim, a cabinet door, and towel storage before choosing the final spots. Compare several shade widths against the wall rather than ordering based on the mirror width alone. If the side wall is already crowded, consider an over-mirror fixture that spreads light across the sink.
4. Use a Wide Bar Above a Tight Mirror
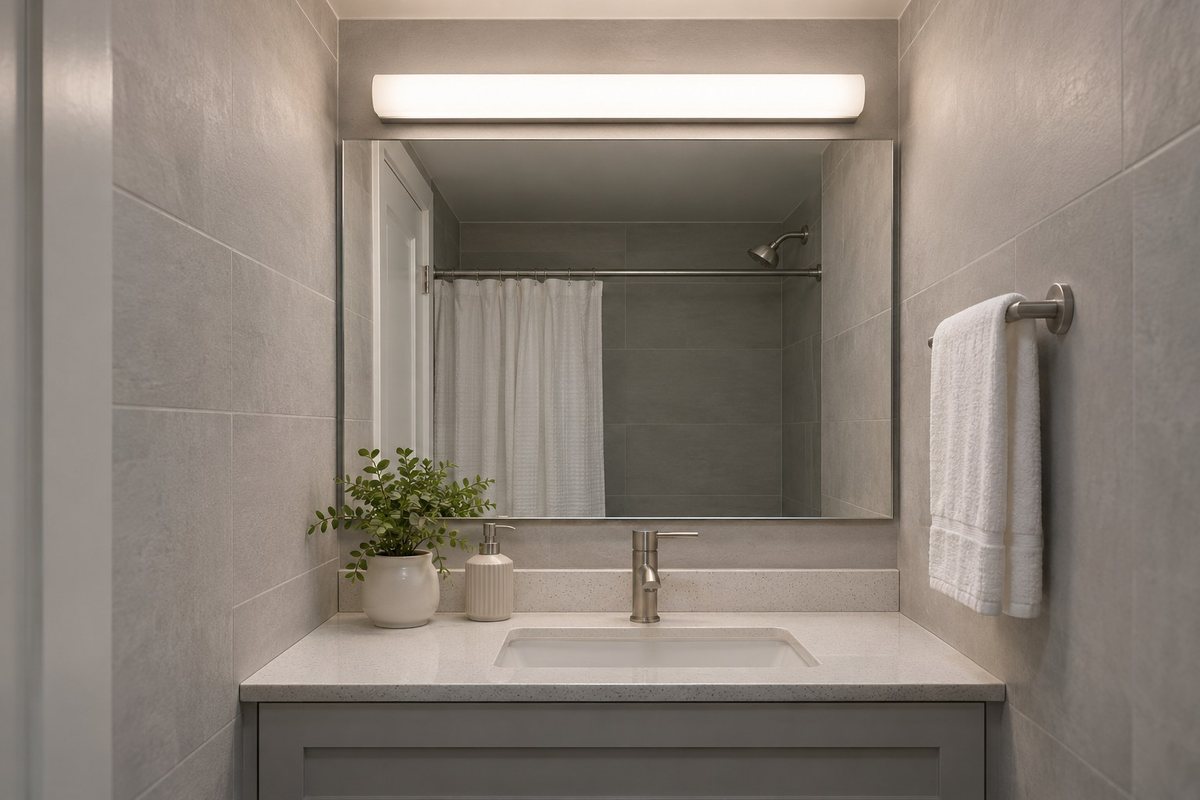
A wide light bar above the mirror can make sense when the sink is tucked between two walls. Compare the size of the lighted area rather than the metal bar alone. Stand where you use the mirror and picture where the ends of the diffuser will fall relative to your face.
Leave space between the light and the top of the mirror for the fixture to fit as specified. Check whether you can see a bright source in the glass at your standing height. A simple shaded bar can cover the area without making the narrow wall feel crowded.
5. Choose a Diffuser That Hides Bare Bulbs
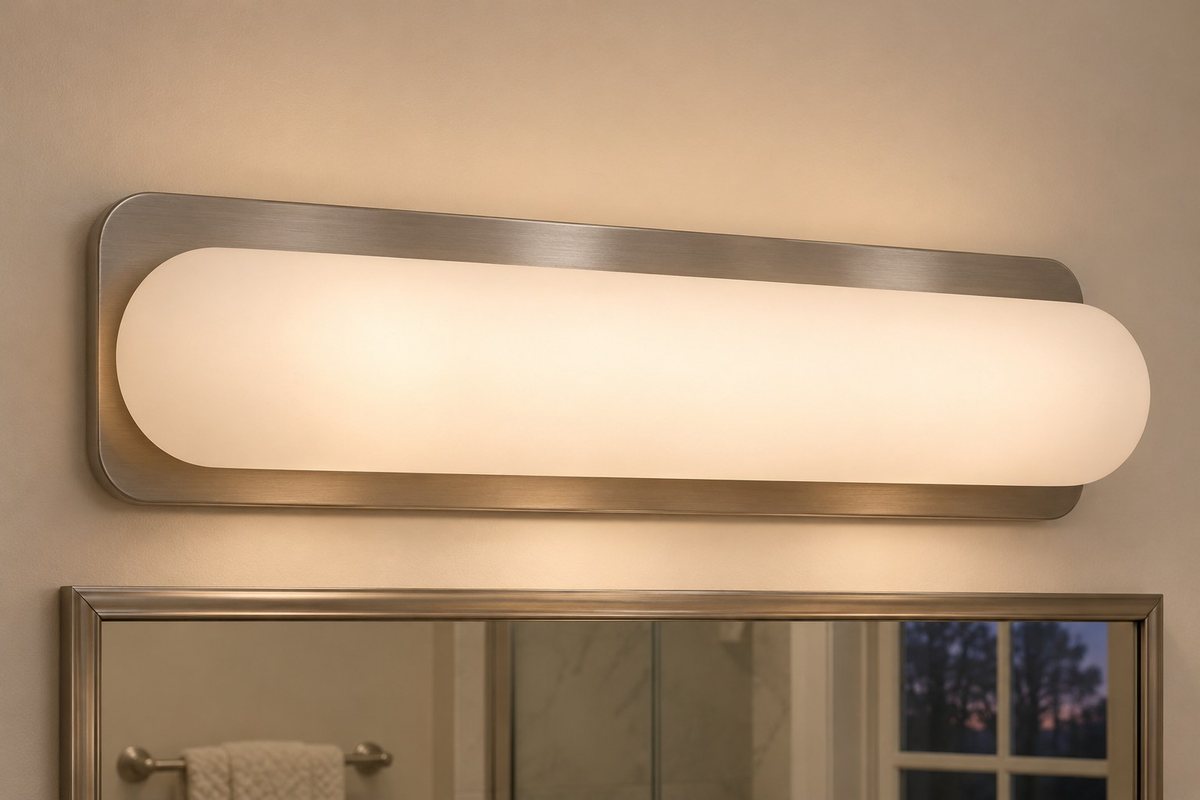
Look at the existing fixture from your usual spot at the sink, then lower your eye level a little. If you can see bright bare bulbs or their reflections, compare a diffuser or shade that covers the source from those angles. A continuous frosted shade may appear as one soft area of light.
When replacing a diffuser, choose a part the fixture maker approves. If the whole light needs changing, check that the shade can be cleaned and removed as directed. Choose a fixture that is comfortable at the brightness you need every day.
6. Try Matching Bulbs Before Replacing the Fixture
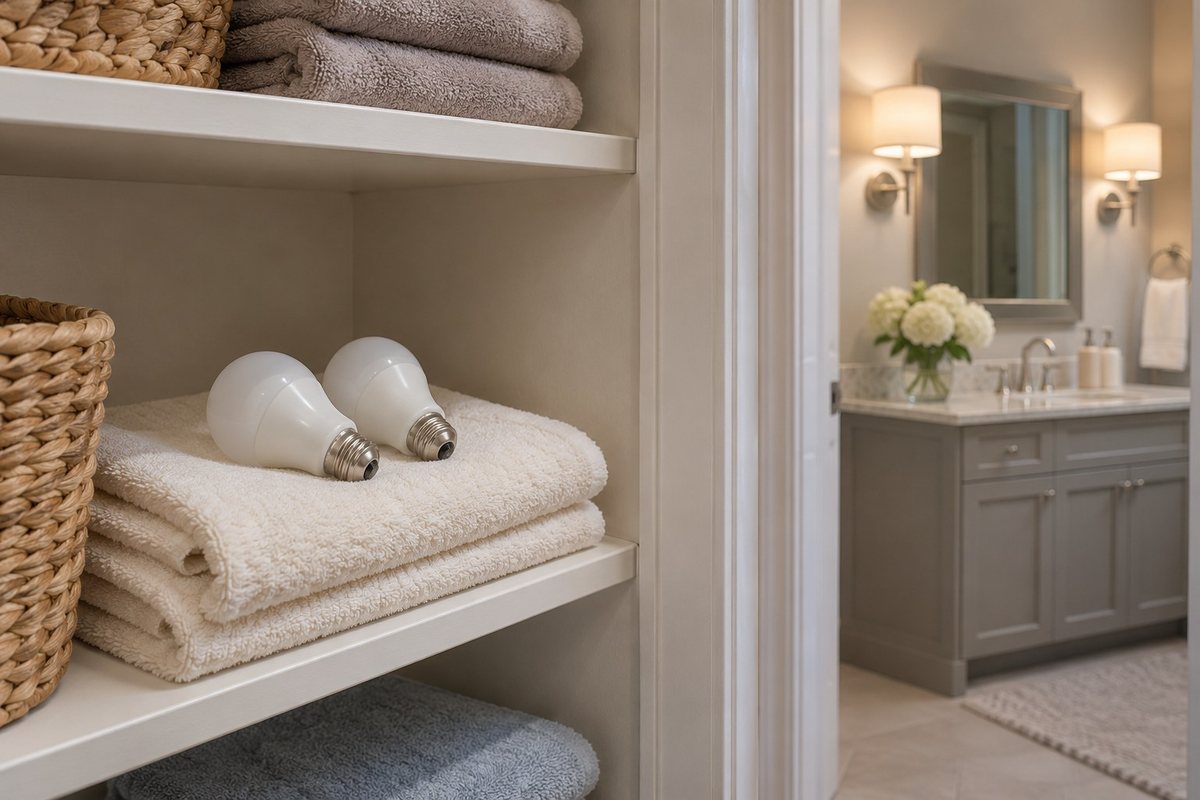
If two bulbs look different at the same mirror, try a matched pair before replacing the whole fixture. Check the fixture label for its base type and permitted bulb shape, size and wattage. Read the bulb instructions for enclosed-fixture and dimmer suitability if either applies.
Use bulbs with the same rated color and light output, then compare the sink from the doorway and from up close. A matching pair can make it easier to tell whether the remaining problem is bulb choice or fixture placement. If the same shadow remains on both sides, look at where the light reaches your face.
The matching 3000 K Great Eagle A19 bulbs are a non-dimmable option for a standard on/off switch. Check your fixture label, base size, bulb clearance and location rating before choosing the set.
Discover matching 3000 K Great Eagle A19 bulbs (paid link)
7. Compare Lumens Before Buying Brighter Bulbs
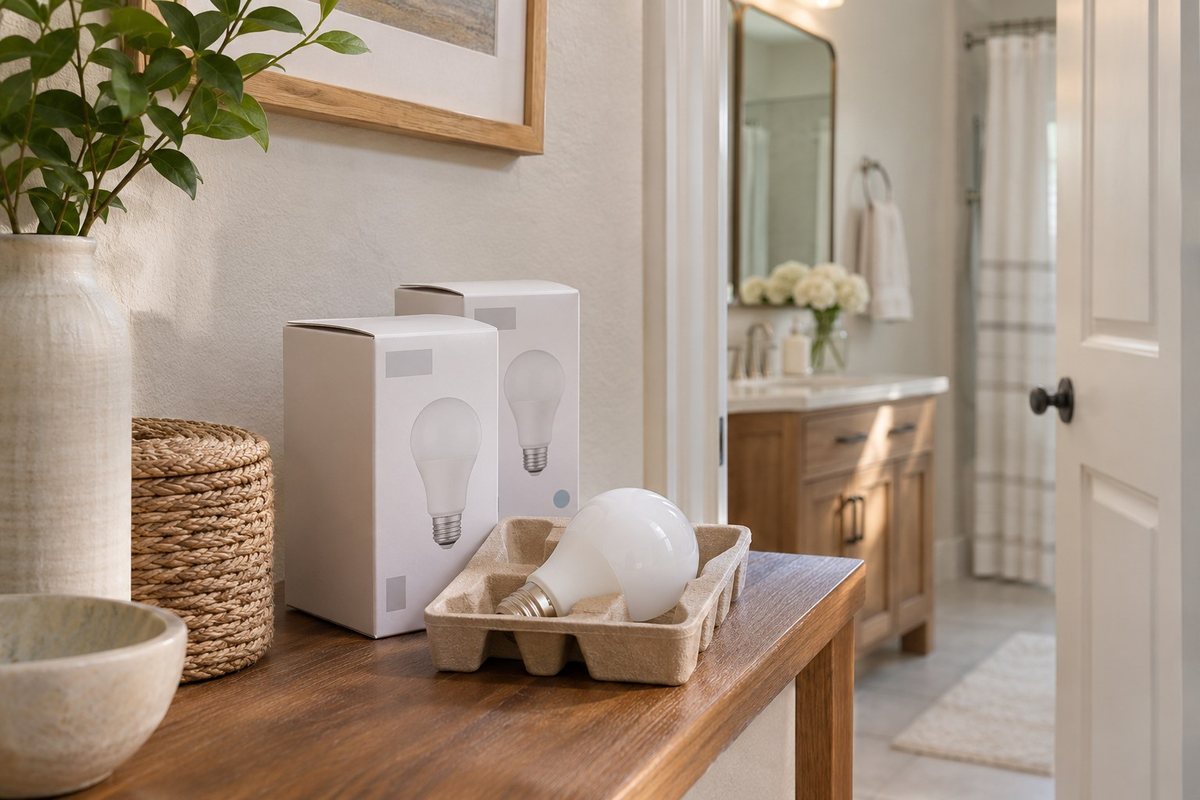
Use lumens when comparing how much light bulbs produce. Watts describe the power they use. Start from the lumen figure of the bulbs that already fit your fixture, then compare a suitable brighter or less bright option. Check the fixture label and bulb instructions before buying.
Try the comparison where you actually use the mirror. Increasing bulb output may make a bright reflection stronger without lighting the shadow you wanted to fix. For the lighting-label basics and examples of different outputs, see the U.S. Department of Energy’s light bulb guide.
8. Check Light Color Against Tile and Paint
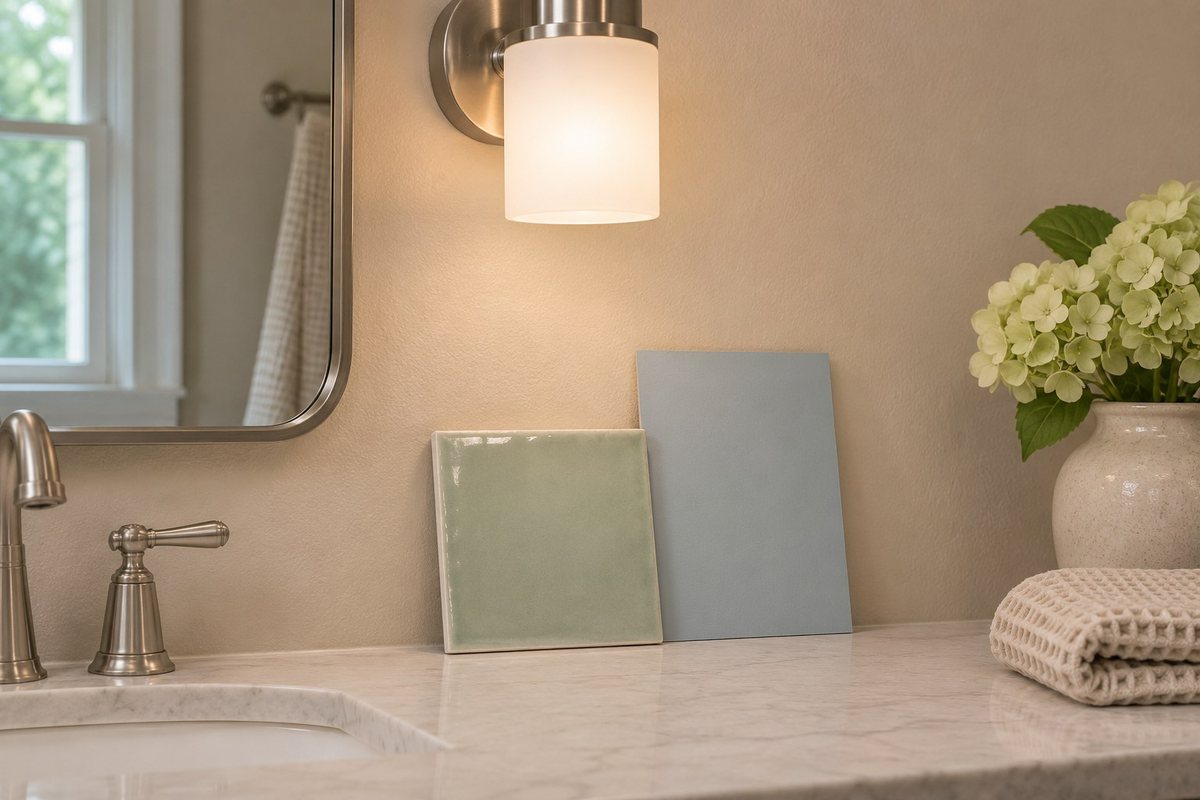
Put a tile sample, a paint chip, and a plain white towel near the mirror under the light you normally use. Look at all three in daylight and again when the window is dark. A warmer or cooler-looking bulb can change how you see the same surfaces.
If you are replacing bulbs, test one matching set in the vanity fixture and give yourself a few uses before deciding. Look in the mirror as well as at the tile. Our small bathroom tile ideas show finishes with different patterns and surface textures to compare.
9. Give the Vanity and Ceiling Their Own Controls
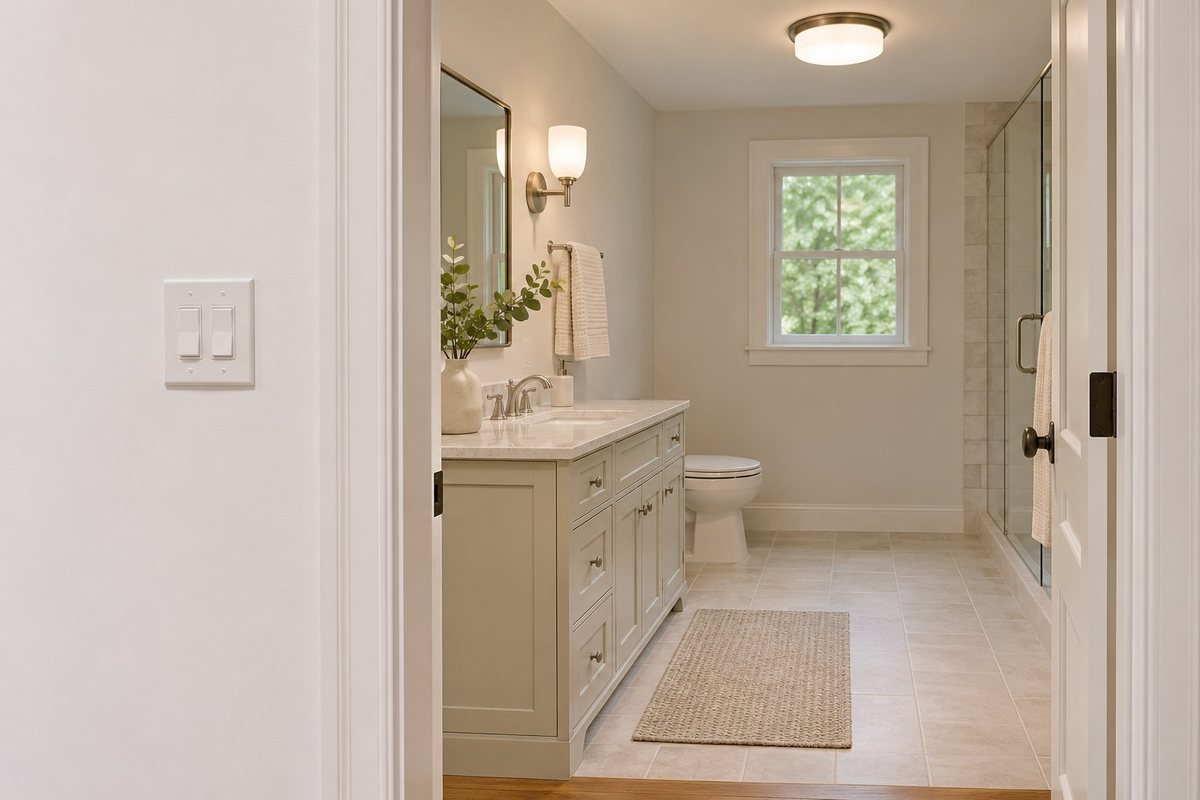
If the room has two switches, see which light each controls and try the vanity light by itself. It may be enough for washing up, while the ceiling light helps when cleaning the floor or using the shower. The way you already use the room can show whether separate controls would matter.
If the fixtures share one control, ask an electrician what is practical in the current setup and whether it fits the scope of your project. Mark where you reach for the controls from the doorway. Choose a setup everyone can use without guessing which switch operates which light.
10. Choose a Shower Light Rated for Its Location
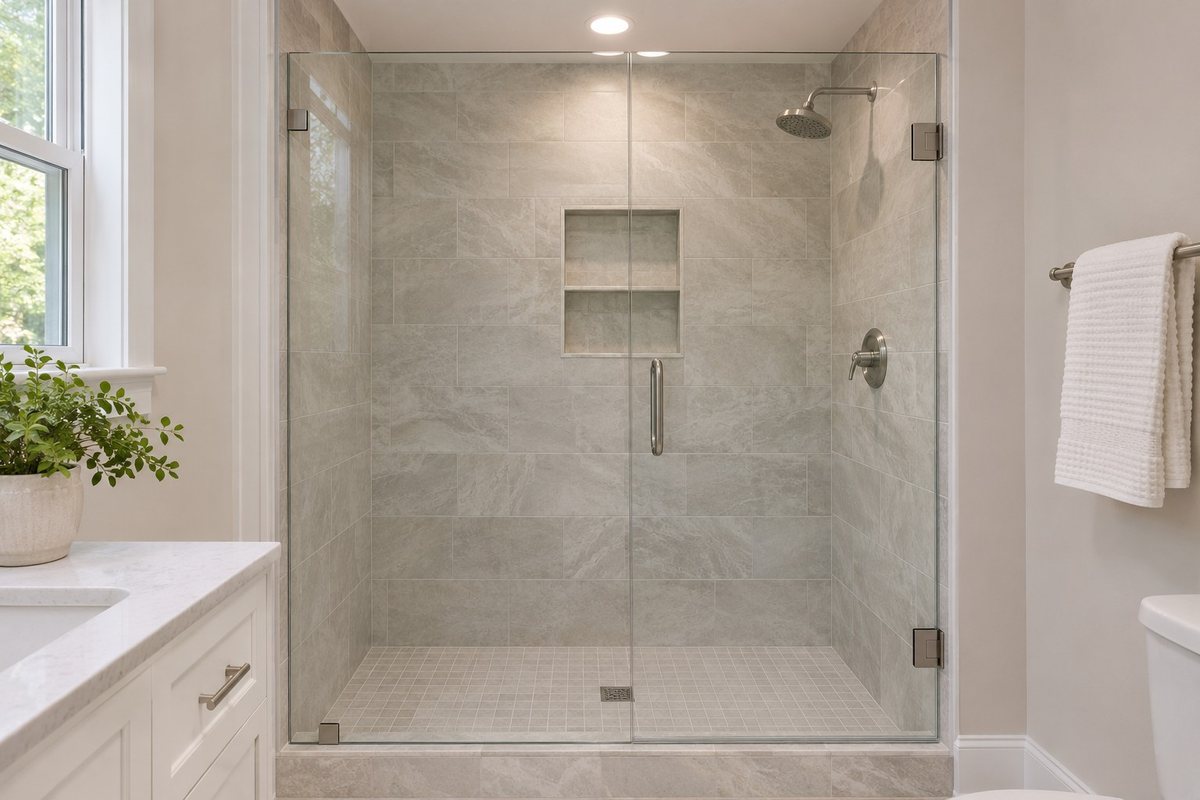
A dark shower may need a light that reaches inside the enclosure. Look at the place where it would sit, including how water could reach it. Ask a qualified installer to match the fixture’s location marking and installation instructions to the actual conditions and local requirements.
A fixture suitable for one location may be unsuitable where water can splash on it. Keep the trim simple if you want the tile to carry the look. Check the difference between damp and wet location markings in UL Solutions’ luminaire marking guidance.
11. Aim an Adjustable Downlight Away From Glossy Tile
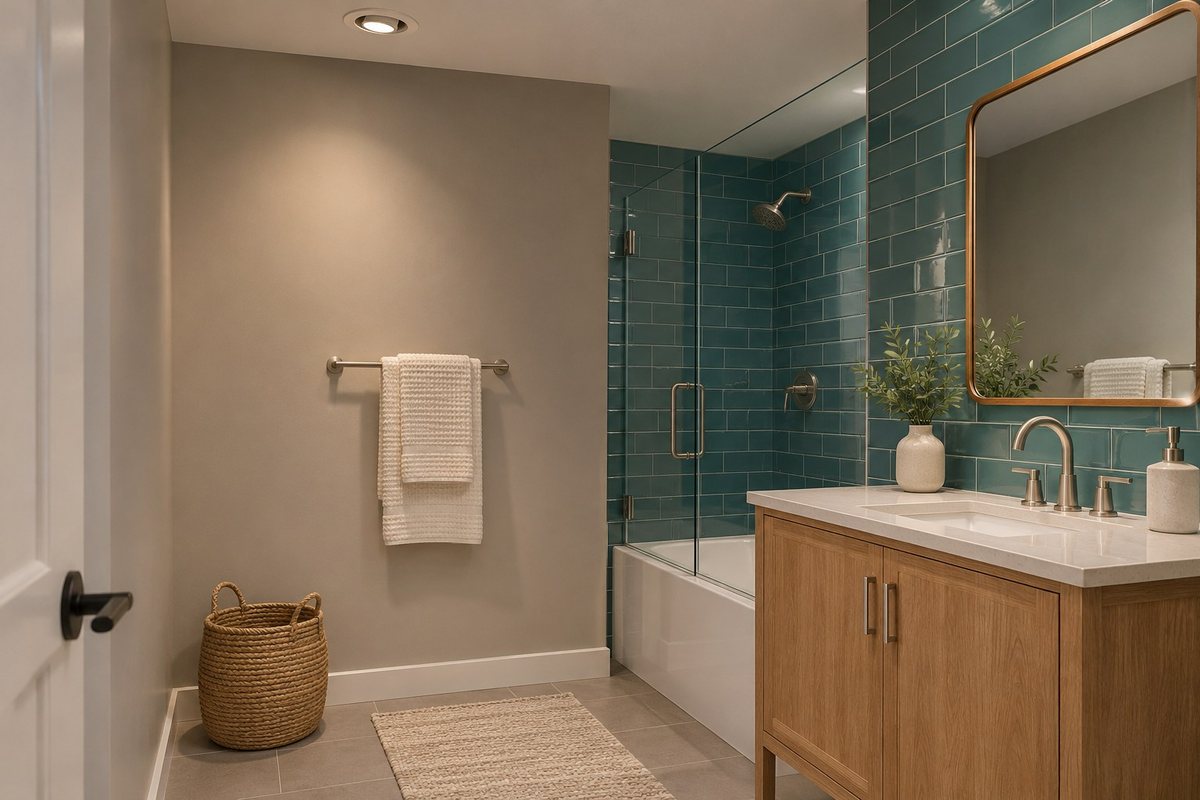
If an existing adjustable downlight makes a sharp reflection on glossy tile, check it from the doorway and mirror. Where the fixture instructions allow adjustment, try directing it toward a matte wall or a dry area where you need light. See whether the reflected patch moves out of your usual view.
Keep the floor and other task areas visible as you test the change. Ask an installer for help if the fixture is inaccessible or needs moving. This idea works best when the bright reflection comes from one direction and a simple adjustment can move it.
12. Spread Ceiling Light Across the Main Aisle
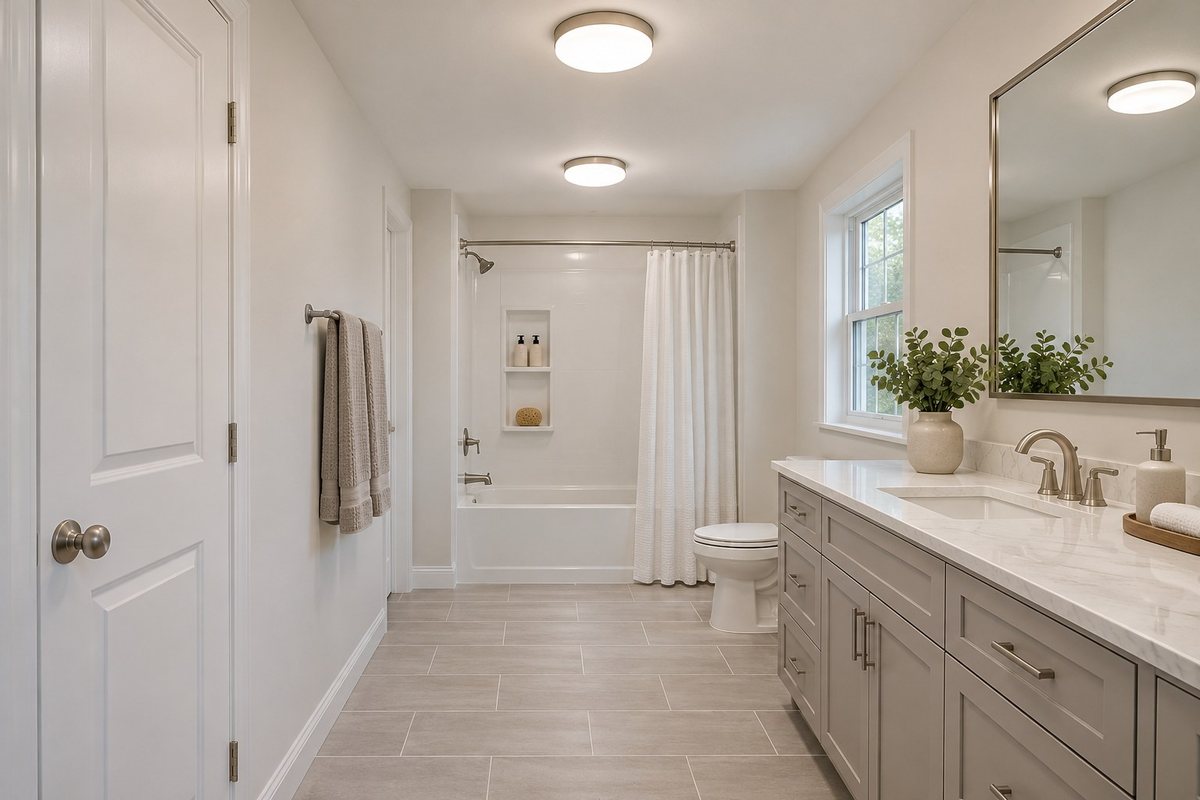
Walk a long bathroom from the door to the far end at night. If the near end is bright and the far half falls into shadow, compare how light is distributed before shopping for a brighter version of the same bulb. Try the current ceiling light with the vanity fixture off to see the difference.
When the room is being updated, show the installer the specific dark part of the aisle. Compare one wider-distribution ceiling fixture with more than one light as the room permits. If furniture or a partition makes the route harder to light, see these bathroom layout ideas.
13. Use a Low-Profile Fixture Under a Low Ceiling
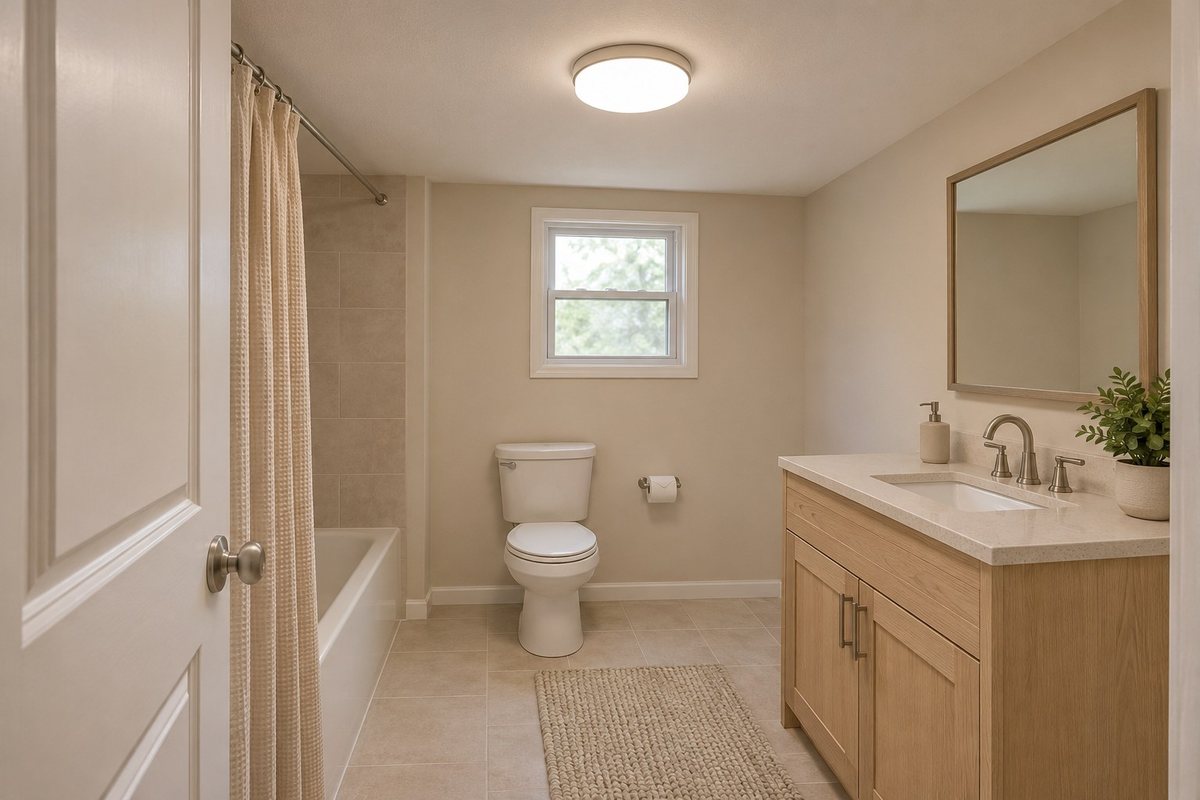
A low-profile fixture can suit a bathroom where the ceiling already feels close. Measure the total assembled drop, including any trim or diffuser. Check nearby doors, cabinets, and what you usually carry through the room. Look at the fixture from the threshold before choosing the size.
Choose a shape that spreads usable light across the aisle and suits the location. Ask the installer to verify the mounting and its fit. A compact fixture can free the ceiling line while leaving the vanity lights to handle the closer work.
14. Light Each Half of a Double Vanity
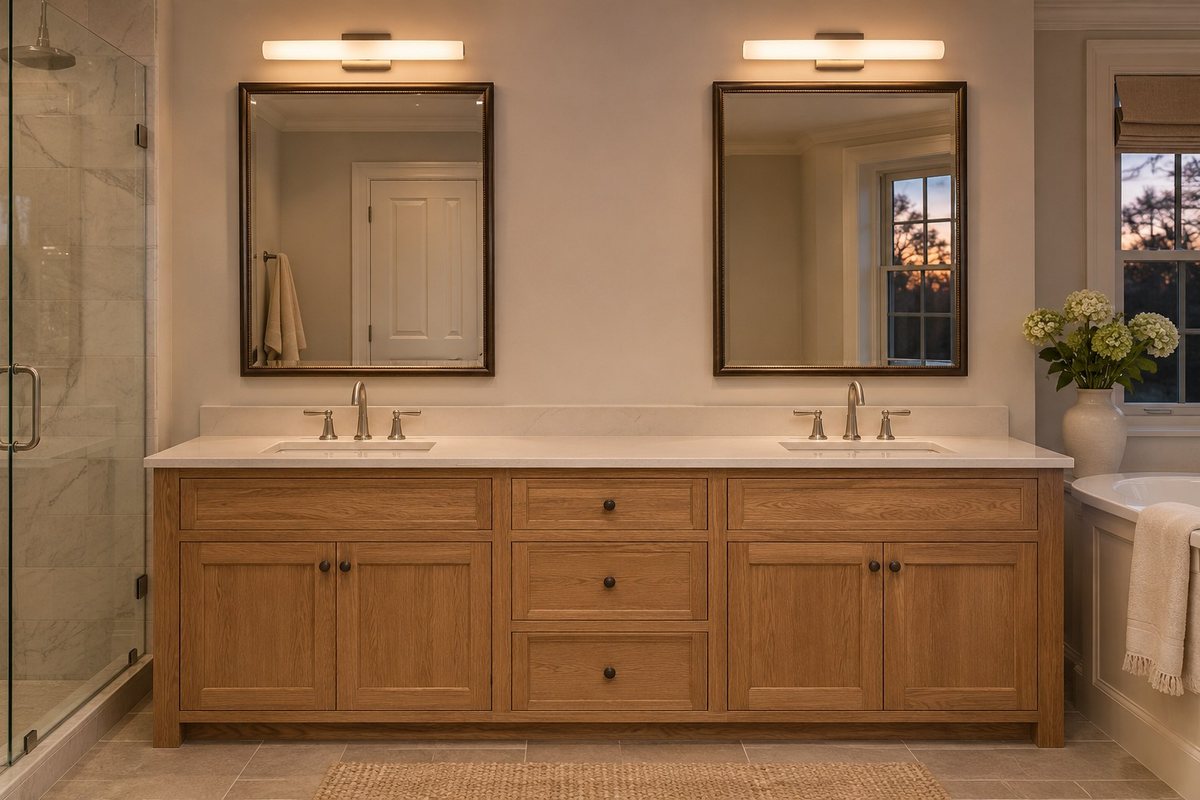
Stand at each sink and compare the two places as if you were using them at the same time. A light centered between mirrors can leave one side of each face darker. Centering a light on each sink or arranging balanced side lights gives you a layout to test on both halves.
If the mirrors are different widths, start with the location of each sink and the space available for the fixtures. Look for repeatable light distribution and shade shape, even if the exact arrangement varies. Keep both sides useful with the bathroom door open and closed.
15. Use a Low Glow Along the Dry Floor Route
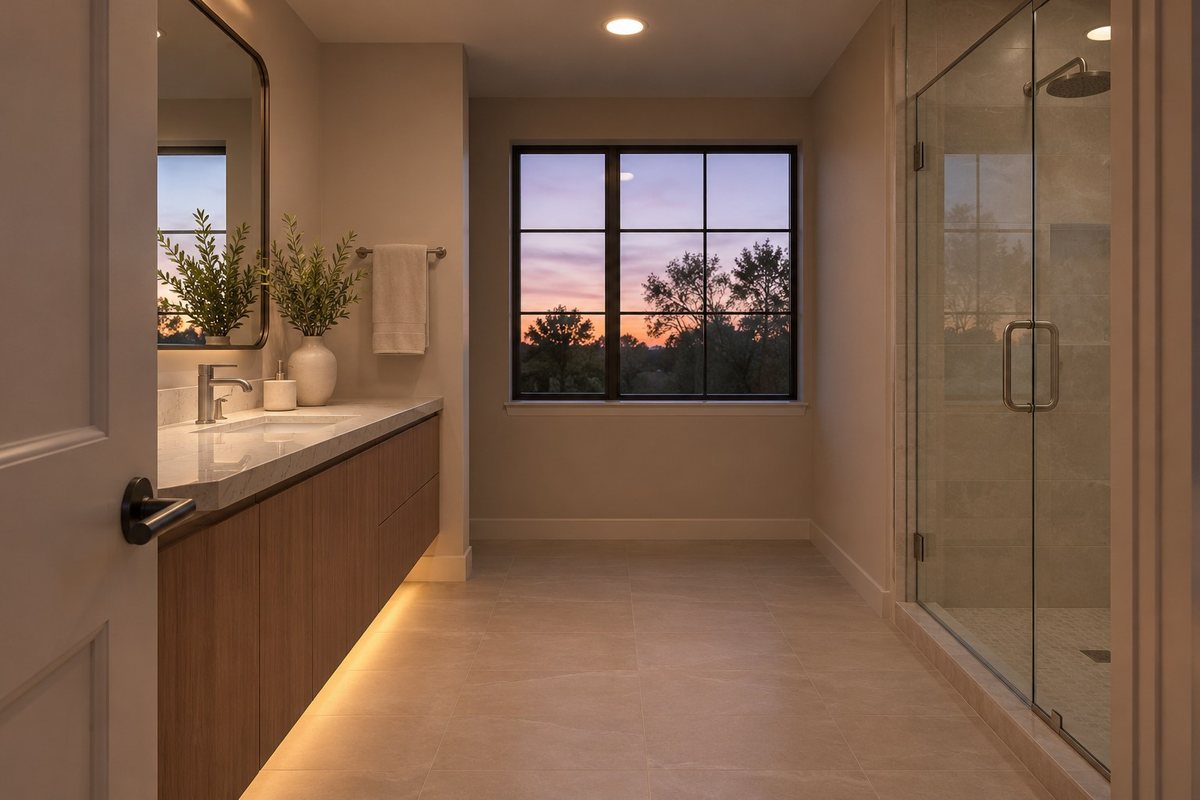
A low light can make the edge of a dry floor route easier to see after dark. Look for a place that already has a suitable integrated light or ask an installer about a concealed fixture appropriate for the location. Keep wiring and power components away from traffic and water as the product instructions require.
Check it from the doorway with the normal room lights in their evening settings. The floor edge and threshold should still read clearly. Use the brighter room lights whenever the low light leaves a task or part of the route hard to see.
16. Borrow a Little Light From the Hall
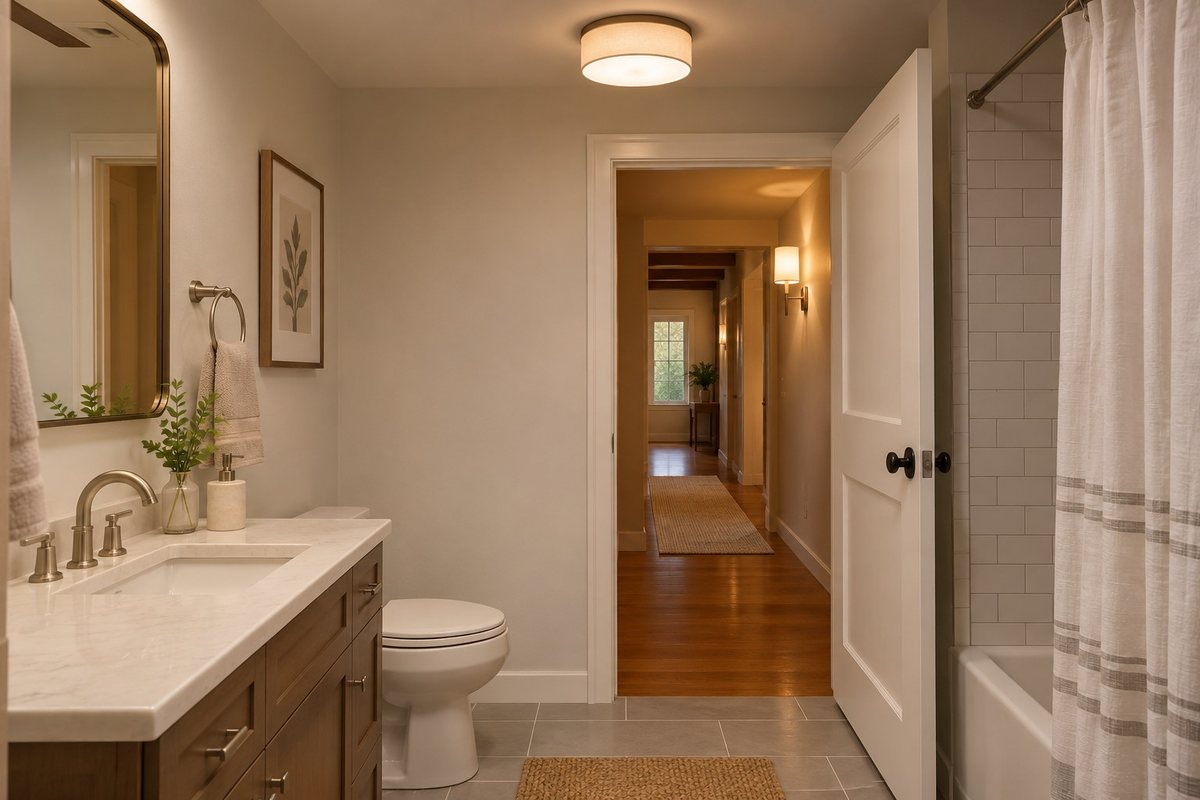
Before adding a night light inside the bathroom, turn on the nearest existing hall light. Look at the first step into the room and check whether the door edge and threshold become easier to see. This can be useful where the brightest vanity light is the first switch you usually reach.
Try it with the bathroom door partly open and fully open. If the hall light reaches only the entrance, use the bathroom fixture for the rest of the room. Keeping the threshold clear helps that small patch of light show where the floor changes.
17. Use a Shade That Keeps Some Daylight
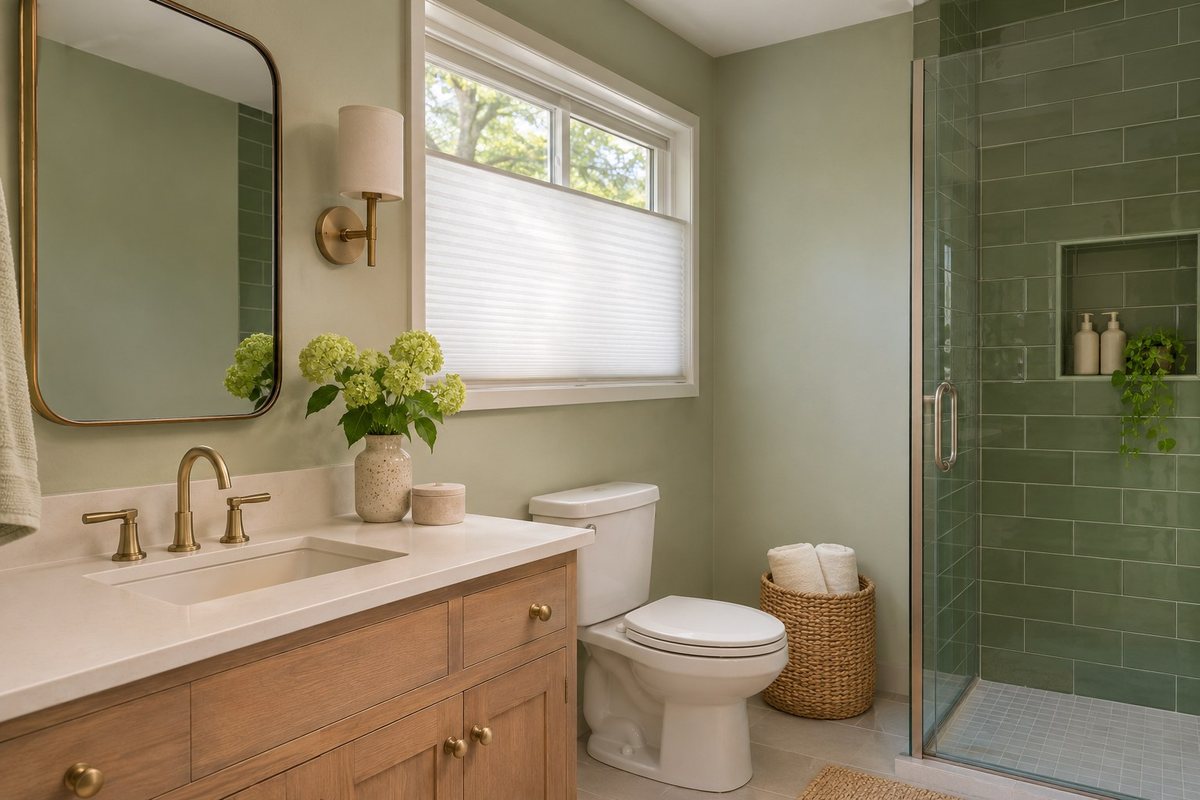
A light-filtering shade can preserve useful daylight in a bathroom that needs privacy. Hold a sample against the window during the day and compare the view from outside at night when the bathroom is lit. Give the existing shade the same test so you know what the replacement improves.
Choose a covering that can be operated without catching on trim, a shower curtain, or a shelf. Keep the window accessible and favor cordless designs, especially if children use the room. See the CPSC’s guidance on window covering cords.
18. Use a Side Window to Light the Mirror Area
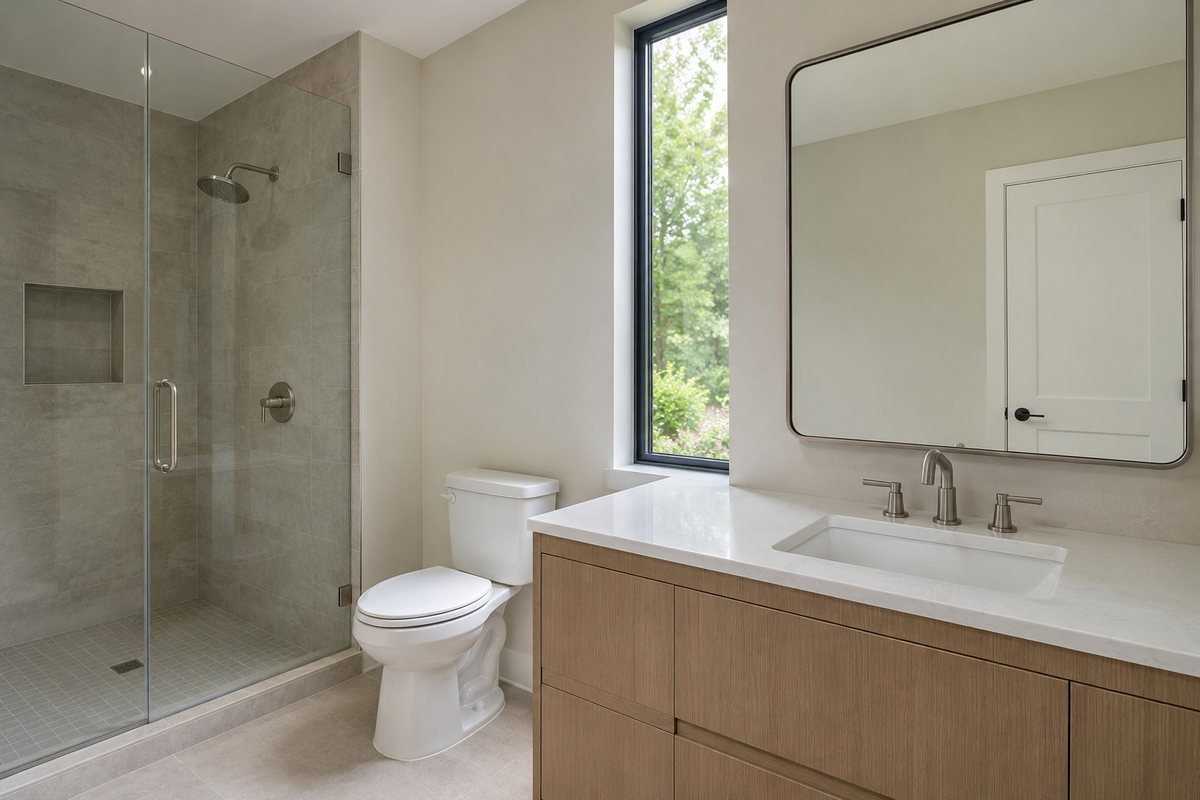
If daylight reaches the sink from a side window, give it a path across the vanity. Try opening the shade to the position that still gives you privacy. Move tall items away from that edge of the counter and stand at the mirror to see how the light falls.
Compare the setup on an overcast day and after dark. The side window can help with daytime tasks while the existing vanity light takes over later. For ways to clear the part of the counter where daylight arrives, see our bathroom counter organization ideas.
19. Bounce Light Off a Pale Wall
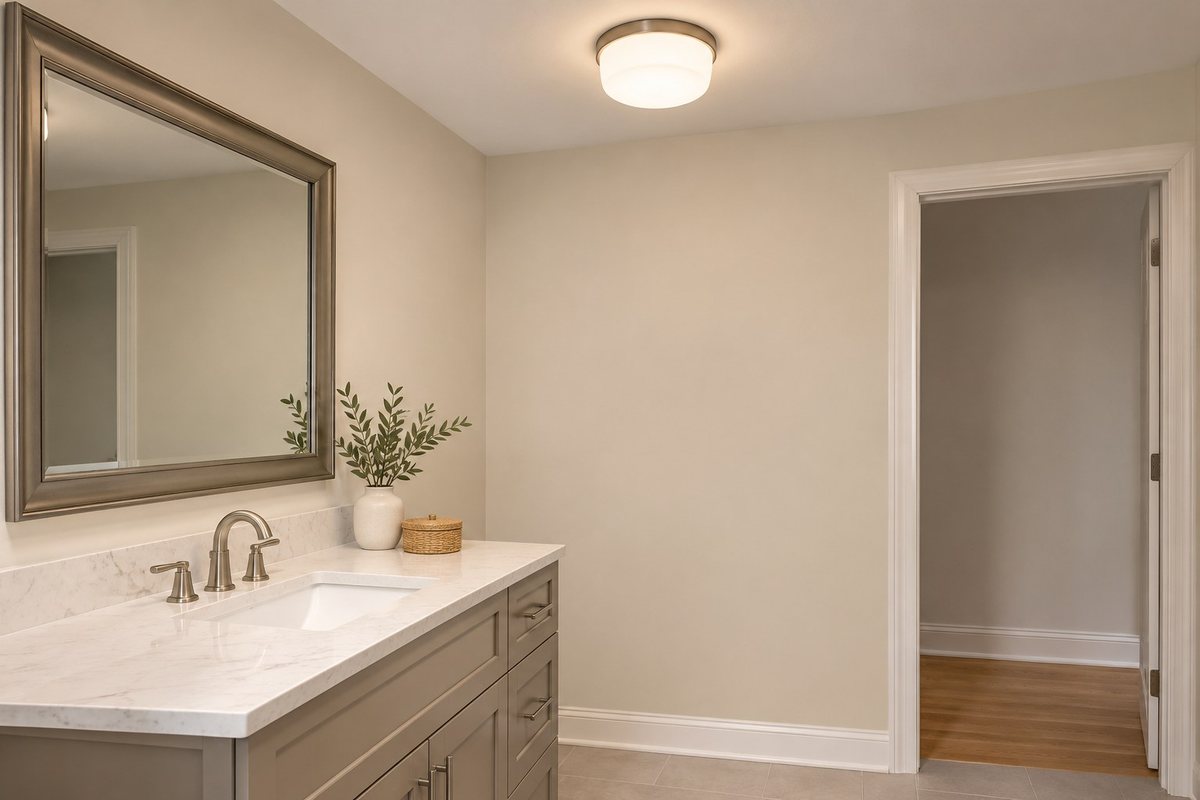
Try a pale sample on a wall that already catches light from a fixture or window. Look at the area next to it and see whether the lighter surface changes how you read the edge of the sink or doorway. A matte or softly finished wall can keep the effect gentle beside shiny hardware.
Compare the sample with tile and the ceiling before repainting. Use a finish the maker recommends for the surface and conditions in your bathroom. If the original issue is a shadow on your face, keep the mirror-area light test in the plan too.
20. Check the Swing of a Mirrored Cabinet
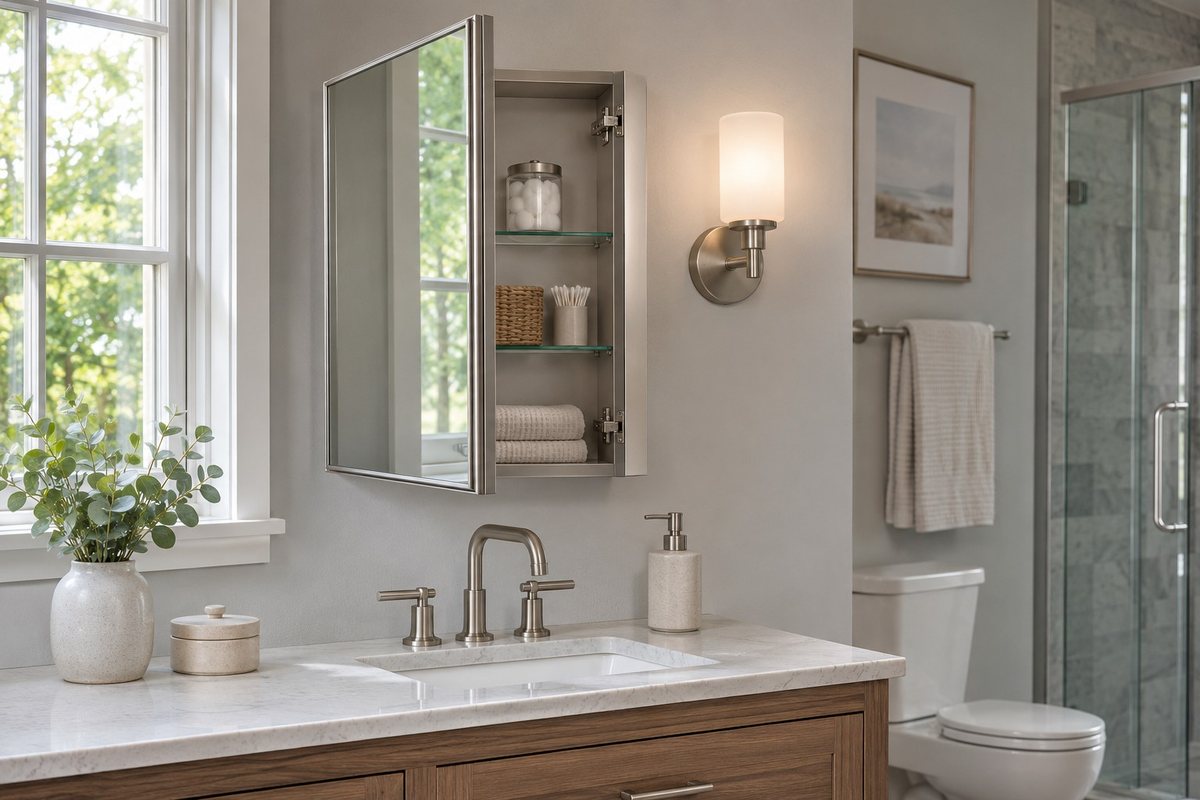
Open the mirrored cabinet to its normal stop and measure the space to either side. Include how far the handle and door edge come out. Trace the open shape on paper so you can compare it with the projection of a new wall light.
Try using the sink with the cabinet open. Leave room for your shoulders and hands as well as the hardware. If a shade overlaps the swing, a shorter fixture or a bar above the cabinet may fit better. Confirm that the fixture can still be serviced according to its directions.
21. Keep New Fixtures Clear of the Door Swing
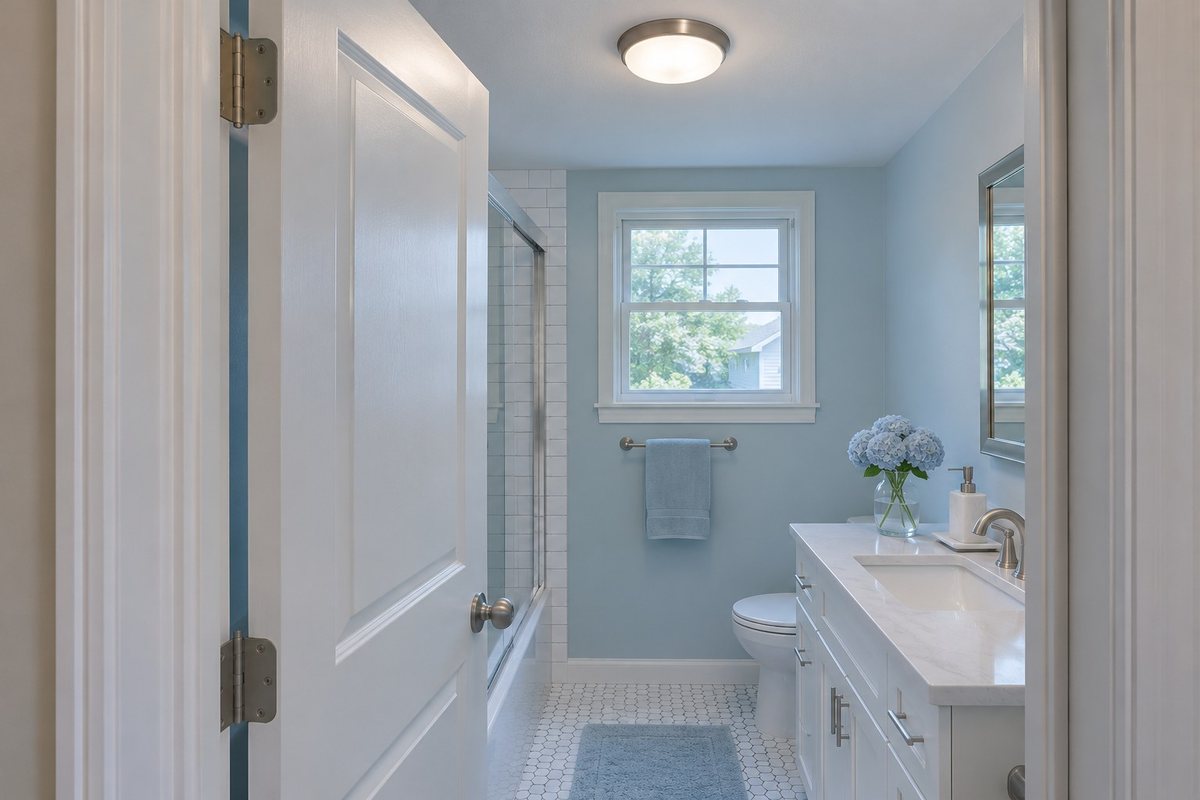
Open the bathroom door through its full travel before choosing a fixture nearby. Look up as it moves and mark the part of the wall and ceiling it passes. A shade may have more projection than the backplate or extend below the top of a door.
Check a shower door and any wall-mounted cabinet the same way. If space is tight, compare the installed projection of a low-profile fixture with the room’s actual clearances. In a manufactured home with compact clearances, these mobile home bathroom ideas offer more layout examples.
22. Keep the Tub Light Out of Your Direct View
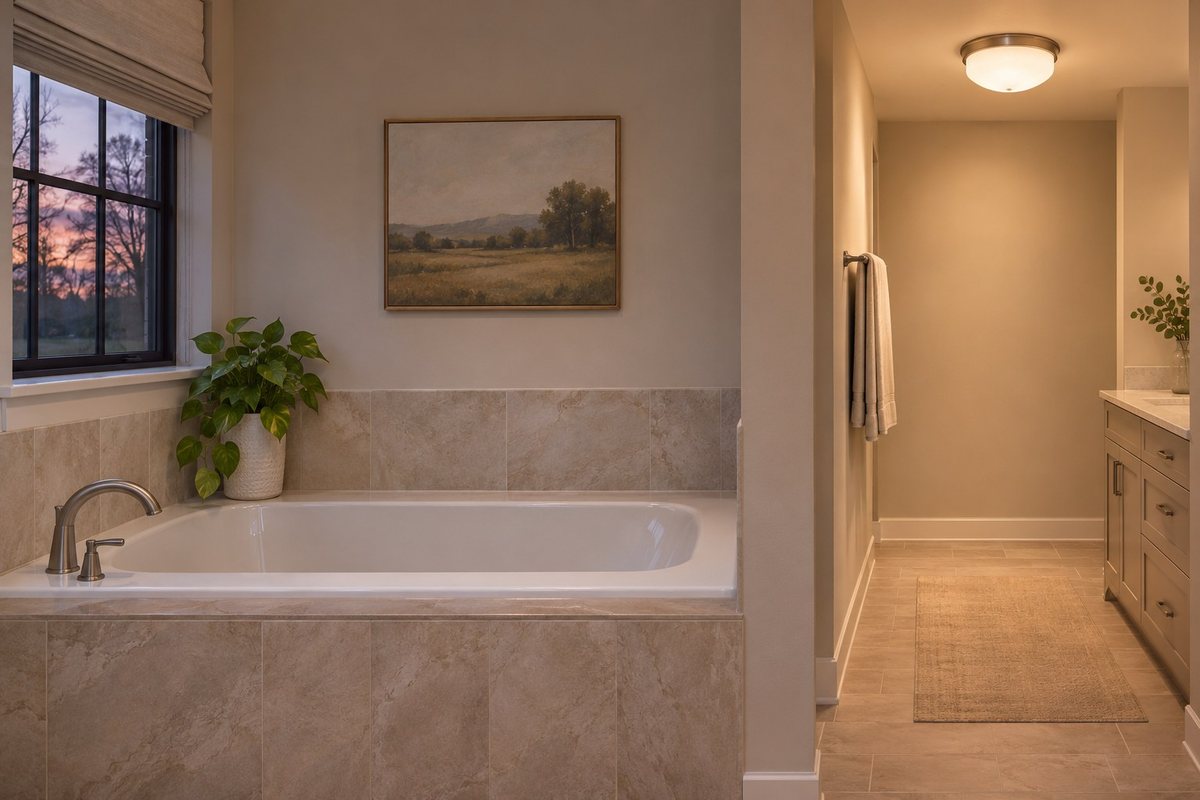
Check the view from the tub before deciding where the light should be visible. A shaded fixture beyond the bathing area may give you a softer view than looking directly at a bare source. Compare it with the normal room light already in use and see whether the tub edge and floor stay easy to see.
Have the installer verify the proposed position and product rating against actual wet or damp conditions and local requirements. Keep any new fixture comfortably outside your view where that placement still gives useful light. A clean wall or ceiling can carry a quiet glow without needing a decorative fixture over the tub.
23. Check Whether a Lighted Mirror Reaches Your Face
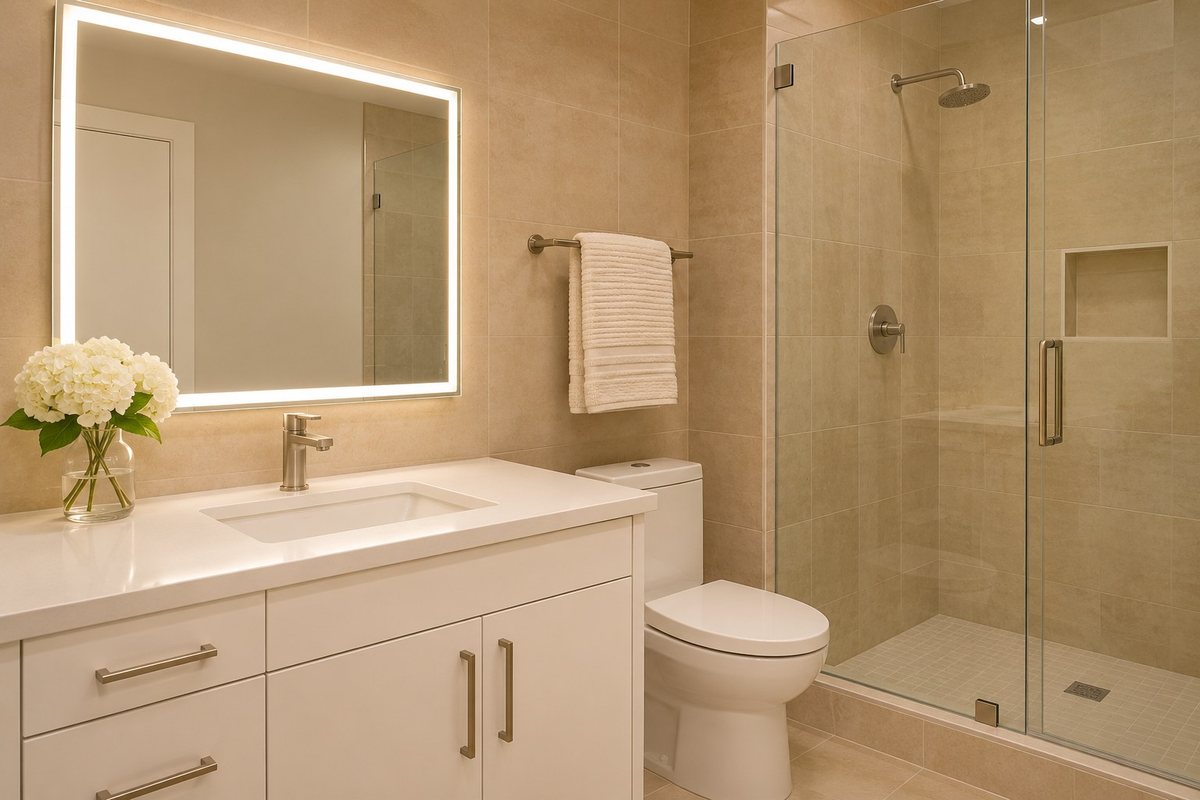
A lighted mirror can create a halo on the wall or send light forward. Compare the two effects from the position where you use the sink. Check whether your face is evenly lit and whether you can see a bright border in the glass. Try it without the ceiling light during a showroom demo if possible.
If you can keep the existing mirror and improve the vanity fixture, compare that option with the total cost of the lighted mirror and installation. If you choose a powered mirror, have an electrician confirm its mounting, wiring, controls, and location suitability.
24. Give the Towel Wall a Soft Wash
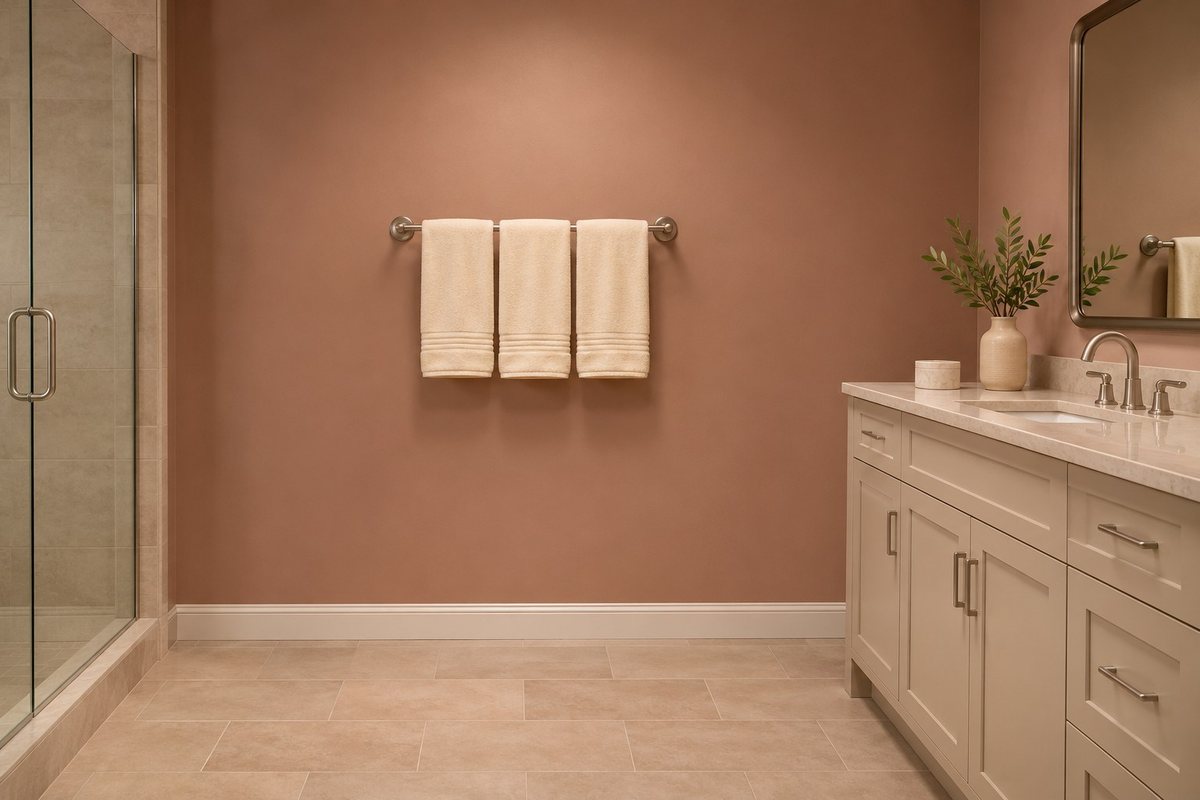
Look at the wall where towels or robes usually hang. If the main ceiling fixture already lights part of it well, try putting the towel hook or rail within that patch on the dry side. You may be able to see the towel and put it away without adding another fixture.
Test the spot with the door and shower enclosure in their normal positions. Leave room for the towel to hang without touching nearby hardware or intruding into the aisle. If the existing light reaches the right spot, keeping the rest of the wall quiet helps the small change read.
25. Use a Small Pendant Over a Dry Powder Room Vanity
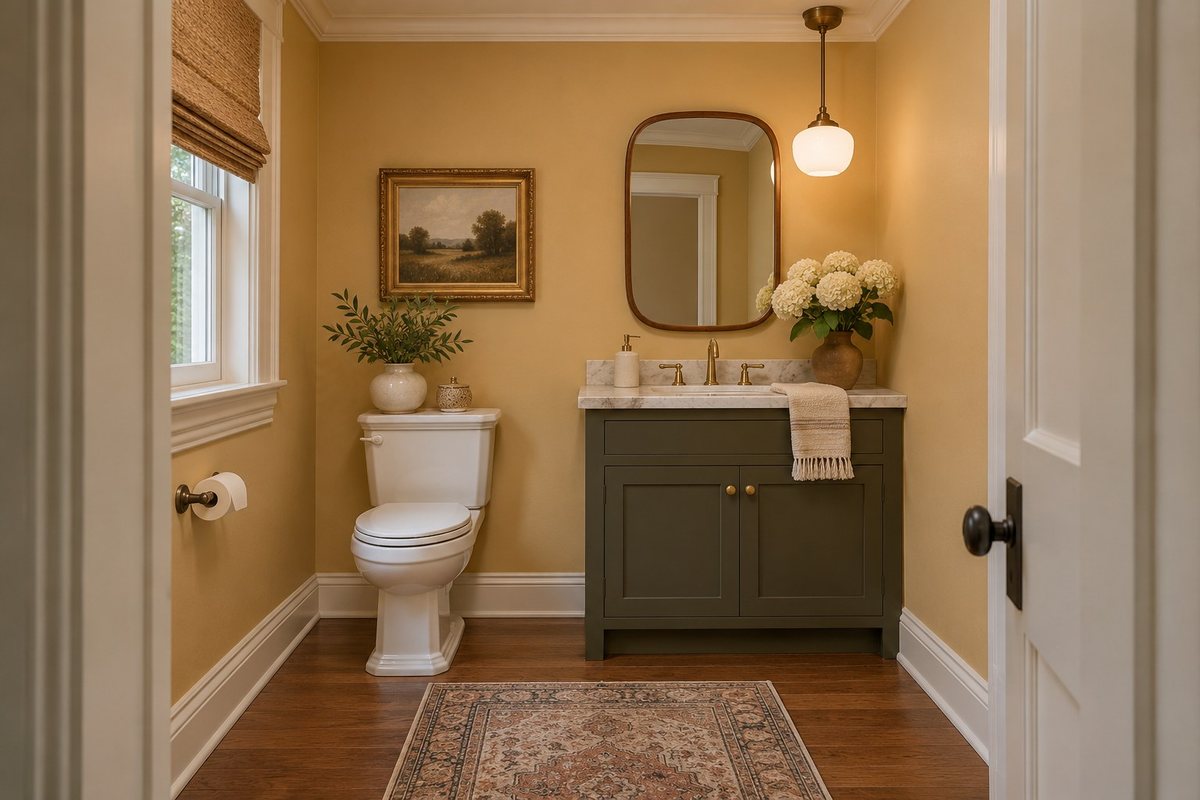
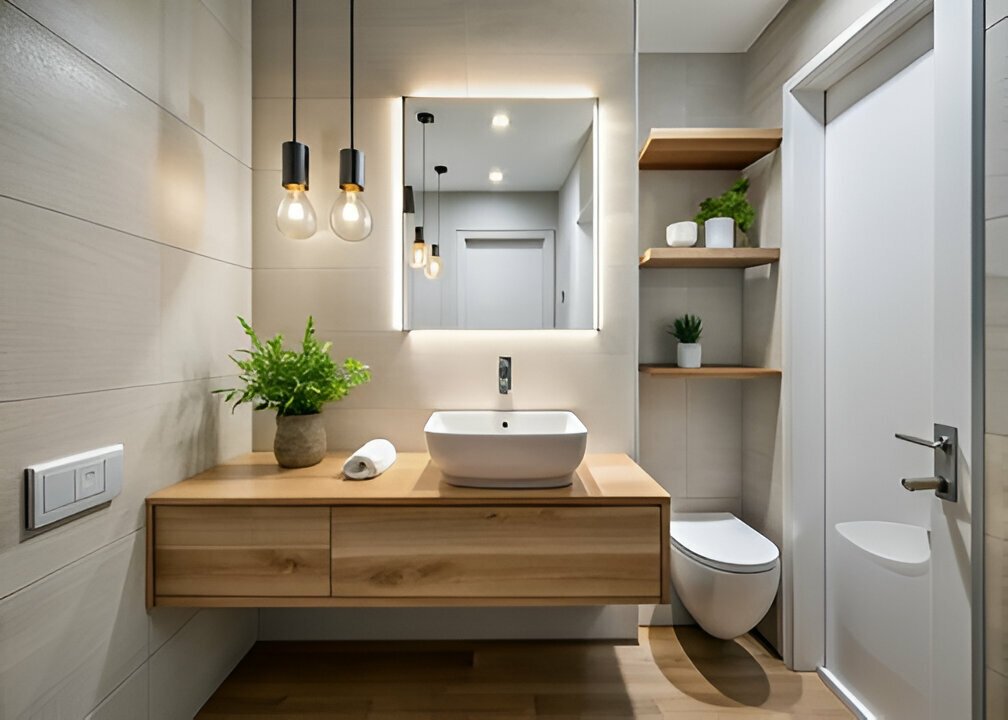
Use a small pendant in a powder room when the sink area can spare the room below it. Mock up the shade outline and check the view from the door and in the mirror. Keep the fixture out of the main walking route and see where the light reaches the counter.
Have a qualified installer check the suspension height, mounting support, fixture rating and local requirements. Try a closed or shaded light source if a visible bulb reflects back at you. For more compact room ideas, see our powder room decor guide.
26. Repeat One Finish Without Replacing Every Fixture
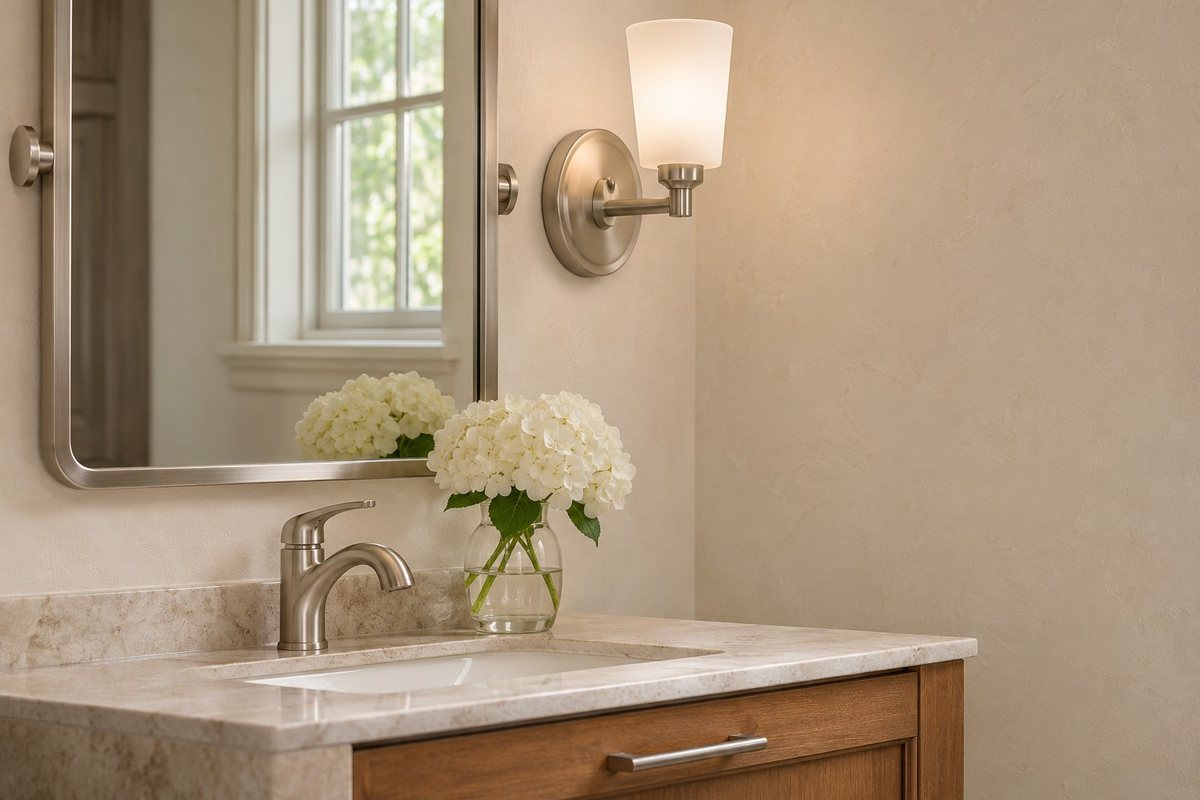
Choose one finish the bathroom already has and look for a light that repeats it. It could be the brushed nickel on the mirror brackets or the dark metal on the drawer pulls. Compare the finish in the room light because the same name on two products can look different.
Keep fixtures that still work and repeat the finish where you see it at the same time, such as the mirror and vanity light. If the faucet uses a different metal, let that stay part of the sink area. A small repeat can give the wall a sense of order without a full hardware change.
27. Dim Only With Compatible Controls
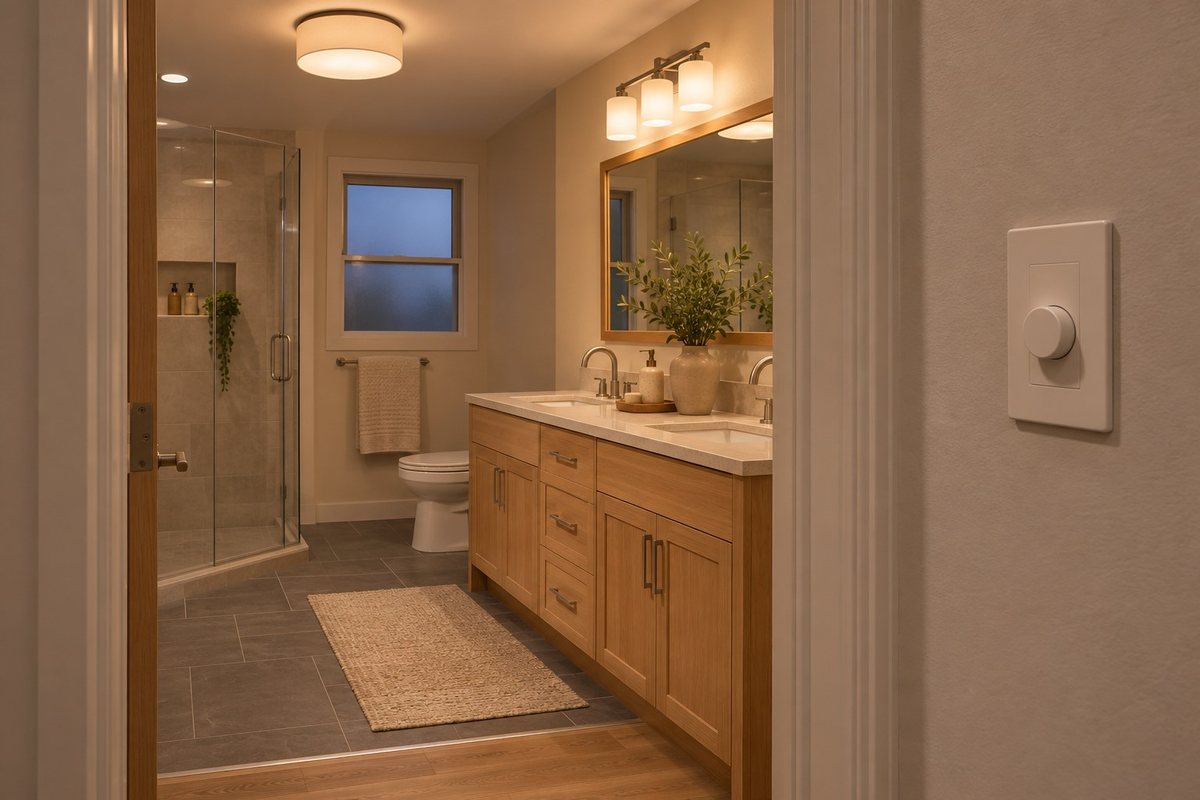
Check whether the lamp, fixture and proposed control are designed to work together. If an existing LED fixture flickers or cuts out when dimmed, look up the exact model and ask an electrician to verify the combination. Some products specify compatible control types or settings.
Try the lowest usable setting when the room is dark and the door is open. Make sure the mirror and floor are still visible for the task you intend to do. Keep an easy way to get normal task light whenever you need more.
28. Let a Shower Curtain Pass More Daylight
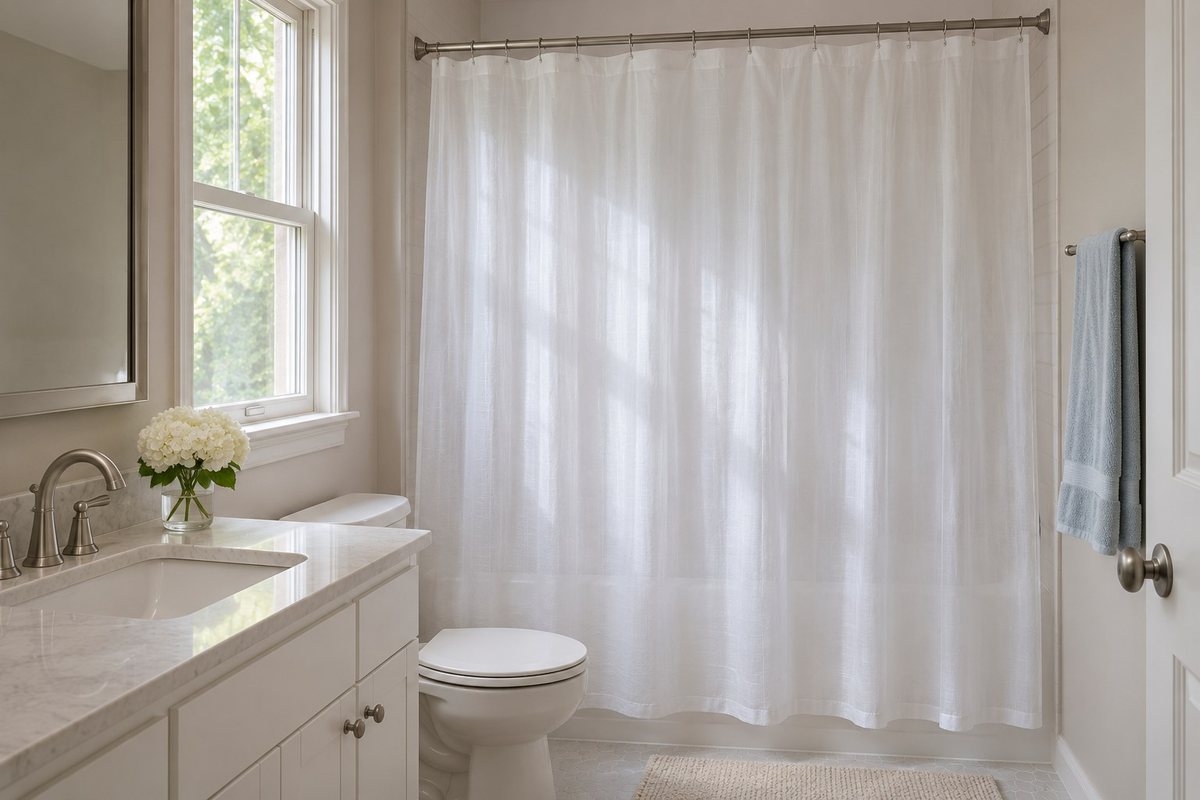
When a window sits on the far side of a tub, a thick dark shower curtain can leave the rest of the room dim. Hold a lighter fabric sample at the rod and see how much daylight still comes through. Check both views with the curtain drawn and a shade in its normal position.
Choose a curtain or liner suited to how you use the bath and confirm you still have privacy. Keep the window operable and the curtain clear of lights and heaters. A pale material can help daylight reach the aisle while keeping the tub area visually simple.
29. Light the Spot Where You Use a Full-Length Mirror
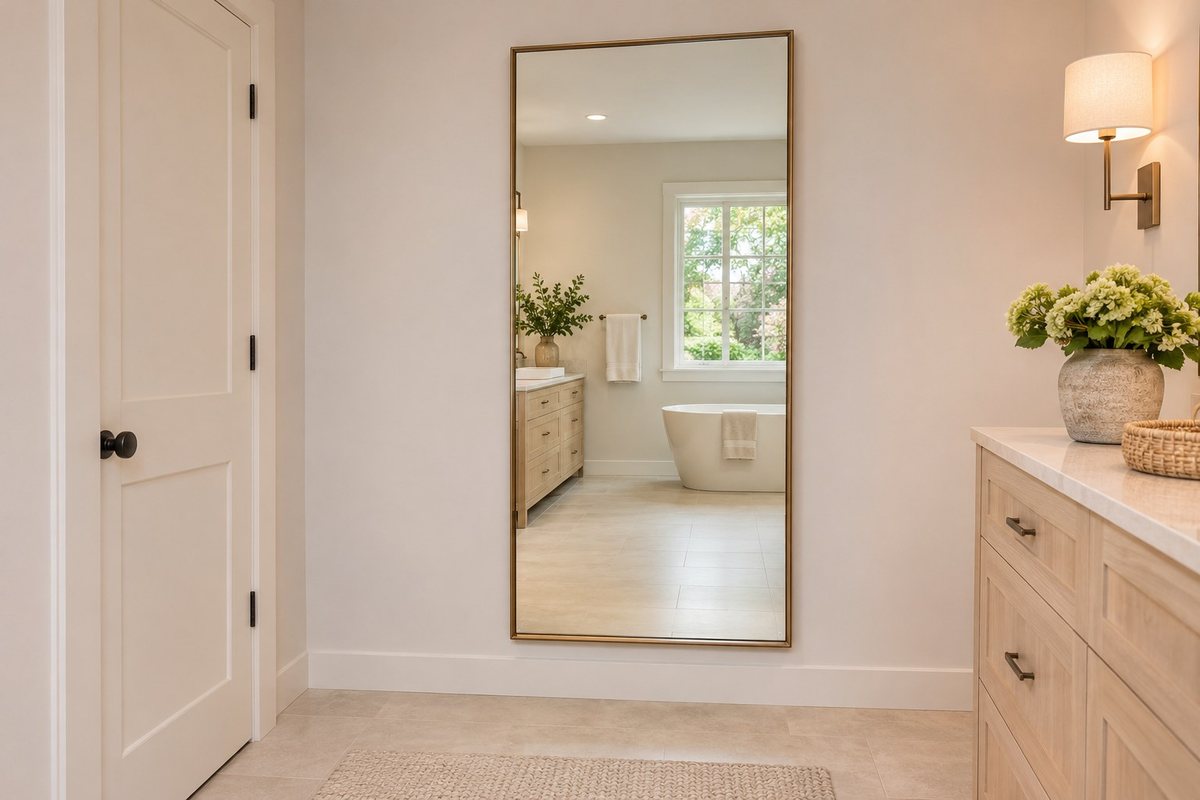
Stand in the spot you use to see your full reflection. Check where your face, shoes, and the floor around you fall in the light. A soft light from one side can make a useful difference if the main ceiling light sits behind you and leaves the reflection dark.
Leave room to take one step back and check the door swing before mounting the mirror. Compare the view with the normal light on and with the light you use in the evening. If the existing fixture already reaches that spot, shifting the mirror may be enough.
30. Spend on the Light That Fixes Your Worst Shadow
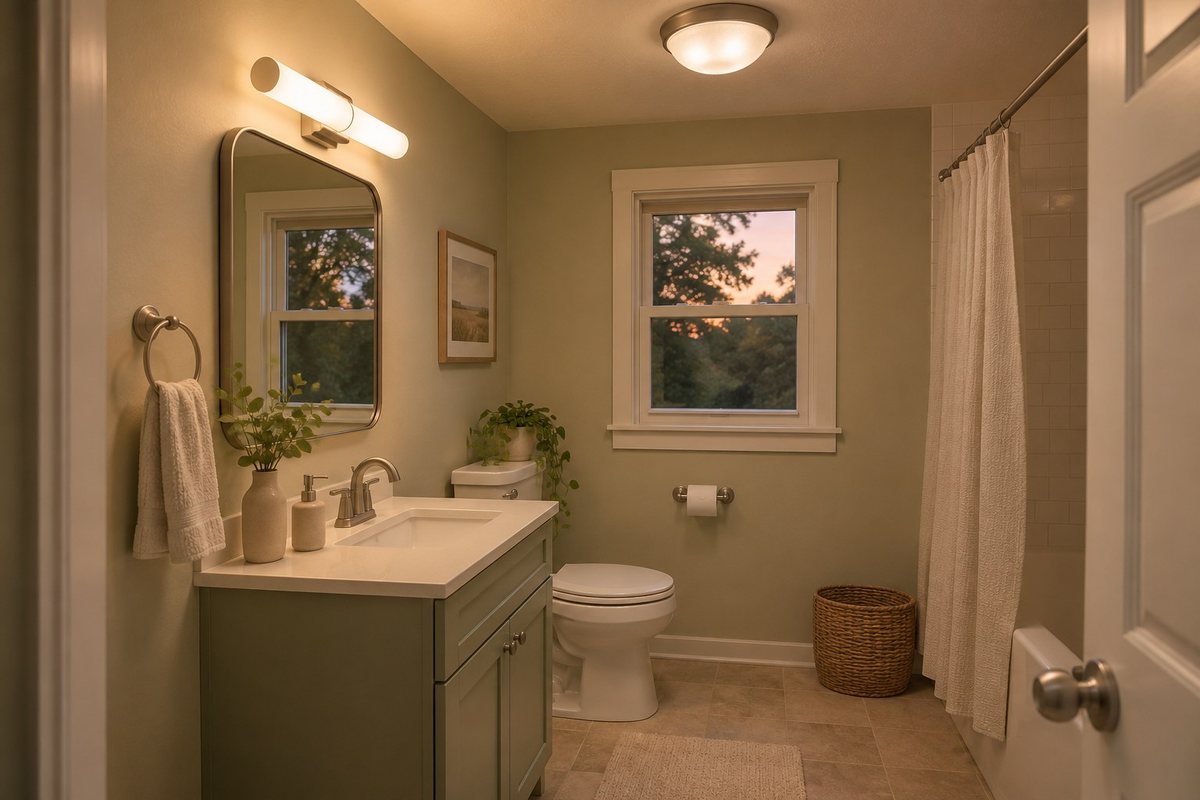
Pick the first upgrade by the problem you see most often. If the mirror is dark but the rest of the room works, try a matched set of suitable bulbs or one better vanity light first. Price the actual scope, including any installer work, before you compare a fixture with a broader renovation.
Use the room for a few days after the change and look again from the doorway, at the sink, and near the shower. If the original shadow is gone, keep the other working fixtures. If one area still needs attention, make that specific spot the next part of the project.
Start by testing the room at the time of day when the light bothers you. Change one thing that solves a clear problem, then see what the existing lights can still do. A bathroom that lets you see comfortably at the mirror and walk through the room after dark can feel finished with surprisingly simple fixtures.
Discover more from HomeTrendora
Subscribe to get the latest posts sent to your email.