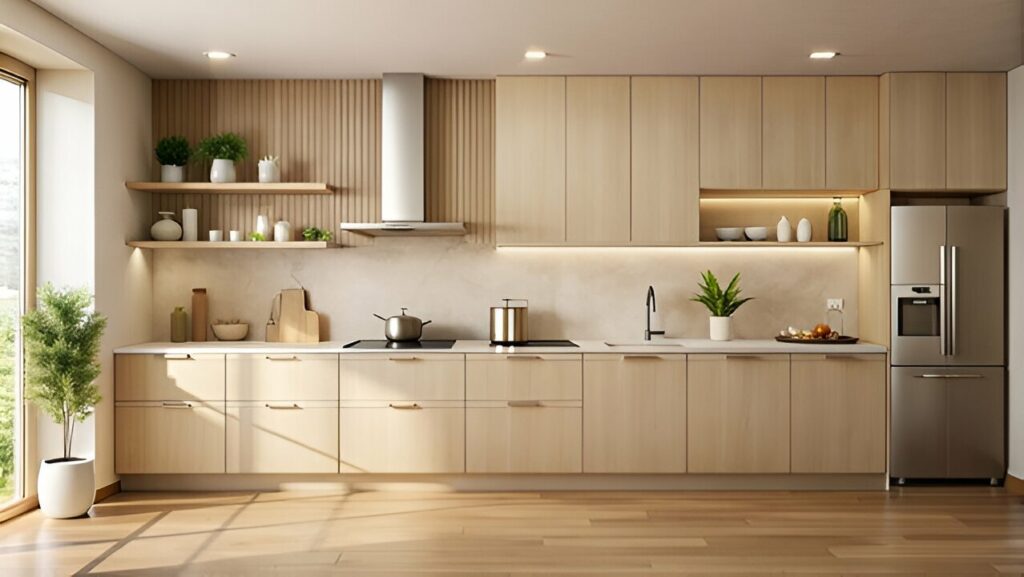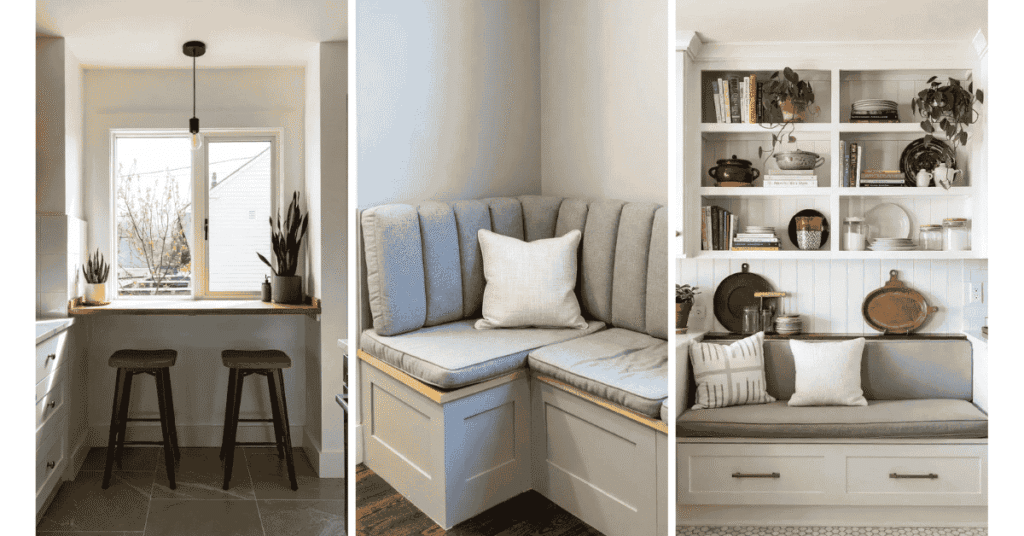
A white kitchen can feel bright in the morning and still be awkward at dinner. The fix might be a longer prep counter, a different place for the everyday dishes, or a less reflective finish where the sun hits. These 25 modern white kitchen ideas help you choose what to change first and see how each choice would work in the room you have.
For a remodel, trace your usual route from the fridge to the sink and prep area. If the layout is staying, start with the surface or cabinet you notice every day. A quick test at home can settle decisions that look interchangeable on a sample wall.
1. Start With the Path From Fridge to Prep
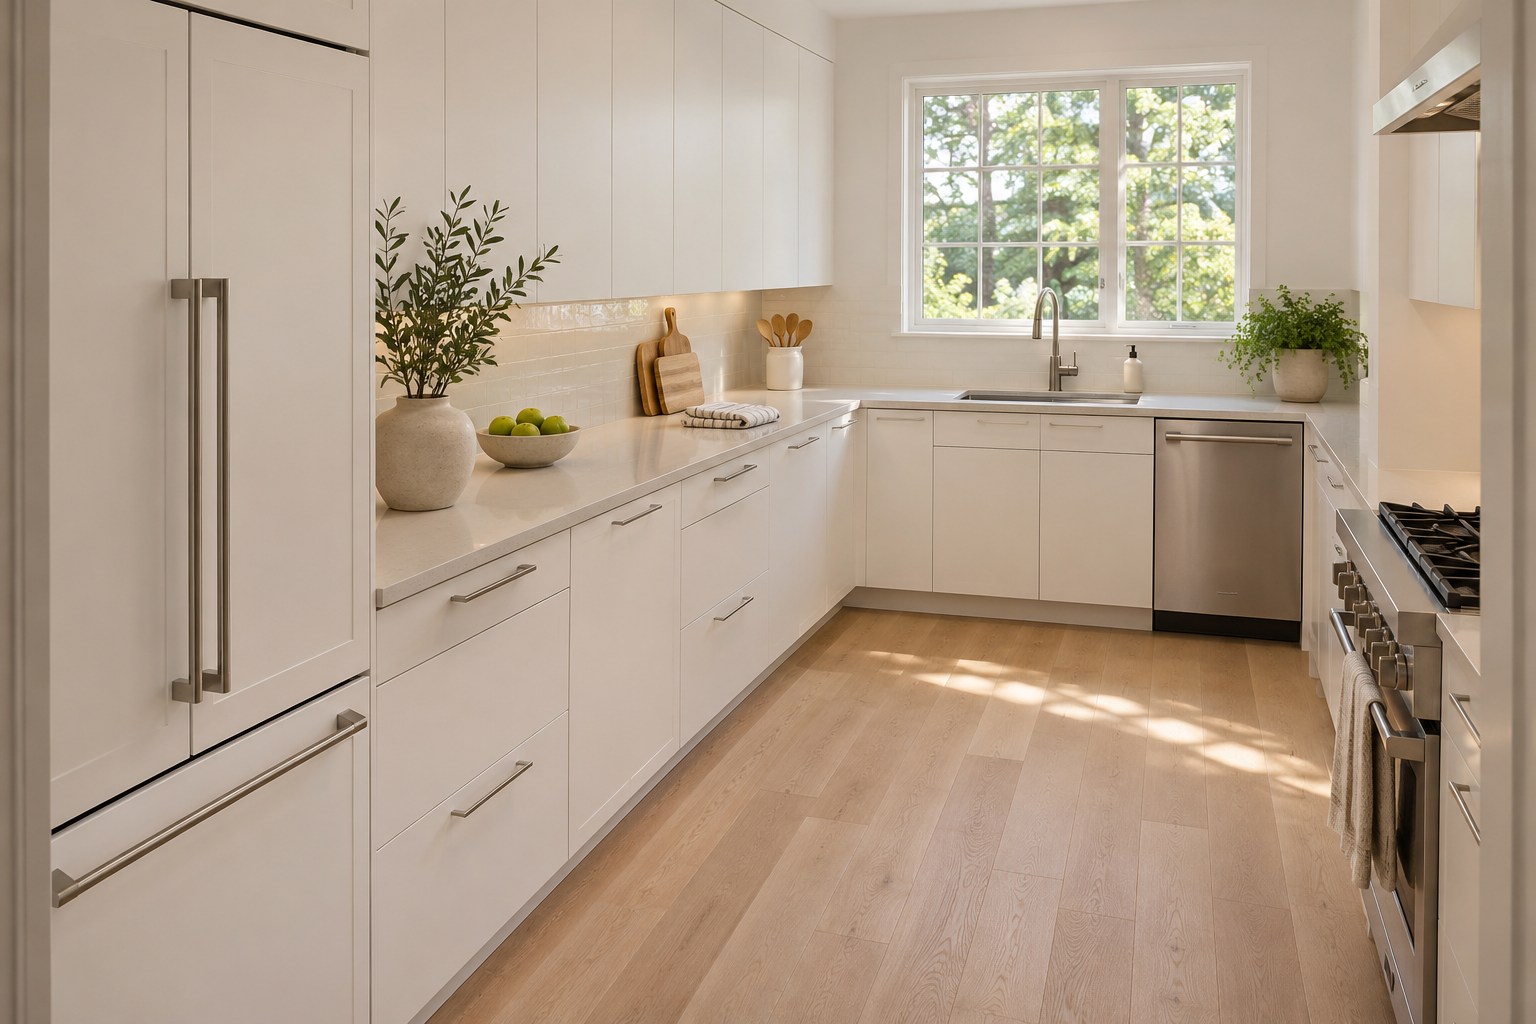
Walk through an ordinary meal before you sketch a new kitchen. Take a bowl from the cabinet, pull ingredients from the fridge, then move to the sink and the spot where you chop. Notice where you set things down and where another person might pass. A white L-shaped kitchen with one long counter between those stops often gives you a practical place to start.
In a remodel, mark the fridge swing and dishwasher door on the floor plan. Check the approach with the doors open and leave a landing spot for ingredients. In an existing kitchen, move your cutting boards and mixing bowls closer to the surface you naturally use.
2. Use a Peninsula When an Island Would Crowd the Room
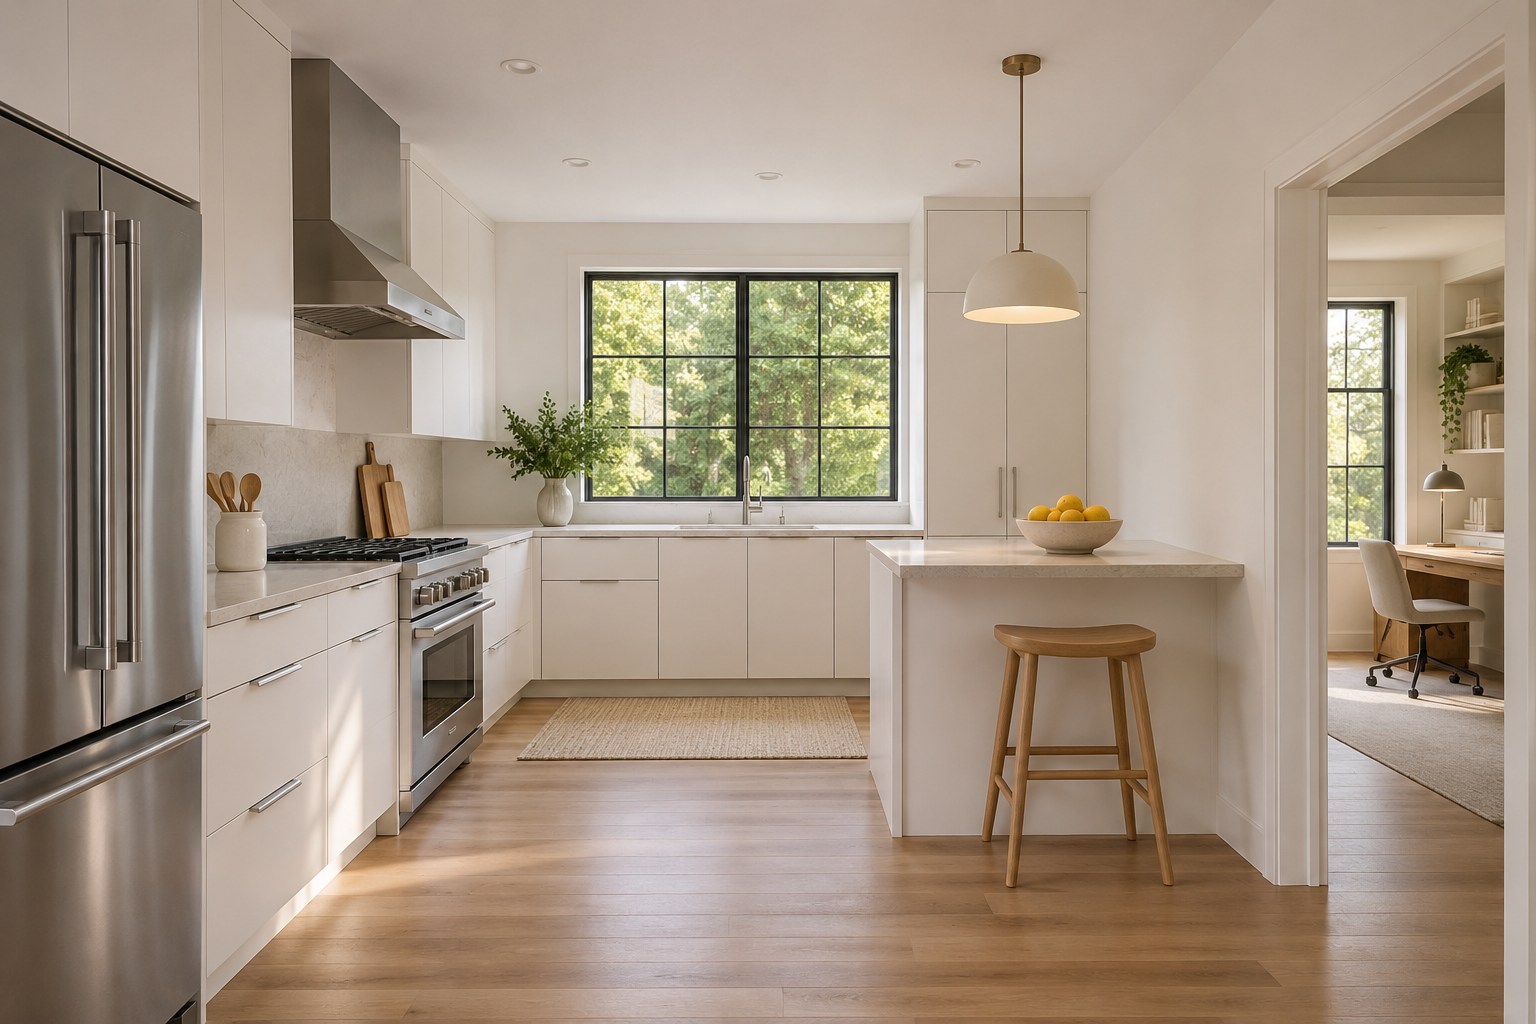
A short peninsula can extend the counter in a narrow room, especially where you can attach it at the end of an existing run. Start by taping its outline on the floor. Put a chair at the proposed seating end and walk the usual route to the fridge with the chair pulled out. Take the same route carrying a grocery bag.
Keep the approach open and check both sides of any cabinet doors near the connection. If the mockup crowds the opening, try a shallower worktop or skip seating on that end. These kitchen peninsula ideas show more ways to use the attached surface for work or meals.
3. Keep One Side of a Galley Visually Light
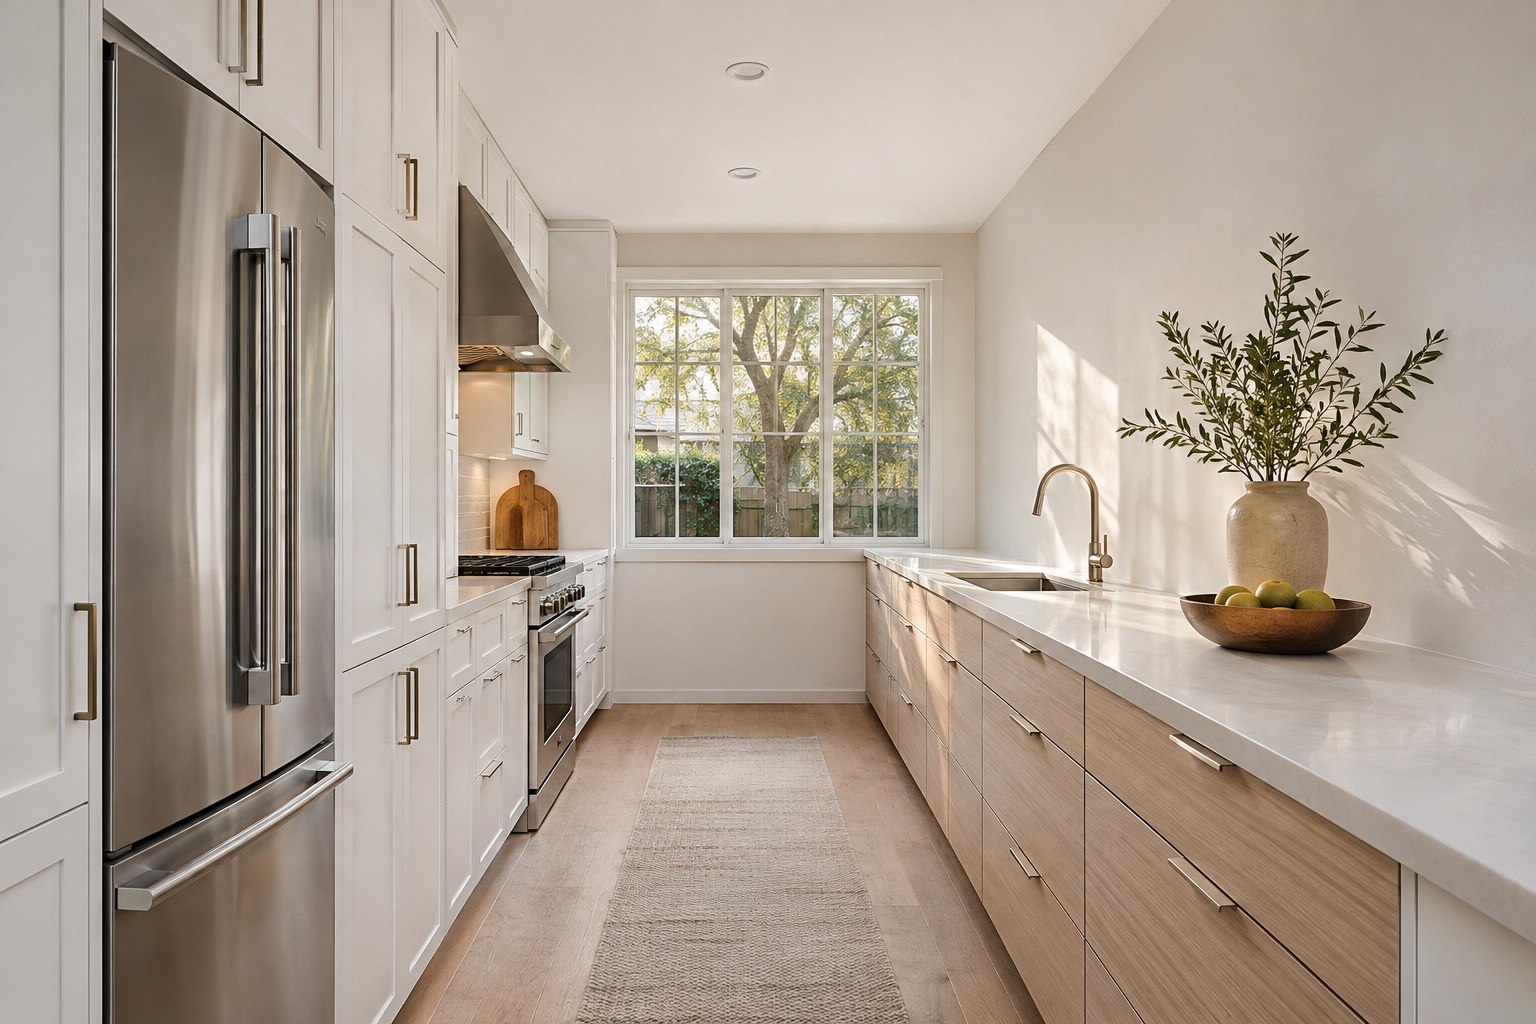
In a galley, decide which wall needs tall cabinets. A refrigerator and pantry bank on one side can leave a long, open stretch on the other. Take the lighter side all the way to the window if that is where you want to prep. A pale counter and a quiet wall above it can make the length of the room easier to see.
Before removing upper cabinets, sort the contents into everyday items and pieces you rarely use. Save reachable closed storage for the everyday items. Test your layout with the dishwasher or oven door open so the counter arrangement still works during cleanup.
4. Hide Tall Storage in a Single Wall
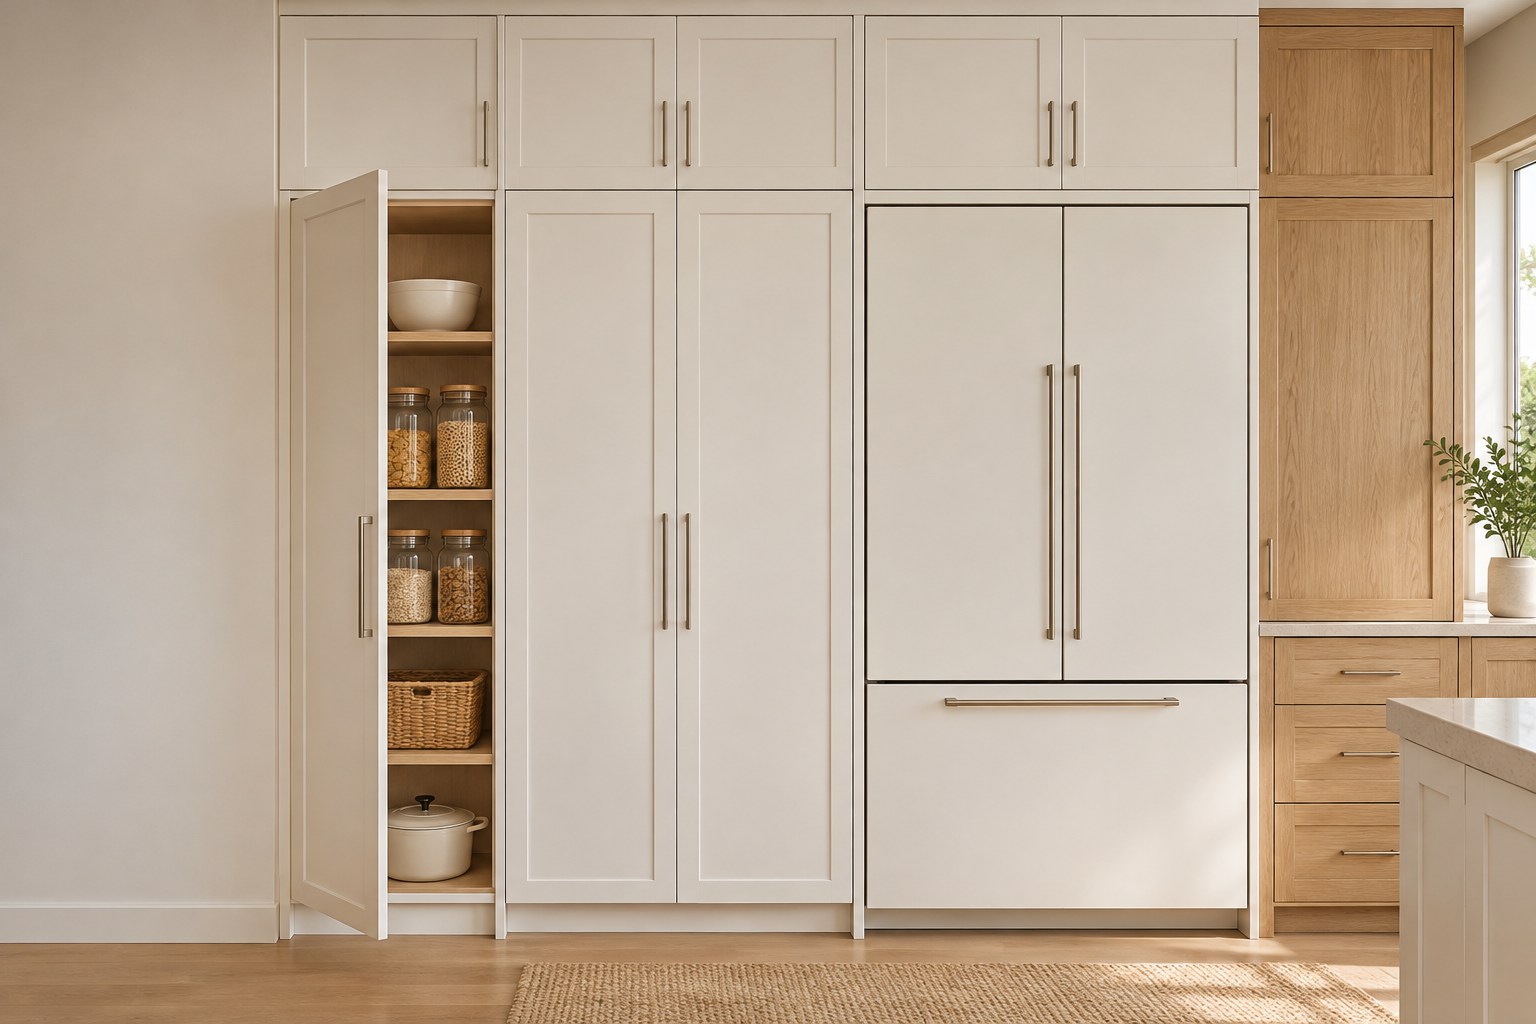
A refrigerator, pantry and broom cupboard can read as a single white cabinet wall when their faces share a simple alignment. Put this group where you can bring in groceries and reach the prep area in one trip. Check that the tall wall does not interrupt a line of light from an adjacent window.
Draw out the cabinet interiors before approving the outside. Give the shelves you can reach easily to items you retrieve every day. Reserve higher shelves for light, seldom-used pieces. An aligned front can simplify the view, and an interior drawn around your actual belongings will keep it useful.
5. Test White Door Samples Beside the Materials You Keep
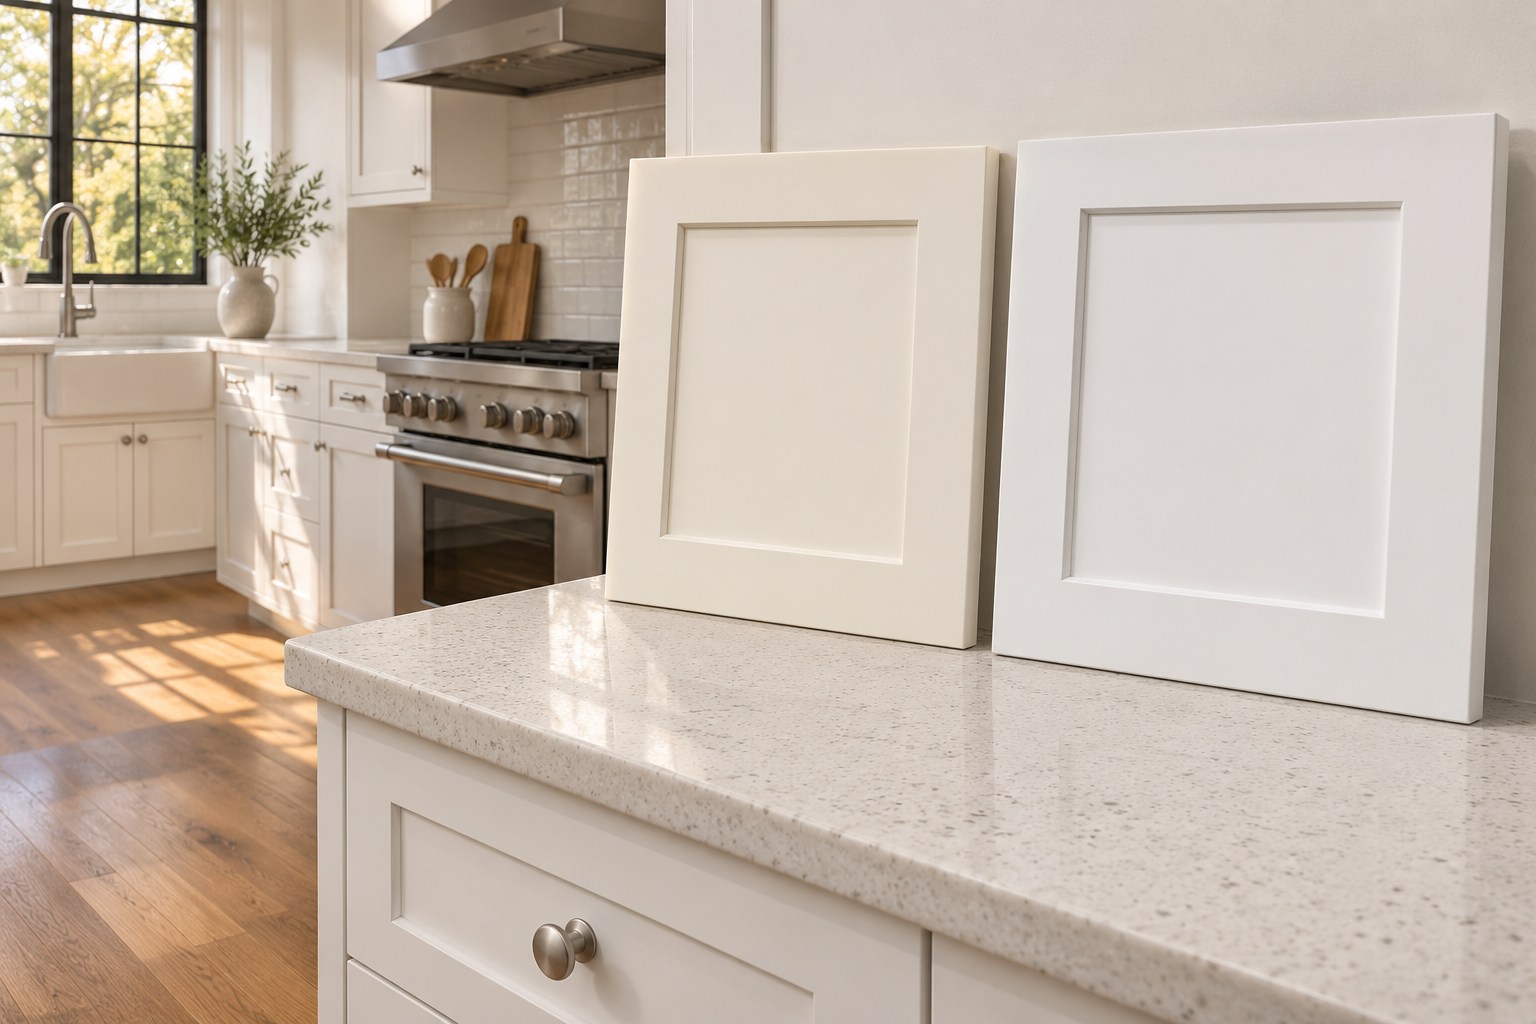
Put a warm white and a clearer white door sample upright beside the countertop you plan to keep. Look at the two together with the floor in view. A white that looks neutral against a store wall may shift once it meets a honey oak floor or a gray counter. Check the sample at a shaded end of the room as well as beside the window.
Leave the two samples out until evening and look again under the lights you normally turn on. If the shadows are cooler than expected, this guide to paint colors for north-facing kitchens can help you test the rest of the palette.
6. Choose Door Profiles by How You Use the Cabinets
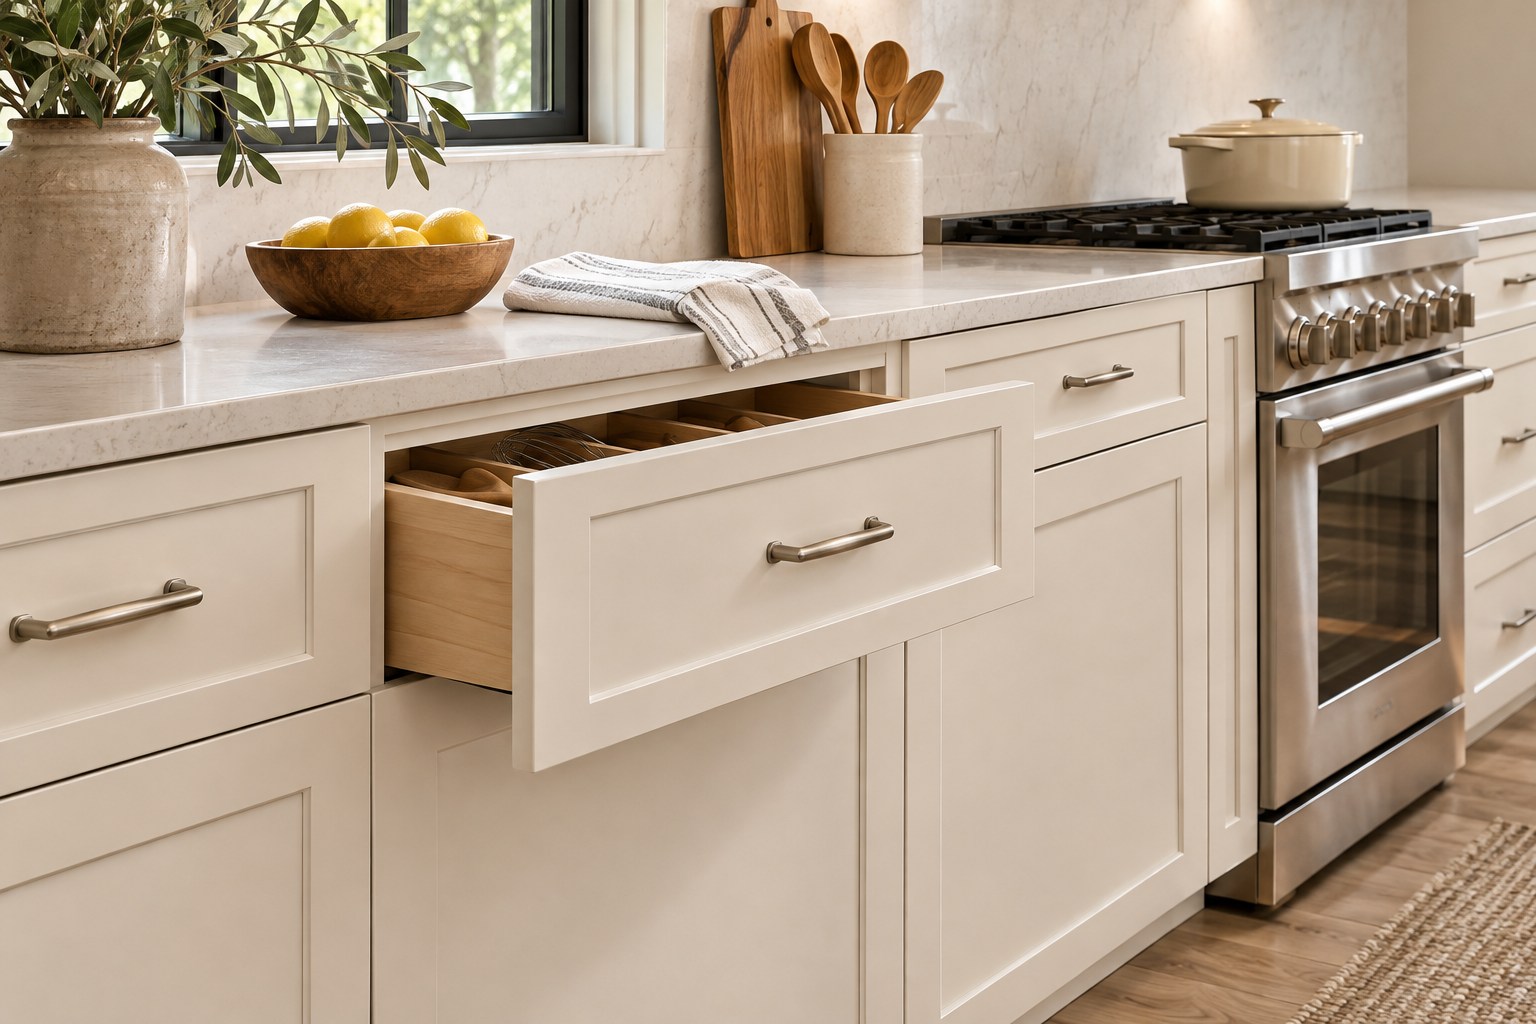
Flat fronts give white cabinetry an even surface with few shadow lines. A shallow Shaker frame adds just enough depth to break up a long run. Compare a door sample at the height where it will actually be installed. The profile that looks pronounced under a store light can almost disappear on a lower drawer in your kitchen.
Try opening both styles with your chosen pull. Run a damp cloth along the edges of the sample if the showroom allows it. Pick the profile you can comfortably grip, wipe, and live with where the cabinetry gets the most use.
7. Give White Oak a Single Consistent Role
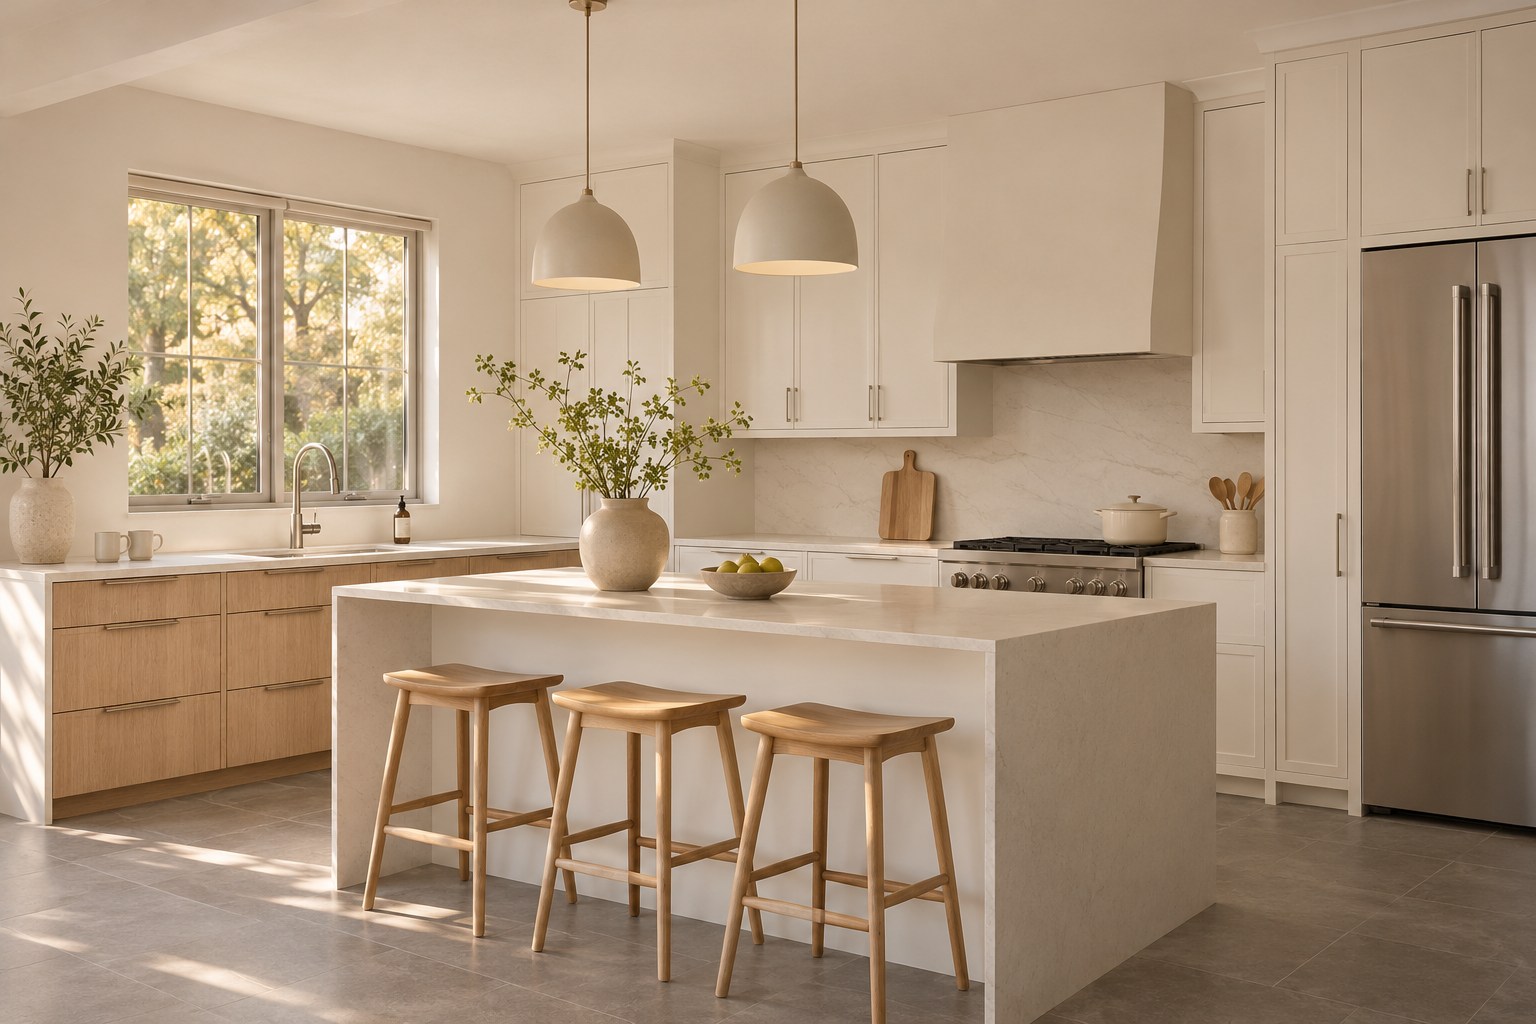
Wood has the most effect when you can tell where it belongs. You could use white oak for the whole sink base and keep the tall wall white. Or use it only on the island that meets the dining room. Carry a wood sample far enough back to see it with the existing floor before deciding on the finish.
Check the direction and strength of the grain on a door-sized sample. The small piece from a finish kit can understate how much movement you see across a cabinet bank. If your floor already has strong color changes, a quieter grain on the cabinets lets the two materials share the room.
8. Put the Color on the Island That Meets the Living Room
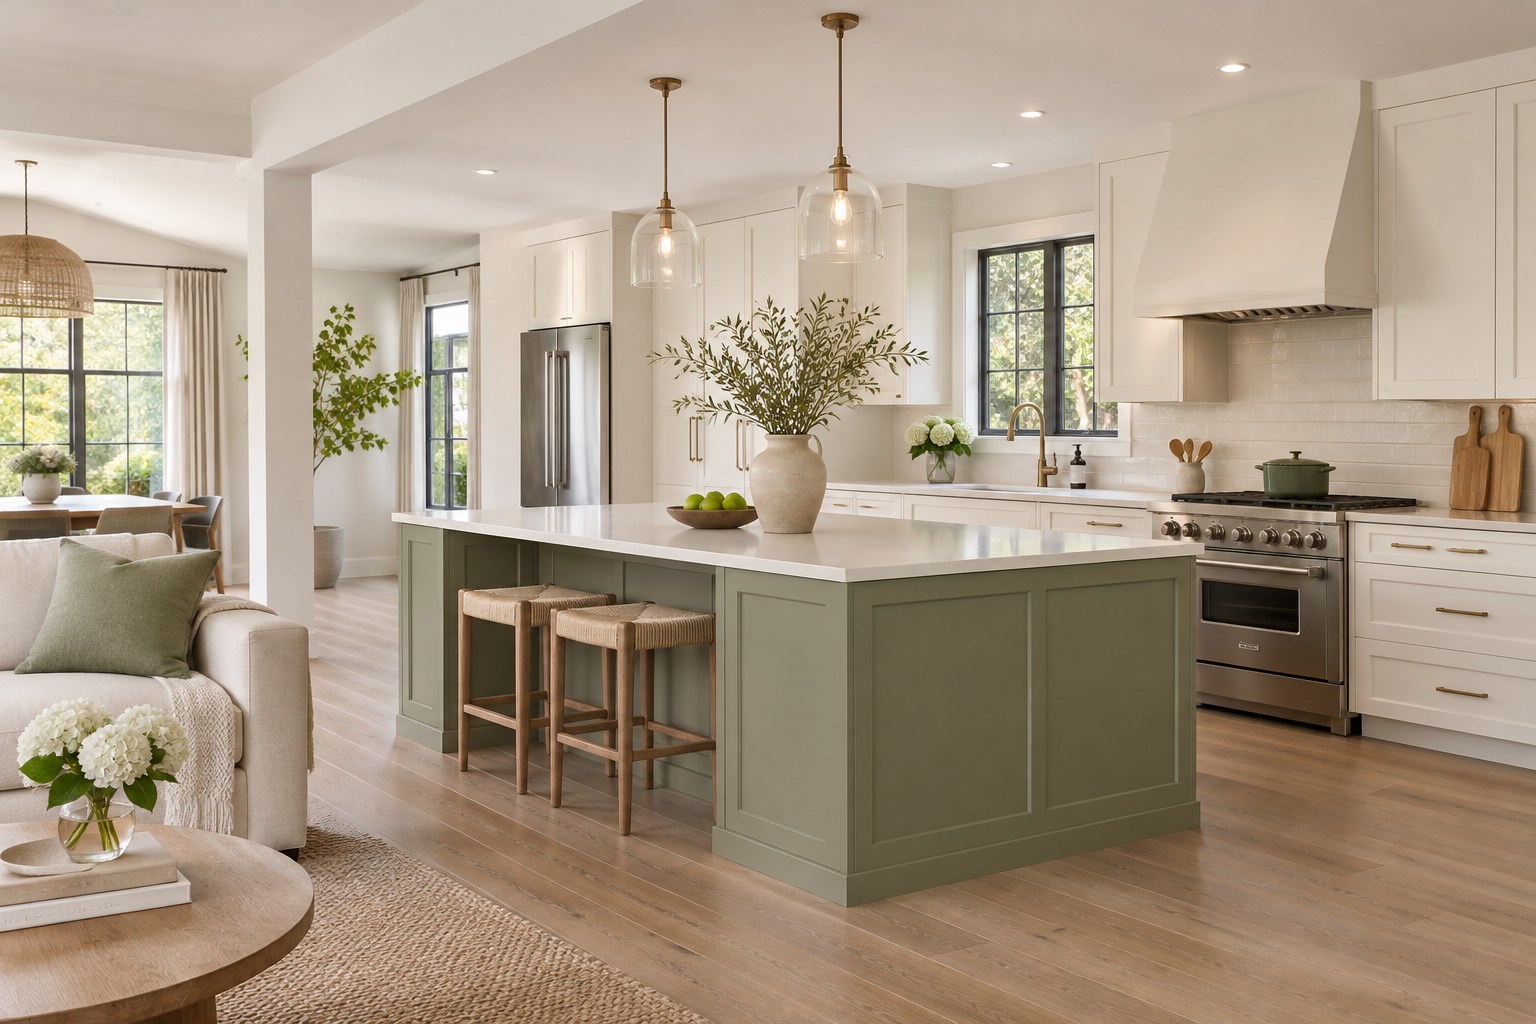
View the kitchen from the adjoining sofa or dining chair before choosing an island color. If the island is what you see first, try a muted shade that also appears in the next room. Sage can pick up a cushion or a leafy view. A dusty blue might relate to a rug you already use.
Tape a large sample to the island face at stool height. Leave the perimeter cabinets white and see how the color reads at night, when the rooms may have different lights on. Keep a plain counter if the color gives you enough detail on its own.
9. Let the Counter Carry the Stone Pattern
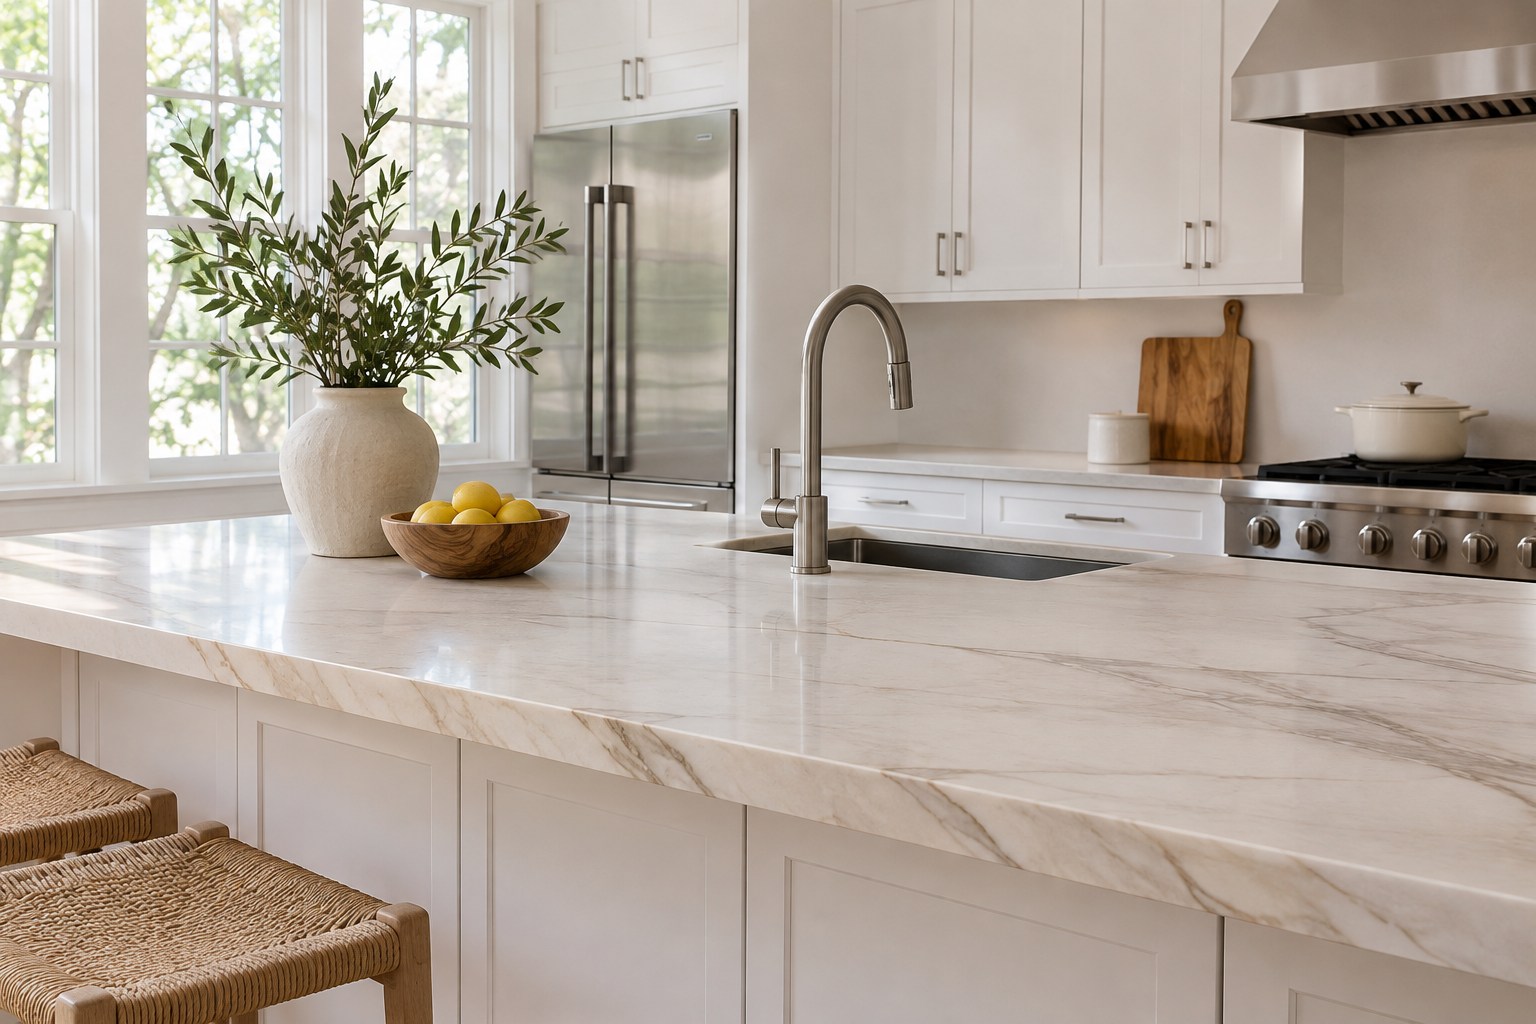
In a white kitchen, a veined counter can supply most of the pattern. Look at the whole slab or full-size pattern before settling on a sample. In a long, narrow room, the direction of a strong vein can lead your eye down the worktop. On a compact island, a small portion of the pattern may be all you see.
Check how the design looks near the sink cutout and on the front edge. Ask the fabricator to show where seams and conspicuous marks may land. If a long vein is the feature you liked, put it where you can see it from the entrance or your usual seat.
10. Use a Waterfall End Where the Side Stays Visible
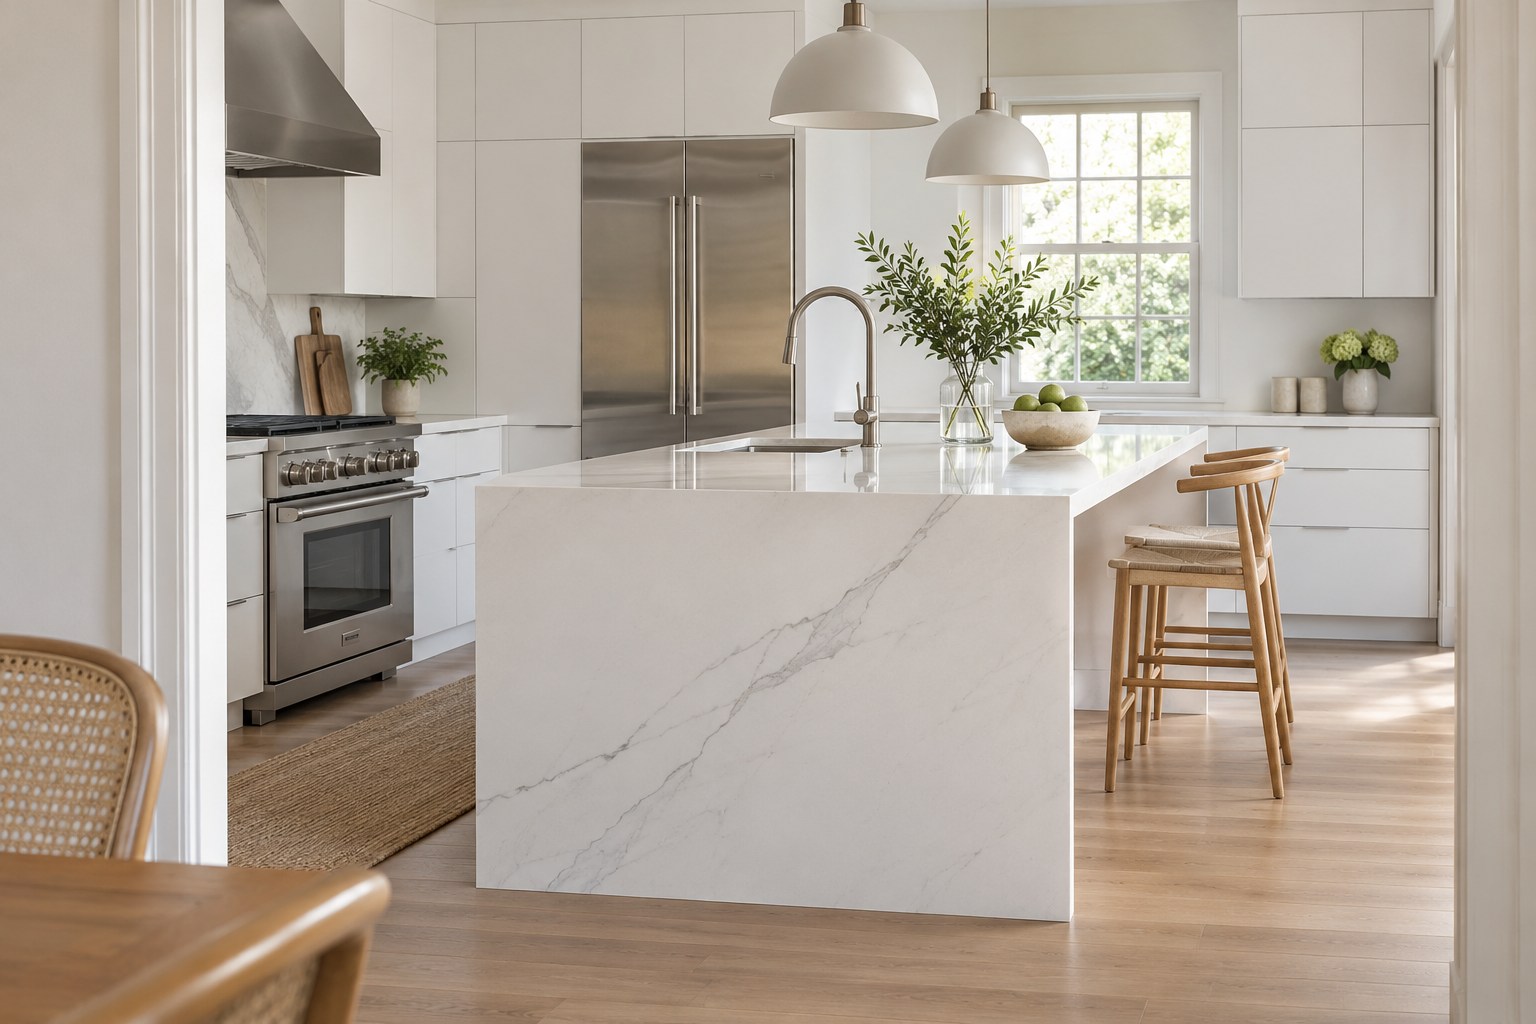
A waterfall panel earns its space at an island end you can see from the main doorway. Stand there and decide which end gives you that view. Check where stools tuck in, where drawers open, and whether a solid panel would take away space you use at the island.
A mitered waterfall in a veined material depends on where the pattern falls. Ask to see the cut layout before fabrication. If the end of the island sits against a wall or is mostly hidden by seats, a simple finished cabinet end can keep the strongest part of the design visible on top.
11. Use Texture on the Island Face You See First
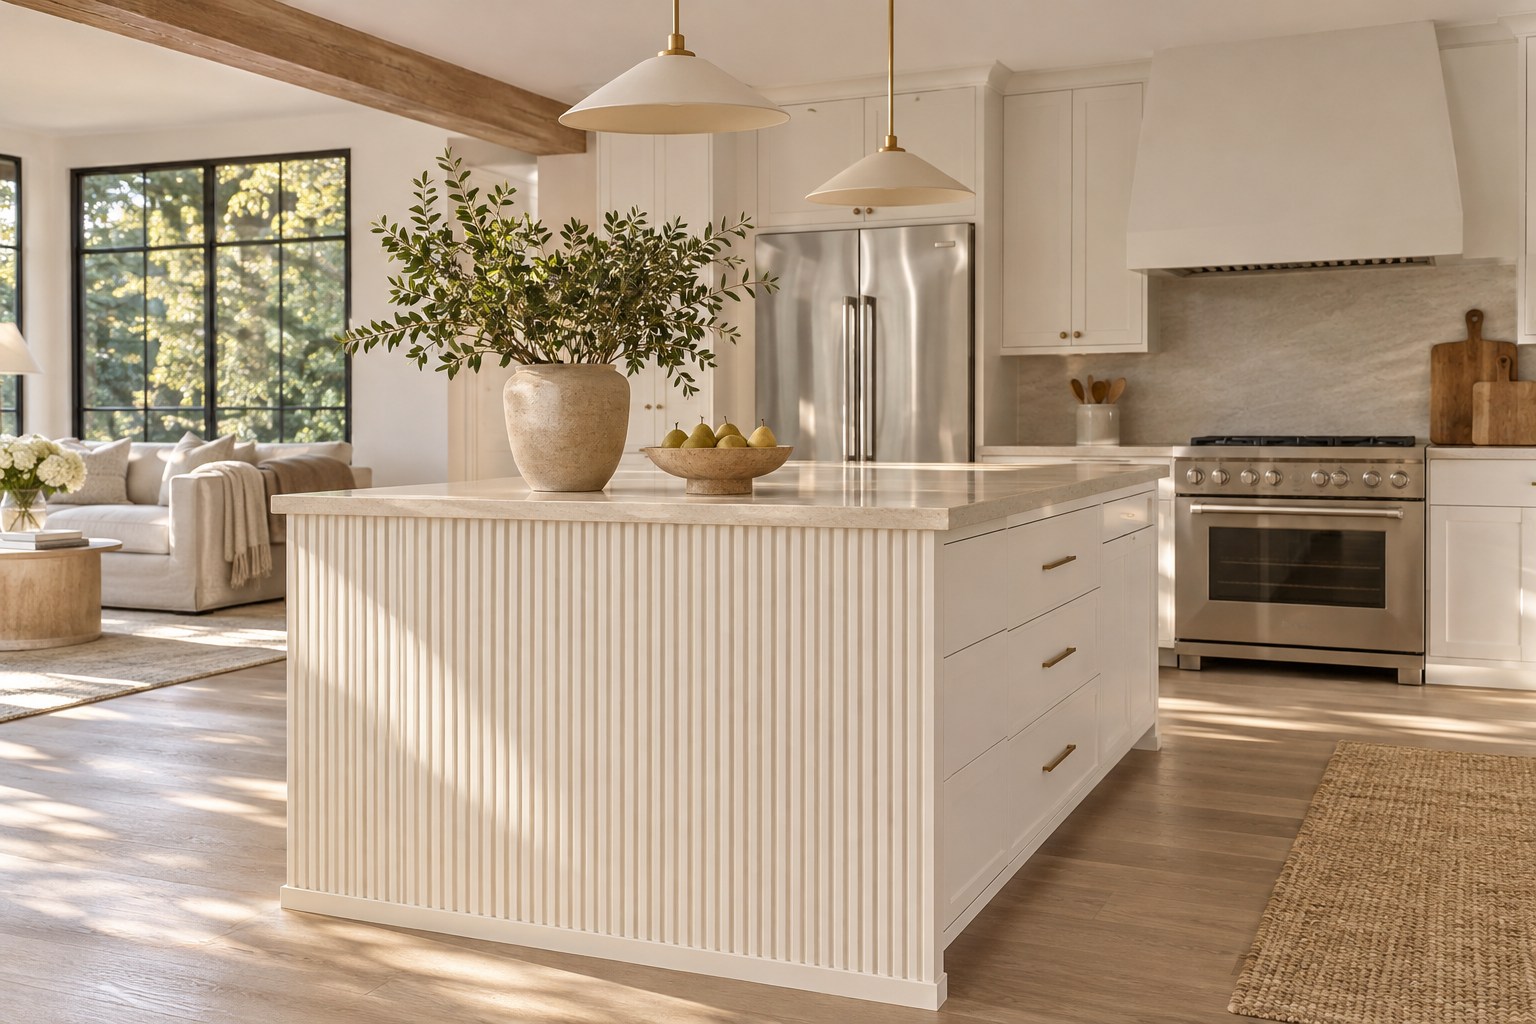
A fluted island face adds depth where side light can reach it. Try a shallow painted profile on the face that looks into the dining or living area. Keep the main drawer bank simple so the working side reads as one clear run.
Take home a small piece of the proposed profile and look at it upright in morning and evening light. A deep groove gives a stronger shadow, and it takes a little more attention to wipe. Check how it looks under the counter overhang and where stool backs will sit. The most visible portion may be smaller than you expect.
12. Soften the Long View With a Quiet Tile Wall
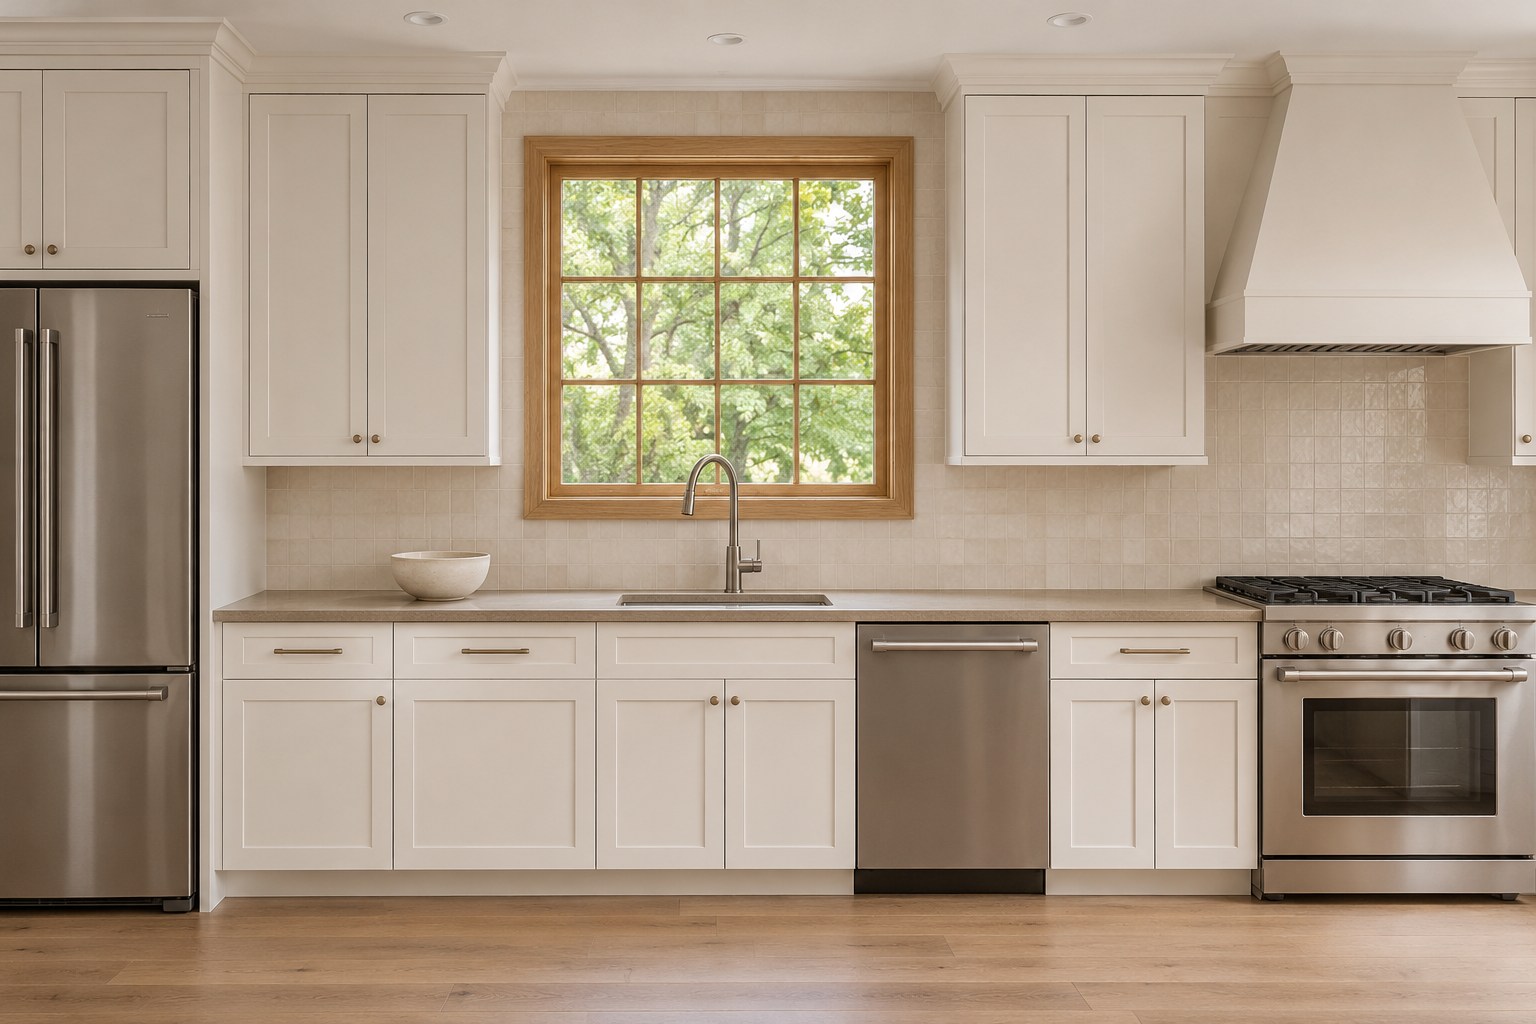
Decide how much attention the backsplash should get when you see the whole room. If an island or counter already has a distinct pattern, a low-contrast tile wall can connect the white doors to the counter. If the rest of the kitchen is quiet, one softly textured field can make the sink run feel finished.
Look at the wall from the adjoining room as well as directly in front of the counter. If you can already see a strong cabinet profile, floor grid, and countertop vein, choose a quieter tile field. Use these neutral kitchen backsplash ideas when it is time to compare sheen, pattern, and grout.
13. Try a Checkered Floor at the Actual Room Scale
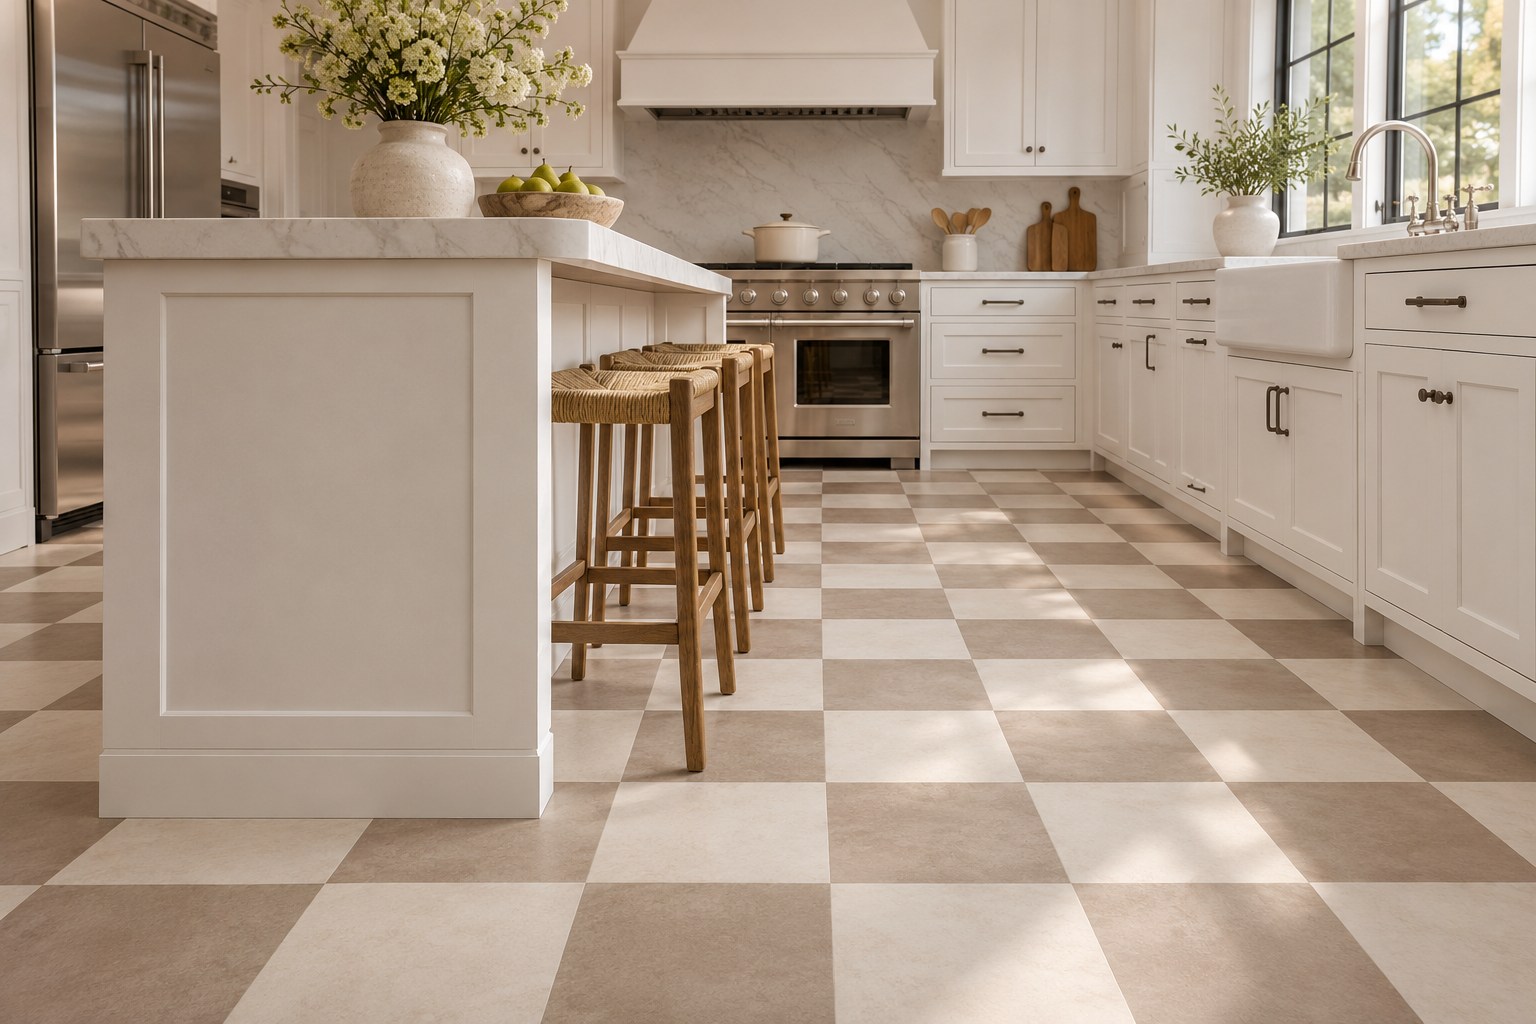
A cream and mushroom checkerboard gives white cabinets a little movement at floor level. Try the two colors in the actual tile size, or cut paper squares to represent them. Place a few across the entry and near a base cabinet. Check how many complete squares you can see before the pattern runs under an island or ends at the wall.
Stand at the doorway to judge the strength of the pattern. A subtle pair of tones works well when you still want the cabinetry and window to hold the room. Before choosing, ask your installer how the grid will meet the main threshold and whether the proposed tile suits a kitchen floor.
14. Choose Dark Hardware for the Lines You Want to See
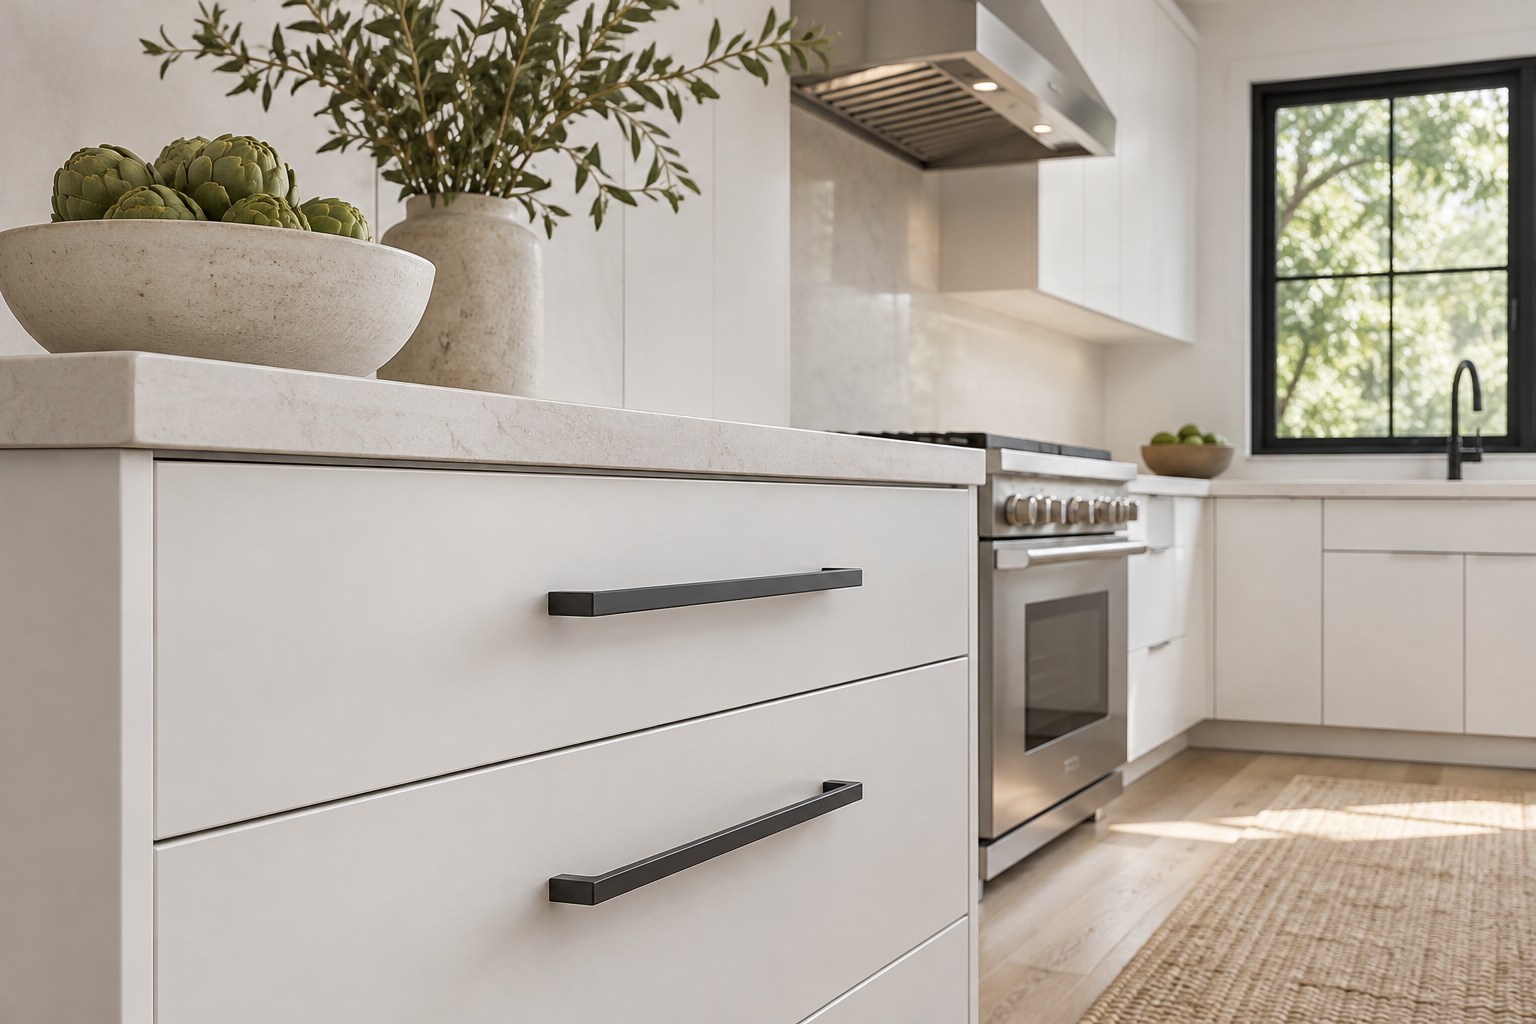
Dark hardware works best where you want a clear line. On white drawer fronts, try one short charcoal pull and one longer pull in the same finish. Look across the cabinet run from the entrance. Choose the length that relates to the width of the drawer and feels easy to use at the prep counter.
You can repeat the finish on one larger detail, such as a dark window frame. Hold the hardware against the door sample before ordering. A small gap under the pull or a sharp corner can make a piece uncomfortable, even if it looks right from across the room.
15. Use Brushed Warm Metal on the Pieces You Touch
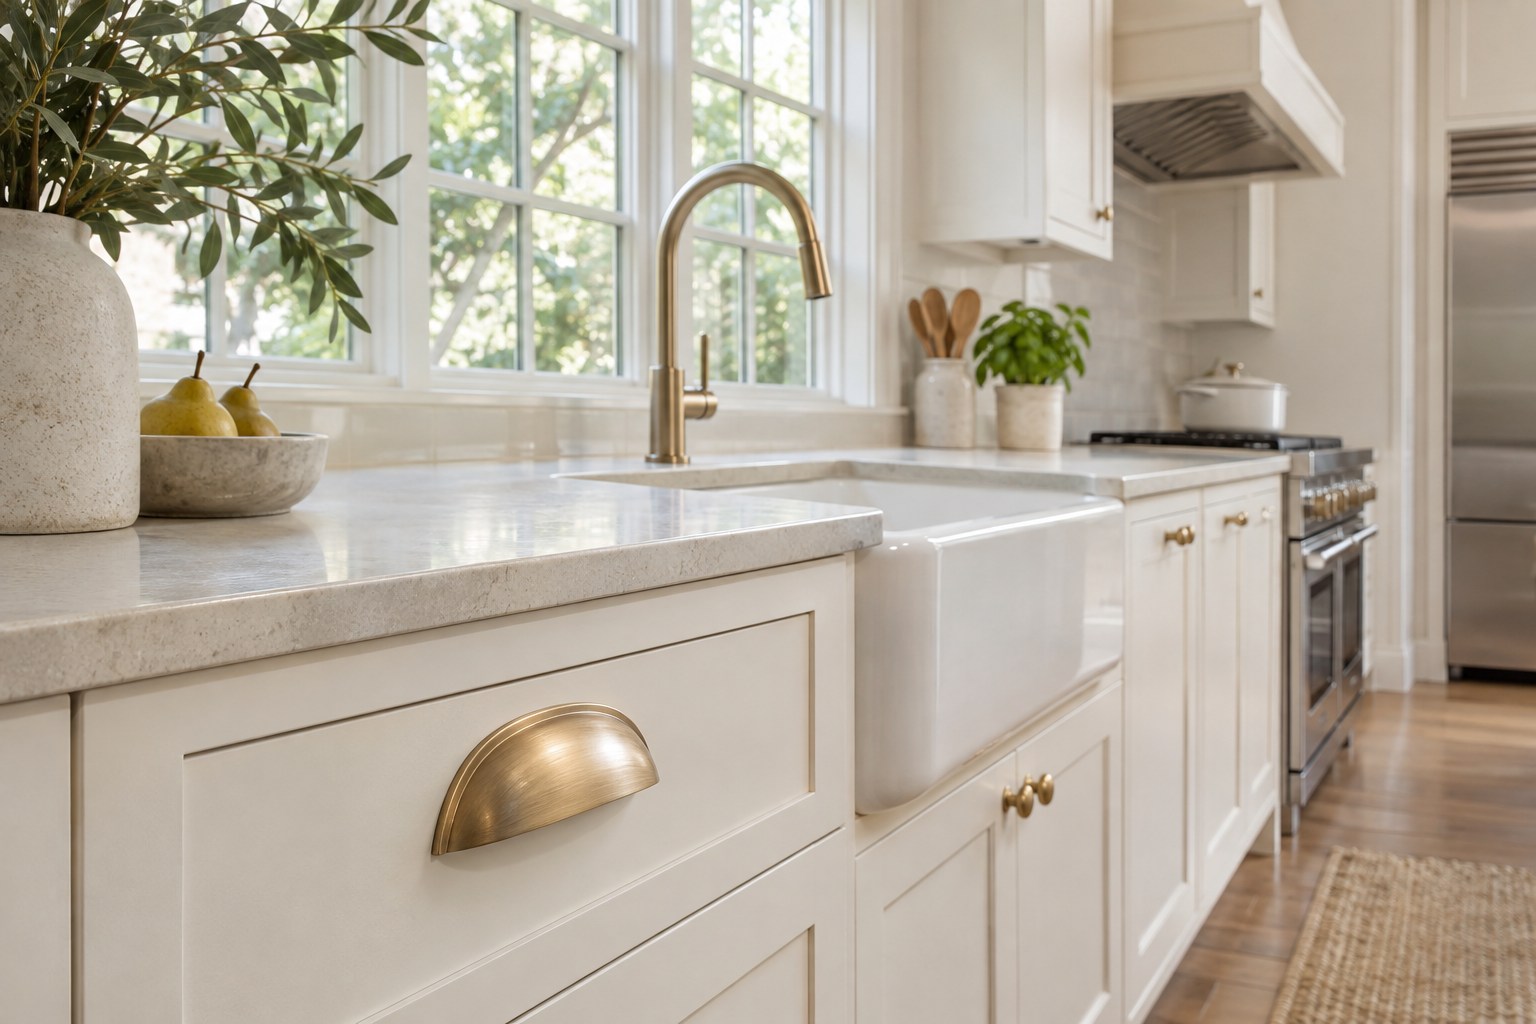
Warm metal can soften the look of plain white cabinetry, especially on an everyday touch point. Start with a faucet or a drawer pull you genuinely like using. Try holding a brushed brass or warm bronze sample beside your door, sink, and counter. Check the shape in your hand and see how much the finish reflects when the window light hits it.
Decide which piece should carry the most warmth. A faucet and one nearby run of pulls can make a small connection without requiring the lights and all the fittings to match. If the finish is new to you, read the supplier’s cleaning guidance before choosing it for a heavily used sink.
16. Put Glass Doors Where the View Will Stay Calm
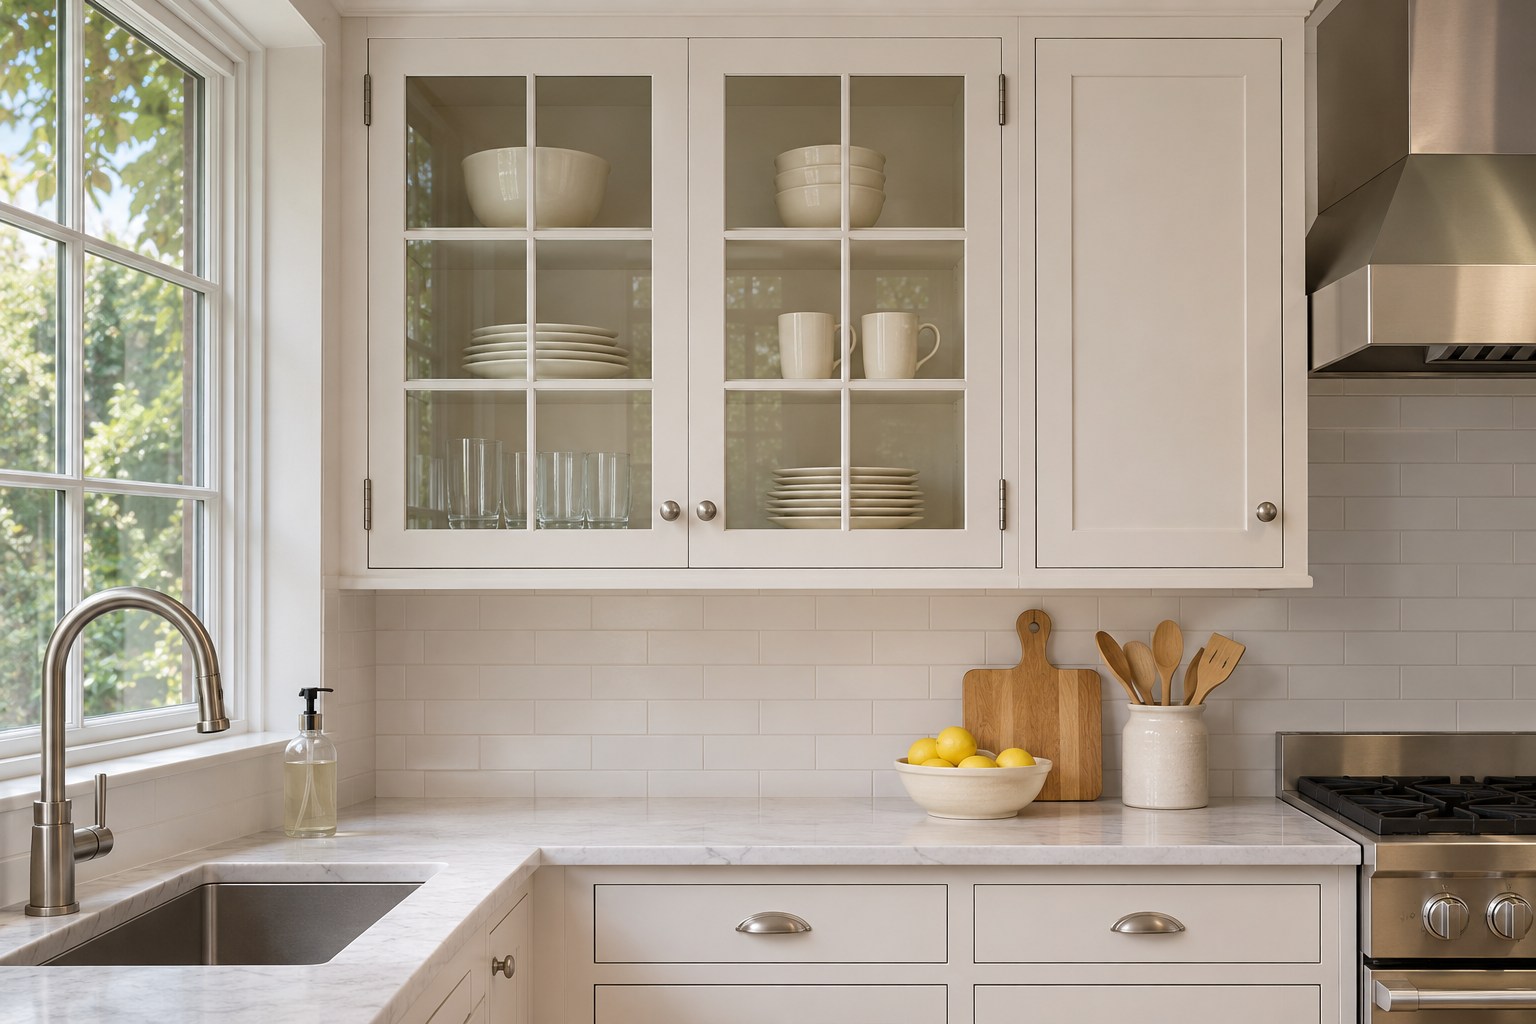
Glass-front doors give one upper cabinet more depth. Pick the section that already holds dishes you reach for and are happy to see. A few stacks of simple plates or glasses can fill the view. Closed doors next to it can hold appliances and the food packages that change from week to week.
Take a photo of the cabinet contents with the doors open and look at it from the doorway. If the shelves feel busy, try one fewer stack per shelf or choose a textured glass sample to soften the outlines. Check the actual view under both daylight and the nearby kitchen lights.
17. Leave One Reachable Shelf for the Dishes You Use
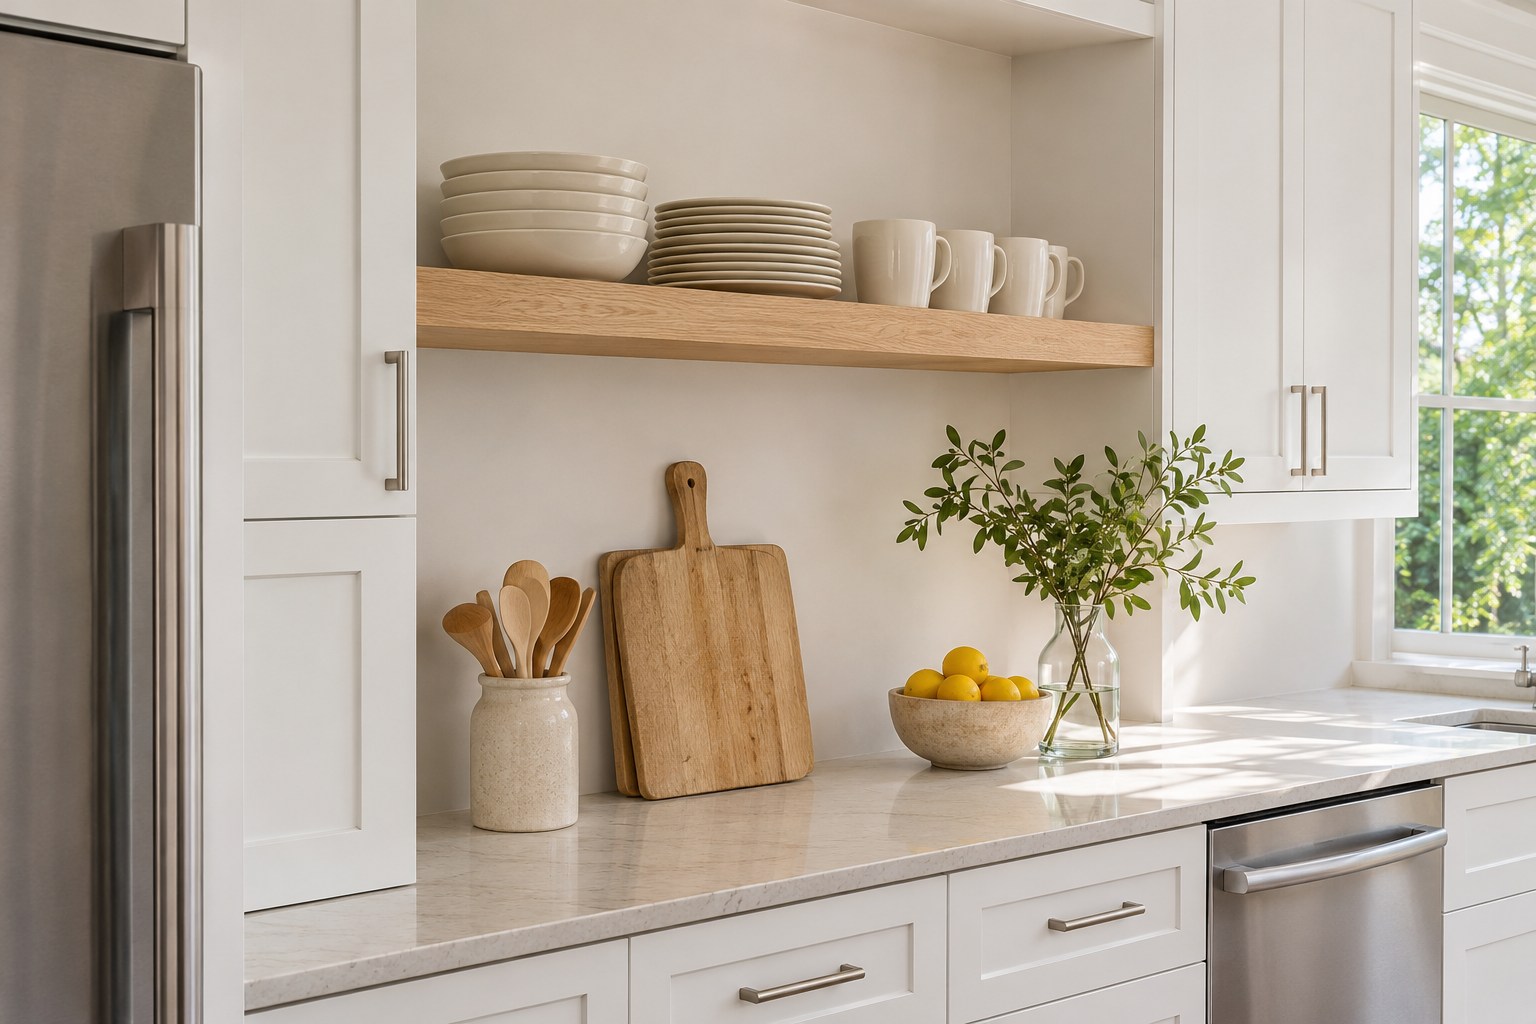
A single shelf can put mugs and small plates within reach while keeping most storage behind doors. Choose one spot beside the point of use, such as above a coffee counter. Put the items you reach for every day there and check whether the depth is enough for a plate with room to lift it.
Before approving a permanent shelf, mark its lower edge on the wall with a paper template. Stand at the counter and pretend to lift the tallest mug. Keep the shelf away from heavy grease or splashes, and choose its support for the actual weight of the objects you plan to store.
18. Make the Sink Wall Work From Both Sides
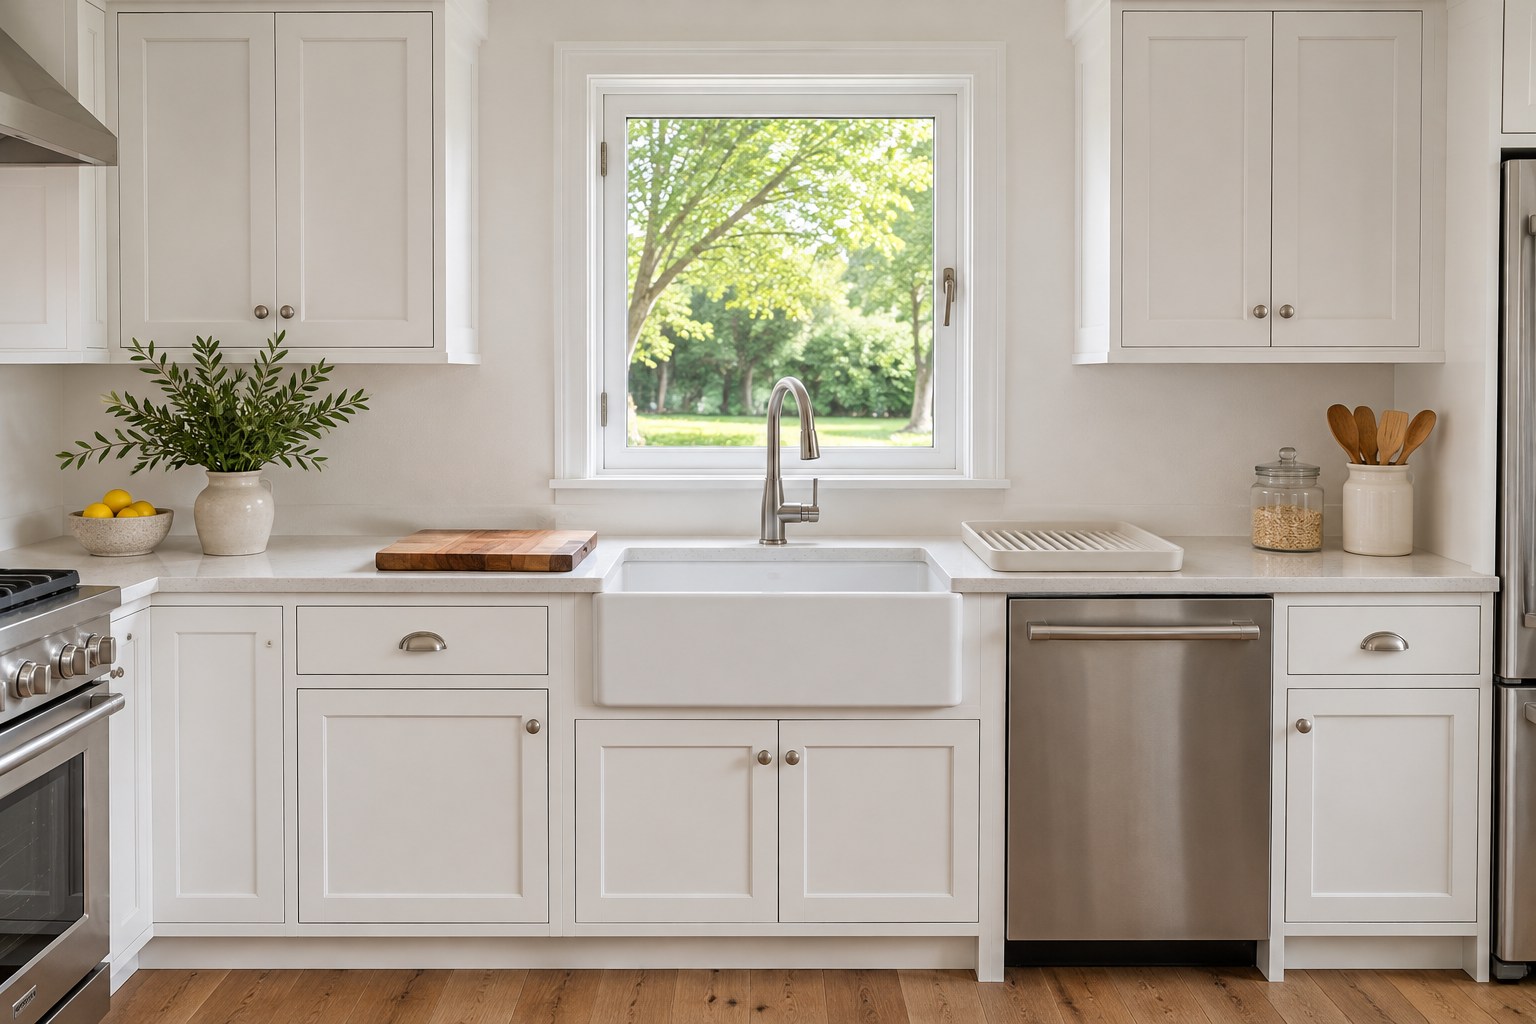
Lay out what happens beside the sink before choosing the sink profile. Reserve a spot for a cutting board or a bowl of produce on the side closest to your prep counter. Give the other side a clear place for the dishes you hand-wash or unload. A white apron-front sink can make a simple cabinet run feel grounded when the rest of the wall stays usable.
If the sink is beneath a window, check the faucet and handle swing against the sash. Check the dishwasher and cabinet doors at the same time. Those movements matter every day, and you can test them on a drawing before the sink base is ordered.
19. Build a Drawer Around Everyday Prep
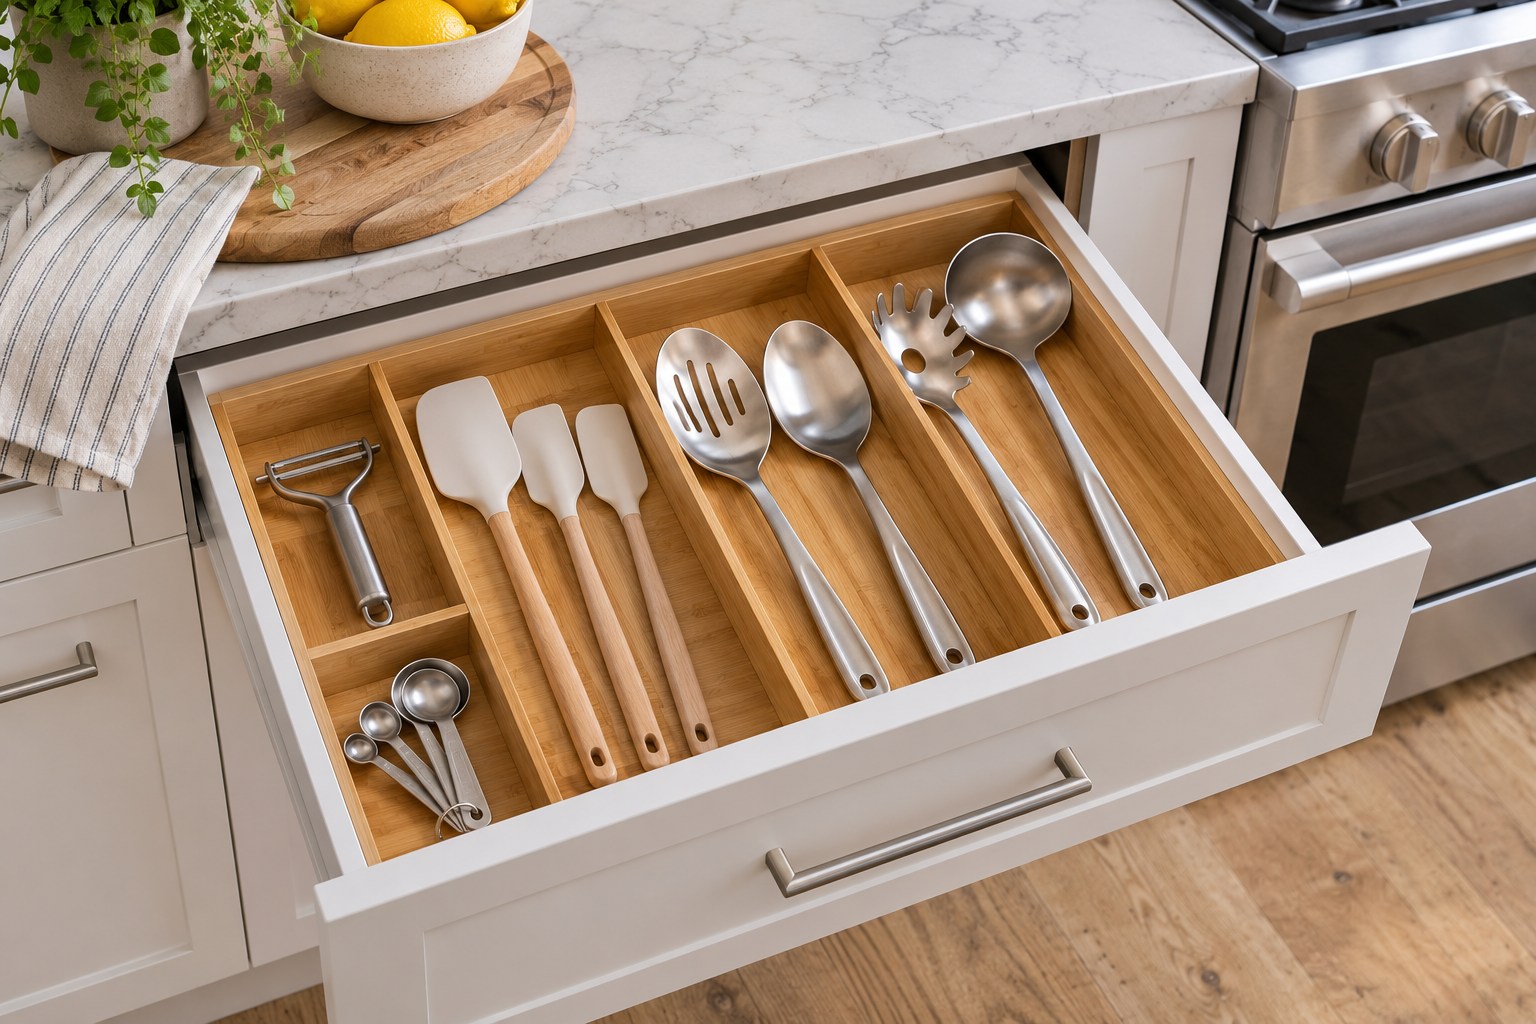
Start with the tools you use in one ordinary prep session. Give measuring spoons and small tools one group, flexible spatulas another, and longer serving utensils their own space. Put the drawer as close as possible to the surface where those jobs happen. You may be able to reclaim the counter by moving the tools you use least to a different drawer.
If you want an organizer, measure the usable width and depth inside the drawer and check its closing clearance. An expandable bamboo tray can adapt to different widths within its specified range. Set the compartments around the utensils you actually use, then open and close the drawer with the longest piece in place.
The Royal Craft Wood expandable bamboo drawer organizer is 17 inches front to back and adjusts from 13 to 19.6 inches wide. Measure the usable drawer cavity and check that the organizer and your tallest utensil clear the frame when the drawer shuts.
Discover Royal Craft Wood expandable bamboo drawer organizer (paid link)
20. Give Small Appliances a Landing Place
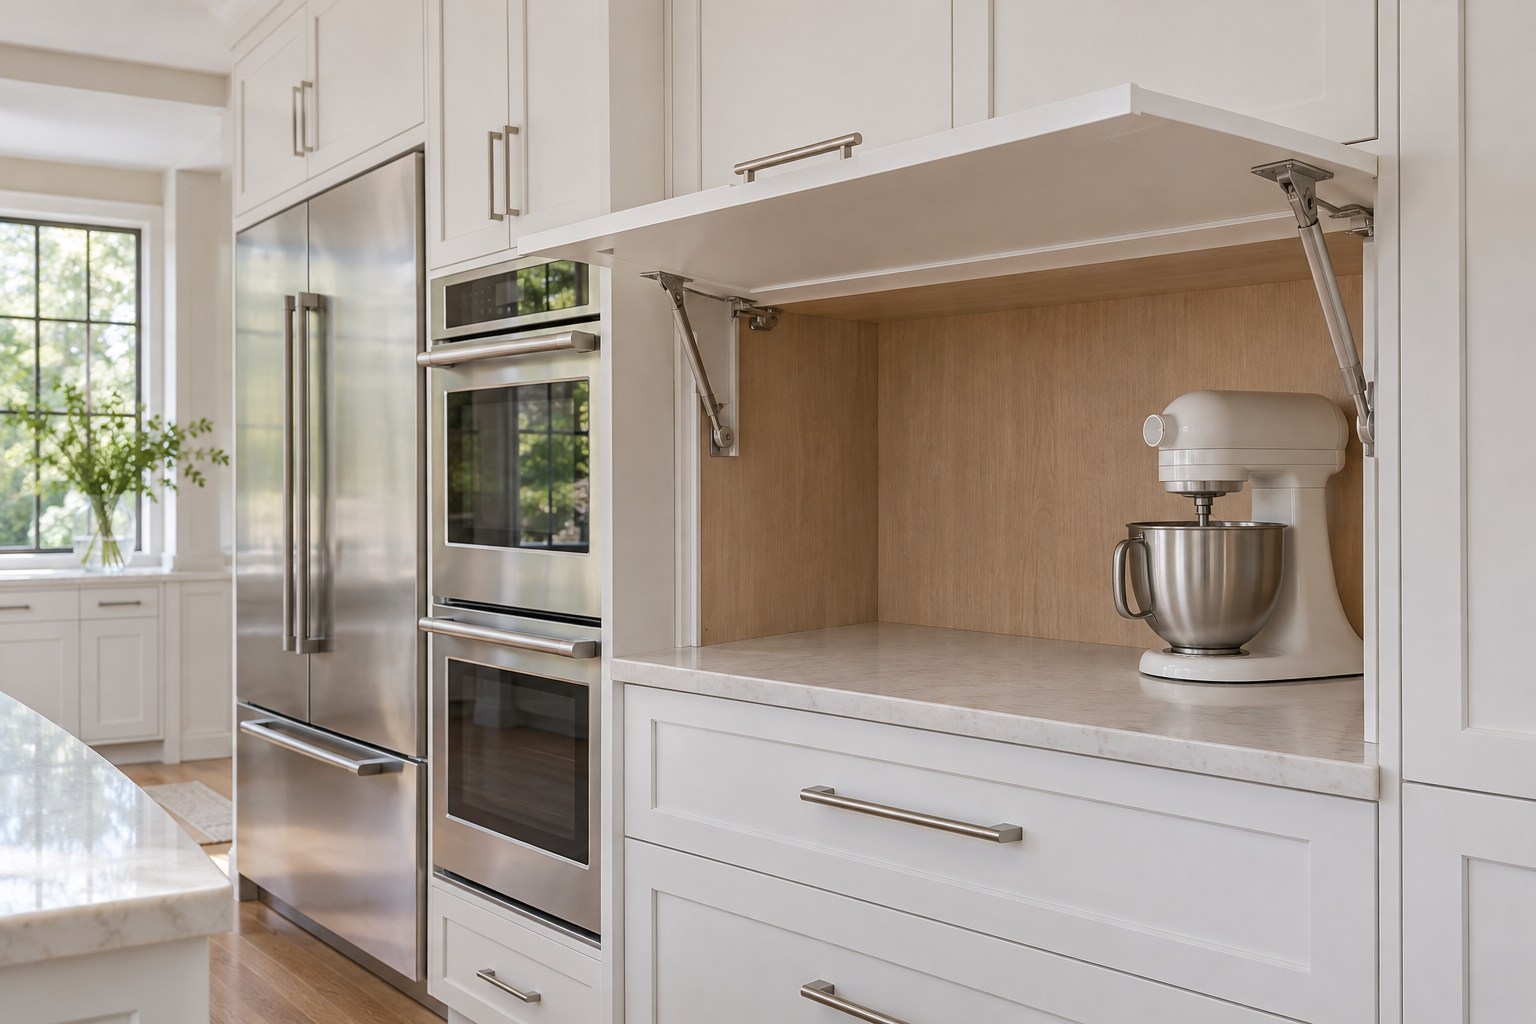
A dedicated counter spot for an appliance frees the main prep surface. Start with the one you use most, such as a stand mixer. Mark its footprint and leave room in front to set down the bowl or attach an accessory. If you plan a cabinet door over that area, check how far the door opens and whether you can reach the controls comfortably.
Leave a pull-out or open work area for appliances that need it, and follow the model’s instructions for use and clearance. Take items that make heat or steam out of a closed nook before use as directed. The simplest layout is often an open counter with closed storage above and beside it.
21. Layer Light at Prep, Sink, and Seating
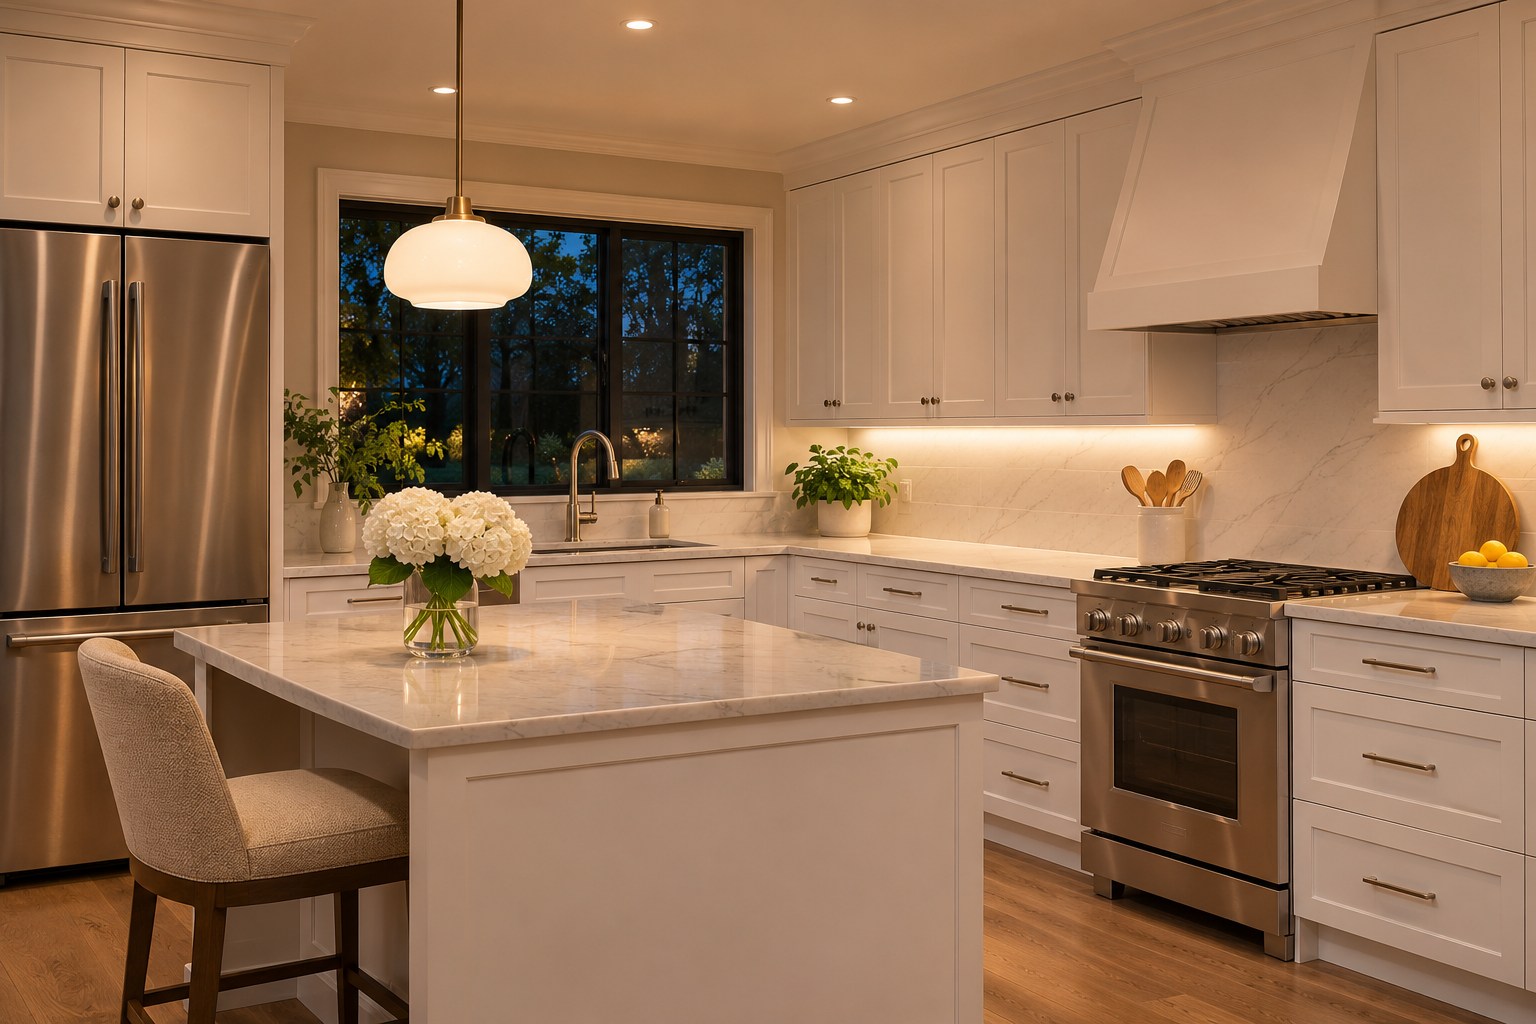
Stand where you chop after dark and notice whether your own shadow falls across the board. Then move to the sink and sit at the island. These three positions can reveal a dark patch or glare that looks fine in a wide photo. Plan enough local light for prep and a softer light where people sit.
Check white samples under the lighting you already own or expect to install. A small test near the actual worktop gives you a more useful comparison than a picture on your phone. These under-cabinet lighting ideas offer options for illuminating the work surface once you know where it needs help.
22. Keep the Dining End Lower and Quieter
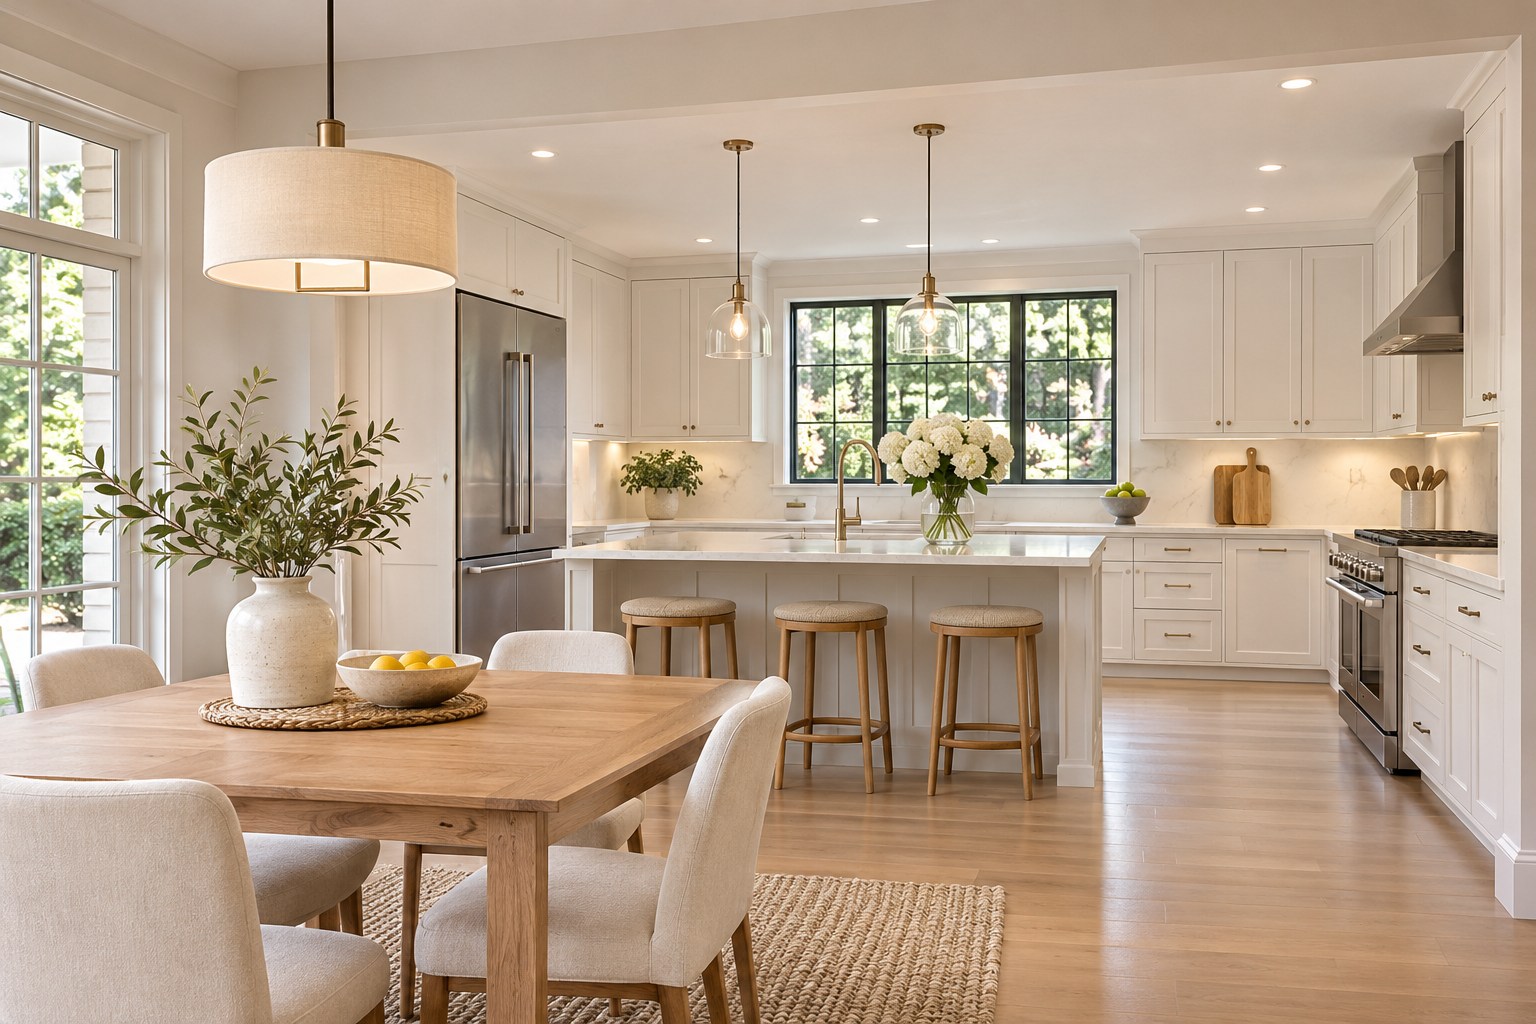
A lower chair back can preserve the view from the dining end of an open white kitchen. Try turning the table so the longest clear route runs along the side you use most. Pull out the chairs and check whether a person carrying plates could pass while someone is seated.
Keep the most useful side of the kitchen counter open to the table. A small landing spot near that end helps with serving and clearing. If you are working through a tight joint floor plan, these kitchen and dining room combo ideas have more examples of how dining furniture can fit around the kitchen route.
23. Give an Outdoor White Kitchen Materials That Can Stay Outside
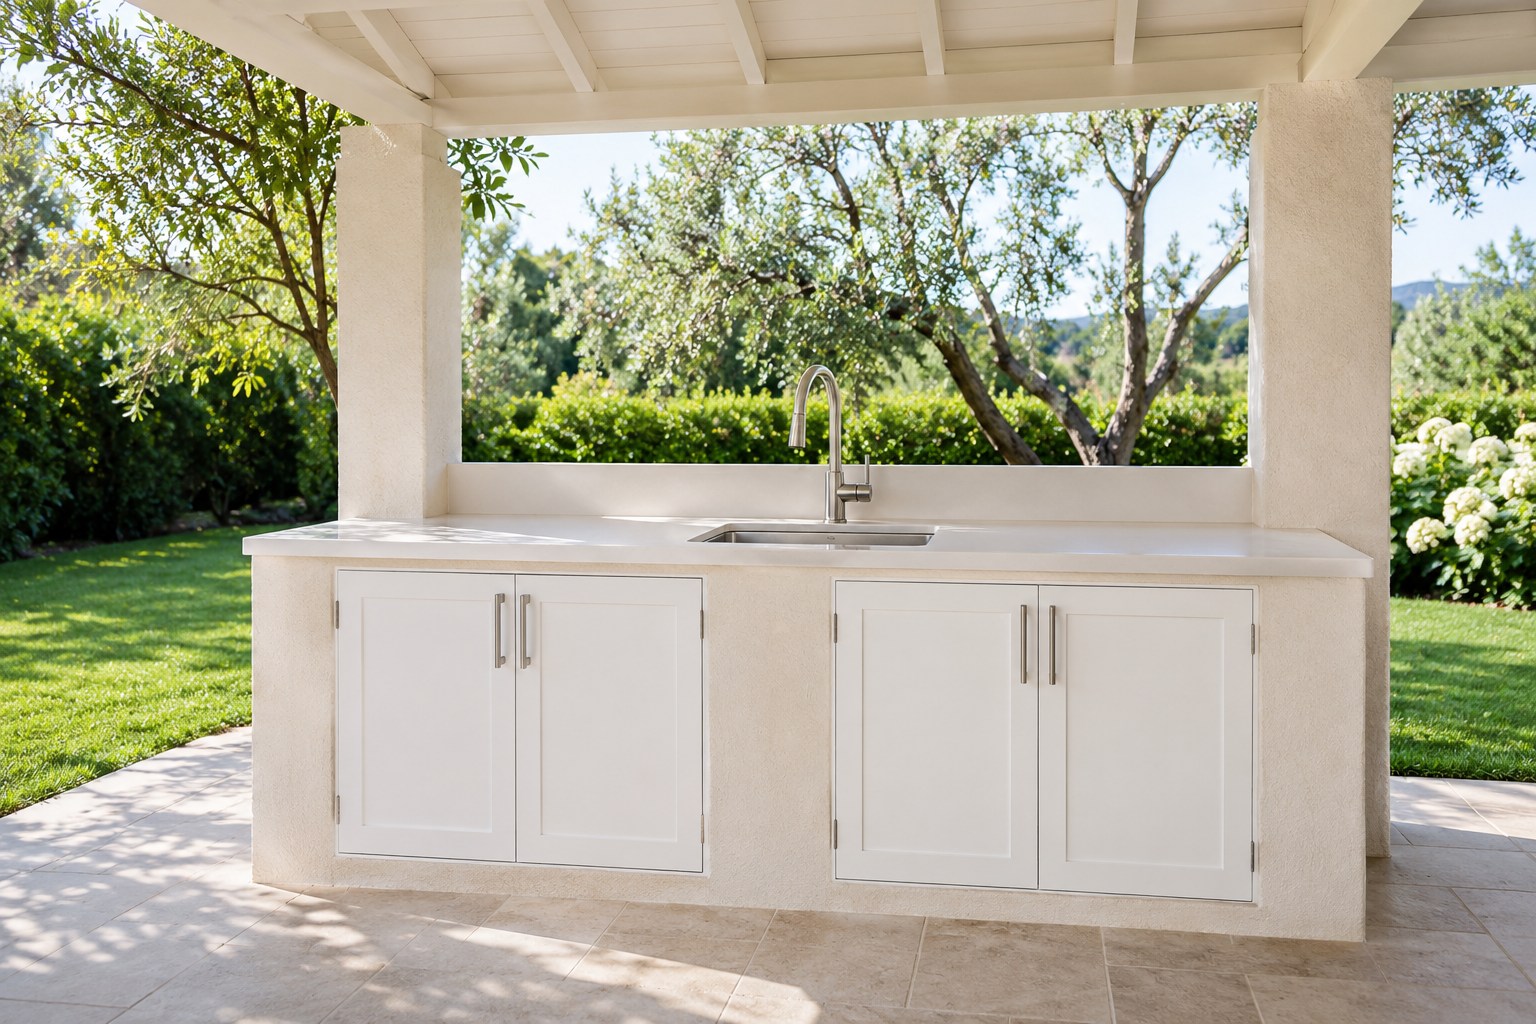
An outdoor white prep counter needs a finish rated for the actual exposure. Hold the proposed white surface outside, where strong sun can make a bright finish look much sharper. Ask the supplier whether the countertop, cabinet material, hardware, and sealants suit your climate and the amount of water and sun the spot gets.
Try a soft off-white base beside a pale outdoor-rated counter. Use closed storage for items that belong outside and leave space to wipe around the sink. Ask the installer how the surface will meet the wall and handle drainage. Plan any cooking appliance separately with the required outdoor siting and clearances for that model.
24. Use One Moveable Piece for the Jobs That Change
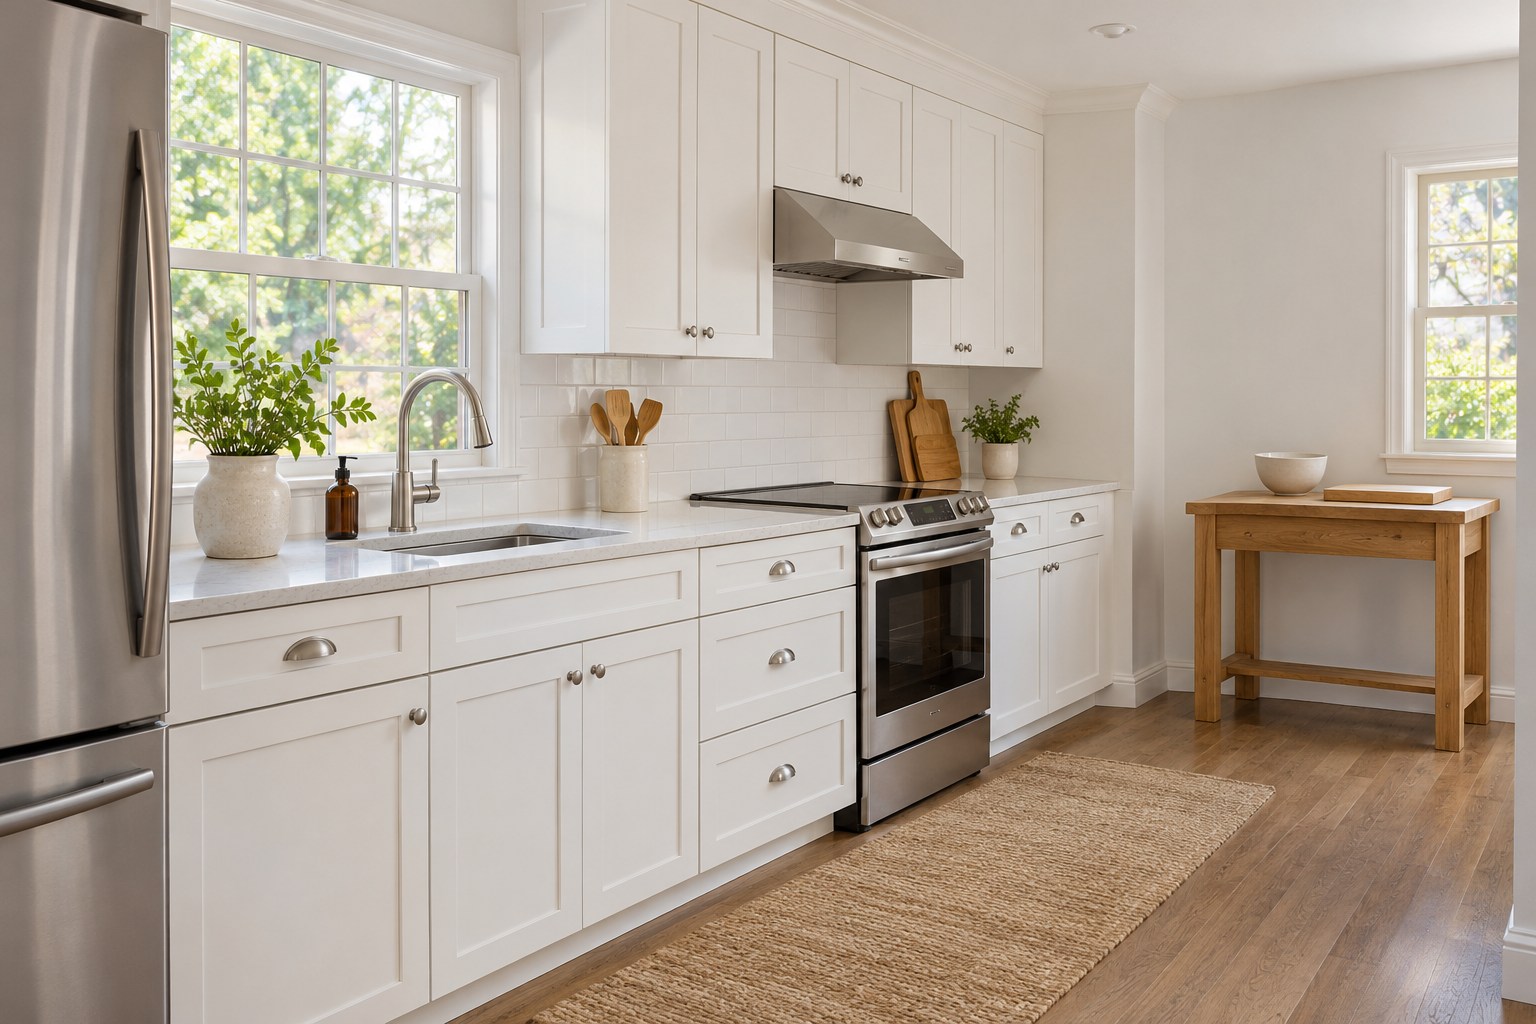
A compact oak worktable gives a white kitchen a second place for a cooling rack or a stack of groceries. Try its footprint on the floor before buying one. Use the same test during a meal and after someone opens the nearest cabinet door. Pick a stable piece with a worktop you can wipe and an edge you can grip when it needs to move.
Give the table a parking place where it does not cross your normal route. In a small kitchen it might sit at the end of a cabinet run most days and move closer to the prep area when you bake. Check that it clears the doorway before counting on it as a movable surface.
25. Let the Upper Cabinets Recede Into the Wall
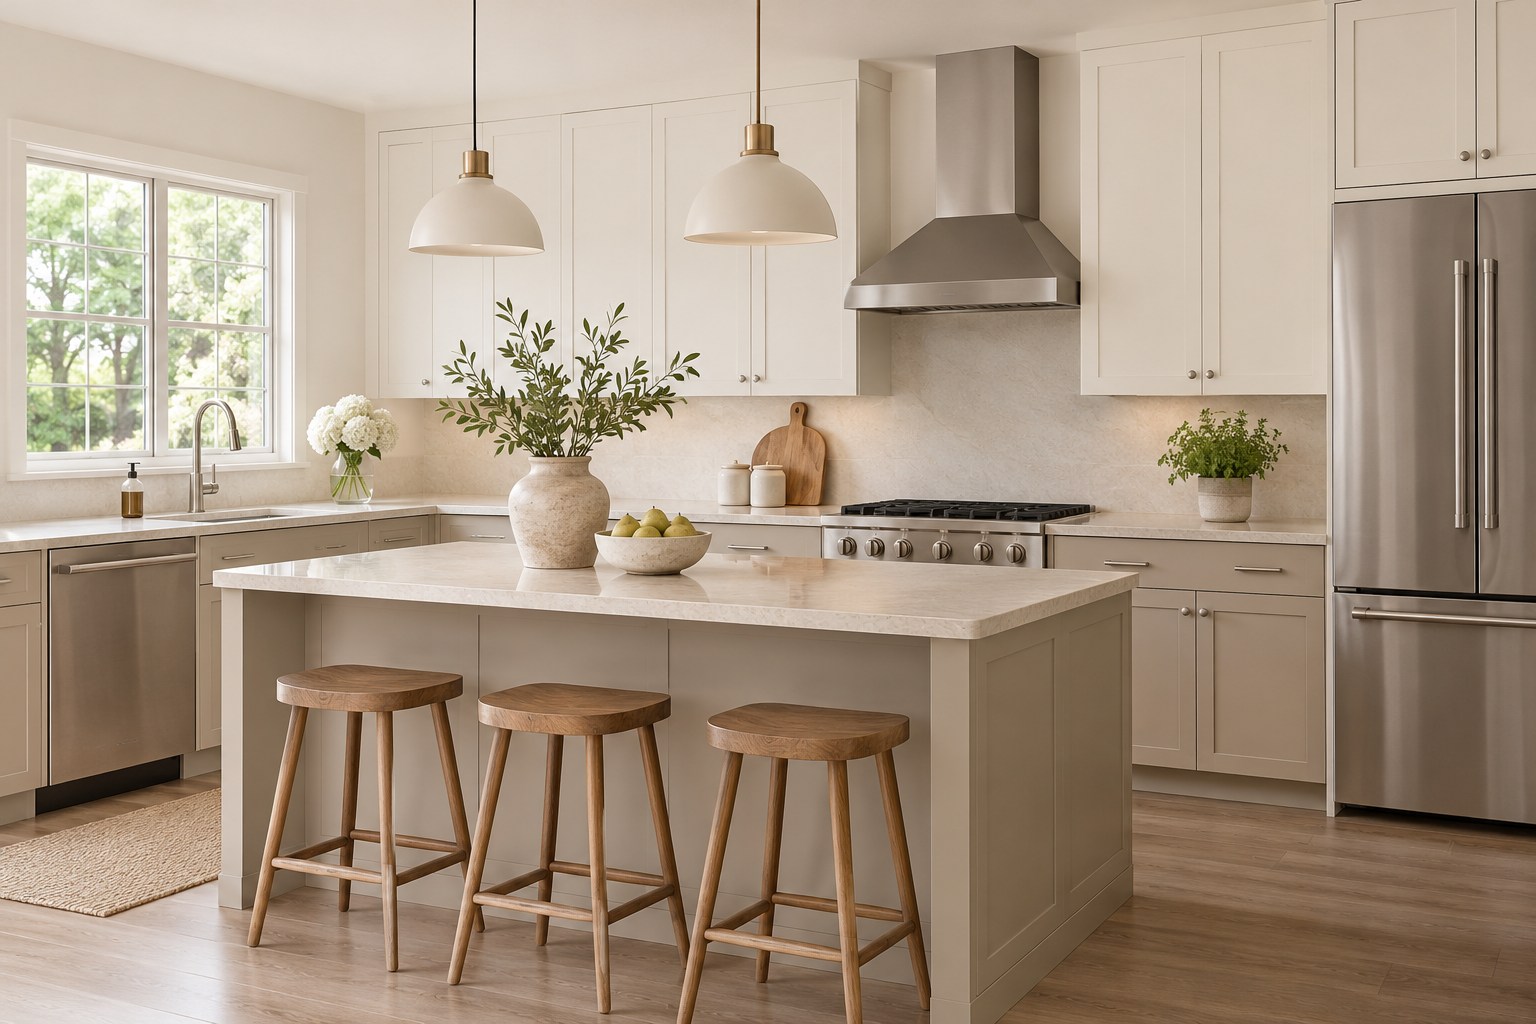
If you like two-tone cabinets, start with white uppers close to the wall color. Put the stronger putty or wood tone on the lower cabinets and keep the counter simple enough to join the two. Check all three at once from the main doorway, because the floor will usually influence the base cabinets more than the uppers.
Try the proposed lower finish on two neighboring fronts if possible. A darker tone can pull the eye to the longest run, which works well when that run already has a clean shape. In a small room, a gentler difference between the two finishes can keep the working area feeling continuous.
Choose the idea that fixes something you notice during a real meal. You can test most of these choices with a door sample, a piece of tape, or a walk through the room at night. Once the kitchen is easy to move through and pleasant to work in, the white finishes have room to do what you chose them for.
Discover more from HomeTrendora
Subscribe to get the latest posts sent to your email.