A clean packing box already has the warm brown color of gingerbread. Give it a roof, a few pale details, and a shape that fits your shelf, and it becomes a Christmas decoration you can make your own. These 12 cardboard gingerbread house ideas range from tiny standing cards to a little three-dimensional street.
Keep the projects indoors and unlit, away from water, heat, and working appliances. Gather clean, dry card, suitable paper-craft adhesive, a pencil, and decorating materials intended for paper. Use cutting tools appropriate to the card and the person making the project. Try the main shape in scrap paper before cutting thicker board.
1. Build a Small Box House With a Folded Roof
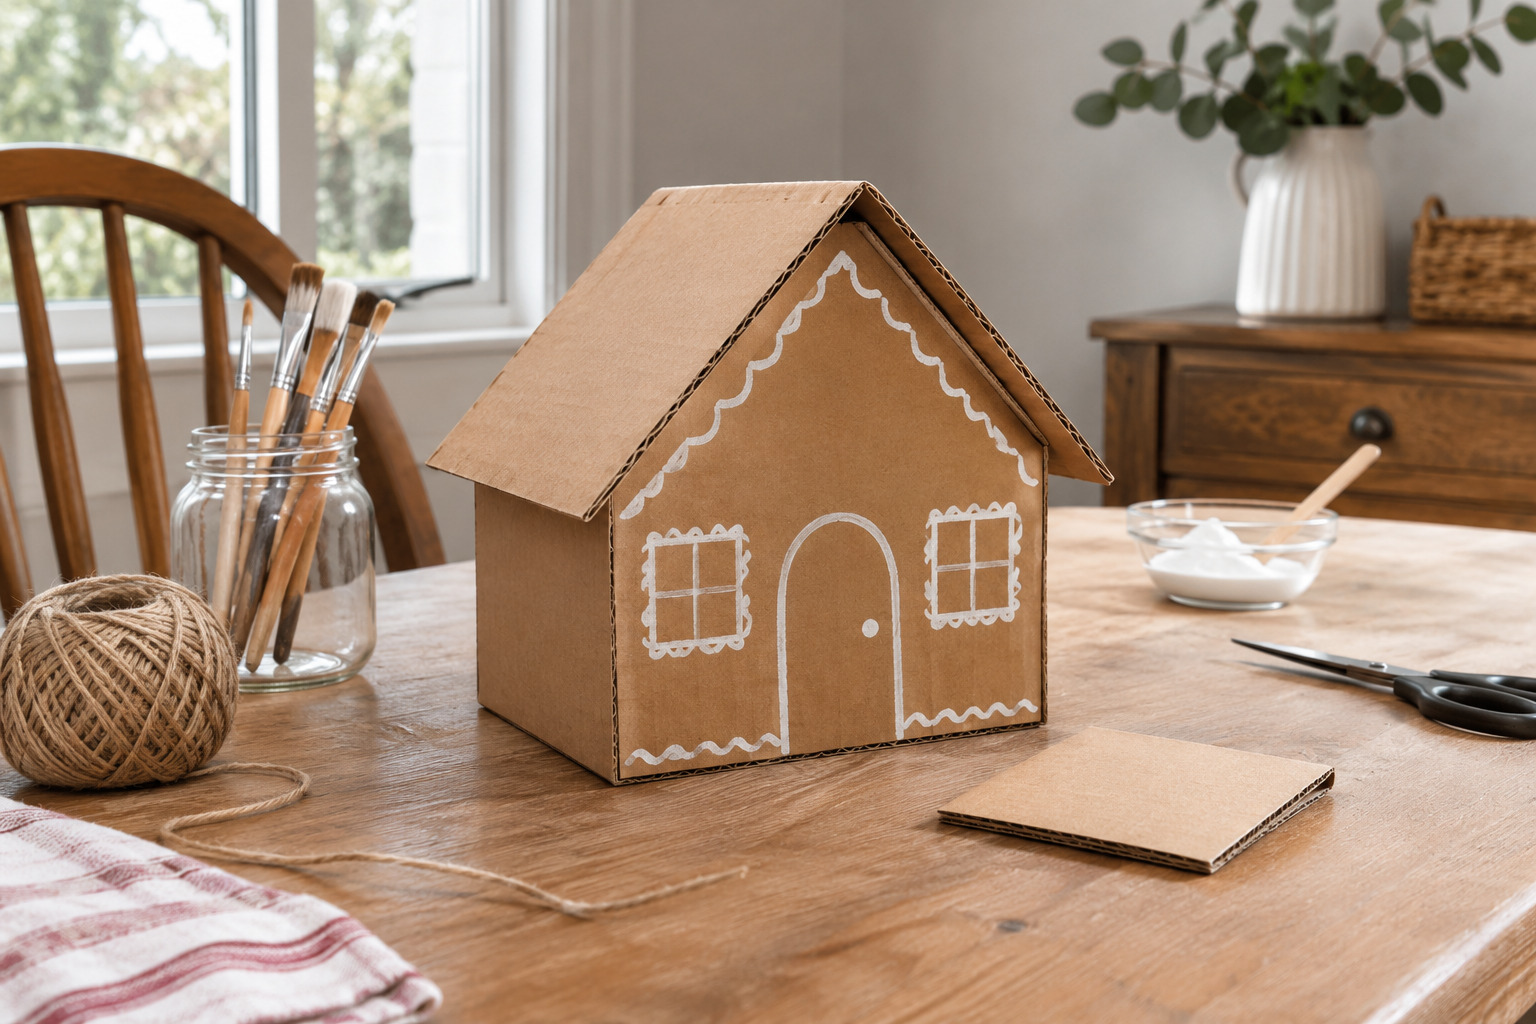
Start with a modest box that stands steadily on its own base. Cut two matching roof rectangles from a spare piece of card and join their long edges with a folded paper strip. Rest this pitched roof across the box, then make two triangular gable pieces to close the open ends. Test the fit before attaching them.
Keep the first facade simple: one door, two windows, and a pale line around the roof. Apply paper-craft glue as its label directs and let the joins dry before moving the house. A removable roof makes the little building easier to decorate and store.
Check that the adhesive suits your card and paper, then follow its application and drying directions before joining the roof.
See the paper-craft tacky glue (paid link)
2. Fold a Flat House Into a Standing Card
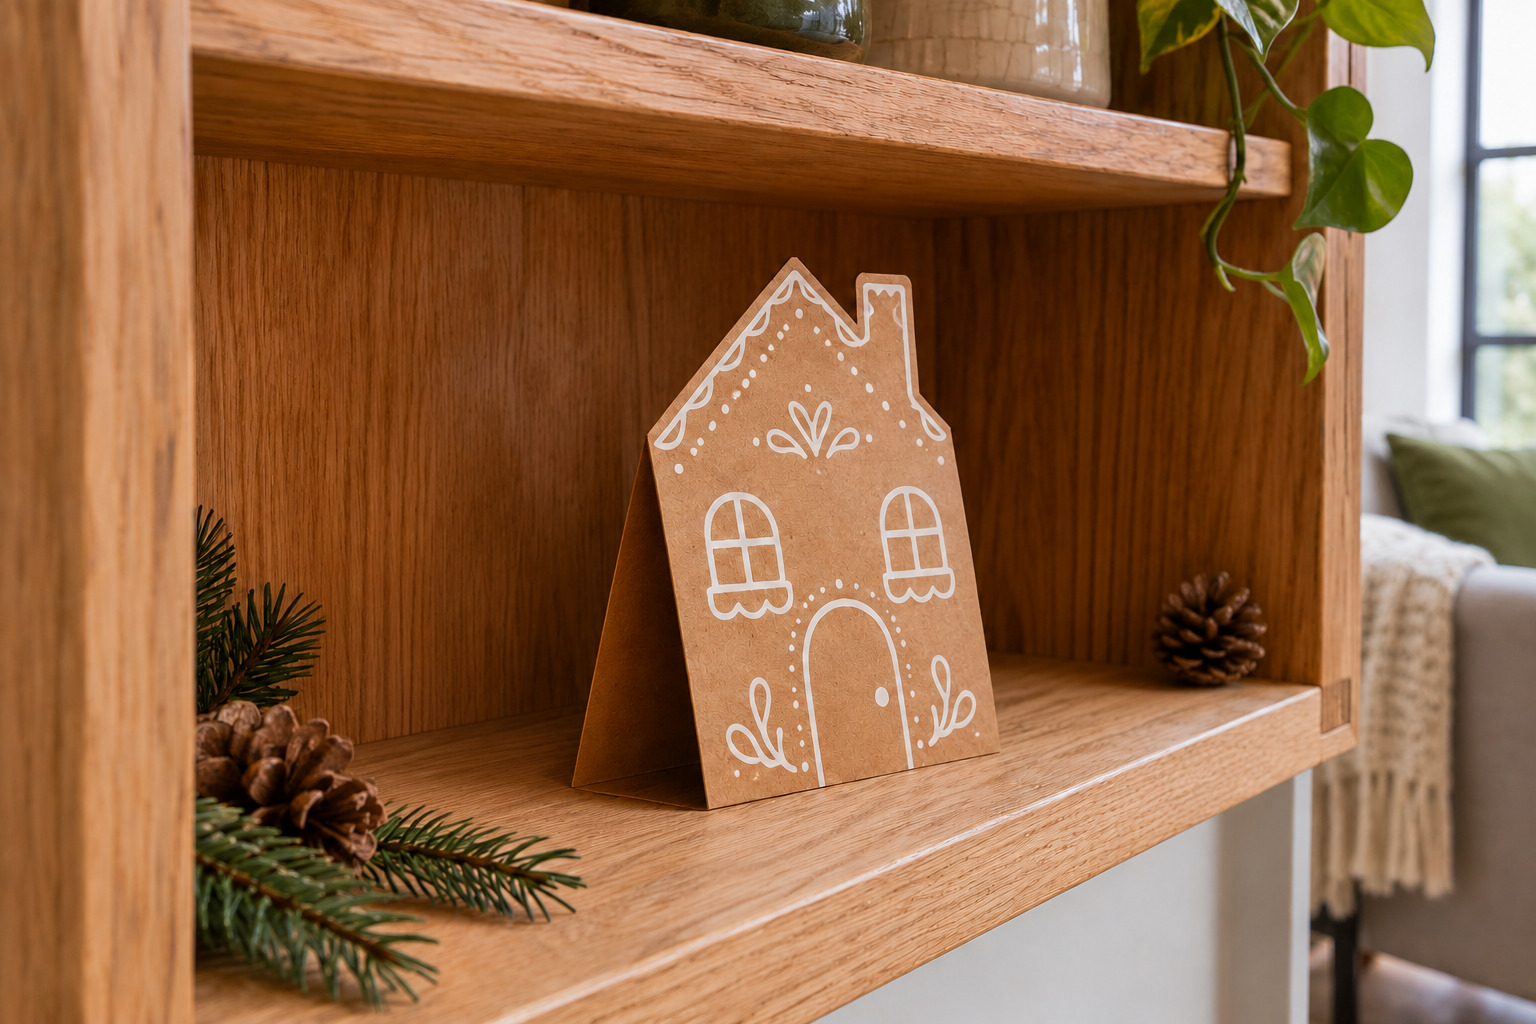
For a narrow shelf, make the house as a shallow folded card instead of a box. Fold a piece of brown cardstock, draw the front with its roof peak along the folded outline, and cut the matching silhouette while leaving enough of the fold joined. Open it slightly so the two sides make a stable standing shape.
Decorate the front with a white door surround and tiny paper shutters. Test the depth on the actual shelf; the open fold should stay entirely within the surface. This version gives a small Christmas corner a house shape without needing a whole tabletop village.
3. Make a Terraced Row From One Long Strip
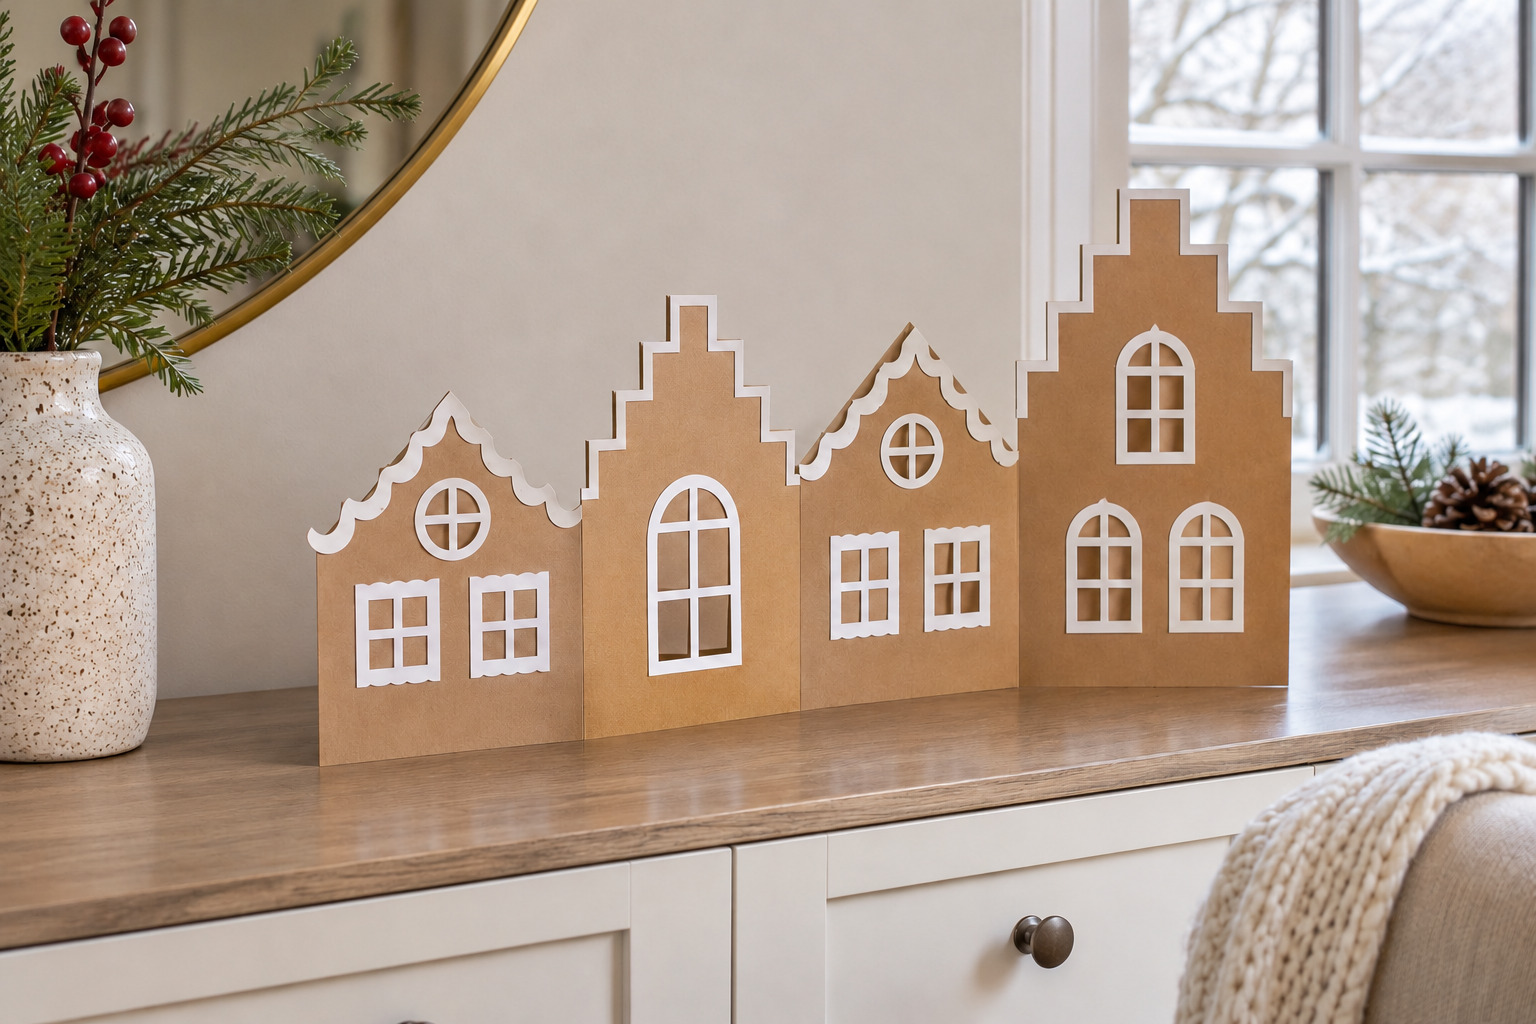
Draw several connected house fronts on a long strip of brown card. Vary their roof heights, but keep their lower edges on the same baseline. Leave the buildings joined at the sides and fold the strip between them into a shallow zigzag. The folds give the row its own support.
Use different window arrangements to distinguish the houses while repeating the same white trim. Set the row where you can see its stepped silhouette from the room entrance. A plain background helps the small peaks stay readable, and a shorter row is easier to stand than a crowded, sharply folded street.
4. Turn a Small Carton Into a Tall Townhouse
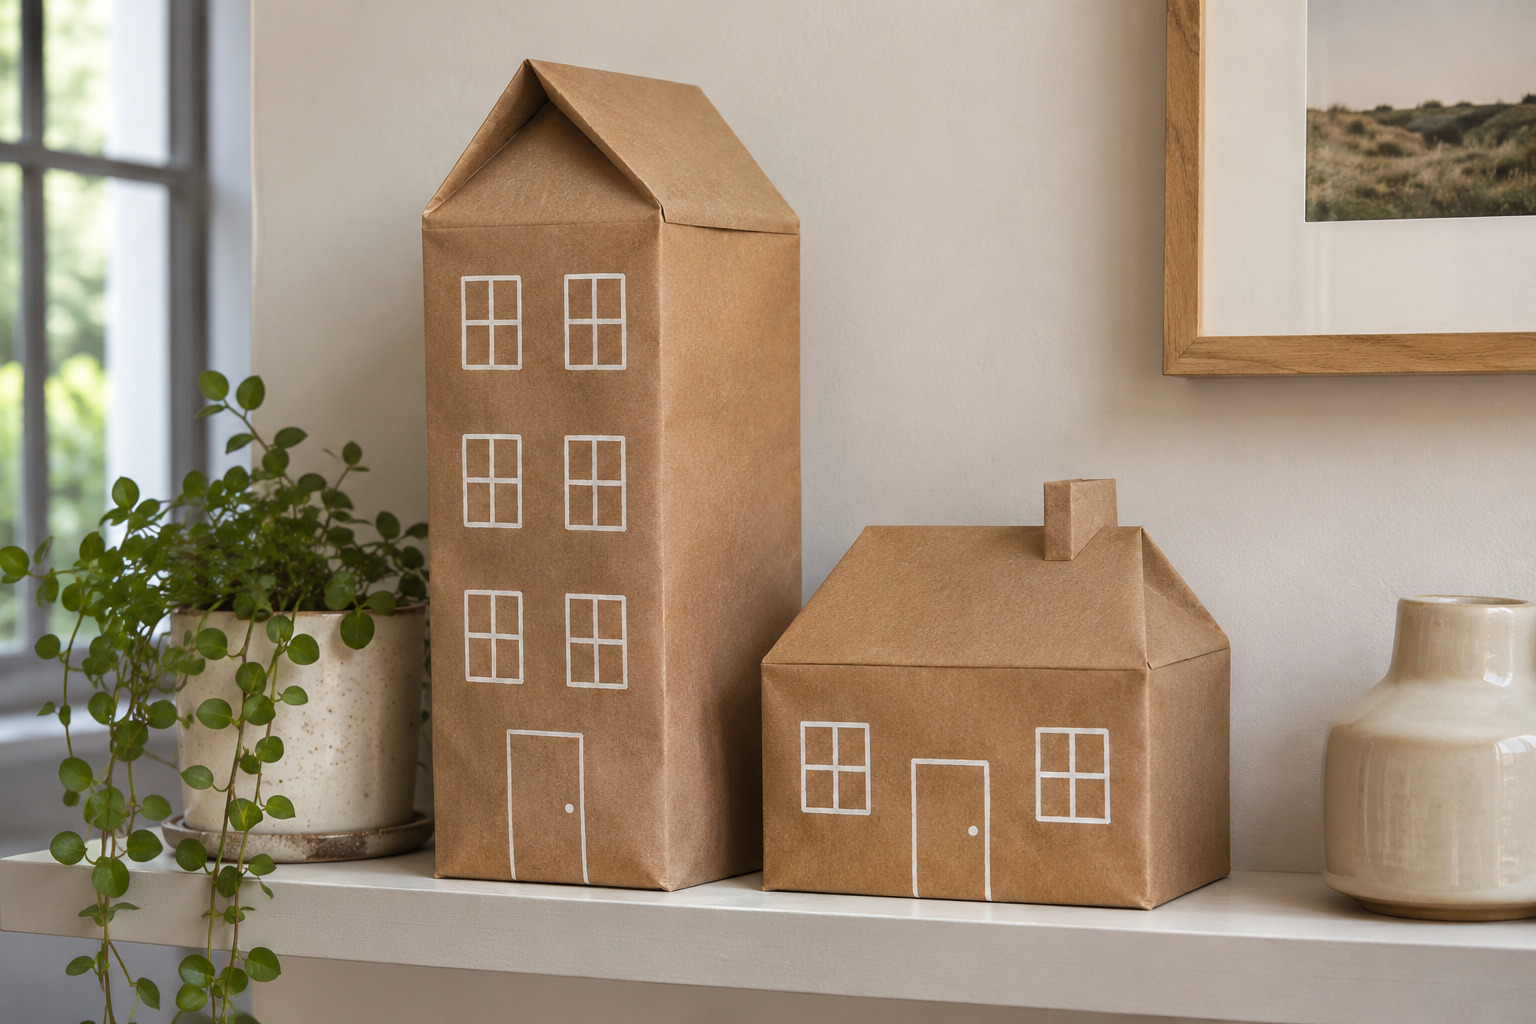
A clean, dry, empty carton can become a narrow townhouse with a ready-made folded top. Cover printed packaging with plain kraft paper, keeping the paper smooth around the corners. Check that the base stands level before adding any projecting details.
Draw the front as a series of small stacked windows, with a larger doorway at the bottom. Let the roof stay darker brown or cover it with one plain contrasting sheet. Place the townhouse beside a lower box house so their different proportions form a skyline. Keep both buildings low enough to see clearly from the table or shelf where they will sit.
5. Give a Simple Roof Scalloped Cardboard Tiles
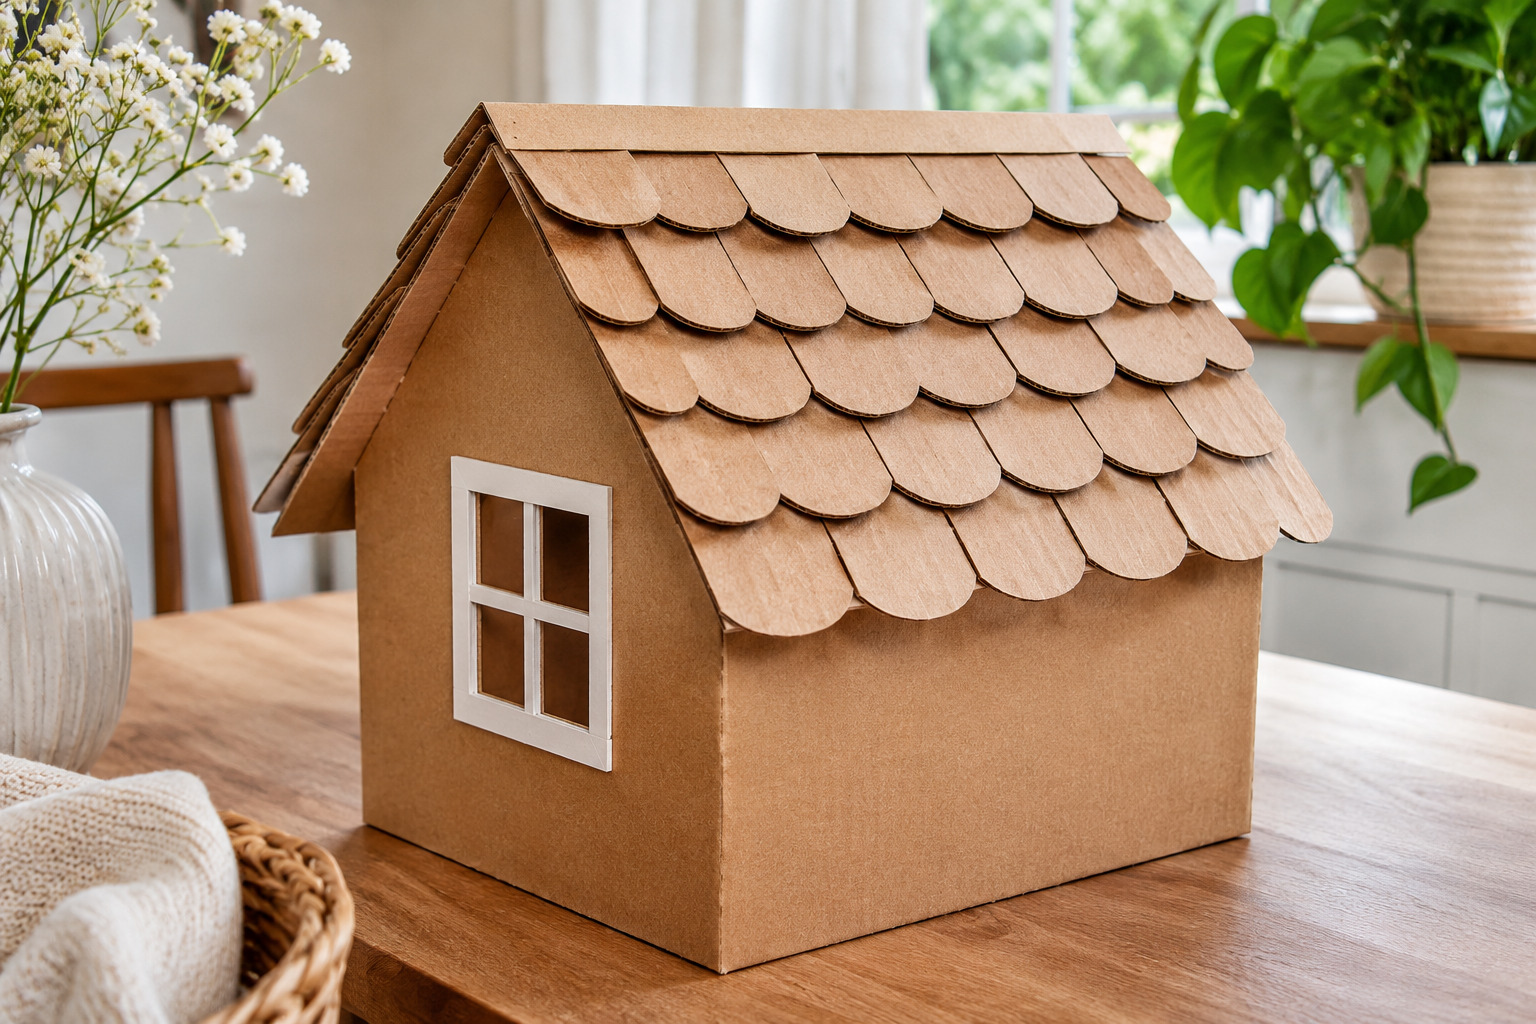
Draw a row of shallow semicircles along one edge of a thin card strip and cut the scallops as one connected piece. Start the first strip at the lower edge of a simple roof, then overlap the next strip just enough to cover the straight join. Continue toward the ridge.
Use thin card so the layers do not overwhelm the little building. Try one roof section before covering both sides. Leave the house walls mostly plain, with a few white dots or window lines, so the tiled roof remains the detail you notice. The repeated edges create texture without needing glitter or a second color.
6. Draw White Icing on a Plain Kraft Front
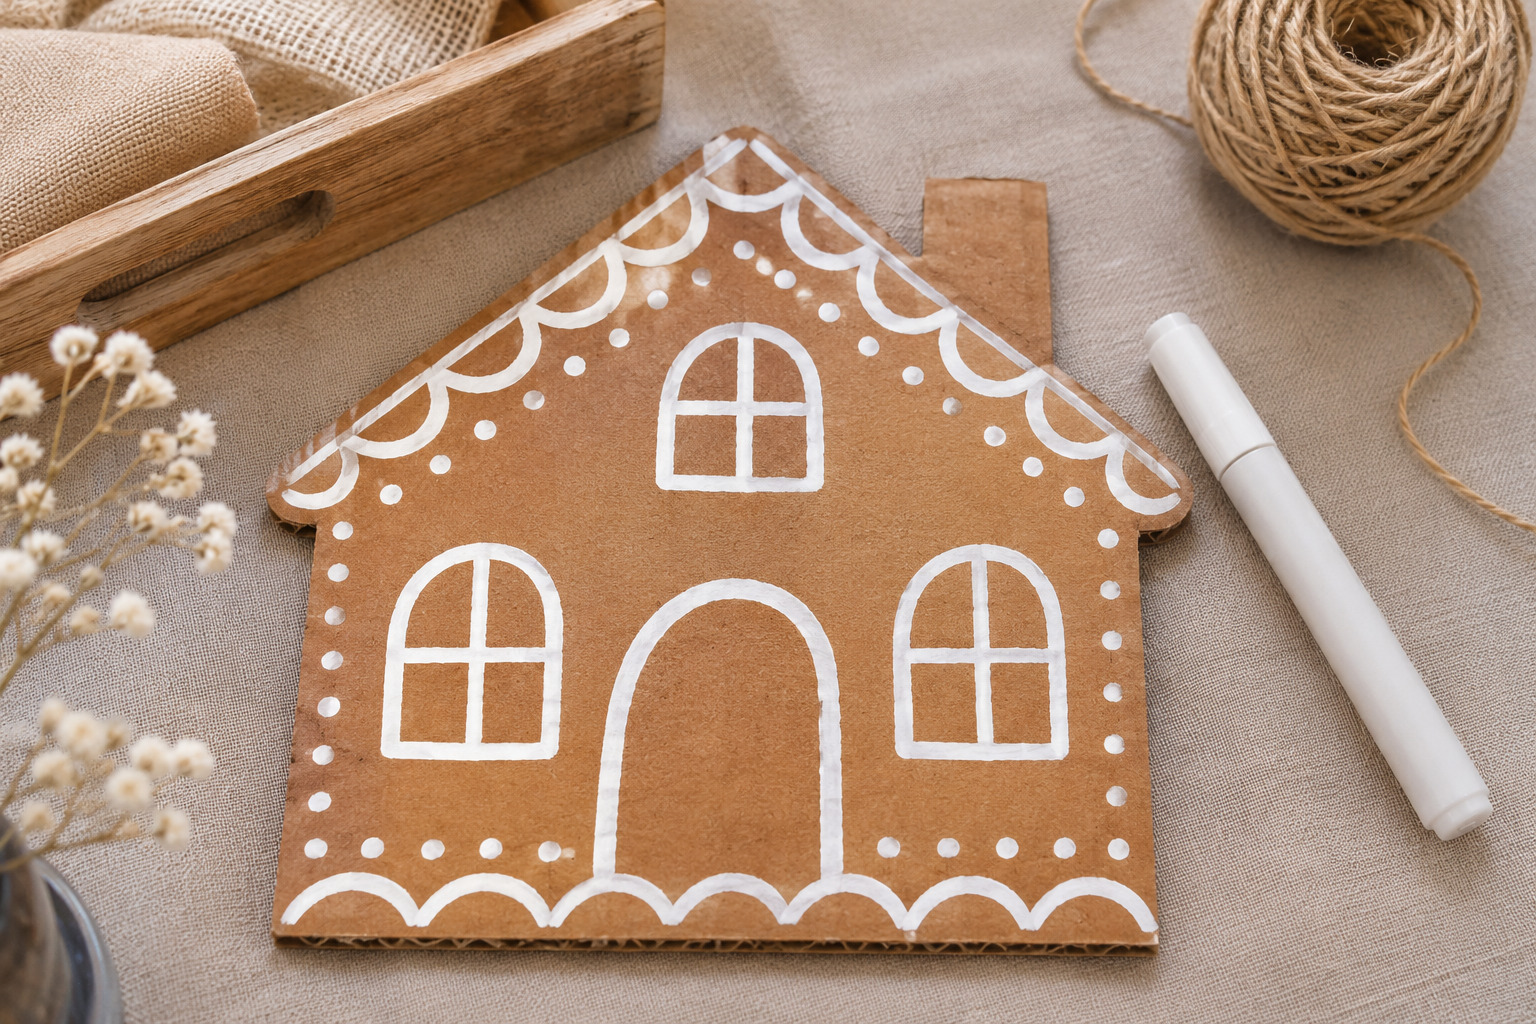
Keep one flat brown facade almost entirely about the drawing. Sketch the door and windows lightly, then add white lines with a paper-compatible paint marker or a fine brush and craft paint. Test the material on a spare piece of the same card; some surfaces absorb more than others.
Choose a few recurring marks, such as short scallops, dots, and a narrow border. Leave brown space between them so the lines do not merge. Work on the front while it lies flat and let it dry before assembly. A bold roof outline is easier to see at a distance than many tiny flourishes.
7. Use Paper Windowpanes Instead of Cutouts
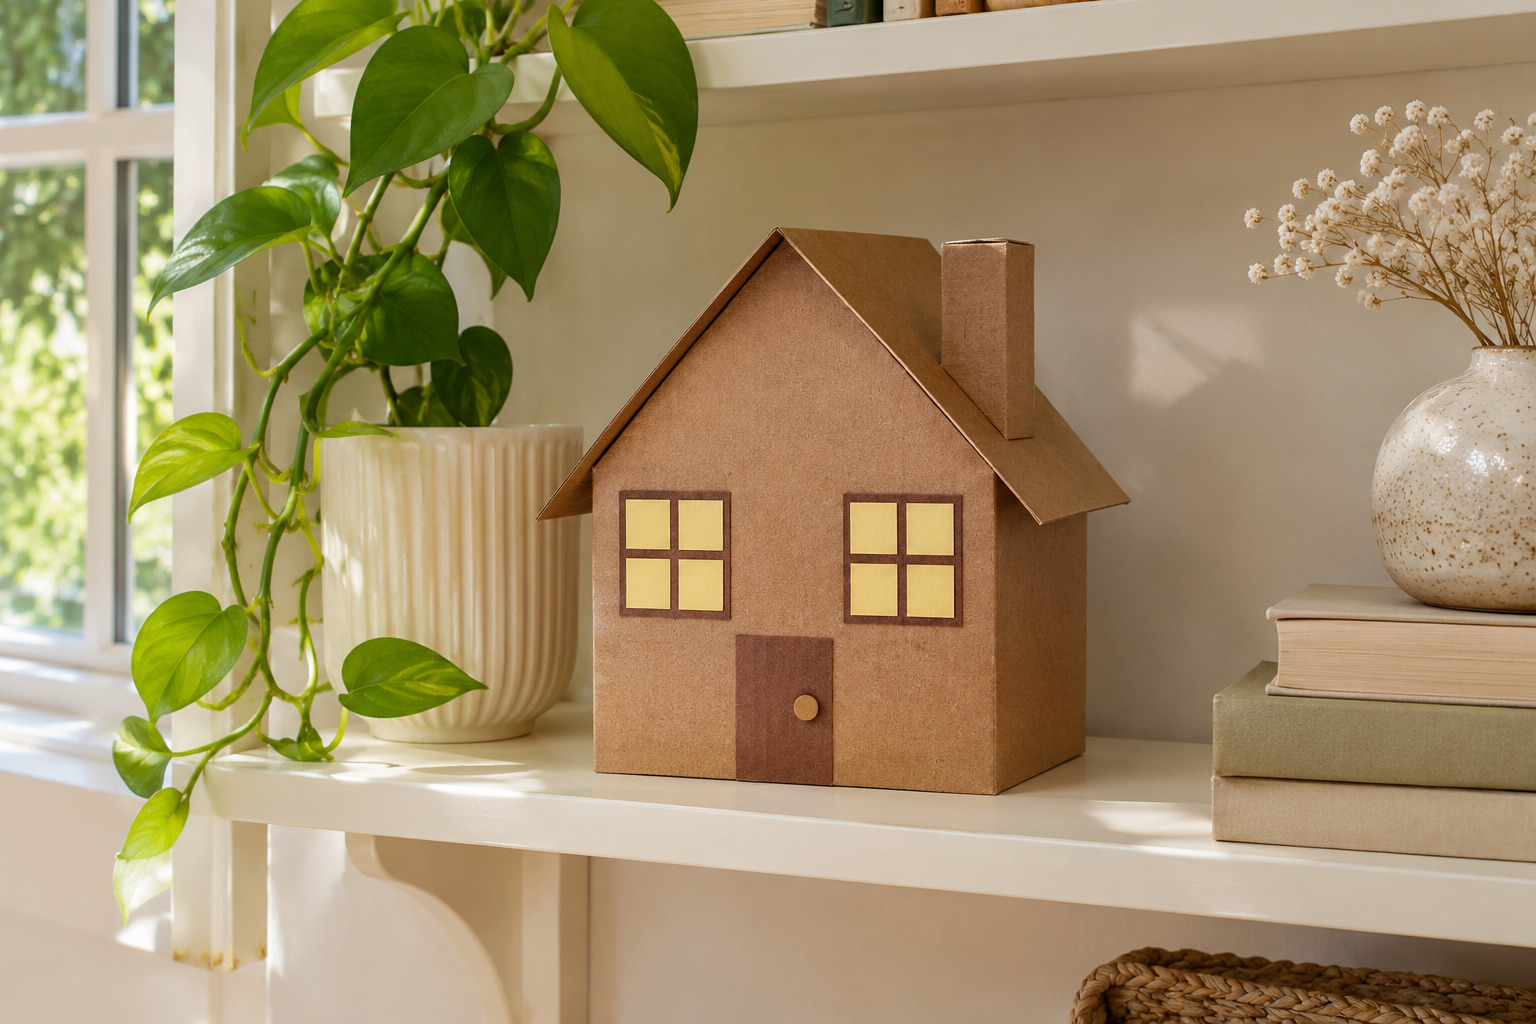
Give a small house bright windows by attaching cream or pale-yellow paper shapes to its front. Draw the window frames on top or add narrow brown paper strips. You get the impression of little panes while leaving the building walls intact.
Keep the paper windows unlit and use a modest contrast against the brown card. A tall arched window can suit one facade, while two square windows make a quieter neighbor. Cut and arrange all the pieces before gluing. This is a useful approach when you want decorative detail without cutting openings into a finished box.
8. Add a Little Porch With Folded Paper Supports
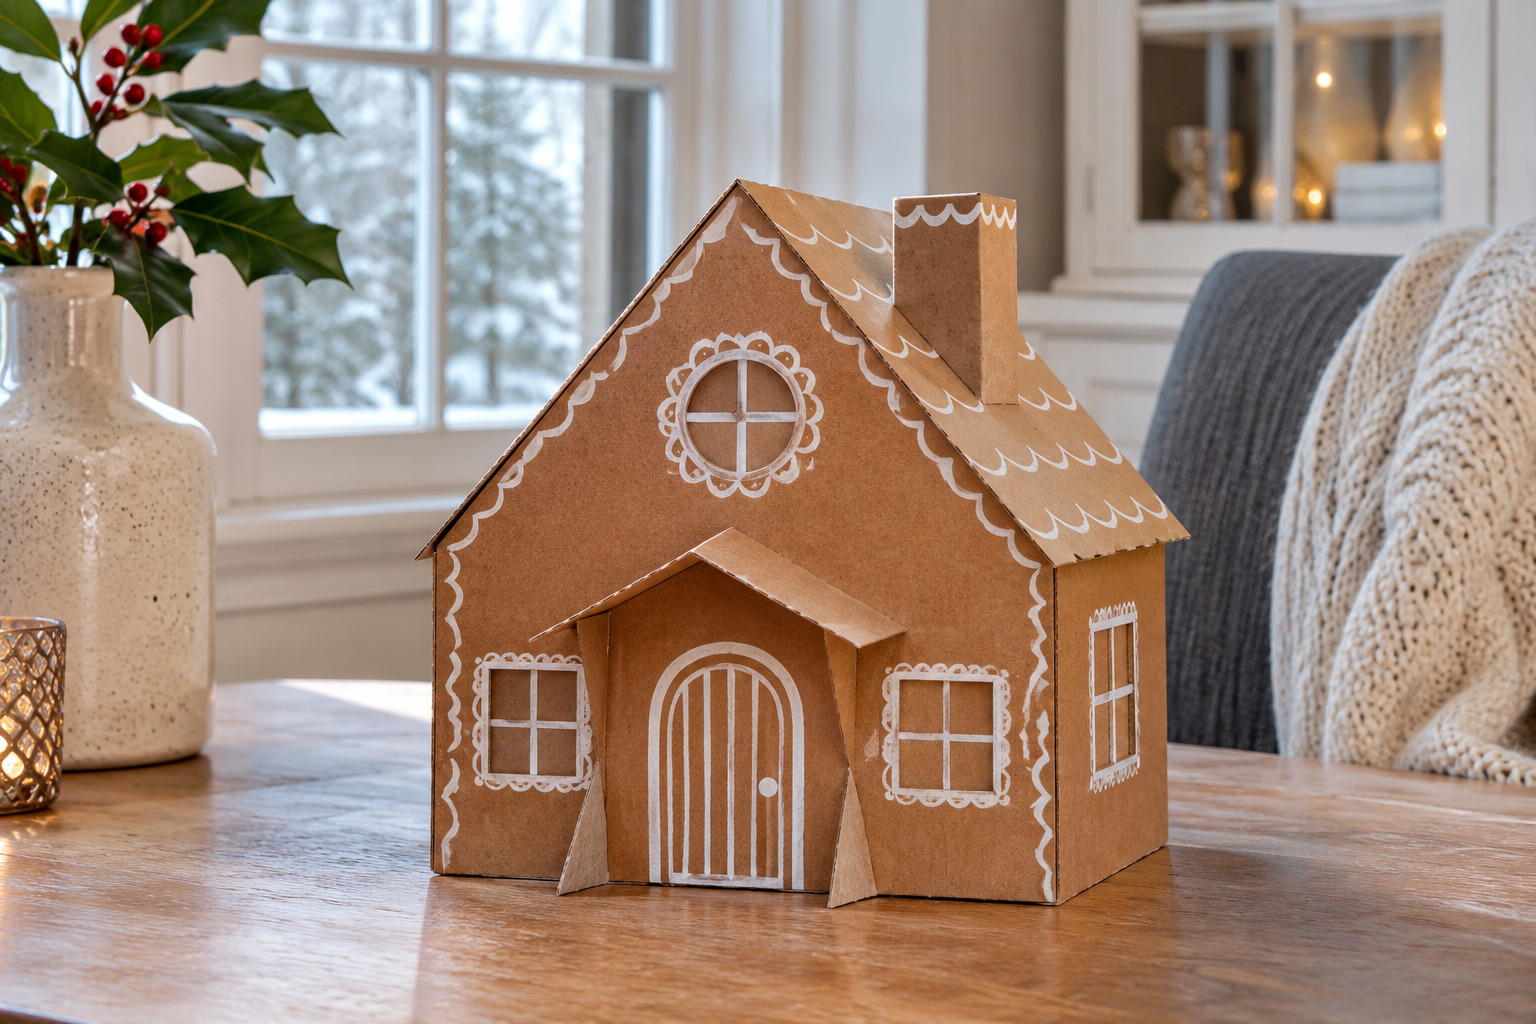
A shallow paper porch can make a plain house feel more individual. Fold a small rectangle into a roof with a short attachment flap, then test it above the drawn doorway. Use two tiny folded-card supports at the outer corners, keeping the whole porch light and close to the facade.
Attach the parts with an adhesive suitable for the materials and leave them undisturbed while they set. Give the porch just one extra detail, such as a pale roof edge. Avoid turning it into a load-bearing platform; it is a decorative paper feature. A larger plain wall around it makes its small shadow easier to see.
9. String Flat House Shapes Into a Garland
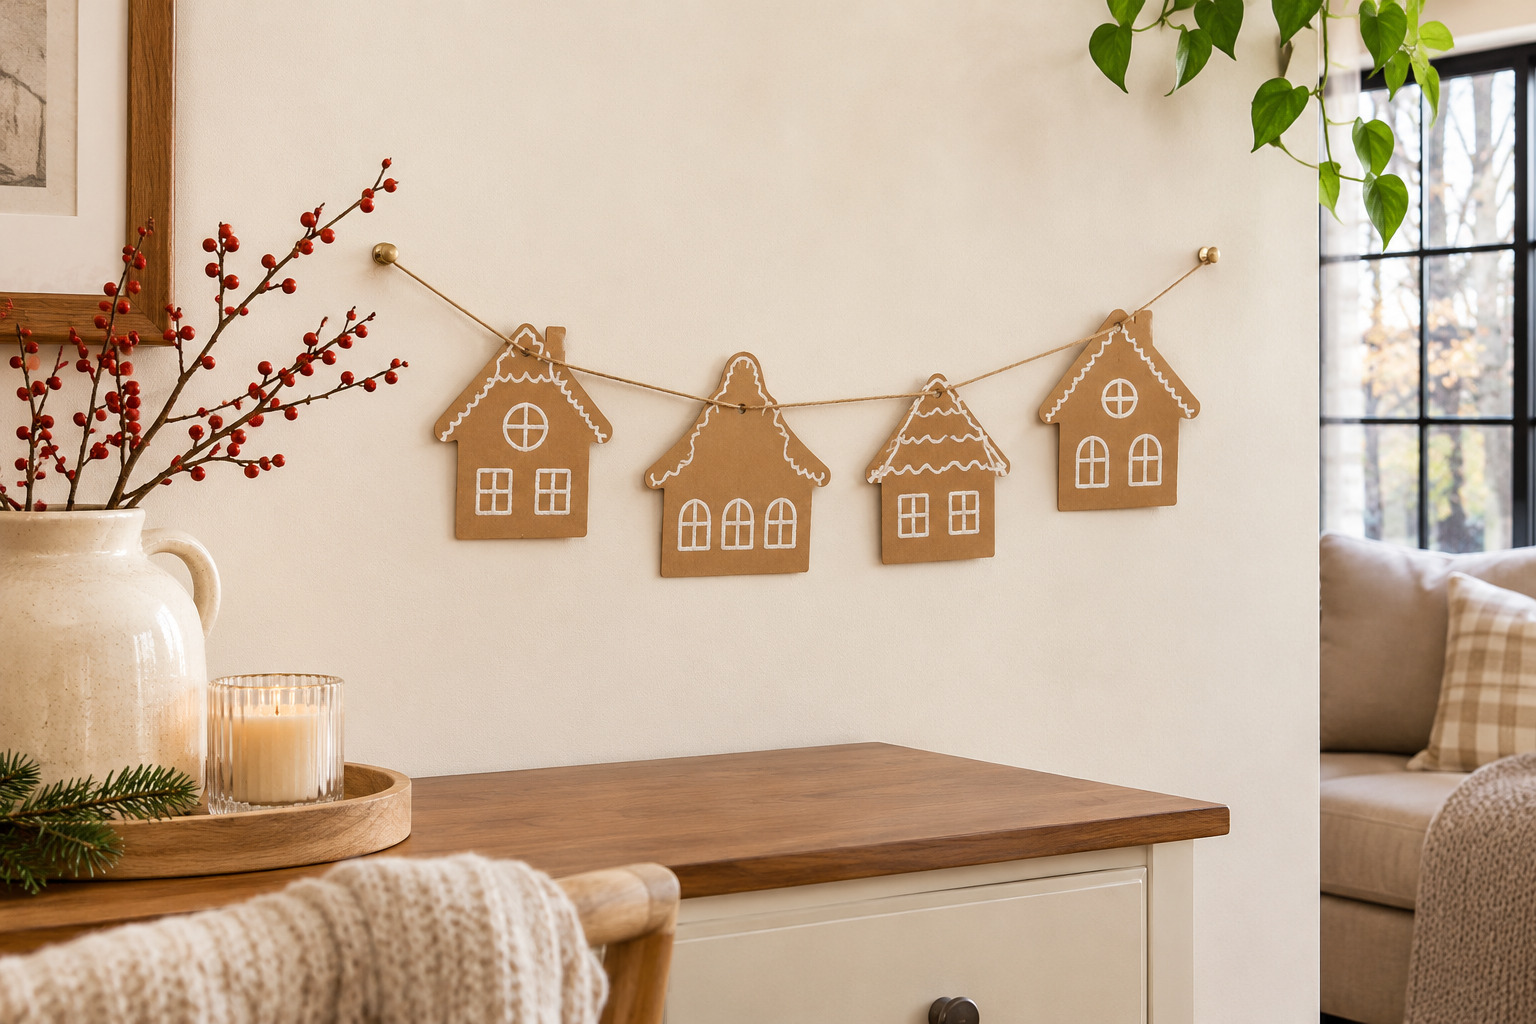
Cut a few lightweight, flat house shapes and lay them on the table with gaps between the rooflines. Draw a different door or window on each while keeping the same brown-and-white palette. Make the intended hanging points in a suitable part of each paper shape before threading a decorative cord.
Use supports appropriate to the finished garland and the surface. A short, shallow run on a clear wall shows the outlines well. Keep it out of door movement and ordinary reach. The flat construction can share the holiday mood of a village without using a horizontal display surface.
10. Build a Removable Street on One Display Tray
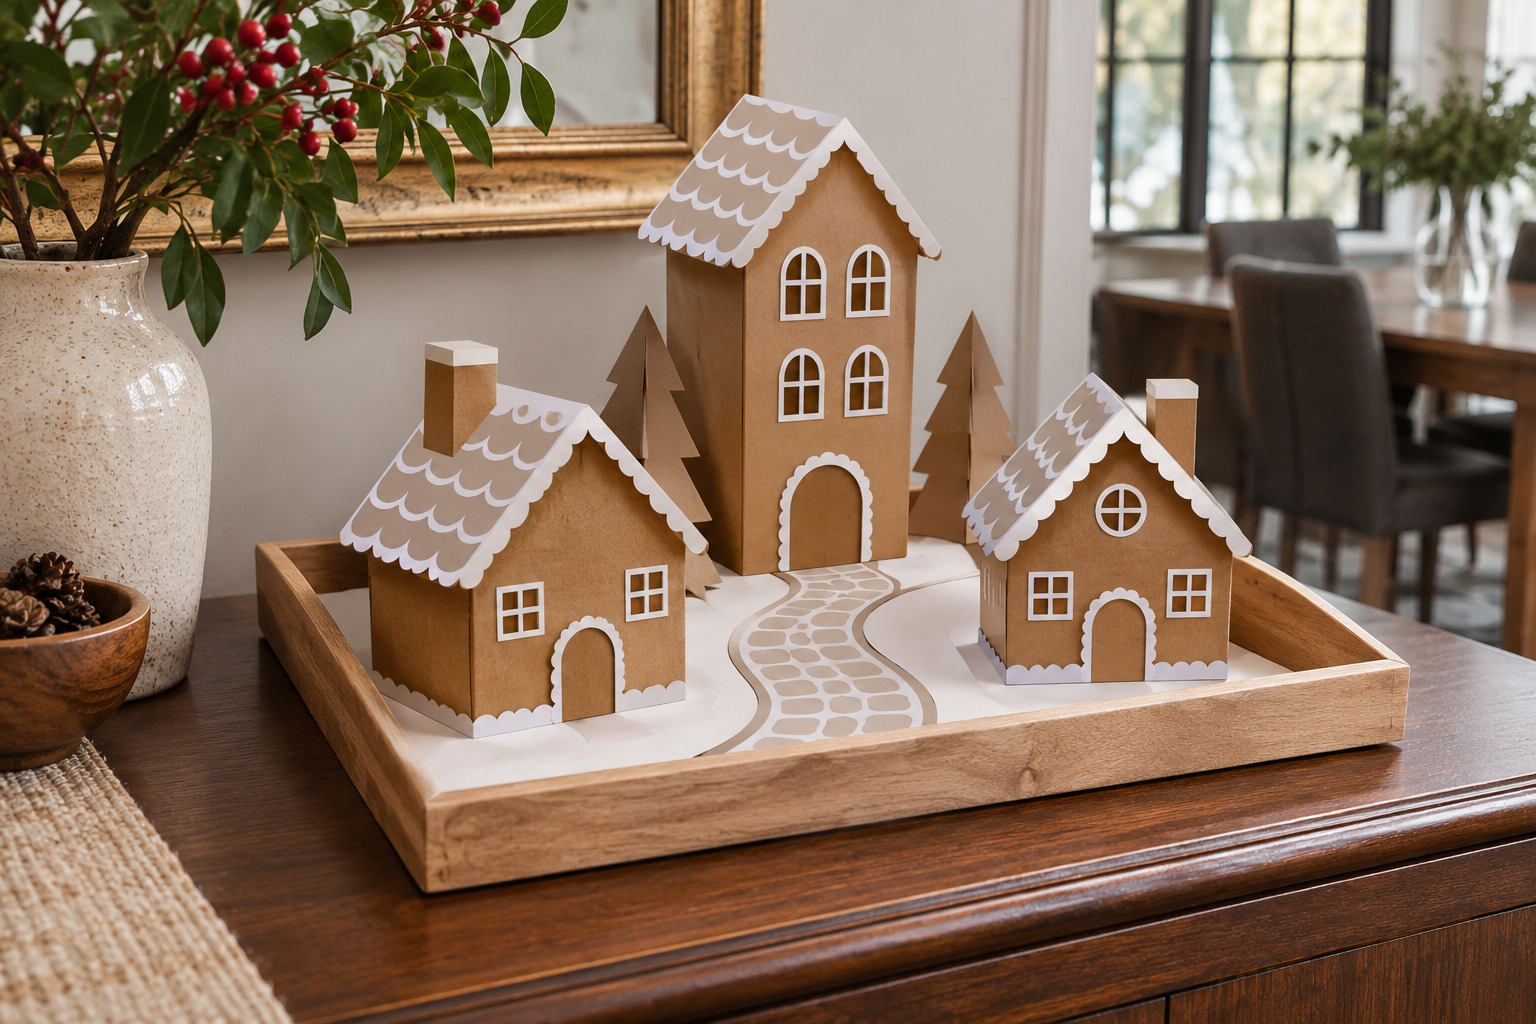
Arrange two or three finished houses on a shallow tray, keeping their entire bases inside its edges. Start with the tallest house toward the back and leave a little open space at the front as the street. Cut a separate paper path so it can lift out with the buildings.
Test the view from the normal approach before adding trees or other small pieces. The tray should still be easy to pick up without disturbing delicate roofs. For other ways to place completed buildings, see the Christmas village display guide. This version keeps your handmade street together when the furniture needs to be cleared.
11. Frame One Gingerbread Facade as Wall Art
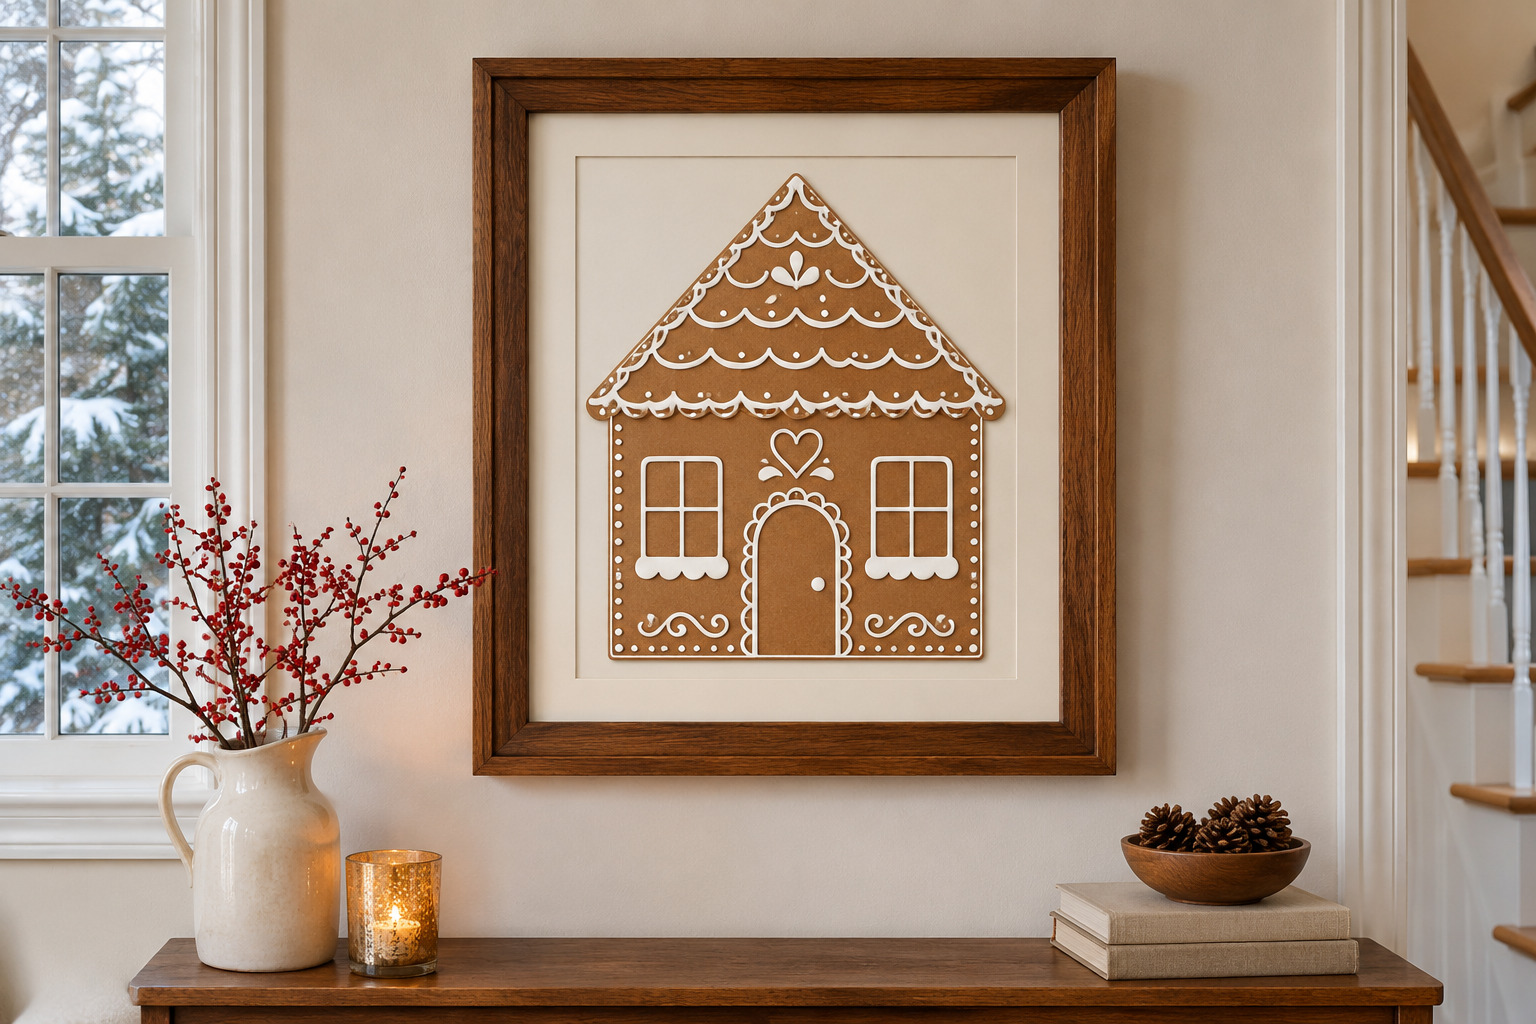
Make one flat cardboard facade to fit within a frame or a sufficiently deep display frame. Draw the white trim first, then test the piece against a generous cream mat or backing. Leave the roof peak clear of the opening so the shape reads as a house.
Check the frame’s depth and intended mounting method for the finished piece. A plain brown-and-white drawing can sit comfortably among everyday artwork without requiring a whole seasonal wall. Let one or two windows carry the detail. The Christmas village backdrop ideas offer more ways to judge a little skyline against its background.
12. Make a House That Packs Down Flat
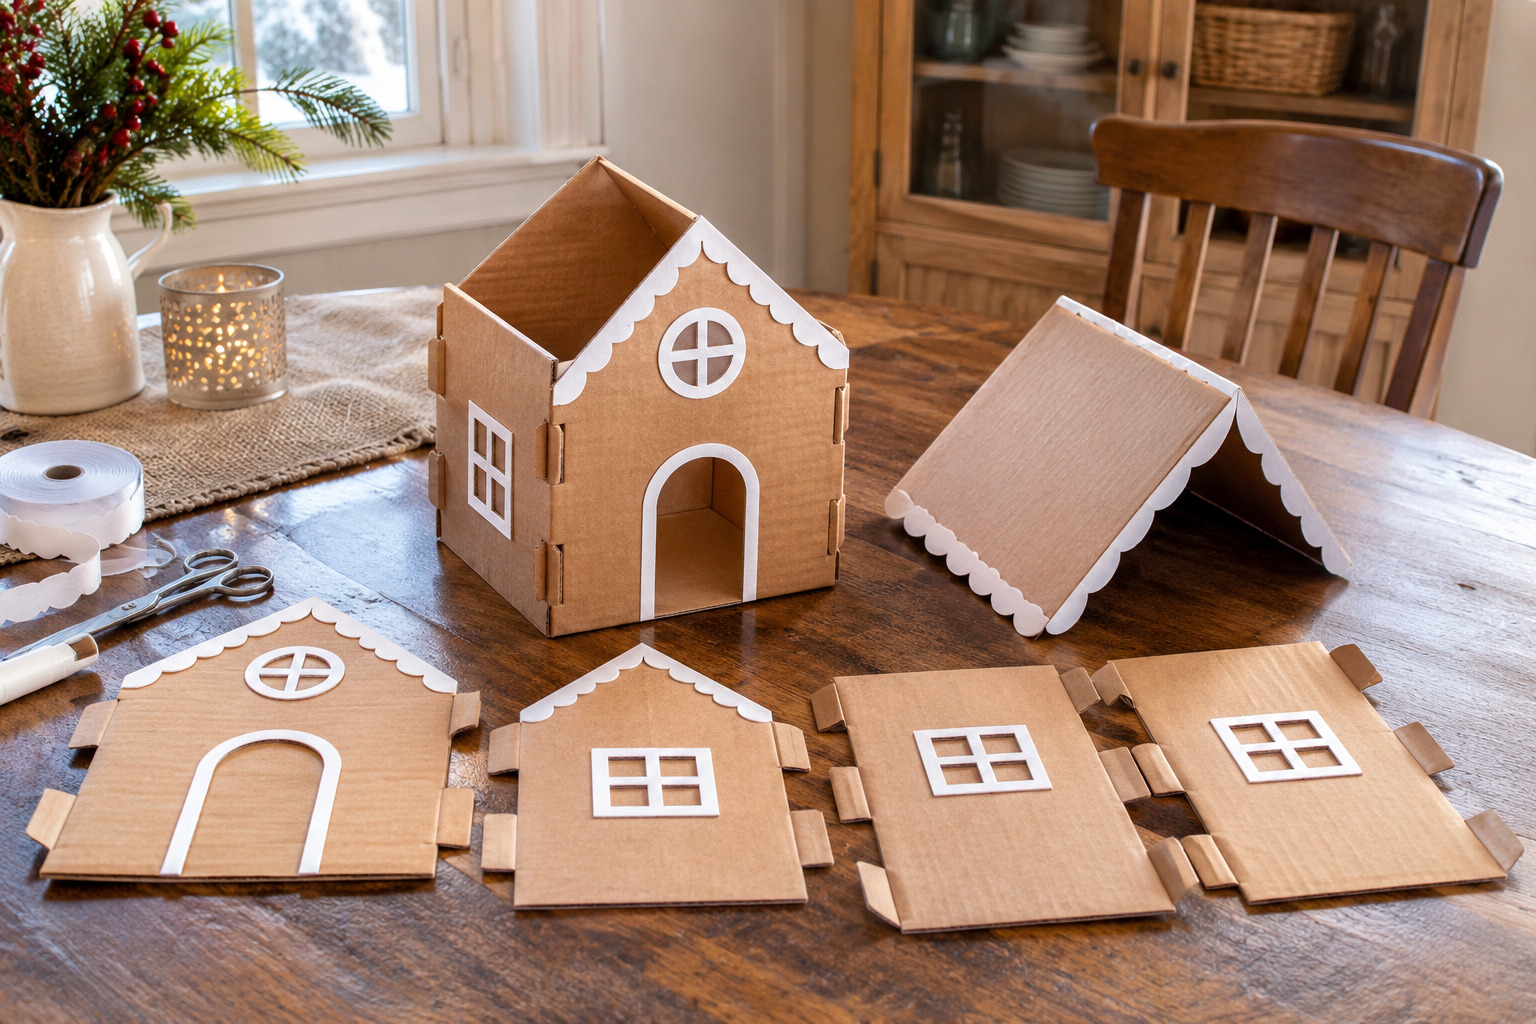
Plan a simple house as separate front, back, side, and roof panels. Make a paper trial with small folded joining tabs before cutting the card version. Use a construction that lets the roof lift off and the side joins release, rather than gluing every edge permanently.
Number the panels discreetly on their reverse for your own reference and store them together once the decoration is fully dry. Protect any projecting paper detail with a flat separator. A house designed for disassembly is easier to bring back next year than one you have to flatten after the fact. Keep a photo of the assembled shape with its pieces.
Make one small house first and notice which part you most enjoy: drawing the trim, shaping the roof, or building a little street. Repeat that detail across a few pieces, then leave enough open space for each silhouette to show. The familiar brown card is part of the charm.
Discover more from HomeTrendora
Subscribe to get the latest posts sent to your email.