A Christmas scene can disappear against a bright yard or look too busy from the sidewalk. These Christmas window painting ideas help you choose a drawing that fits your panes, reads from the right distance, and gives you a clear place to start.
Use removable markers specifically labeled for your glass, following the marker and glazing instructions. Try a tiny mark on an inconspicuous patch and remove it as directed before starting the design. Keep handles, seals, and opening mechanisms clear. The Christmas window decorating guide shows where window treatments need room to move.
1. Trace Three Offset Fir Trees on a Fixed Pane
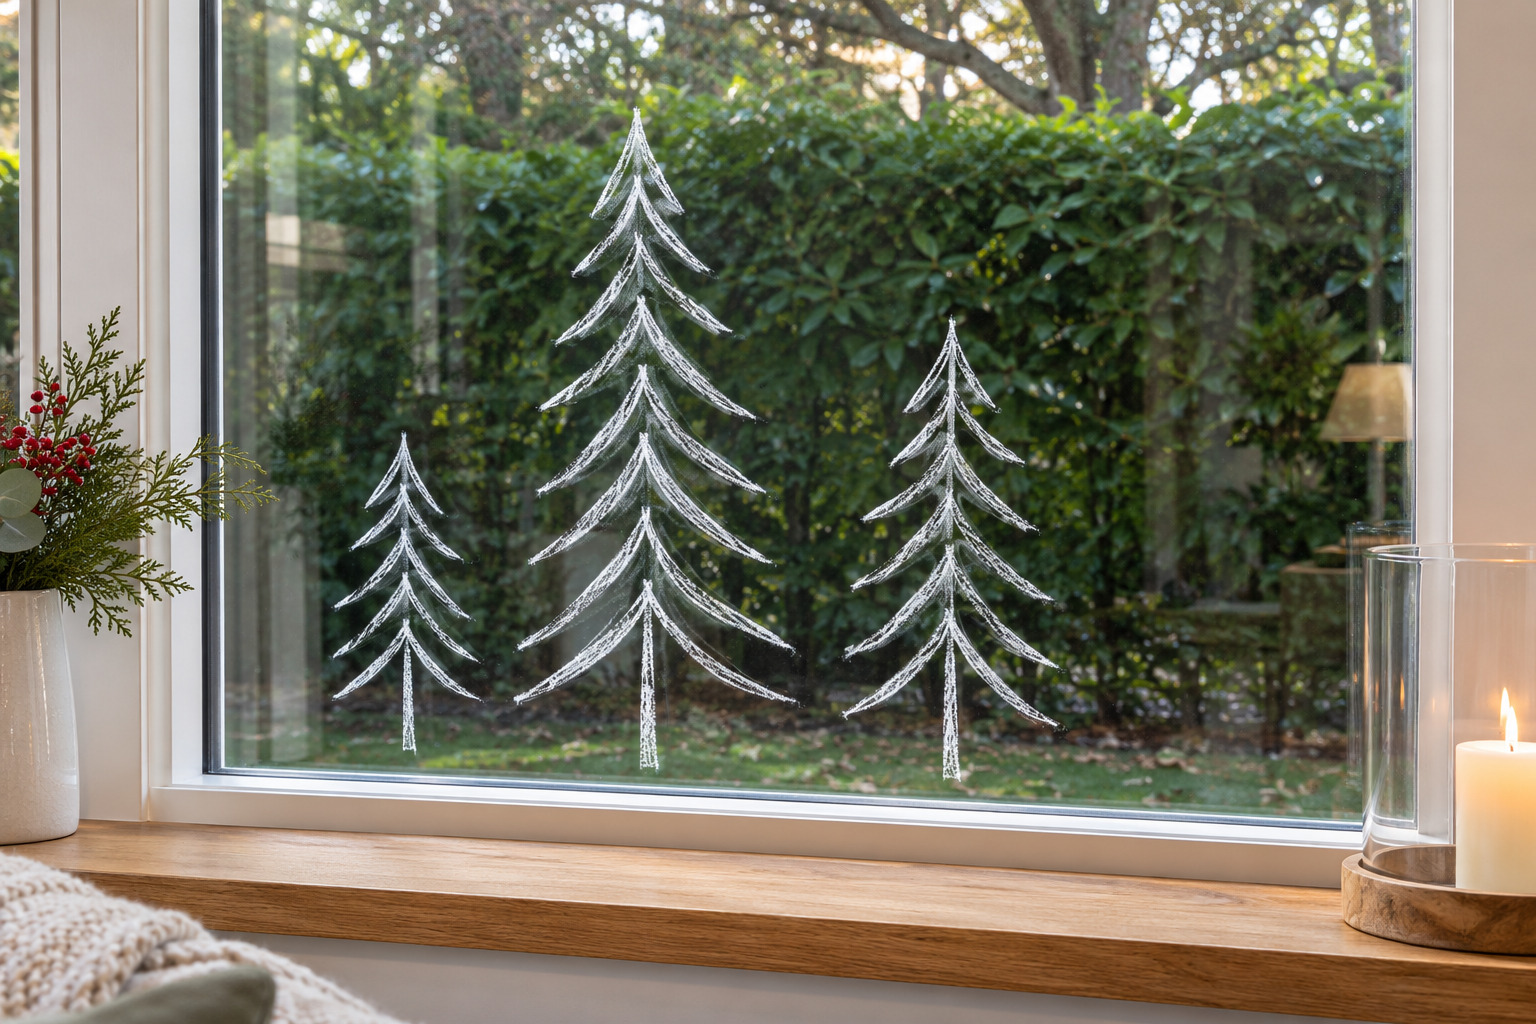
Sketch three firs on paper, with the tallest one just to the left of center. Cut the sheet down to the size of the drawing and temporarily tape it on the opposite side only if you can reach that side from a safe, level spot. Otherwise, copy the guide freehand. A tree can be as simple as three open chevrons and a short trunk. Leave a little sky around each silhouette so the branches stay distinct from across the room.
Pick one spot outside where you want the trees to be visible. If the two shorter trees disappear into the background, widen their branches or add a second line on the windward side. Three trees are plenty on a single pane.
Choose a fine white chalk marker if you want to trace narrow branches, and test how it wipes off your glass before drawing the full group.
See the fine white markers (paid link)
2. Turn a Cookie Cutter Into a Star Template
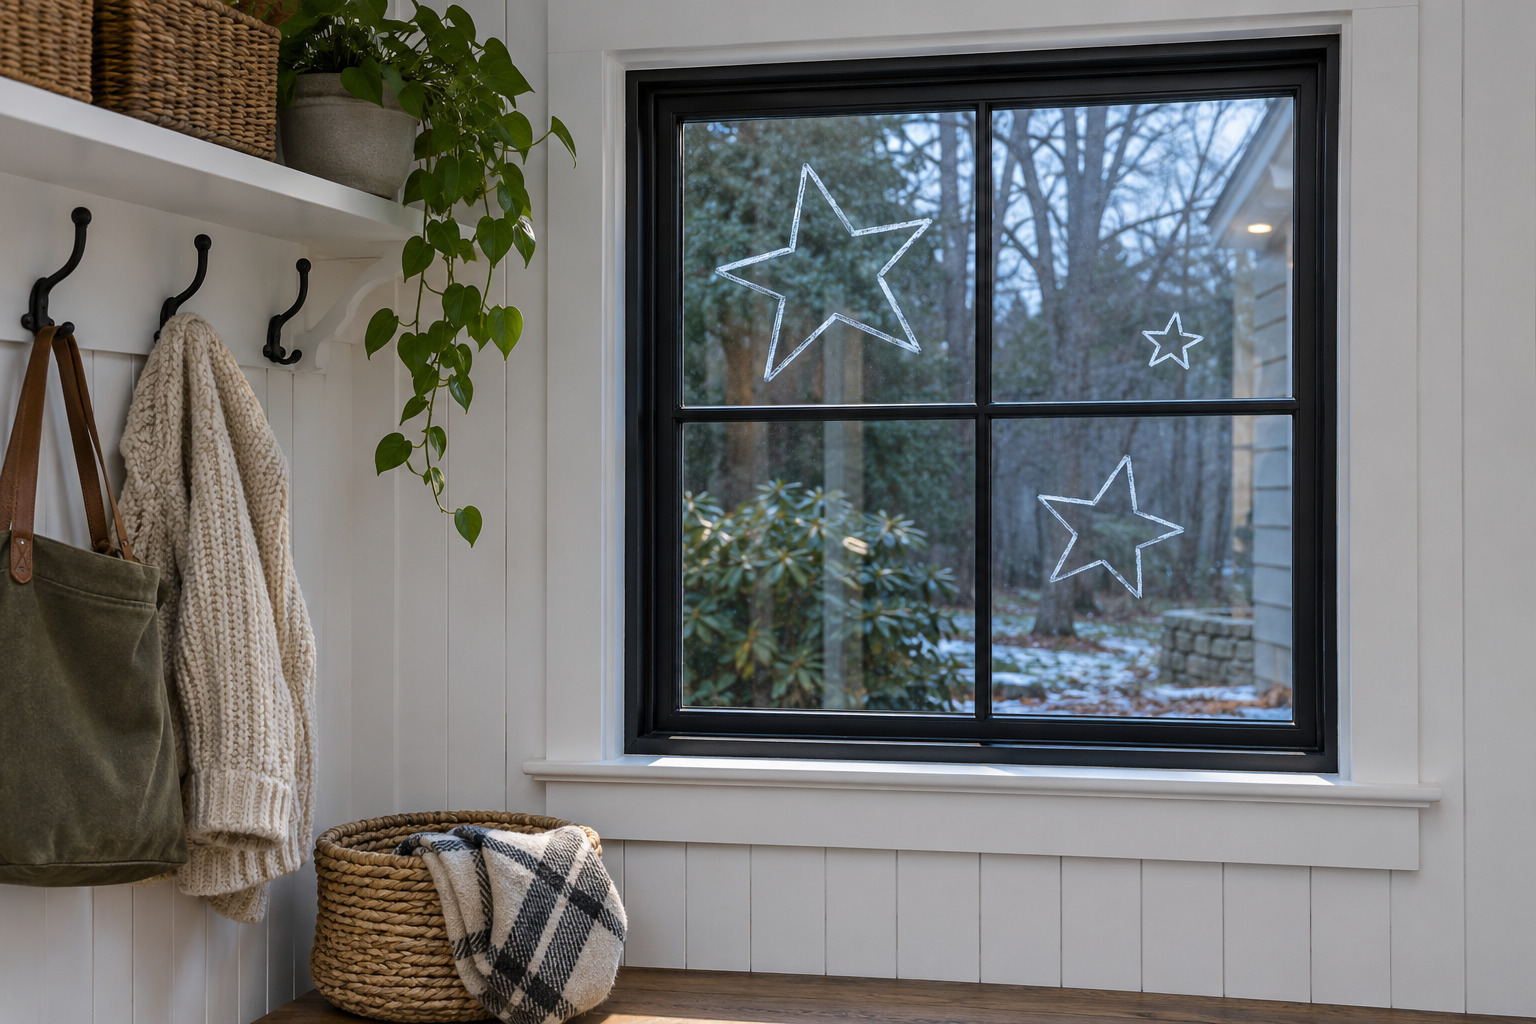
Trace a star-shaped cookie cutter onto paper and use that drawing as your template. Repeat three stars at different heights on a small pane. Leave one arm pointing a different way in each star. A black sash and an open white outline give these shapes enough contrast to look crisp in the afternoon.
On narrow glass, make the smallest star noticeably smaller than the others so the group feels balanced. Leave it near the top rather than squeezing an extra star into the narrowest gap.
3. Build a Snowflake From Six Spokes
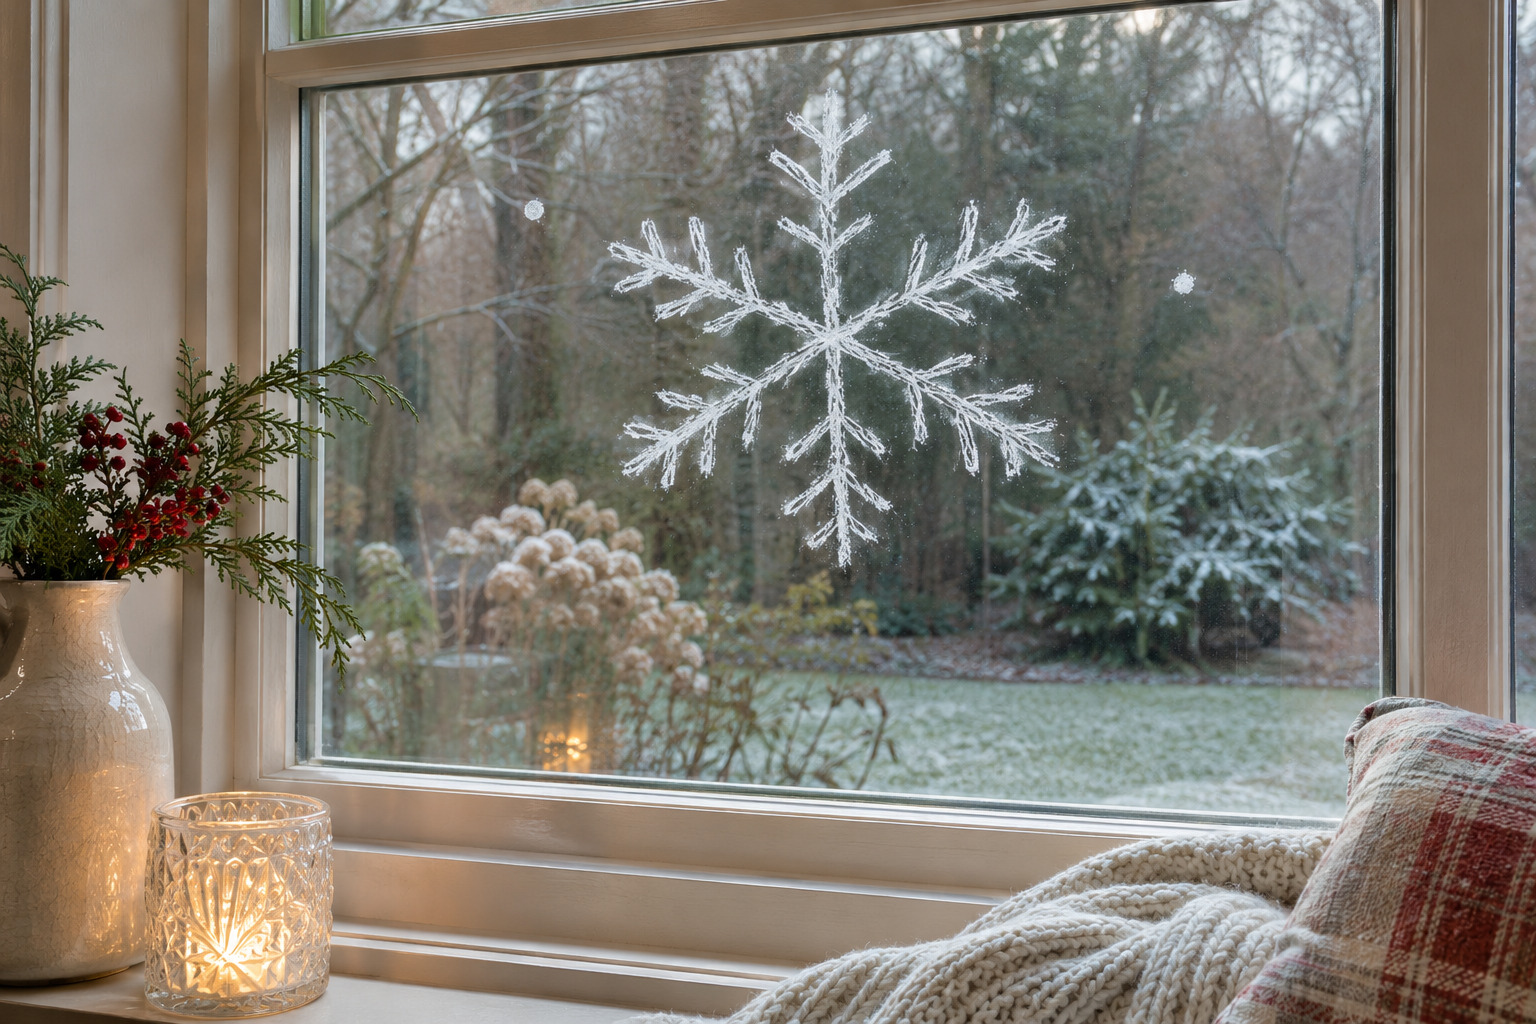
Draw a short vertical stroke and cross it with two diagonals to make six arms. Add a pair of small outward strokes near each tip. Pause after the first ring of details and step back. A fine second ring looks lovely up close, while a broader, simpler snowflake holds up from the curb.
Try one large snowflake in an upper pane and two smaller dots farther away. A paper sketch helps you keep the arms even before you use a marker on the glass.
4. Paint a Village With Three Different Rooflines
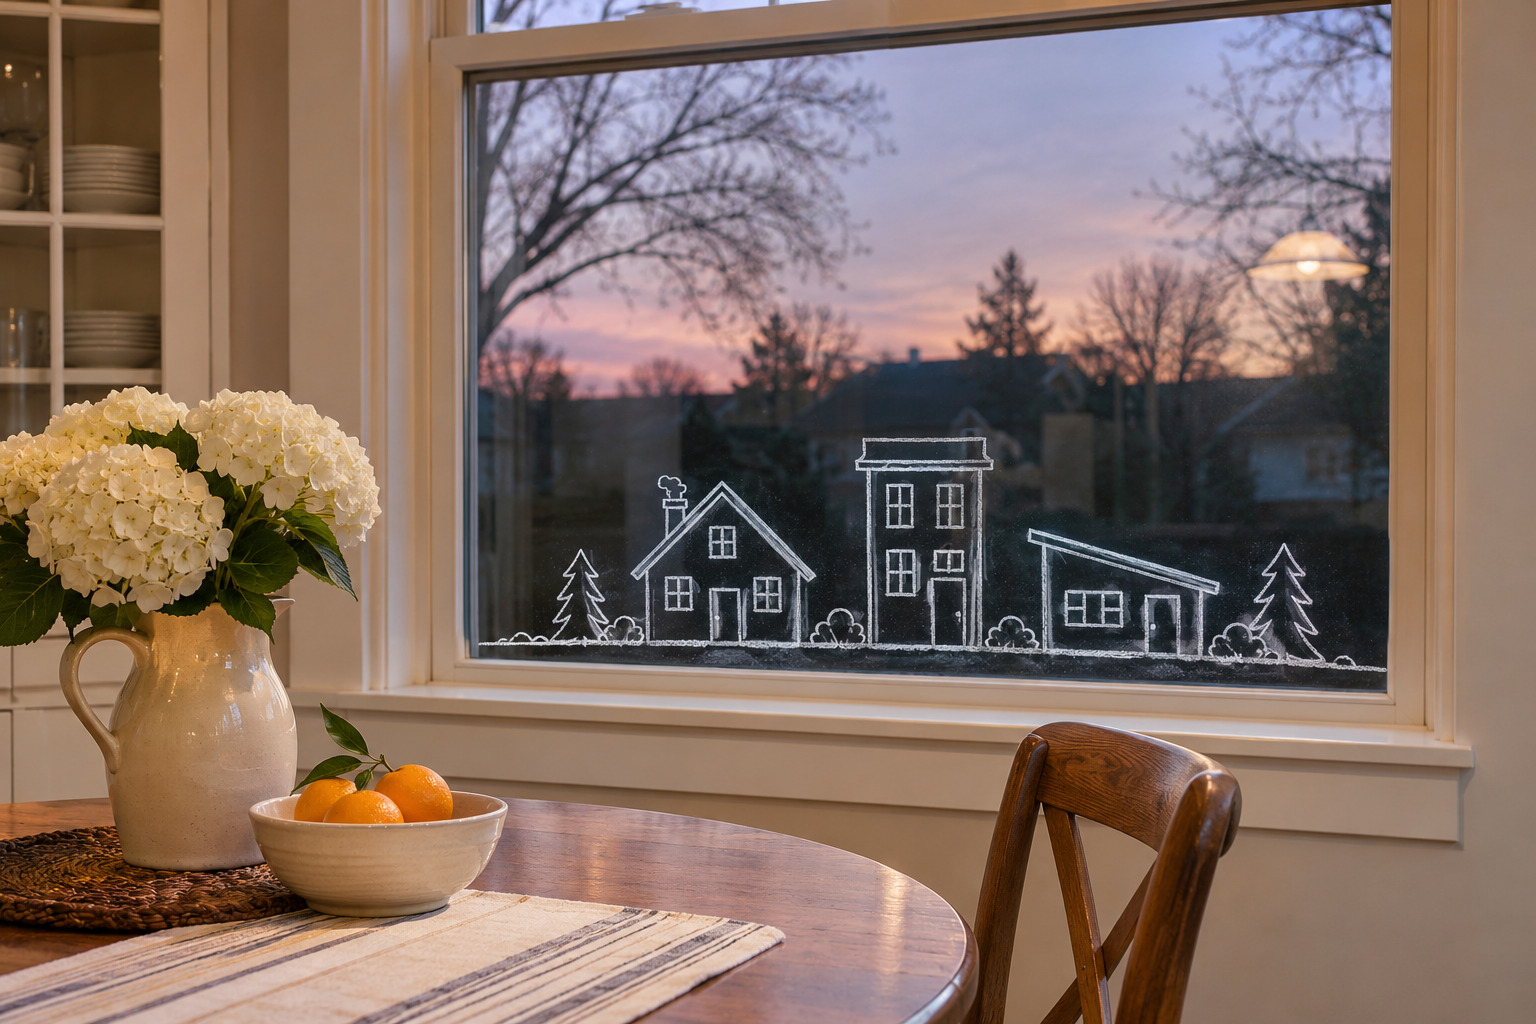
Start with a simple low baseline. Add a gabled cottage, a taller narrow townhouse, and a low building with a roof that slopes just one way. Leave gaps between them so the outside view becomes the village’s night sky. One bright window in each building makes the whole scene easier to read.
Keep the upper half of the glass open. The repeated baseline across the lower part makes the village look intentional, even when the little buildings have different widths. For a physical indoor display, see the shallow-shelf Christmas village backdrops.
5. Draw a Bell and Ribbon on a Narrow Sidelight
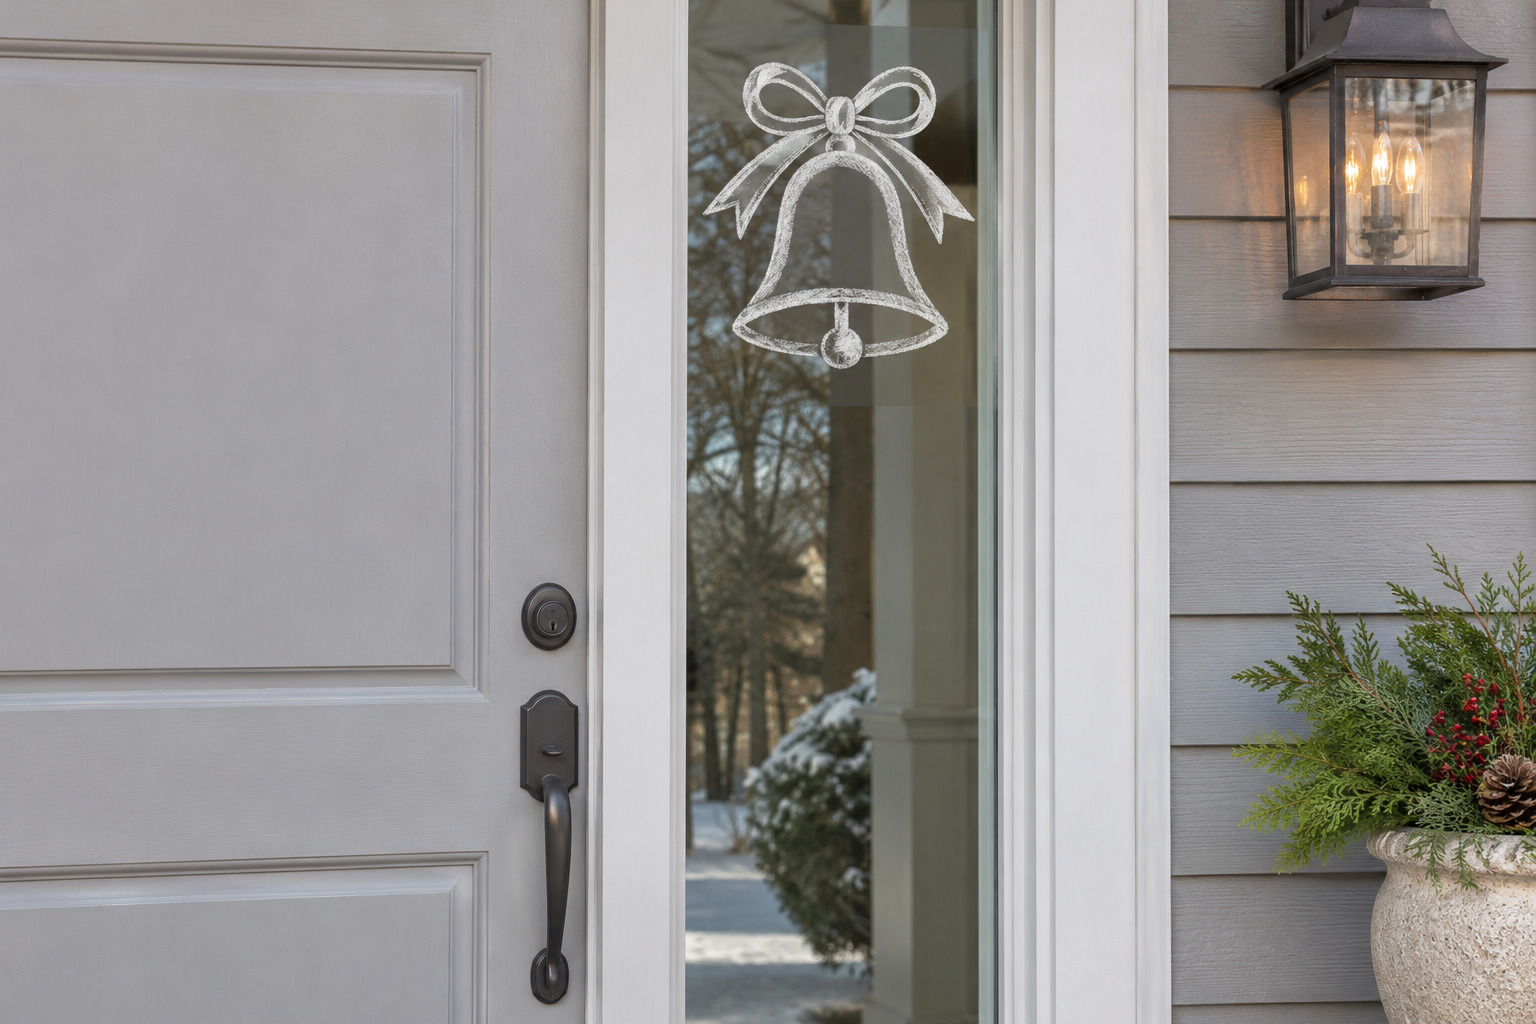
Put one bell near the upper third of the sidelight, where its flared skirt can sit inside the widest part of the glass. Draw the outline, a little clapper, and a loop of ribbon with two short tails. An empty stretch below gives the tall window a reason to stay tall.
If your sidelight already has textured glass, test whether the lines will read cleanly and whether the marker is approved for that surface. A smooth nearby pane with a plain surround also suits a narrow vertical design.
6. Use an Open Diagonal for a Sleigh Silhouette
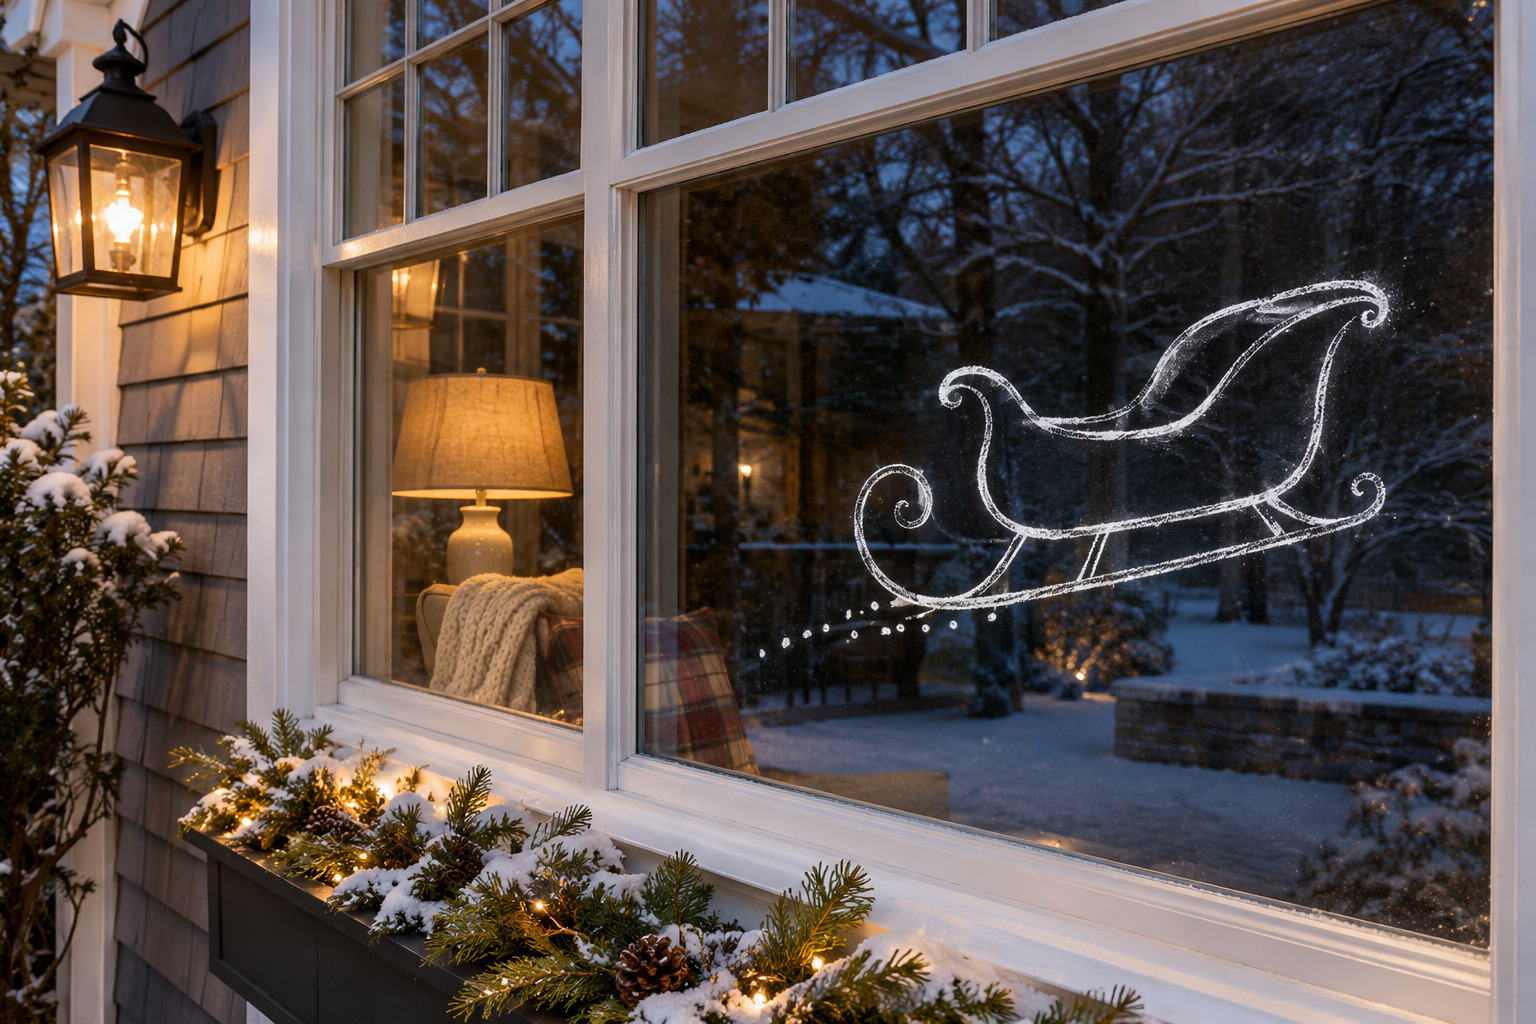
Draw a shallow curved runner first, then put a simple open sleigh body above it. Aim the runner diagonally upward and let a loose trail of dots fall away behind it. A strong silhouette reads more clearly than tiny parcels and reins, especially if the drawing is high on the pane.
Mock up the runner on paper in the lower half of the glass to check its angle from across the room. Keep a margin around the front so the sleigh has somewhere to go.
7. Angle Two Sprigs In From the Upper Corners
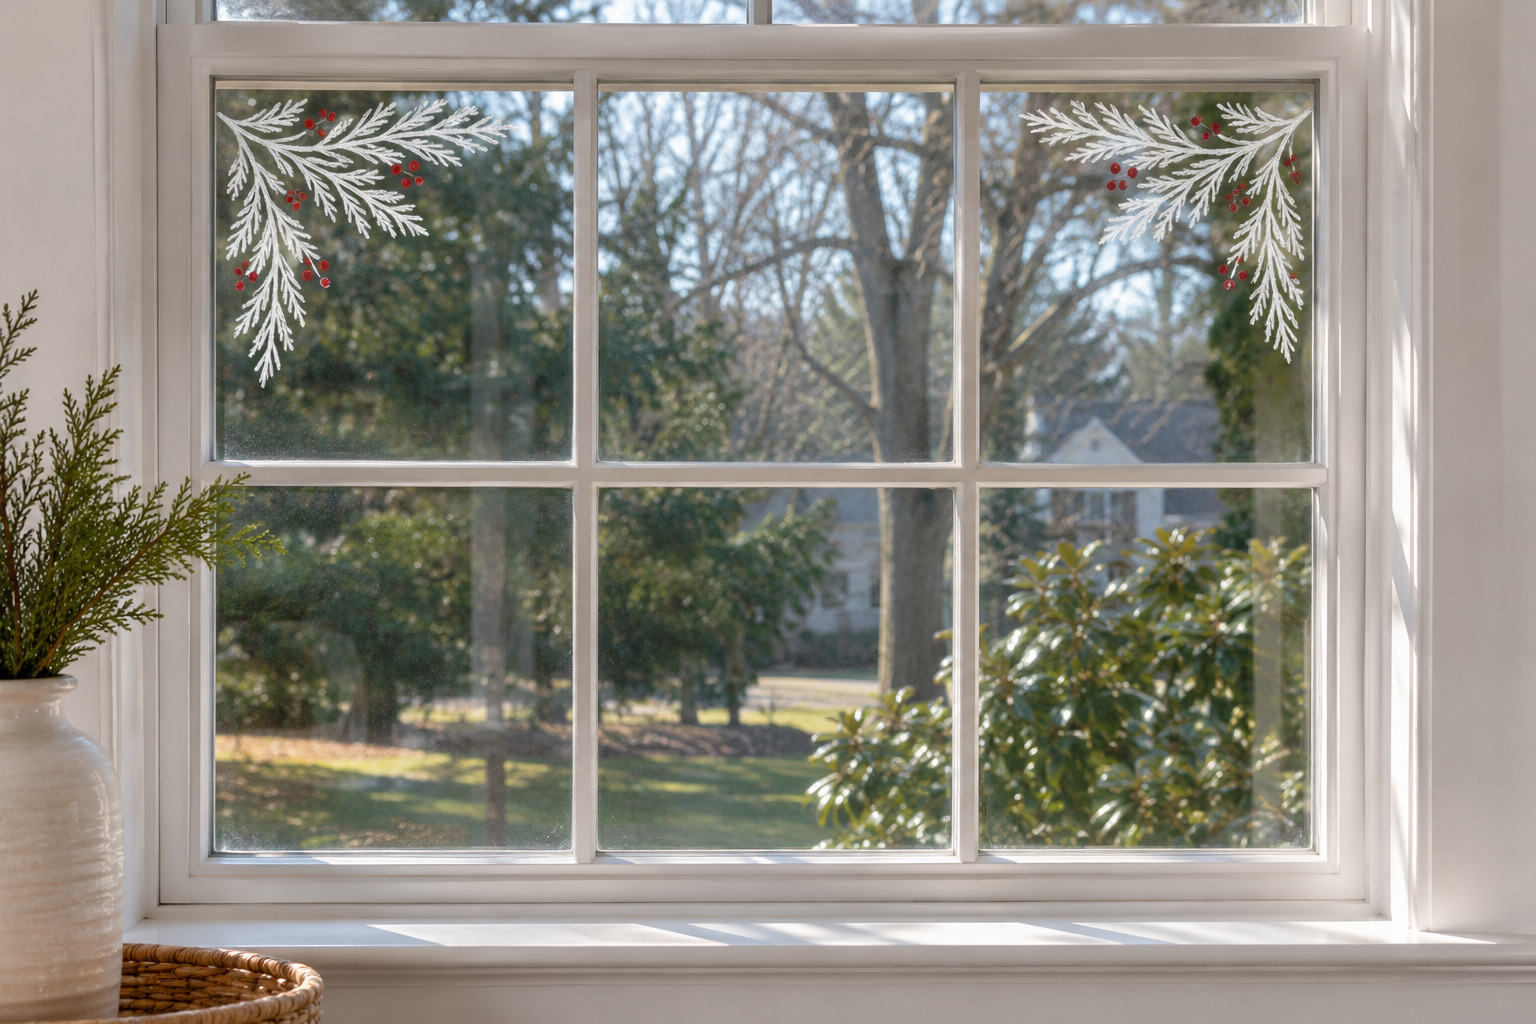
Draw a short curving stem in each upper corner and add slim needles in small groups. Aim the stems inward so the tips follow the top edge instead of sloping into your view. A small cluster of berries on one stem adds a second shape without covering the sill’s daylight.
A dark outdoor backdrop helps fine green lines. If your window faces a pale sky, use white for the stems and save color for a few broad berries.
8. Suspend Painted Baubles at Three Heights
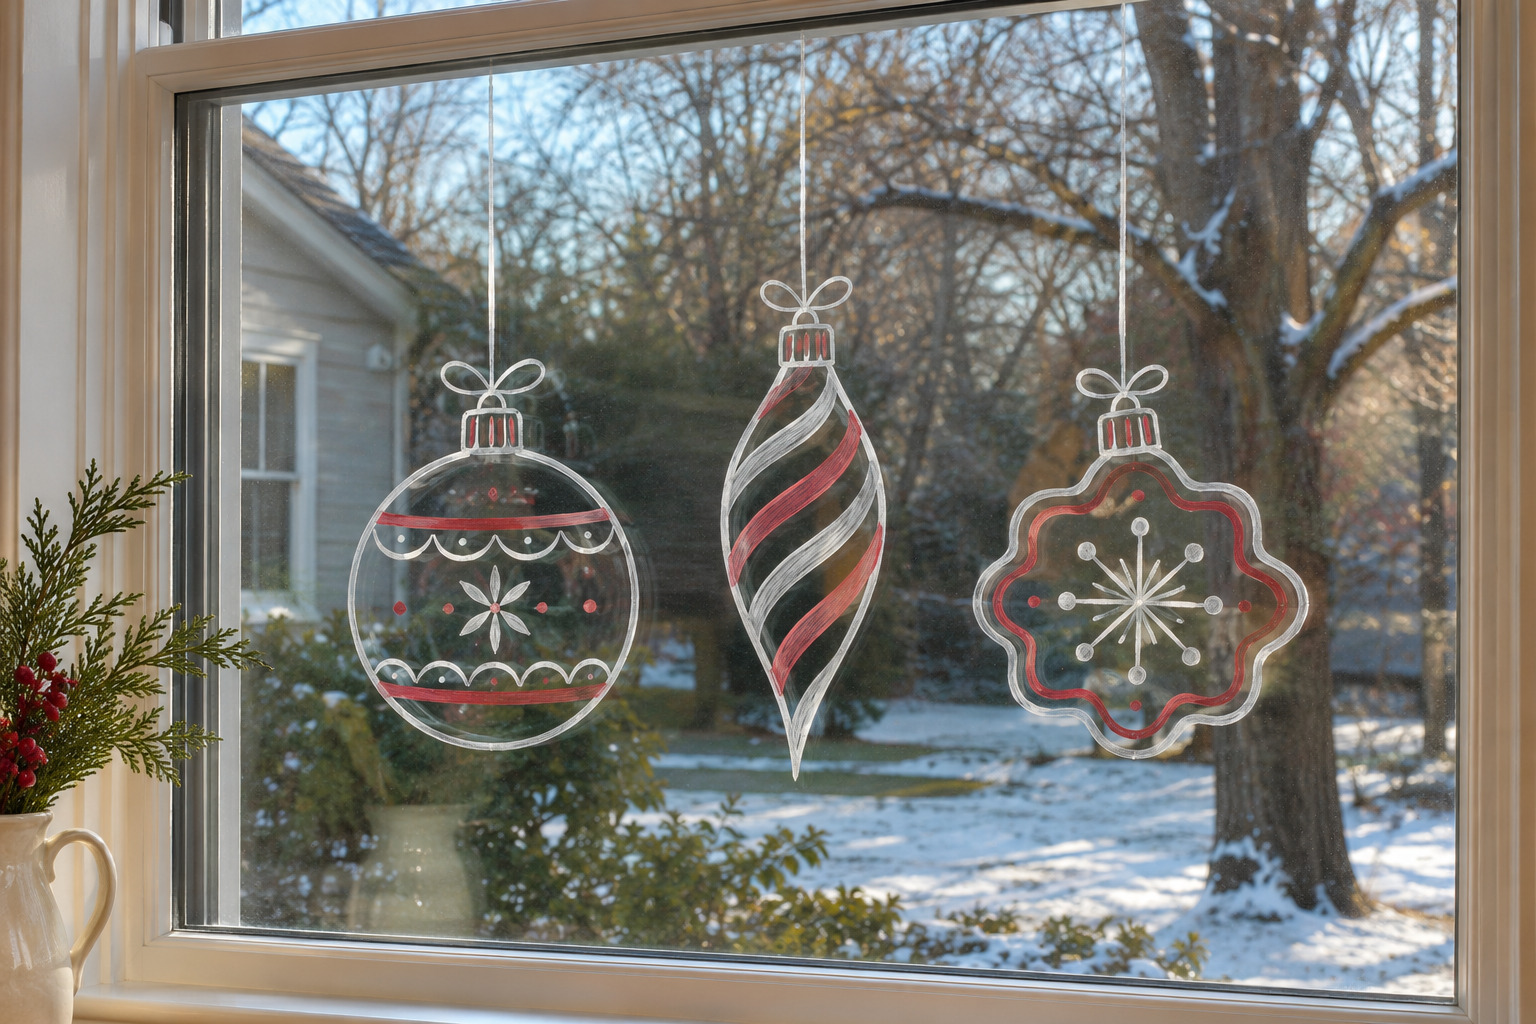
Draw a round bauble, an elongated one, and a second round shape with a scalloped edge. Put a tiny cap on each and pull a straight painted line up toward the top of its pane. Use a ruler alongside a sheet of paper to practice each line. Leave a blank band between the ornament shapes so the suspensions stay legible.
If the window has muntins, let each one mark the edge of a different layout zone. One bauble can sit alone in a narrow pane, with the pair on the wider pane.
9. Give Each Glass Panel One Candle
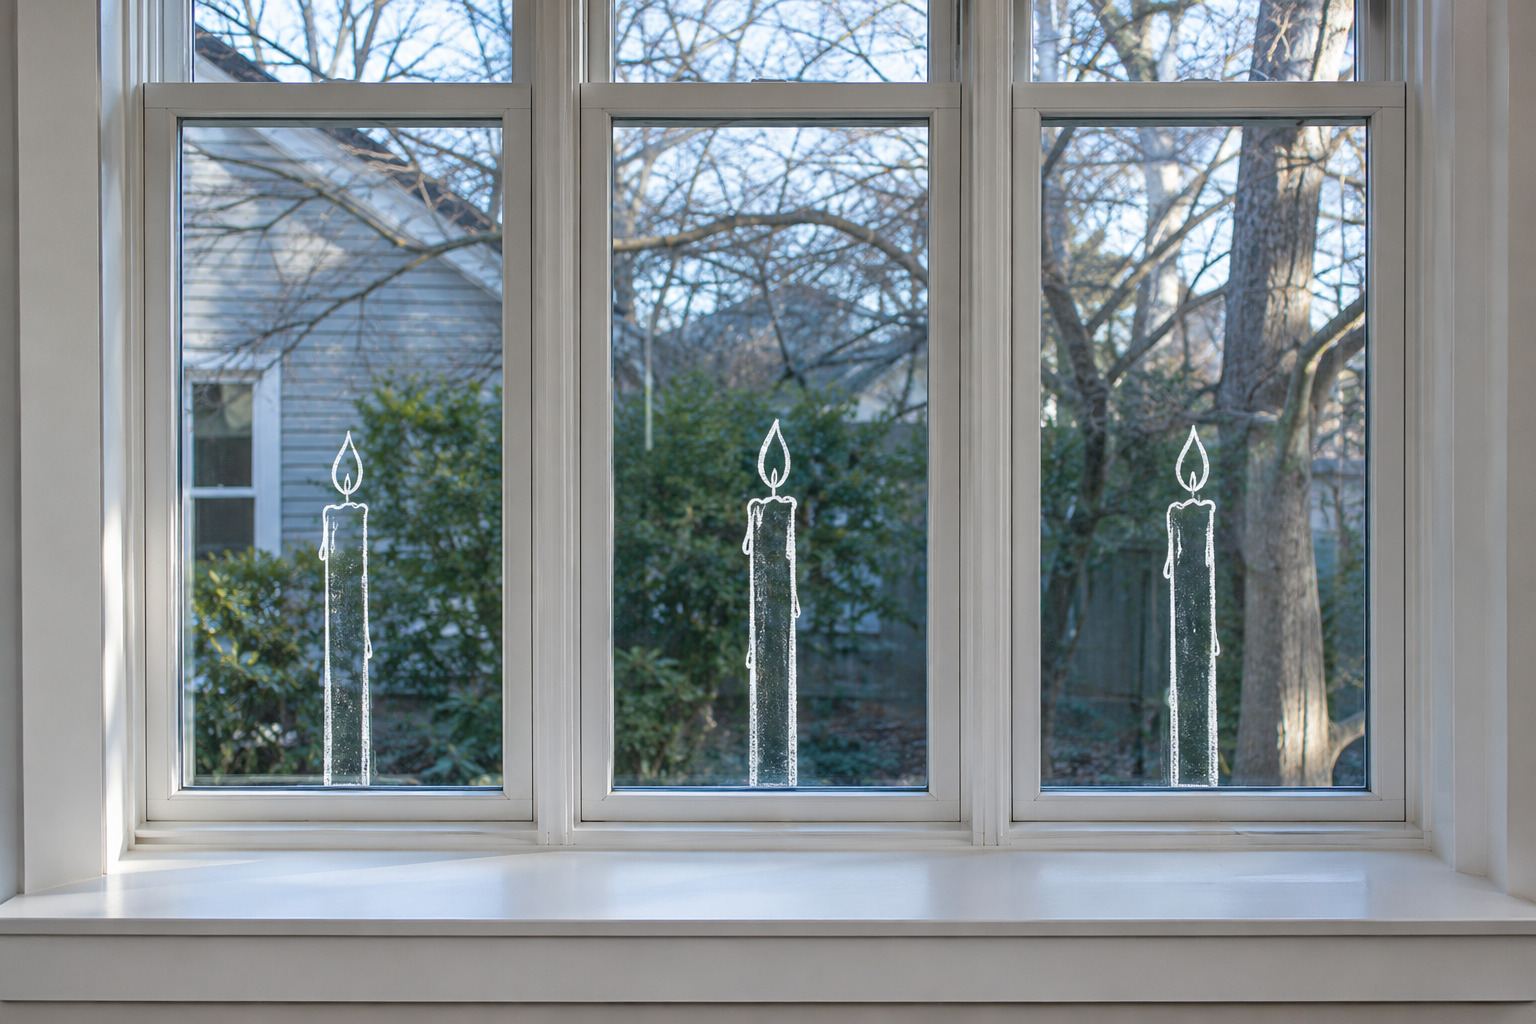
Draw a tall narrow candle with a short pointed flame. Repeat the design in adjacent glass panels and vary the body height slightly. Keep the base of each candle on the same imaginary line. Spacing fixed by the window divisions gives the row a calm rhythm.
The real sill can stay empty. A fine line under each candle is enough to suggest a holder without swallowing the flame shape.
10. Outline a Gingerbread House in the Kitchen Window
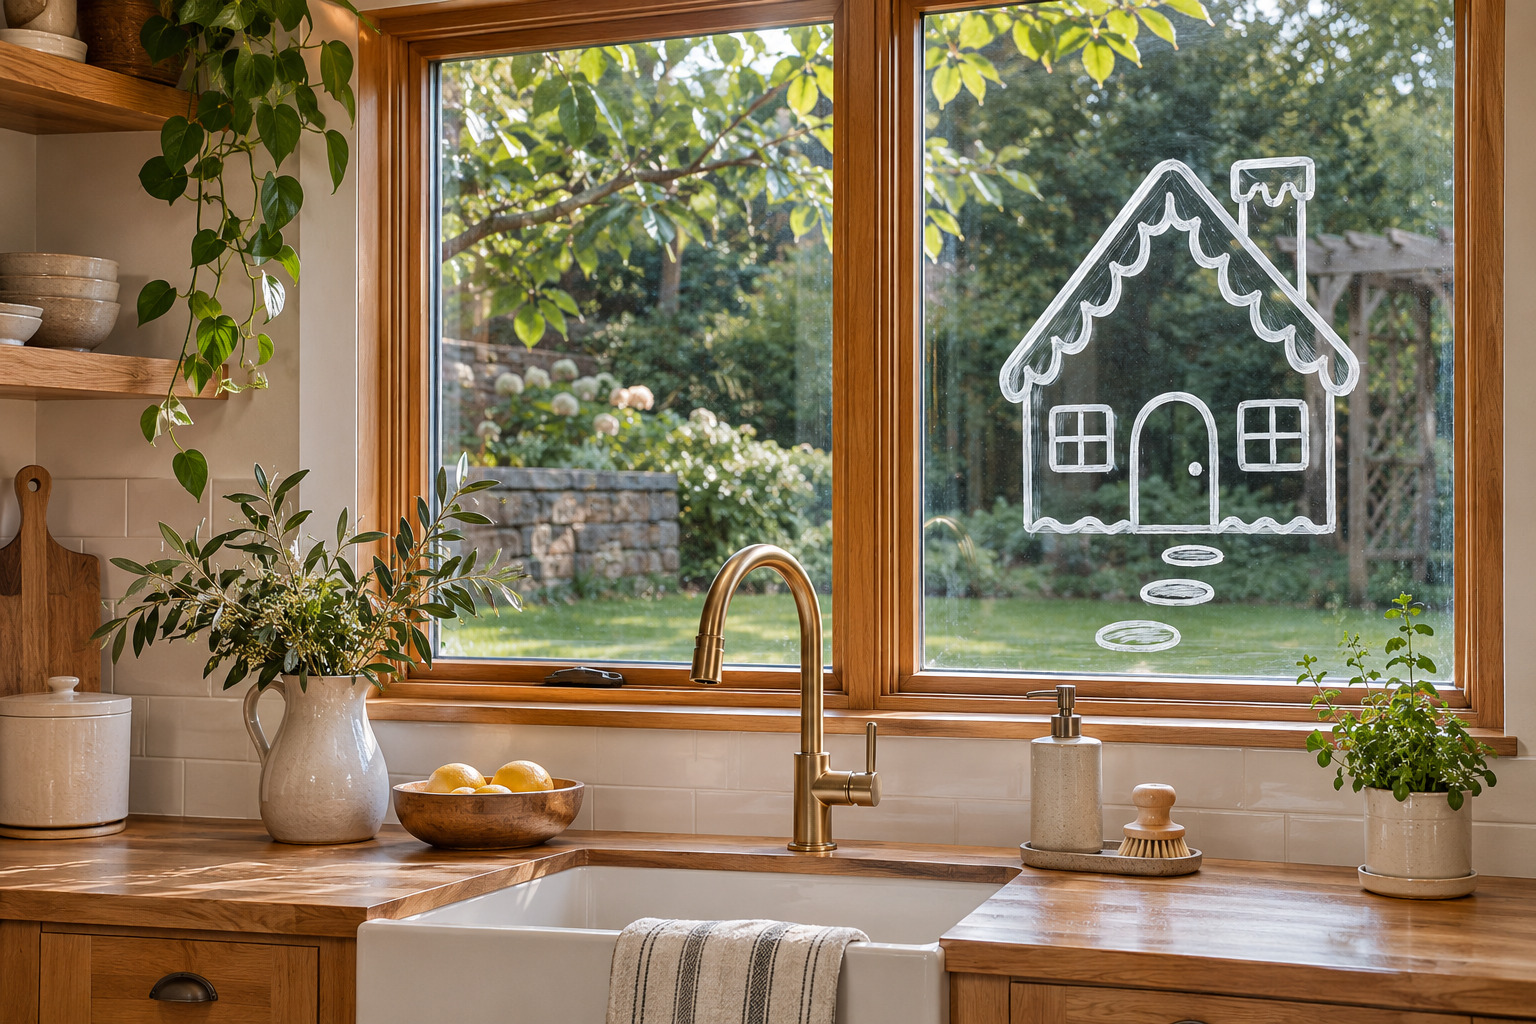
Start with a steep roof, a simple door, and two square windows. Add roof icing with one continuous wavy line rather than lots of tiny scallops. Draw a path of three rounded stones from the door. Place the house to one side of the sink sightline so the person at the counter can still look out.
Work on a dry, cool, easily reached pane. Draw the outer shape before you add trims. The door and roof outline should still be visible across the kitchen once the inside lights are on.
11. Paint Oversize Bulbs Along a High Horizontal Pane
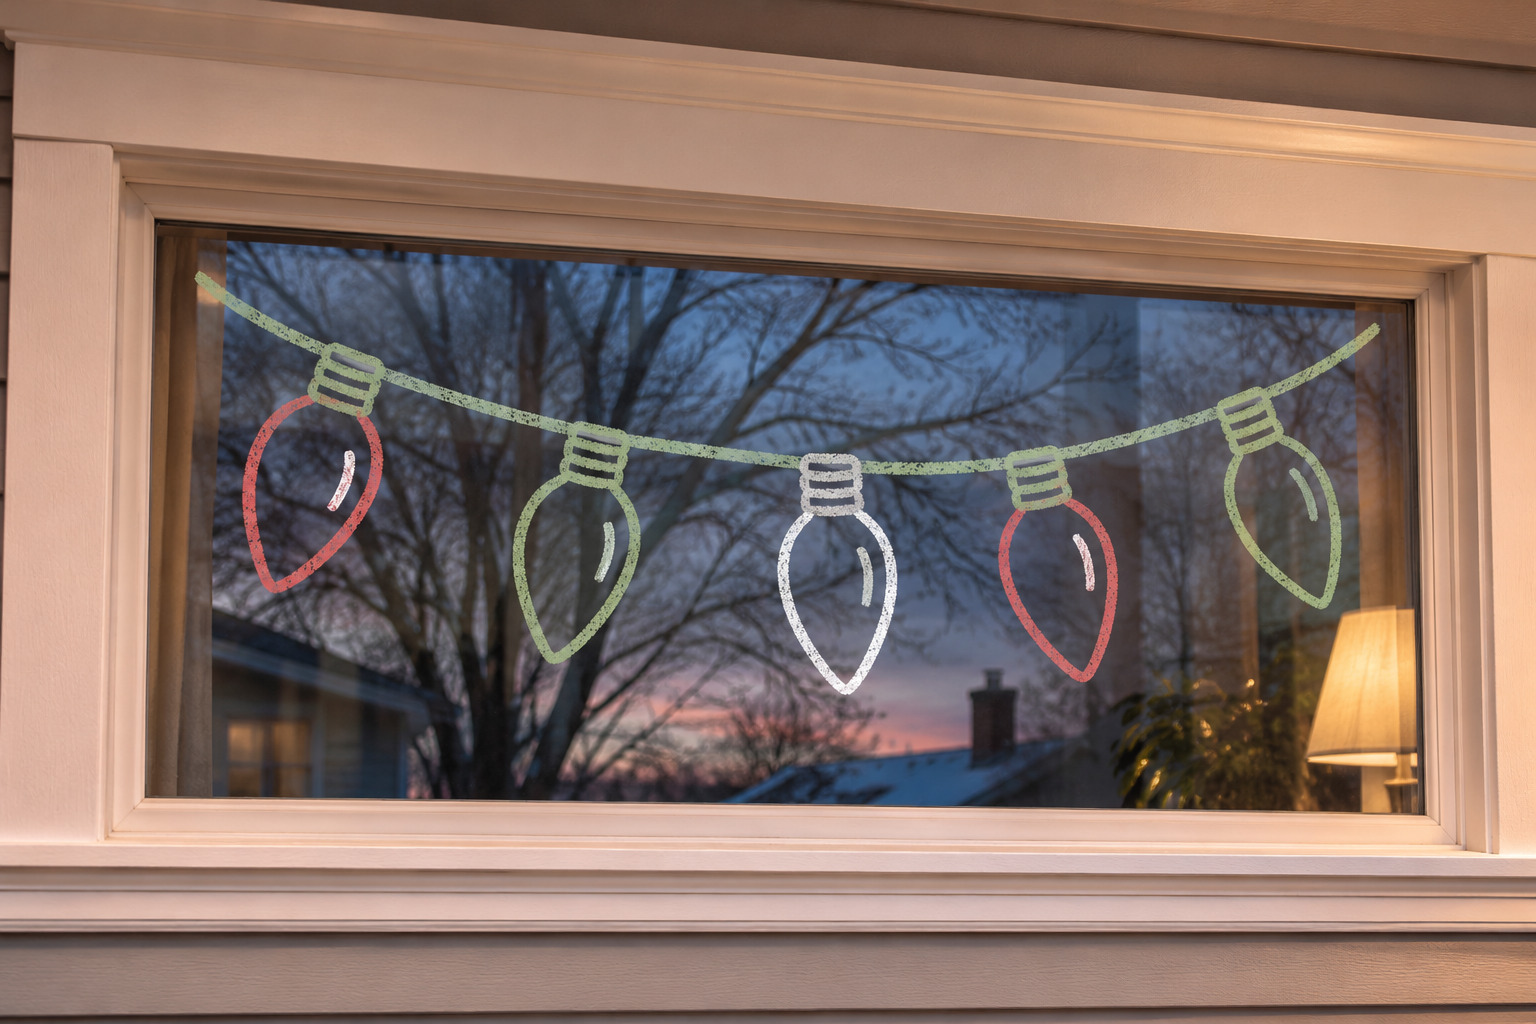
Draw one gently sagging line, then sketch upright oval bulbs with short rectangular bases at measured intervals. Vary two colors and leave one bulb as a simple outline so the drawing has space to breathe. This arrangement works on a wide, shallow pane you can reach comfortably from floor level.
Check how much of the line you can see from the room at night. If the pane is high above normal reach, a safely accessible transom-height panel or a low horizontal pane gives the same proportion.
12. Let One Poinsettia Fill a Square Pane
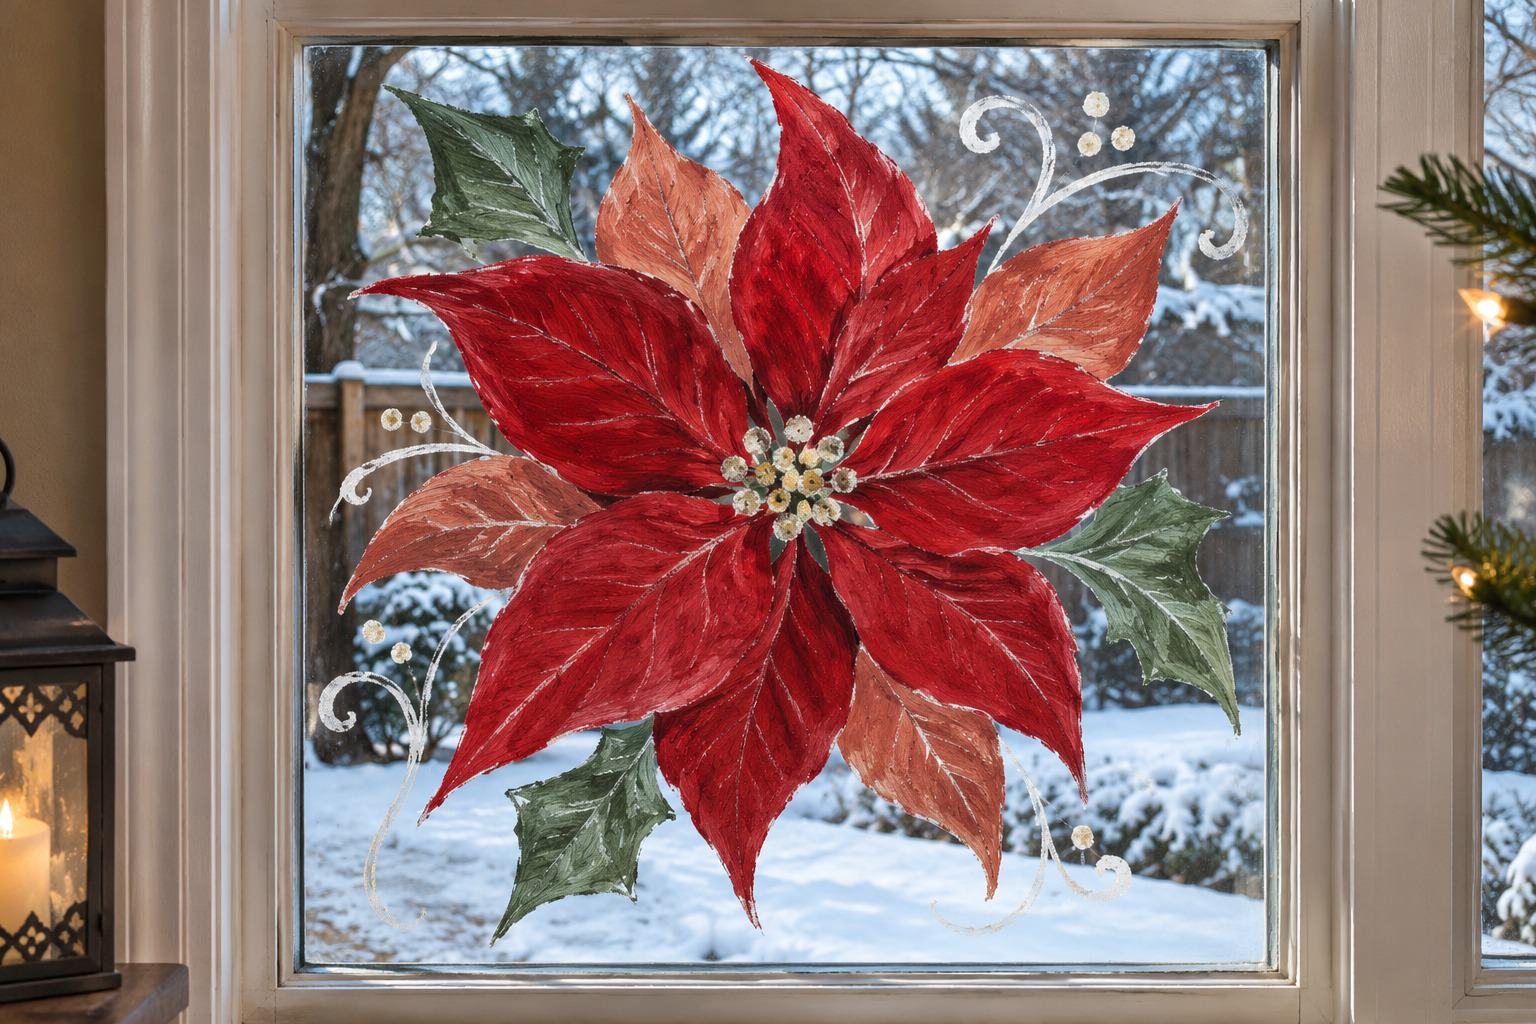
Put a tight group of small circles slightly off-center, then make two loose layers of pointed leaves around it. Use a deeper red on just a few of the innermost leaves and let some of the glass show between the outer ones. A single flower fills a square pane without depending on repeated details.
Draw the petal layout on paper and hold it against the pane before starting. Leave a margin around the shape so the flower looks deliberate once the curtains are open.
Choose the motif you can see most clearly from the spot you use every day. Sketch it once at the size you want, test the marker, and start with the main outline. Add the smallest details after you’ve seen the drawing in daylight and again after dark.
Discover more from HomeTrendora
Subscribe to get the latest posts sent to your email.