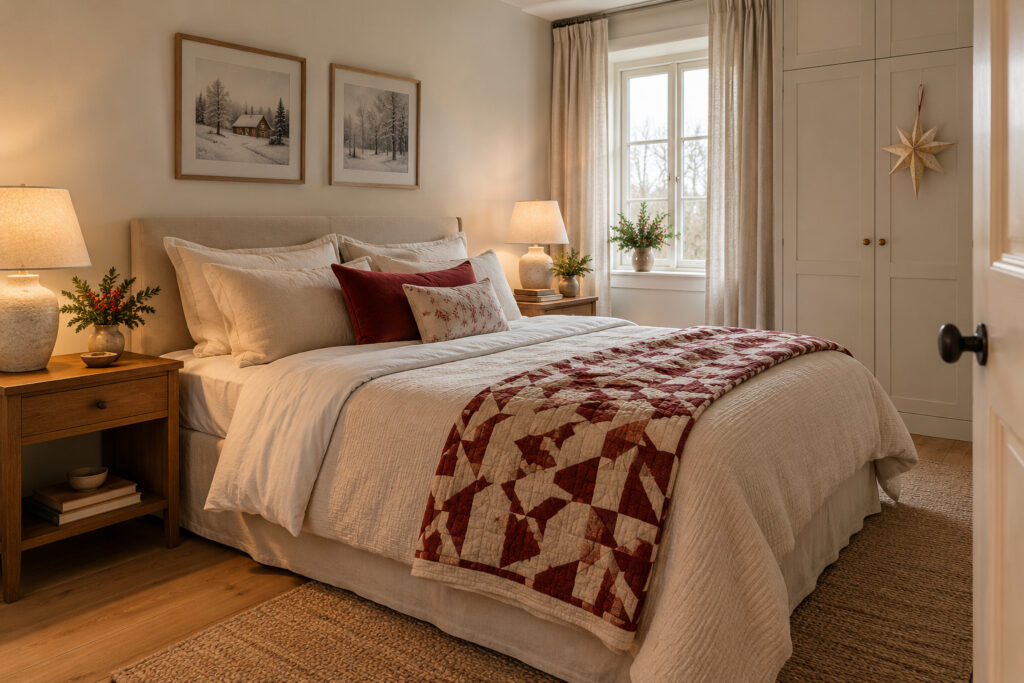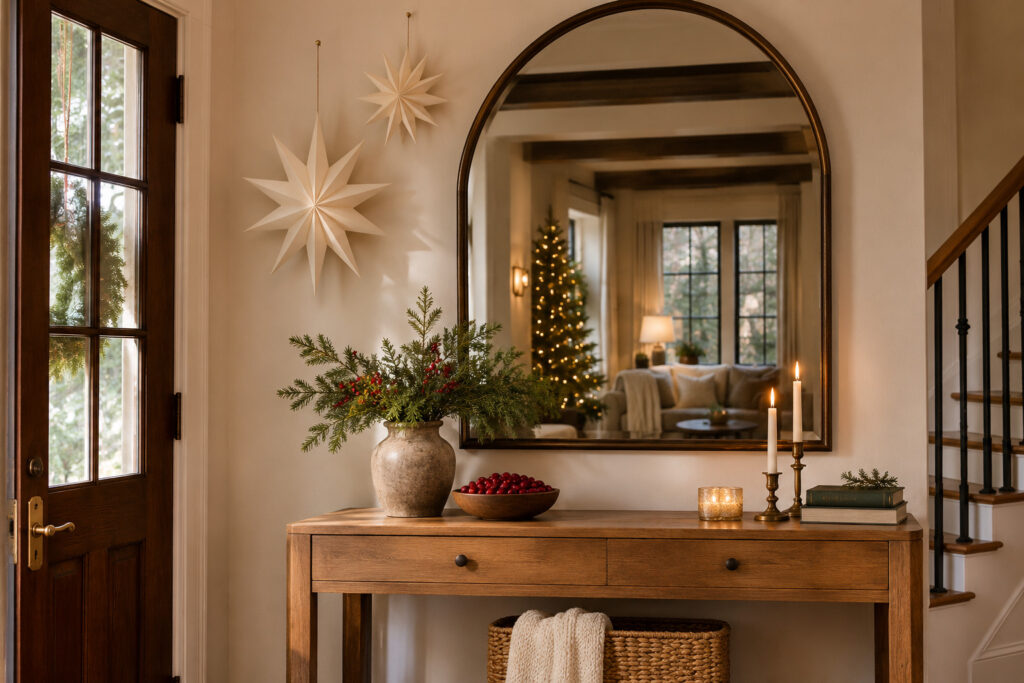
A small room can run out of places for Christmas decorations long before it runs out of places to look. Use the space above existing furniture to make a festive focal point and keep the floor free for people to move through.
Before you decide where a decoration goes, look up from each seat and walk the routes people use. Choose lightweight, unlit pieces and follow the attachment instructions for your exact surface and load. Give lights, fans, vents, detectors, and sprinklers their own clear space. The simplest plan is often to use a fixed wall near the ceiling if overhead attachment is unsuitable.
1. Put Paper Stars Over the Middle of the Table
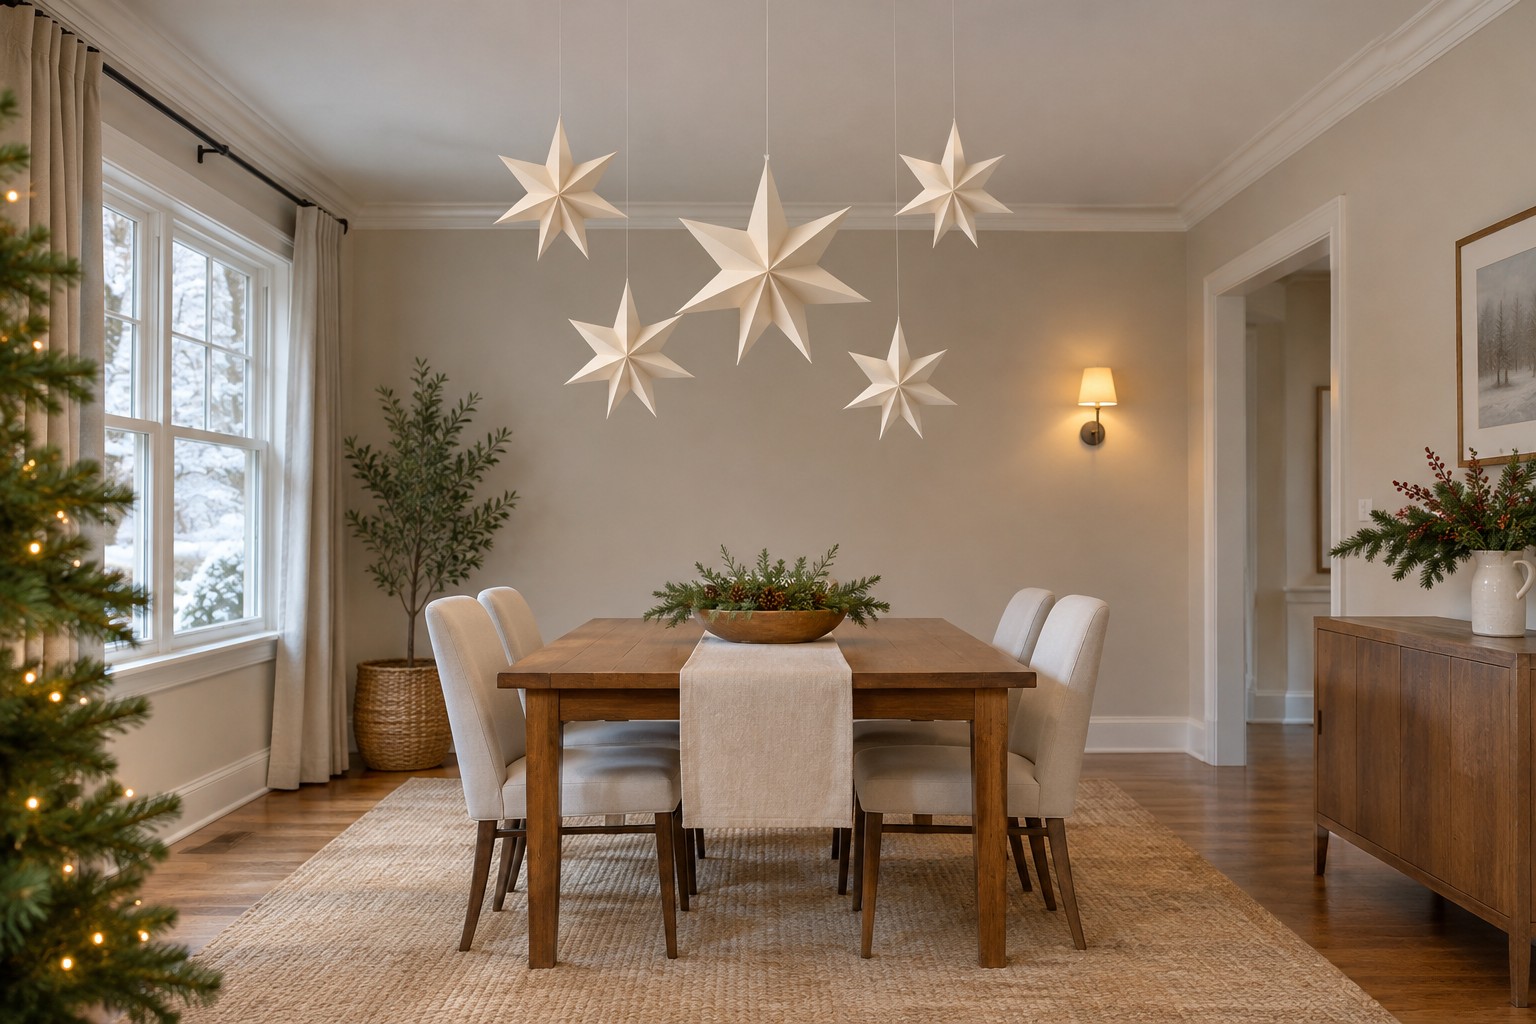
Center a few folded paper stars over the part of the table where no one needs to stand. Hang them independently in a loose group, with the largest star close to the middle. Sit in two opposite chairs to check that everyone can see each other and that the stars don’t get in the way of dishes being passed around.
This idea suits a table with open ceiling space over it. If a light is already in that spot, move the cluster over a sideboard or use the wall beside the table. A handful of pale stars works well against a warm wall and can echo the paper details already on the table.
Choose three sizes from a set of folded kraft paper stars and hang the largest near the center of the table. Display them unlit and keep each star separate from lights and other fixtures.
See the folded paper stars → (paid link)
2. Group Honeycomb Balls Above a Sideboard
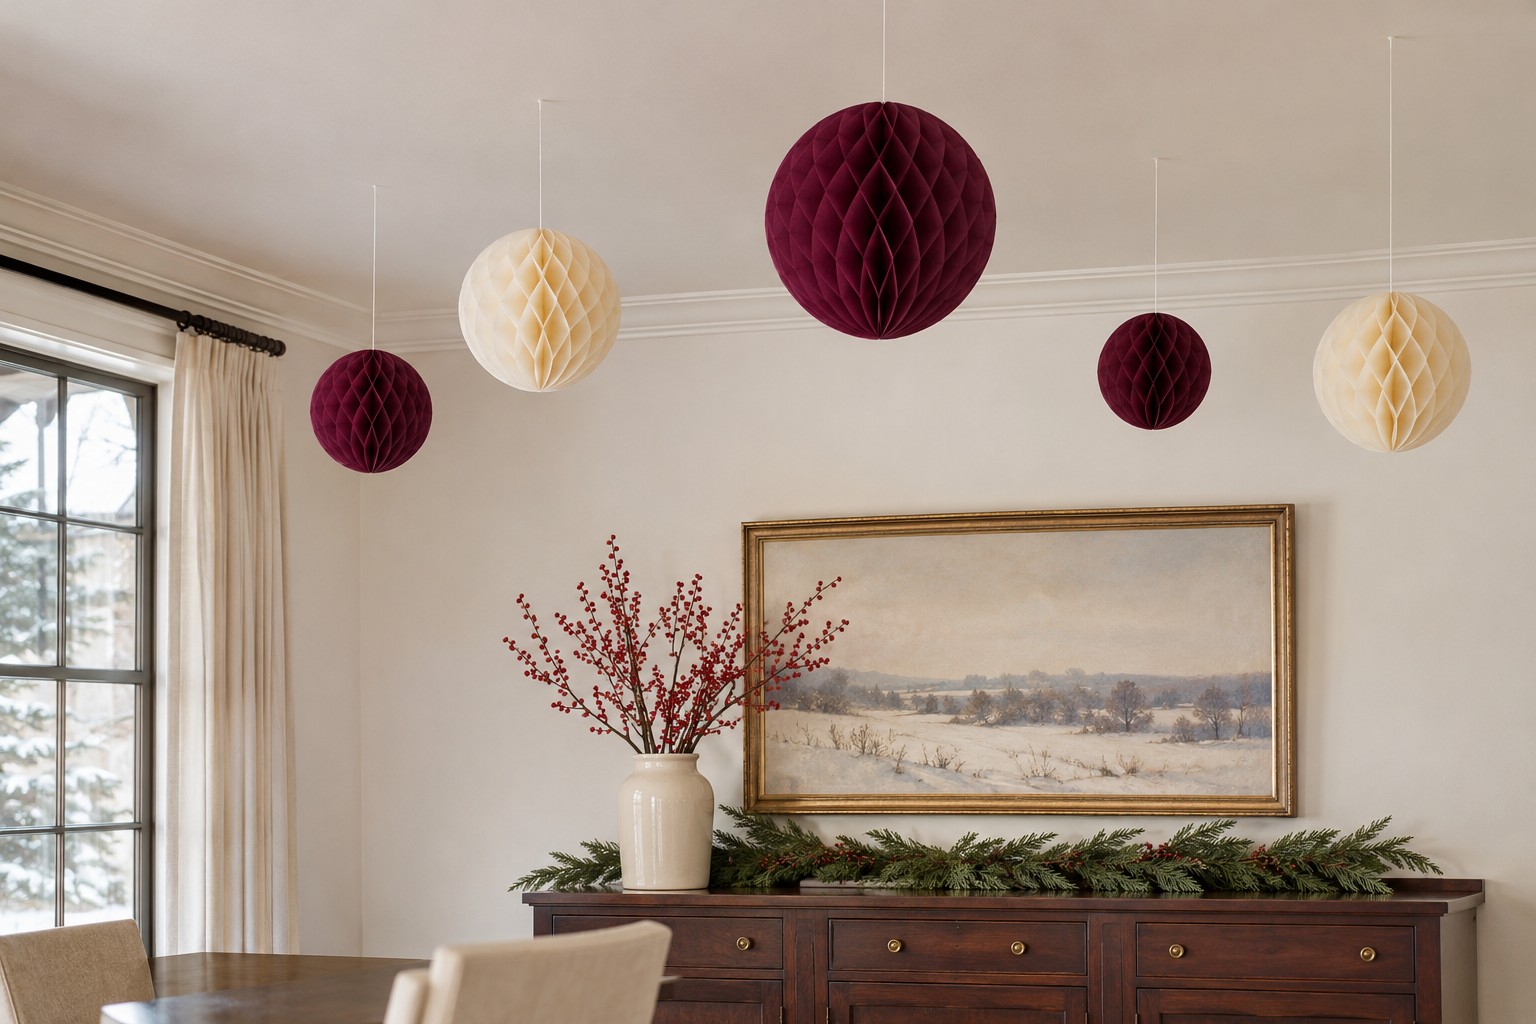
Choose a spot above an existing sideboard where you can see the honeycombs without walking beneath them. Use the largest ball off center and give two smaller ones different lengths of drop. A deep berry color between two lighter folds makes the group easy to see from the doorway.
Look at the arrangement from the front before attaching it. From that angle, each ball should have a bit of background around it. Leave room to reach what’s on the sideboard and keep the cluster well away from lamps and heat sources.
3. Give a Bay Nook a Crescent of Paper Moons
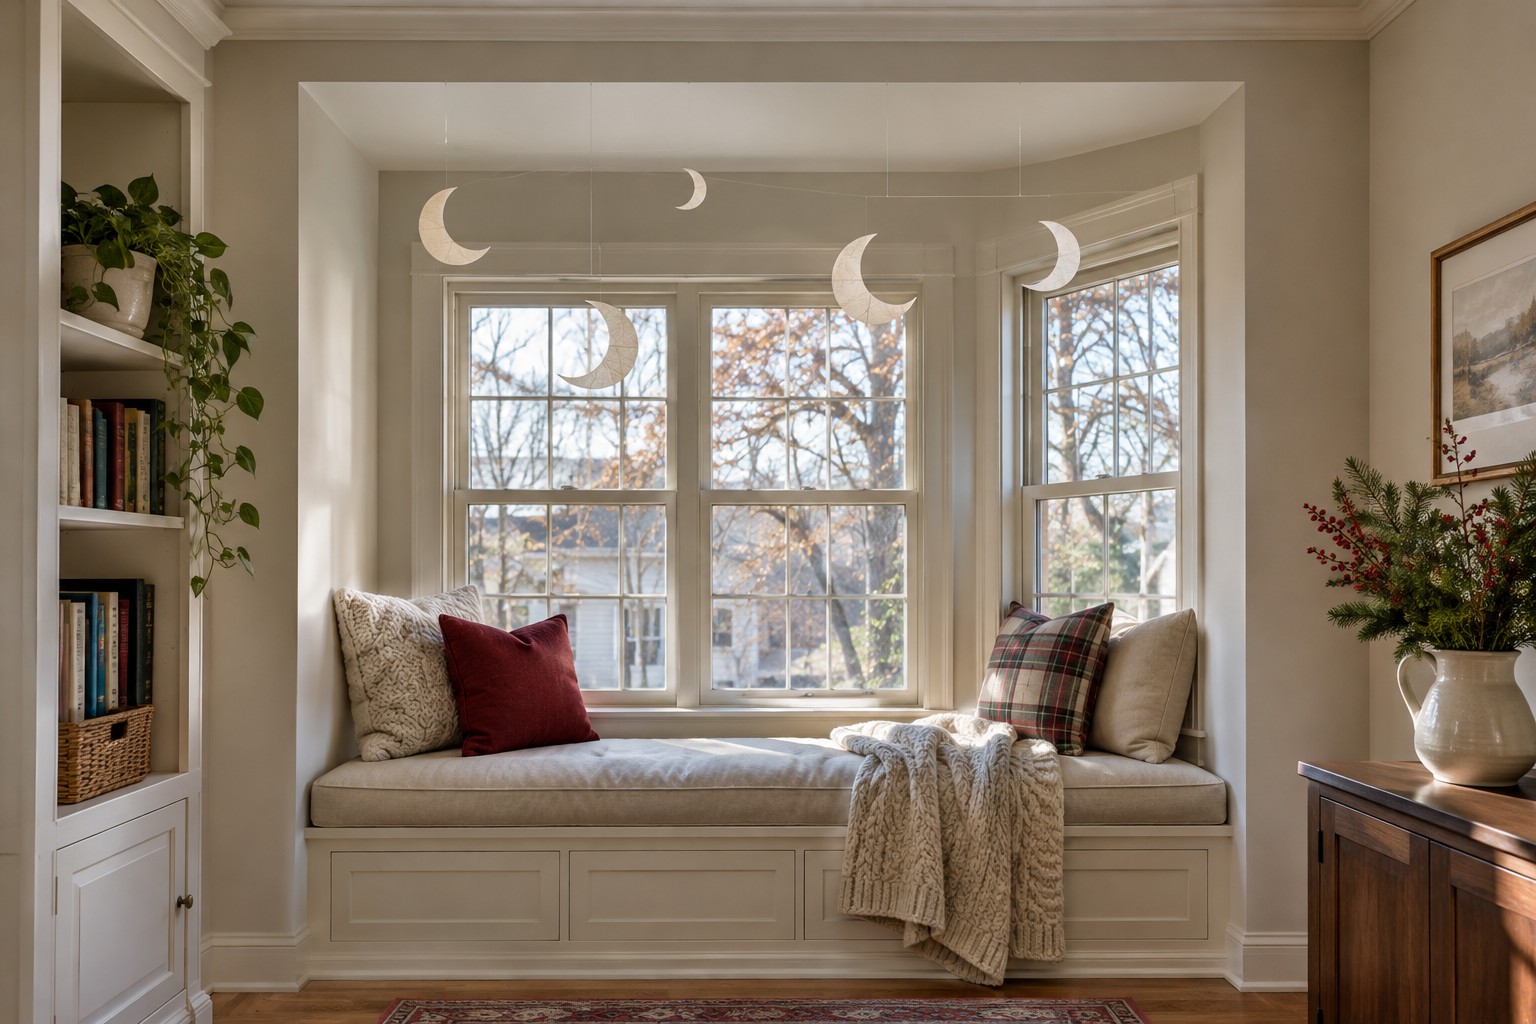
Arrange three lightweight paper crescents along the curved part of a bay. Follow the line of the nook rather than hanging them level across the room. Make the center crescent a little larger so the curve reads even when the bay is in shade.
Keep the pieces behind the edge of the seating area and away from moving curtains and window hardware. Turn one crescent by its hanging loop to check the shape from the room. Leave the middle of the window view open for winter daylight. These Christmas window decor layouts offer other ways to keep the coverings usable.
4. Make a High Border Out of Paper Fans
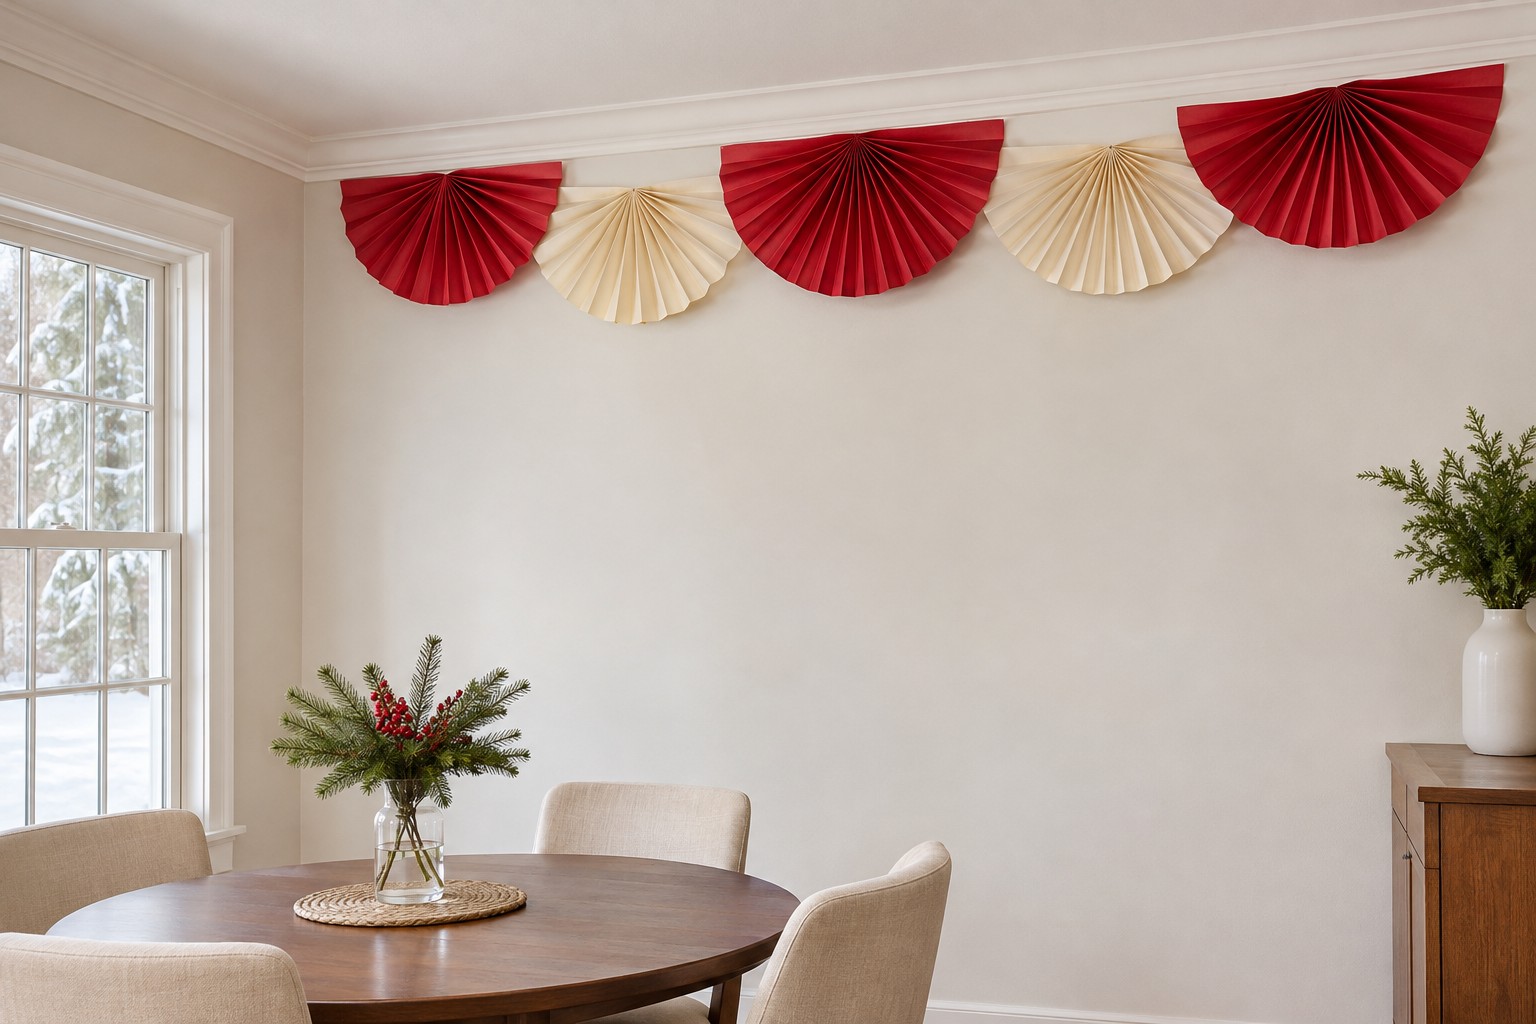
Set folded fans along the wall near the ceiling, with a little blank wall between them. The pleats can give a flat wall the depth of a ceiling display while keeping the pieces against a fixed surface. Use a white fan between two reds if the wall is pale.
Try the order at table height first. Look for the size and color change you can see from the door. Transfer the layout to a wall that has suitable mounting points and enough room around the nearest light, trim, or cabinet.
5. Let a Short Ribbon Curtain Mark a Fixed Corner
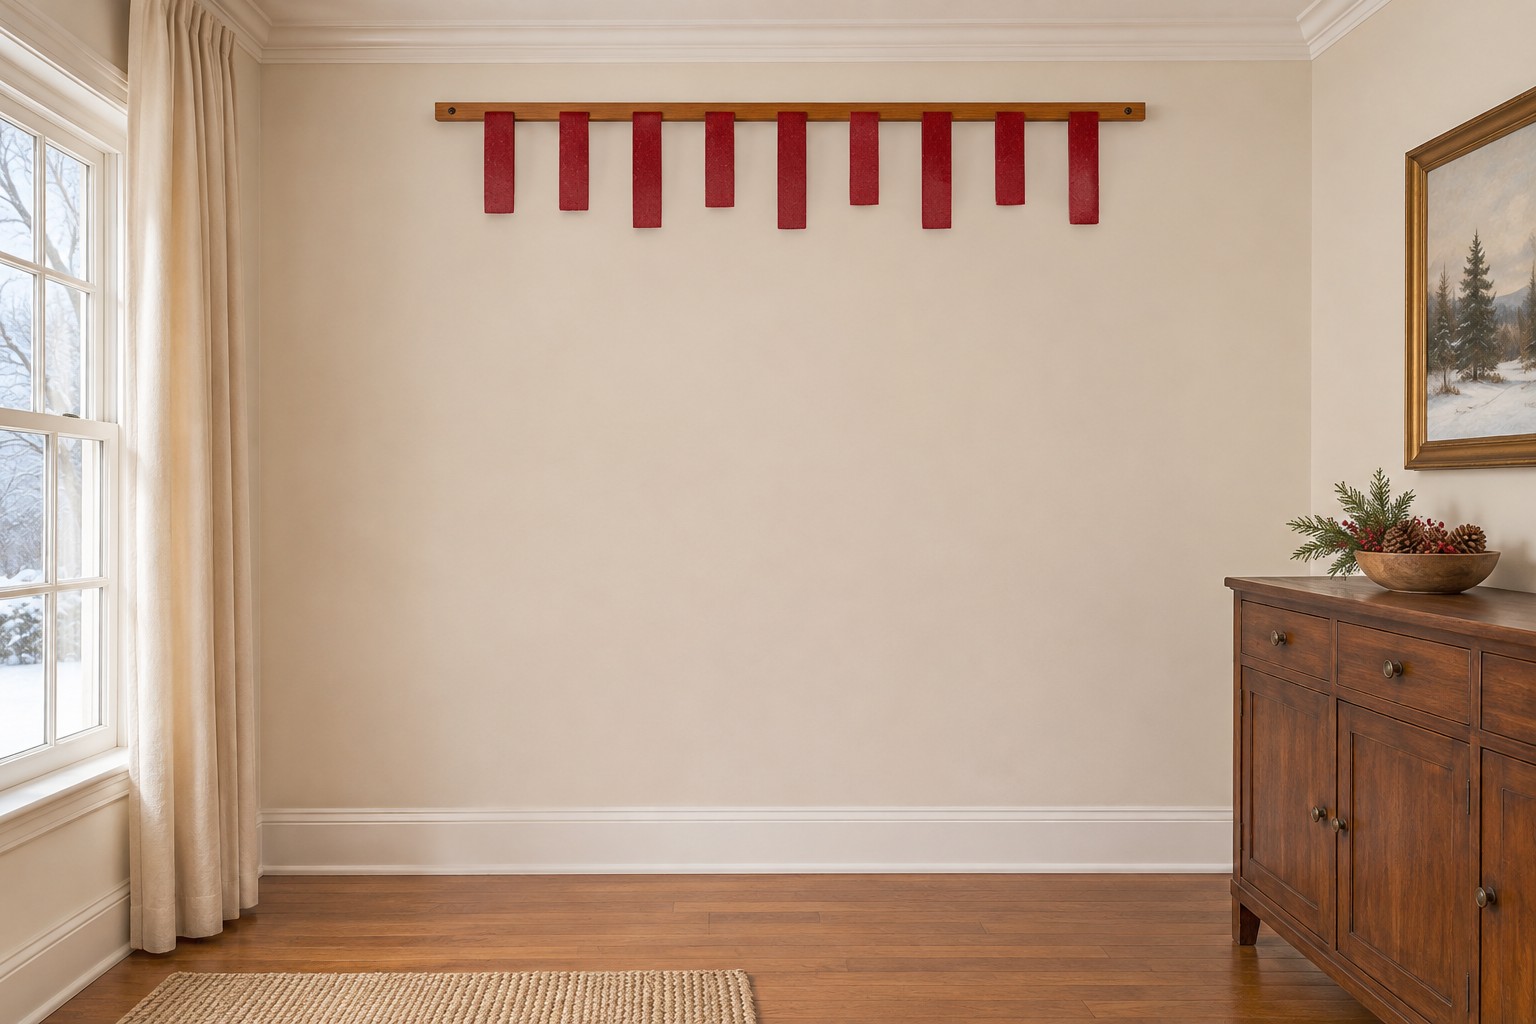
Gather a few short strips of matte paper ribbon on a small rail attached to a fixed wall near the ceiling. Trim the ends so the group is shortest on the side nearest the room. The ribbon tails should stay in the corner instead of falling across the route into it.
Choose one shade that is visible against the wall, such as red against off-white. A compact length is easier to read as one shape. Keep the strips away from air currents and anything that could catch the loose ends.
6. Fill the Space Above a Bench With an Offset Cluster
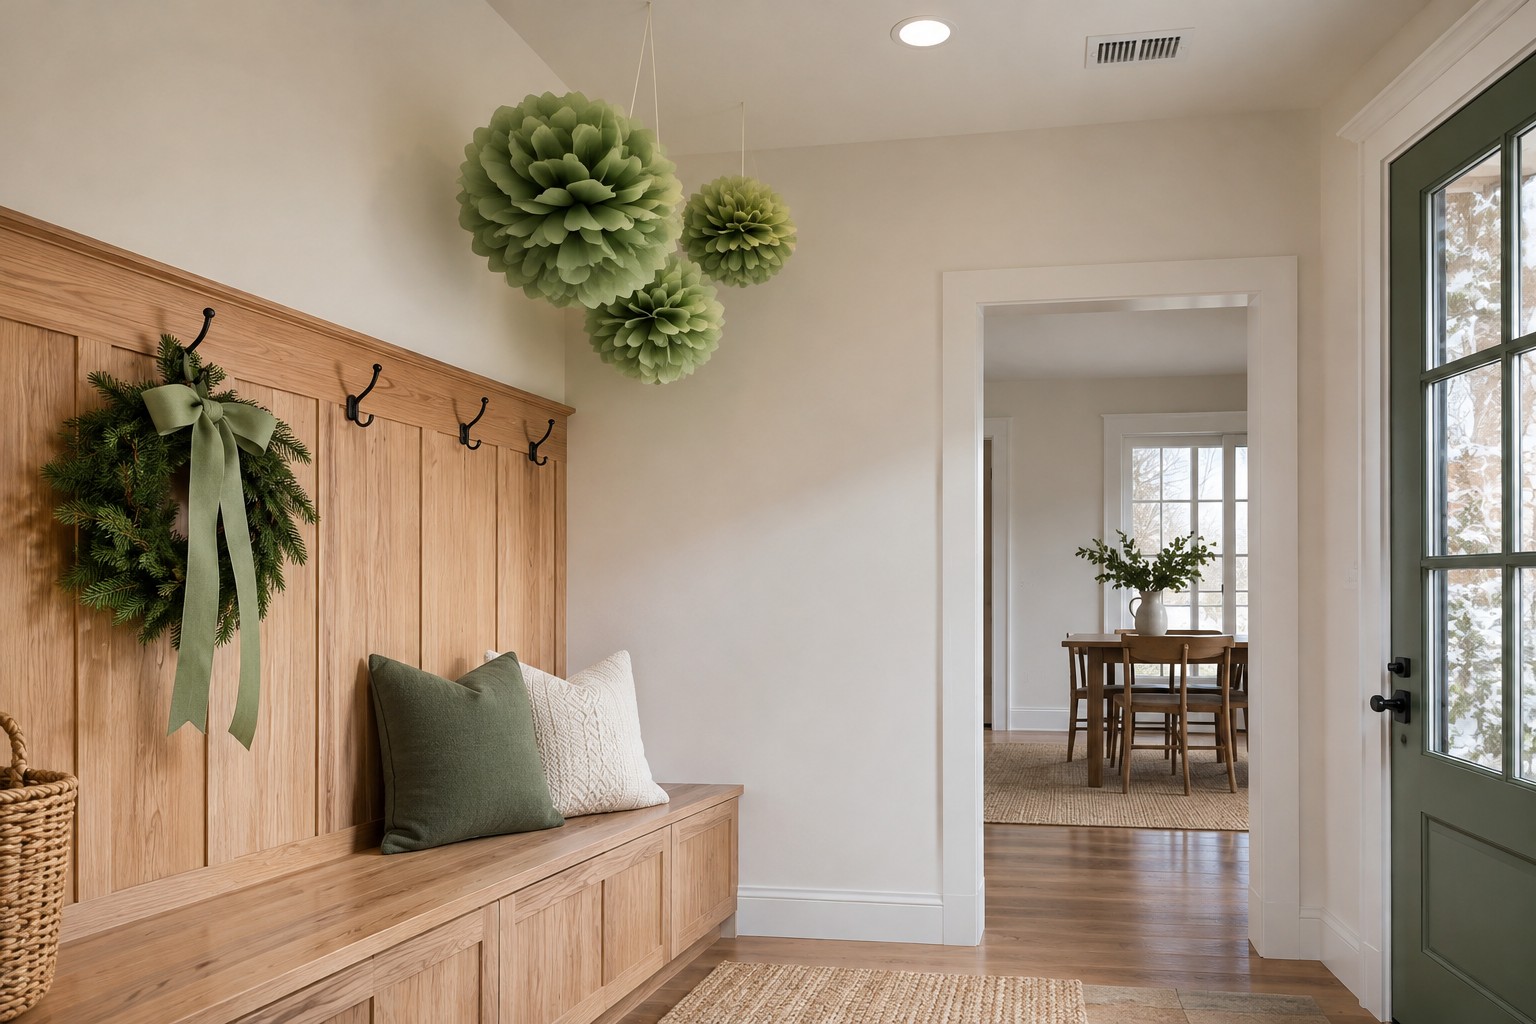
Look for a fixed bench with unused overhead space toward one end. Group a few small paper poms above that end, leaving open space above the spot where people stand up. Take your cue from the width of the bench and make the group noticeably narrower.
Walk in wearing the coat or bag you normally bring to the bench. Check the height and the path to the seat. If there’s any chance someone will brush against a drop, bring it closer to the wall or switch to flat ornaments on the wall itself.
7. Frame a Tall Empty Ceiling Bay With Paper Trees
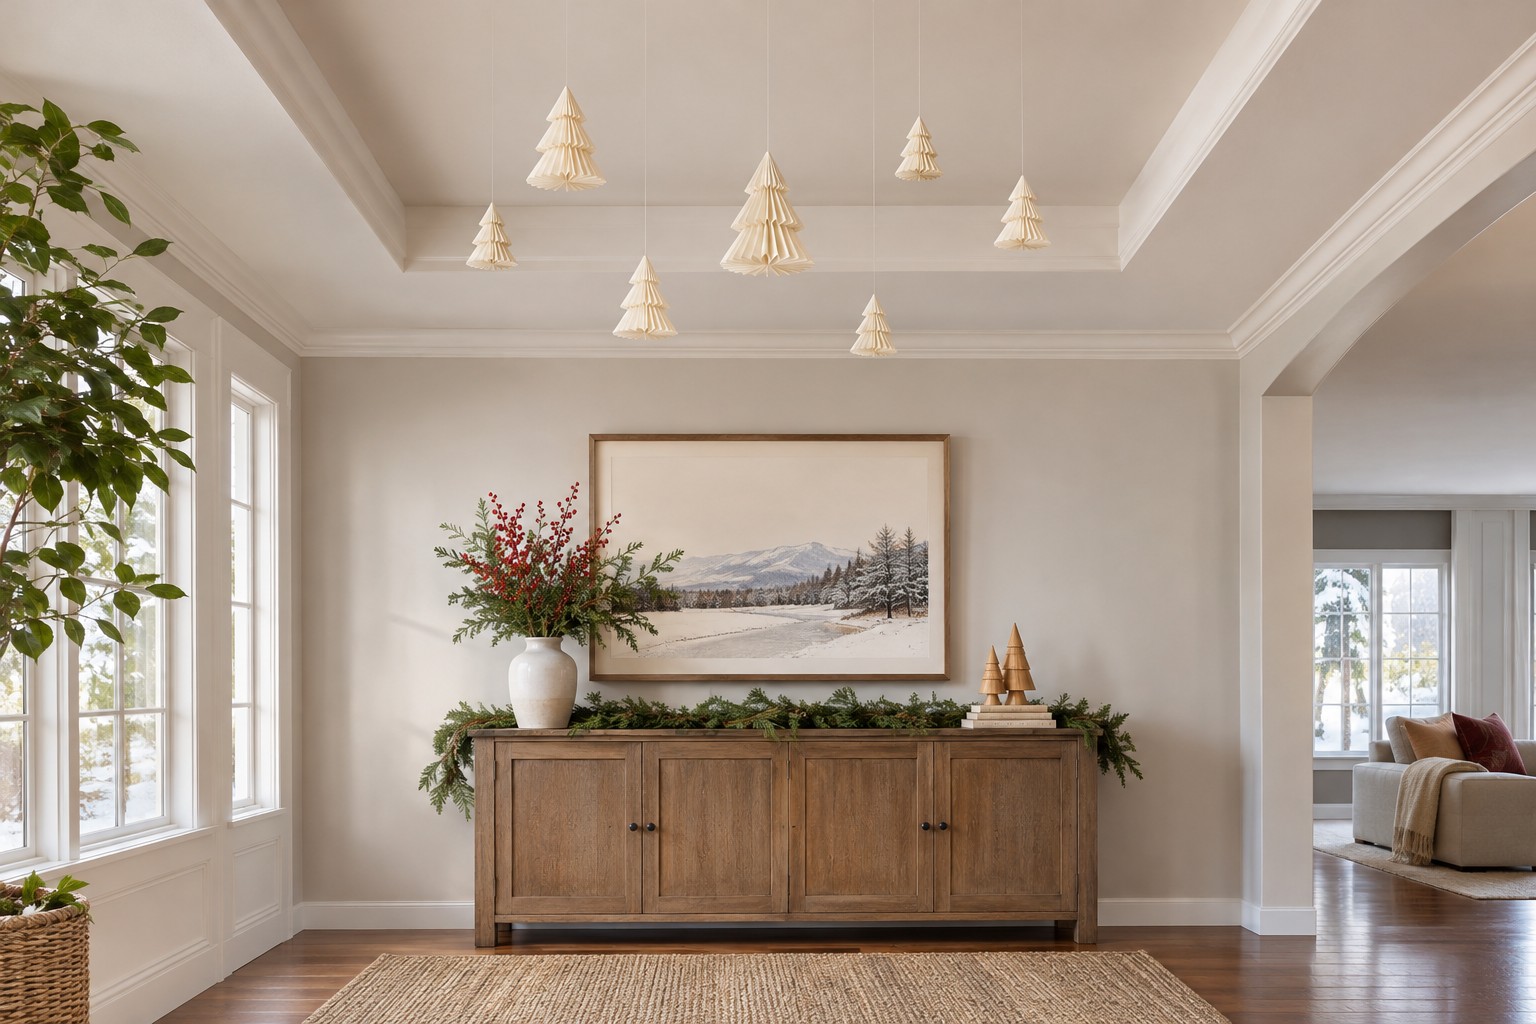
Fold a few paper trees so each has a clear profile when seen from below. Hang them high in an unused bay that has suitable attachment points. A little variation in profile will help you see the trees as separate objects from the far side of the room.
Look at the gap between the tallest shape and the bay edge. A visible margin around the group helps it look intentional. Keep a tall ceiling project within your ability to reach and install safely, and use a lower wall if you can’t get to the space safely.
8. Use a Grid of Soft Felt Stars Over a Console
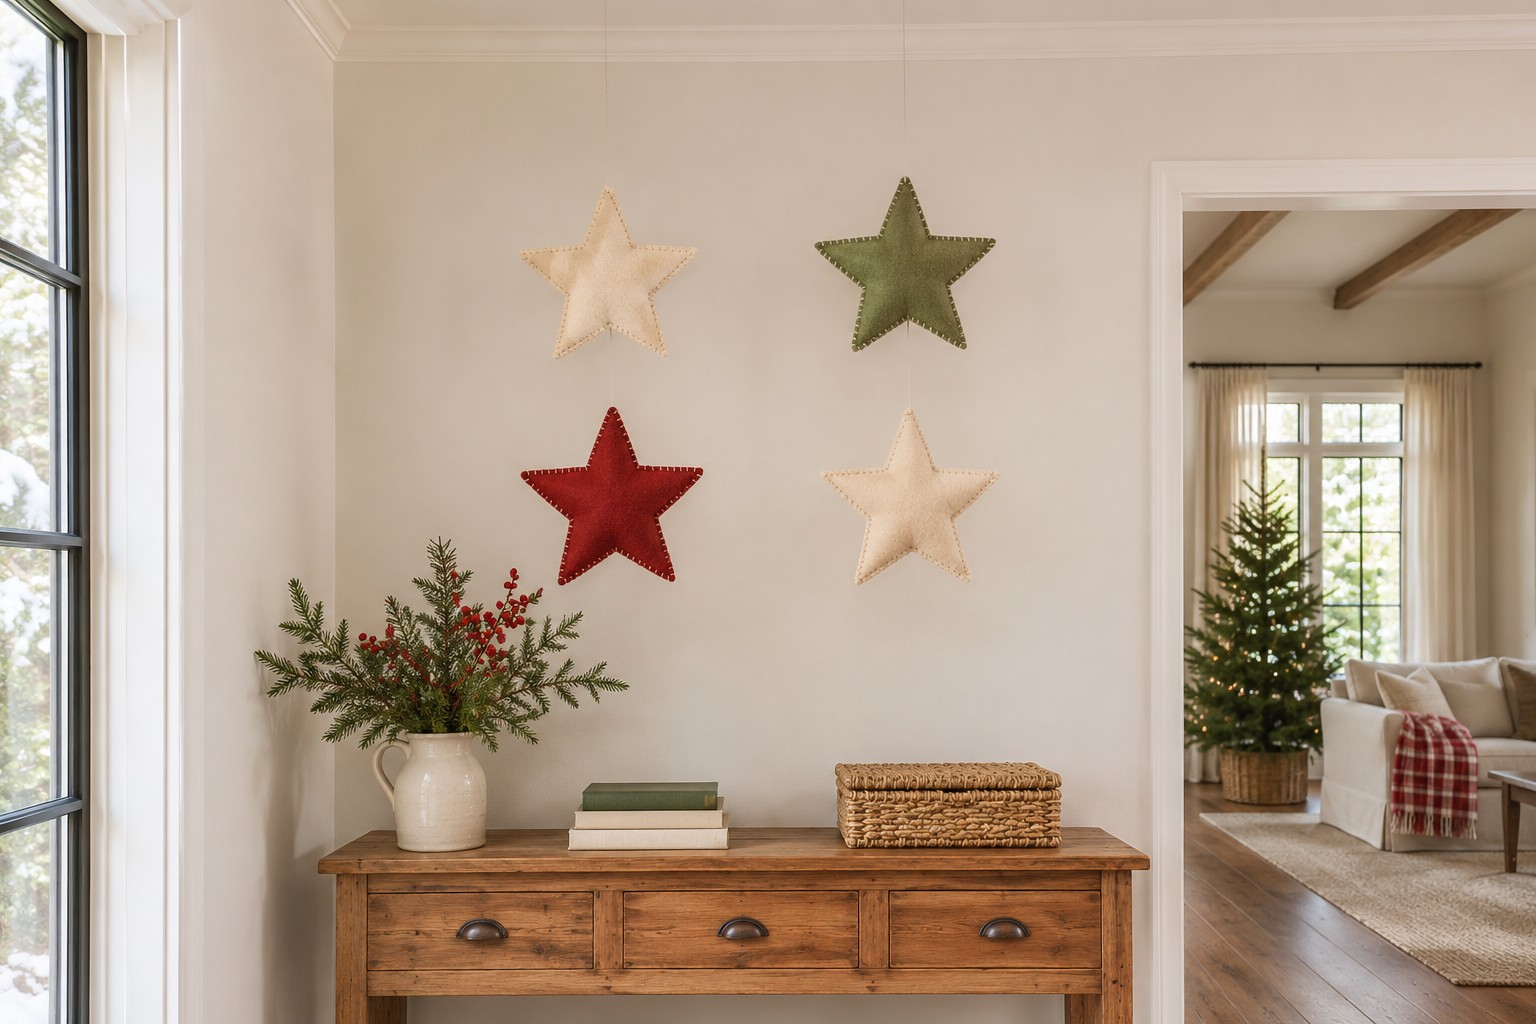
Hang four felt stars in a loose square above an existing console. Cut a paper guide for the spacing and view it from the far doorway. The square should feel related to the width of the console even if your viewpoint makes the far edge look shorter.
Keep the ornaments on independent drops or use a suitable wall attachment for each star. Leave a clear gap between the group and anything else above the console. Deep green shows well against a plain light wall. If the wall is dark, switch to oatmeal felt and let the simple grid be the detail.
9. Give the Dining Light Its Own Open Space
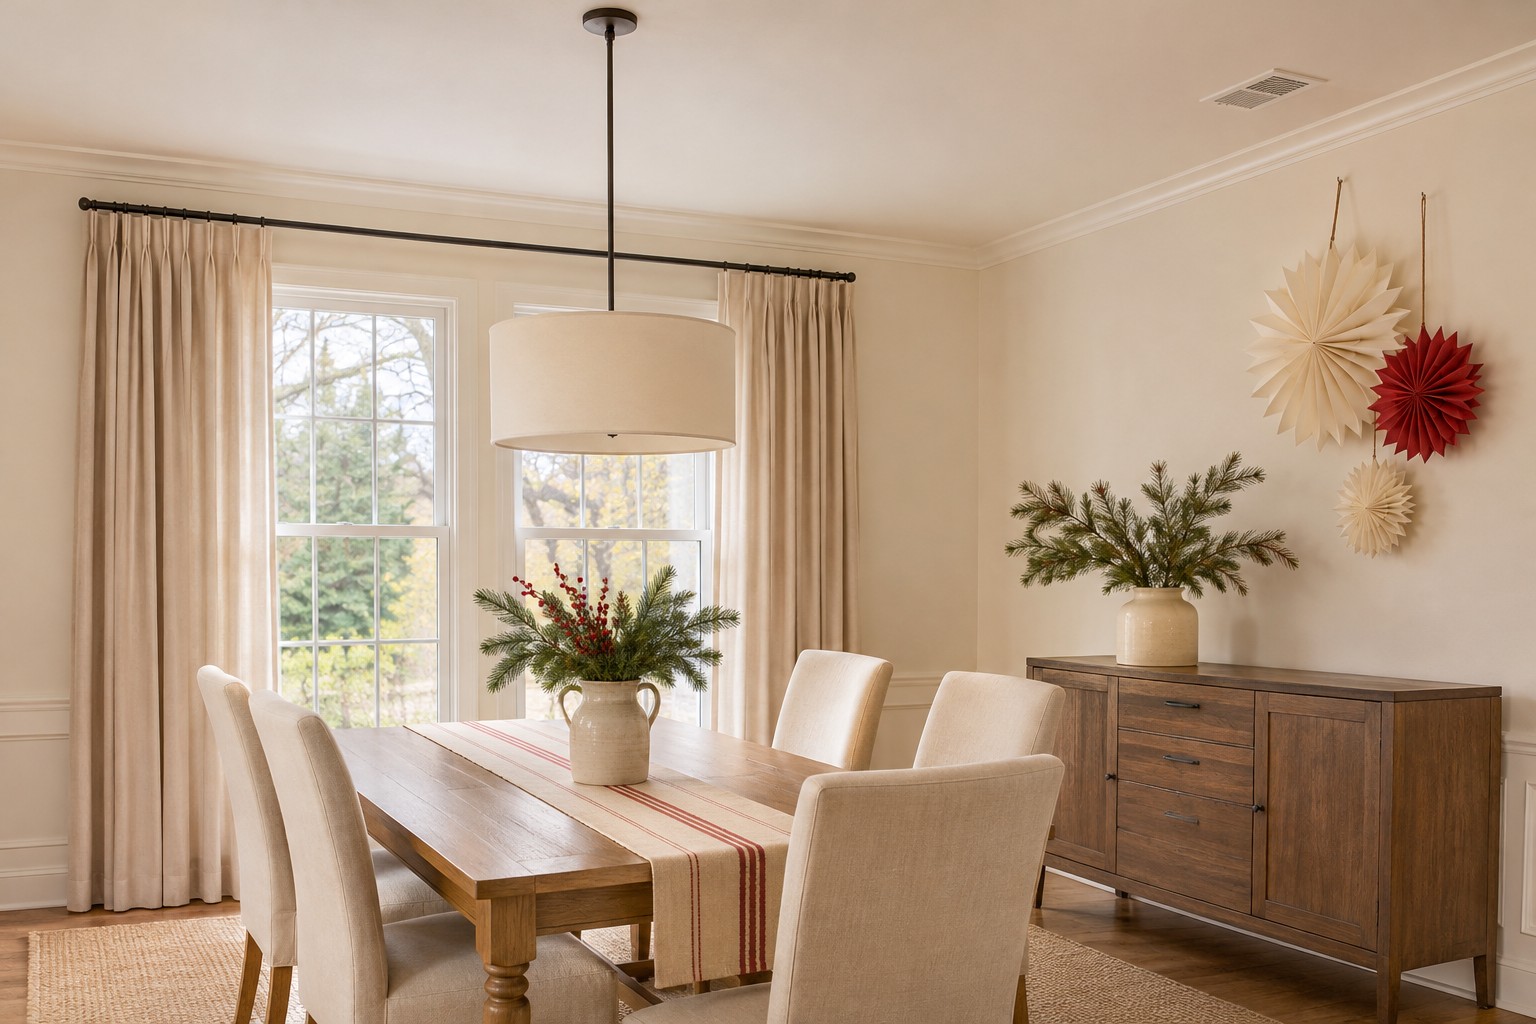
Use the pendant as the center of the dining room and put the decorations high in a separate zone. If a sideboard is off to the left, hang a small group above it from a suitable wall or ceiling surface. Leave a clear stretch between the group and the fixture so the two features read independently.
Turn the light on and sit at the table to check the view. Paper decorations should stay away from the fixture and heat, even if you turn the light off most of the day. The lampshade and its hardware need room for their intended use.
10. Set Paper Bows Across the Top of a Plain Wall
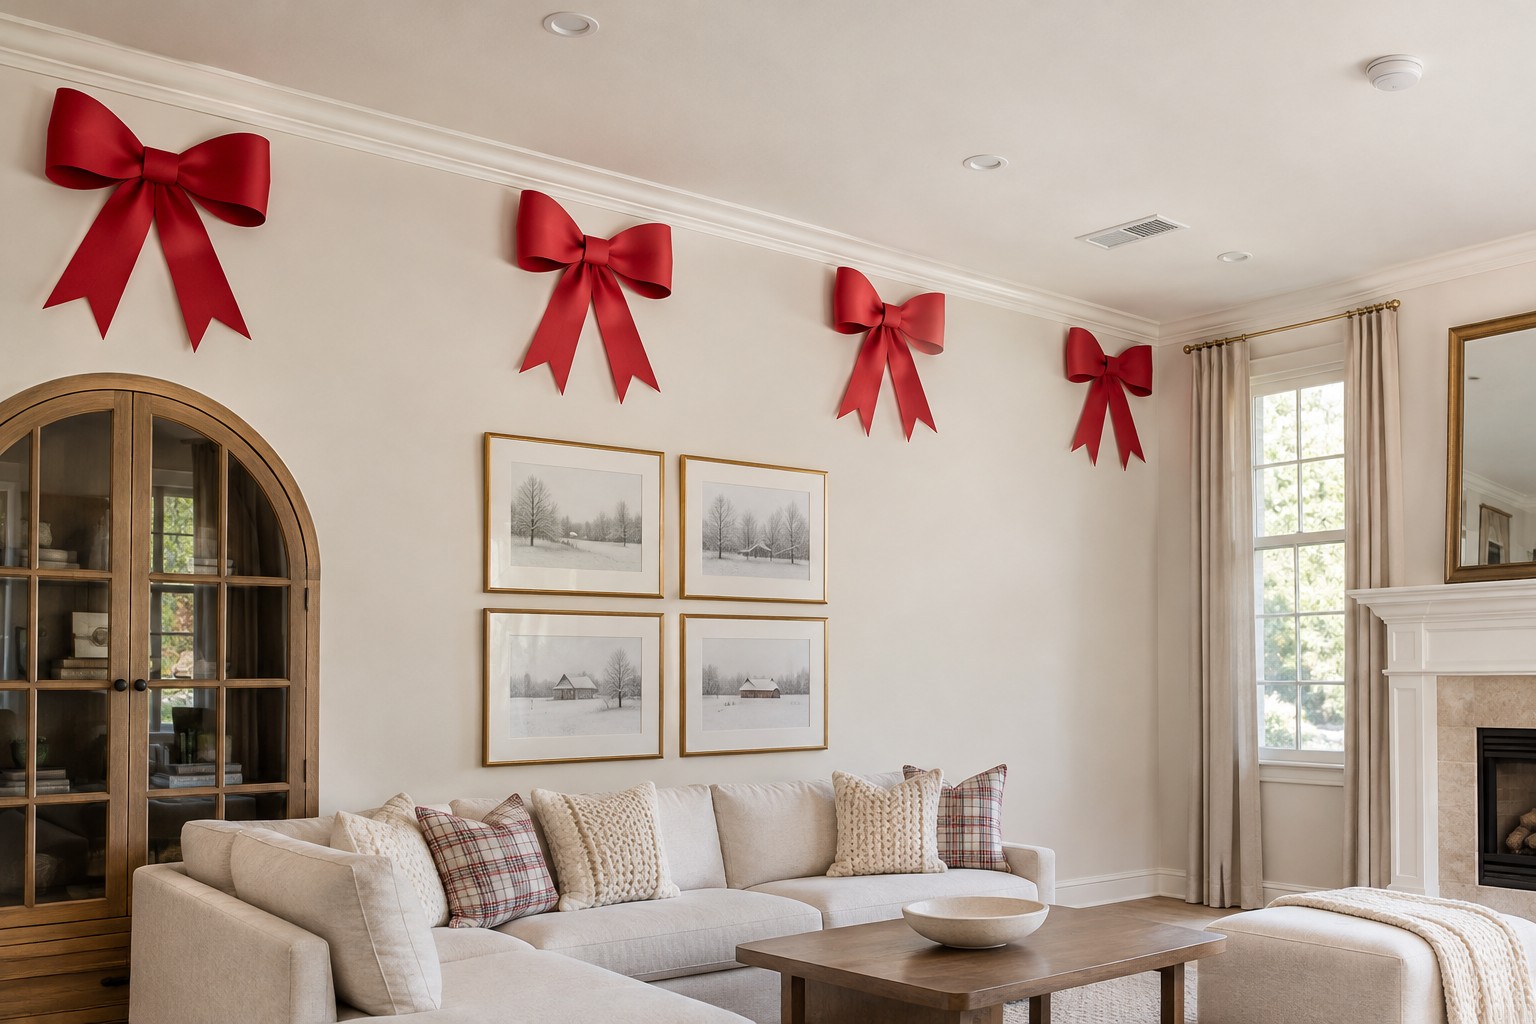
Put several broad folded bows flat against the upper wall. Let the distance between bows follow one feature you can already see, such as the divisions of a wide wall panel. Plain red paper stays easy to read in the narrow strip near the ceiling.
Start with a single bow and view it from below. Keep the loop shallow enough to hold its shape and choose a compatible way to mount it. If the wall has a strong pattern, give the bows a solid background or use fewer of them.
11. Use Short Drops in a Narrow Hall
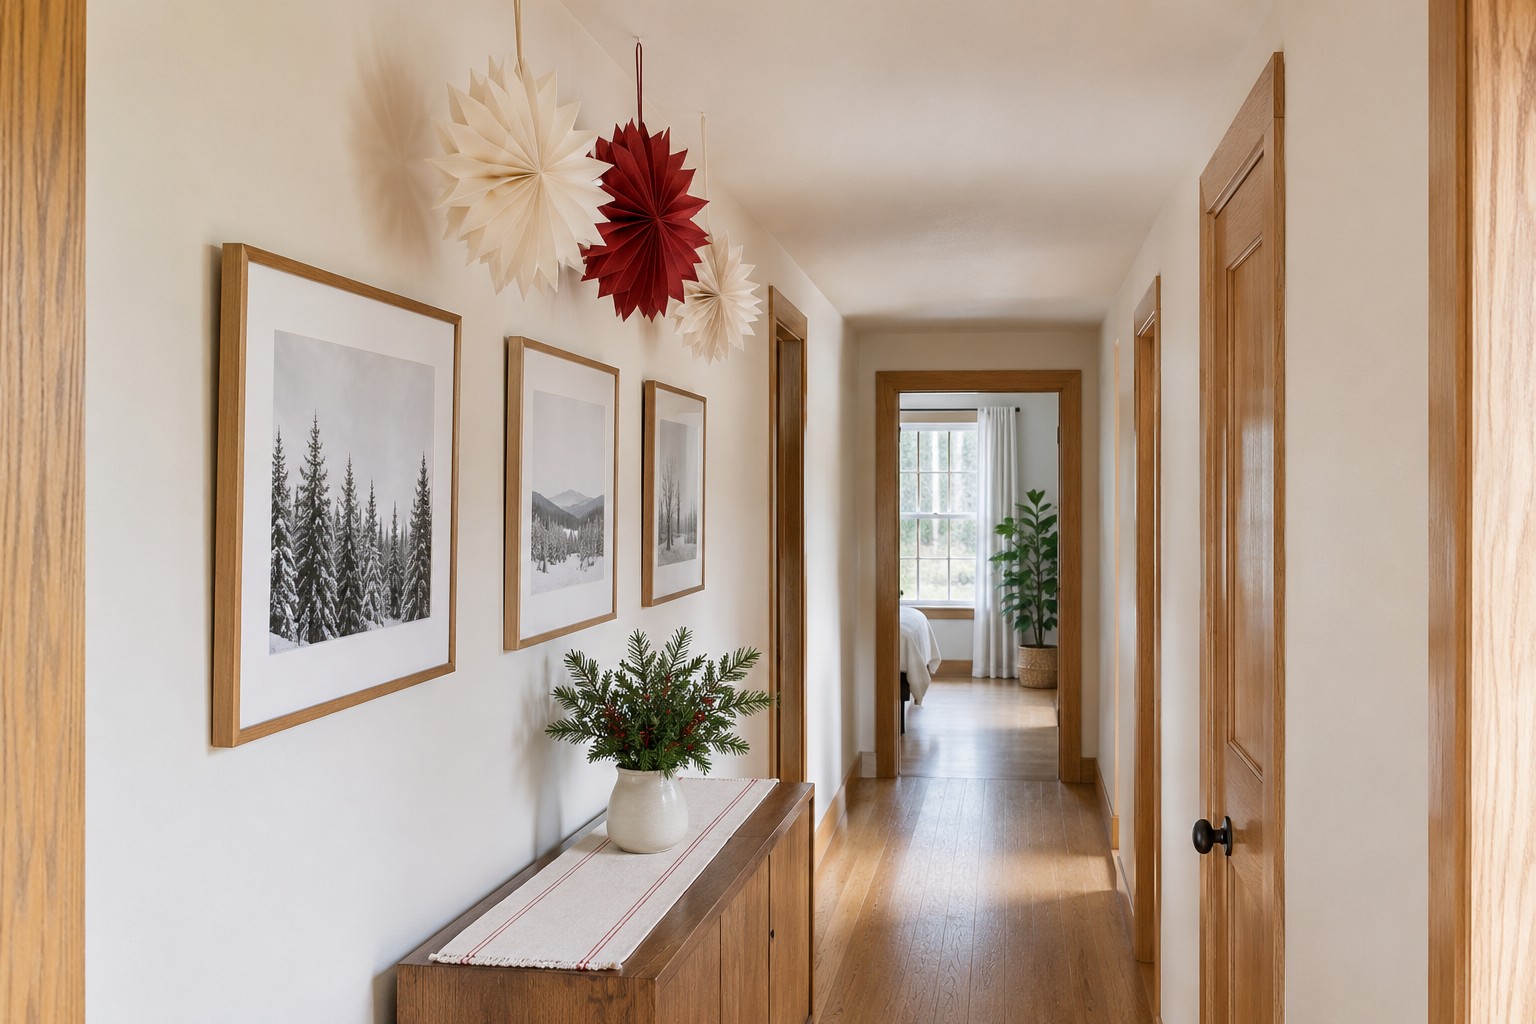
Concentrate the decorations near one edge of the hall over a shallow piece of furniture or a stretch of wall. Keep each drop short so the central height of the passage stays open. Two or three shapes can lead the eye down the hallway without using its entire length.
Check the route with every nearby door open. Look again while carrying a grocery bag or laundry basket. In a hall that already feels low, these Christmas doorway garland layouts show how the adjacent wall can do the decorating work.
12. Carry the Ceiling Color Into the Next Room
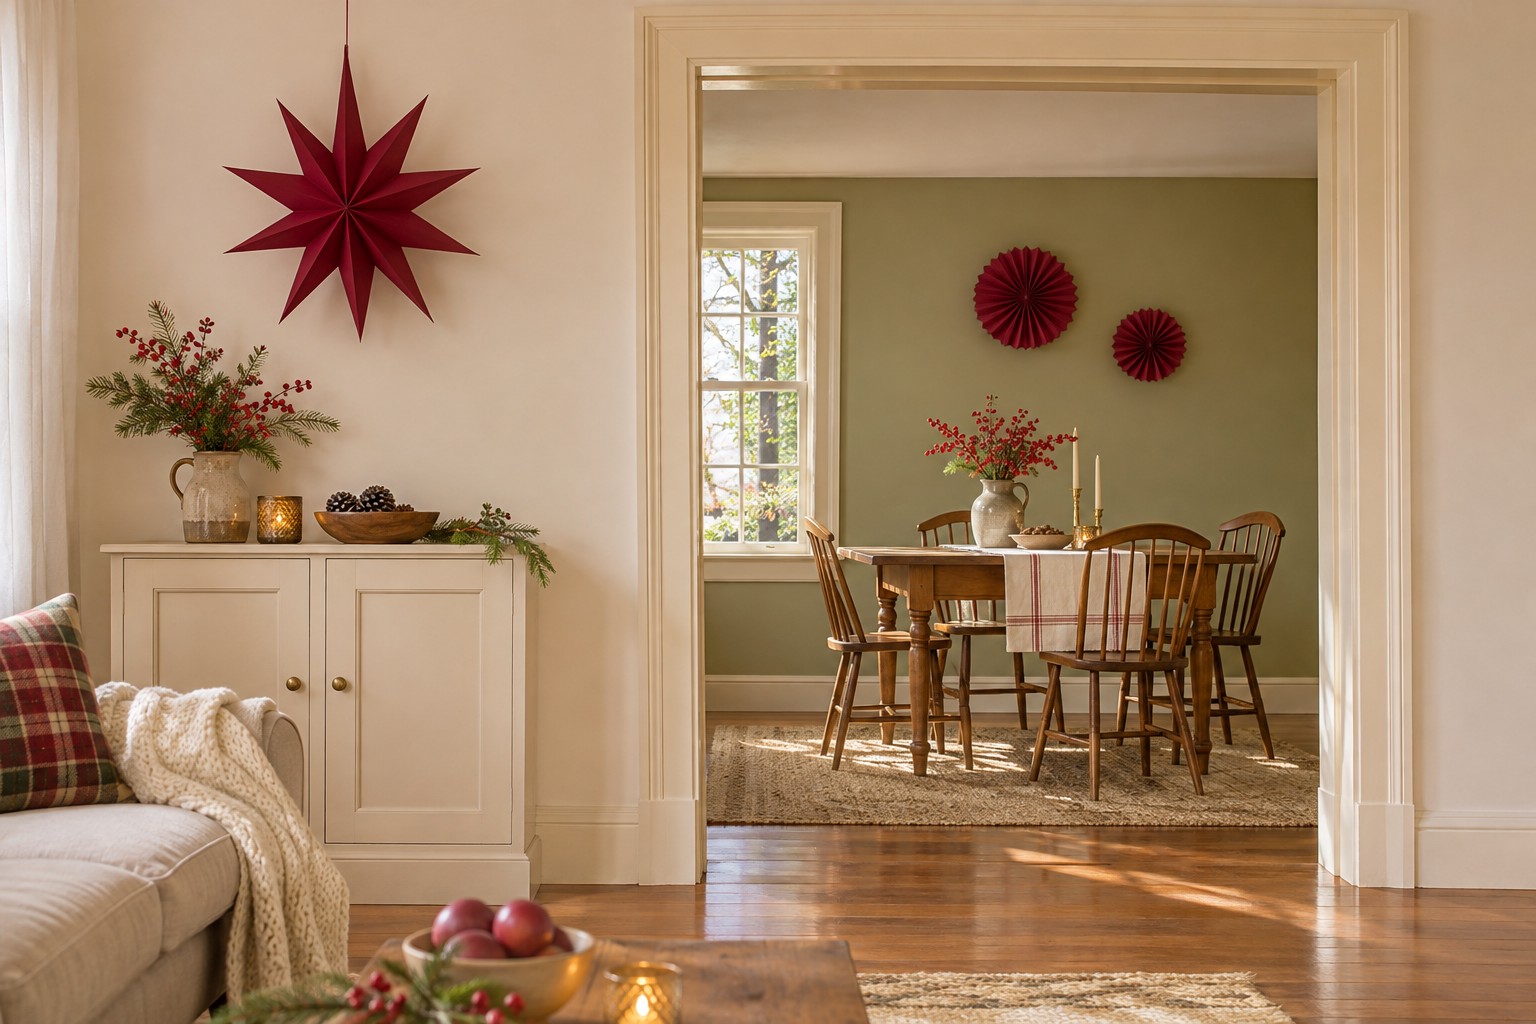
Pick one color you can see from each room, then use it in a separate small arrangement on either side of the opening. A cranberry paper star over one sideboard can relate to cranberry fans high on the wall across the way. Stand in the door opening to see both at once.
Let one room have the larger display and give the smaller one a simpler shape. When the rooms have different furniture and finishes, repeating just the color is enough to link them. Keep the opening itself clear so the sightline stays generous.
13. Use a Paper Line Along One Ceiling Edge
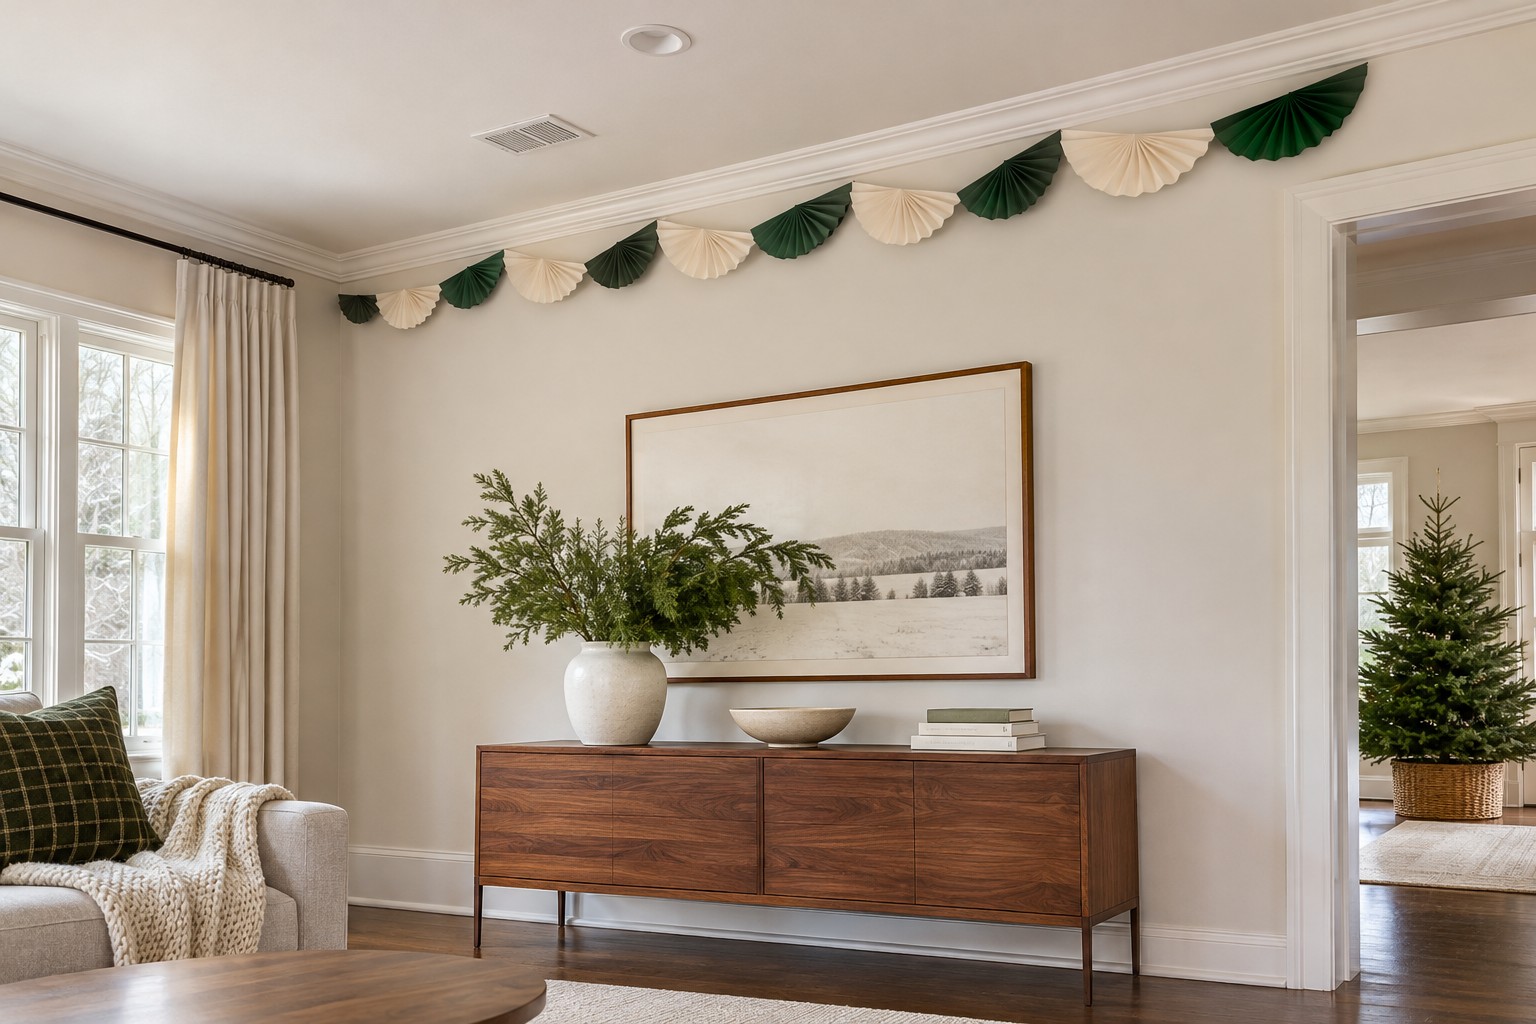
Choose a quiet perimeter stretch above a long console for a single run of folded paper shapes. Keep the line shallow so the pieces stay together visually. If there’s a cornice, let its edge show between the papers and the wall instead of covering it.
Look from the entrance before extending the run. A line that stops at the end of the console often looks more purposeful than one that continues around every corner. Plan your stopping point around the room’s working parts so the whole arrangement can come down easily after the holidays.
Stand back and find the decoration you notice first. That’s the spot worth keeping simple enough to enjoy from more than one seat. An open walkway and a clear view make the high decorations easier for everyone to enjoy.
Discover more from HomeTrendora
Subscribe to get the latest posts sent to your email.