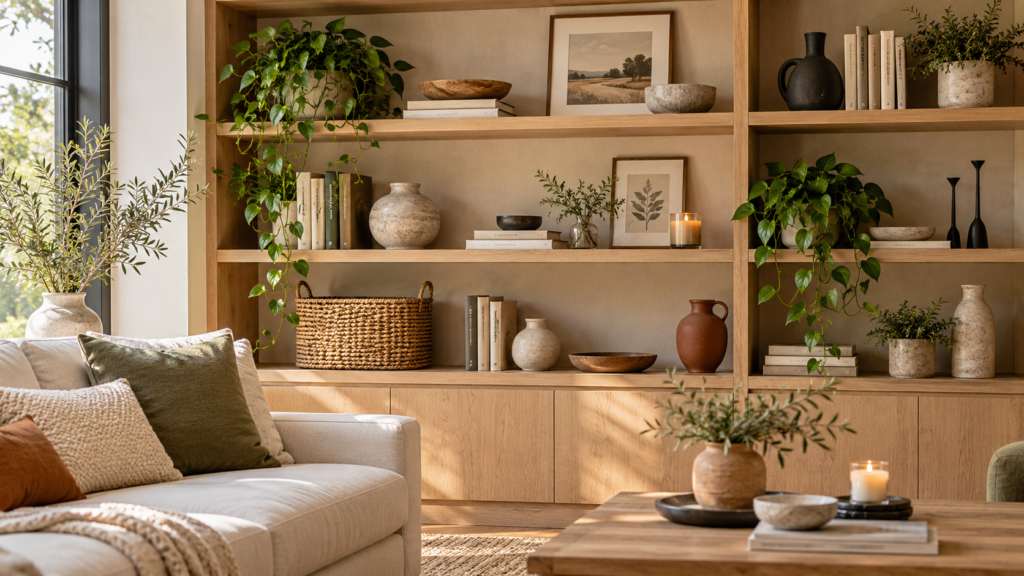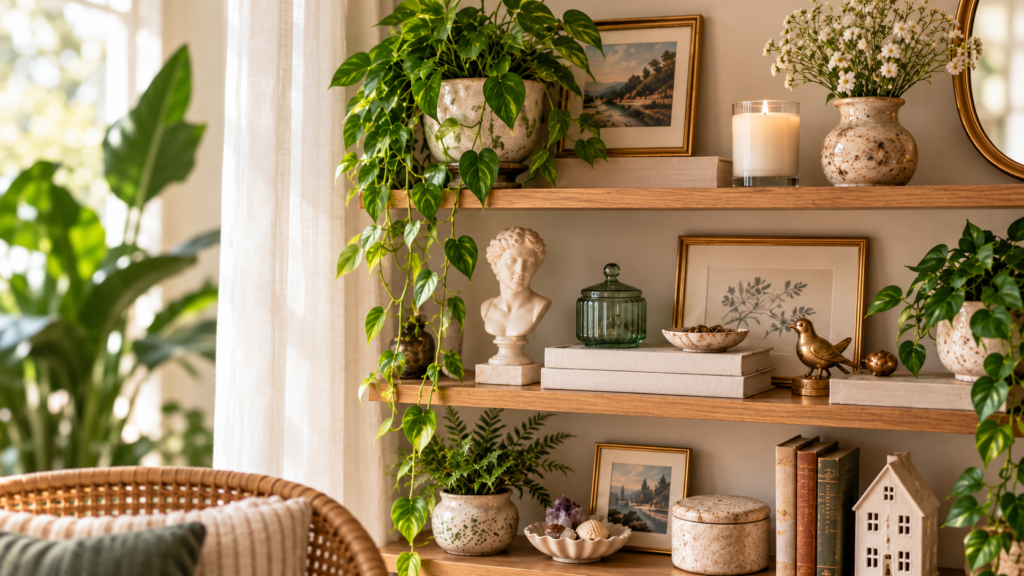
The hard part of adding built-in shelves is deciding what the room can spare. An alcove can take a deep cabinet and still leave a generous path. In a narrow hallway, a few inches of projection can put every laundry basket and shoulder bag in the same place. Start with the items you use, the way you reach for them, and the doors and drawers that need room to move.
These 13 built-in shelving ideas work through those decisions room by room. Each starts with a location and a job. Once the fit makes sense, you can choose the shelf spacing, trim, and finish that make the installation look like part of the house.
1. Flank the Fireplace With Shelves That Follow the Room’s Lines
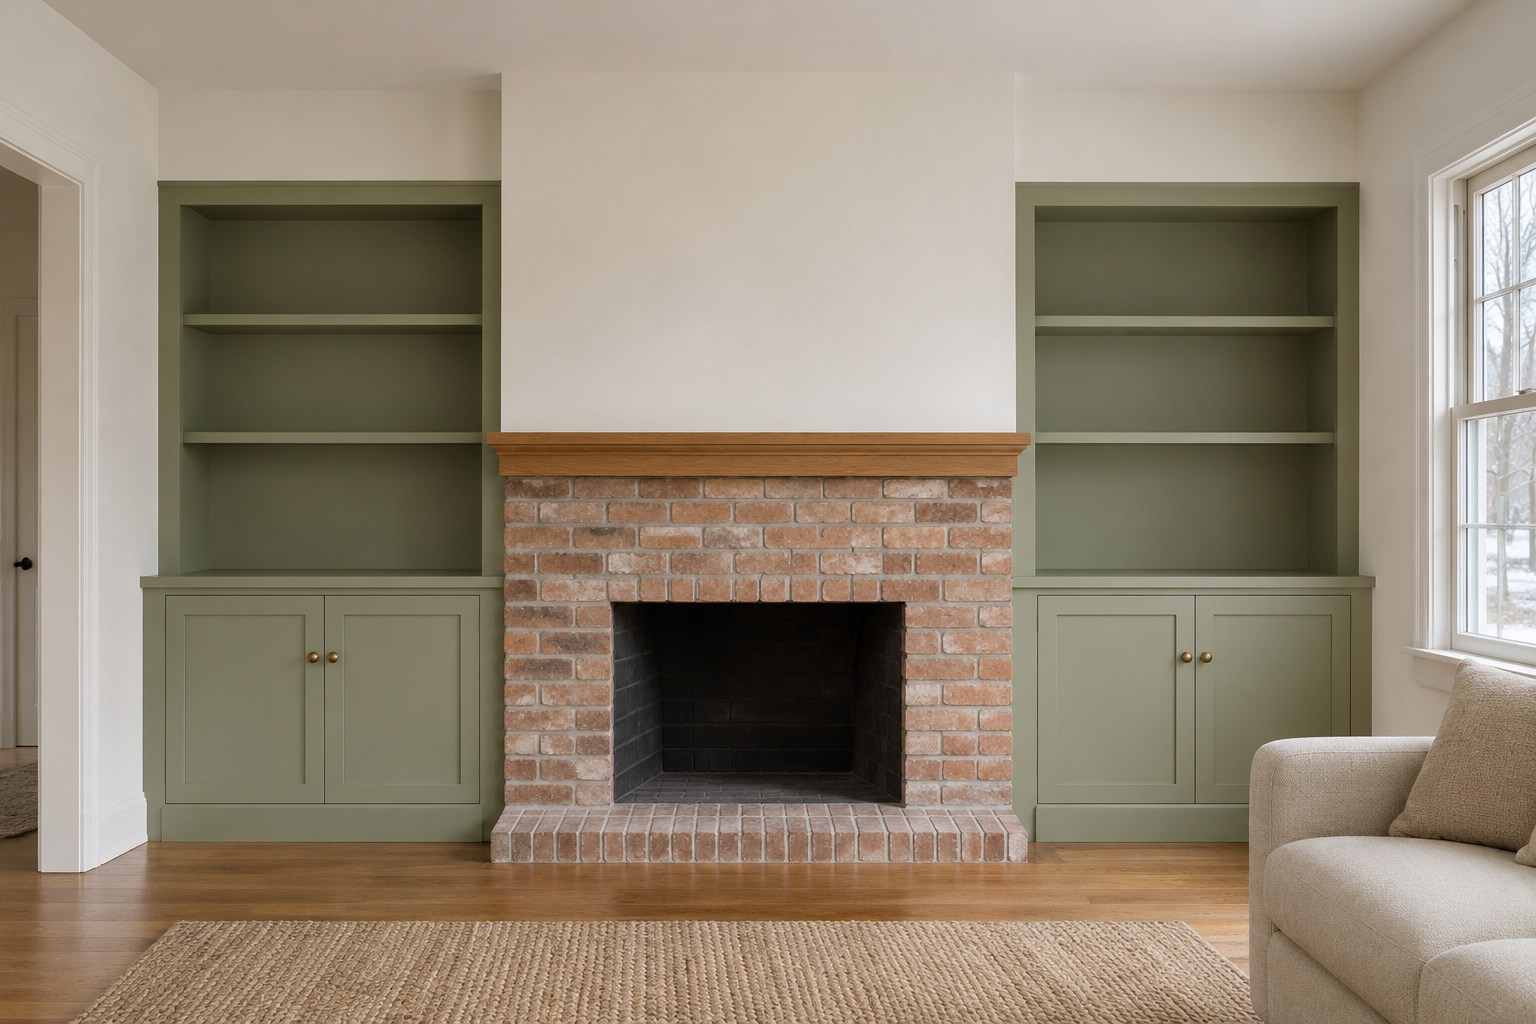
Fireplace walls rarely give you two identical openings. One alcove might be wider, or the wall might have a bump-out on one side. Measure each opening separately and look for a line you can carry across both units. Aligning the top of the lower cabinets or the first open shelf can make two different widths feel deliberate. Check that line from the doorway and from the seat where you see the fireplace most often.
Leave space around the fireplace and any controls or vents, and follow the fireplace manufacturer’s clearance requirements before laying out the cabinets. Then plan how to fill each side. One might hold a short row of books over a deep cabinet, while the other has a narrower place for a basket. Repeat the face-frame detail and paint color so both sides belong to the same wall.
HOMETRENDORA PLANNING BUNDLE
Turn the ideas you like into a room plan.
Choose what to keep, check what will fit and decide what to buy first. The Home Design Book, fillable room planner and budget tracker guide you through those decisions with worked examples and practical checks.
160-page PDF + fillable room planner + Excel budget tracker
Bonuses included with your eBook purchase.
GRAB 10% DISCOUNT
Coupon code: HOMETRENDORA10
Use this code at Payhip checkout.
2. Give the TV Its Own Bay and a Way to Change Cables
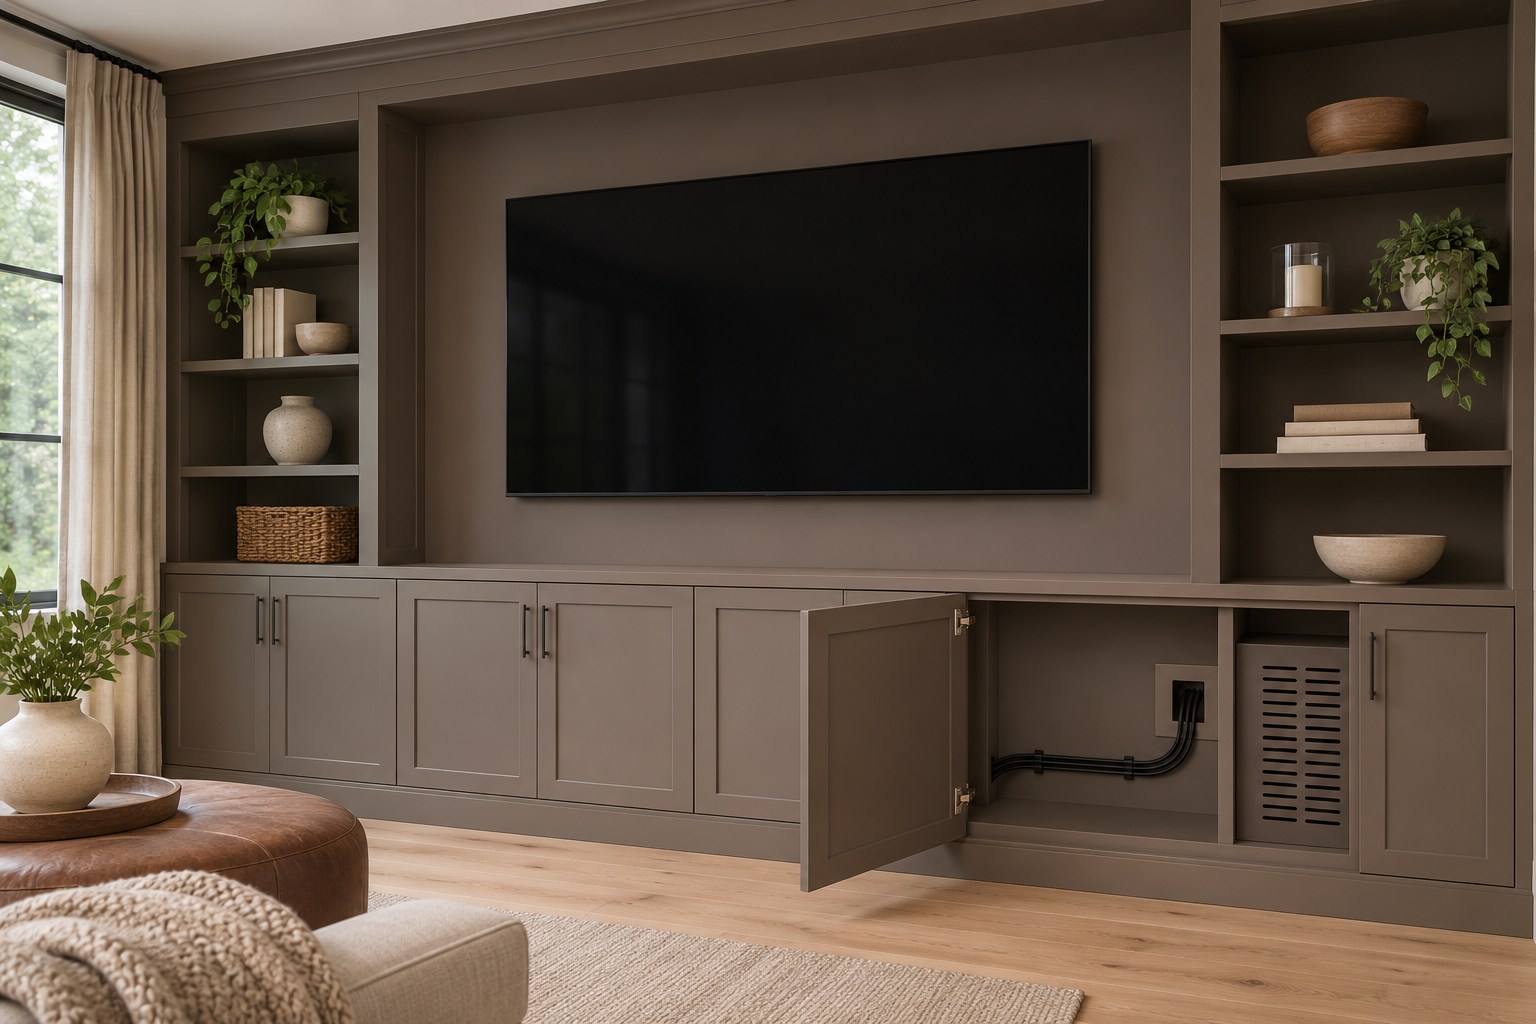
A media built-in needs room for the screen and a route to reach its connections. Before drawing the shelves, measure the screen with its stand or account for the position of its mount. Include the soundbar and check the view from the sofa. Leave enough room for the equipment to be removed without taking down an adjacent shelf, and follow the device manufacturer’s ventilation and mounting requirements.
Set aside an accessible service point in a separate cabinet bay or behind a removable panel. Plan where a plug needs to turn and where your hand needs to fit before settling on the cabinet depth. Keep labels and removable cable ties in that bay so a future swap is easier to trace. For equipment you use every day, compare the storage options in these living room media storage ideas.
Use VELCRO ONE-WRAP reusable cable ties to gather slack in the HDMI or other signal cables loosely. Leave each connector reachable so you can swap a device without cutting a tie.
Discover the VELCRO cable ties (paid link)
3. Build a Window Seat Between Two Book Towers
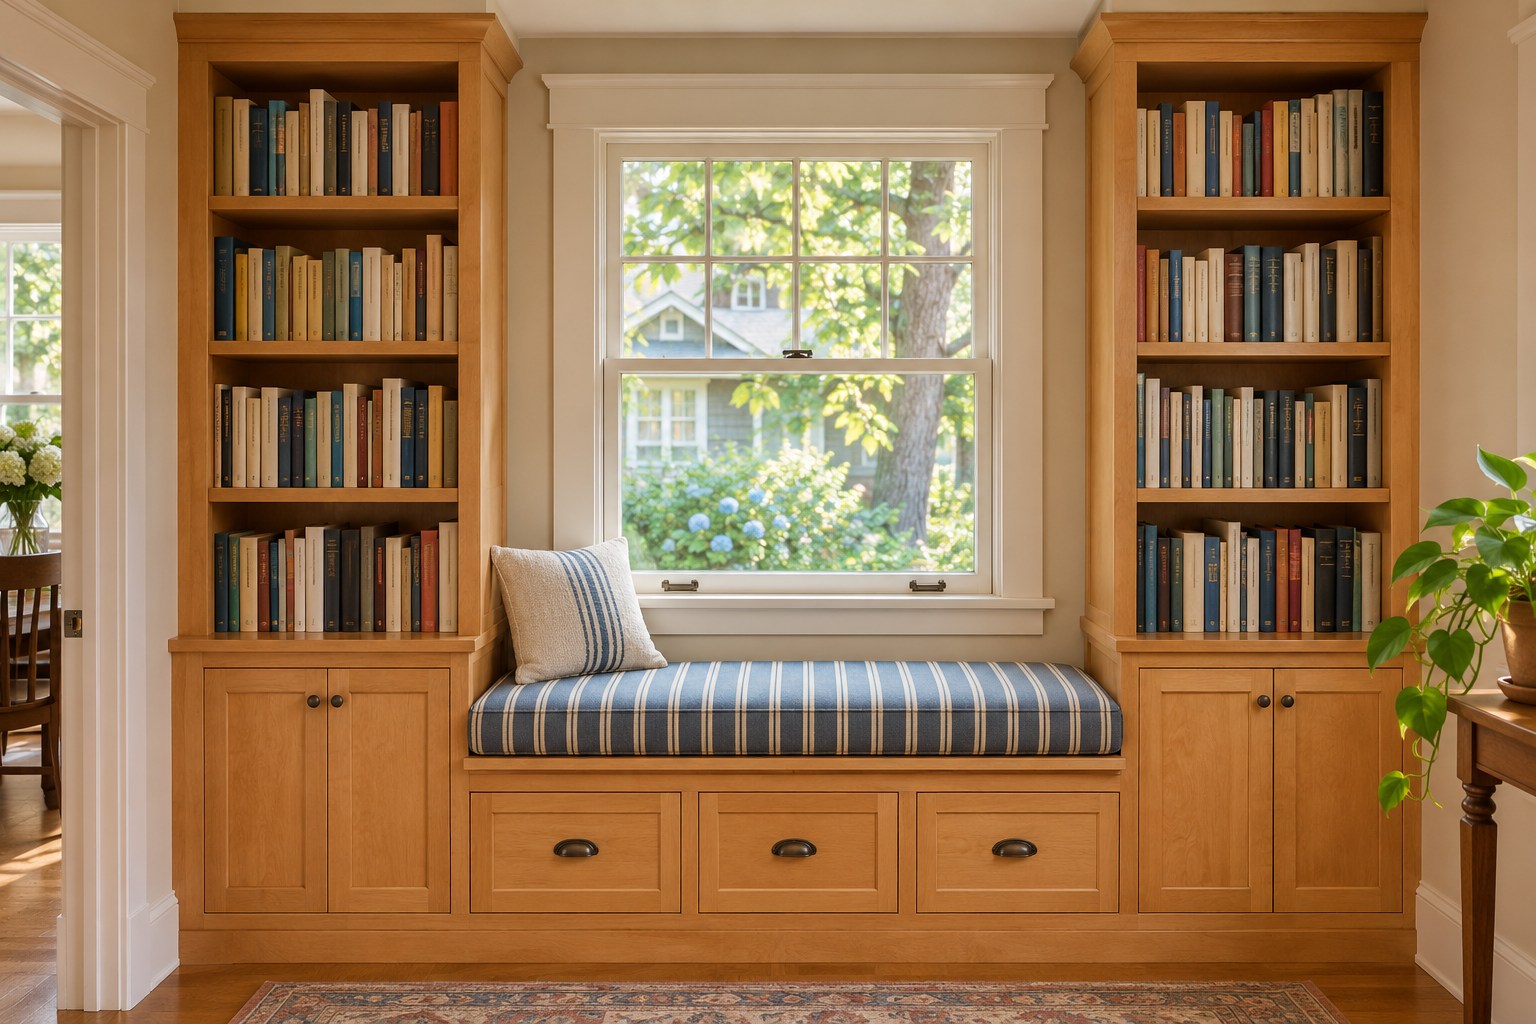
Start a window-seat built-in with the person who will sit there. Try the proposed height and depth with a bench or a stable chair, and count the cushion as part of the seat height. Leave room to sit back without pushing a pillow into the glass or covering the window latch. Measure how the window and its hardware open before deciding where the side towers can begin.
Set the books you use most often at seated or standing reach beside the bench. Closed drawers below the seat can hold blankets if they have room to open without striking a side table. If the room is narrow, sketch the path from the doorway past the seat with those drawers pulled open. Match the base and face trim of both towers to the bench so the three parts read as one fitted run.
4. Recess a Slim Run Along a Hallway
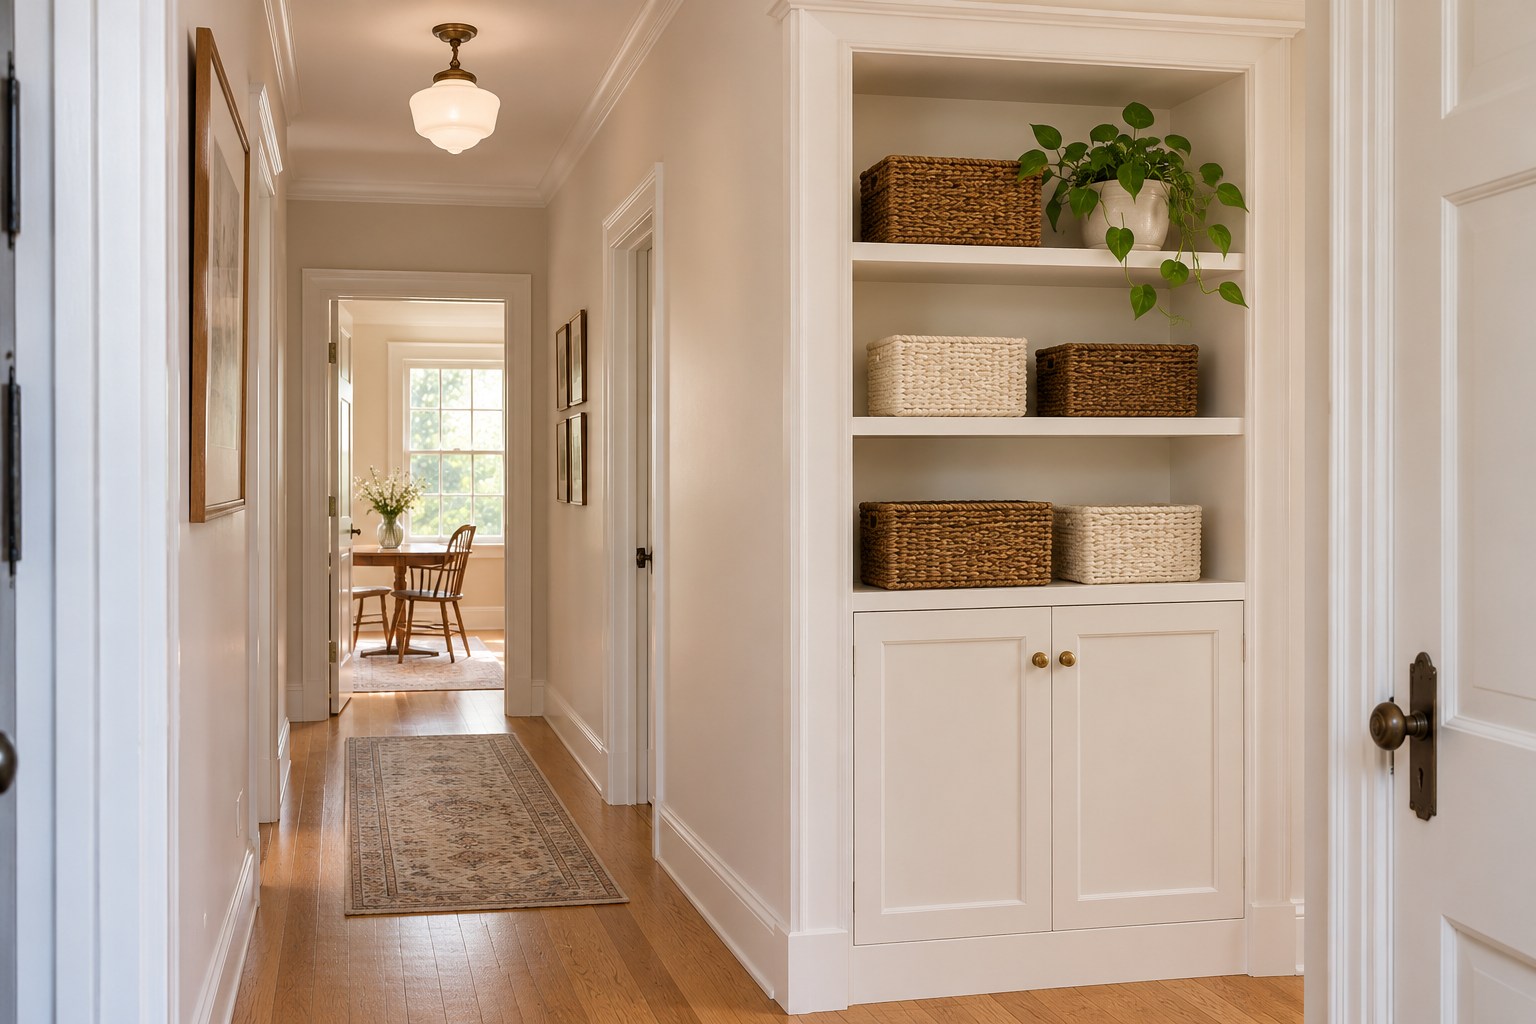
A hallway can benefit from a little storage at hand level. Lay out a shallow shelf for the things you actually bring through the door, such as a stack of mail, a basket for gloves, or a dog leash. Test the route with your widest everyday item, such as a hamper, before picking a depth. Check the swing of each nearby door and keep handles out of the path.
A recess can put the face of the unit nearly flush with the passage wall where the construction allows it. Have a qualified contractor check the wall for framing, utilities, and structural constraints before making an opening. If that wall is already occupied, a shallow surface-mounted built-in may work in a wider section of the hall. Carry the adjacent door casing or baseboard detail around the finished opening to tie it back to the room.
5. Set a Shallow Dish Shelf Into the End of a Kitchen Run
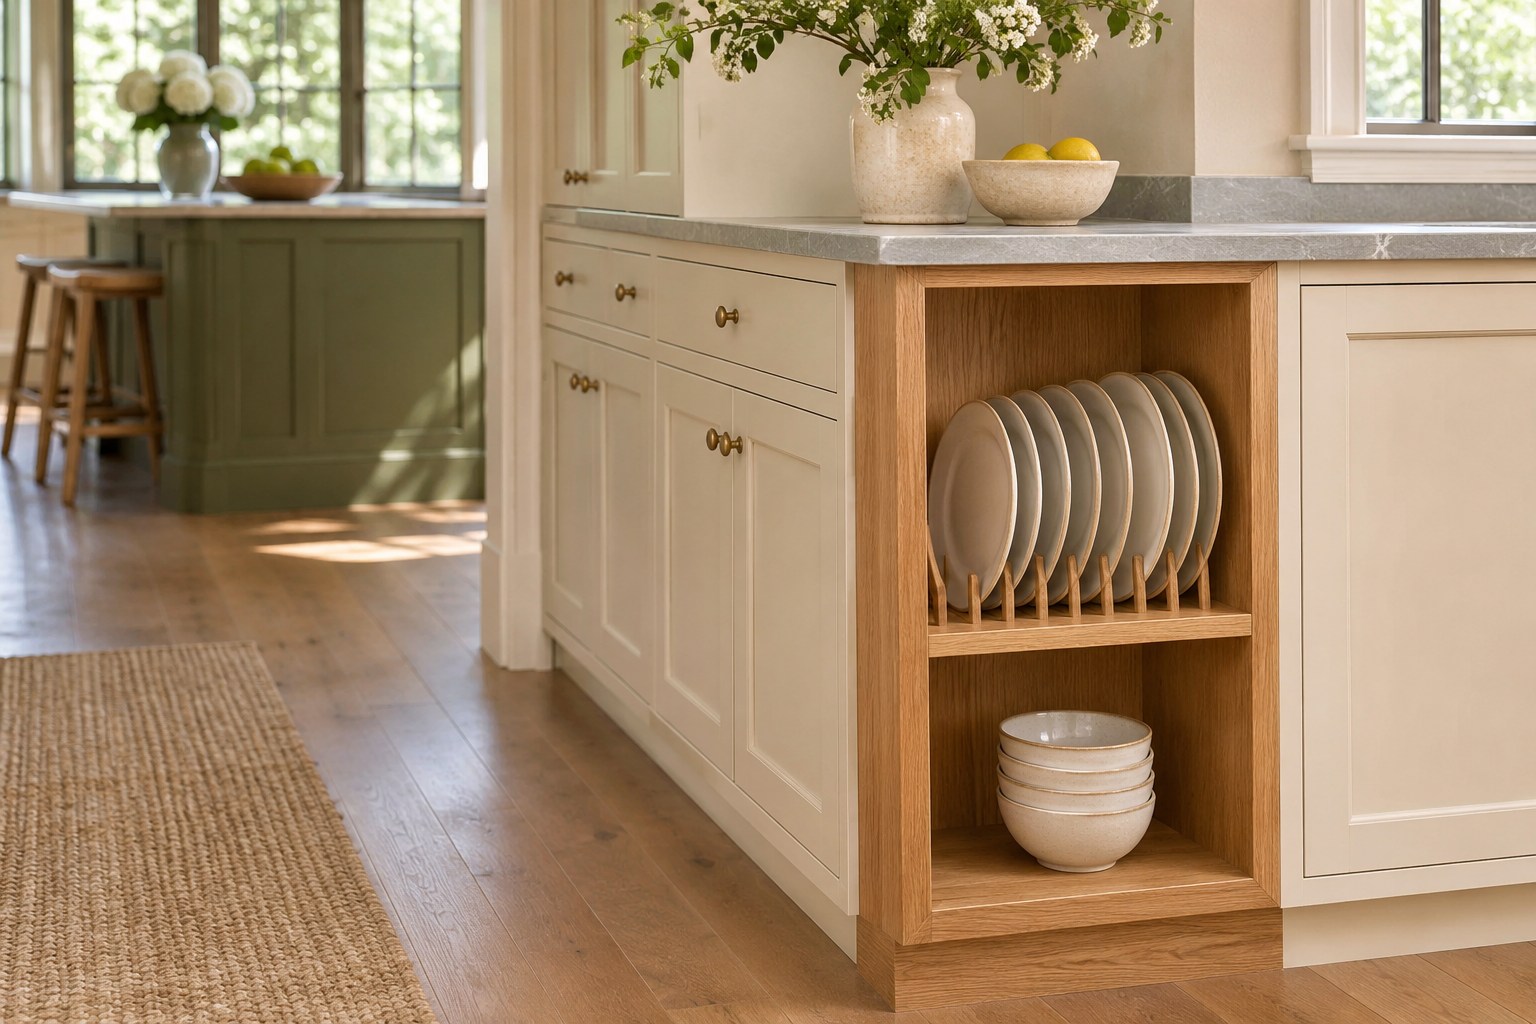
The exposed end of a cabinet run can hold dishes where there’s too little room for another full-depth cupboard. Take the widest everyday plate to the proposed spot and measure it in the position you intend to store it. A row of upright plates needs different spacing from a stack of bowls. Try reaching the back item without catching your hand on the shelf above.
Set the fronts far enough back that the dishes stay inside the cabinet line, especially where someone turns a corner carrying a pan. Check nearby handles, appliance doors, and the route to the sink. If you need a place for a coffee maker or stand mixer instead, the kitchen appliance garage guide covers the separate questions of doors, power, and clearance.
6. Put Deep Storage Below Open Shelves in the Dining Room
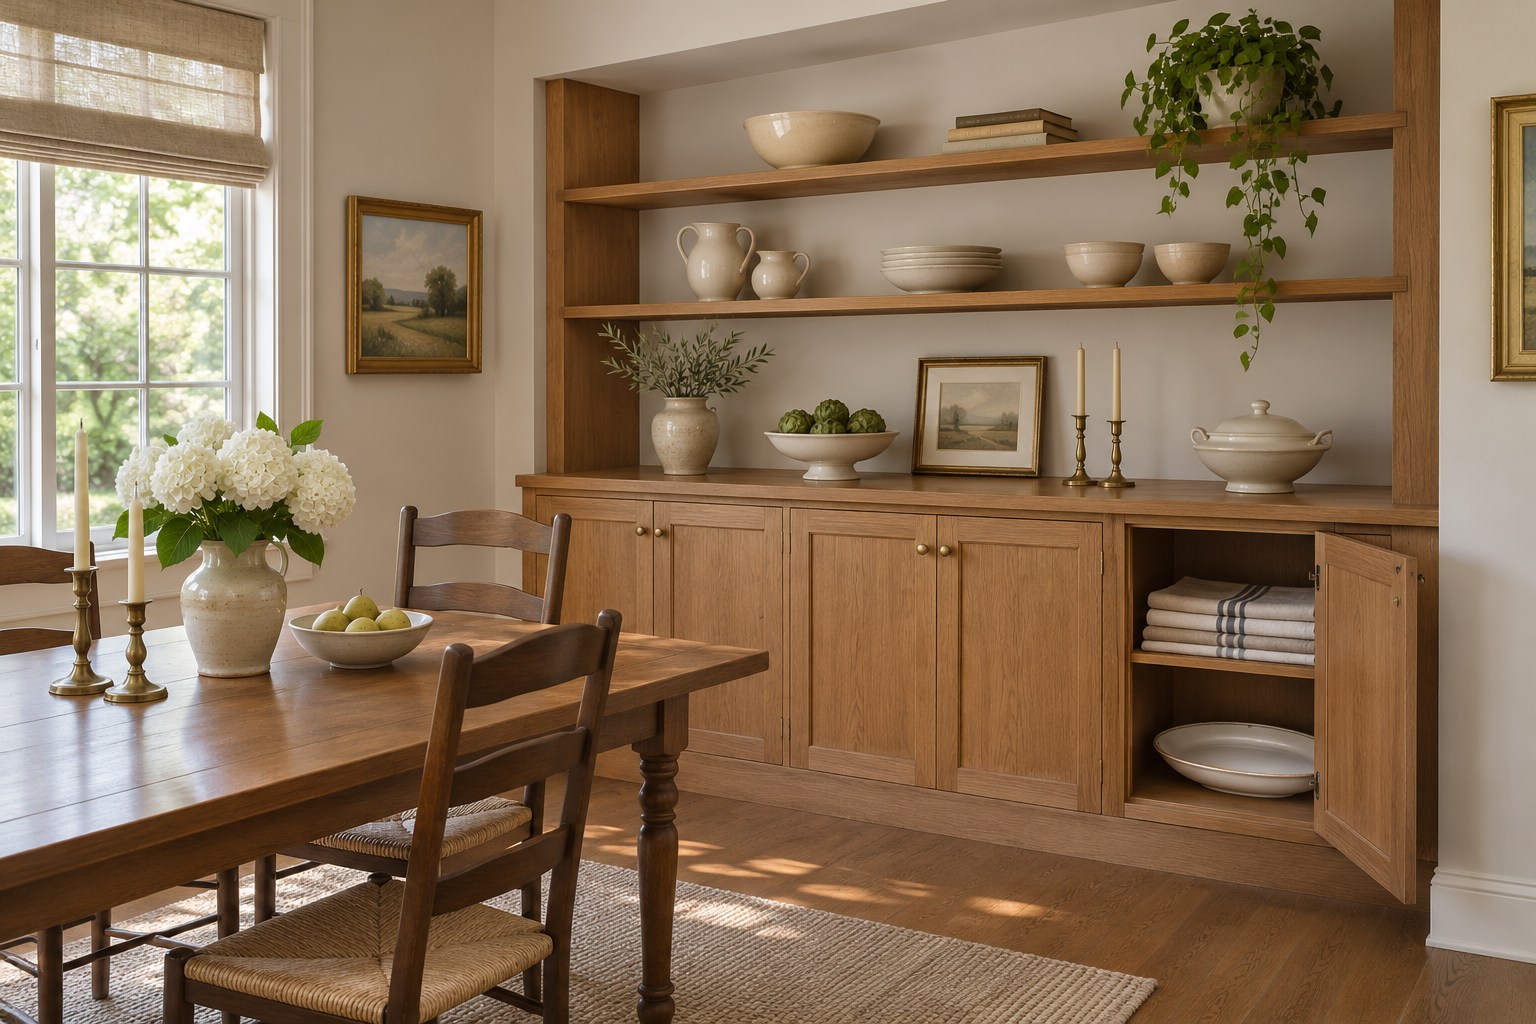
Dining room built-ins work well when the lower and upper sections do different jobs. Measure the deepest serving platter and the tallest stack of table linens, including the space you need to lift them out. Give those things the deeper closed base. Shallow shelves above can hold pieces that are easier to see and lift, such as pitchers and everyday bowls.
Test the base doors with a dining chair pulled back. In a tight room, a short pair of doors or a drawer may be easier to use than one wide door. If you want a separate serving cart, mark its parked position and the space it needs to turn. Keep enough room to open the built-in while the cart is there, and choose a place where you can roll it out without moving the dining table.
For a movable spot for napkins and small serving pieces, the white HOMCOM rolling serving cart takes up 14½ inches square. Mark that space beside the built-in and swing the cupboard doors open to see where you can park it and still walk by.
Explore the HOMCOM rolling cart (paid link)
7. Fit a Recessed Towel Stack Beside the Bathroom Vanity
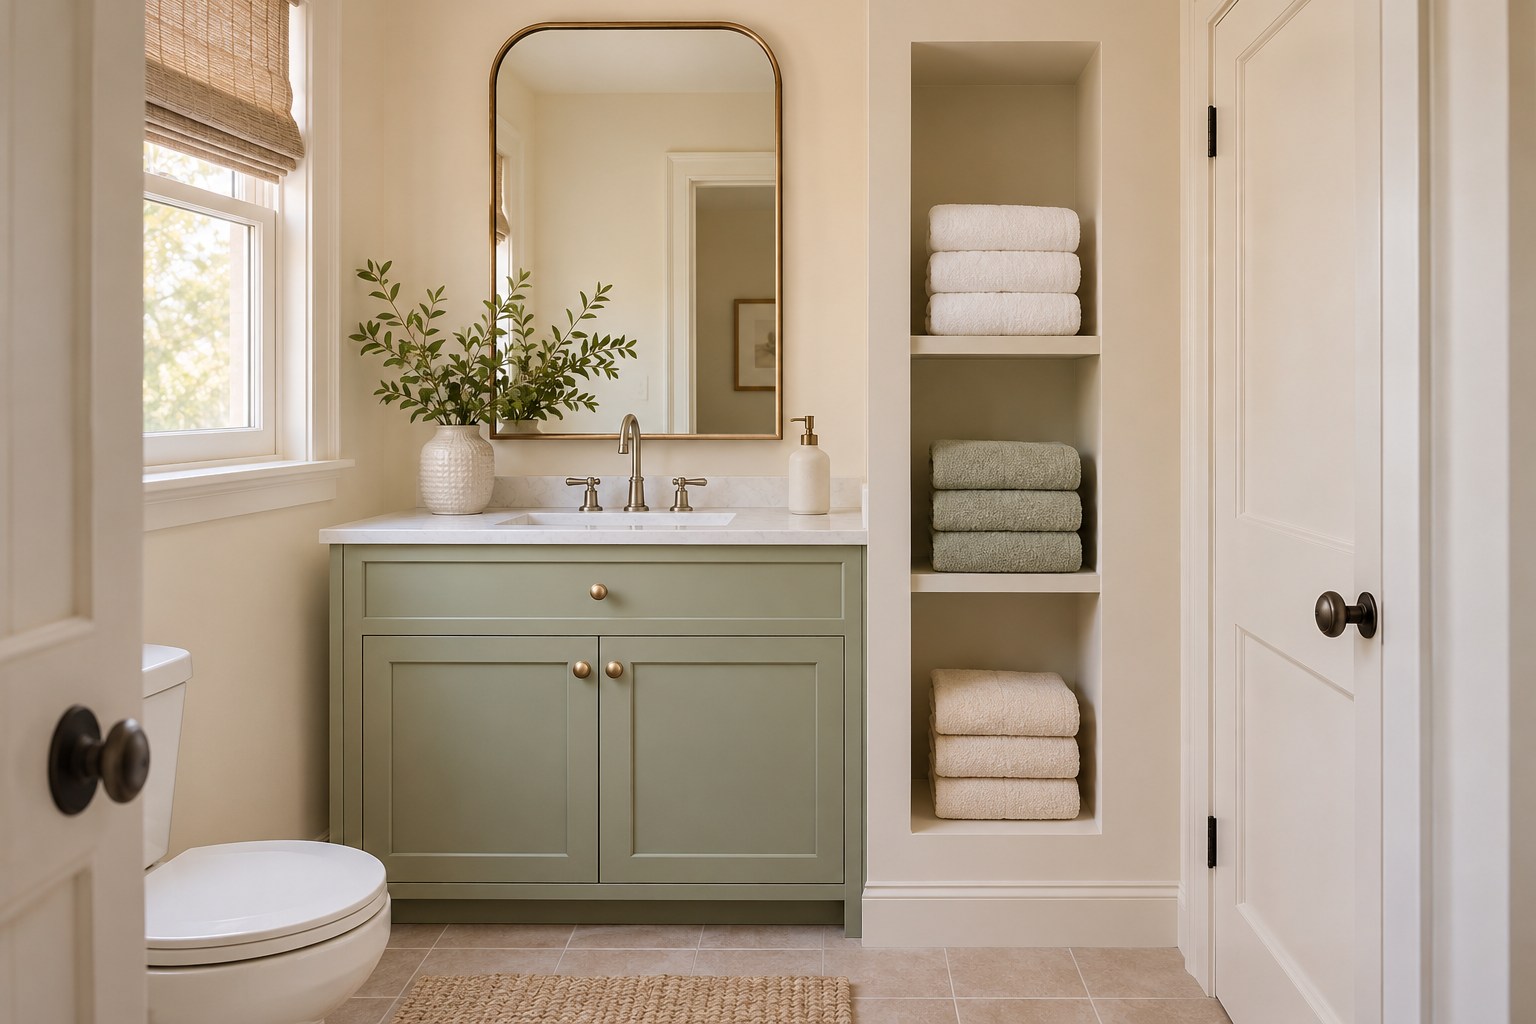
A recessed towel bay works best when it’s sized around the way you fold your towels. Make one stack with the towels you already own and measure the widest fold, its depth, and the height of the stack. Give your hands room to lift a towel off the top without dragging the next one down. Set the everyday stack at a comfortable reach from the vanity.
Check the cabinet drawers, bathroom door, and shower splash before committing to the location. Ask a qualified contractor to confirm that the wall can accept a recess, especially near vanity plumbing. A fitted shallow tower in a clear part of the room may be more practical where the wall cavity is occupied. For deciding where everyday towels and backups should live, use these bathroom towel storage ideas.
8. Keep Laundry Supplies on the Wall Above the Folding Counter
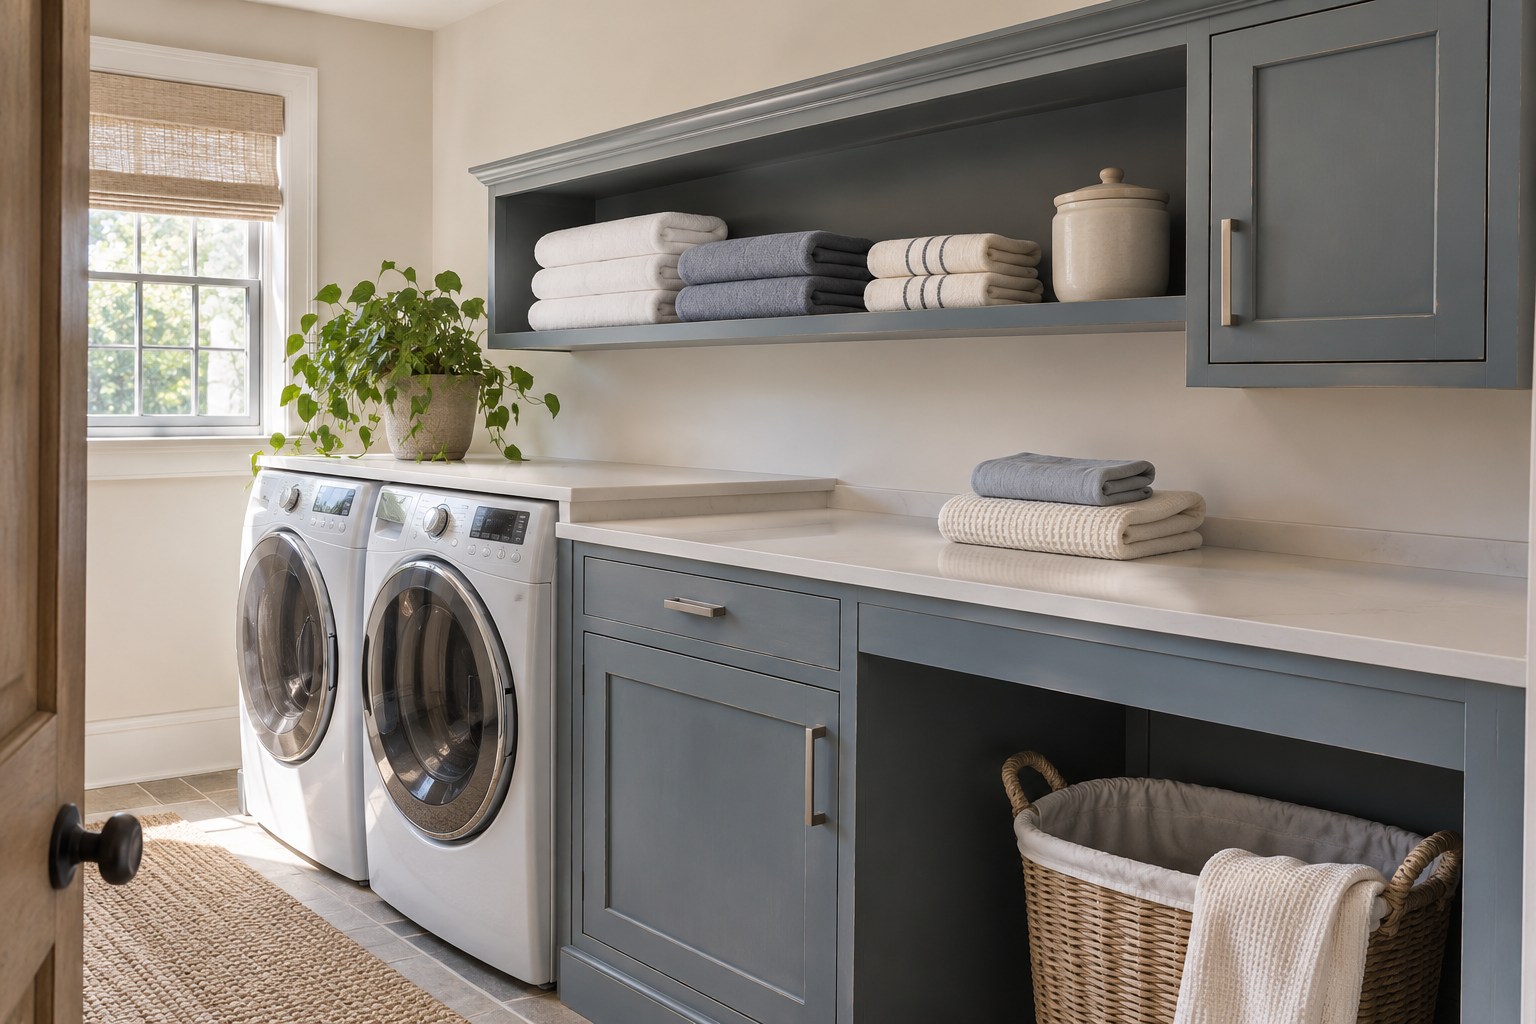
A shelf above the folding counter is useful when the worktop can stay clear between loads. Put folded towels or an empty basket on the open shelf, and choose a closed section for supplies that don’t need to be on view. Size that section using the tallest container you already use, with room to tip it out if it has a handle or pump.
Stand at the counter and reach for the shelf while holding a towel. If you lean too far forward, lower the shelf or move it toward the end of the counter. Test the washer and dryer doors and controls from their normal positions. Keep service access and manufacturer-specified clearances in the cabinet plan, and keep laundry products out of children’s reach.
9. Build Low Shelves Along an Attic Knee Wall
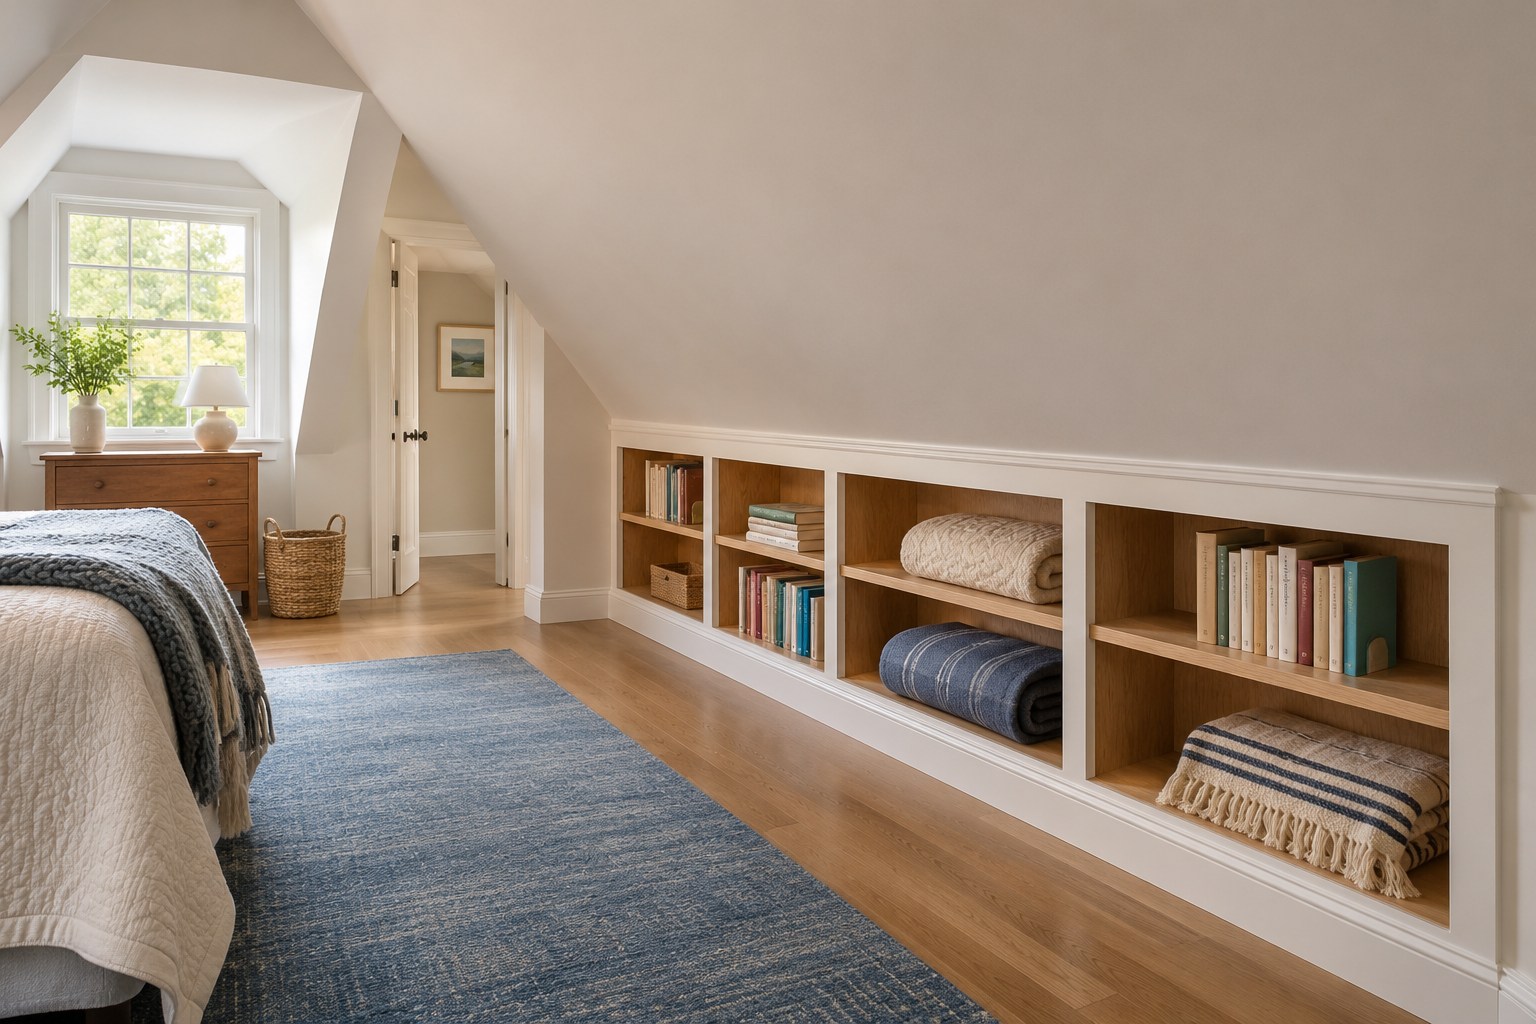
An attic knee wall gives you a long low line for shelves. Find the point where the slope begins to interfere with walking or standing and use the shorter side for things you can reach while sitting or kneeling. Low open cubbies can hold books and folded blankets, while the higher side of the room stays available for a desk, chair, or clear path.
Measure the slope at several points before ordering cabinetry. Test the largest object by putting a box of similar size in the proposed opening and lifting it out. Keep shelves on the room side of the knee wall if the space behind it is needed for the building assembly or access. Have a qualified contractor review any plan that changes the wall, attic access, or insulation.
10. Put Adjustable Shelves Above an Office Work Surface
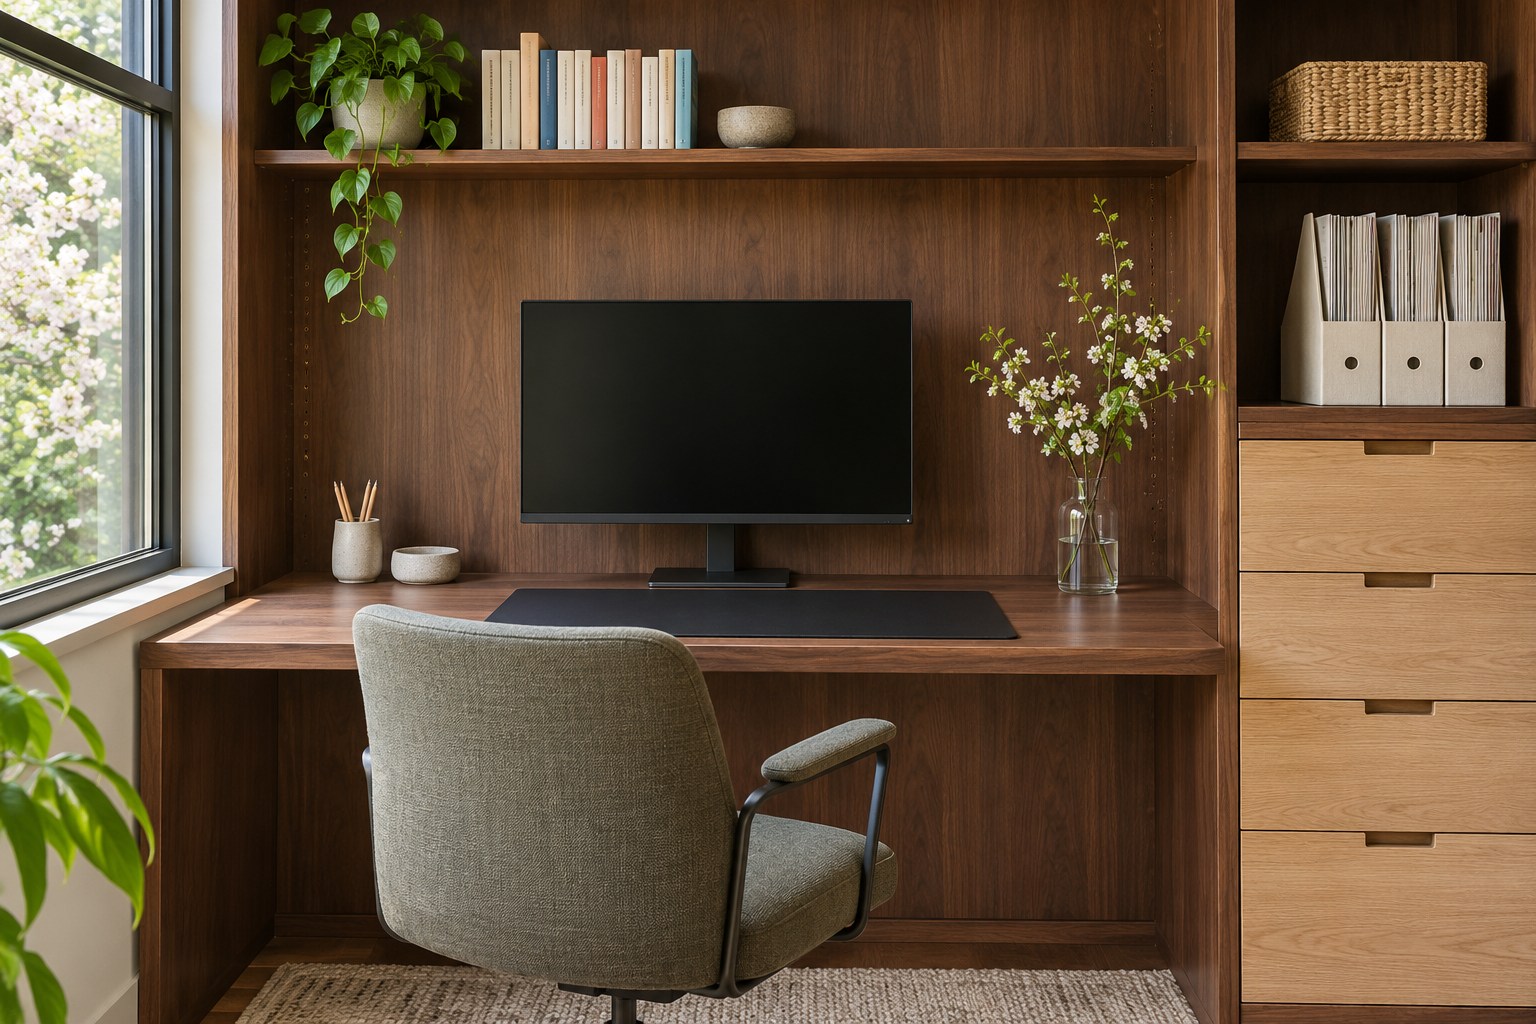
Measure the office built-in from the desk upward. Put the monitor, task lamp, and tallest item you use at the desk in place or make full-size paper outlines. Then sit down and reach to the height of the proposed first shelf. The screen and your usual work should have room below it. Papers you reach for during the day can go in a side bay at a height you can reach easily.
Adjustable shelves make the upper cabinet easier to adapt as your books and files change. Mock up one bay for paperbacks and another for upright folders, leaving room to lift each one out. Add a divider or bookends where a row needs support. Before choosing hardware, ask the cabinetmaker what each shelf and its supports are designed to carry.
11. Turn the Space Under the Stairs Into Stepped Storage
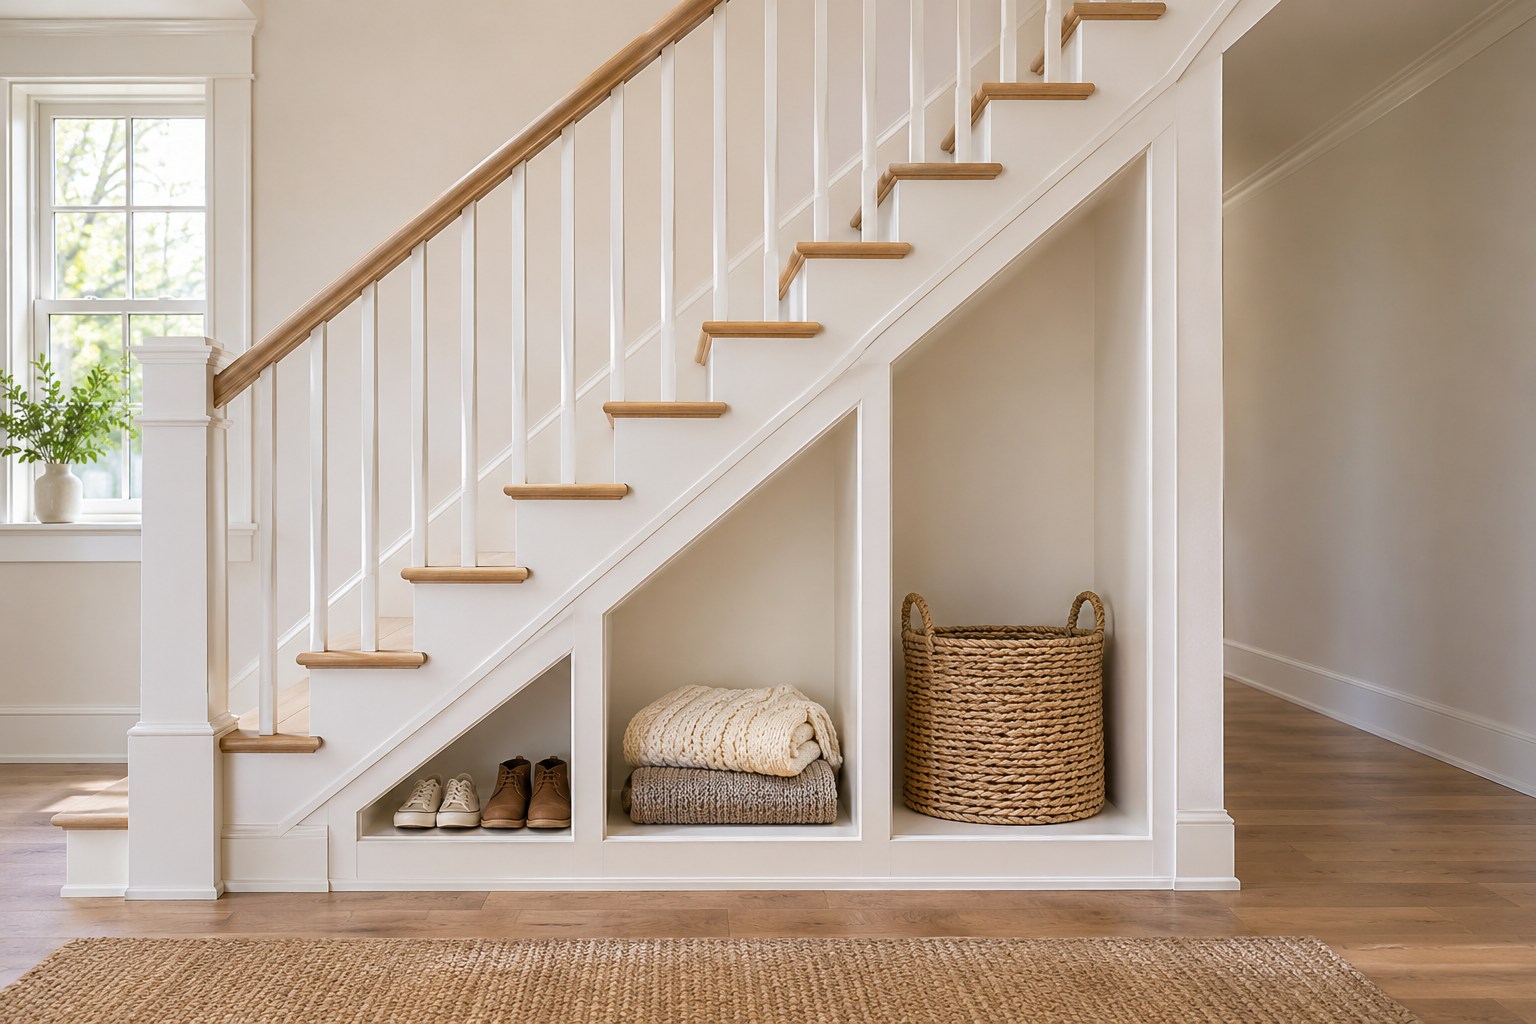
Under-stair shelving makes the most sense when the openings match the objects you bring there. Put one tall bay at the high end for a folded stool or an upright bin, and use the shorter bays for shoes, folded blankets, or small baskets. Decide what goes in each opening before you settle on a repeated width. If the low shelf needs a deep basket, check that you can pull it out without crouching in the middle of the passage.
Have a qualified contractor check what’s behind the stair wall before planning any cuts. Keep structural members and existing utility access in the plan. If a recess is available, follow the slope with fitted panels, and use a continuous lower trim line so the different-height openings read as a single run.
12. Add a Shelving Tower to a Closet With Room to Reach
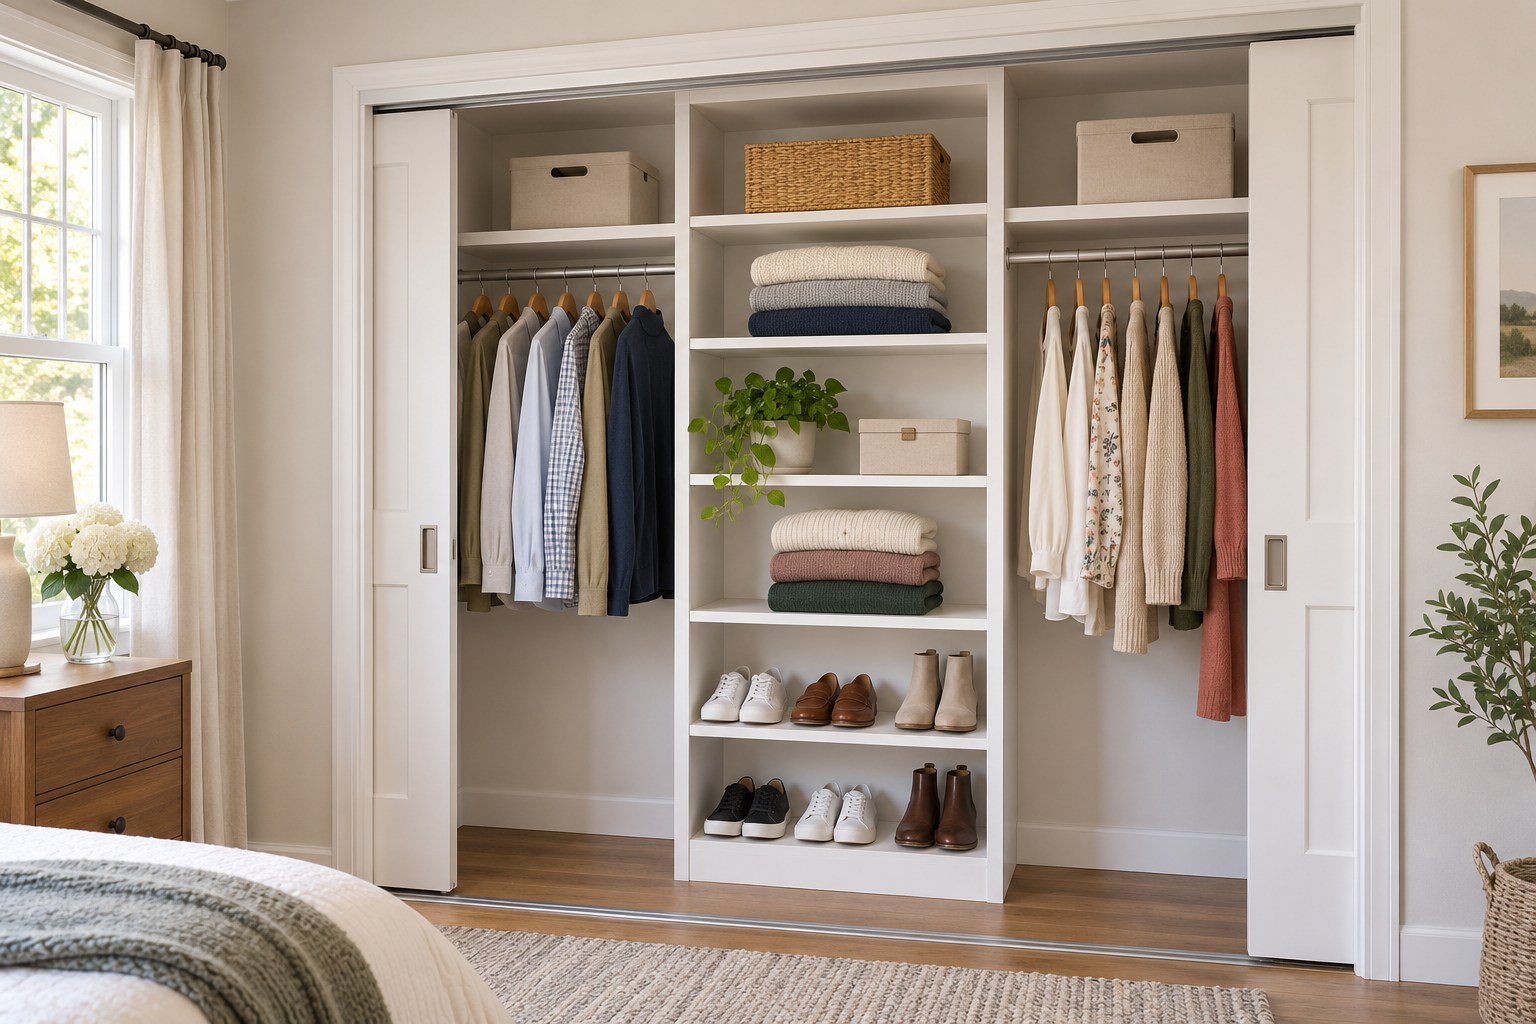
A shelf tower can divide a reach-in closet into useful zones. Start by measuring the full opening and the area exposed when the doors are in their normal open positions. Then hold up the widest sweater stack or pair of shoes you want to store. The tower should be easy to reach with the doors in place, and the closet rod should remain long enough for the clothes you plan to hang.
Reserve more shelf depth for bulky folded pieces and use narrower shelves where footwear or accessories can sit in a single visible row. Check that a box can come straight out without hitting a track or a door edge. If a sliding door covers the middle when open, try the tower to one side and work with the exposed opening.
13. Give Kids Low Open Bays and Secure Tall Storage
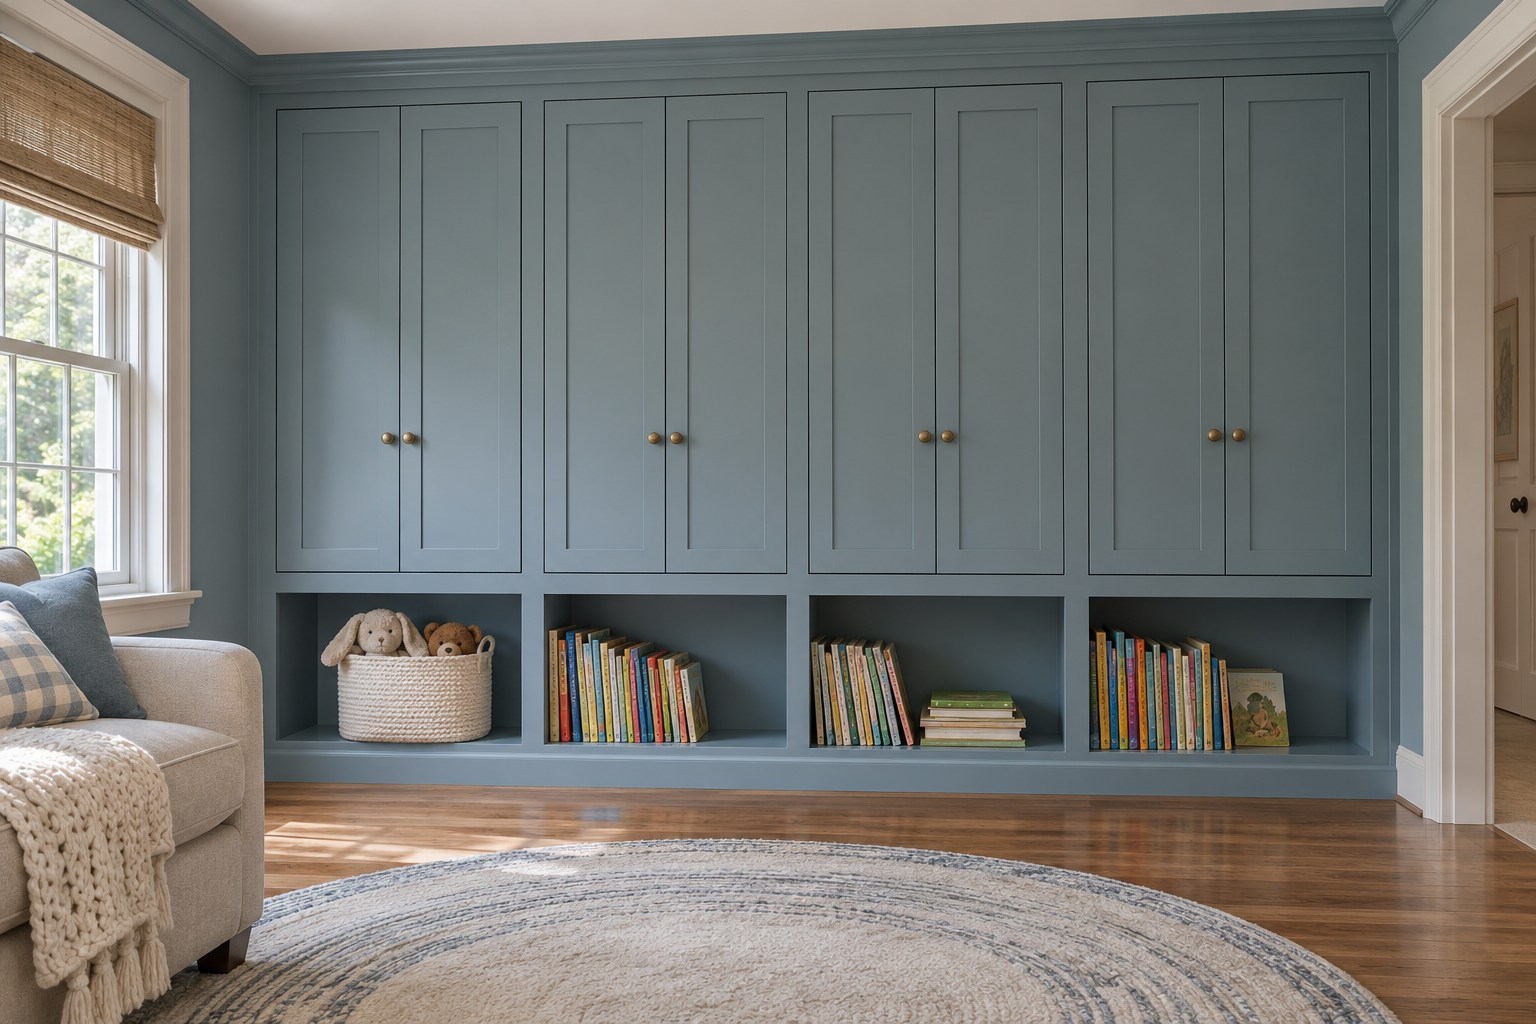
In a playroom, low fitted cubbies give books and everyday toys a predictable place to go back. Place a few baskets at the height your child can reach and leave enough hand space above them to lift them out. Higher cabinets can hold spare supplies that adults retrieve. Keep the floor in front open so there’s room to kneel and gather things after play.
Plan secure attachment and choose appropriate supports with the installer. Keep furniture with drawers, doors, or shelves anchored in line with the U.S. Consumer Product Safety Commission’s Anchor It guidance. Keep attractive toys off high surfaces, and check that low baskets can be handled without opening several doors. A small number of easy return spots makes the system simpler to use again tomorrow.
Pick the room where the lack of shelving interrupts a daily task. Bring the objects that need to fit and mark the shelf fronts and door swings at full size before you agree on dimensions. Then look at the installation from the hallway, doorway, or seat where you’ll see it every day. Once the layout works from both sides of the room, choose a trim line and finish that follow the house around it.
Discover more from HomeTrendora
Subscribe to get the latest posts sent to your email.