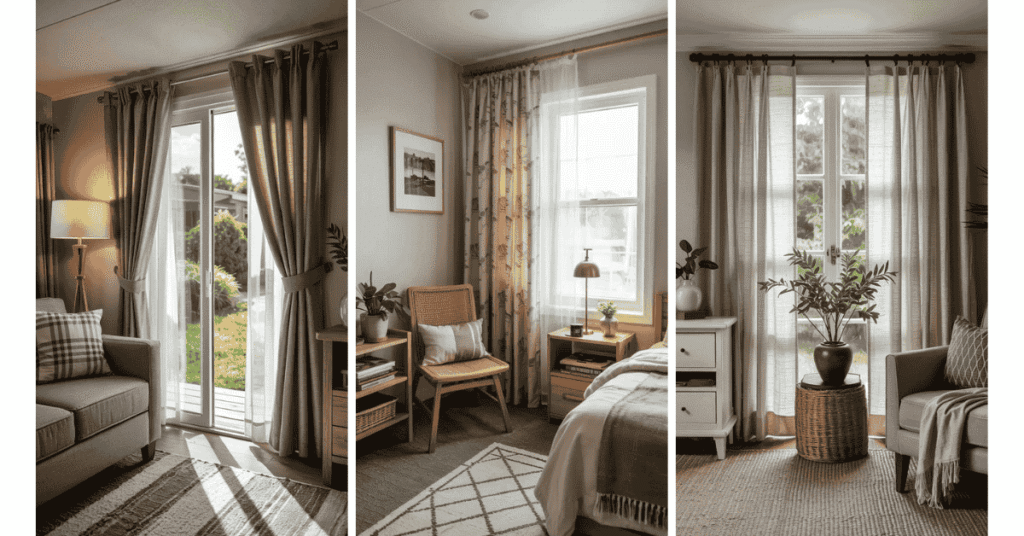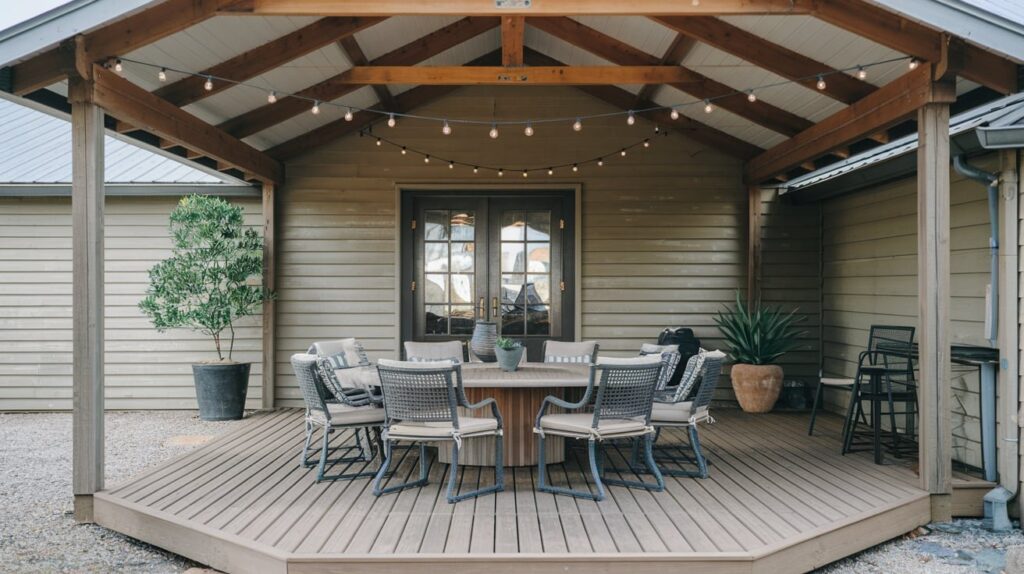
A dining room sideboard can look finished from across the table and still make it hard to find a clean napkin. These 16 ideas help you choose what this piece should hold, how it opens, and what belongs on the surface when you use the room every day.
Start with the things you carry between the kitchen and table most often. Put them on the table together and look at what’s flat, what’s awkward to lift, and what needs to stay separate. The contents are a better starting point than a catalog photo of a tidy cabinet.
1. Build an Everyday Place-Setting Drawer
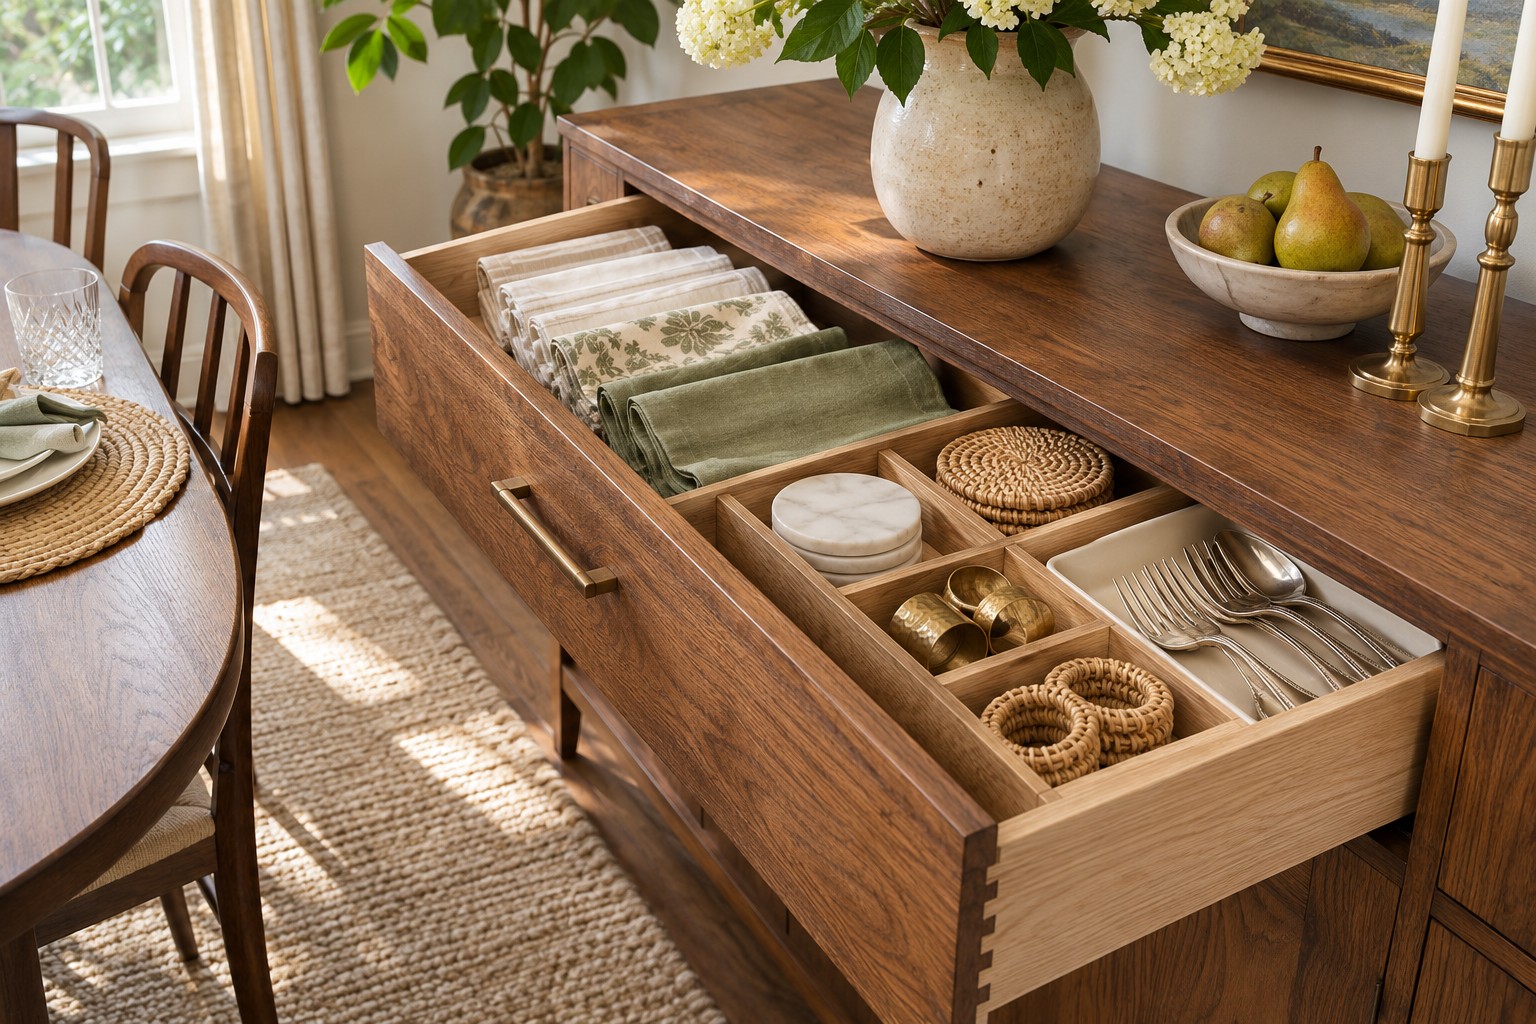
Choose a drawer you can reach from the dining table and give it the things needed to reset the table on a weekday. Set cloth napkins in one group and coasters in another. Put everyday napkin rings in a shallow divided box if you use them. Keep just enough in the drawer to see the bottom of each group when you pull it open.
A good test is to set two places without returning to the kitchen. If a bulky stack of placemats makes everything else harder to reach, move it to a flat shelf. Leave the easiest drawer for the small things that make you take extra trips.
2. Stand Oversize Platters in a Removable Divider
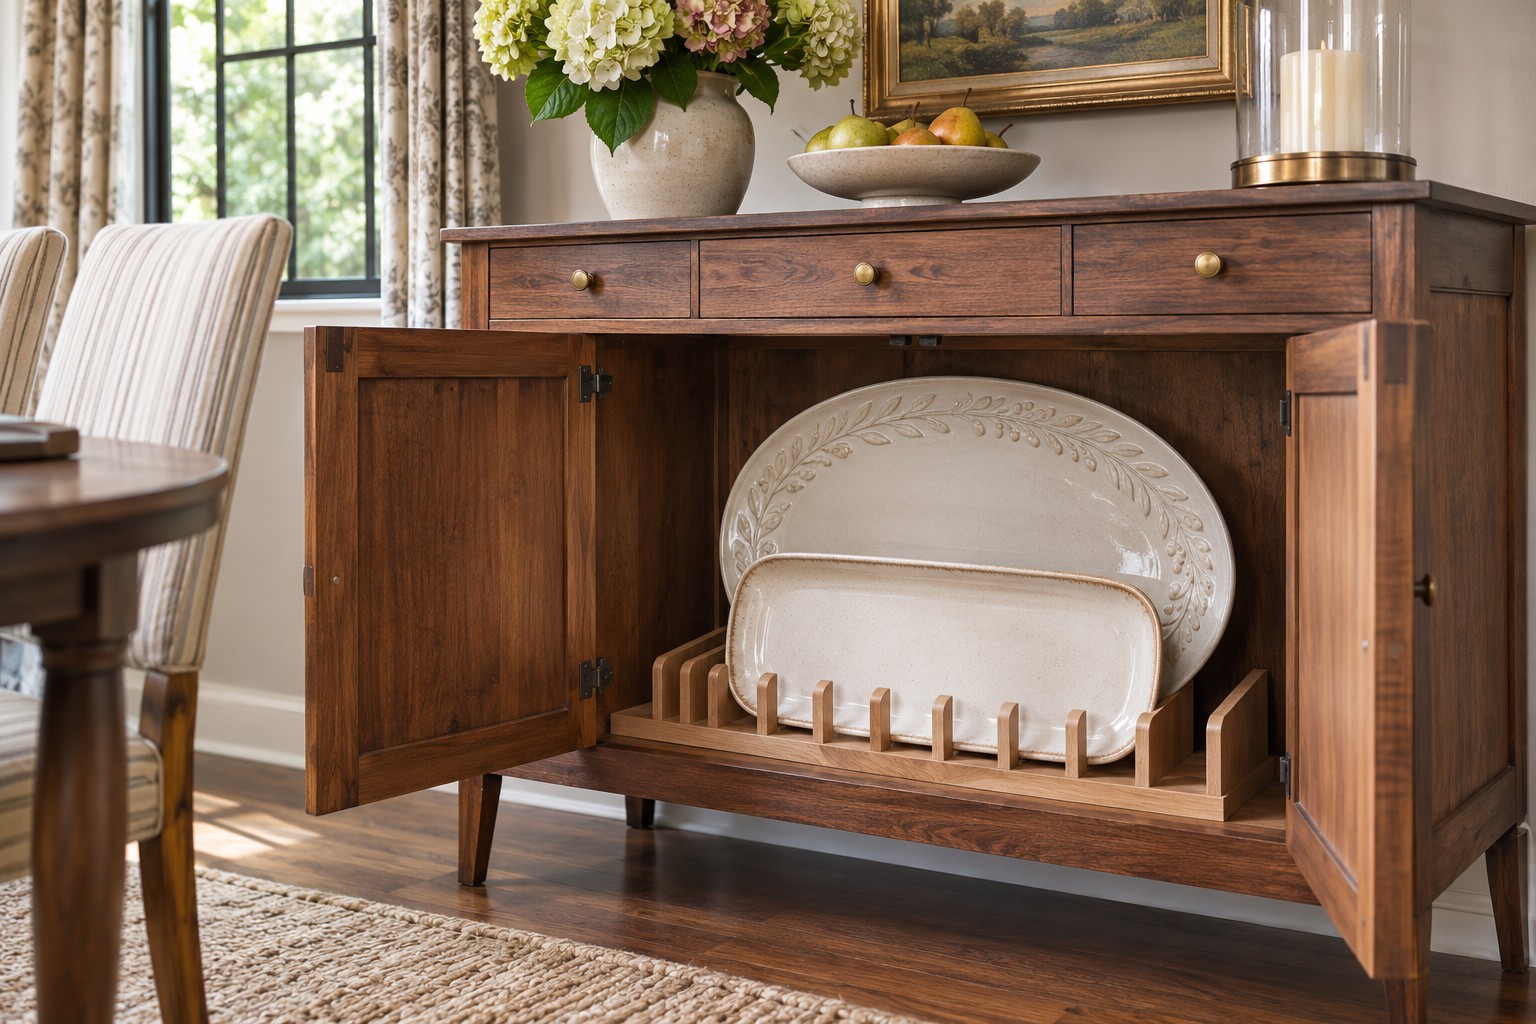
Try an upright, stable divider inside a deeper cabinet for long platters that are awkward to lift from a pile. Remove or reposition the shelf if the cabinet allows, then measure the tallest platter standing on its chosen edge. Check the door and how much space your hand needs to lift the piece clear.
Space the slots by the dishes you own. A thick rim needs more room than a flat tray, and a heavy ceramic platter belongs in a low position you can reach safely with both hands. A removable divider lets you revise the mix when the platters change.
3. Store Linens Upright Where You Can See the Fold
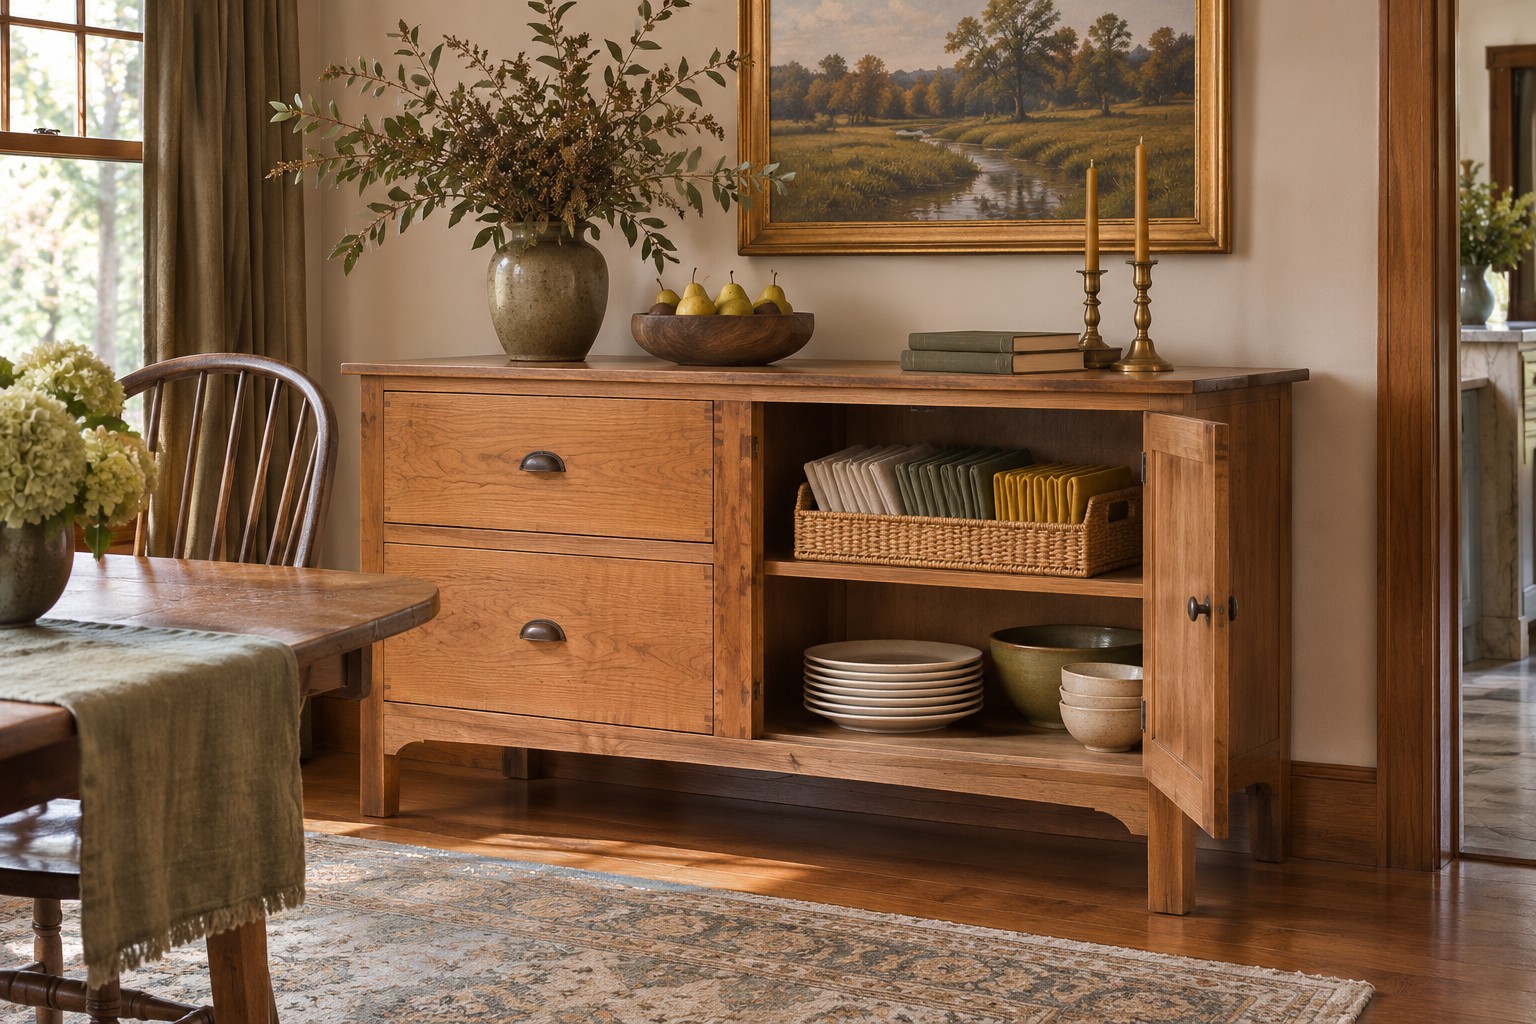
Fold frequently used runners and napkins so their folded edges face up in an open-sided box. Pick a box that fits the shelf without trapping your fingers at the top. When you lift it out, you can choose the right length or color without disturbing the rest of the pile.
If your runner creases badly, keep that piece loosely rolled and store it on a separate long shelf. Use an easy-to-clean container for everyday linens. Keep the heirloom pieces you rarely reach for in their own space so one quick dinner doesn’t involve putting everything back in order.
4. Separate Everyday Bowls From the Celebration Pieces
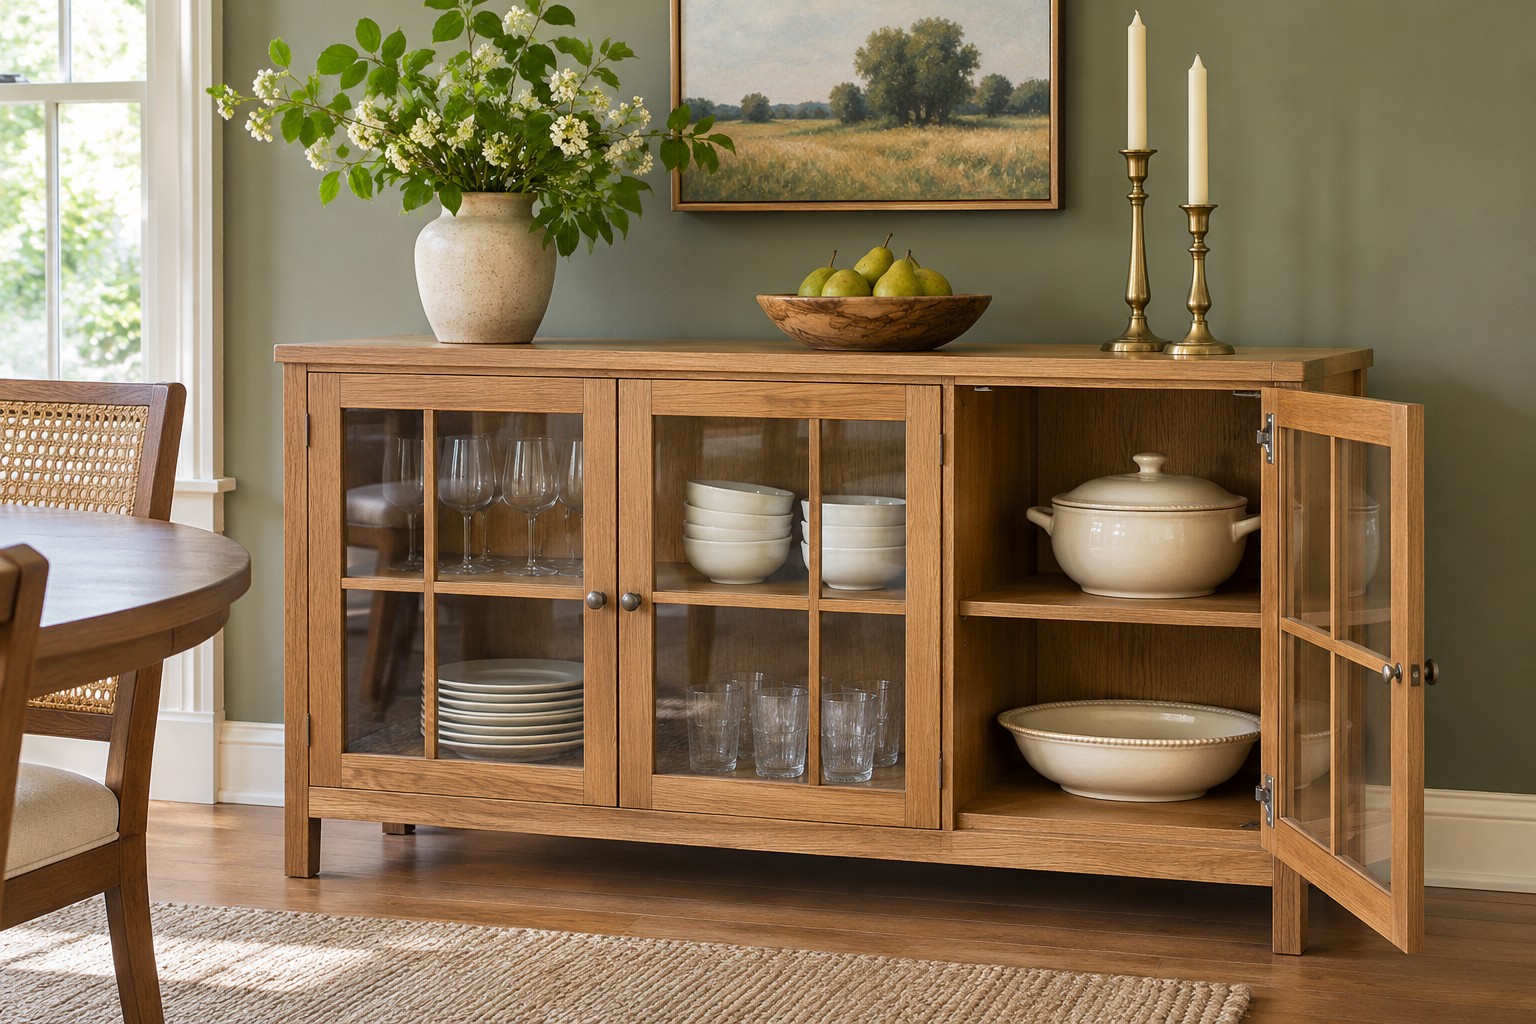
A bowl that comes out every night benefits from a short, shallow stack near the door you open first. Move bulky holiday pieces or large serving bowls to a separate compartment you can reach when you actually need them. A low stack lets one person set the table without lifting a teetering tower.
Open the cabinet, remove a bowl, and close it with the other hand free. If the stack behind the front row is hard to see, leave it for occasional use or group it with the pieces that come out together. Similar small stacks look particularly good behind glass because each has a clean outline.
5. Move an Adjustable Shelf to Fit the Dishes You Own
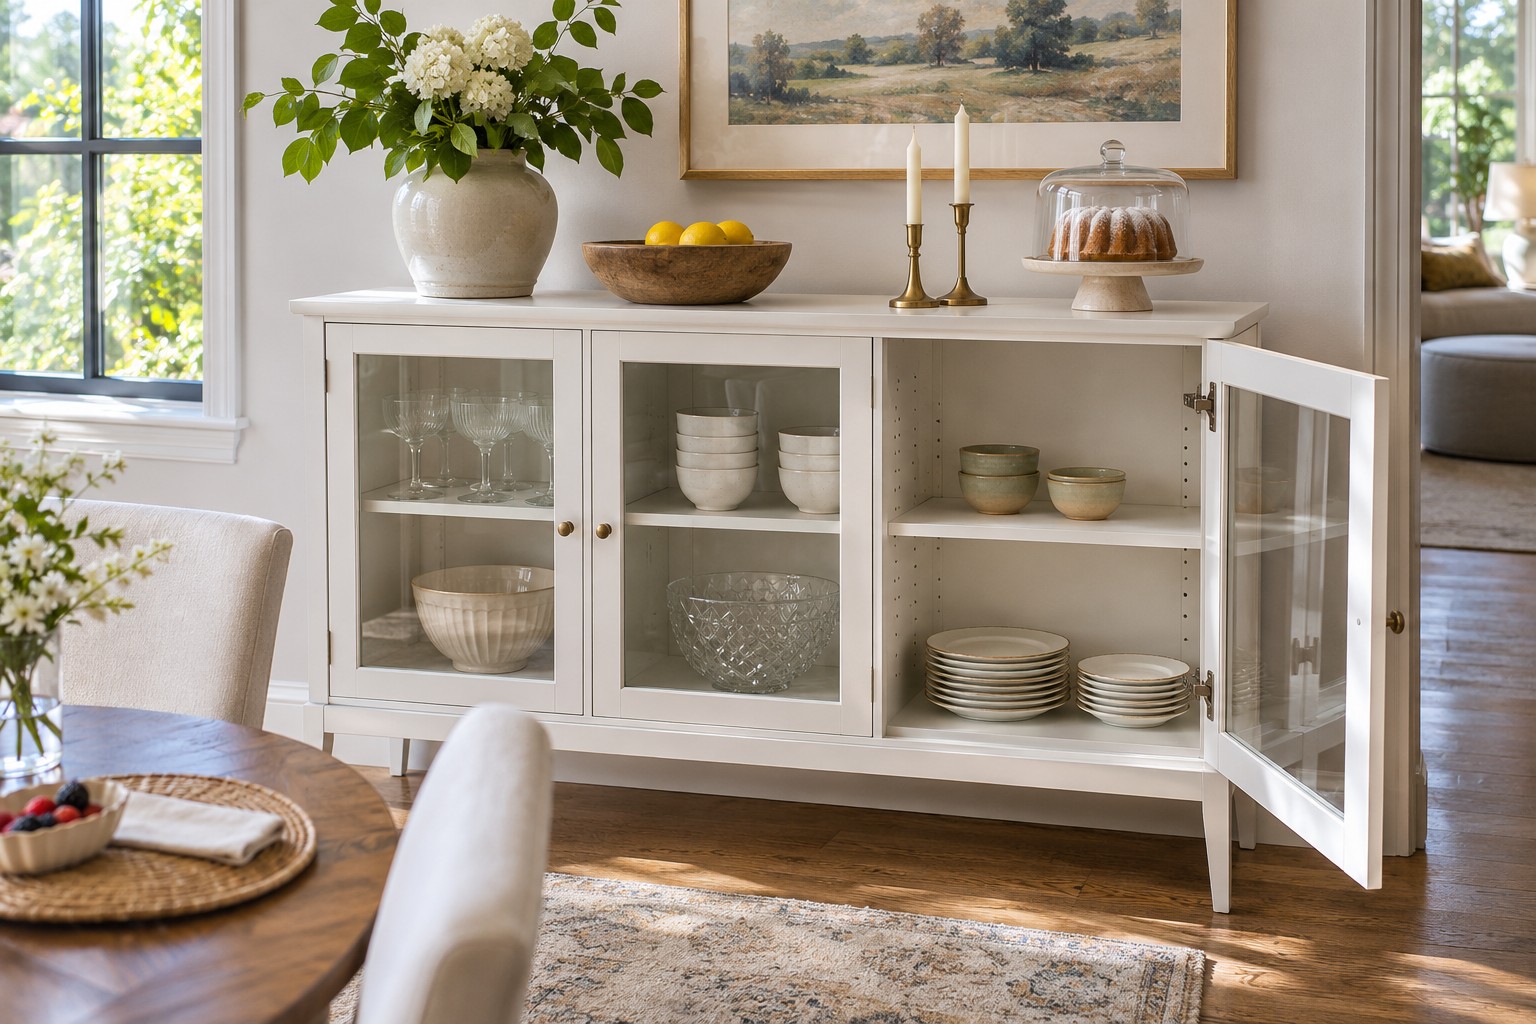
Measure the tallest stack and include the room your hands need above it. Then measure the depth of the largest rim from front to back. Use the actual inside dimensions, with the door closed, when you’re comparing a cabinet to what you plan to put in it. A shallow display cabinet can work beautifully for dessert plates and small bowls, while a full dinner plate may need a much deeper shelf.
Test the arrangement with light pieces before you return the whole stack. Follow the cabinet’s directions for shelf supports and ratings, and use the prescribed wall restraint. With glass doors, move the mismatched everyday pieces into two groups with a little air between them so the shelves feel intentional from across the room.
If you want a shallower cabinet, HOMCOM’s white buffet has an adjustable shelf and glass fronts. Its listed interior depth is 9.75 inches, so measure a full-size plate before choosing it for dinnerware.
See the adjustable-shelf sideboard(paid link)
6. Let a Ceramic Wall Piece Set the Height
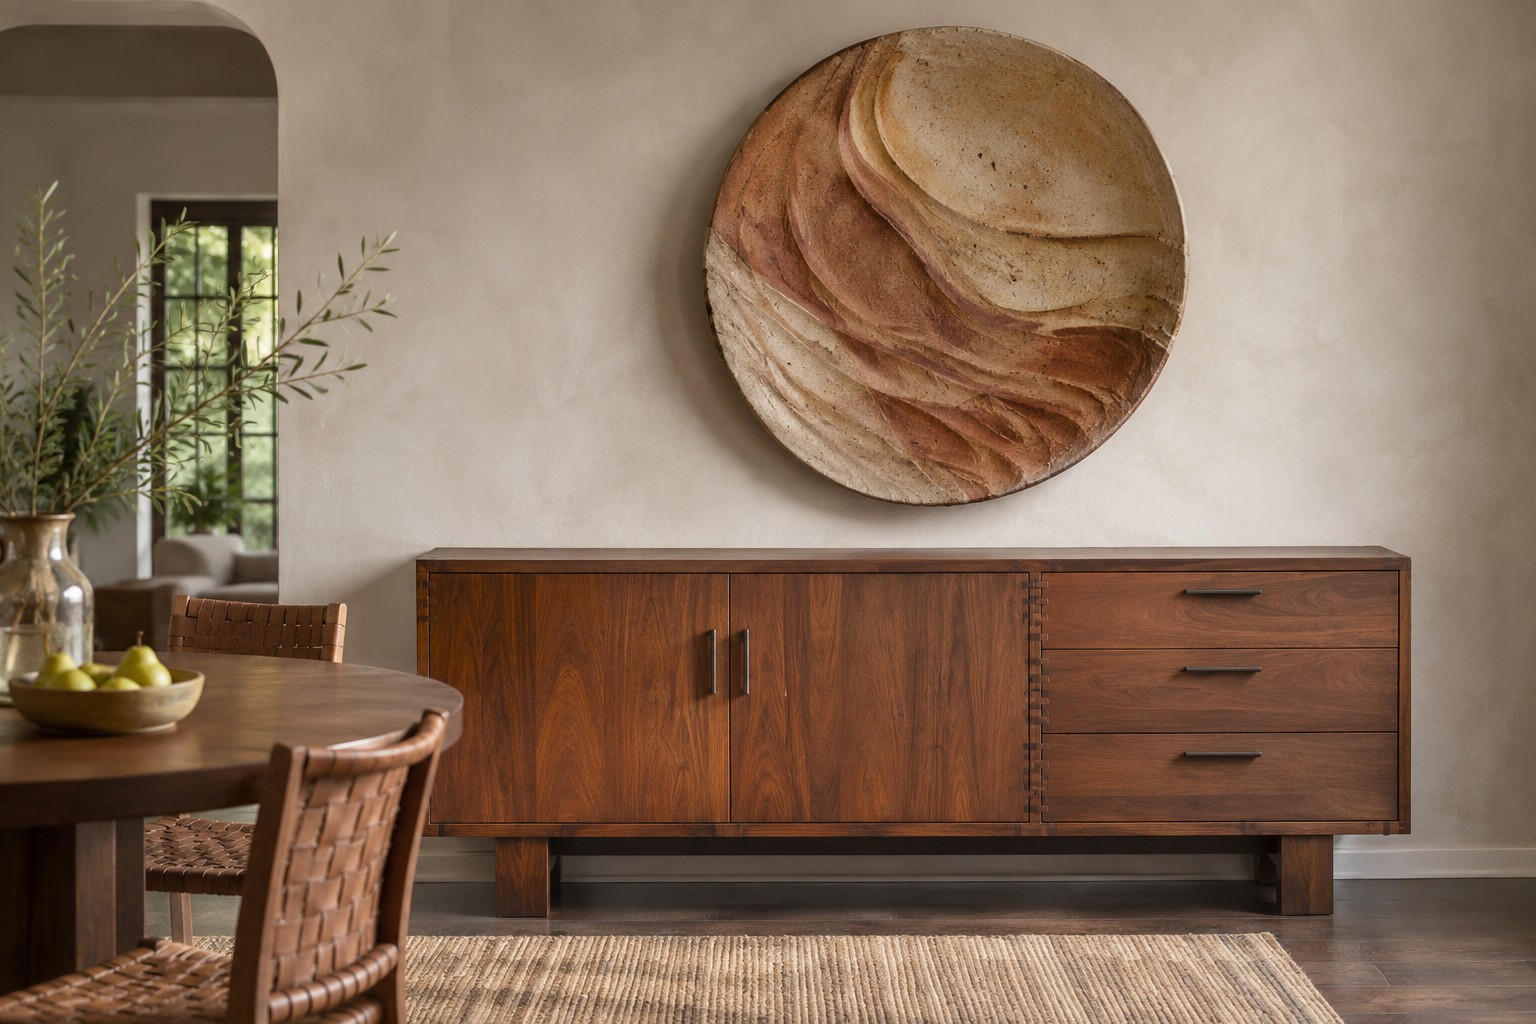
Try a single large ceramic wall piece centered on the part of the sideboard you see as you enter. It adds texture and casts a shallow shadow without occupying the surface you use to put down dishes. Tape up a paper outline before installing it and check it from a seat at the dining table.
An asymmetrical cabinet can make the center of the entire wall feel wrong. Move the paper a little toward the quieter end of the cabinet until the wall piece and the cabinet read as one arrangement. Use mounting hardware rated for the actual weight and wall.
7. Choose Sliding Doors Where a Dining Chair Backs Up
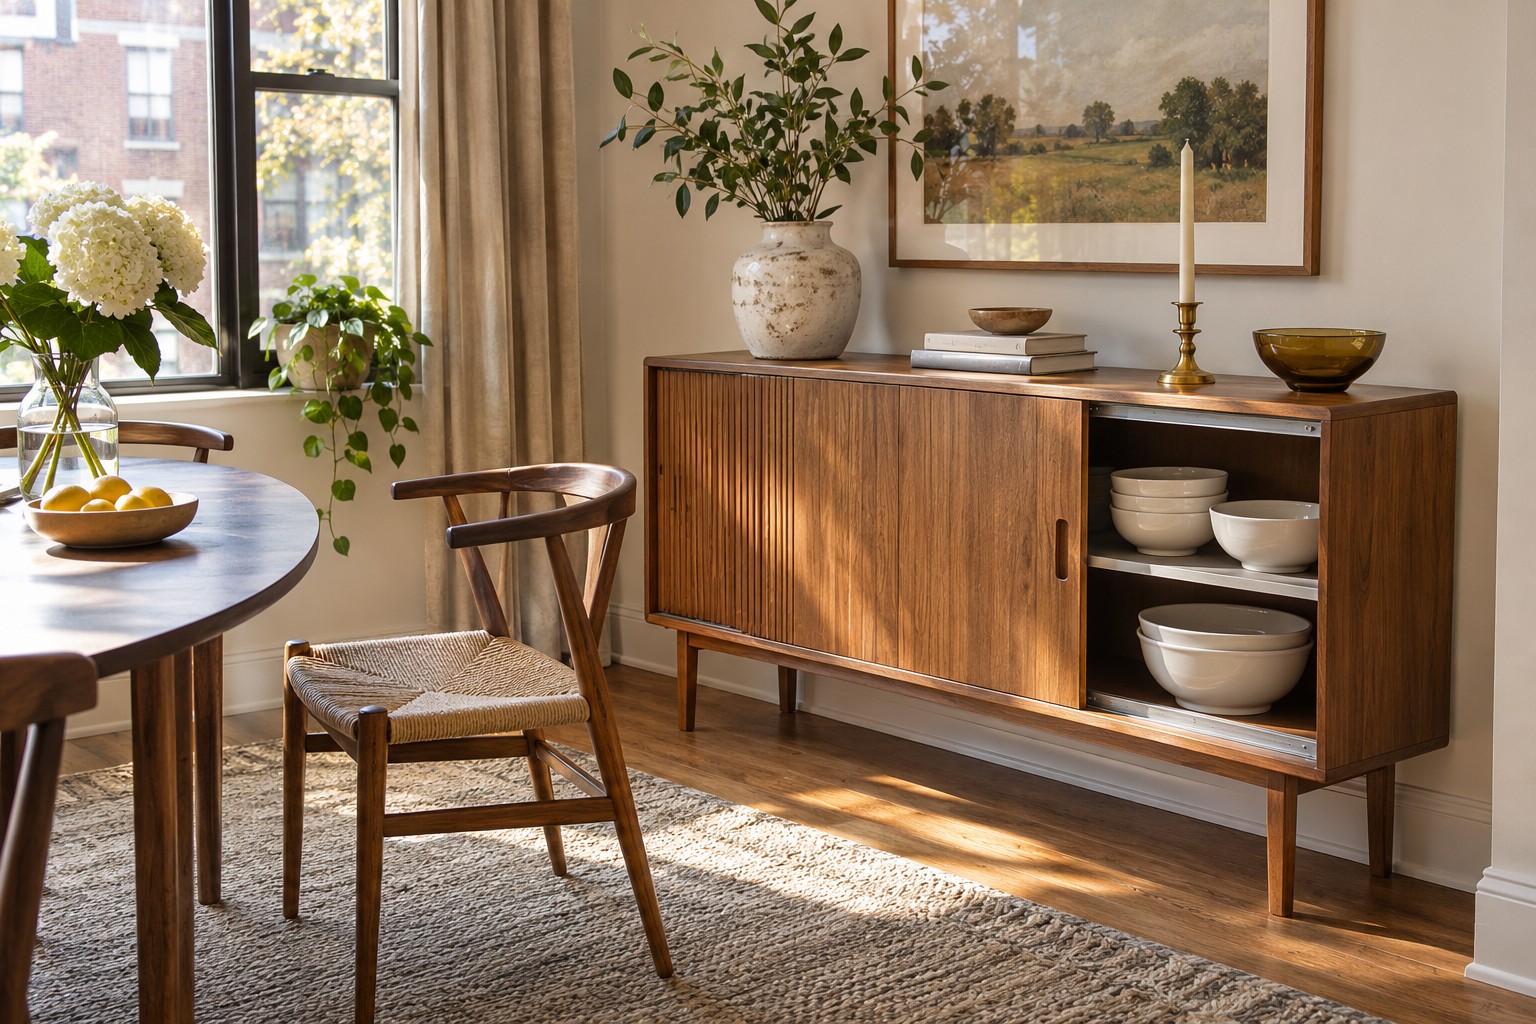
A cabinet door and a pulled-out dining chair can claim the same patch of floor. Put the chair in its usual pulled-back position, then mark the depth the cabinet would occupy. Sliding doors are worth considering if hinges would swing into that chair. Check that you can open the half you use most, reach in comfortably, and close it without moving the chair.
Slide both panels during the test. One will overlap the other, so an extra-wide object may be hard to remove through the actual opening. Keep large serving dishes somewhere they can come out straight. If several pieces compete for the route, the small dining area layout ideas cover the arrangement around the whole table.
8. Use a Drop-Front for Flat Items Only
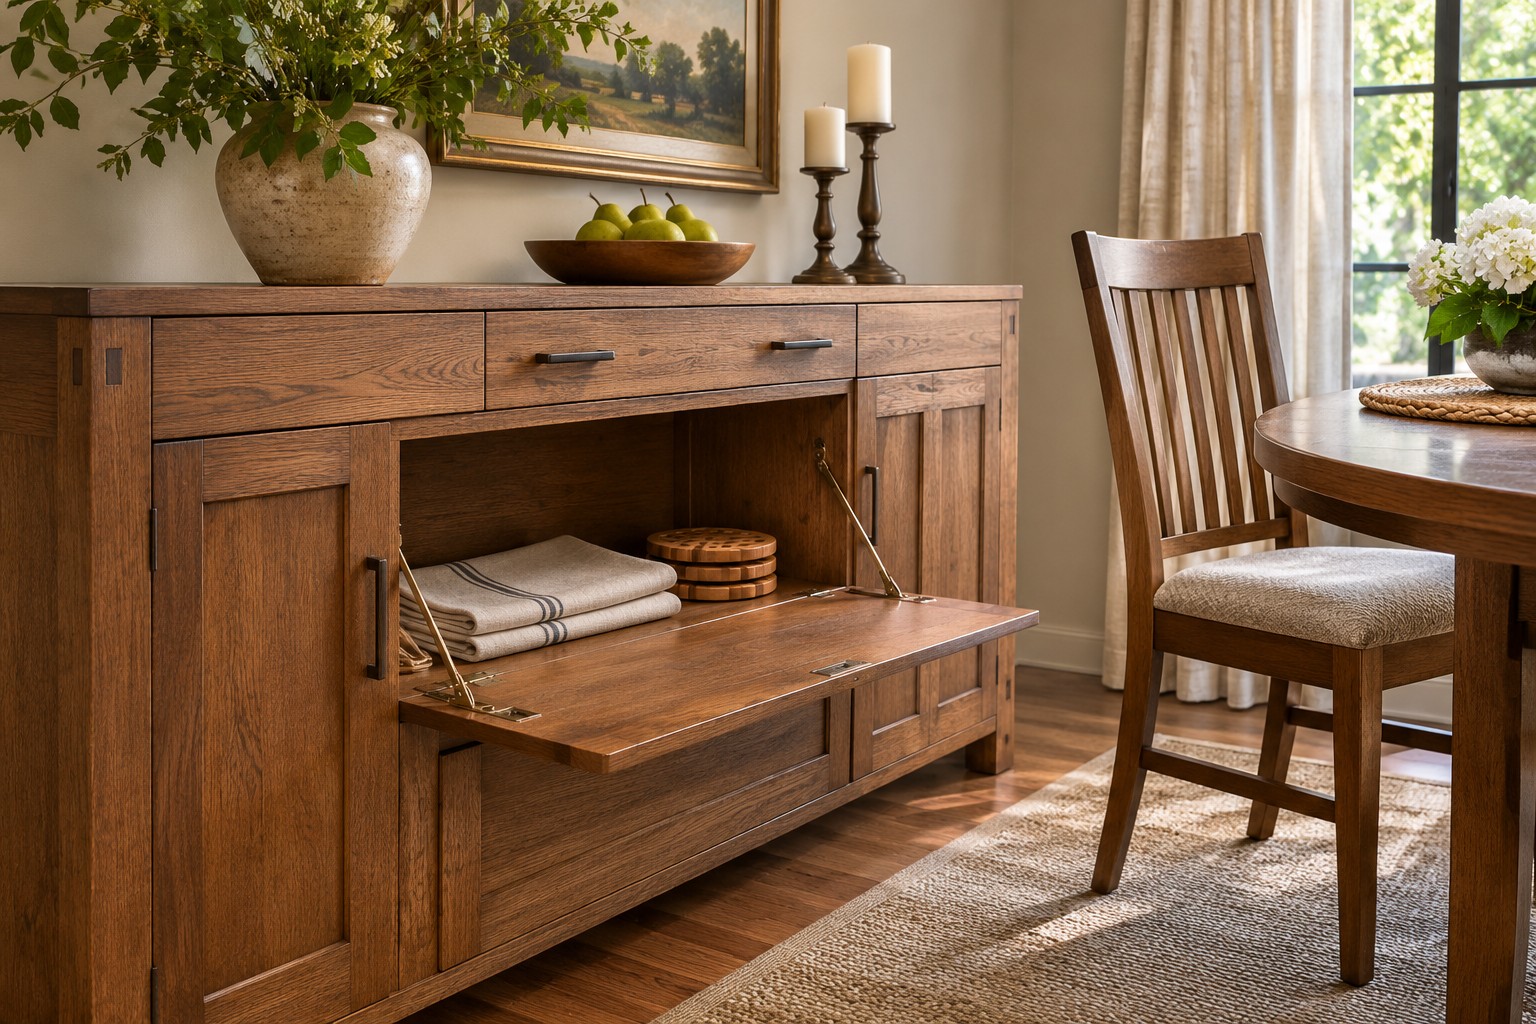
A drop-front compartment works for thin items you can draw out from the side, such as trivets or a folded table protector. Put it where you can stand to one side with the panel open. Follow the maker’s instructions for the cabinet and check whether the panel is rated to bear weight if you ever plan to rest anything on it.
Try the motion with the chair nearest the cabinet pulled out. Keep the biggest pieces inside an ordinary door if retrieving them puts you in the way of someone getting up. The shortcut only helps if you can use it in the middle of dinner.
9. Give an Inherited Silver Set a Formal Display
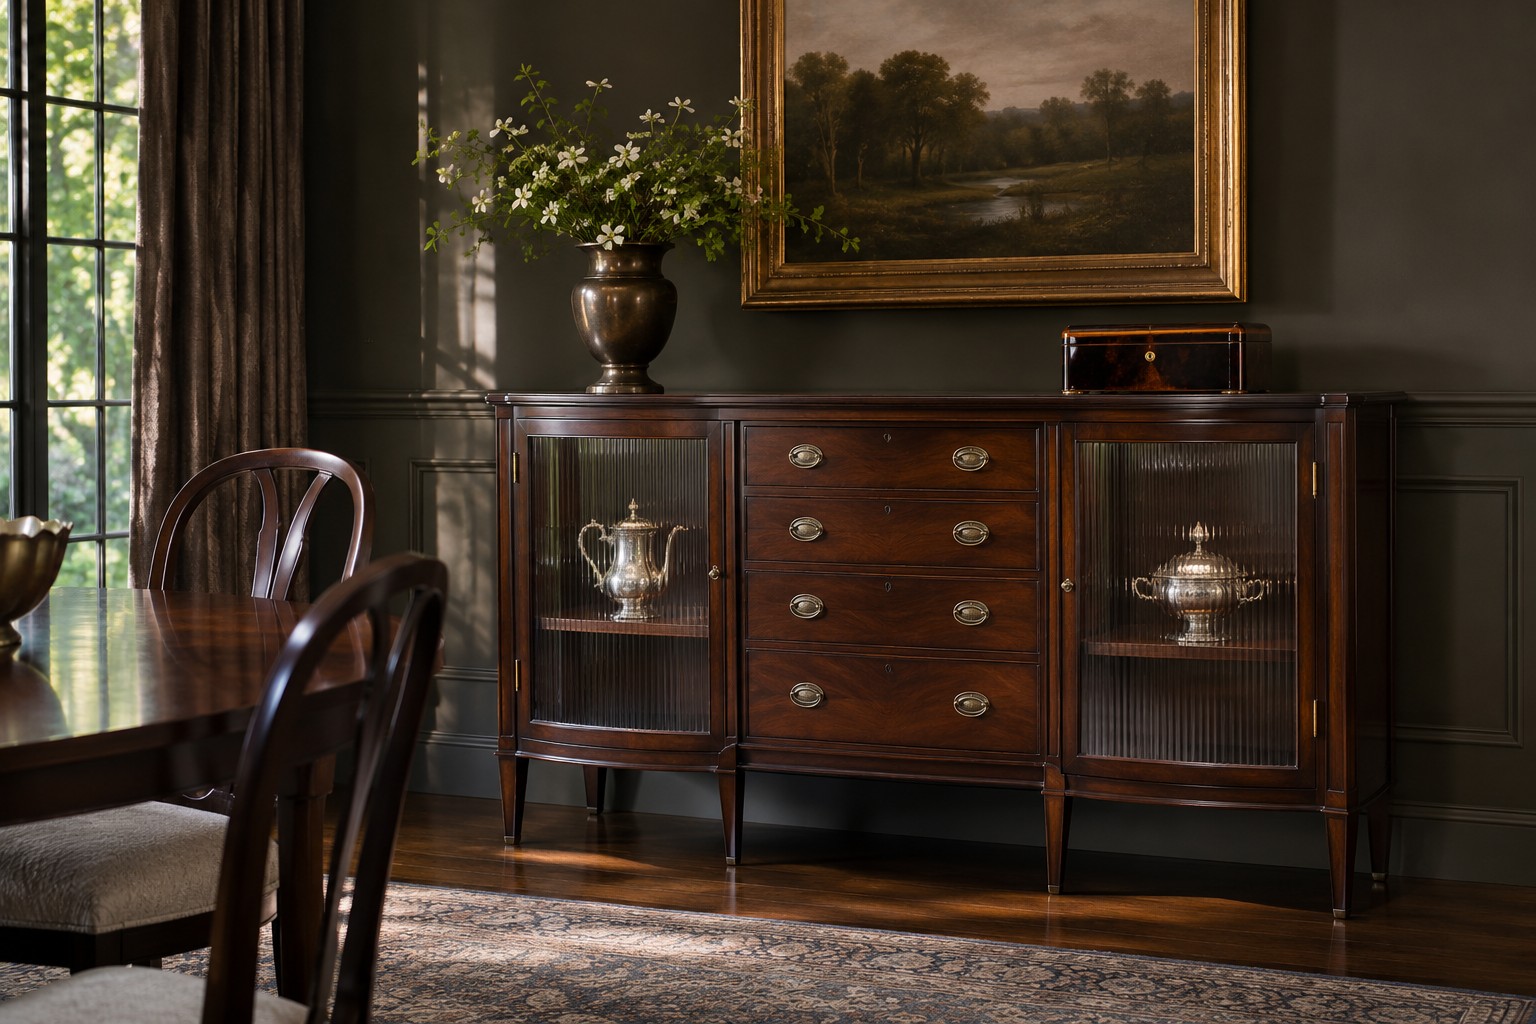
A well-proportioned silver piece reads better with some quiet around it. Choose a low object and a taller one from the same set, then let the rest stay in storage. A dark, understated cabinet interior and softly rippled glass can make the metal stand out without introducing a second shine across the wall.
Place the pieces at different points across the shelf and compare the reflection from a dining chair. If the fronts reflect a pendant, adjust the pendant setting or rearrange the shelf before adding more light. A glass-fronted compartment also gives you a place to display pieces you use less often while keeping the work surface available.
10. Keep a Clear Work Patch at the Table End
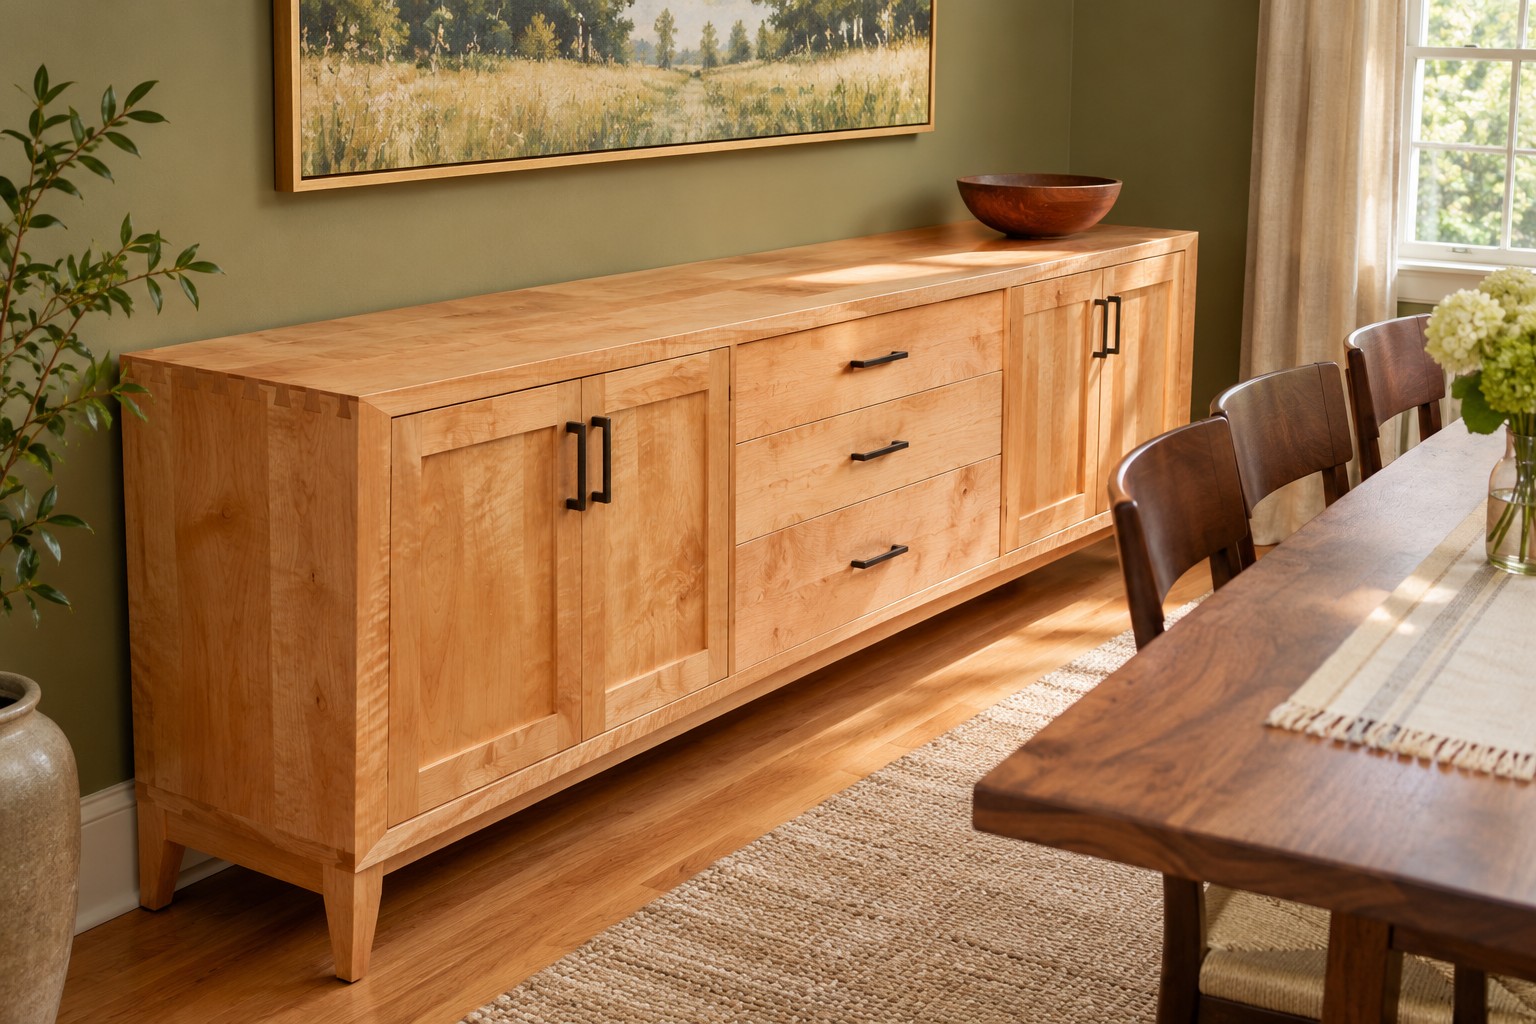
The natural handoff spot is often the end of the cabinet closest to the dining table. Leave enough space there to receive a clean tray or place settings you’re about to pass around. Put the permanent decorative piece at the other end. If you like a runner, keep the surface where a tray will sit level and free of folds.
Test the arrangement by putting down a large empty platter and taking a step back. You want a place to get hold of it again without moving another item first. For a larger gathering with a line of guests, the small dining room Christmas buffet guide covers the separate question of how to move people through the room.
11. Light the Wall Instead of Filling the Countertop
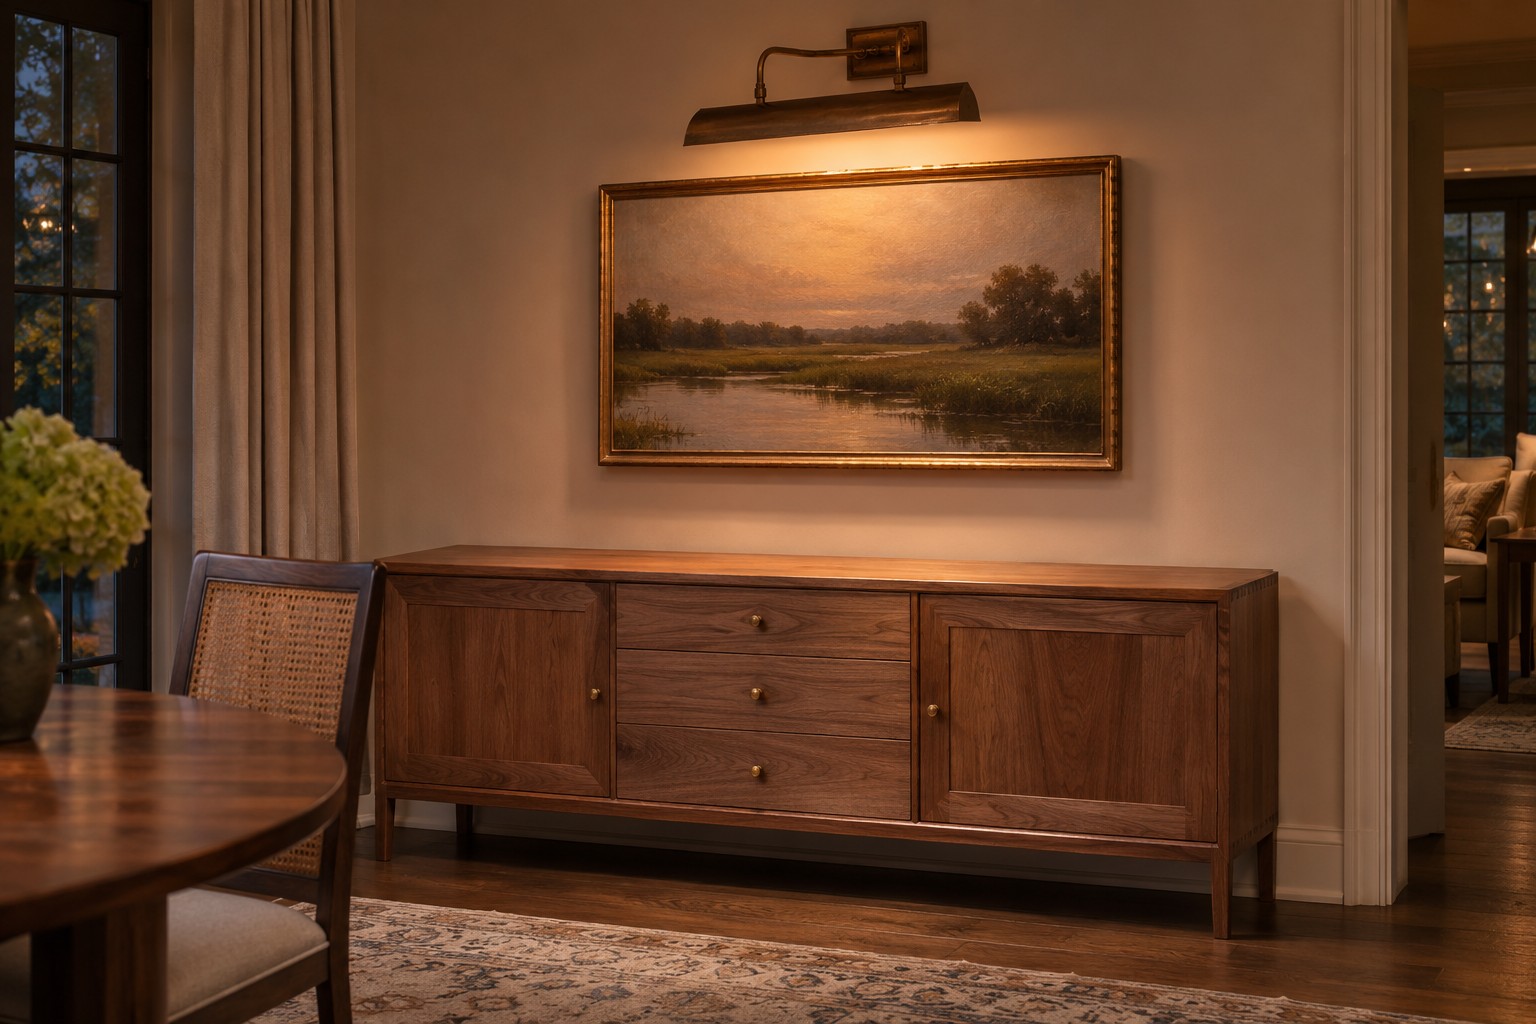
If an existing picture light or sconce can reach the wall above the sideboard, let it light the display without using the cabinet top. Aim it at the wall piece or textured surface and look from seated height. A hard reflection on glass cabinet doors may be more distracting than the dark corner you started with.
Make one adjustment at a time. If a permanent fixture needs to move, consult a qualified electrician. Where you only have a nearby lamp, try placing it on the adjoining wall before giving up a section of the dining cabinet. You’ll see quickly whether the surface itself needs a light.
12. Refresh a Sturdy Cabinet With Better-Fitting Pulls
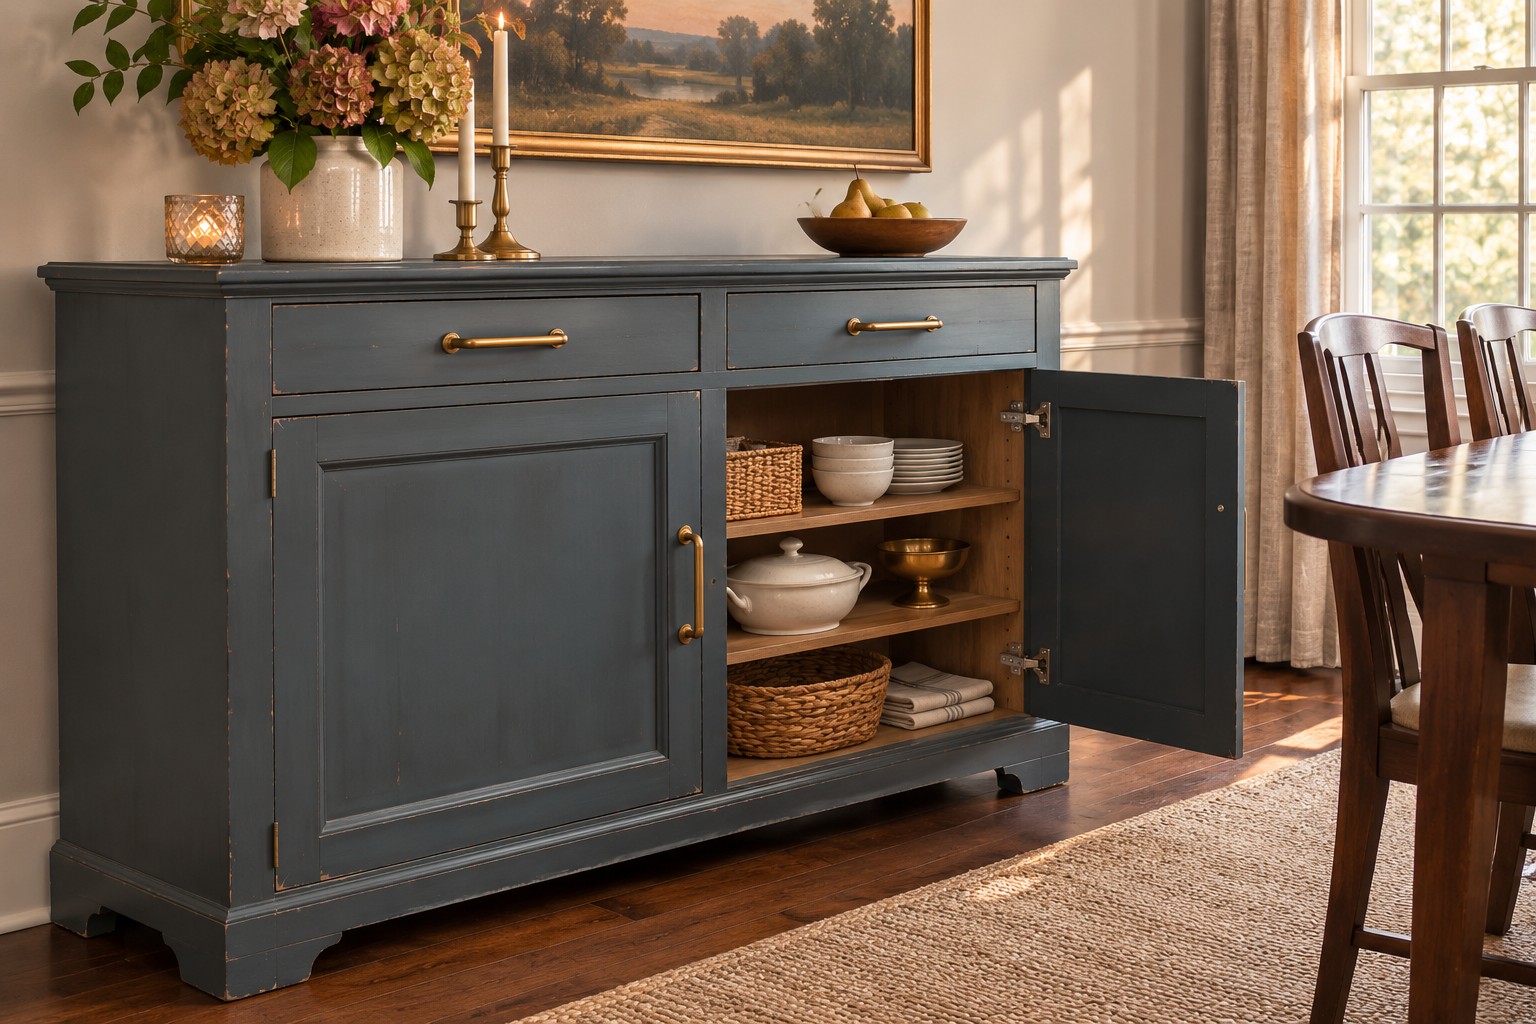
Open the existing doors first and check how the cabinet functions. If the old pulls are awkward to grip, choose replacements with the same screw spacing and appropriate screw length. Try one on a frequently used door. Check that your knuckles clear the front and that the projection fits the space beside a chair.
An aged nickel or satin brass finish can make a plain cabinet feel deliberate. Keep the new shape easy to use. If the hinges are loose or the piece rocks, deal with that before buying decorative hardware, and secure the cabinet as directed.
13. Let Oak and Unglazed Clay Set the Palette
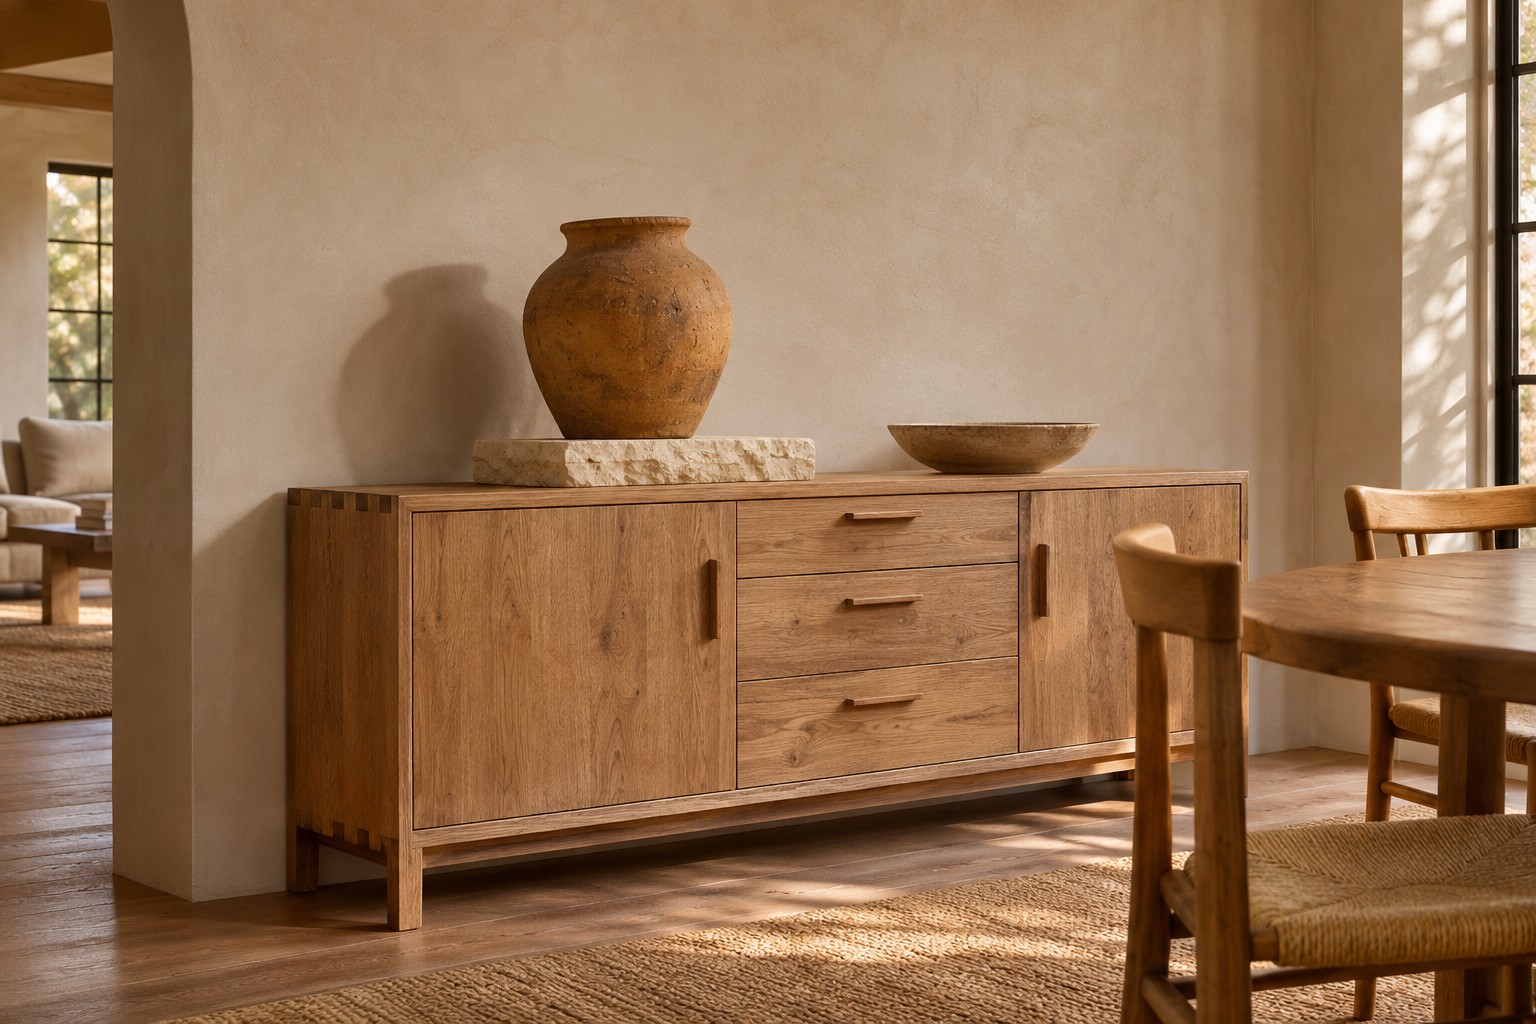
Set a plain unglazed clay vessel against the grain of an oak sideboard and place a low stone tile under it if the item needs a stable base. Choose similar warmth in the three materials, with one darker finish to separate the shapes. A heavily patterned tablecloth or nearby curtain can make the natural materials harder to read, so compare the grouping with the table in its usual state.
Look at the oak near the window. It may pick up a honey tone that a gray stone makes feel stronger. If you want a quieter shift, take your cue from a warm putty or soft limestone color. This approach works when the grain and texture carry the interest, leaving room around the object.
14. Pull the Wall Color From the Cabinet’s Undertone
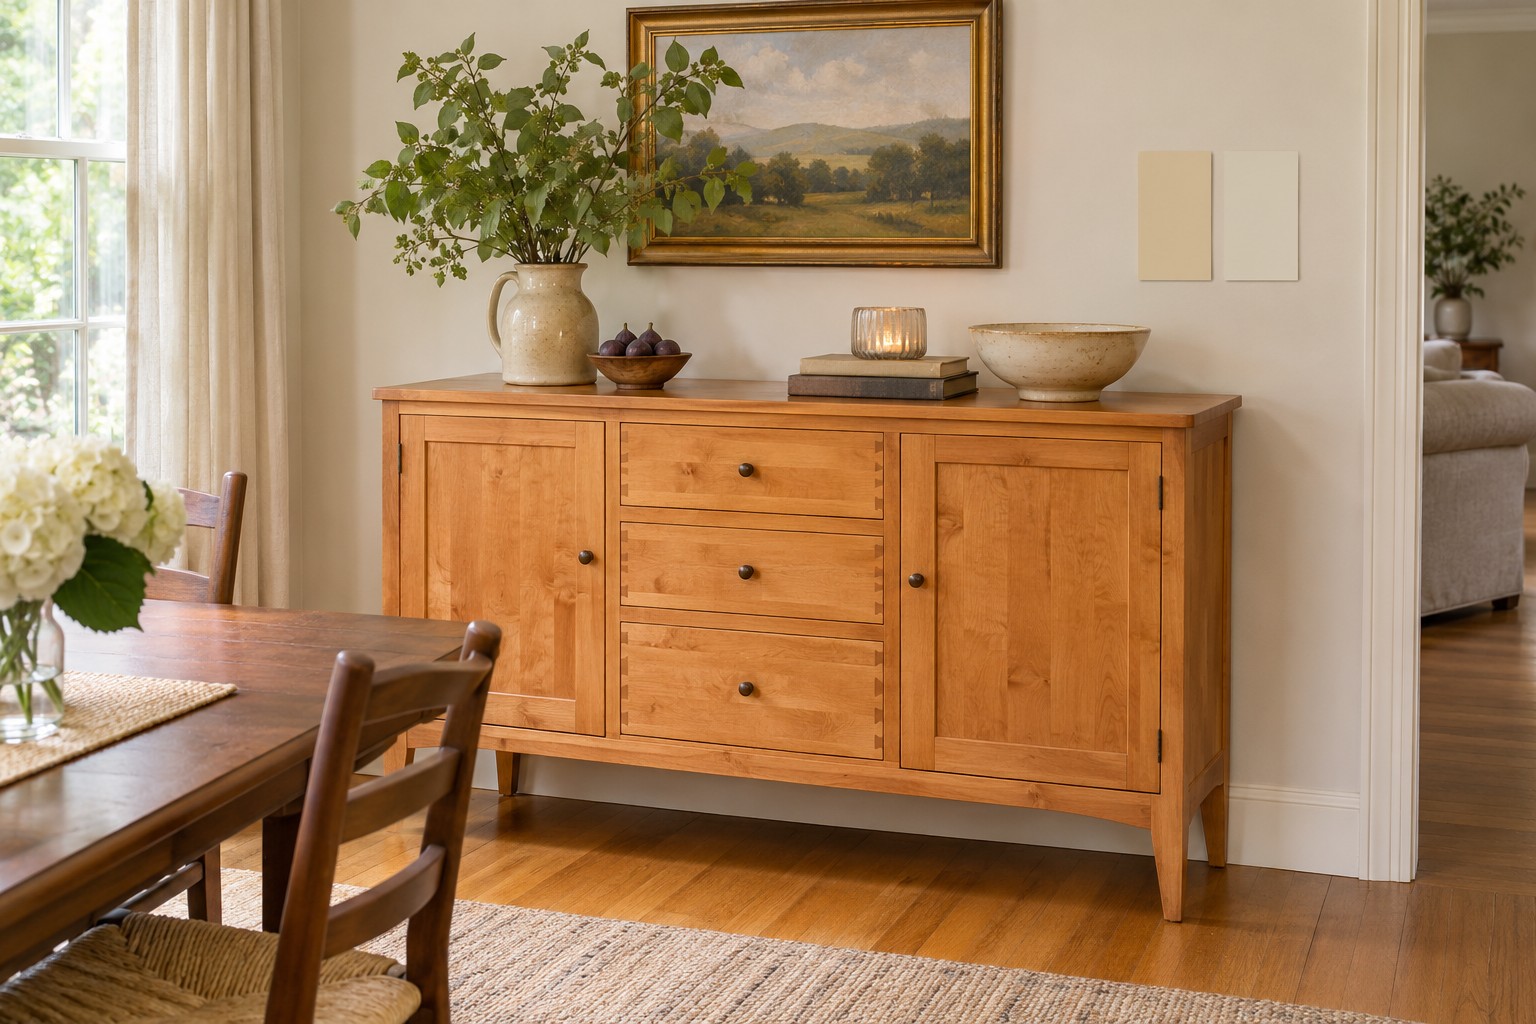
A honey maple cabinet and pale ash cabinet can suggest different whites even if both look light in the store. Place paint samples on the wall beside the cabinet and compare them with the tabletop and floor. Try one sample with a bit of warmth and another closer to a neutral white. Look again under the light you use for dinner.
If the wall is the part that feels too yellow or too cold, adjust the sample before replacing hardware or buying a new rug. The warm neutral dining room guide applies the same undertone check to the larger room.
15. Split Everyday Dishes Between Two Smaller Units
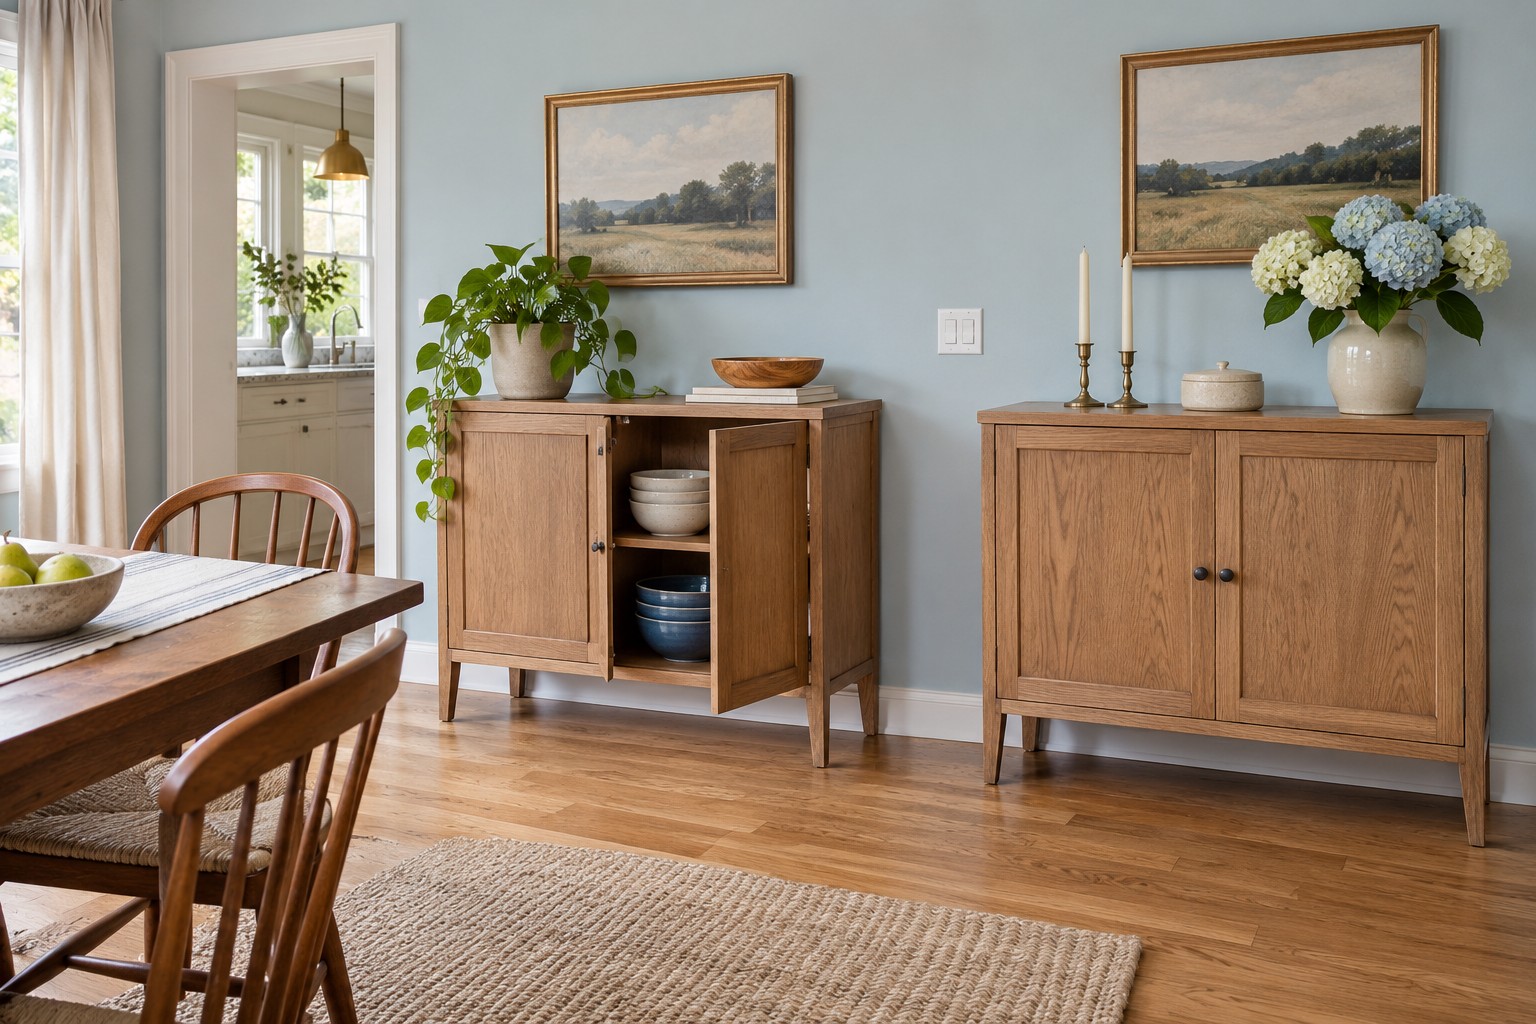
Two short storage units can solve a room where a single long cabinet would stretch in front of a switch or floor register. Plan their contents independently, such as everyday dishes in the one closest to the table and linens in the second. Repeat one finish, plinth height, or handle shape to make the pair relate visually.
If the gap between them is too small to use, leave it as visual separation. Check the opening of both pieces with the table and chairs in use, as well as any fixed vents or switches. Keep each cabinet stable and anchor it as its instructions direct.
16. Reset the Top With a Single Removable Tray
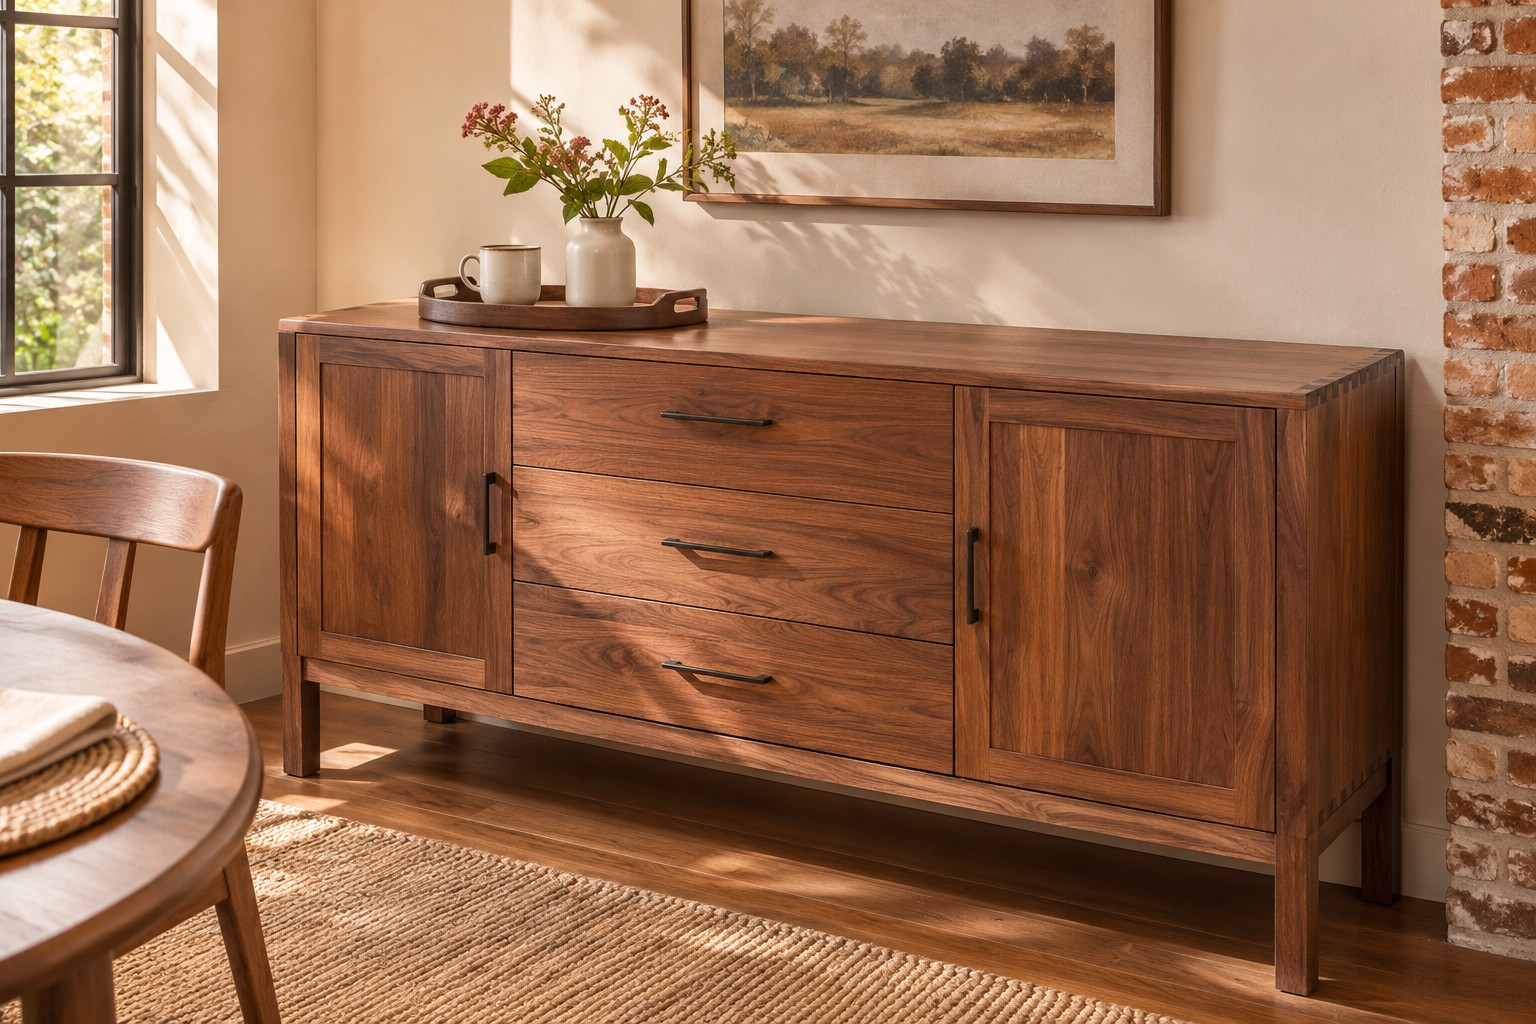
A tray can hold the few things you like to see between meals. Move the whole tray onto a kitchen counter when the sideboard needs to take dishes. Choose a stable tray you can lift automatically, and practice with its usual contents in it. A delicate object that tips when you move the tray belongs on the wall or inside the cabinet.
Give the tray a specific return spot. Placing it toward the far end protects the clear patch you use most. When something new starts to collect there, ask which existing item it’s replacing. The surface stays easy to clear when the arrangement is one move.
Start with the drawer, shelf, or door you use the most. Give that part of the sideboard an easy job first, then work outward to the top and wall. You’ll feel the difference the next time you set the table.
Discover more from HomeTrendora
Subscribe to get the latest posts sent to your email.