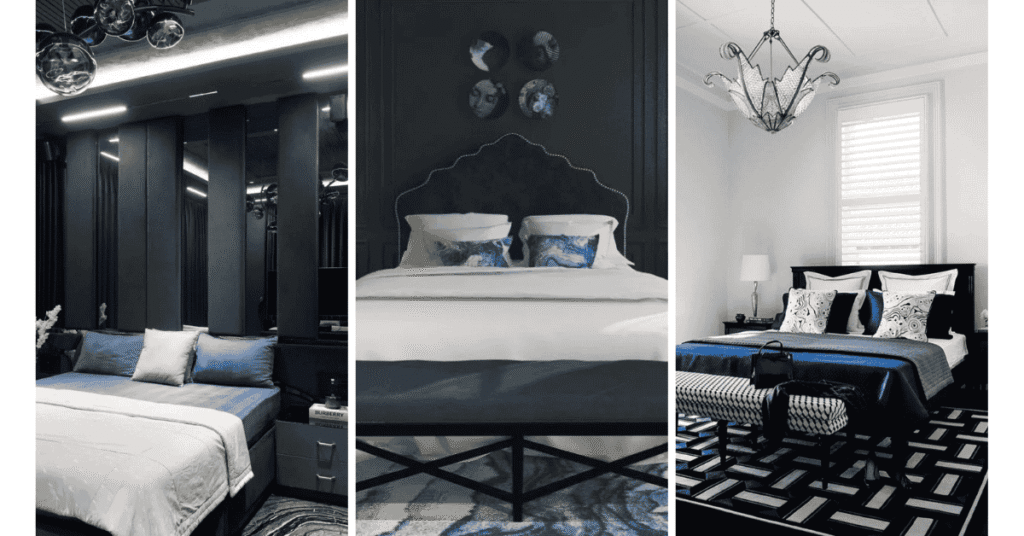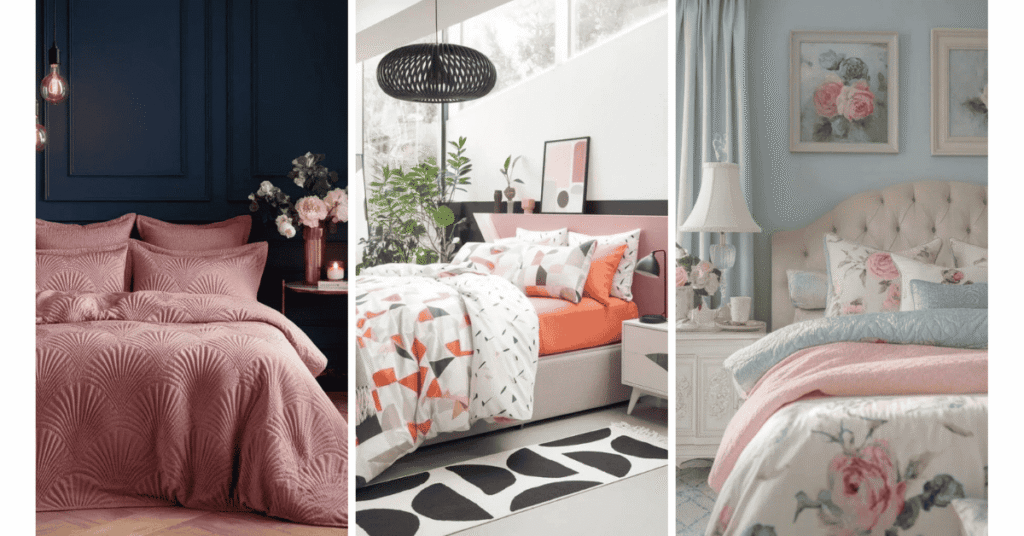
A large primary suite can still feel cramped when the bed, lounge, closet, and bathroom all compete for one path. These 20 ideas help you choose which zones the suite needs and decide how the furniture, doors, light, and finishes can work together.
Start by walking from the entry to the bed, closet, and bath. Mark the narrowest point before deciding which area gets more space. Then test the finishes from the doorways that connect the rooms.
1. Use the Sitting Area as Its Own Destination
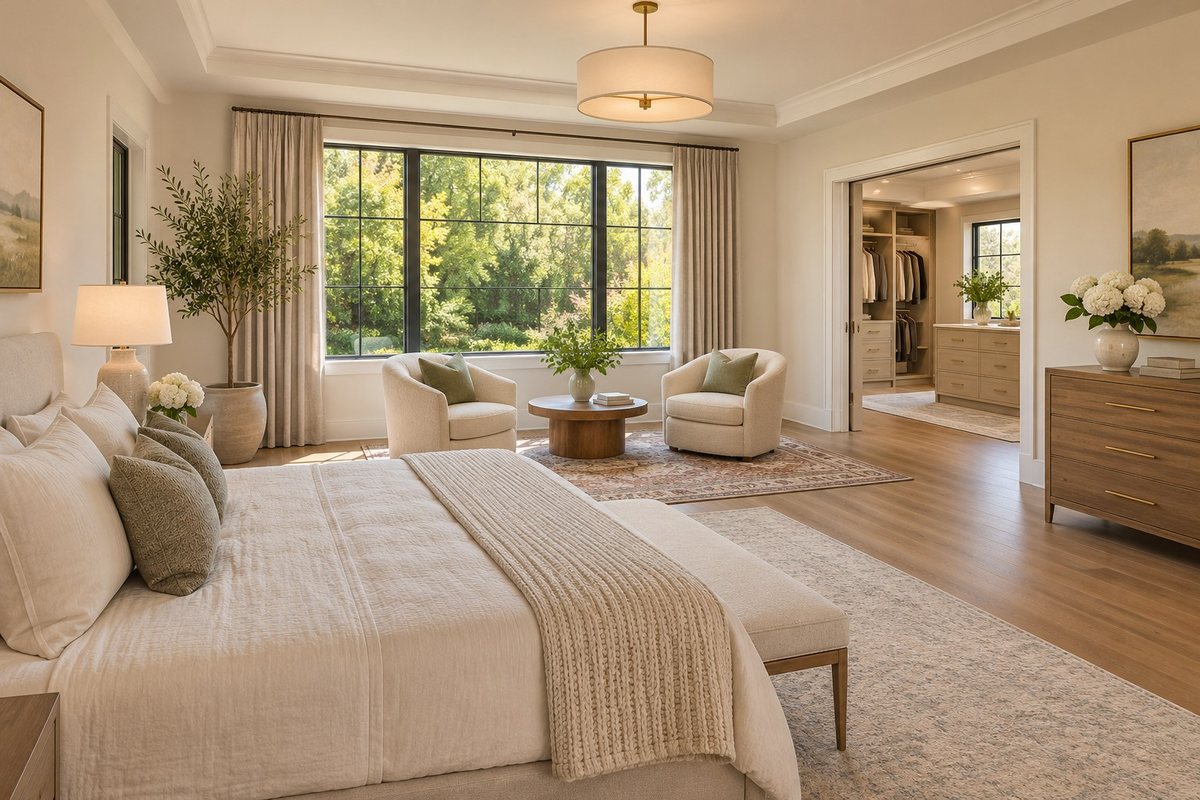
Give the sitting area a reason to be used on its own. Place two small chairs near a good window or view, then leave enough room for a low table and a route back to the bed. A rug can help mark the zone if its edge stays out of the usual walking line.
Test both chairs pulled back as you would actually use them. If one faces the bedroom door or needs to move whenever you go to the bath, try a smaller pairing. Keep one place to set down a cup within reach of both seats.
2. Check the King Bed Along the Suite Route
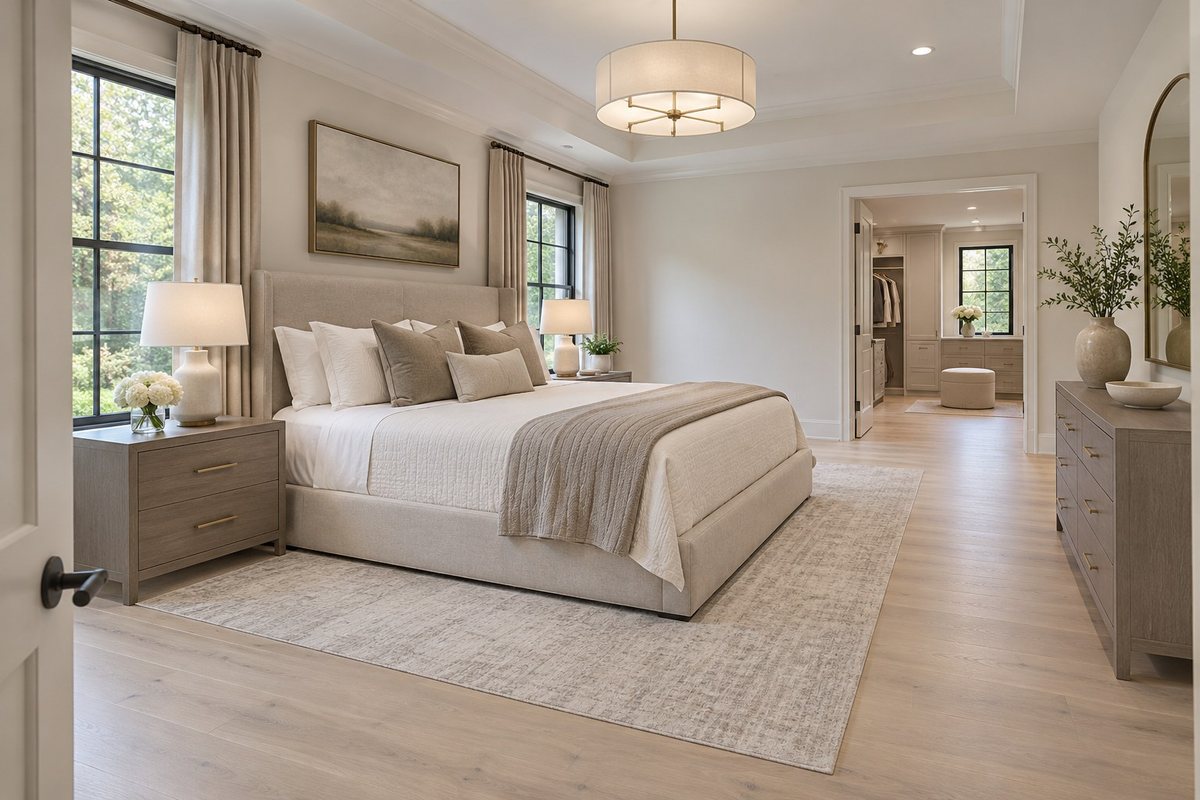
A king bed can anchor the sleeping area if the suite route works around it. Mark the full bed frame, bedside furniture, and foot of the bed on the floor. Follow the route from the hall to the closet and ensuite with each nearby door open.
Choose the smallest footboard or bench that still does the job you want. If the walkway becomes narrow at the foot, put any extra seat inside the separate sitting area. These primary bedroom layout ideas go deeper into bedside reach and furniture fit.
3. Let the Ceiling Shape Lead Between Zones
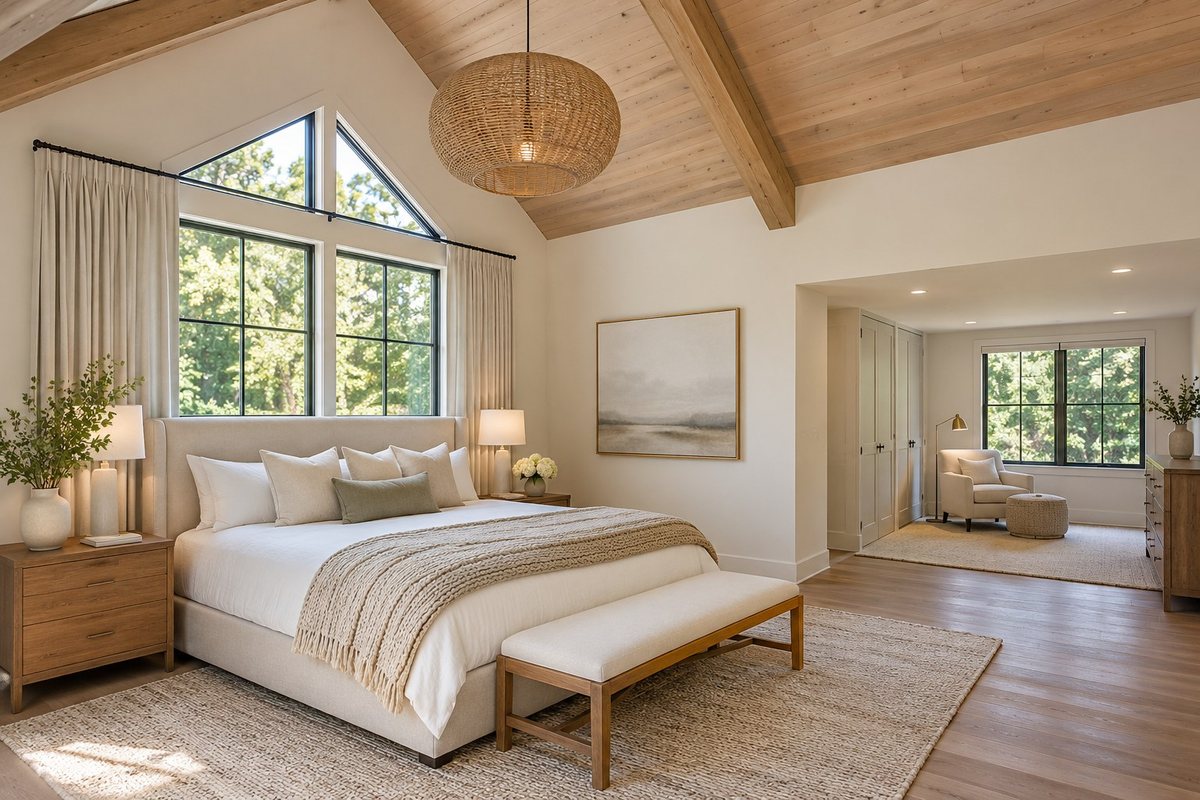
An existing vaulted ceiling can make the sleeping area feel distinct from a lower sitting or dressing zone. Stand at the suite entry and look for the point where the height changes. Use that transition to decide which surface should carry a beam color or an accent finish.
Check the lighting in each zone separately. A tall ceiling may need a different lighting plan from a low connecting nook. Have a qualified professional review any structural or fixture changes before opening a ceiling or adding weight.
4. Use One Coastal Tone Across Bedroom and Bath
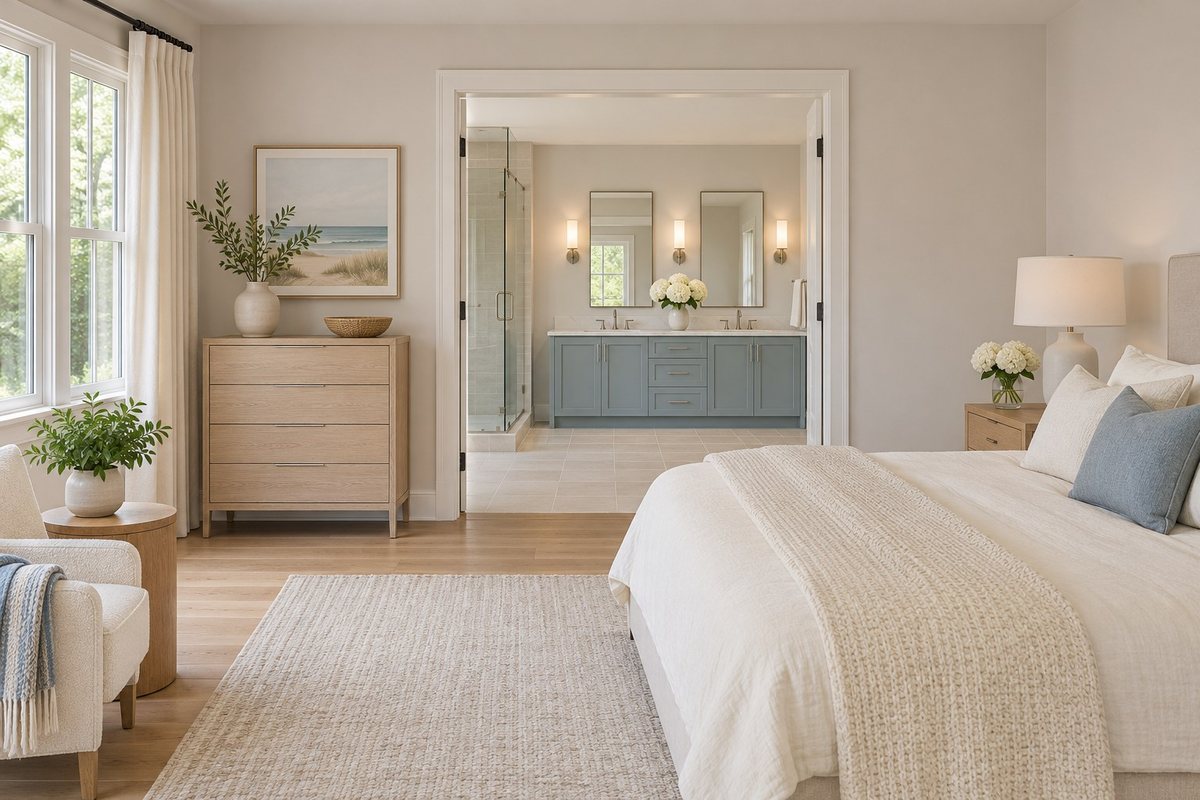
Use one coastal tone in the bedroom and the bath so the two rooms relate when the door is open. A muted blue can show up in a cushion and a painted vanity, with cream and pale wood linking the larger surfaces. Check the shade against both tile and bedding.
Look at the same color under the bathroom fixture and in the bedroom’s window light. If a cool blue looks flat in the bath, try a slightly brighter version there. Keep the bedroom textile quieter if the two spaces get very different light.
5. Give a Quiet Nook One View
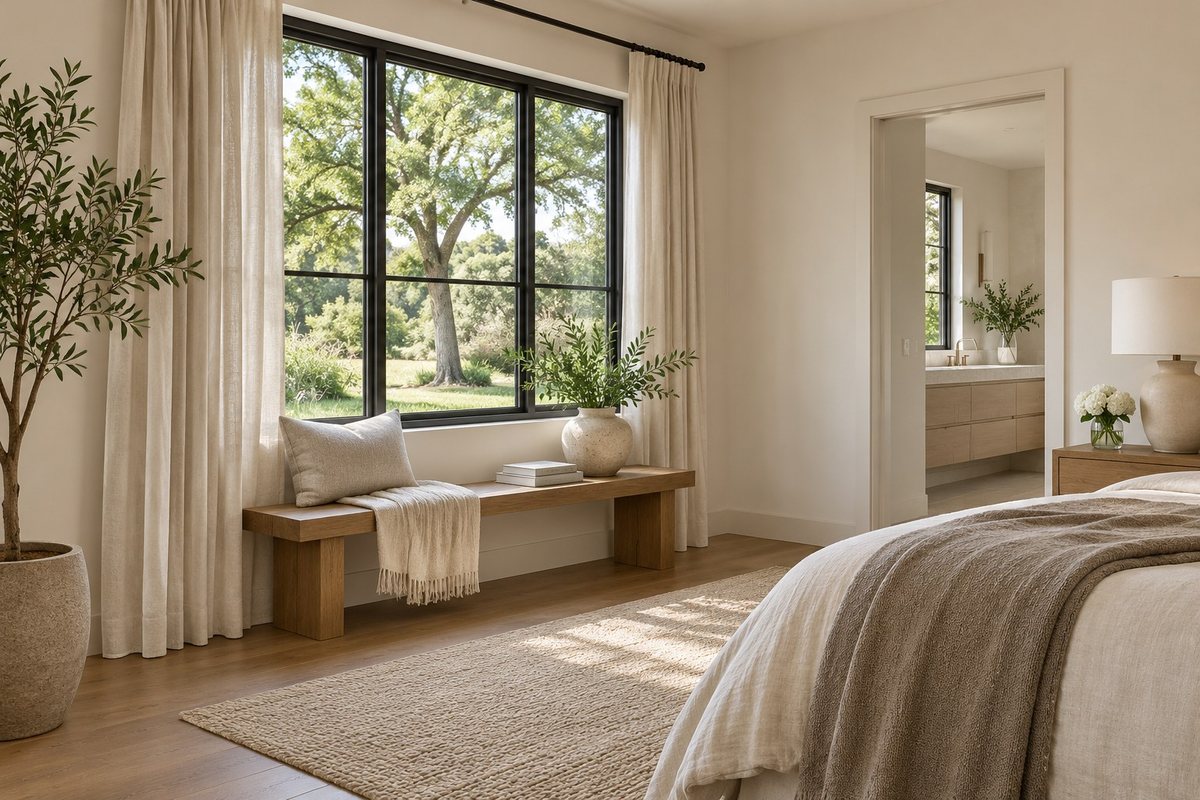
A quiet nook can make the suite feel calmer when it gives you one view to look toward. Put a low bench or chair where you can see the outdoors without blocking the path between the bedroom and bath. Use a textured cushion or simple wood finish to give the seat enough definition.
Look at the nook in the evening when you have closed the curtains. If the seat loses its purpose then, give it a small reading light or a place to set a book. These feng shui-inspired layout ideas offer other ways to organize rooms around observable sightlines and movement.
6. Plan a Fireplace Outside the Main Walking Line
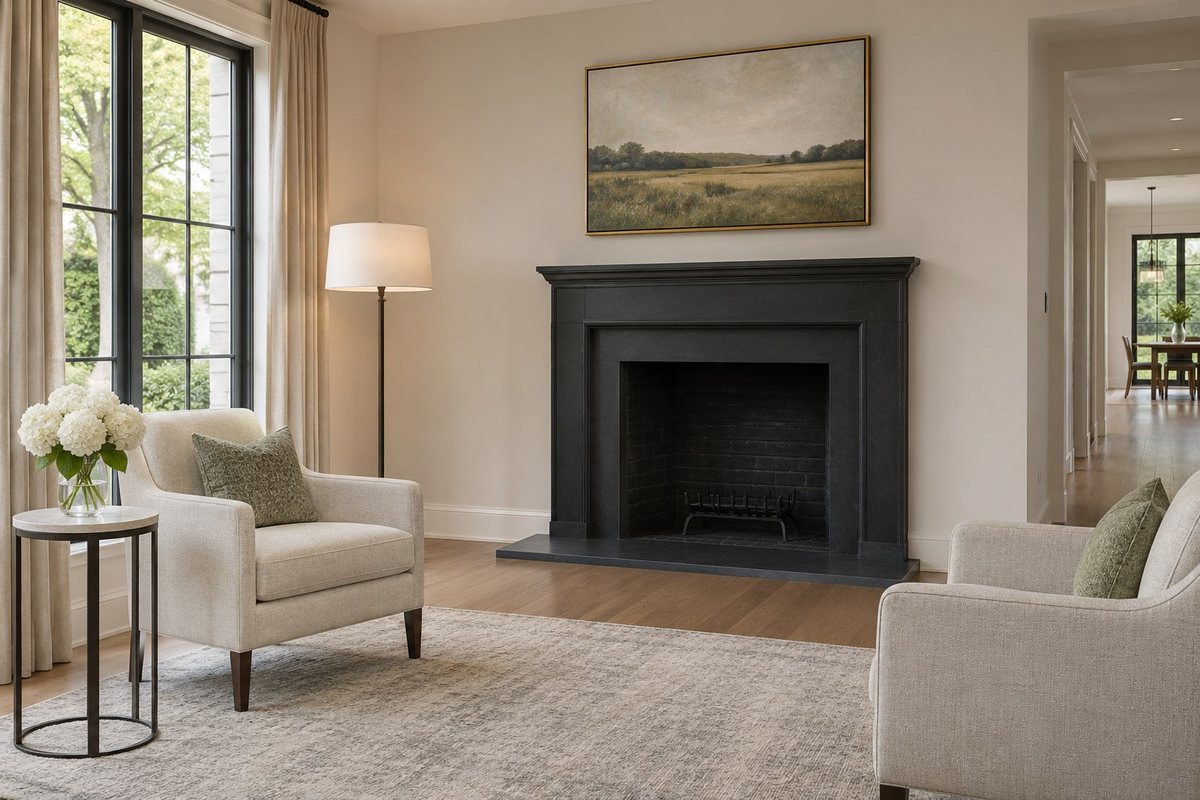
A fireplace can make a separate sitting area feel distinct if its location leaves the main suite route open. Plan the chairs, hearth and path to the bath together. Use the exact fireplace manufacturer’s clearance and placement requirements and have a qualified professional review the location.
If the route already crosses the only wall where you could put a hearth, use a shallow console, panel, or large piece of art as the focal point instead. Keep any seating that remains near the hearth far enough back for the manufacturer’s guidance and everyday use.
7. Make the Ensuite Route Clear at Night
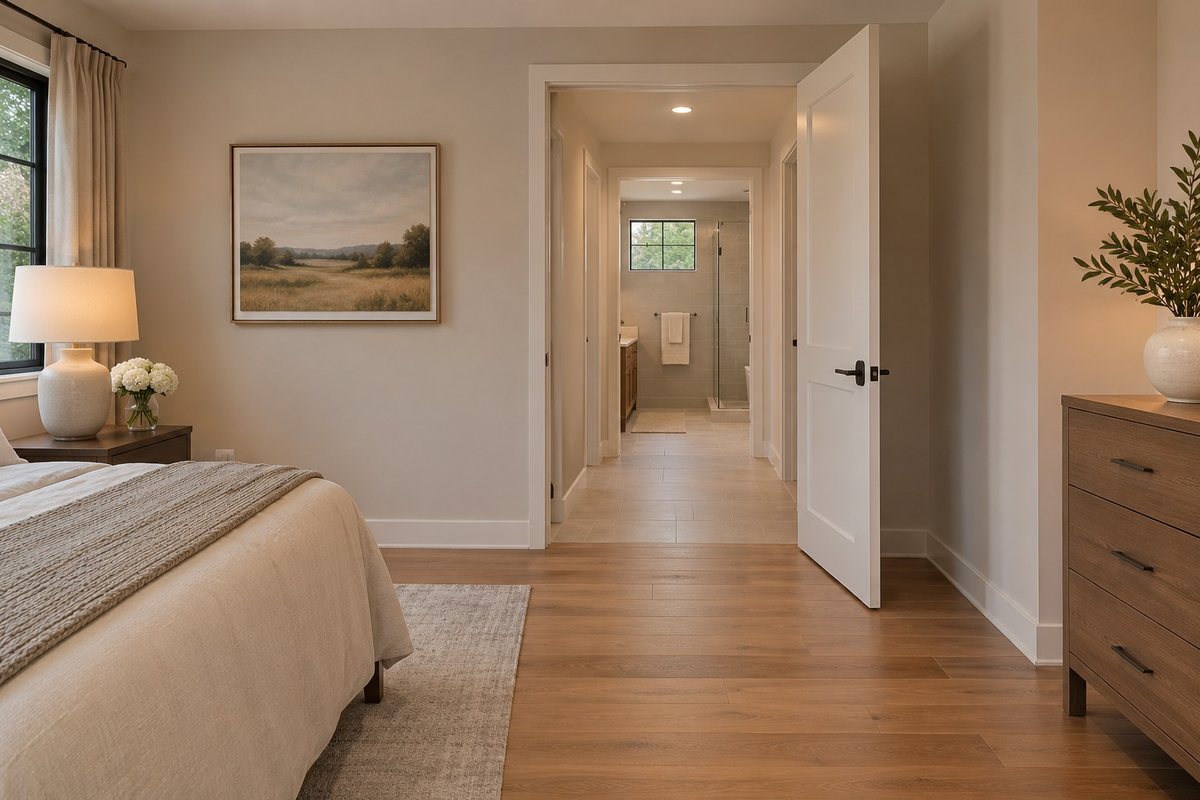
Start with the walk from the bed to the ensuite at night. Open the door to its usual position and see where its edge, a rug, or a bench projects. Keep the route clear enough to use with low light and put the brighter vanity fixture on a control you can reach from the bath.
Check whether a closet door uses the same space when it opens. If two doors overlap, consider a different furniture position or discuss door alternatives with your installer. A soft light in the route can be useful when the bedroom and bath have very different light levels.
8. Use One Paneled Wall as a Shared Finish
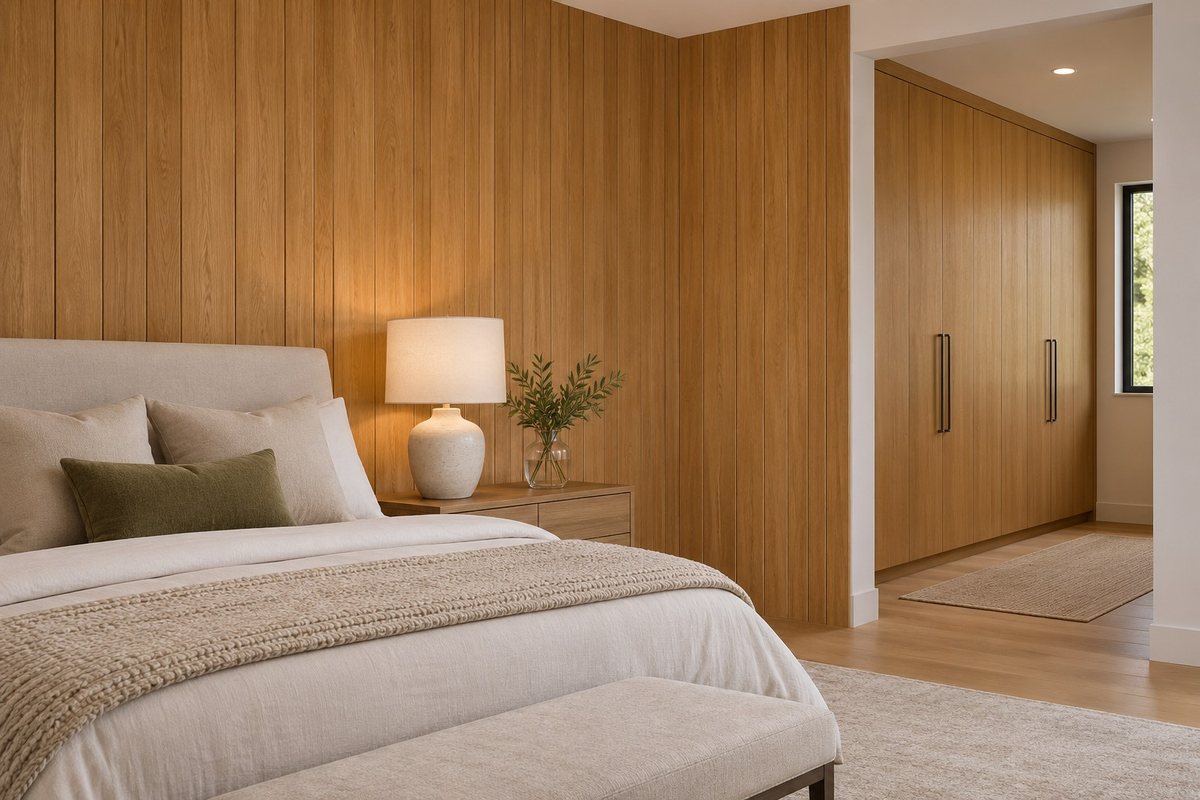
One paneled bedroom wall can relate to the dressing area through a matching wood tone. Try the panels on the wall you see when you enter, then echo the finish on one set of closed cabinet fronts or a simple shelf. That gives the transition a detail you can see from both rooms.
Compare the sample at the opening between the rooms. A narrow groove can look stronger in one light than another. These wall wood paneling ideas show ways to contain a wood treatment at a natural edge.
9. Check the Same Color in Both Rooms
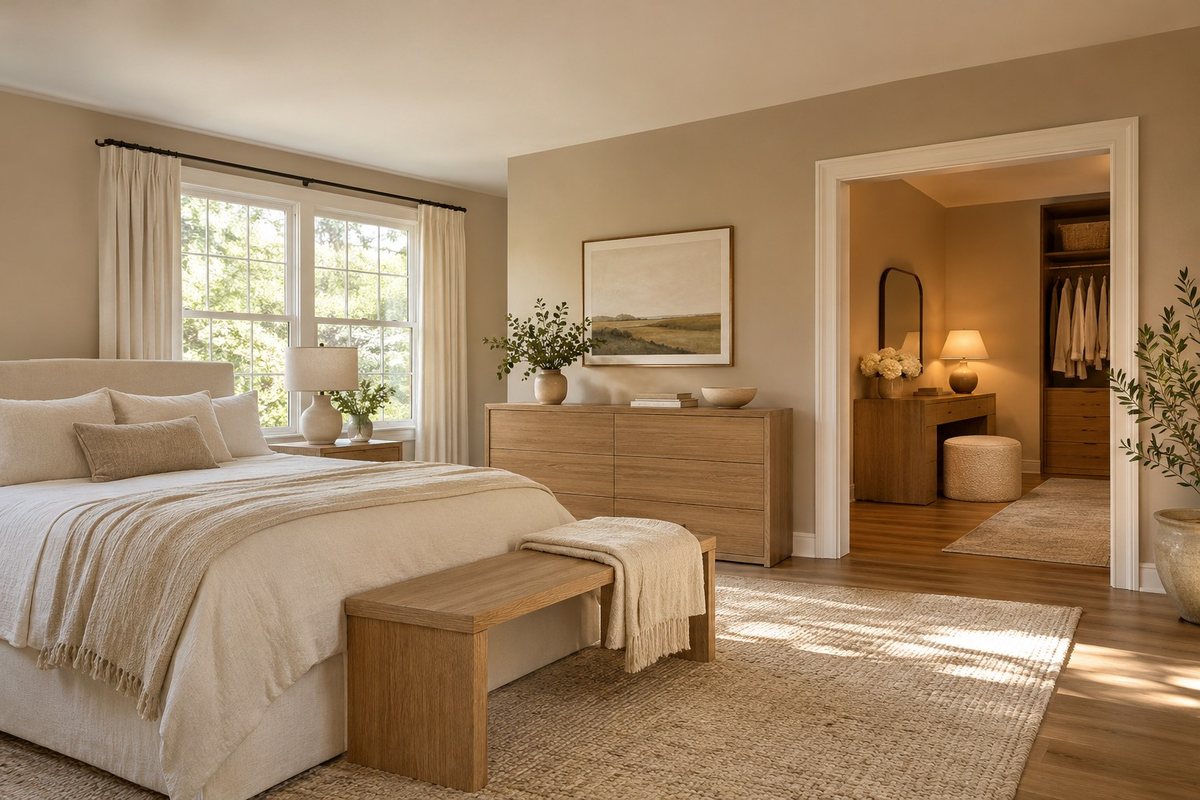
A paint color that works beside the bed may read differently in the dressing room or bath. Put the same large sample in both spaces. Compare it with wood, tile, and upholstery before choosing which wall gets the larger area of color.
Check the samples with the lights you actually use at night. A warm putty can look gray under one fixture and beige under another. The whole-house paint color guide gives more ways to test a shade where two rooms meet.
10. Give Vintage Pieces Their Own Landing
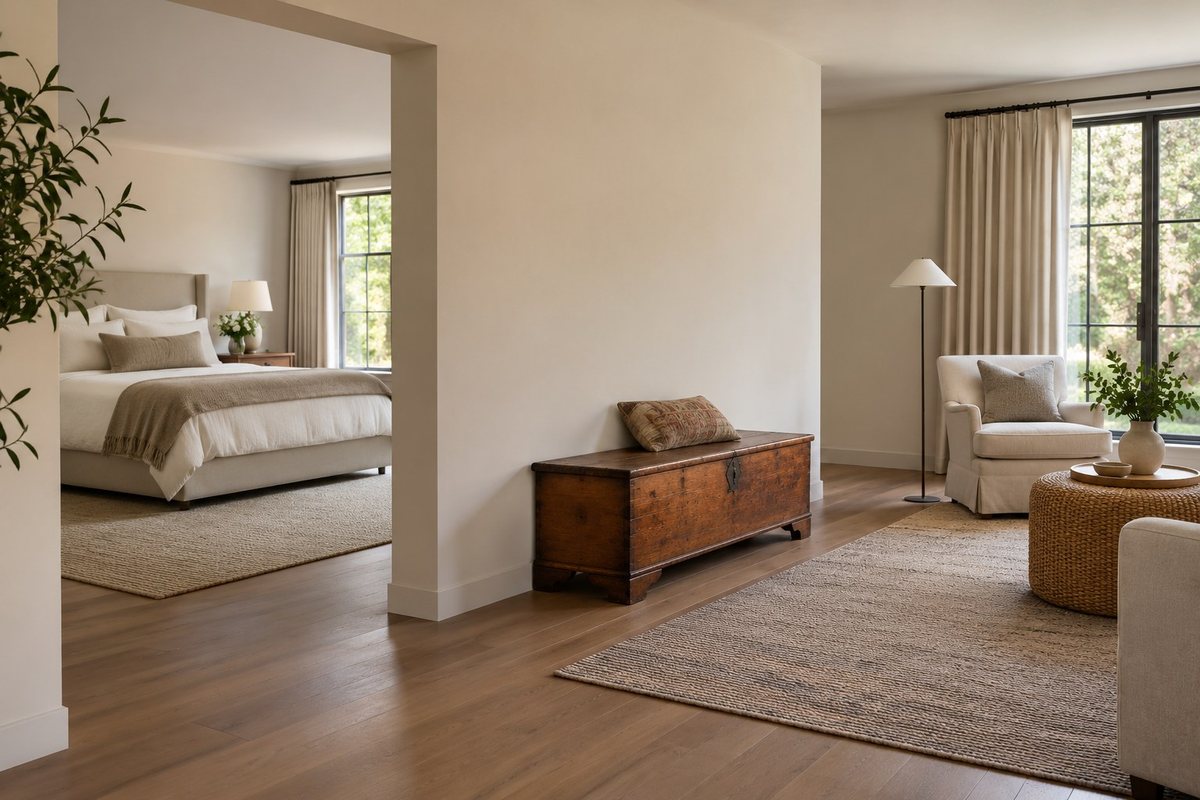
Give one vintage chest, stool, or chair a spot of its own on the sitting-room side of the suite. Keep it away from doors and use it for one clear purpose, such as holding a book or small lamp. A worn wood edge can stand out against a quiet wall even if the rest of the suite is new.
Check the piece’s usable depth and any drawer or lid movement. If a vintage chest takes up more space open than your alcove has, try a small side table instead. Let another finish in the room relate to its warmth or grain.
11. Repeat Rustic Wood Without Repeating Every Detail
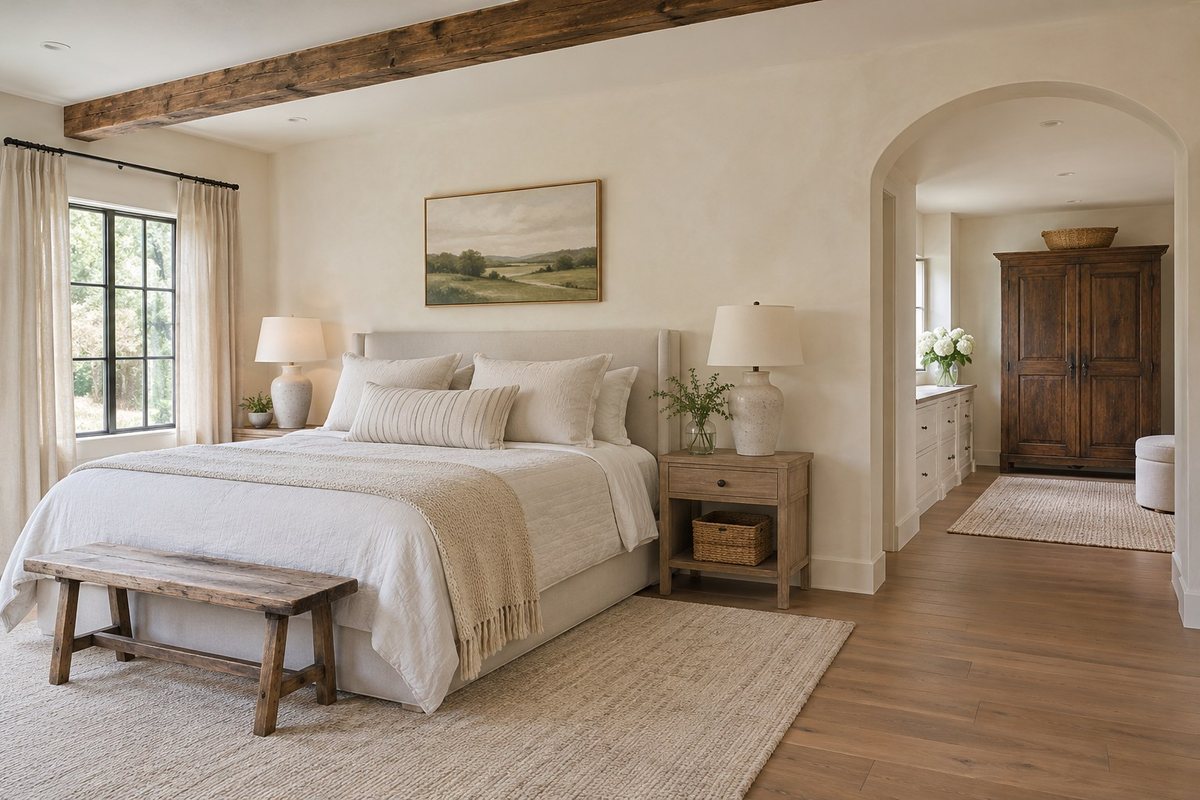
An exposed beam and an aged cupboard can tie a farmhouse suite together across two rooms. Try to match their warmth before choosing exactly how rustic the grain should look. A cream wall and quiet linen bedding let you see the variation in the wood.
Check the cupboard where it will actually stand. A deep piece can crowd the route even when it suits the finish. Keep the rest of the dressing wall simple if the cupboard is the largest wood surface you see from bed.
12. Place a Full-Length Mirror Near the Closet Exit
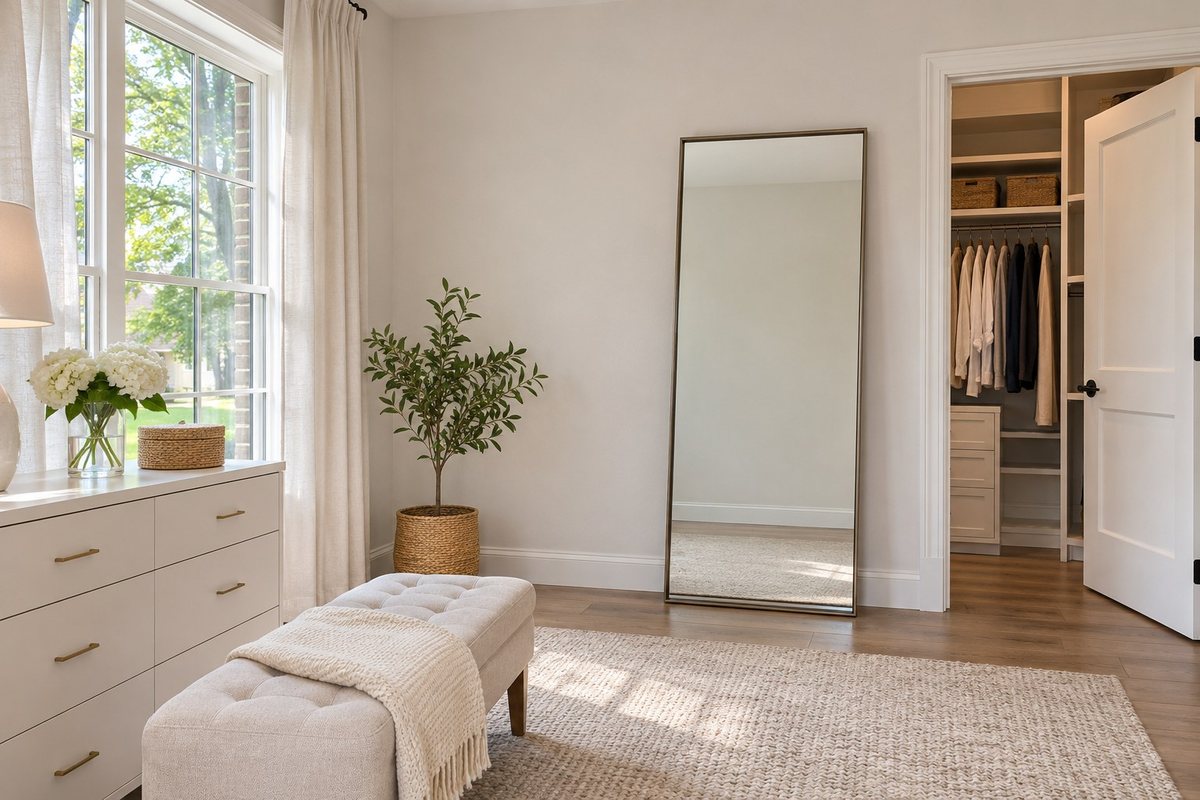
A full-length mirror can make the dressing room easier to use if it sits near the closet exit with a clear place to stand. Measure the frame as well as the depth of any base or stand. View the reflection from the spot where you will actually check a full outfit.
Keep the mirror out of the door swing and follow the exact product’s mounting or anti-tip instructions. Check daylight and evening light on the same side of the closet. These bedroom wardrobe layouts show ways to organize the space around hanging storage and doors.
The white HOMCOM full-length dressing mirror is 14½ inches wide and 60¾ inches high. It takes up 14½ inches of floor depth on its stand. Check the closet door swing and follow the maker’s directions for standing or mounting it.
See details for white HOMCOM full-length dressing mirror (paid link)
13. Choose the Window View You Want From Bed
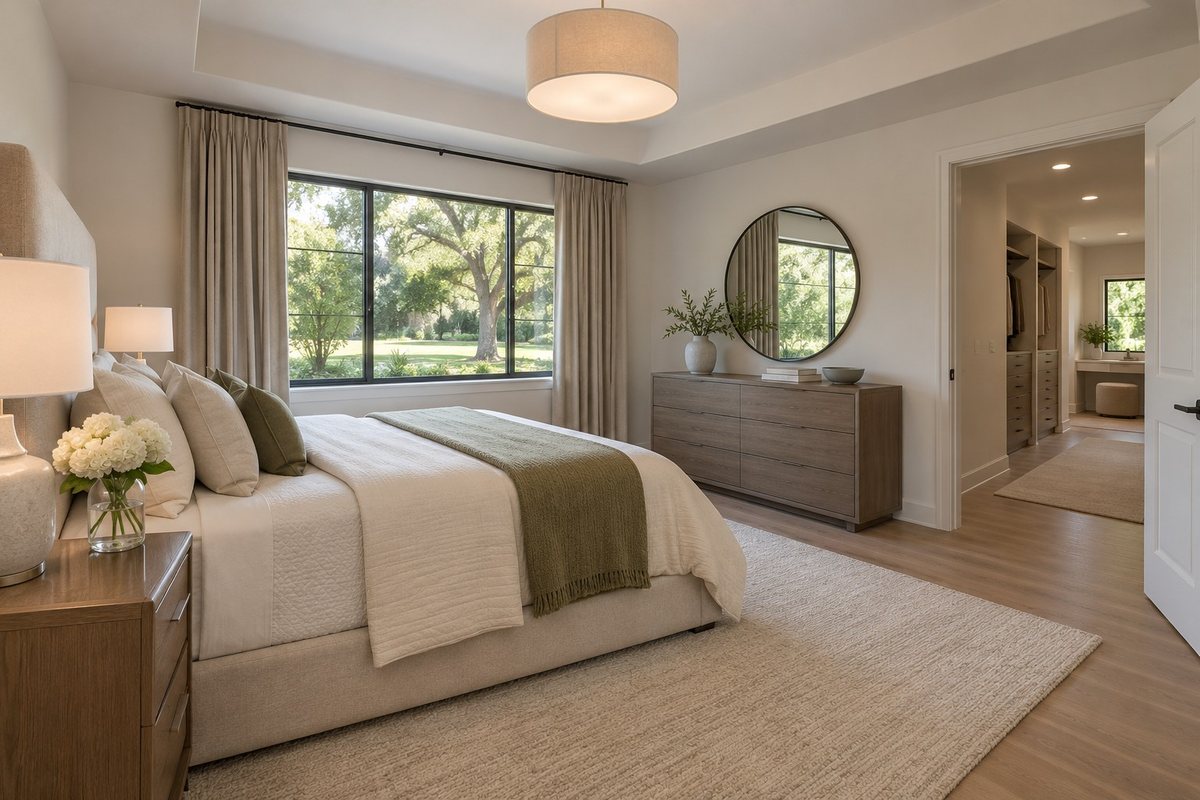
Choose the view and light you want from bed before you put the headboard on the obvious wall. A side window can give you a view without leaving the bed directly in the window’s strongest morning light. Trace the route to the ensuite and closet in each position.
Check the curtain movement and where you reach to open the window. Put the bed and bedside furniture inside their taped outlines, then walk the routes. A small change in position can preserve the window view and give you more usable floor at the foot of the bed.
14. Give the Bed and Lounge Separate Light
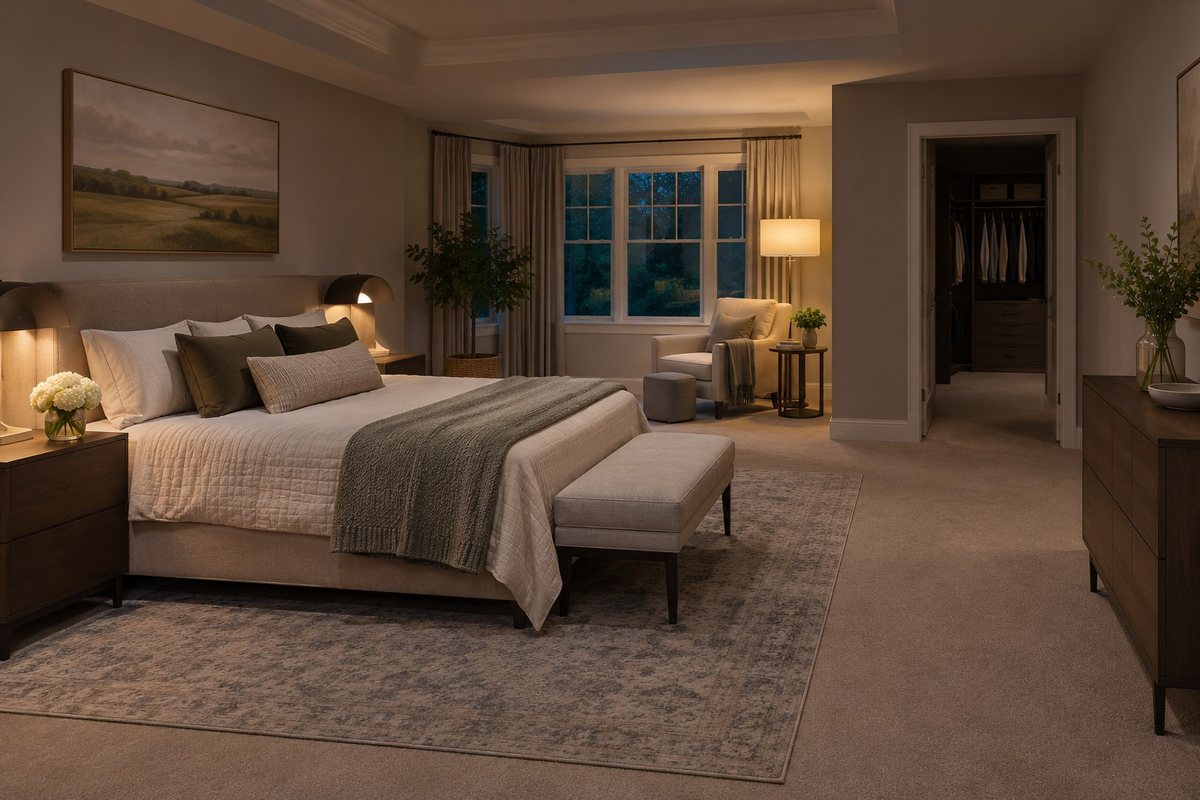
Give the lounge and bed area separate lighting if the two spaces have different uses. A reading chair needs a more focused light than a route from the bedroom to the bath. Use the lamp shades and fixture positions to keep direct glare out of the view from bed.
Turn off the main fixture and try a normal evening. See whether the chair light makes the sleeping area too bright, then move or shield it as appropriate. Confirm mounting and electrical requirements for any permanent fixture with a qualified installer.
15. Fit a Work Surface Beyond the Bed View
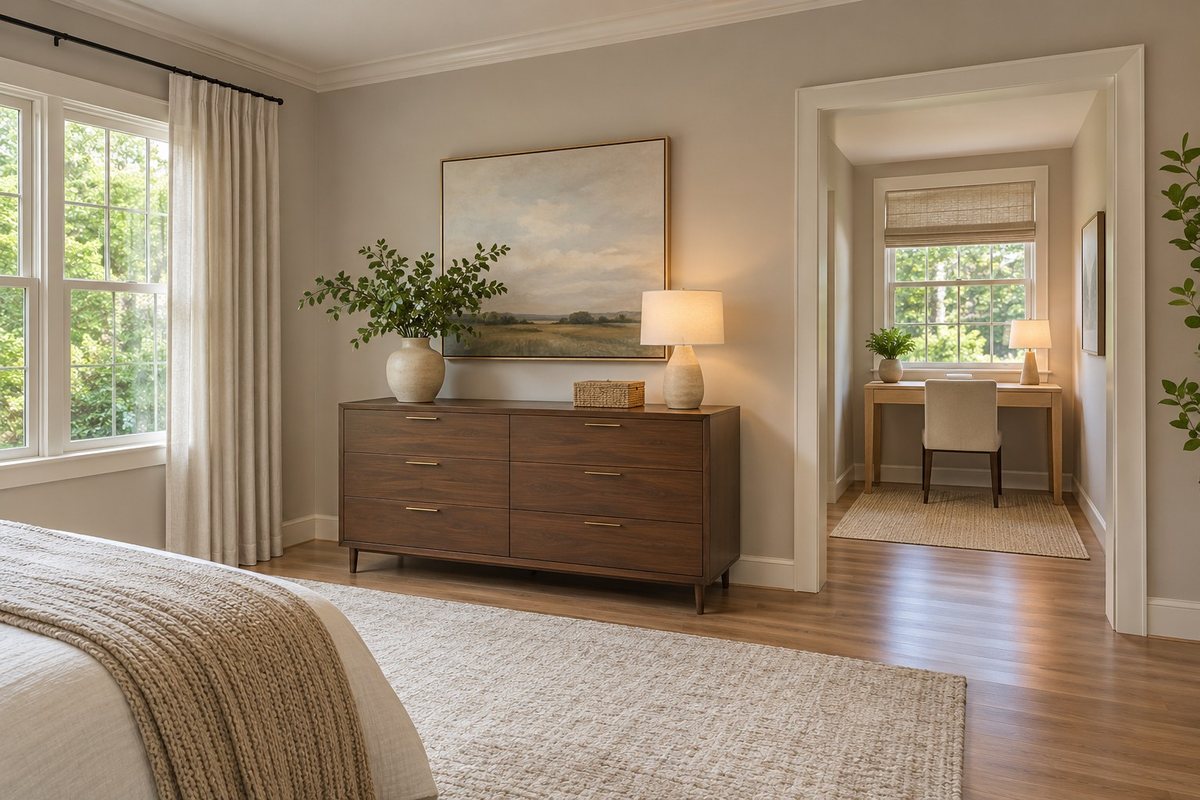
A work surface can belong in a separate alcove where you can close it off visually from the bed. Choose the desk position by the window or wall, then check where the chair pulls back. Keep the route to the bath or closet outside the work area.
Put away the usual laptop, lamp, and papers in a test layout. If work objects spill into the nightstand area, use closed storage at the desk or a shallower setup. A low cabinet can make the alcove useful without putting another large piece beside the bed.
16. Use Black and White to Mark the Zone Edge
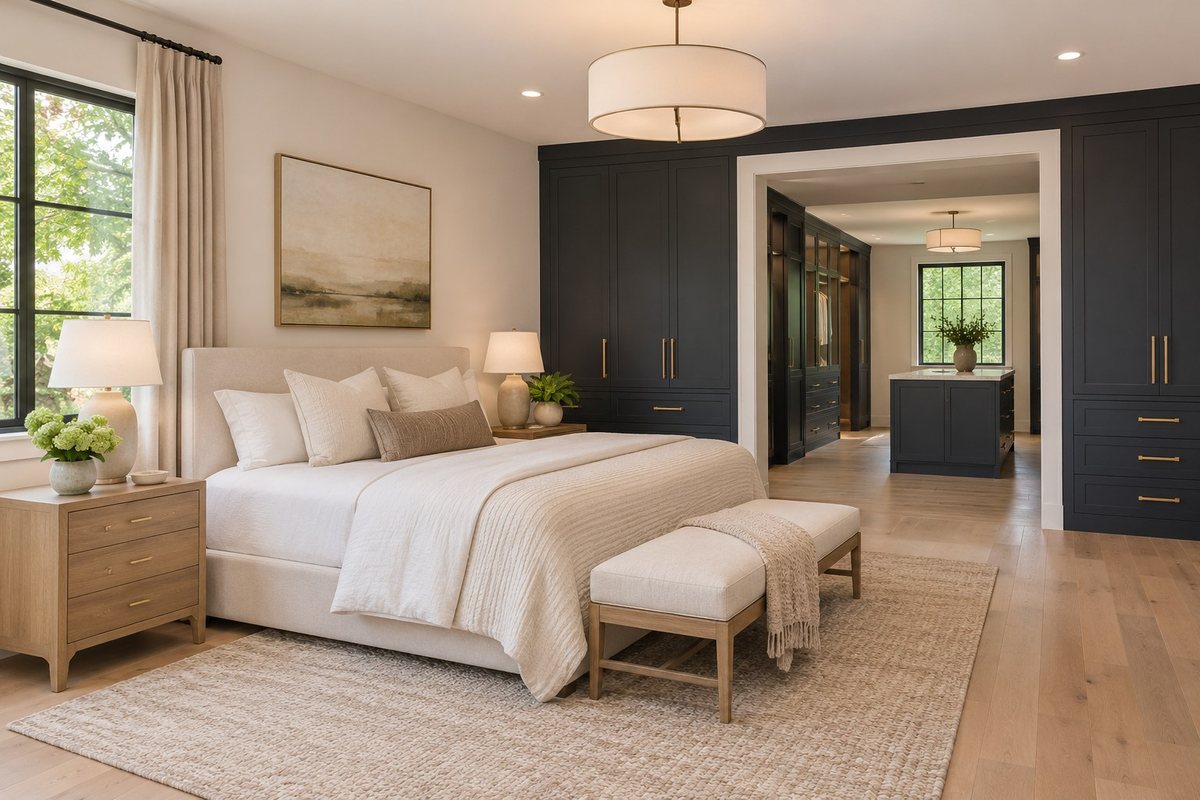
Use black and white to show where one part of the suite ends. Try a dark dressing-room entry beside a warm-white sleeping area and let the oak floor run through both. The contrast can help you find the opening in low light and give the closet its own look.
Compare the dark finish with the casing and the furniture in the first room. If the edge feels too stark, try a softer charcoal or ink-blue. Keep the number of large contrasting surfaces low when the doorway already makes a strong shape.
17. Plan a Sloped or Split-Level Suite Around Access
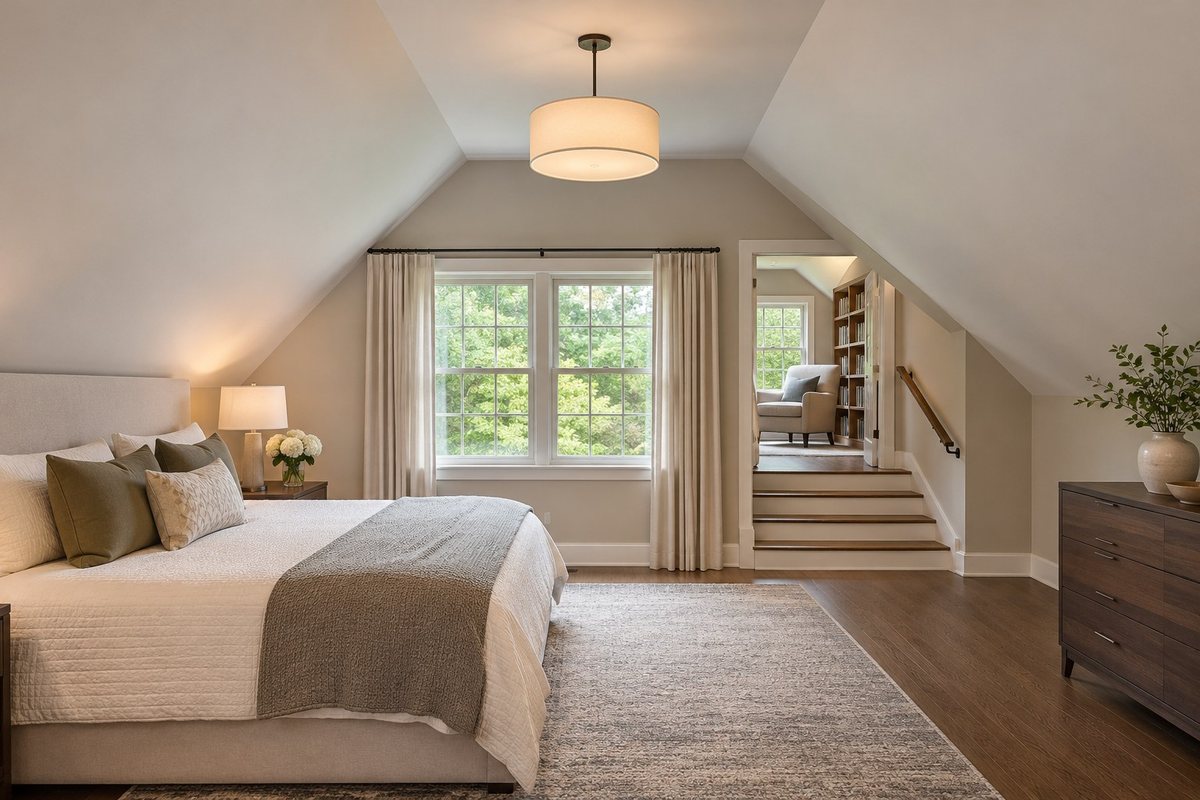
A sloped attic ceiling can give a suite a distinctive shape and make some of the floor harder to use. Mark the full-height route first and put lower storage or seating under the slope where it suits the room. Check the way doors and drawers open there.
If the suite spans levels, review the stair, rail, landing, and lighting with a qualified professional for the home. Put everyday furniture where you can reach it without ducking. Keep clear space at the height change so you can see where the route continues.
18. Make the Bedroom-to-Bath Floor Transition Readable
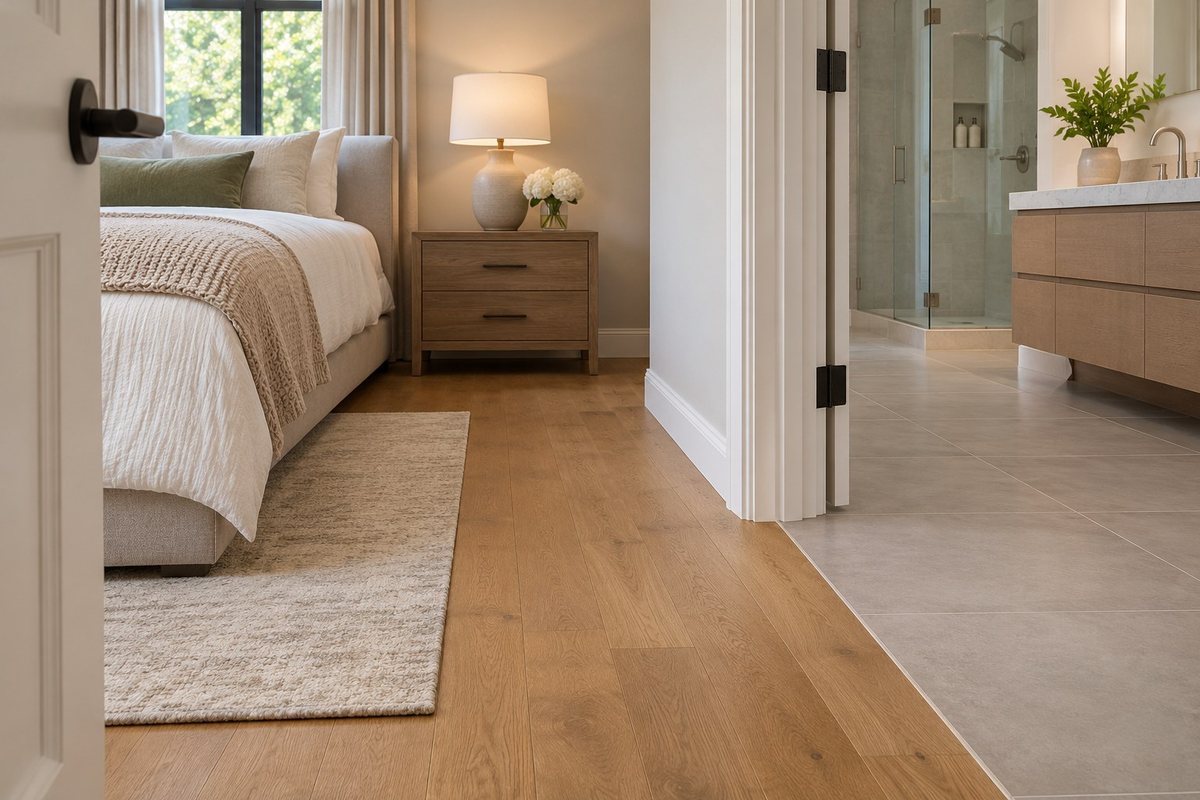
A suite with wood or carpet in the bedroom and tile in the bath needs a transition you can see and step across comfortably. Compare the total finished height of each material, including underlayment, and ask the installer how they will meet at the doorway.
Check the door swing and the place where you step with bare feet. A small change in color can make the boundary visible. Keep a bedroom rug far enough from the threshold that it can lie flat and does not shift into the passage.
19. Translate a Game-Inspired Plan Into Full-Size Routes
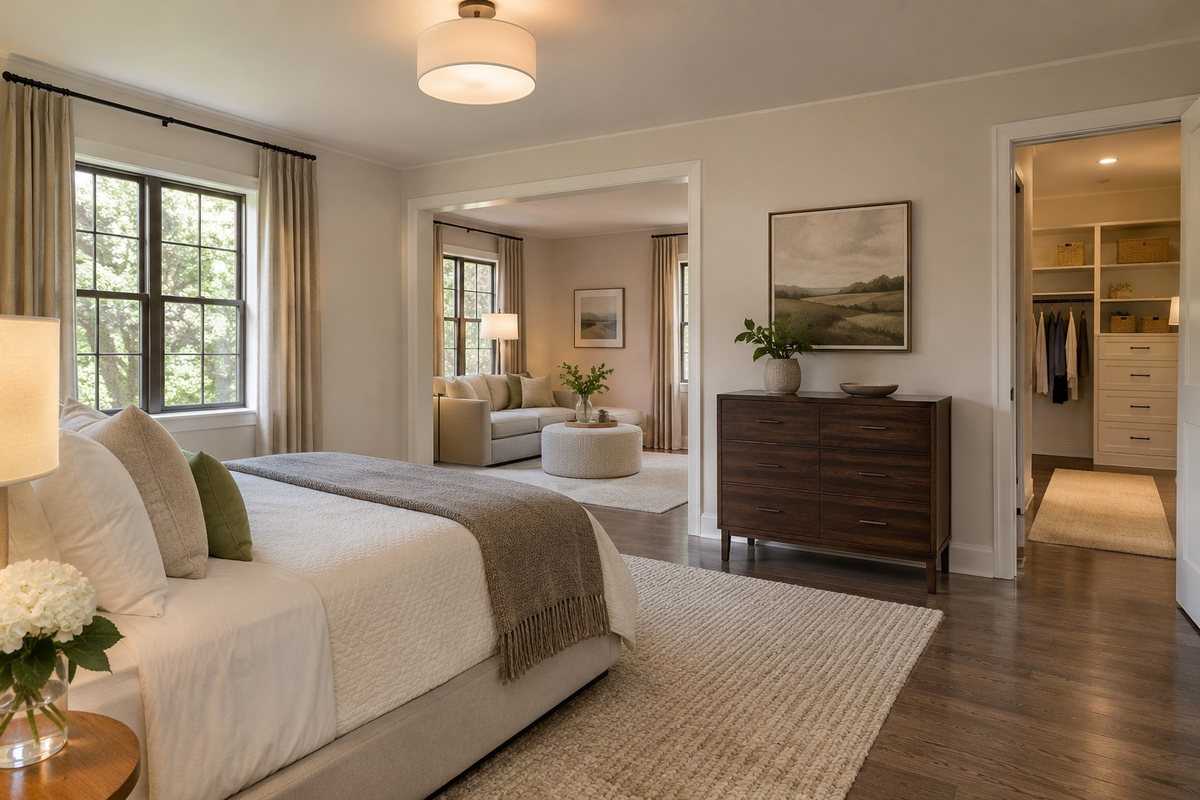
A room plan from The Sims or Bloxburg can be a quick way to visualize how three zones relate. Use it as a sketch of where the bed, sitting area, and closet might sit. Translate it to your actual measurements before you decide what fits.
Draw each door swing and put full-size furniture outlines on the floor. Walk between all three zones and see where the model left out a real constraint, such as a wall return or drawer opening. A clear route is more important than matching the exact game layout.
20. Give the Suite Entry a Small Landing
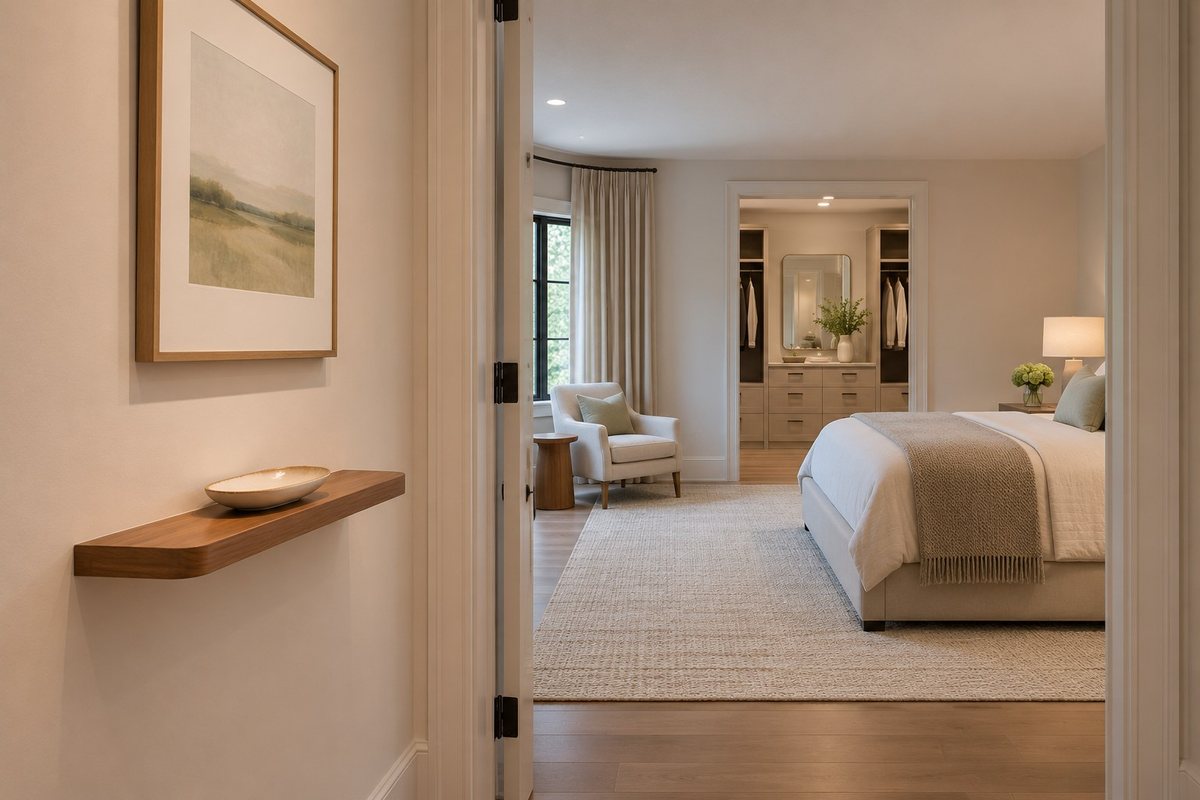
A narrow shelf or small console at the suite entry can give you a place to set down a ring, watch, or key. Choose the position after you know where the door and main route need room. Use the wall near the first switch or mirror if the shelf can sit clear of both.
Keep the landing small enough to tidy quickly. One dish and a piece of art can make the entry feel finished. Try the route with laundry or a bag in hand before you commit to the shelf’s depth and location.
Choose a clear route between the rooms you use each day. Make the sitting or work area useful within its own footprint. Then carry one finish or color across the openings you can see together.
Discover more from HomeTrendora
Subscribe to get the latest posts sent to your email.