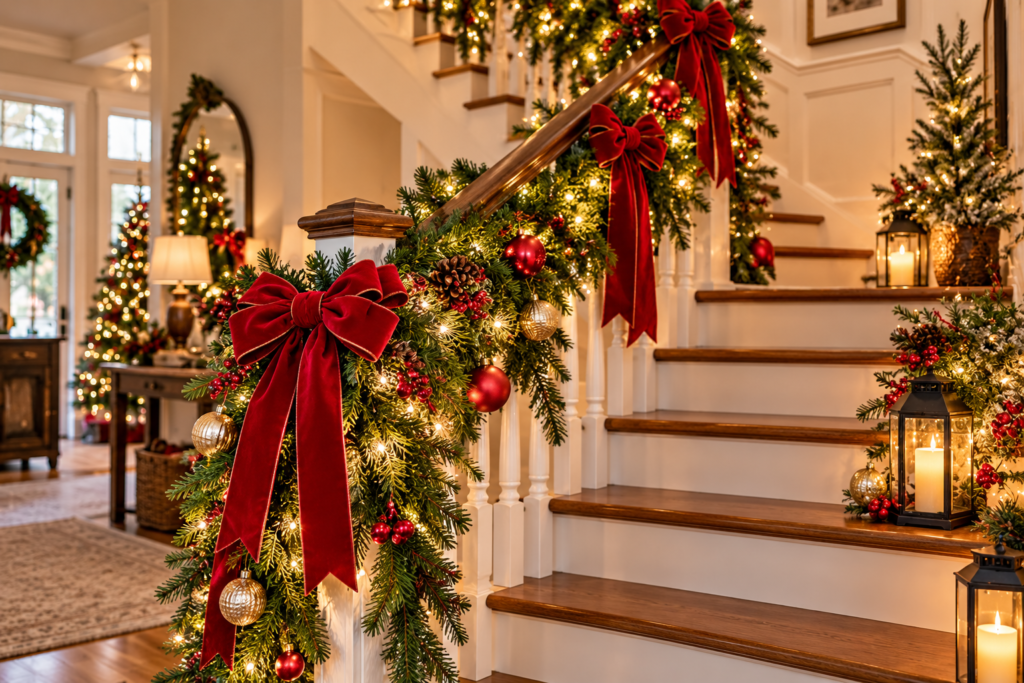
You see the stairs from the front door, but you use them from both ends, often with your hands full. Look at the first and last step before you choose a finish. Notice what is hard to see after dark, where the handrail feels natural, and which part of the stair is visible from the next room.
These 30 modern staircase design ideas cover wood, carpet, rails, lighting, art, and under-stair space. Start with the changes that suit the stairs you already have. Have a qualified professional check any work that affects structure, clearances, guards, or electrical fixtures.
1. Start With the View From the Front Door
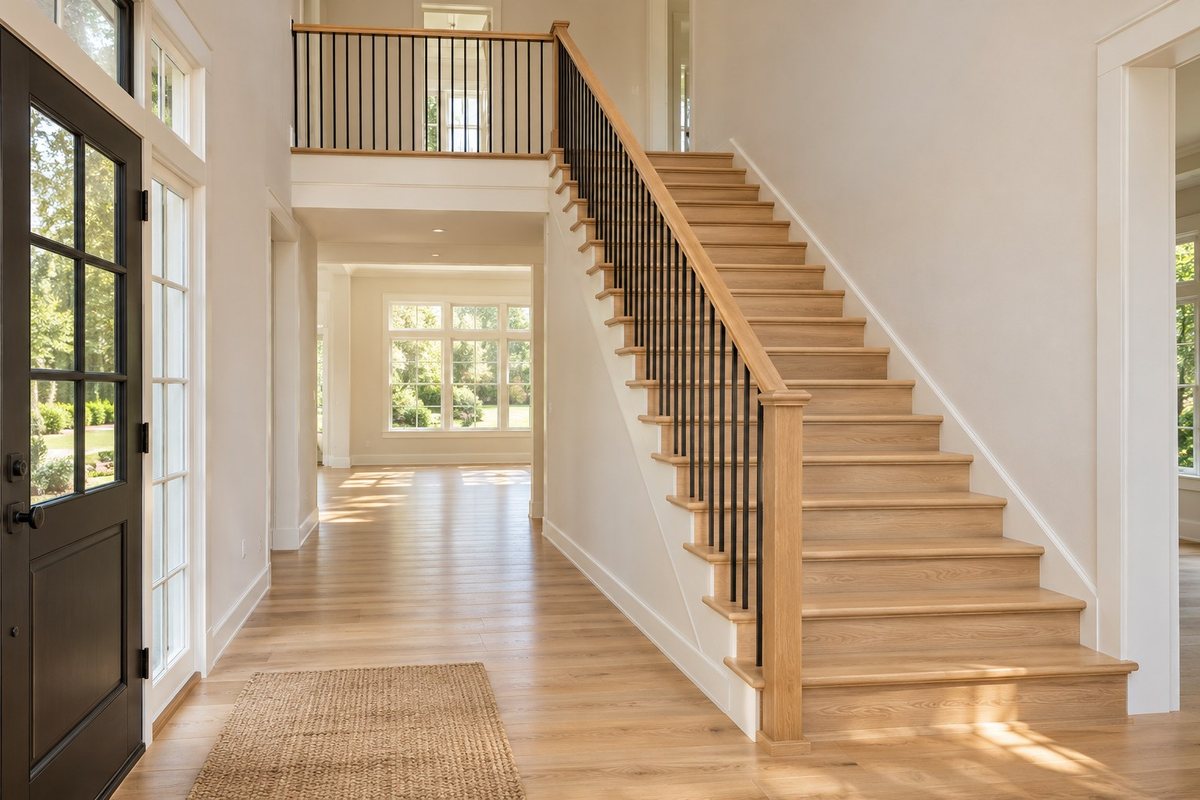
Open the front door and look at the whole stair from the point where you usually enter. Notice whether you see the steps, the rail, or the wall first. That tells you where a change will register. Keep the floor at the bottom open so you can approach without turning around a piece of furniture.
Then look down from the upper landing. Check the first step in both views before you pick a color or runner. These Japandi entryway ideas offer ways to simplify the approach when the stair and door share a small space.
2. Restore Sound Wood Treads for a Simple Finish
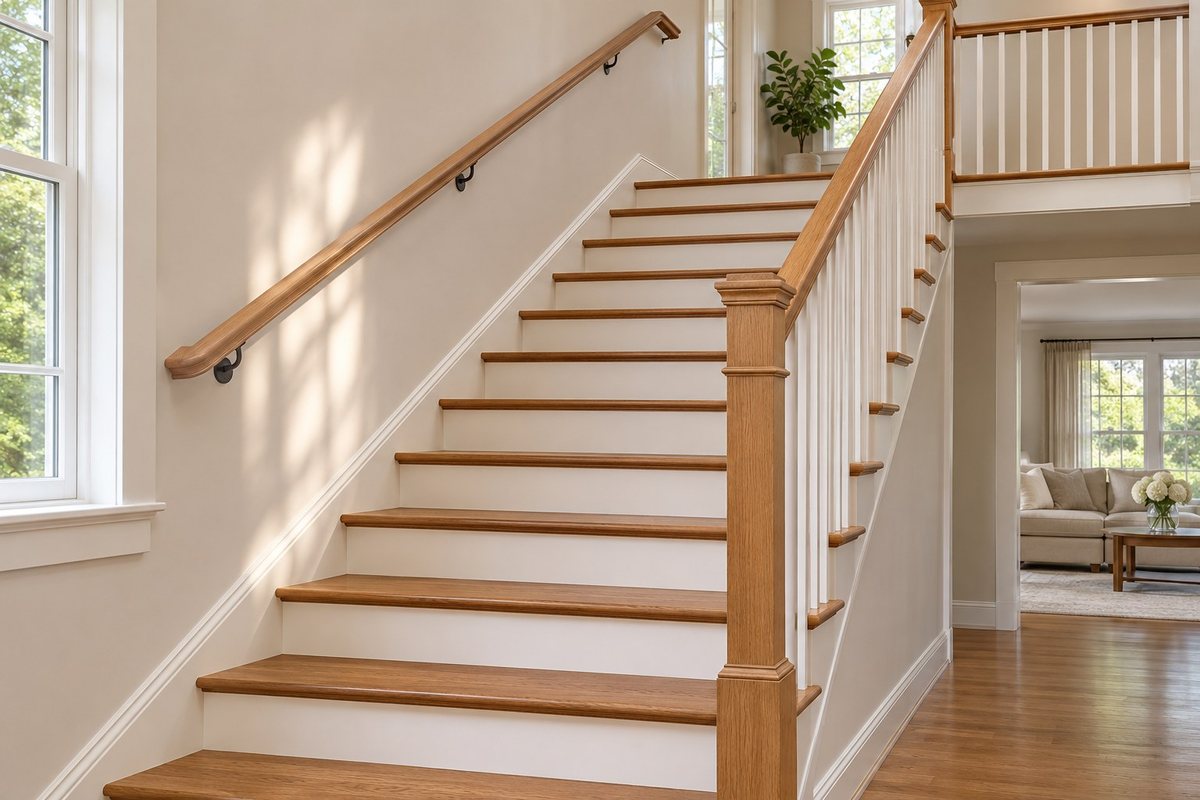
If the staircase already has wood treads, check their condition before adding a new material. A sound stair may need only a compatible finish to bring out its grain. Ask a stair professional to inspect any loose, damaged, or uneven parts before you choose a cosmetic update.
Take a finish sample to the stair and look at it from the bottom and top. Choose a product intended for the walking surface and follow the finish and stair makers’ guidance. In older homes, confirm what preparation is safe before disturbing an existing coating.
3. Compare the Stair Wood With the Floor Below It
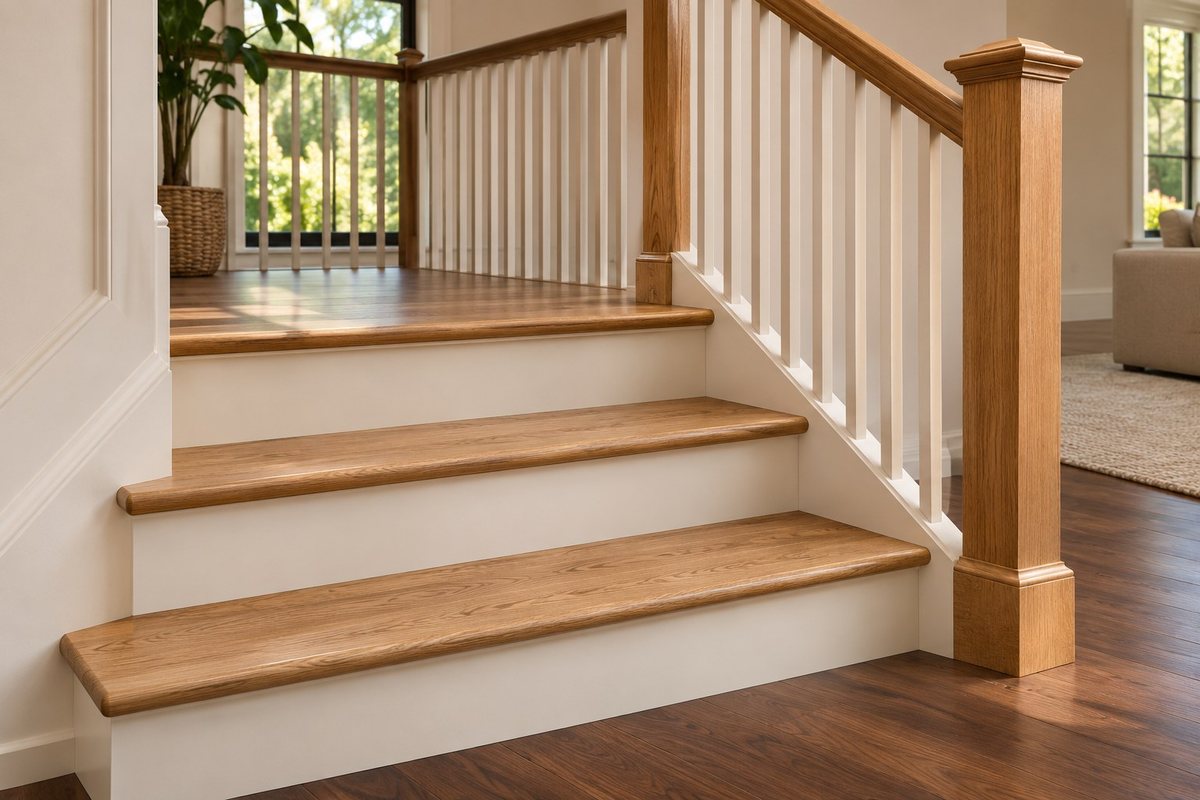
Bring a sample of the stair wood down to the floor it meets. Look at both surfaces under the same light. One finish may pull orange while the other looks cooler. Choose a relationship you can see in normal daylight as well as when the hall lights are on.
If the woods are different, use the first riser and side trim to give the transition a deliberate edge. Check how the material will meet the landing and the first tread. Ask the installer to verify the finished transition before choosing the stain.
4. Keep Light Risers With Warm Wood Treads
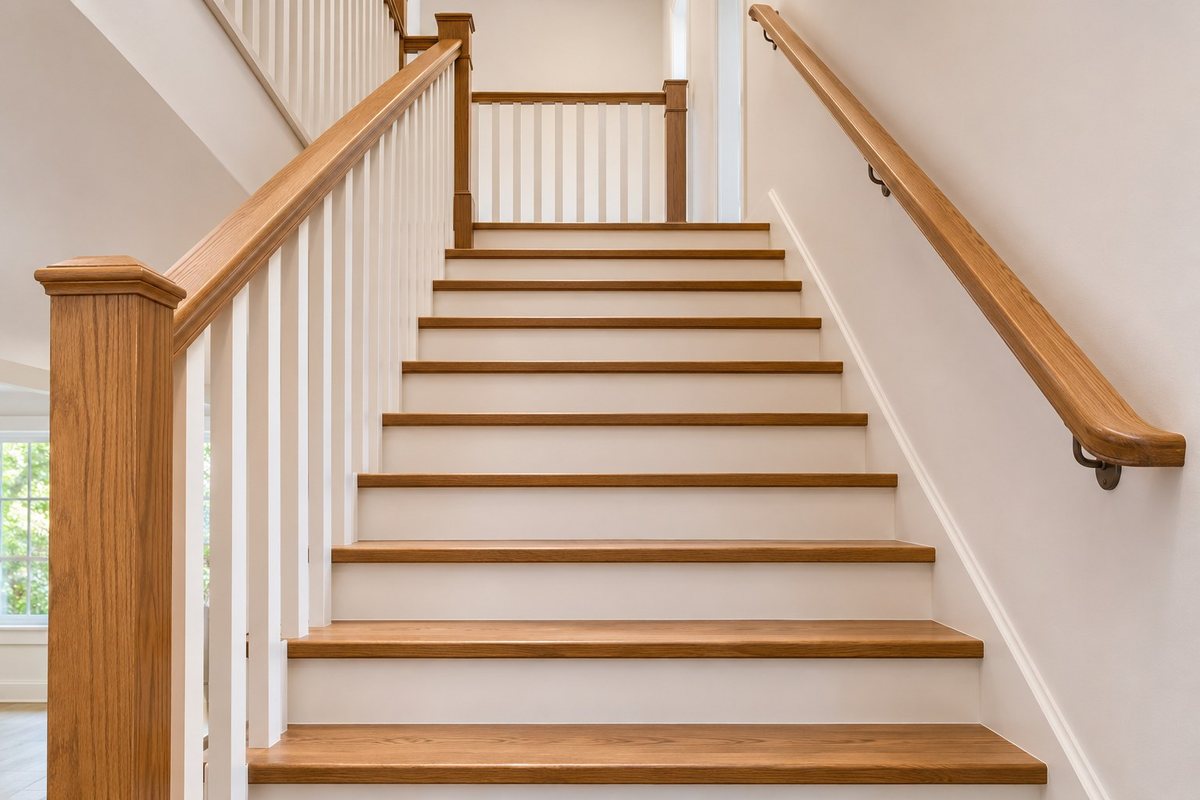
Light risers can give warm wood treads an even rhythm. Try the two samples side by side from the bottom of the stair. A warmer white often suits oak, while a clearer white may pick up a nearby painted wall. Look from above too, since the risers are less visible in that direction.
Keep the tread finish appropriate for stair use and check that the step edges stay easy to see. Choose a riser finish you can wipe at shoe height. If the difference is too sharp in daylight, try a softer cream before changing the wood.
5. Use a Small Tile Pattern on the Riser Faces
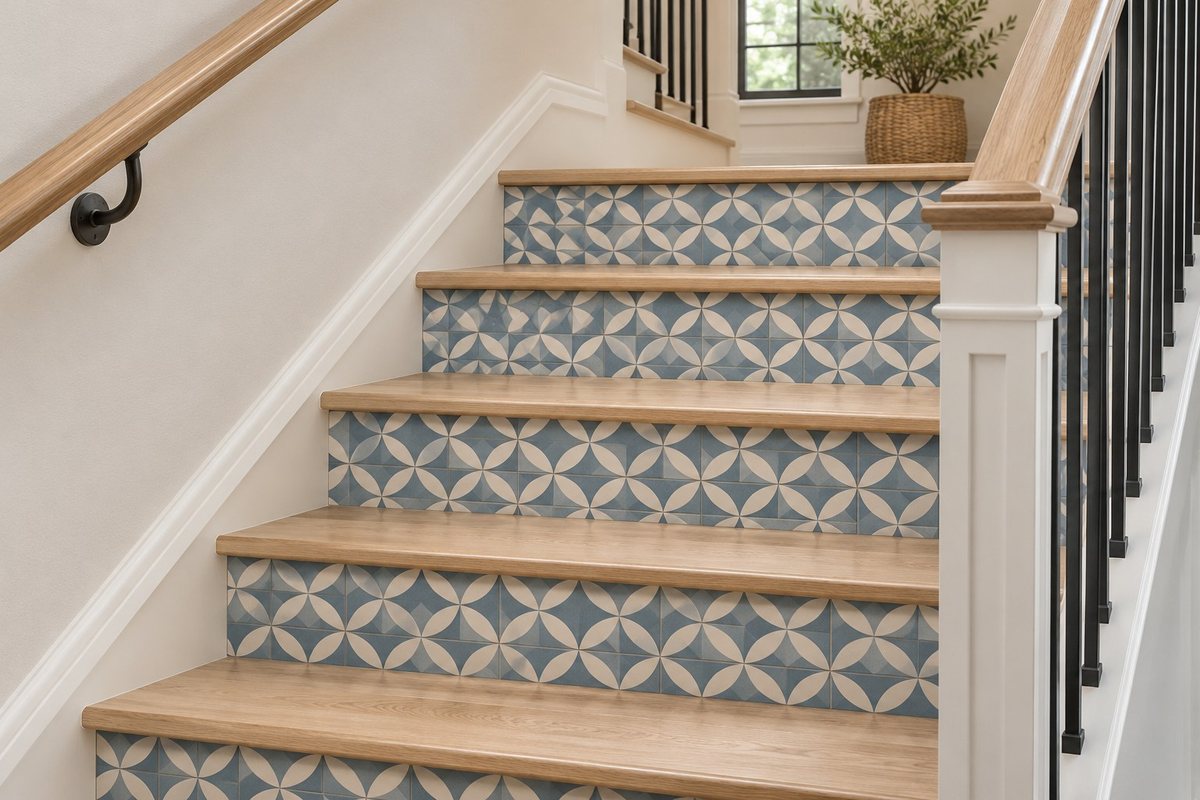
Try a small tile pattern on the vertical riser faces if you want more detail on the stair. Lay a few samples in a row at floor level and see how the repeat reads as a group. A quiet pattern leaves the tread itself easy to see. Keep the decorative tile off the walking surface unless the whole stair is specifically designed for it.
Ask a stair professional to verify the finished riser, tread edge, and clearance before installation. Added thickness can affect the shape at the front of the step. Choose a pattern whose cut pieces still look orderly.
6. Use a Fitted Runner Where the Stair Gets Daily Traffic
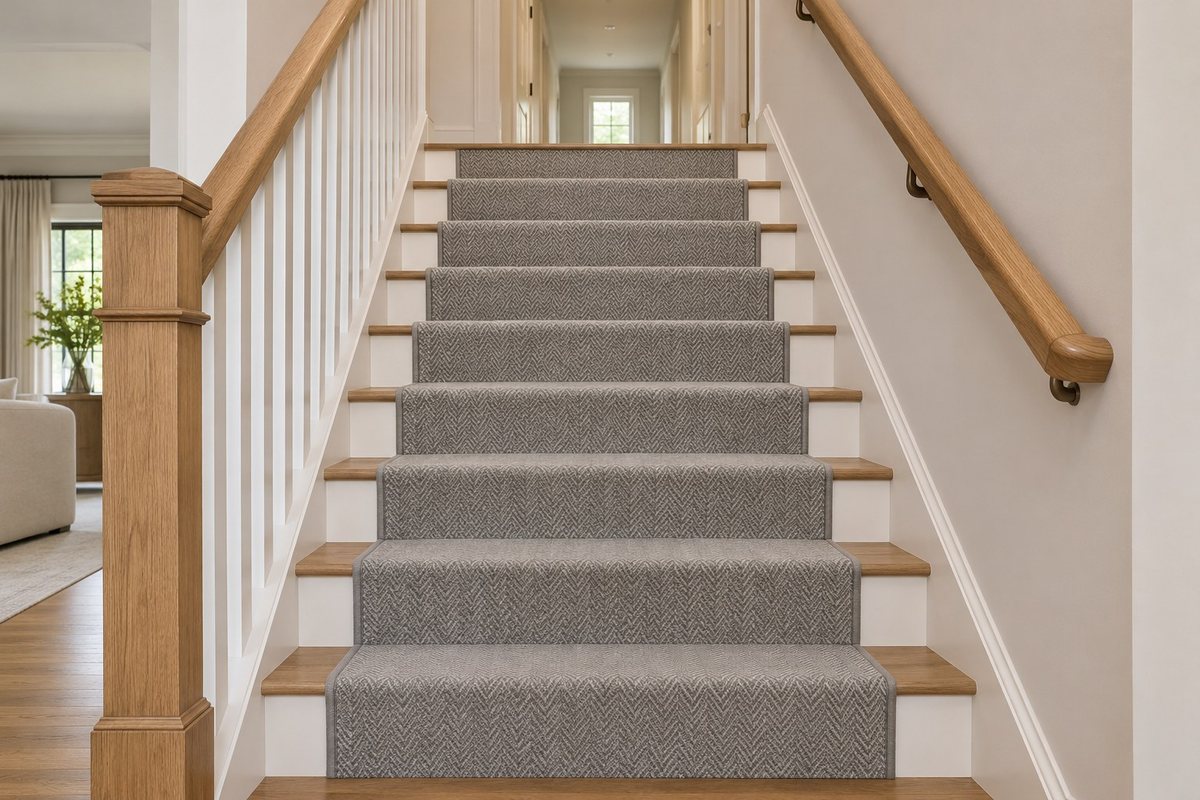
A fitted runner can soften the look of a wooden stair while leaving a narrow wood border. Lay a sample on a flat surface beside the wood and see how the pattern looks from a distance. Compare the widths at the bottom and through any change of direction.
Use material suitable for stairs and have it secured so the edges and ends stay flat. Ask the installer how it will finish at the first step, top landing, and turns. The pattern should look consistent while leaving the shape of the stairs easy to follow.
7. Carpet the Whole Flight for a Continuous Look
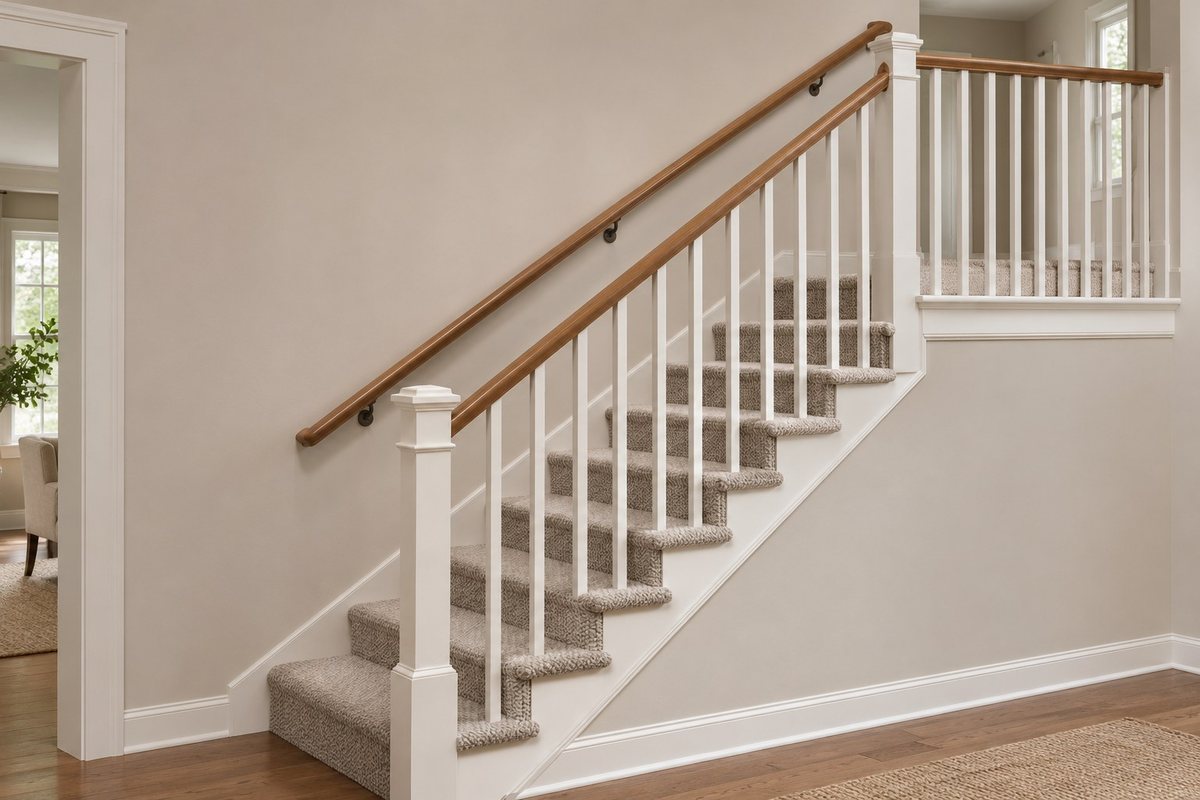
Full-width stair carpet gives the flight a continuous surface and leaves fewer visible material changes. Compare a low, even texture with a deeper pile and ask which is intended for stairs. Hold the sample near the side trim to see where the carpet and wall will meet.
Plan the finish at both landings before choosing the color. Have the installer check the edges, backing, and transition to the adjoining floor. If the carpet continues upstairs, make sure the first and last steps are still easy to distinguish under the lights you use.
8. Plan the Floor Transition at the Landing
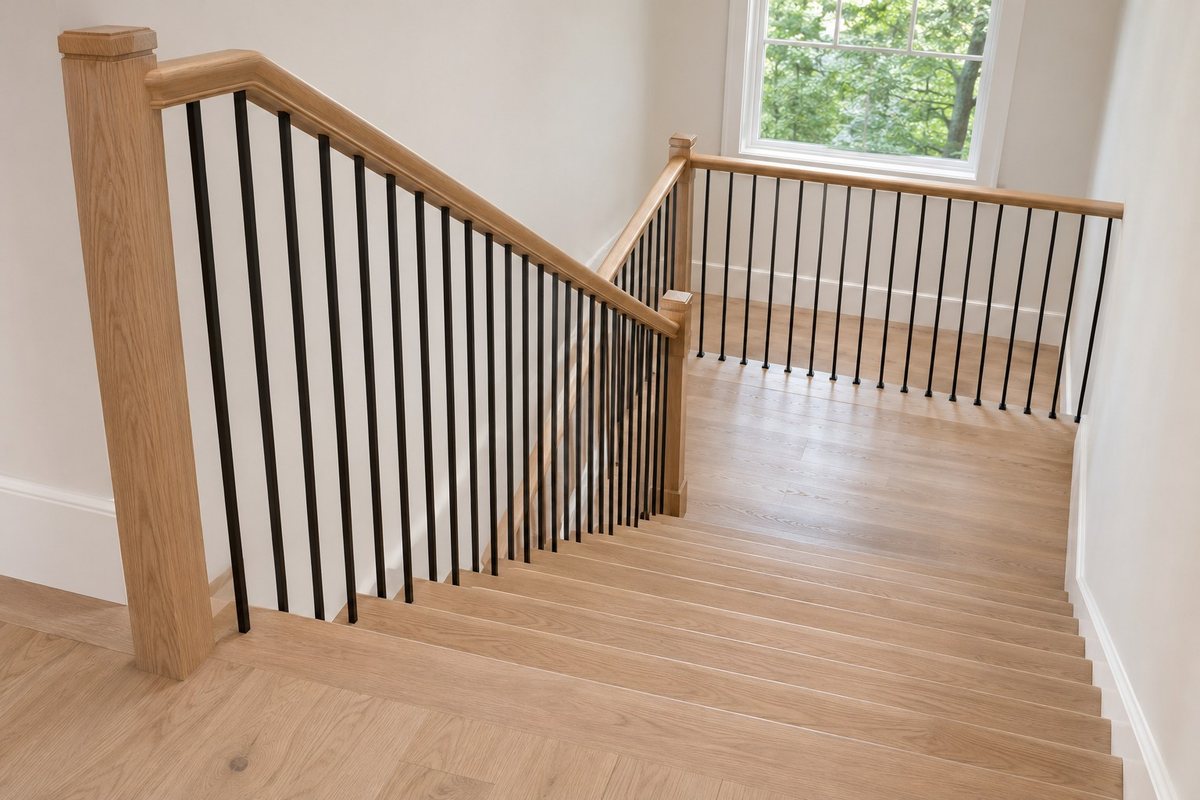
Look at the point where the upper landing meets the staircase. If the flooring changes there, ask how the two finished surfaces will meet and how you will see the first step. Check the view from the door at the top and from the last step below.
Choose a transition the installer can finish without an unexpected raised edge at the stair. Compare the actual material samples and profiles. Keep the landing easy to approach and have a professional confirm the final dimensions before any flooring thickness changes.
9. Use a Dark Handrail as One Clear Line
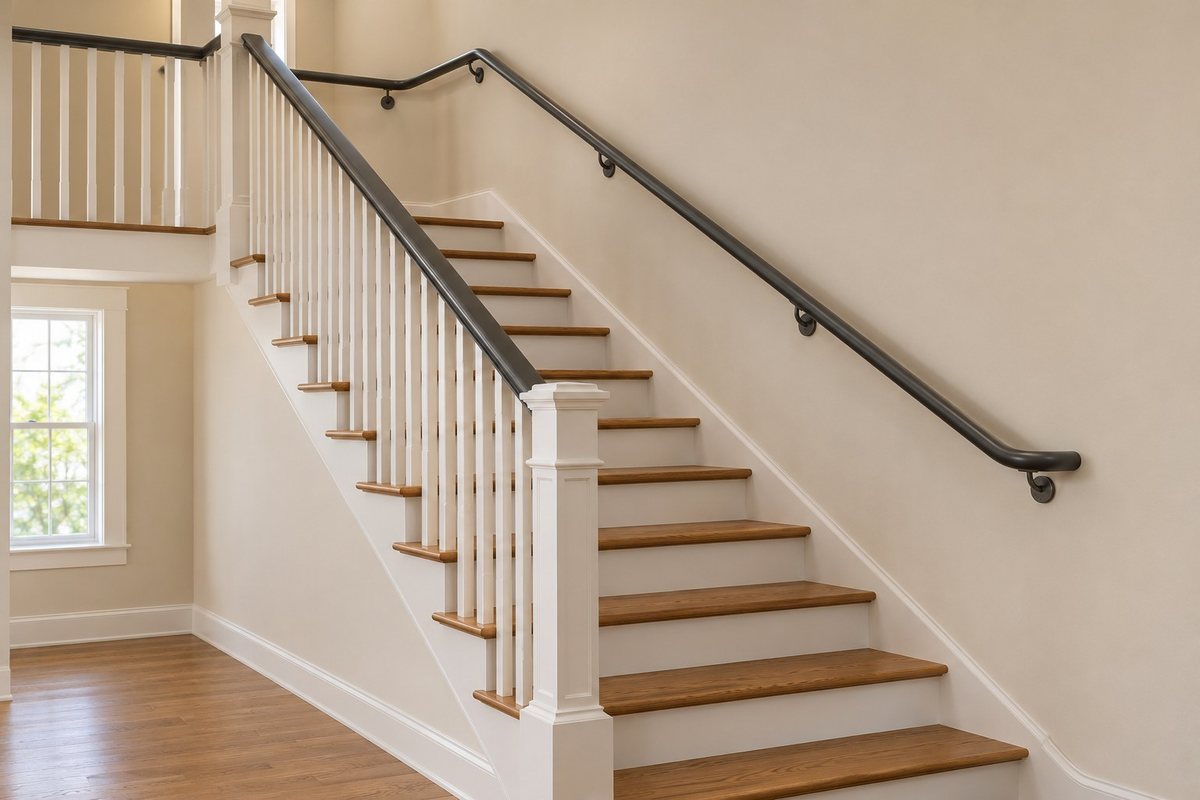
A dark handrail can give a pale wall one clear line. Hold a finish sample beside the wall and look at it from both ends of the stairs. A quiet charcoal may have enough contrast without making the stair feel heavy. Keep the brackets and other hardware simple if you want the rail itself to stand out.
Check how the finish feels under your hand and how you will clean it. Keep the full grip clear. If the rail or its supports need replacement, have the installer confirm the appropriate shape, clearances, and mounting.
10. Choose a Wood Handrail You Can Grip Comfortably
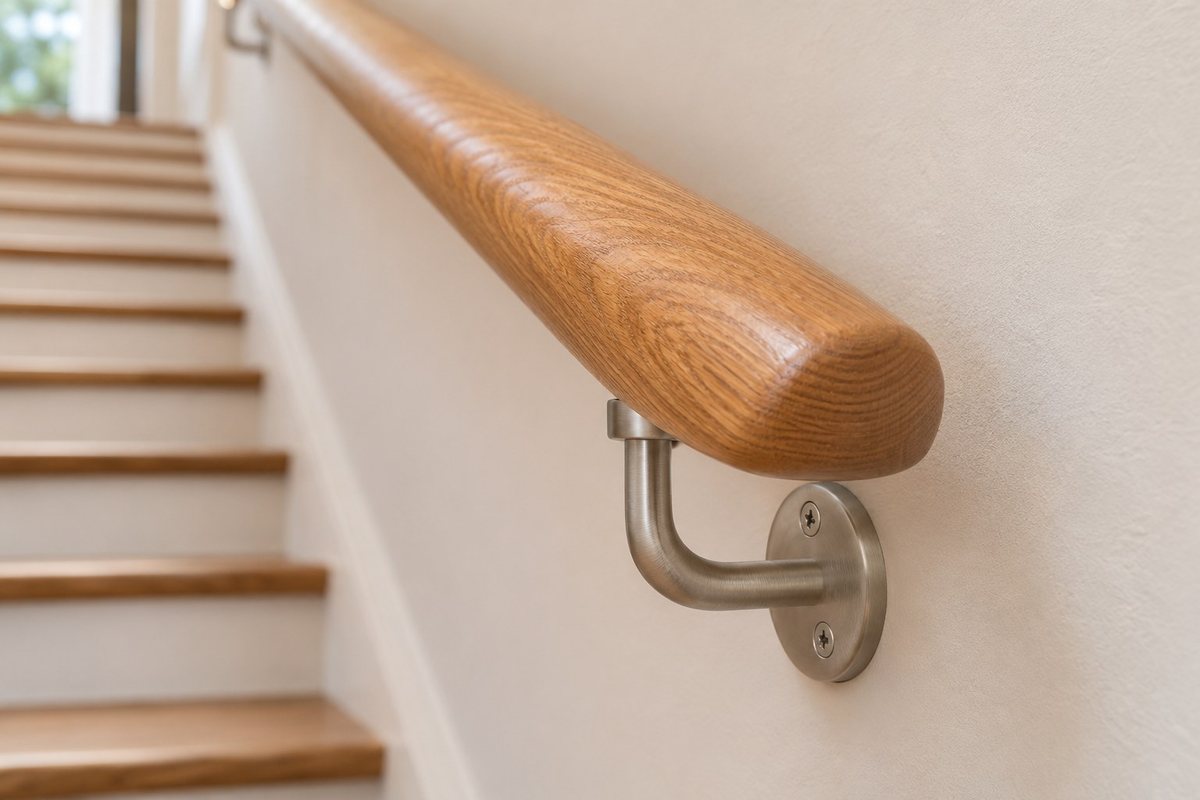
Choose a wood handrail you can comfortably hold in your usual grip. Try the actual profile at the showroom or on a sample. Check the rounded edges and the space your fingers need beside the wall. A profile that looks good in a photograph may feel too broad in use.
Compare the finish with the existing treads and see how it shows wear. Have the installer confirm the required support, clearance, and continuity for your stair. Keep decorative materials off the handrail so you can use it along the whole flight.
11. Keep Vertical Balusters Simple
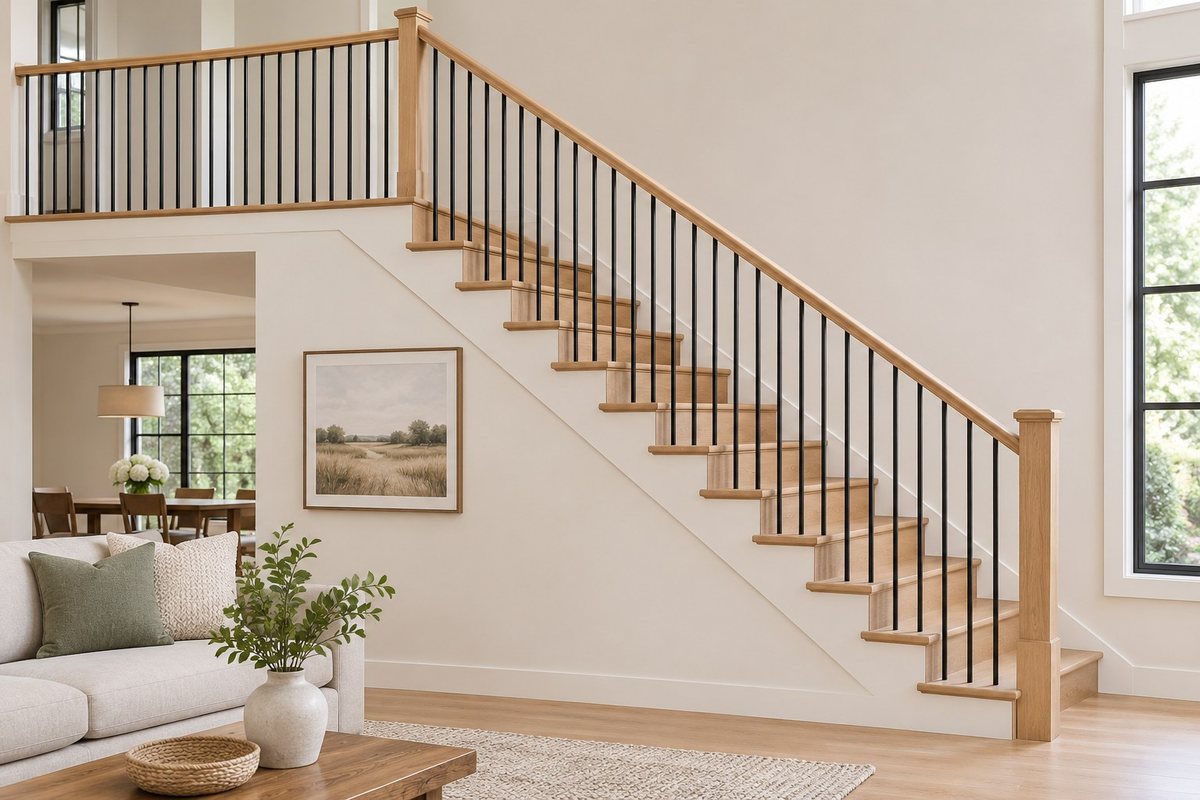
Simple vertical balusters can make the side view of a stair easier to read. Compare the thickness of the balusters and the weight of the top rail from the adjoining room. Slim dark uprights can sit quietly beside a warm wood handrail if the repeated lines are evenly visible.
Leave the specifications for spacing, loads, and attachment to a qualified stair professional. Compare the proposed guard with the existing stair and landing, including the ends of the run. You can choose the visual profile once those practical needs are understood.
12. Try a Closed Paneled Guard for a Quieter Side View
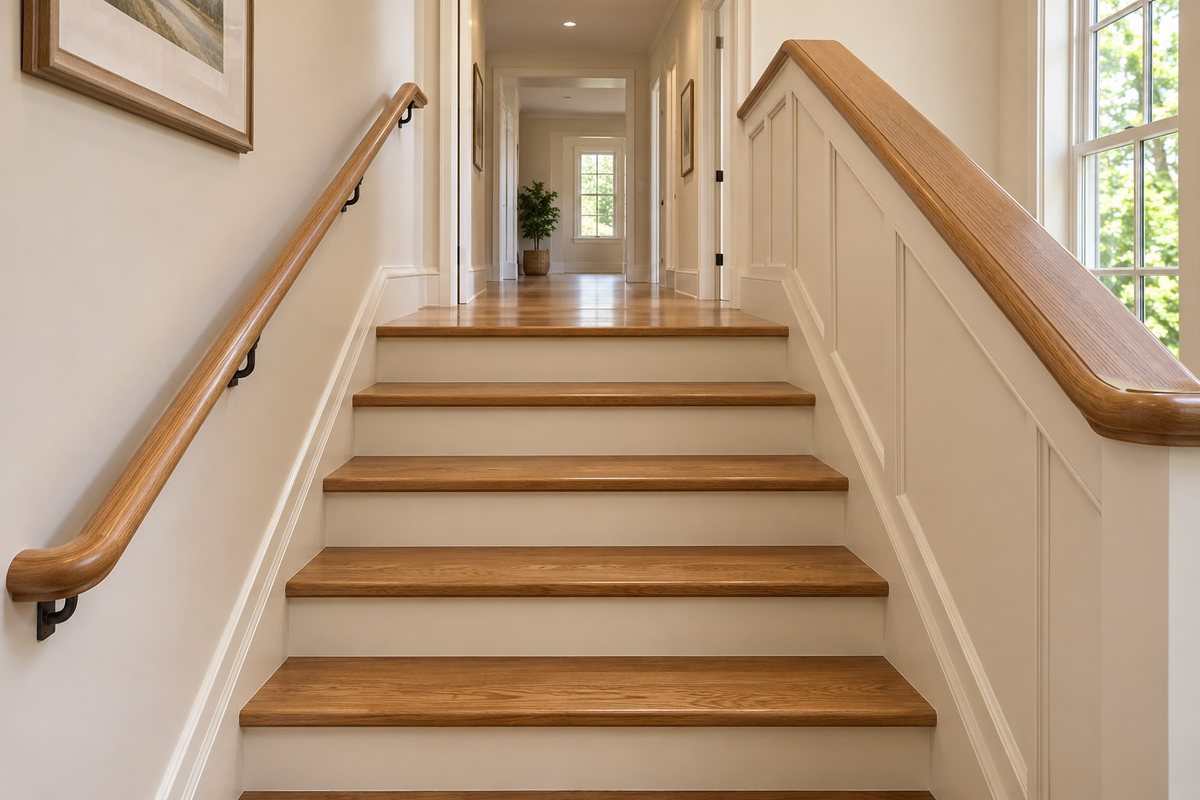
A solid paneled guard can reduce the number of visible lines in an open room. Try a pale painted sample beside the floor and rail. See how much daylight the stair receives now and whether a solid side would leave the lower steps darker. A warm wood top can give the panel one clear edge.
Have a qualified professional check the whole guard and handrail assembly. Keep the grip usable on the stair side and make sure you can see the steps from the approach. Choose a finish you can clean where people touch the panel.
13. Use Clear Glass Where You Want to Keep the Light
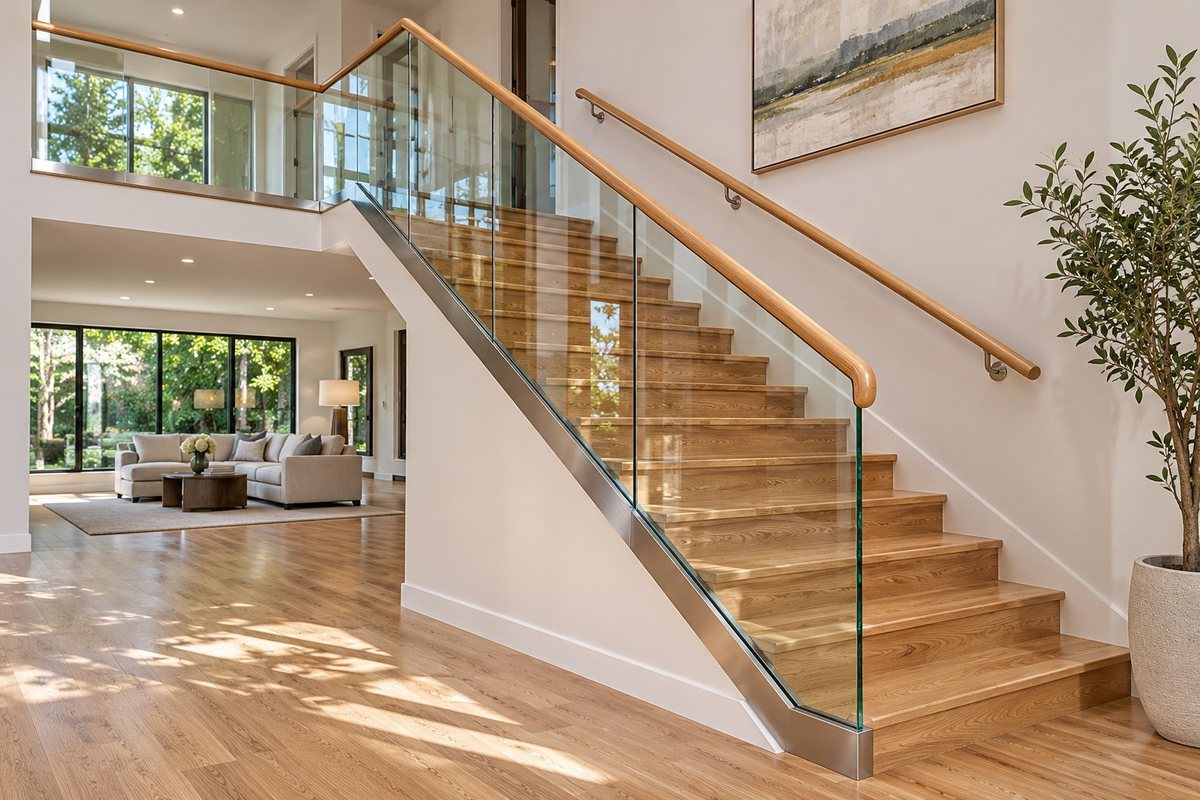
A clear glass guard can preserve the view to a window or another room. Look at a sample against the brightest and darkest parts of the space. Check whether its edges and reflections are easy to see from the top and bottom. Glass that disappears in a photo may show fingerprints in daily use.
Have a qualified designer and installer select the appropriate glazing, support, handrail, and guard system. Ask how the panels can be cleaned on both sides. Use the finished room view to decide whether the openness is worth the upkeep.
14. Show a Slim Steel Spine With Proper Side Protection
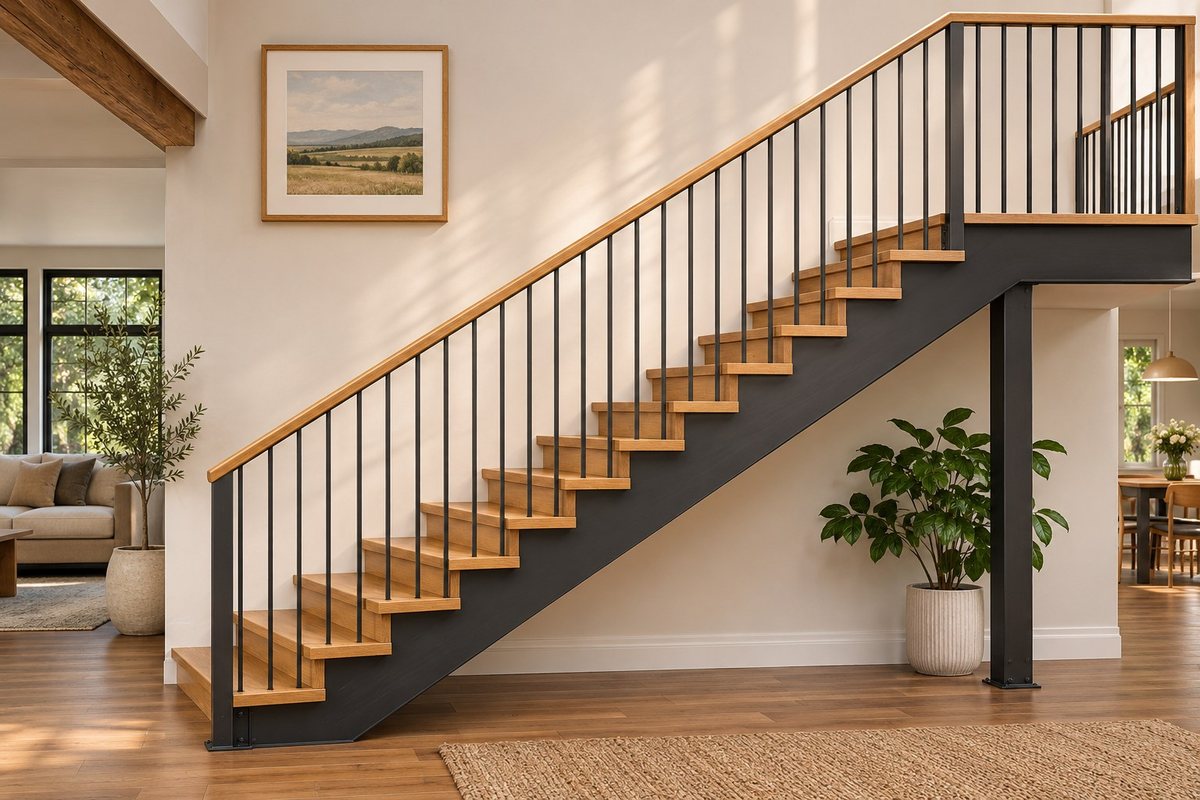
A dark steel support line can make a warm wood stair feel more modern. Look at it from the room beside the staircase. A visible spine or side support can carry the contrast without adding more dark details to the wall. Keep the shape of the treads and rail easy to see from both ends.
Treat changes to the support as structural work. Have a qualified professional design or verify the loads, connections, and protection on the open sides. If you are keeping the current stair, a dark finish on an existing side board can give a quieter version of the look.
15. Let a Curved Stair Make the Main Shape
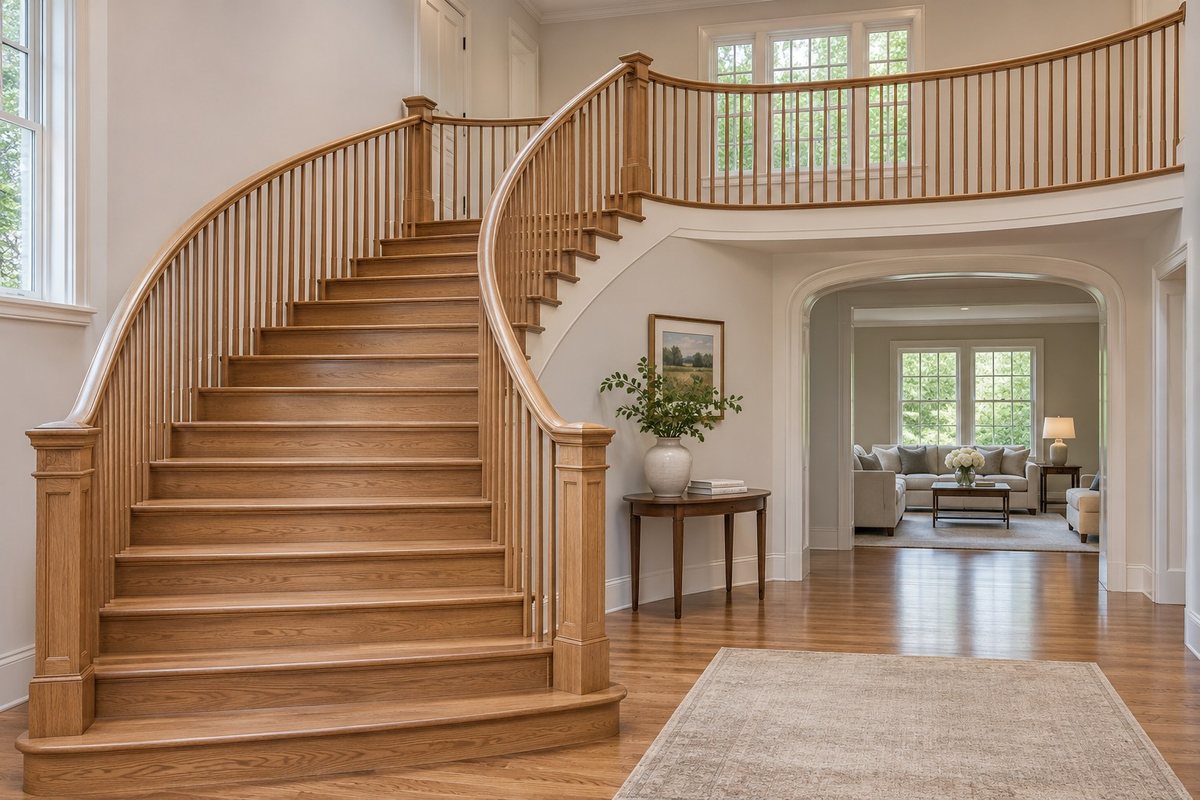
An existing curved stair already has a strong outline. Keep the wall finishes quiet so you can see the line of the rail from the entrance. Compare a wood finish and a softer painted side against the curve. Keep the landings simple and let the shape do the work.
Test the view from the inner and outer approaches. Any new finish needs to preserve how the steps read and how the rail feels in use. Have a stair professional check changes to the curved parts, including any covering, handrail, or guard.
16. Keep the Stair Gallery Close to the Wall
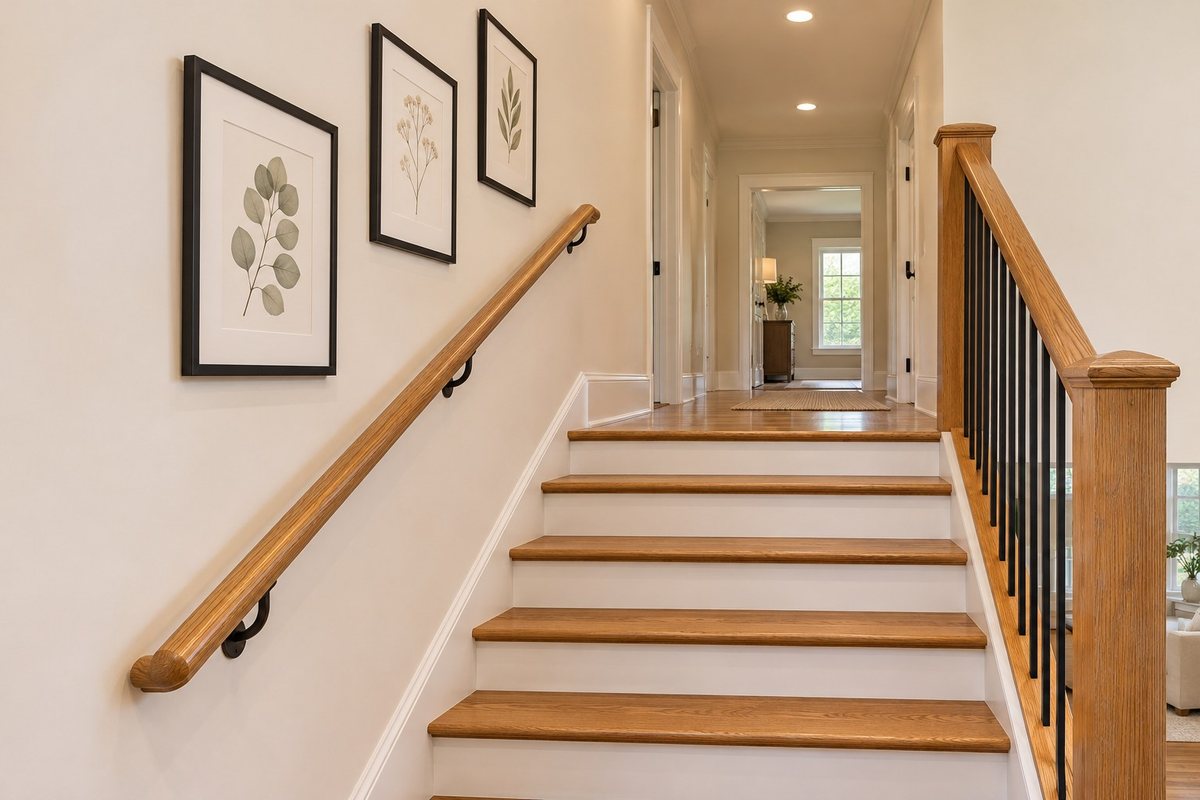
Use shallow frames above the handrail where they will stay out of the way. Hold paper templates against the wall and look at the group from both ends of the stair. Check the full mounted projection, including the hanger, and leave room around the rail for your hand. Keep large or heavy pieces for a level wall.
Use mounting hardware appropriate for each frame and wall. These gallery wall ideas offer arrangements you can adapt to a stair wall if the frames all sit close to the surface.
The frame bodies in the half-inch-thick Vittanly frames are listed at half an inch thick. Measure the full projection with your hardware before hanging any frame along the stairs.
See details for the half-inch-thick Vittanly frames (paid link)
17. Put the Largest Picture on a Level Wall
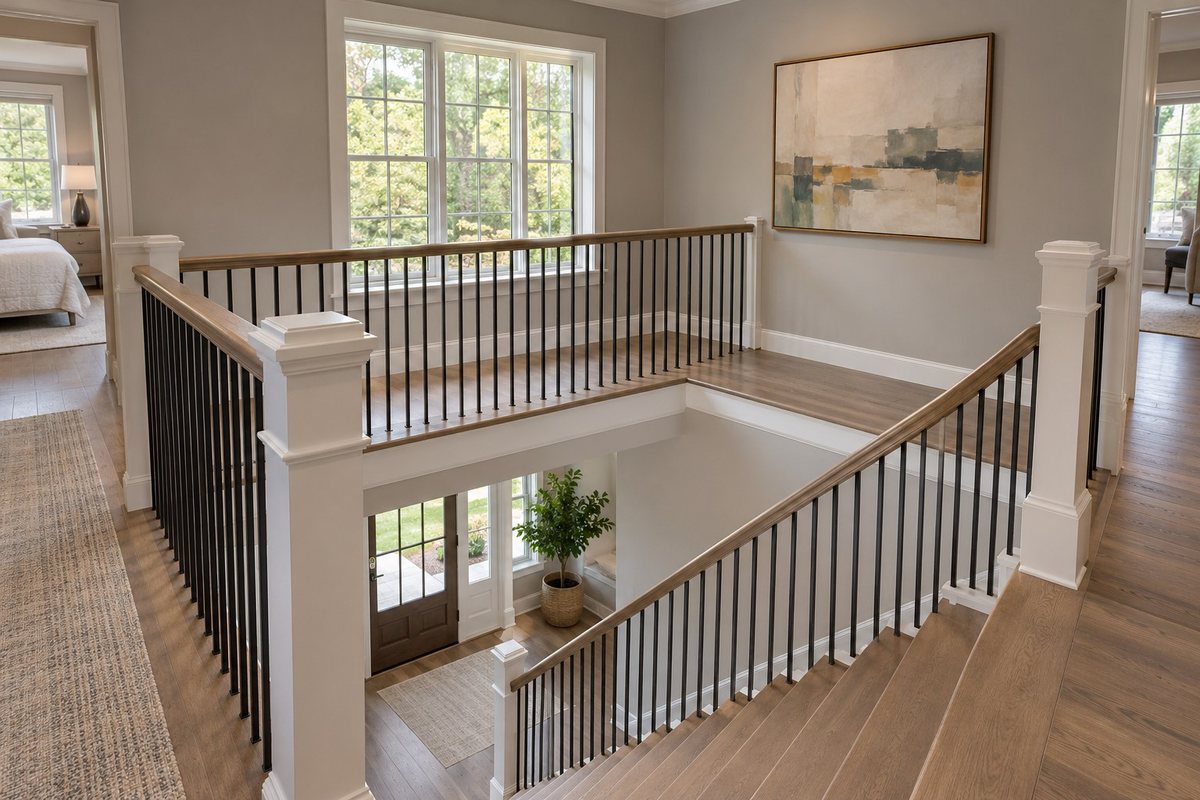
A level wall at the top or bottom gives you a safer, more comfortable place to look at one large picture. Try a paper outline from the approach and check whether the color or shape works with the rail you can see from there. Leave a clear space for any nearby door to move.
Check the frame weight and the wall before mounting it. Choose a spot that is easy to reach for cleaning or a change. If the landing is narrow, keep the picture close to the wall and leave the floor available.
18. Use Shallow Paneling Behind the Handrail
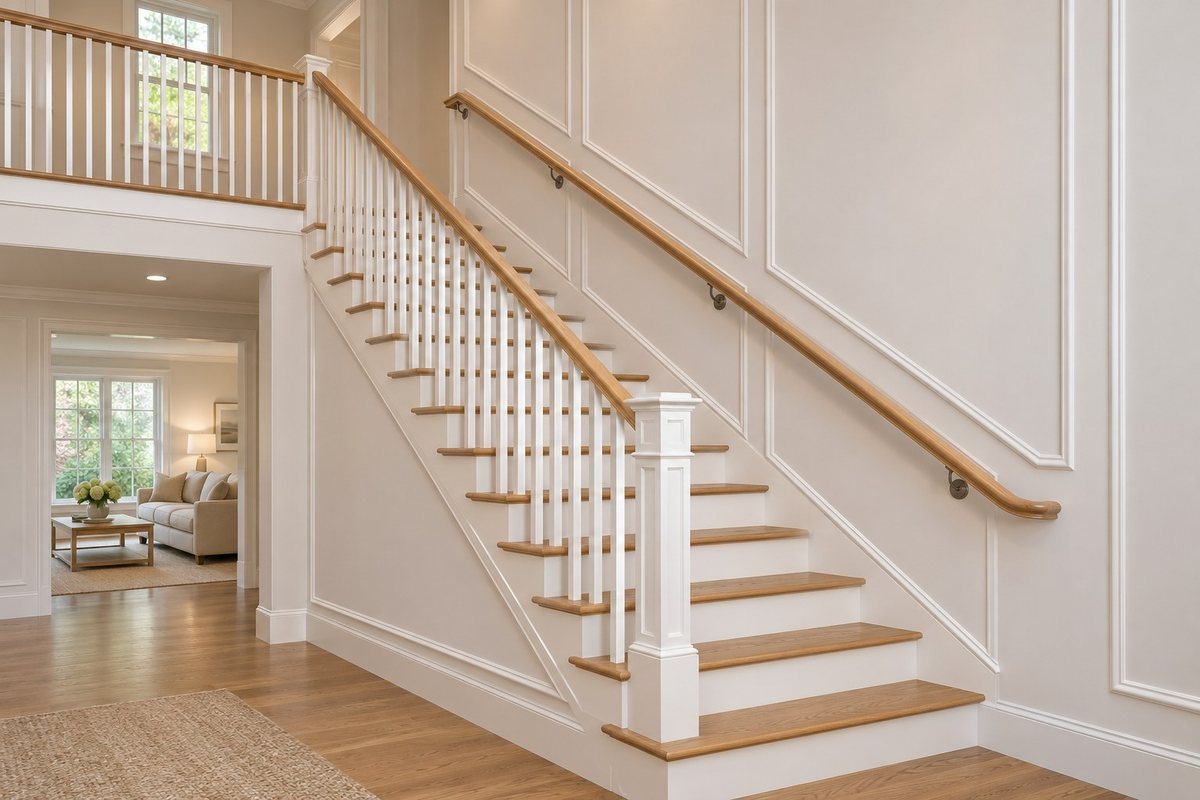
Shallow paneling can give a stair wall some relief without adding a shelf or deep trim. Draw the pattern around the existing rail and bracket locations. Look from the lower landing to see whether the upper and lower margins feel even along the slope.
Check how the paneling would affect the handrail clearance and the hardware behind it. Have the installer verify the finished arrangement before changing the wall. These picture frame molding ideas include ways to mock up panel dimensions around fixtures.
19. Keep Wallpaper on a Wall You Can See From Both Levels
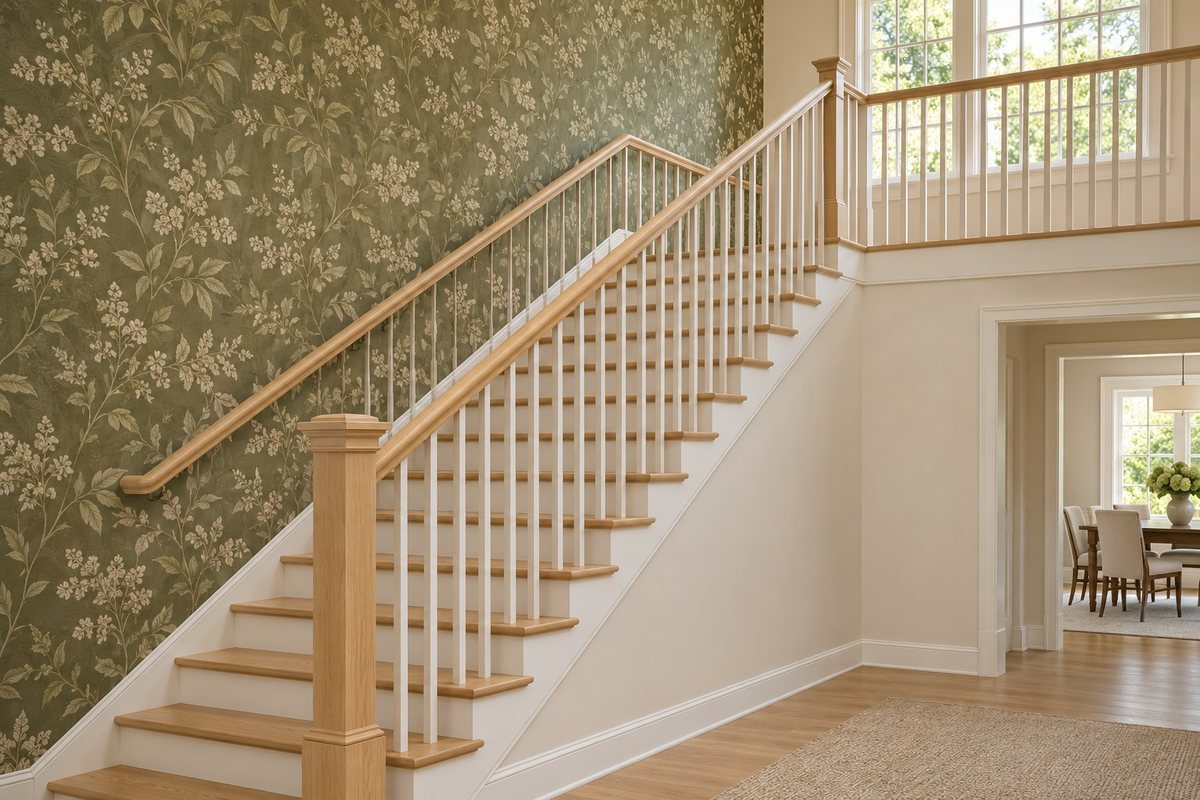
Try wallpaper on one stair return that is visible from both levels. Hold a full repeat where the wall turns and see how it reads from a few steps away. A smaller or quieter pattern may be easier to live with when the stair already has a dark rail or a strong wood grain.
Check where the paper will end and how it meets the nearby trim. Keep the walking surfaces easy to see beside it. These wallpaper ideas can help you compare patterns and decide where one wall is enough.
20. Paint the Stringer to Define the Side Profile
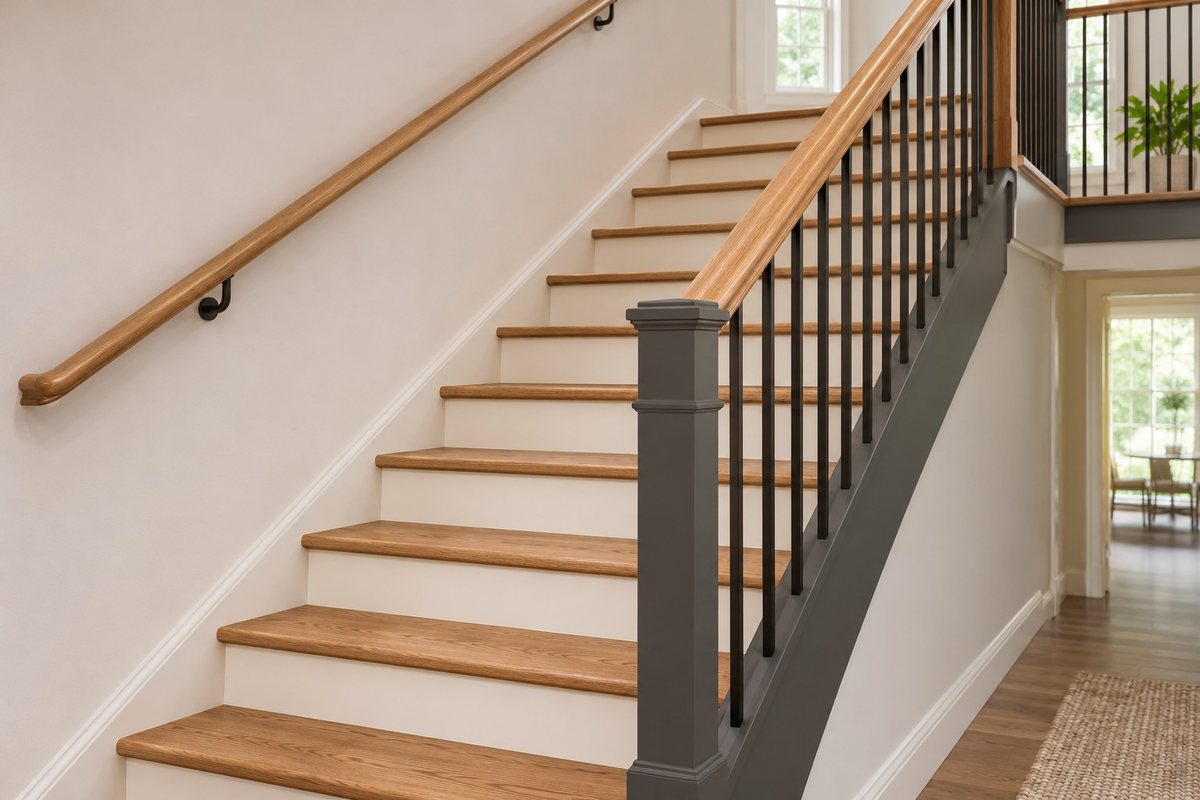
A painted stringer can trace the side of a closed stair. Hold a sample against the existing board and compare it with both the treads and the wall. A muted darker shade can show the outline without covering the wood people walk on.
Keep the finish choice suited to the board’s material and condition. If an existing coating needs to be disturbed, ask a qualified painter what preparation is appropriate for the home. Keep the handrail and clearances available while planning any work near the flight.
21. Give the Whole Flight an Even Overhead Light
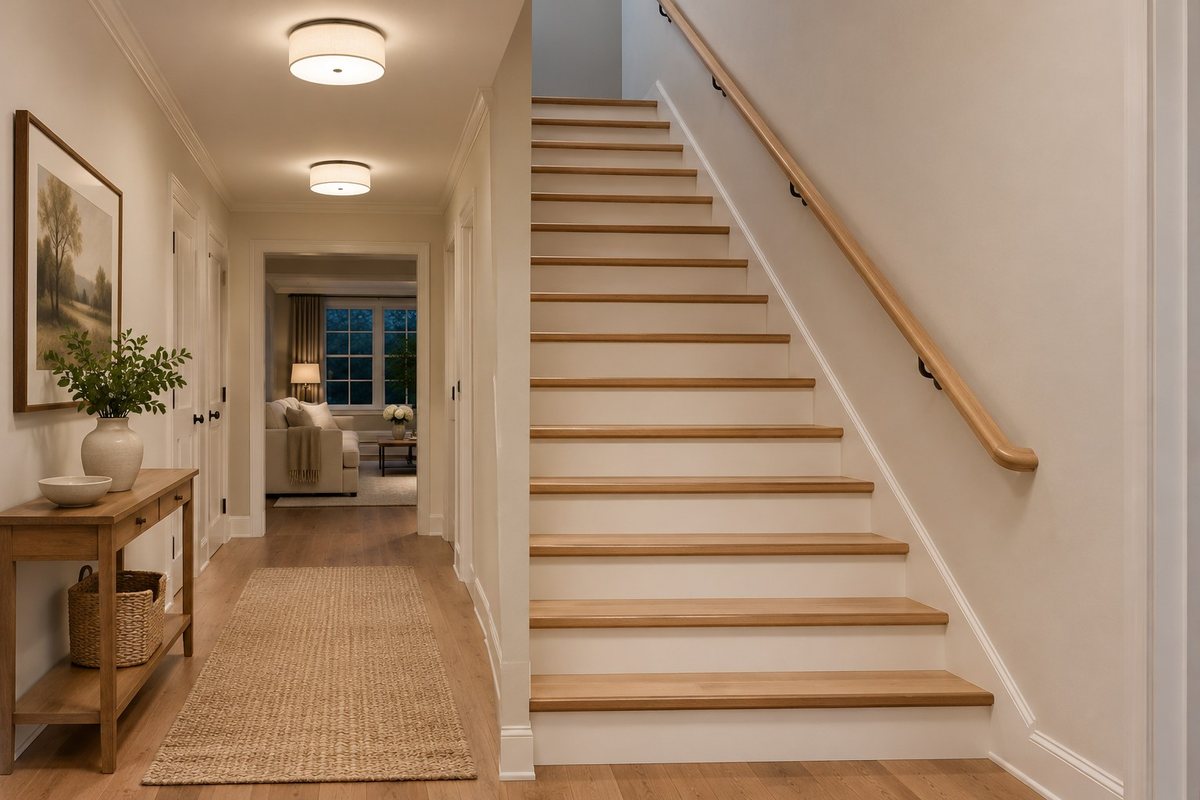
Check the stair after dark with the lights you usually leave on. Look for the dimmest step from the top and the bottom. A diffused overhead fixture can light the whole flight with less direct glare. Check the light near the landings and in the middle, where shadows may be strongest.
If you need new lighting or controls, have a qualified electrician check the requirements and installation. Aim for an even view of the treads rather than a single bright spot near the bottom. Make sure people can use the light as they approach.
22. Add Low Wall Lights Where Step Edges Fade
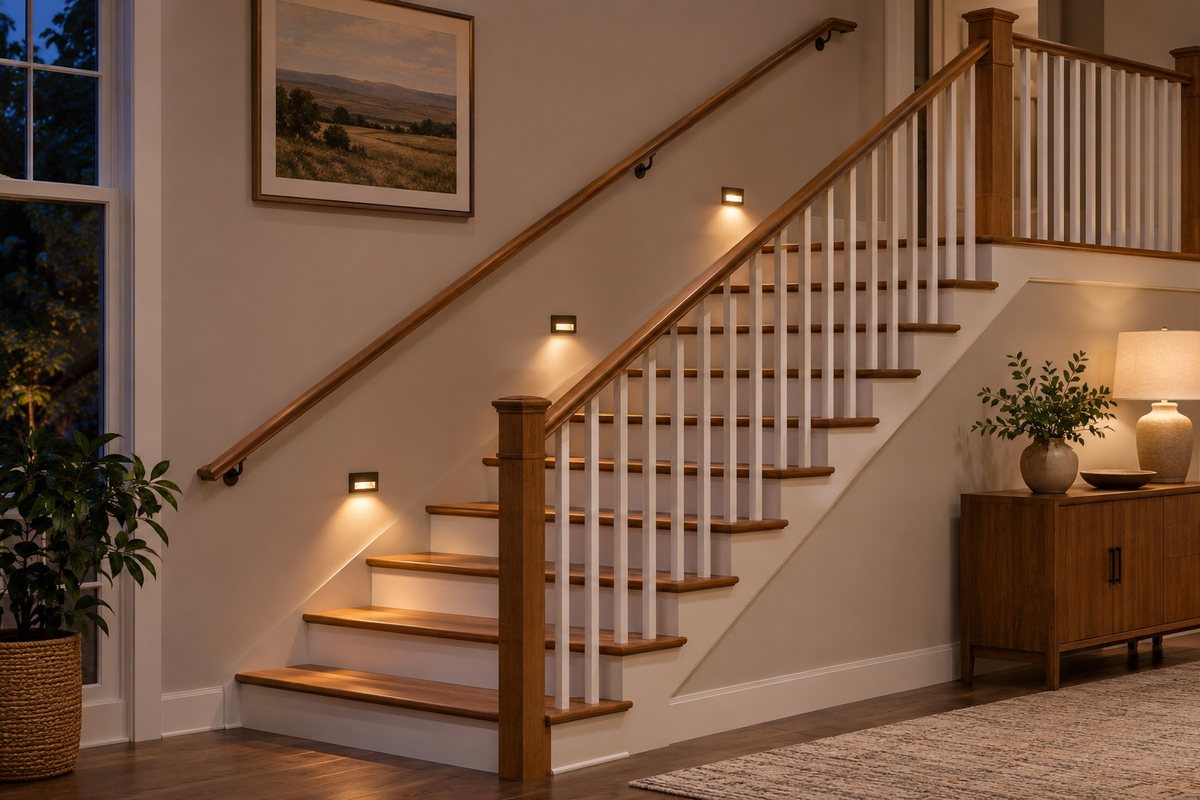
Low wall lights can help you see where the step edges fall after dark. Look from the lower approach to check whether the light reaches the treads or shines straight into your eyes. A few soft downward pools may work better visually than bright points along the wall.
Ask a qualified electrician to choose and install an appropriate system for the wall and stair. Check how it works with the overhead light and whether the whole flight remains visible. Keep the wall and handrail clear of added cords or fixtures that project into the path.
23. Use Daylight From the Side Without Losing the Edge
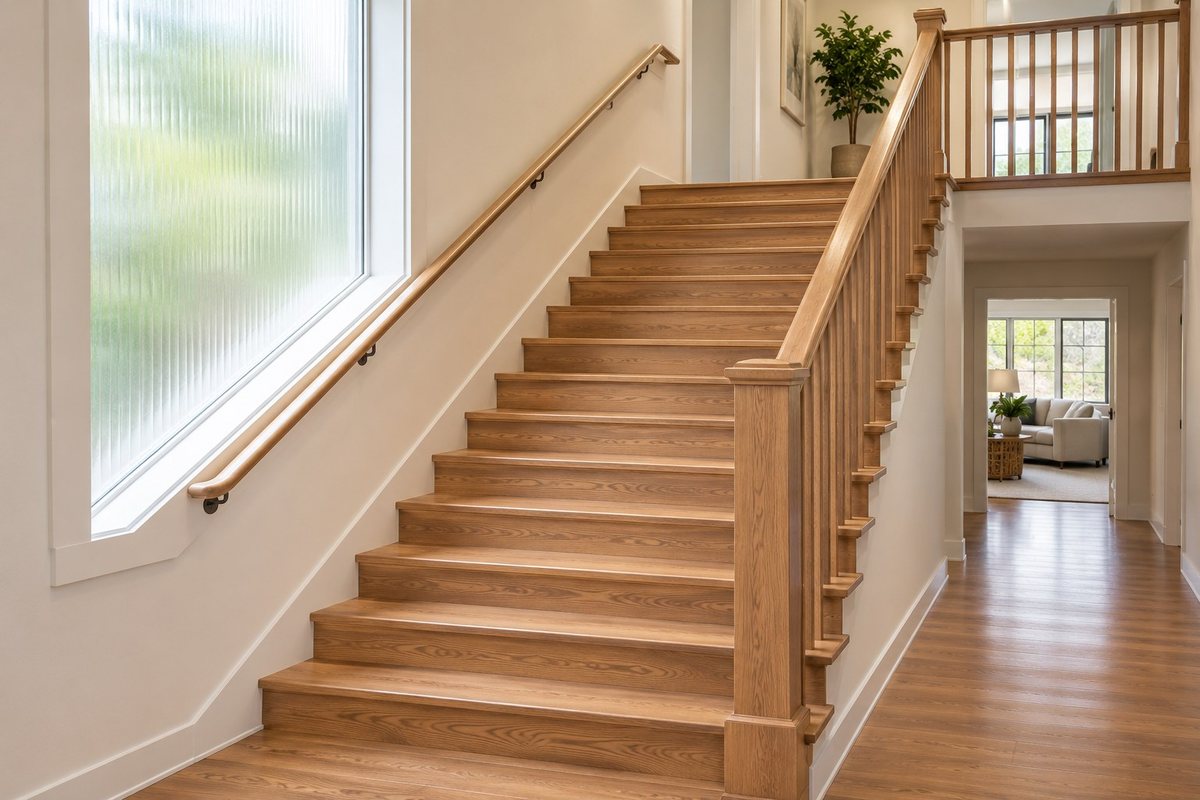
A side window can brighten a stair without filling the wall with fixtures. Watch the light at different times and notice where a strong shadow crosses the tread. Softening glare at the glass can make the edges easier to see while retaining daylight.
Keep access to the window or its control and preserve the nearby handrail. If you plan to change the window or glazing, have a qualified installer verify what the location requires. Choose any shade or finish around the way the stair looks in the brightest and darkest hours.
24. Keep a Mirror Out of the Direct Stair View
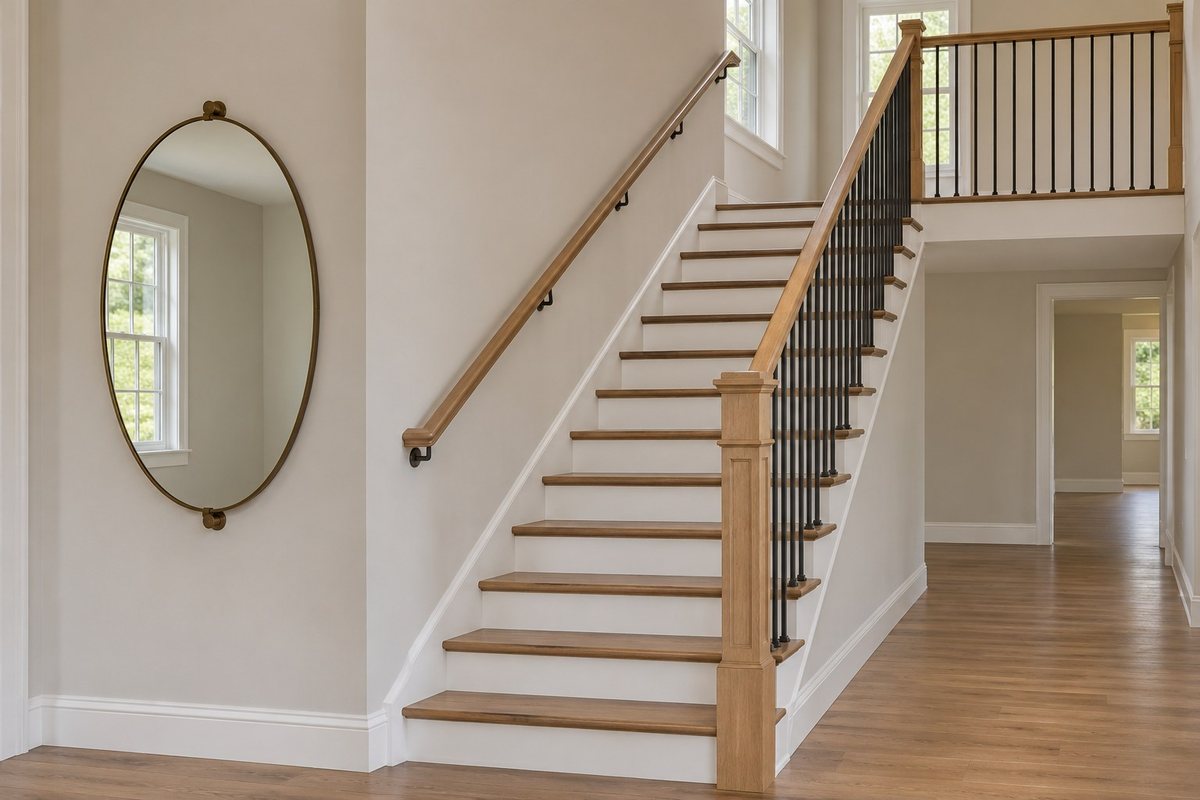
Put a mirror where it reflects a window or a quiet wall. Avoid a position that doubles the apparent stair opening in the view from the landing. Hold a small sample at the proposed location and check the reflection from both directions before choosing a large frame.
Use a secure mounting method suited to the wall and mirror weight. Keep the glass clear of the rail and the path. If the reflection is busy after dark, try a different wall where the mirror can catch daylight without showing a bright fixture.
25. Put Closed Storage Under the Flight
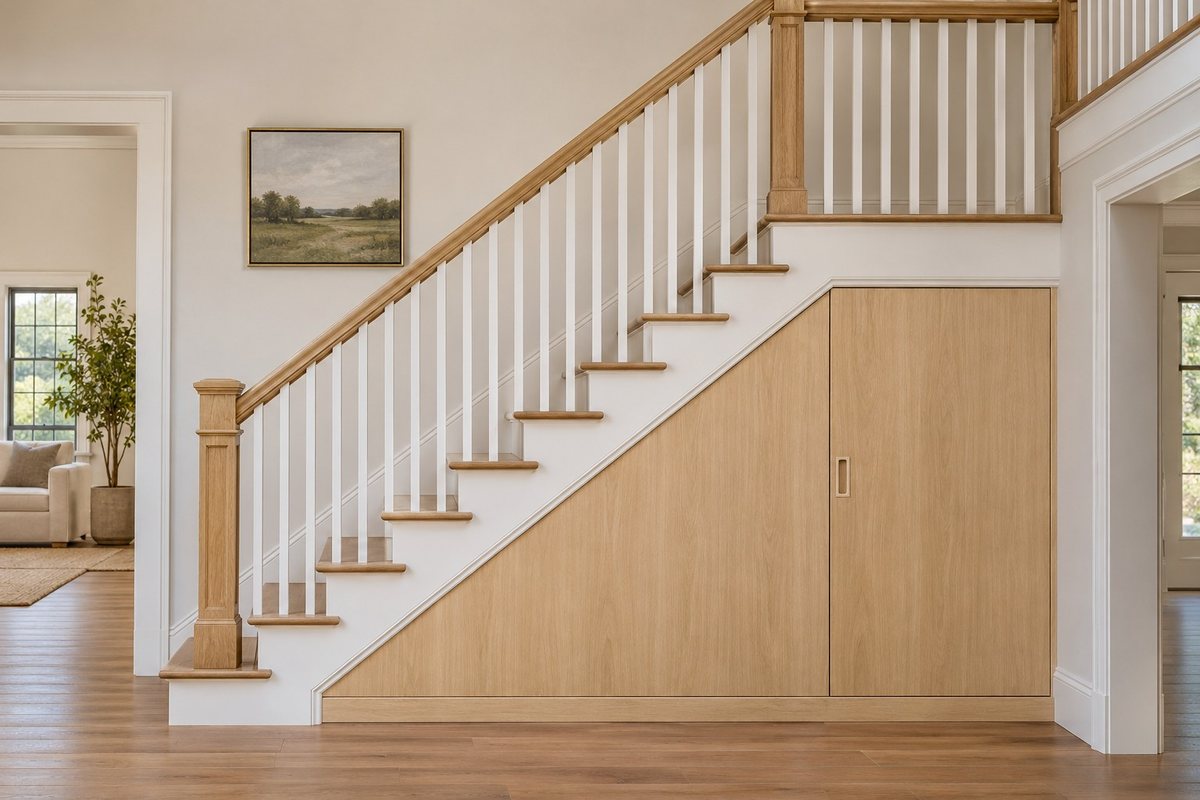
Closed storage can use the under-stair volume while keeping the adjoining floor simple. Measure the space you can use, including the door swing or drawer pullout. Choose a spot where you can stand to open it without backing into the stair approach.
Have a qualified professional check the framing, enclosure, and any existing utilities before changing the area below the stair. Start with the things you need nearby. These hidden storage ideas offer other ways to keep everyday items within reach.
26. Use One Low Shelf in an Under-Stair Alcove
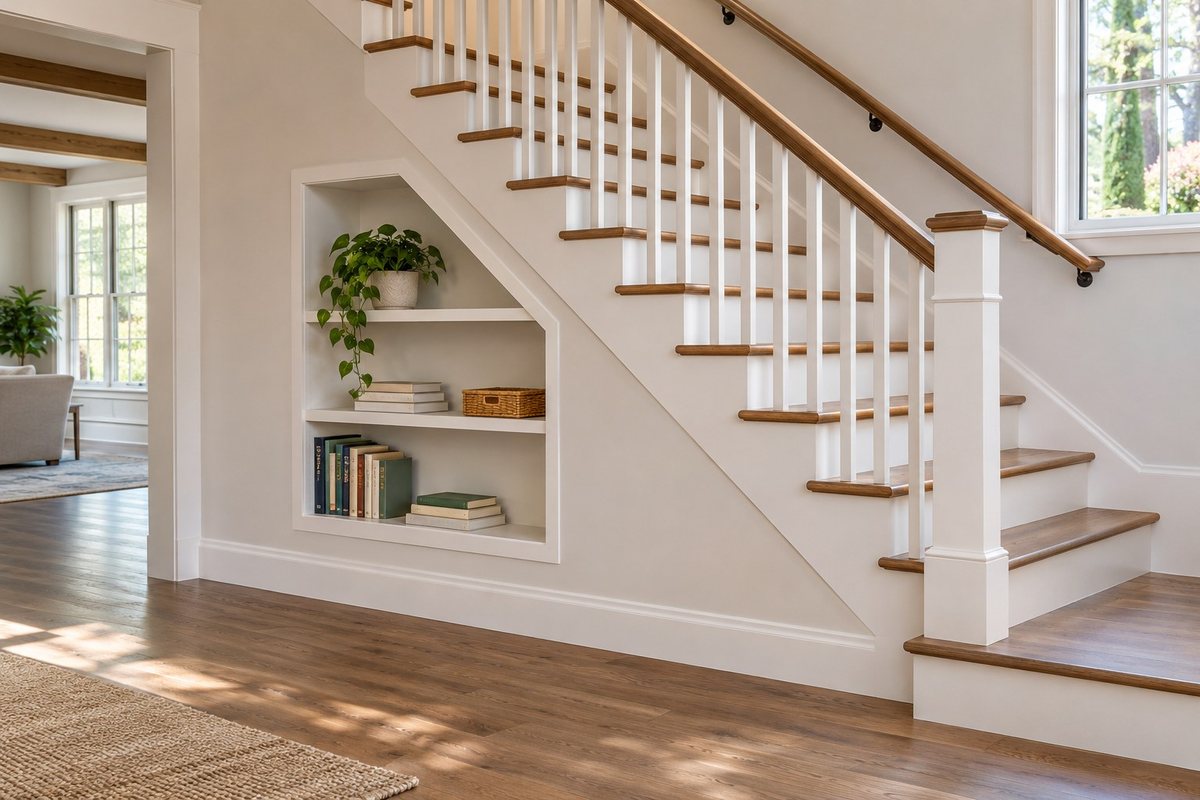
A low shelf in a recessed under-stair nook can hold books or a small basket. Keep the front within the recess so the shelf and its contents stay clear of the passage. Test the reach while standing where you will use it. Move the shelf or reduce the depth if you have to stand in the stair route to take out a book.
Use a stable, appropriately supported unit and follow its mounting directions. Keep heavier books on the lower shelf and leave room to lift them out without pulling other items forward.
27. Keep an Under-Stair Seat Where You Can Stand Easily
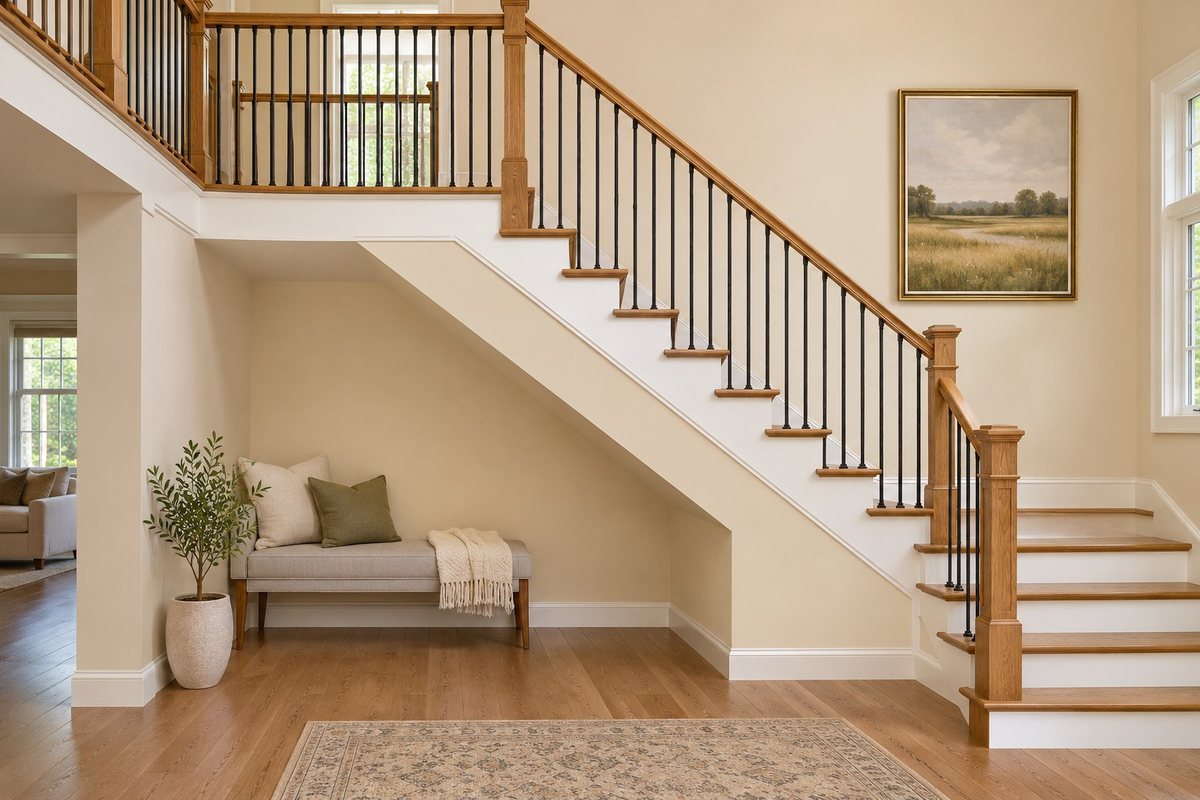
Use the taller end of a sloped recess if you want to put a small bench under the stairs. Try a chair of the proposed height there before buying the bench. Sit and stand normally, and check whether the slope is close to your head at any point.
Leave the floor in front open. Have a qualified professional check the recess if you are changing it, especially where the stair or wall structure is involved. If the seat is too low or awkward to approach, give that spot a shallow storage job instead.
28. Give One Plant a Spot Beyond the Stair Approach
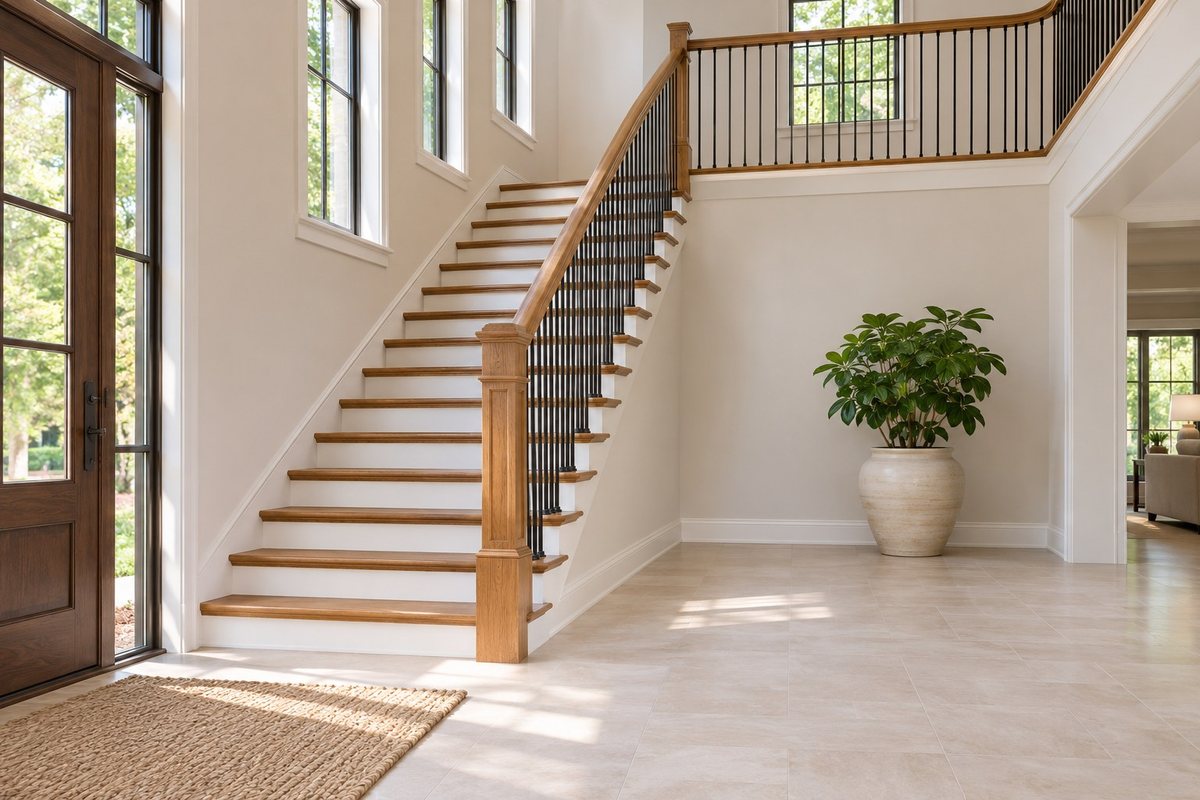
Put a single plant in a stable pot off the main approach to the stairs. Walk from the door with a bag and see whether you brush the container or the leaves. Keep the pot back from the first riser and away from the part of the rail you reach for.
Choose the plant for the light at that spot and use a saucer or a separate place to water it. These mudroom ideas can help you find a different place for shoes and bags if they also collect at the bottom of the stair.
29. Leave the Top Landing Clear of Furniture
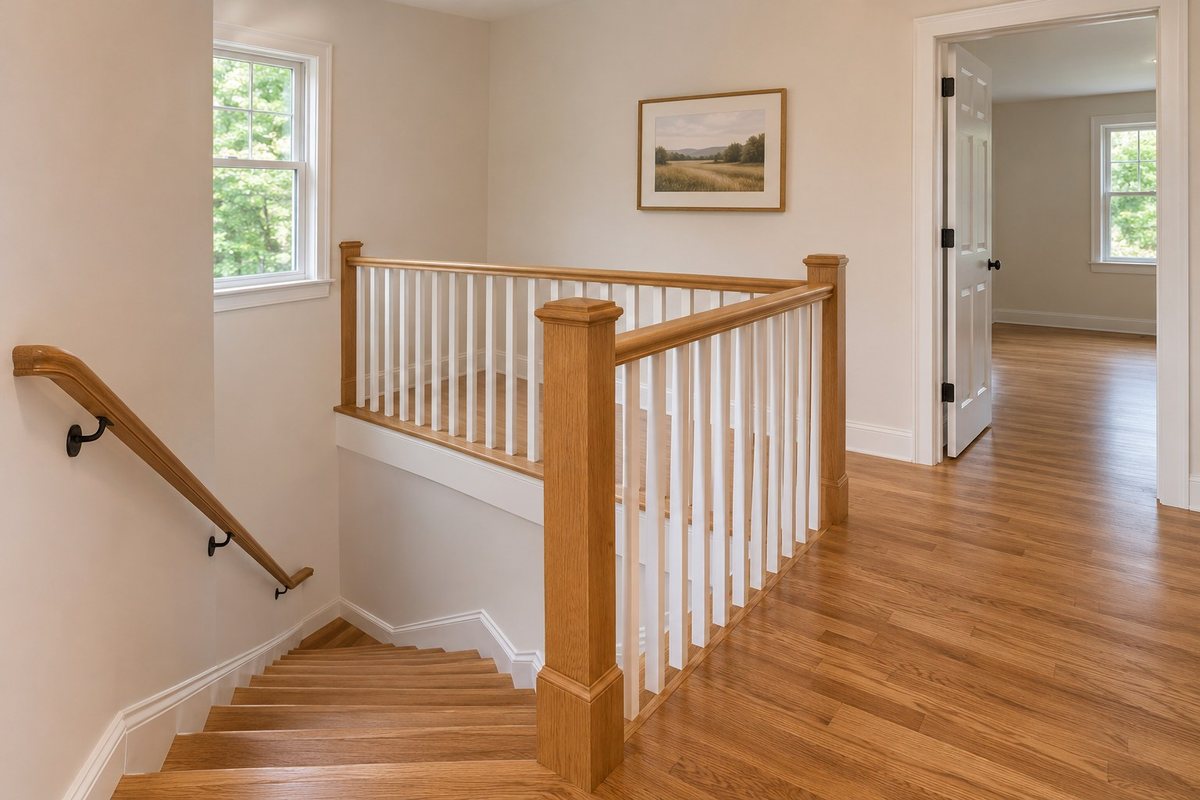
Keep the top landing available for people arriving from the stairs and opening doors. Try the door movements and walk toward the first step from each room. Leave the main floor area free of furniture, storage bins, and loose rugs. A picture on the wall can add detail while leaving the approach open.
Check the landing after dark as well. Make sure you can see the first step and reach the rail without changing direction around a piece of furniture. Ask a qualified professional to assess any proposed change to door placement or the landing itself.
30. Repeat One Material Across Two Flights
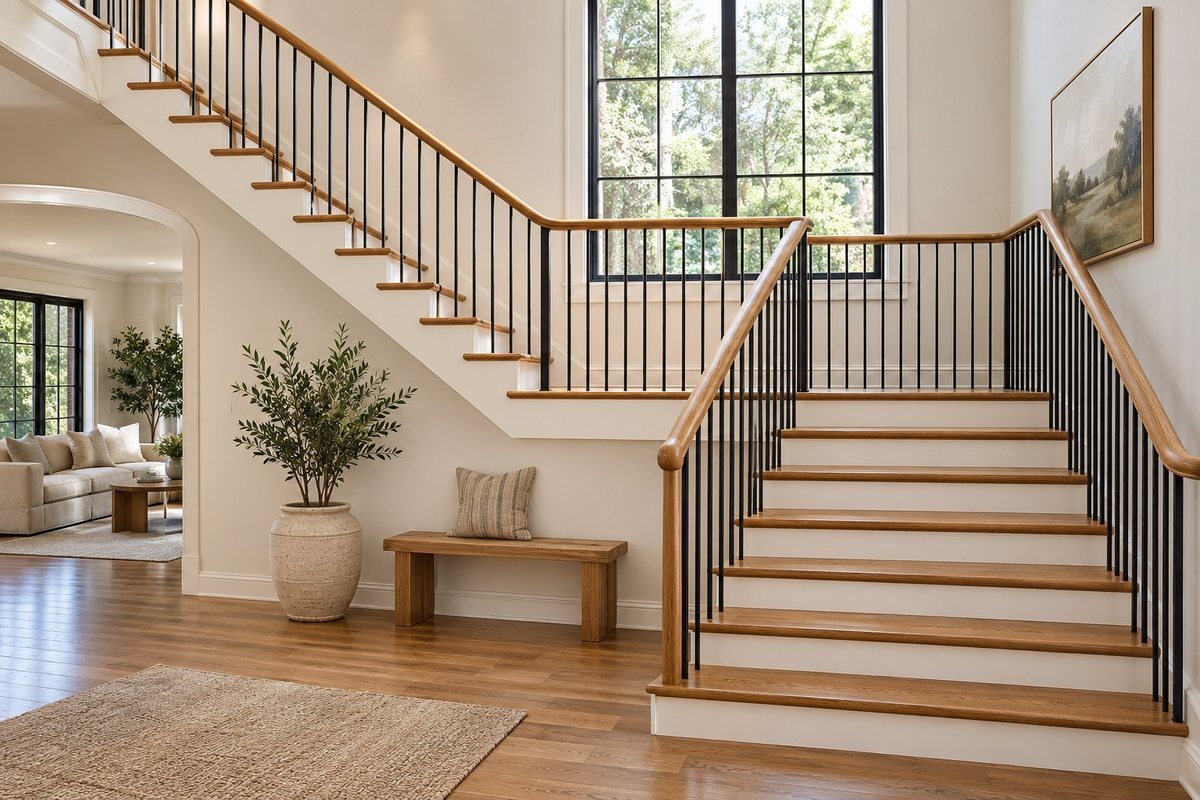
Use one repeated material to connect two stair flights. Matching wood treads or handrails can make the turns feel related, even when the wall color changes at the landing. Compare samples in both parts of the stair, since one flight may get more daylight.
Keep the level landing easy to distinguish from the steps around it. Check that any finish or covering will preserve the shape of the treads and the transitions. Have your installer verify the details across both flights before ordering enough material for only one section.
Begin with the parts you touch and see on every trip. Choose a finish that makes the stairs easier to read, preserve the rail and landing space, and add decoration where you can enjoy it from a level floor.
Discover more from HomeTrendora
Subscribe to get the latest posts sent to your email.