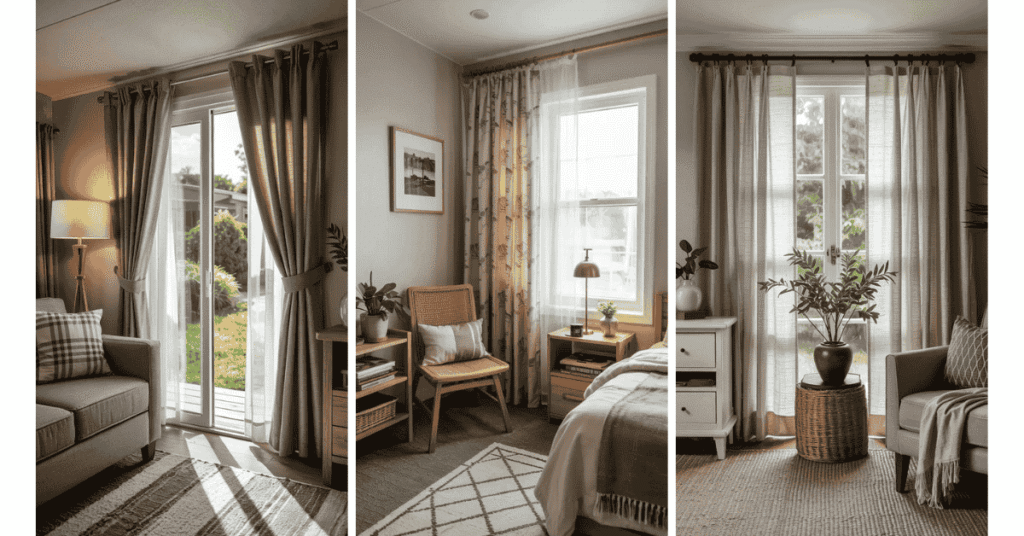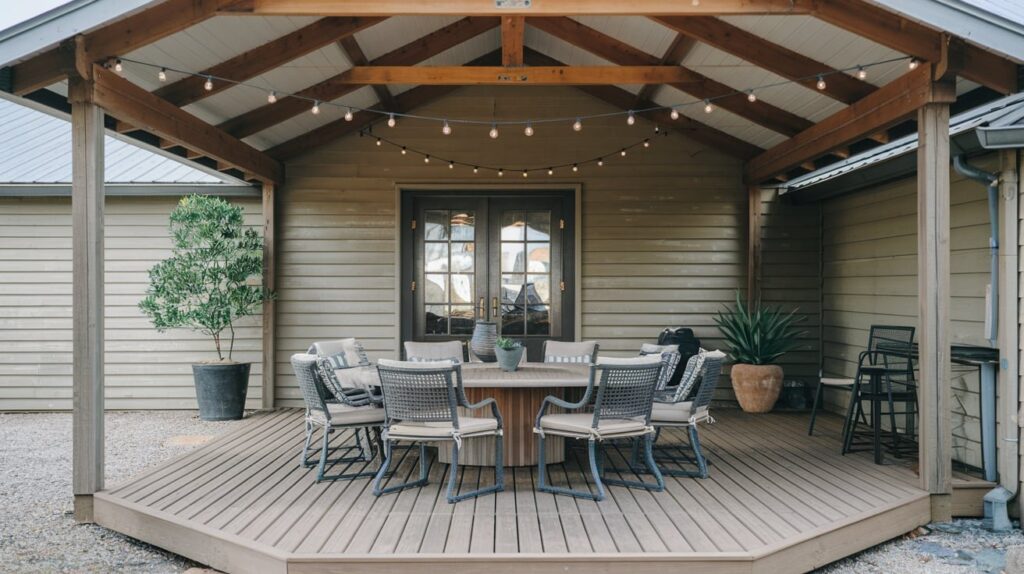
Look at the empty wall from the place you usually pass it. A big shape will be easier to see at the end of a hall. A fine weave or a little line drawing may be more interesting from the seat beside it. The wall’s position can tell you more about what will work than its size alone.
These 25 wall decor ideas use paint, wood, textiles, framed pieces, and useful storage. Start by checking what the surface can hold and what needs to stay open. Then choose a treatment with enough space around it to see the material, color, or shape you liked in the first place.
1. Give a Quiet Entry Wall Two Pale Wood Frames
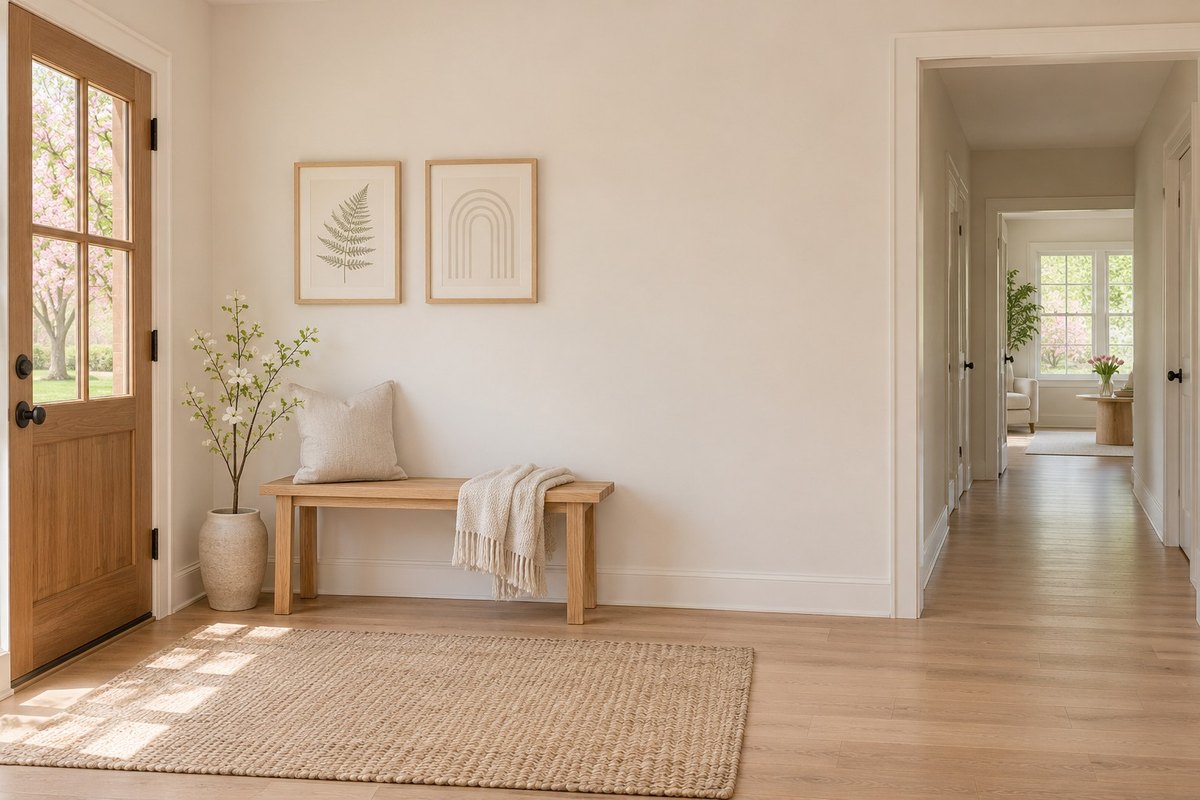
Put two pale wood frames on the wall of a quiet entry alcove. Try one simple line drawing and one image with a soft block of color. Keep the paper backgrounds close in tone so the pair reads as a group. Set the frames next to each other on a floor or table to find a gap you can see from the doorway.
Use suitable mounting for the wall and frames. Leave the door swing and route clear, and choose a side wall beyond a busy coat area. If the alcove is narrow, put one frame above the other and leave the lower area open for daily entry items.
2. Make a Farmhouse Gallery From Three Weathered Wood Frames
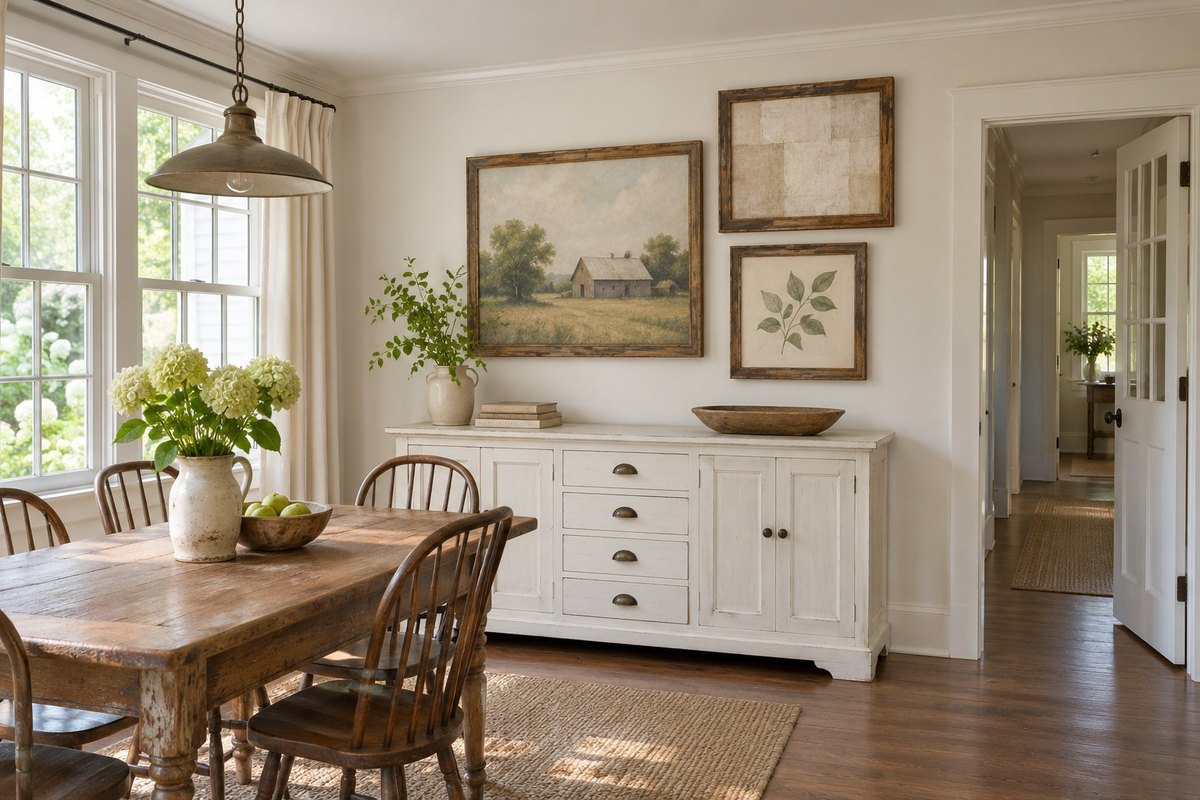
Group three weathered wood frames above a broad sideboard. Choose one recognizable scene, one small botanical image, and one quiet fabric or paper study. Hold the largest image where you can see it from the doorway, then put the two smaller pieces close enough to share its space.
Look for related wood tones rather than identical finishes. Make paper templates and adjust the grouping before mounting the real pieces with suitable supports. Check the frame backs before using anything secondhand. These living room gallery wall ideas show other ways to fit a grouping to the wall.
3. Fill a Tall Blank Strip With One Woven Hanging
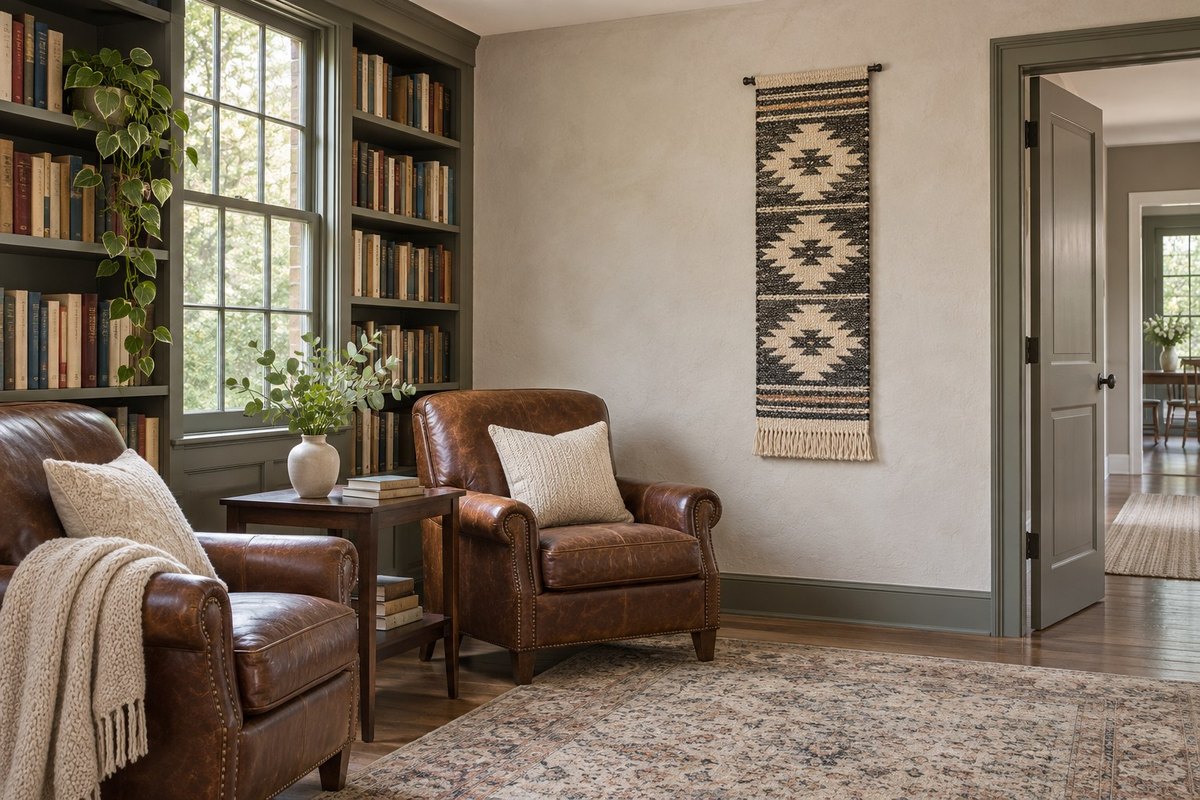
Put a narrow woven hanging on a tall wall strip with room around both sides. Try cream and charcoal if the wall is plain or choose one color already in the room. A weave with a small fringe lets you see the material without taking over a narrow alcove.
Keep the hanging flat against a suitable wall, clear of outlets, heaters, and door movement. Use hardware intended for the material and support. Let a few inches of blank wall show at both ends, judging the space from the doorway. If the hanging starts to feel like a curtain, choose a shorter shape that ends well above furniture.
4. Use One Shallow Picture Ledge for Rotating Prints
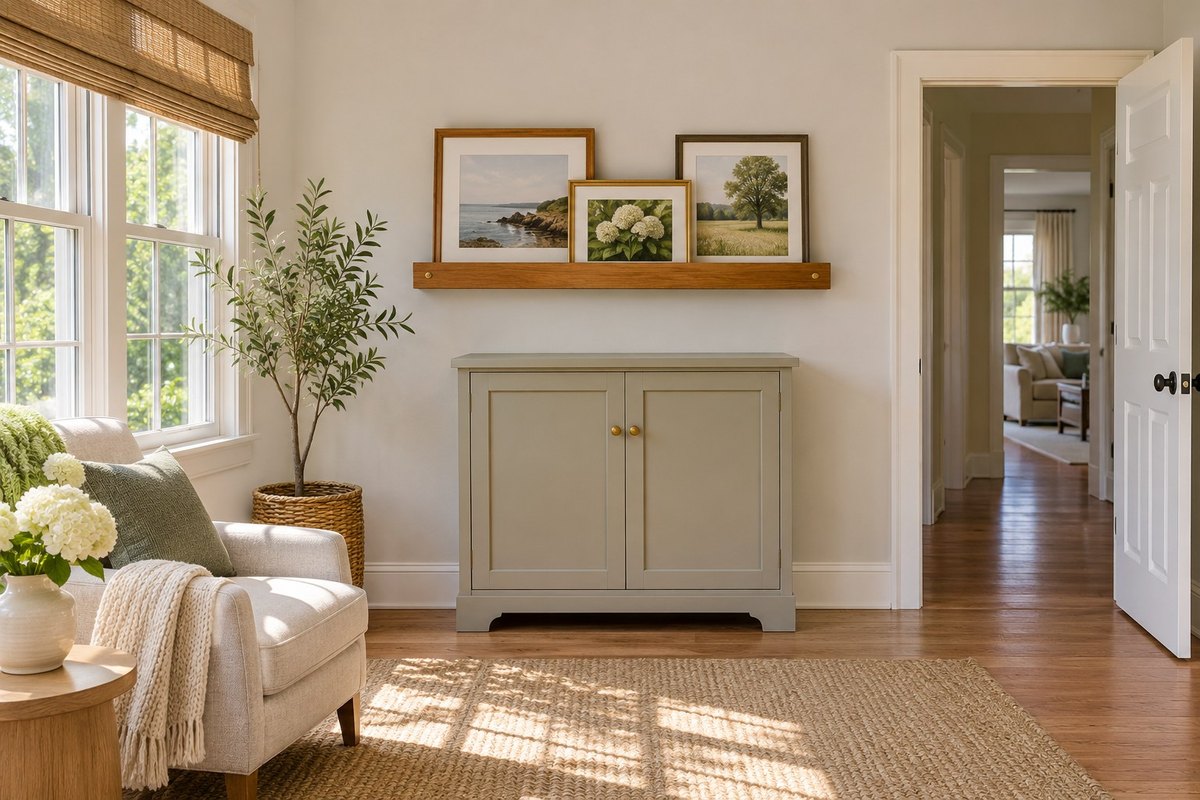
Mount one shallow picture ledge where you have a dry stable cabinet below and a clear wall above. Choose a ledge with a retaining lip and use small, lightweight frames. Put the taller print near one end and overlap its edge with a smaller piece. Leave the lowest part of each picture visible.
Follow the shelf maker’s instructions for the wall and combined load. Keep frames fully seated behind the lip and choose somewhere away from traffic and seating. Rotate one piece at a time when the display feels too familiar. A plain ledge can give three related prints room to change as you find new ones.
5. Let an Existing Brick Patch Stay the Main Feature
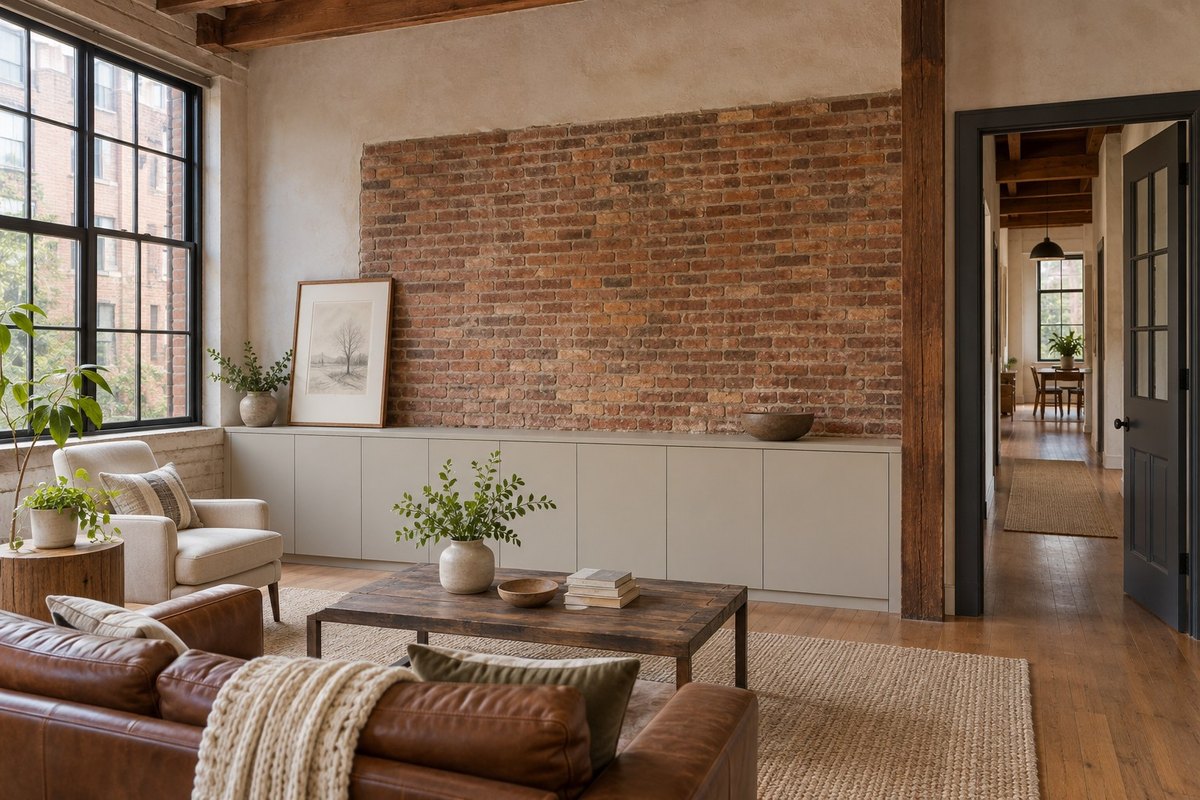
Let a patch of existing exposed brick carry the color and texture. Put one pale print on a nearby cabinet to one side, leaving enough room to see the brick edge. A little side light will bring out the rough surface and make a busy picture unnecessary.
Check the wall’s condition before doing anything to it. Avoid disturbing loose or damaged masonry and get help with repairs or mounting if its condition is uncertain. A lightweight framed piece on the adjacent plaster can add contrast without fixing anything to the brick. Keep large dark objects away from the center so the natural variation stays visible.
6. Group Small Collected Pieces Around One Graphic Print
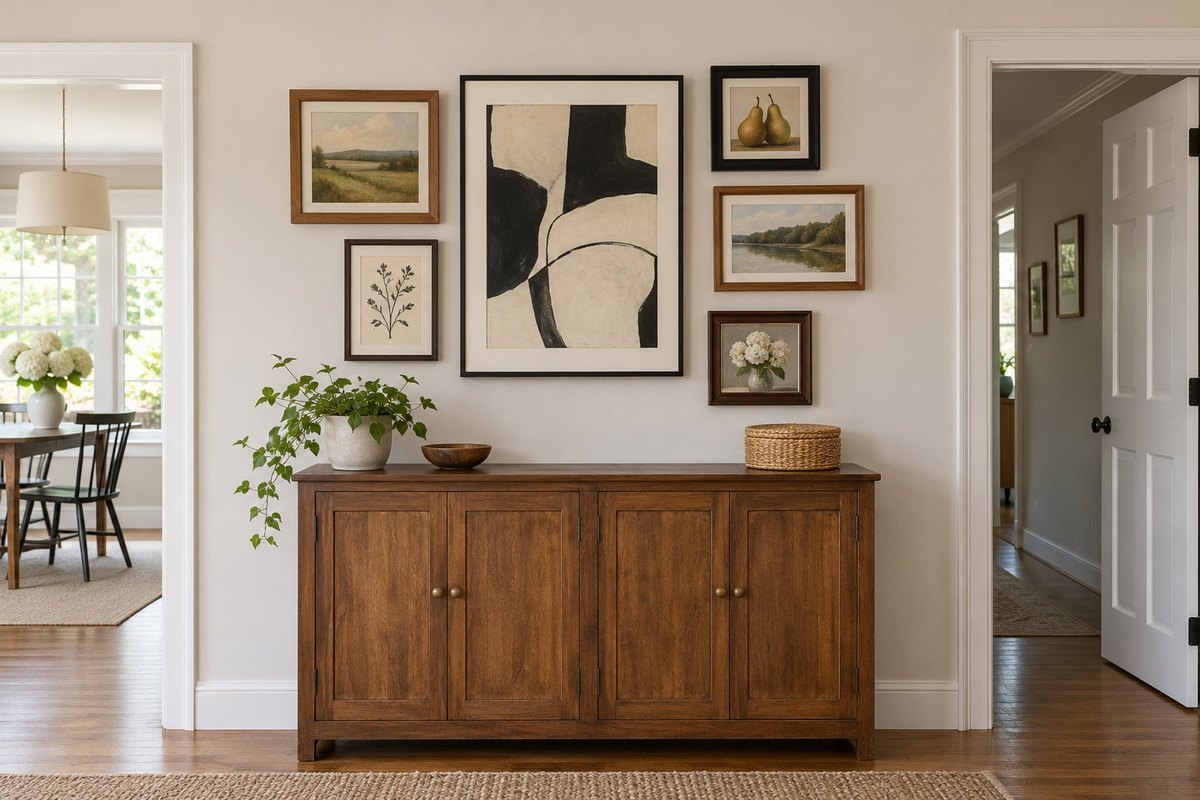
Choose one medium graphic print and place a few smaller collected images around it. A shared cream or charcoal detail can tie together different frames. Begin with the pieces closest to the largest print. Step back to check the overall outline before filling any gaps.
Draw the arrangement on paper templates before committing to hardware. Select a wall above a closed cabinet or another spot without seats directly underneath. Use mounts suited to each frame and the wall. Leave a little extra space around unusual silhouettes, such as a deep square frame, so you can tell where one piece ends and the next begins.
7. Place One Driftwood Shape Against a Matte Coastal Wall
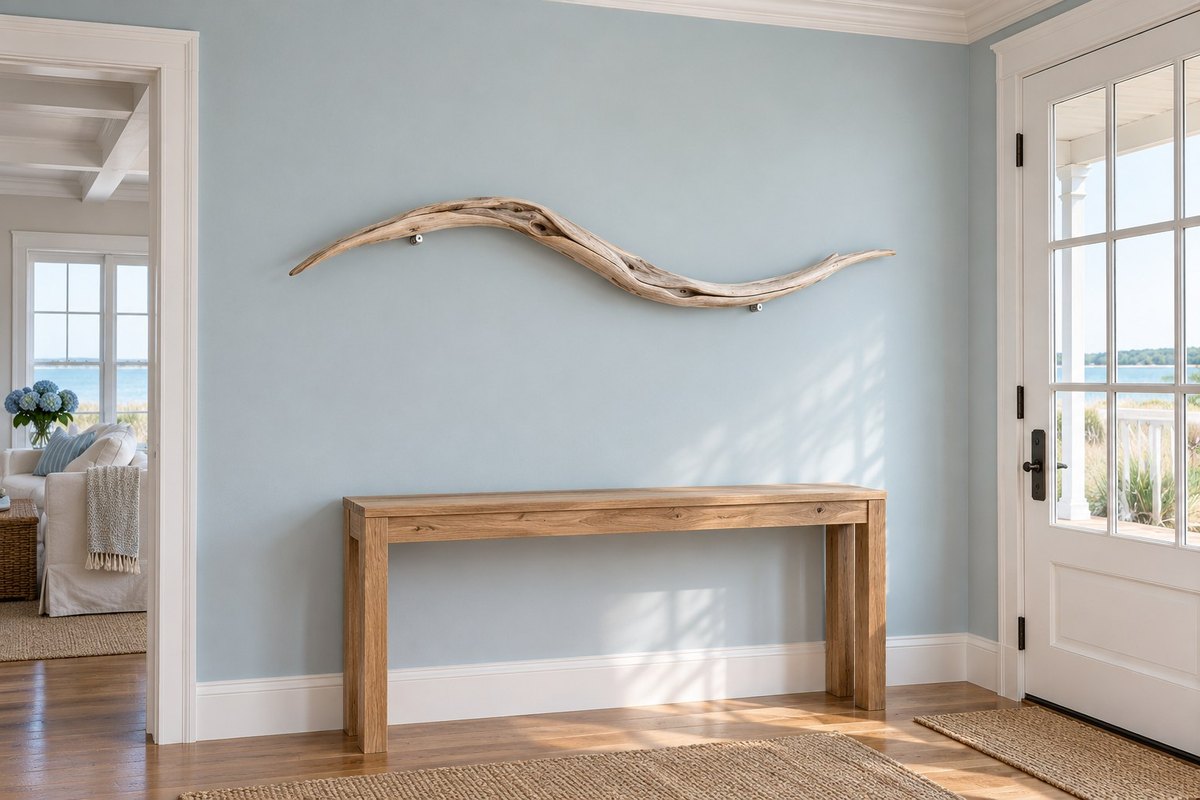
Find one slim driftwood piece with a curve you can see from across the room. Put it on a soft blue or warm white wall and leave it as the only decoration in that section. Turn it so the strongest bend stays visible from the doorway. Natural side light can show the grain more clearly than an overhead light.
Use a clean, dry, sound piece. Check its weight and shape and choose a secure mounting method suitable for both the wood and wall. Stay away from doorways and seating. Use a lightweight ready-made wall piece if the driftwood has weak sections or cannot sit close to the wall.
8. Paint a Midcentury Geometry Panel in a Shallow Alcove
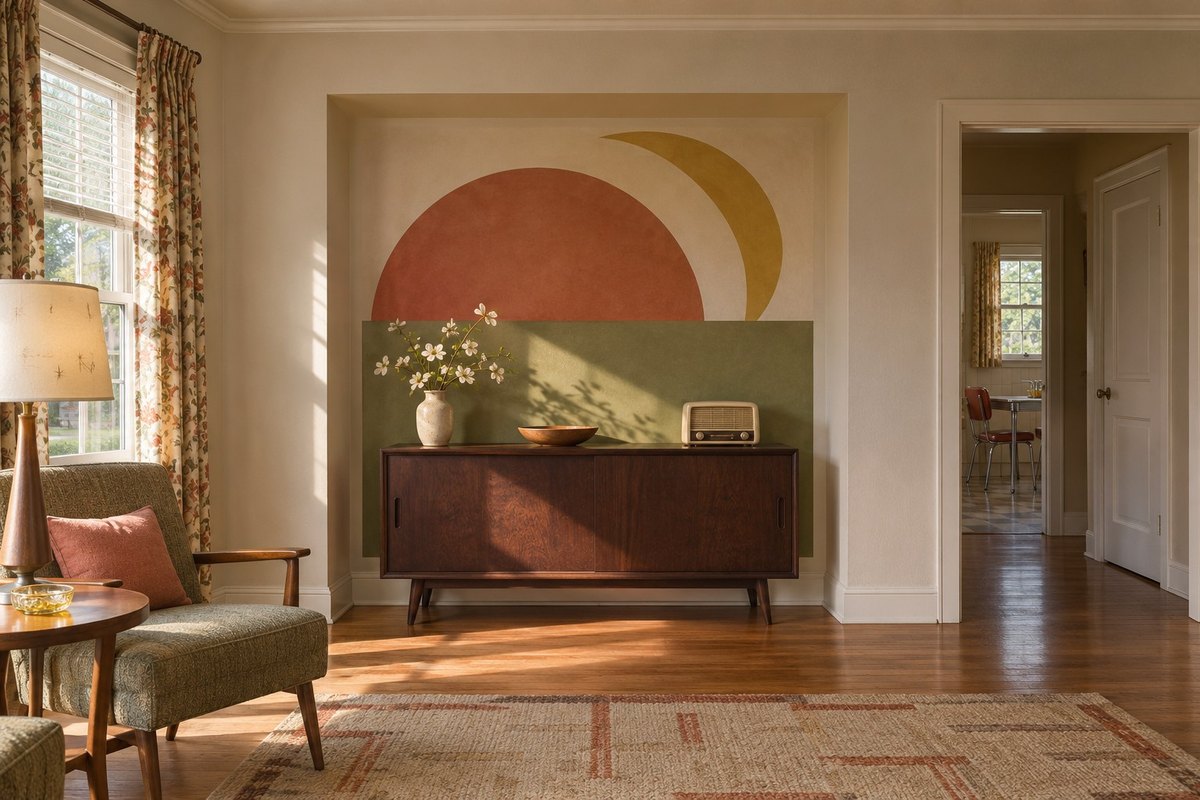
Choose a shallow alcove and paint a bounded rectangle of three midcentury shapes. A terracotta semicircle, a faded olive block, and a narrow ochre curve can share one area. Make paper samples first and check them from the room entrance. The farther away you view the panel, the simpler the shapes can be.
Let the architecture end the design. Keep the color block inside the wall edges and leave a little margin from the trim. Use products suitable for the surface and follow their preparation and ventilation instructions. Leave the surrounding wall quiet to make the hard-edged design easier to read.
9. Try a Small Plant Wall With Removable Pots
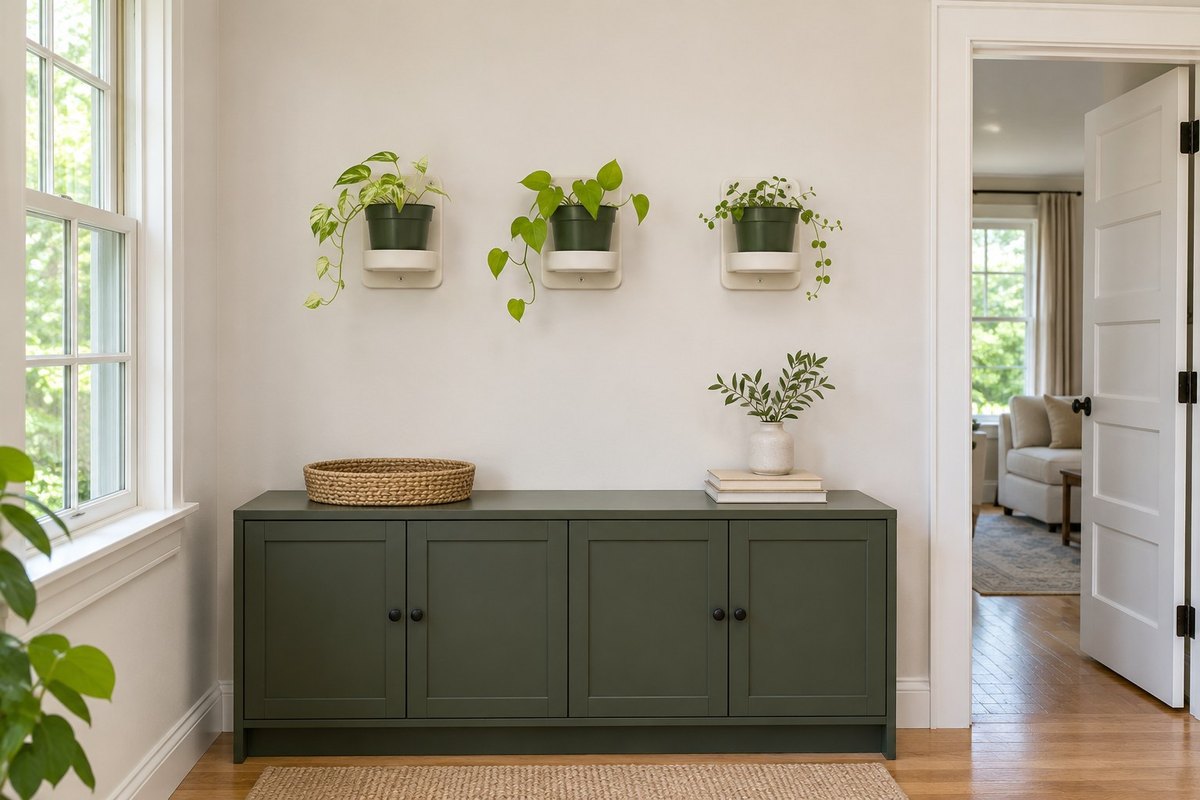
Start with three small plants in separate wall holders over a dry low cabinet. Keep each plant in a removable nursery pot and select a holder that can catch drips when the pot is returned. Look at the wall through a full day of light before choosing the plants. Leave some space between leaves so each pot is easy to reach.
Use the system’s approved mounts and consider the load of a watered pot. Take each plant out to water and let it drain before returning it. Keep leaves contained and choose somewhere away from outlets or heat. Try one plant first if you are unsure how much maintenance the spot needs.
10. Use One Art Deco Mirror With a Stepped Shape
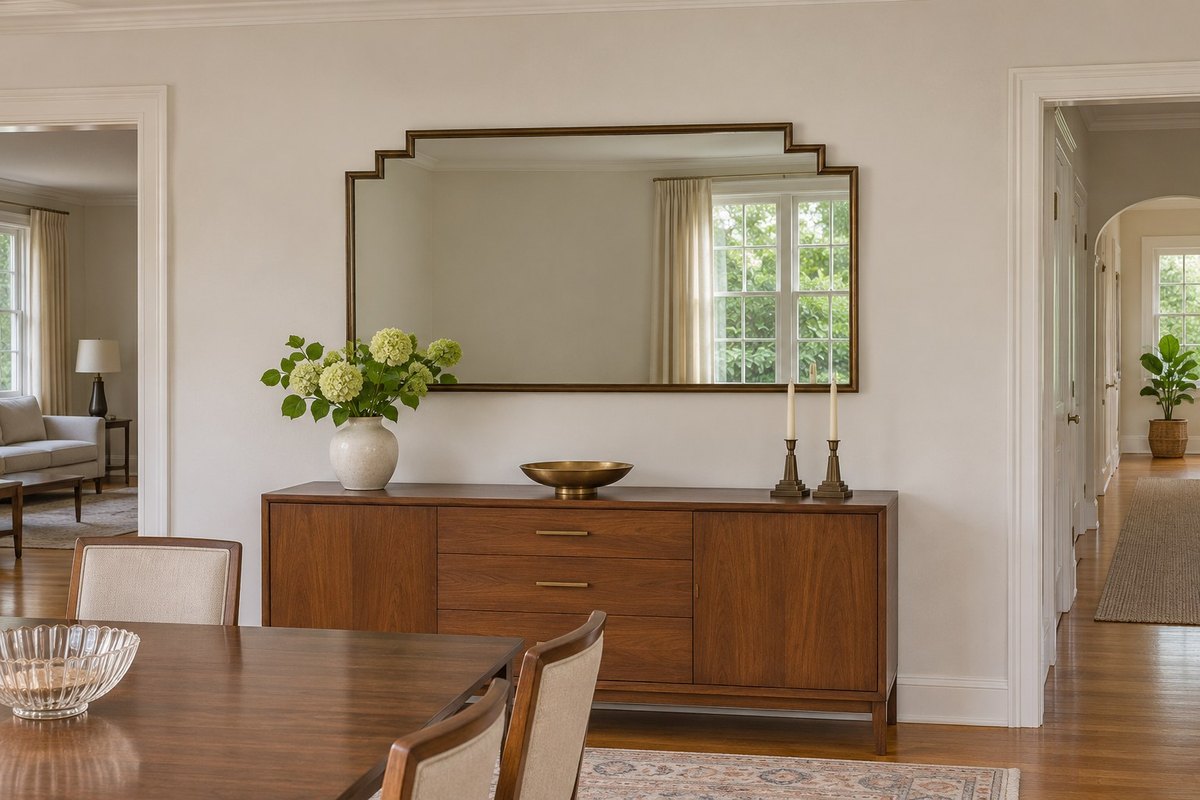
Choose a mirror with one strong Art Deco detail, such as a stepped top and thin bronze-tone frame. Hold a paper outline against the sideboard wall to see whether it balances with the furniture below. Look at what the mirror will reflect. A side window or pale wall can help the shape stand out.
Use the maker’s specified mounting system and supports suited to the wall and weight. Get an installer for a heavy piece or an uncertain wall. Move tall objects away from the mirror’s lower edge so the stepped shape stays clear. A simple room can take this one detailed frame without another wall grouping nearby.
11. Put a Framed Map Where You Pause in the Hall
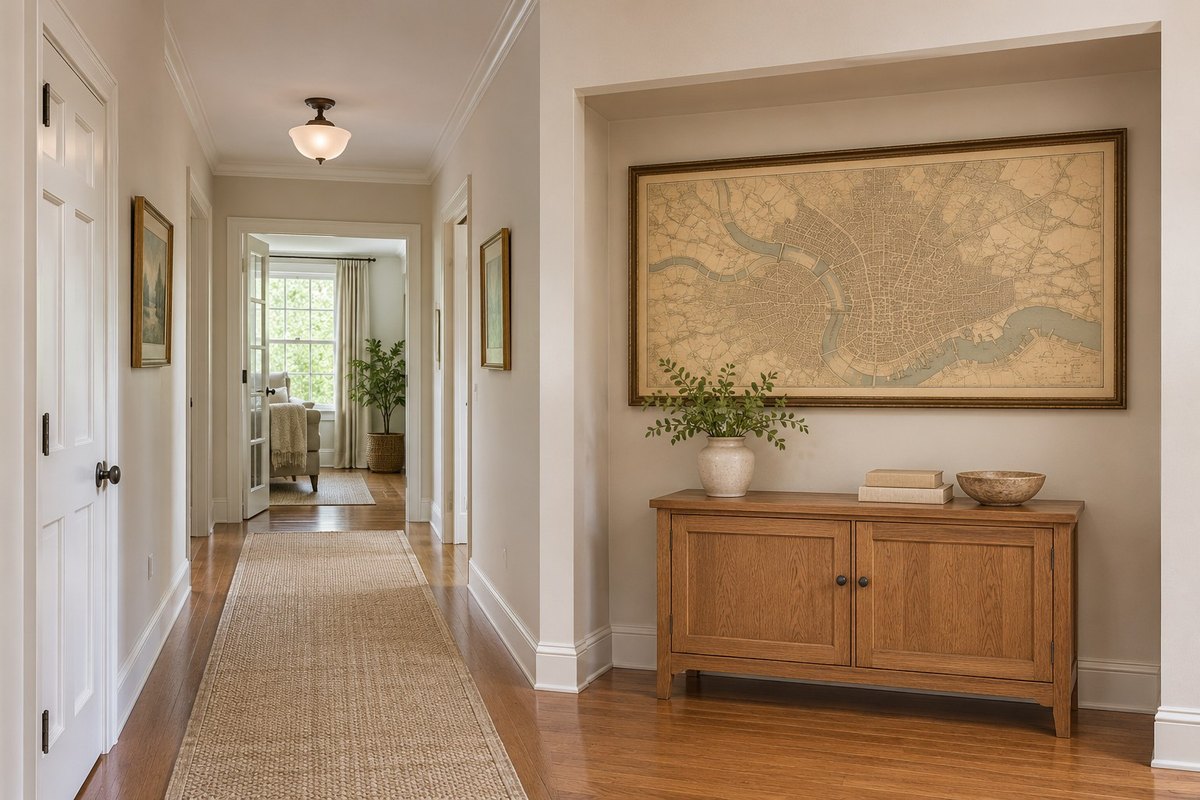
Pick a map of somewhere you remember and give it a wall in a hallway recess or at the end of a room. Tan lines or washed-out blue can keep a large map quiet. Pick a frame with an opening large enough for the shapes you want to see, especially if roads or coastlines matter to you.
Put it where someone can pause without blocking the walk. Use a suitable support and choose indirect light for delicate originals. A reproduction works well for a bright wall. Keep the console below open or use just one low object so a person can come close and study the details.
12. Combine Three Textures Within One Warm White Palette
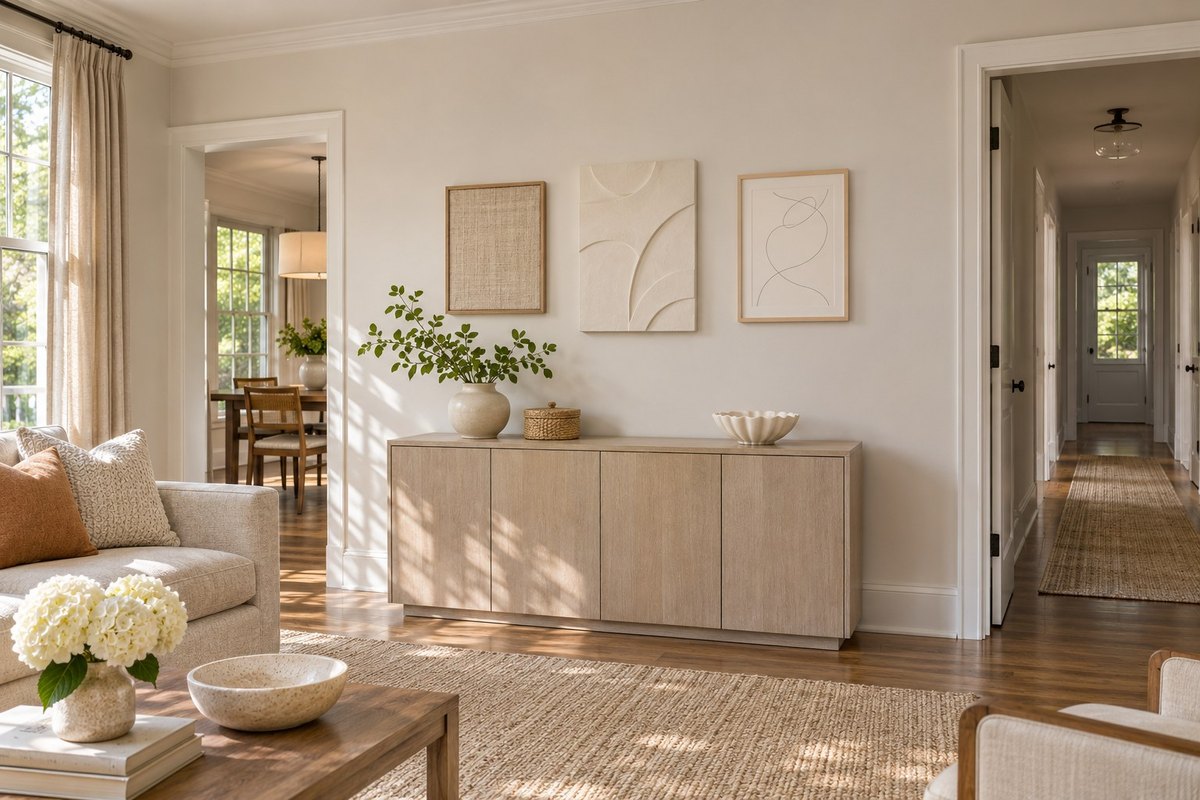
Choose three pieces in closely related warm whites, each with a different surface. Try a small textile on a frame, a shallow matte relief panel, and one simple paper drawing. The color stays quiet while the shadow tells you which material you are looking at. Test the group where daylight enters from the side.
Use lightweight pieces and secure mounts suited to the wall. Avoid putting brittle pieces over seating. Start with the tallest shape and give the others room for their edges to show. If two textures blend together under the room lights, try shifting one to a spot where light reaches it at an angle.
13. Put a Small Removable Decal Scene on a Playroom Wall
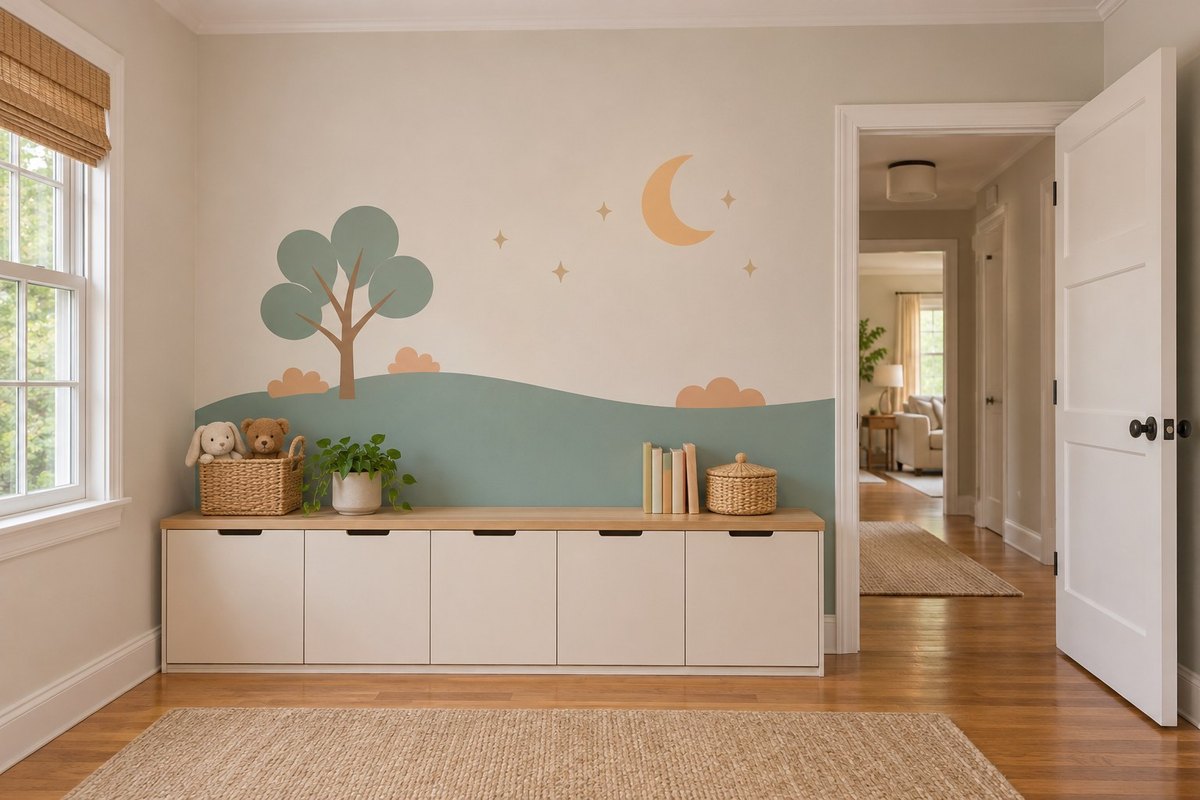
Make a small hill-and-moon scene with removable decals on a suitable playroom wall. Start with the horizon and add one tree and a few separate shapes. Test a sample according to the maker’s directions before putting up a whole scene. Keep the colors close to the storage or rug already in the room.
Use wall decals appropriate for the intended room and follow the maker’s placement guidance. Keep small loose pieces away from children, remove peeling pieces promptly, and avoid placement where furniture gives climbing access. A scene kept on one wall can leave the rest of the room easy to rearrange later.
14. Set One Small Framed Piece Above Painted Wainscoting
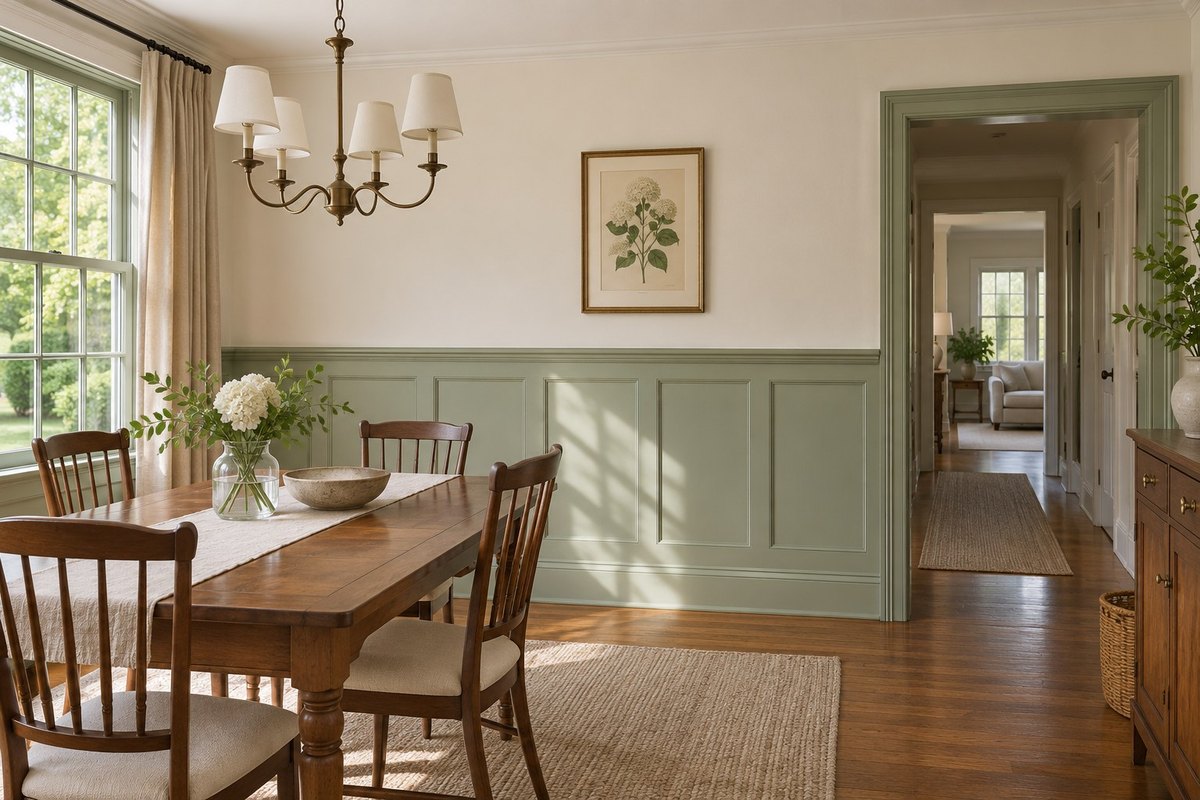
Center one modest botanical print above an existing wainscot panel. Let the panel width guide the picture instead of trying to center it across the full wall. Hold the frame or a template in place and leave space between its lower edge and the top of the trim. The blank area makes the molding easier to see.
Use a frame that looks lighter than the trim detail if the room already has busy paneling. Mount it in the suitable wall surface, clear of seats and door movement. These color drenching ideas offer more ways to use paint where walls and molding meet.
15. Make a Plate Display From One Narrow Color Range
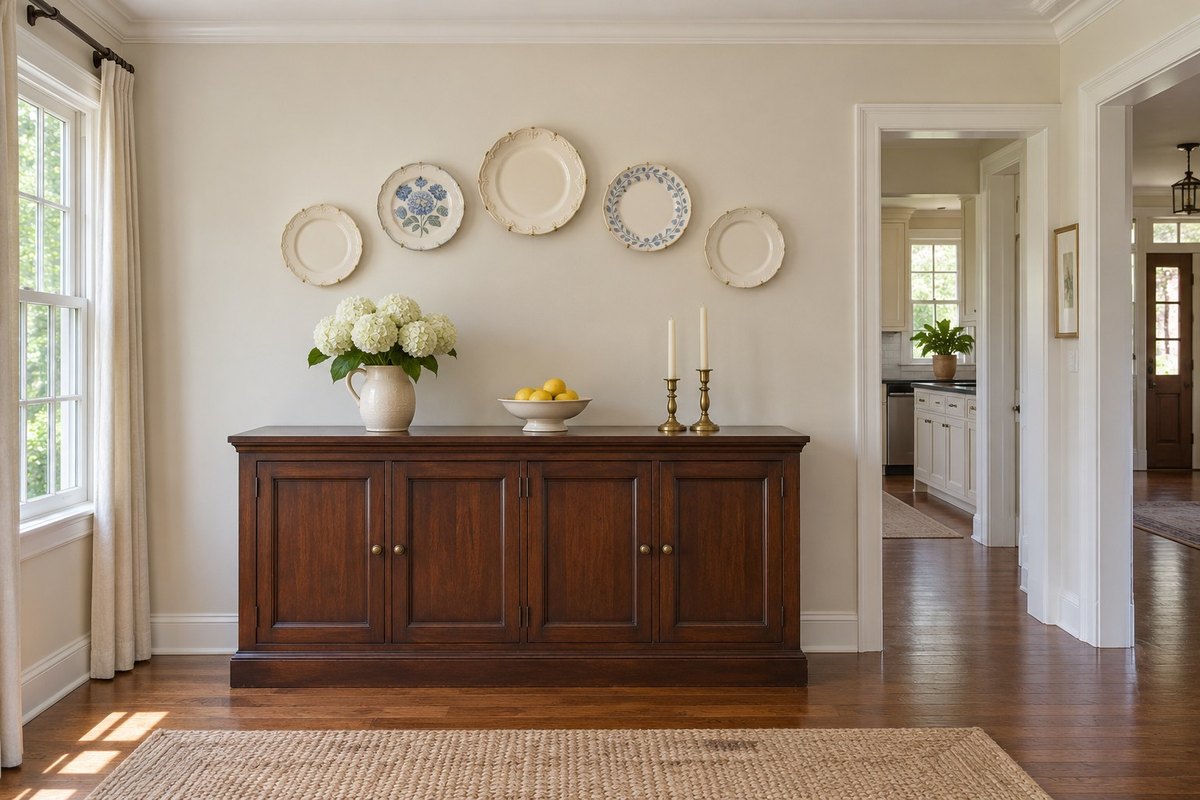
Group a few small decorative plates in two related colors, such as warm white and faded blue. Lay them out on a broad flat surface first. Put the widest piece near the center and see how smaller shapes fit around it. A shallow arc leaves a little space for every rim.
Use display plates in sound condition and suitable hangers with supports that match the wall and individual load. Use an area above a buffet instead of above seating or a route. Keep a fragile or valuable piece in a cabinet if it cannot be supported securely. A few sizes in the same palette are enough.
16. Use One Dark Bookcase Bay as a Wall Feature
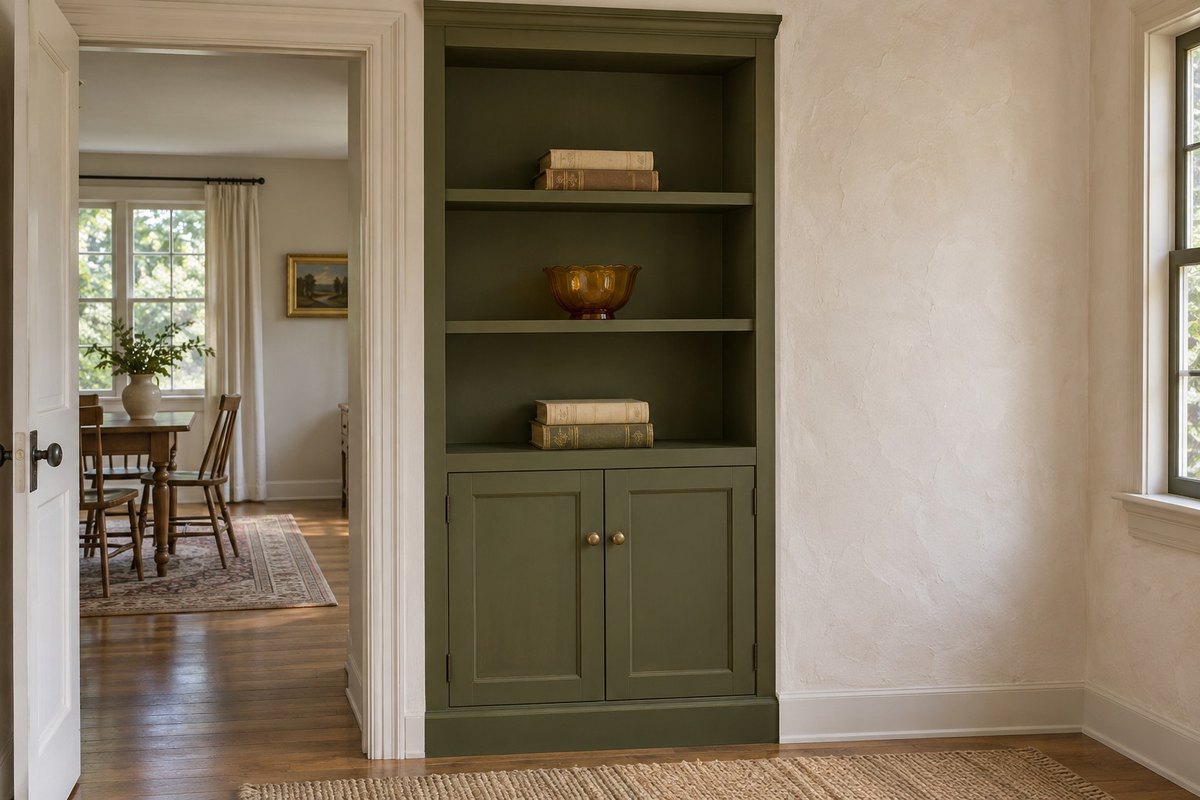
Use one dark bookcase bay as a feature wall rather than filling every shelf. Deep olive or charcoal gives lighter book spines a clear edge. Put short groups of books on only part of each shelf and leave the rest open. Repeat one warm finish in a small object or a bookend.
Use secure shelving with suitable support and follow the furniture maker’s anchoring and load guidance. Keep heavier books lower and leave shelf edges clear. Choose a cabinet with lower closed storage if the room needs a tidy place for everyday items. These built-in shelf ideas show other useful room placements.
17. Paint an Abstract Brushstroke Across a Short Wall
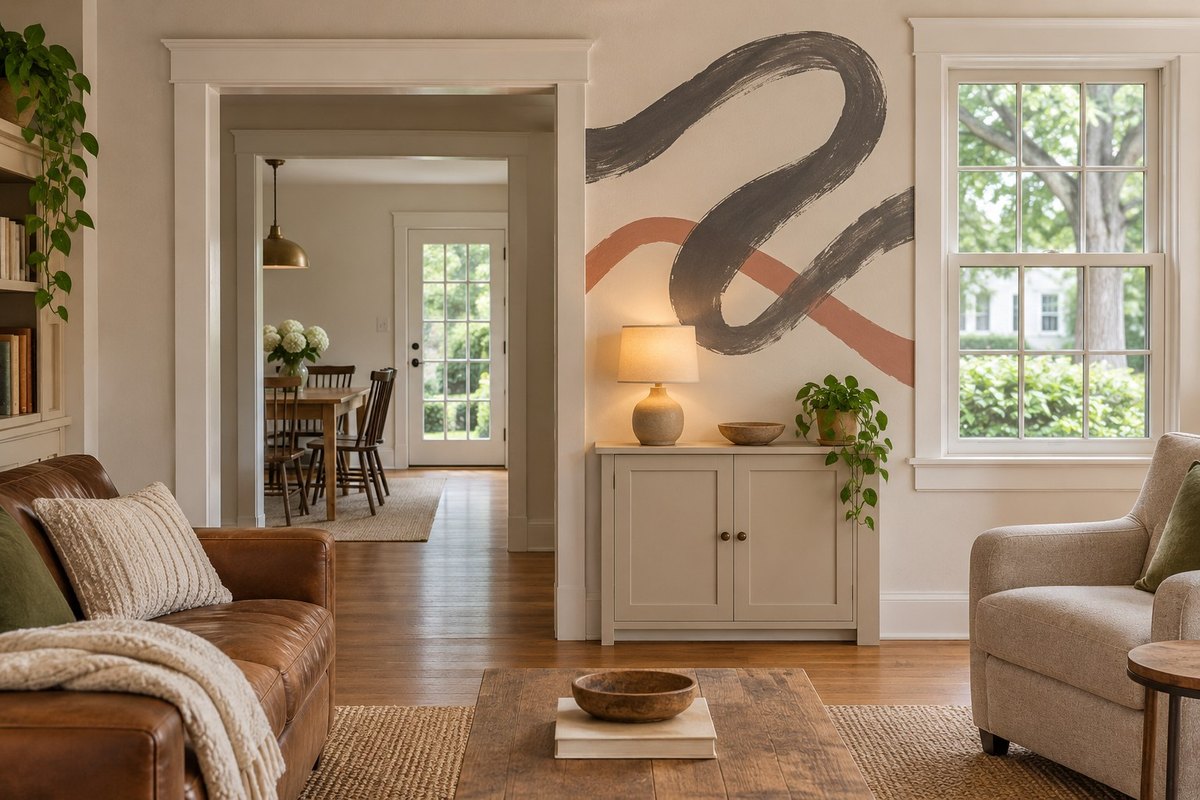
Use one short wall for a pair of oversized abstract brushstrokes. A broad charcoal curve and a softer clay shape can fill the area without much detail. Try both shapes on paper and decide where you want the wider ends. Leave space between the marks and the trim so you can see how far each travels.
Use a paint suited to the wall and follow its application instructions. Keep the brushwork on one plane. A dry sample will show whether the colors look too strong after the room lights come on. If you want a reversible version, paint one lightweight canvas with the same shapes.
18. Mix Two Small Vintage Mirrors Above a Low Cabinet
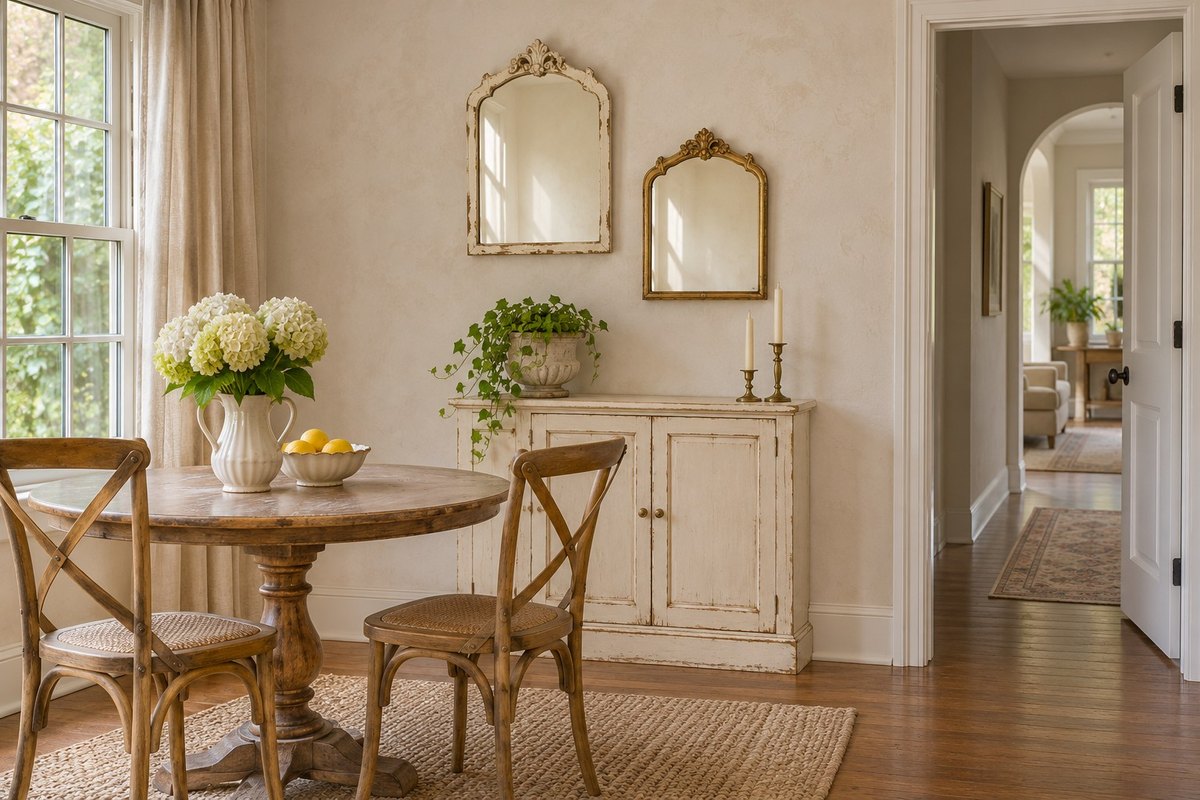
Put two petite vintage mirrors above a low cabinet. Choose different frame shapes or profiles with a similar pale finish, such as cream-painted wood and worn brass. Set one higher to keep the two edges from forming a line. Check both reflections from the doorway so the group has a quiet backdrop.
Examine the frames and backs before mounting an older mirror. Use supports suited to the wall and each piece. If a mirror is unusually heavy or the backing is loose, get it checked before hanging. Keep fragile mirrors away from door movement, seats, and daily traffic. The arrangement works with two pieces and room around them.
19. Let One Oversized Artwork Fill a Wall End
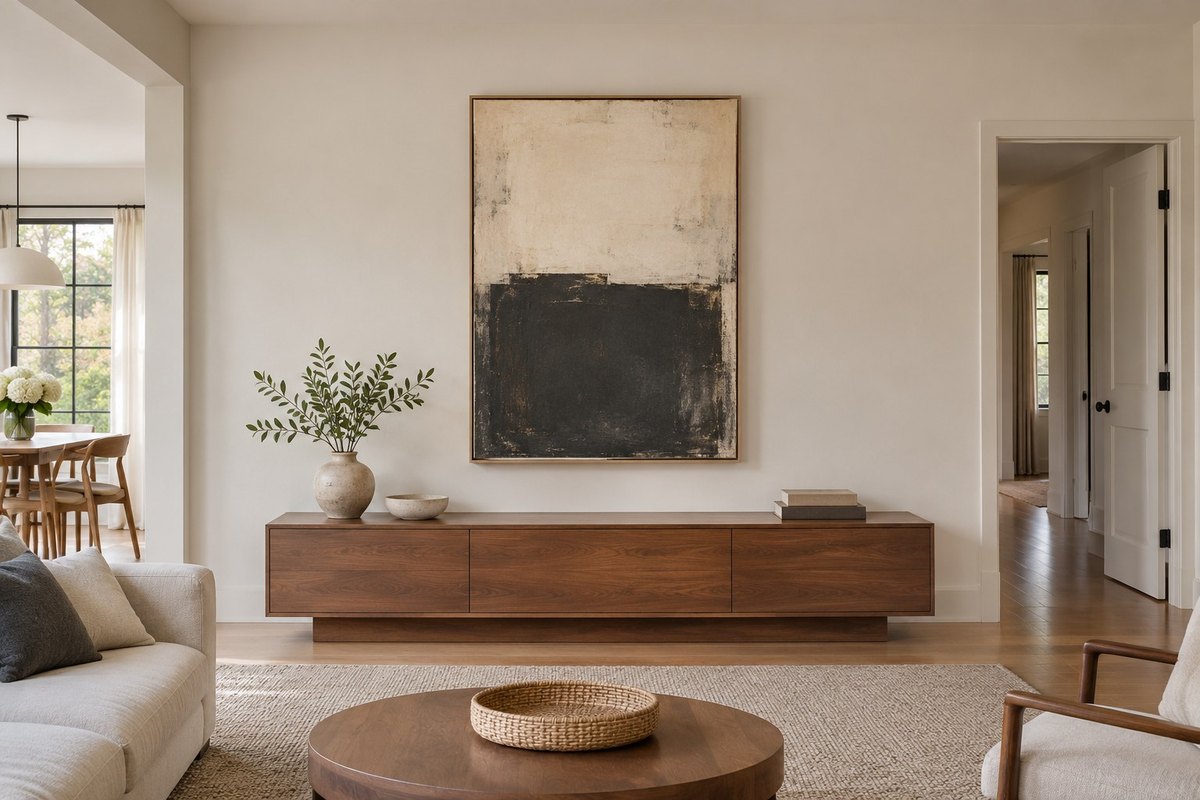
Use one oversized print on the end wall of a room or an open entry. Choose a simple graphic shape that will read before you get close. Cut a paper template to the art’s full dimensions and try it above a low console. You can see whether the space around the edges is enough before buying or moving the piece.
Pick a lightweight frame if the wall or location has limited support. Follow the maker’s mounting guidance and have heavy pieces installed by someone qualified. Leave the rest of the wall plain. A small frame beside the large one often makes it harder to see the original proportions.
20. Display Favorite Record Sleeves in Purpose-Made Frames
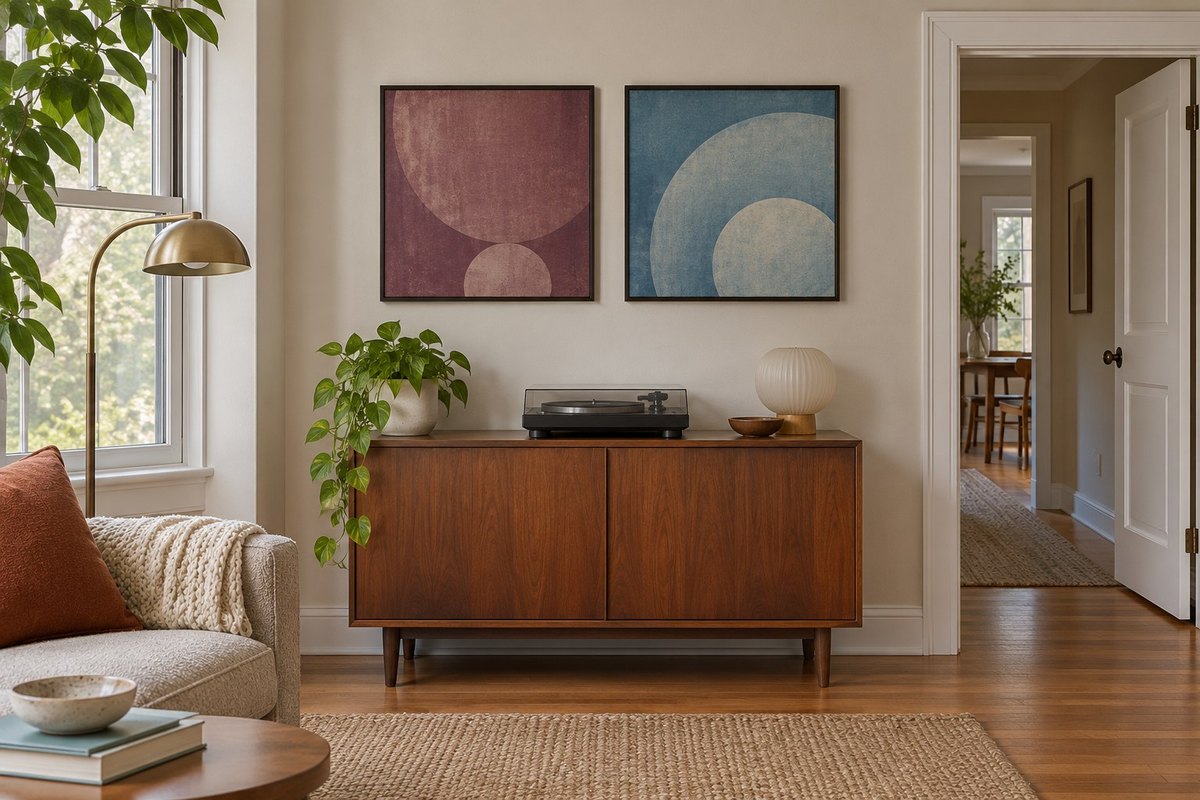
Frame two favorite record sleeves in purpose-made square frames. Choose covers with colors or graphic shapes that speak to each other. Put them on the wall near a media cabinet with room around the edges. Store the records separately in appropriate protective sleeves if you still play them.
Keep older jackets out of direct sun and avoid pressing or taping them into a frame. Use a reproduction for a rare sleeve that is too delicate to handle. Put the frames on suitable wall supports and leave space for the turntable lid to open fully. Change one cover when you want to refresh the color in the corner.
21. Make a Stone Accent Work on One Small Return Wall
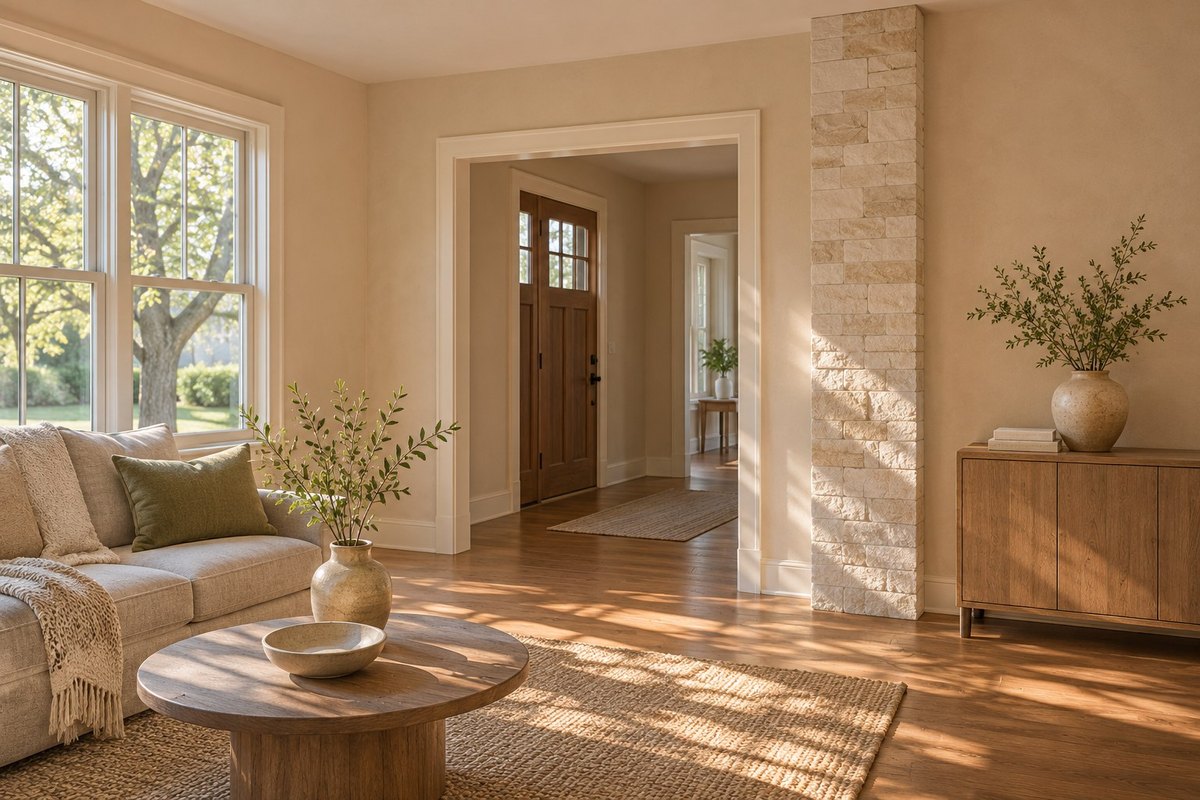
Use a small return wall for a pale stone accent. Let the adjacent plaster show at both sides so you can read the full edge of the finish. Compare samples when the light is moving across the surface. A quiet limestone look can carry enough variation on a narrow wall without another large feature nearby.
Get professional guidance for installing stone or veneer. The right material depends on the support, location, and installation system. Consider a lightweight manufactured finish if the wall cannot take real stone. Keep trim and openings functional, and leave the nearest piece of furniture plain so the textured return can stand by itself.
22. Put One Bright Pop Art Panel in a Neutral Corner
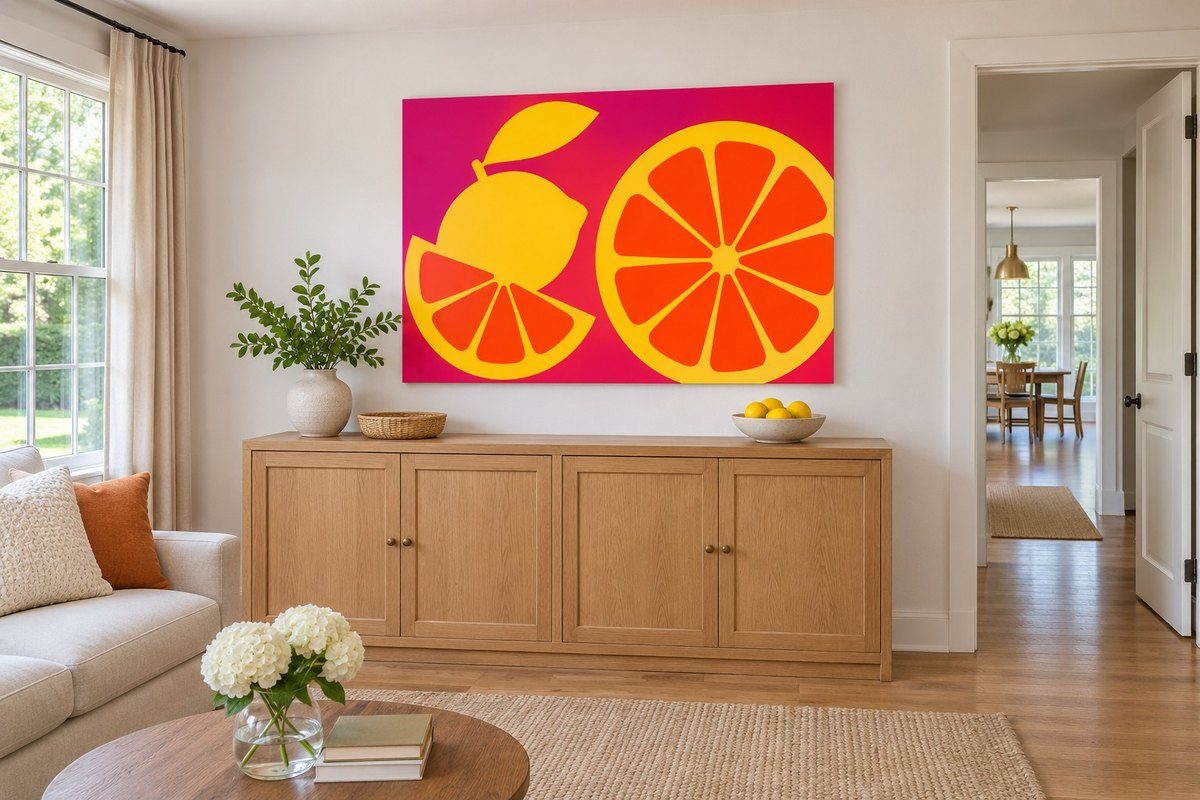
Use one bright panel in a quiet corner, such as a stylized citrus print in yellow and fuchsia. Put it above a plain wood cabinet and leave the nearby wall empty. Try the colors against a sample of the existing paint before choosing a frame. A simple surround gives the color room to carry the whole idea.
Mount the piece with supports intended for its size and the wall surface. Use a light print if you expect to rotate it with other pieces. Keep the cabinet top plain enough to see the artwork when you enter. One small object in a color from the picture can tie the cabinet and wall together.
23. Use a Watercolor Wash to Soften an Alcove
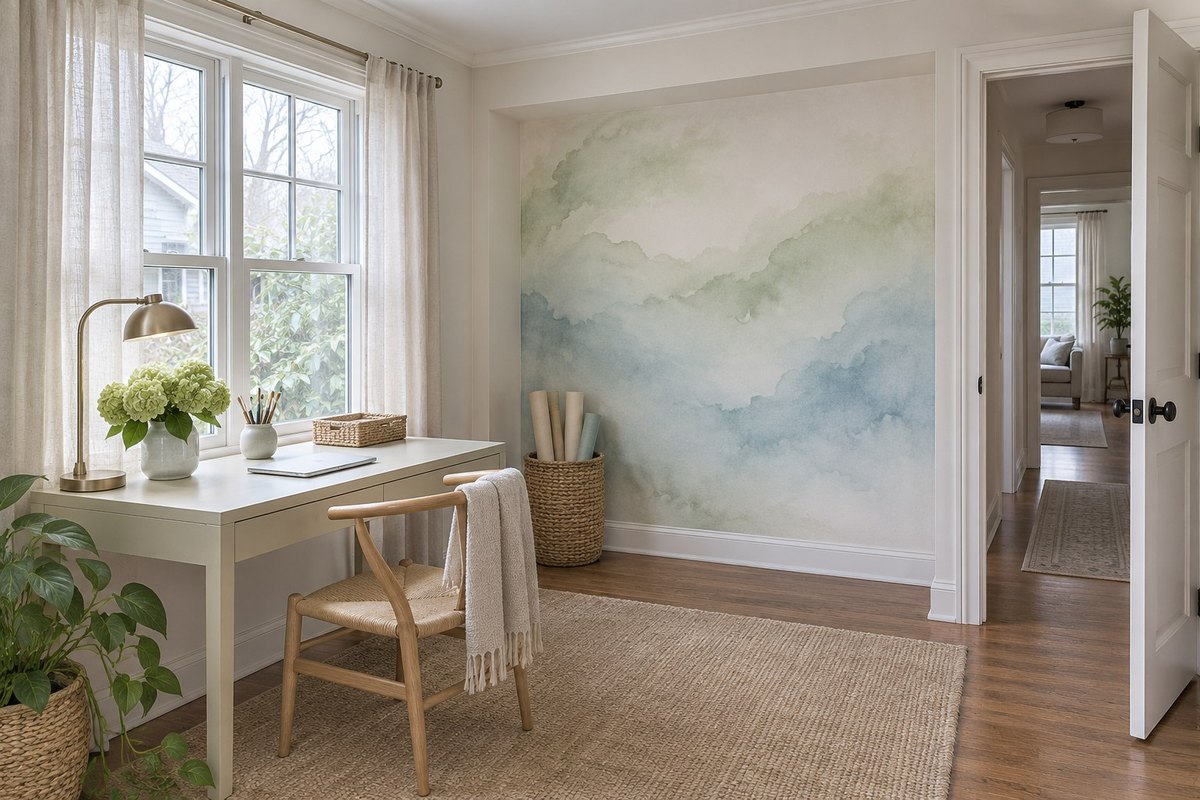
Try a pale wash of sage and dusty blue in a shallow alcove. Work with soft edges and leave more white near the trim. Make a sample board first to see how the colors dry. Look at it under daytime and evening light, especially if the wall is next to a work surface.
Use materials intended for the wall and follow the maker’s instructions. Keep the wash to one plane or choose a large lightweight watercolor-style print for a smaller reversible change. Let the nearby trim stay plain. Soft irregular edges look more intentional when the area ends clearly at the alcove opening.
24. Organize a Work Corner With a Low-Profile Pegboard
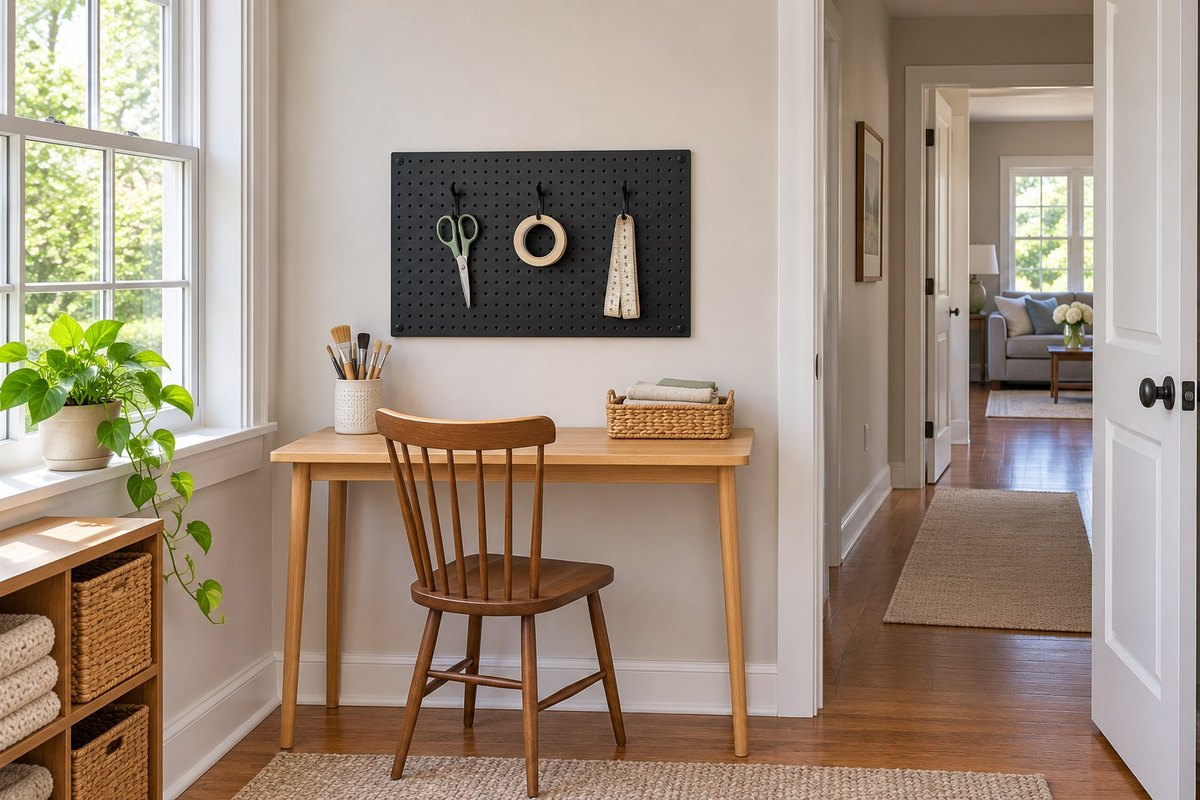
Use a compact low-profile pegboard over a dry desk. Measure the width and height you can reach comfortably from the work position. Put two or three light everyday tools in visible spots, then leave spare holes open. Move one hook at a time to see what makes the desktop easiest to clear.
Use the panel’s specified wall supports, compatible hooks, and the maker’s load limits. Keep sharp items away from children and clear of work movement. Check that anything you lift off has room to clear the wall and desk. These hidden storage ideas give alternatives for items that do better behind a door.
If one panel fits your space, the Wall Control black steel pegboard pack contains two boards, each 16 inches wide and 32 inches high. Measure above the desk and follow the maker’s mounting and load instructions for your wall.
Discover the Wall Control pegboard (paid link)
25. Add a Single Tall Molding Frame to a Plain Wall
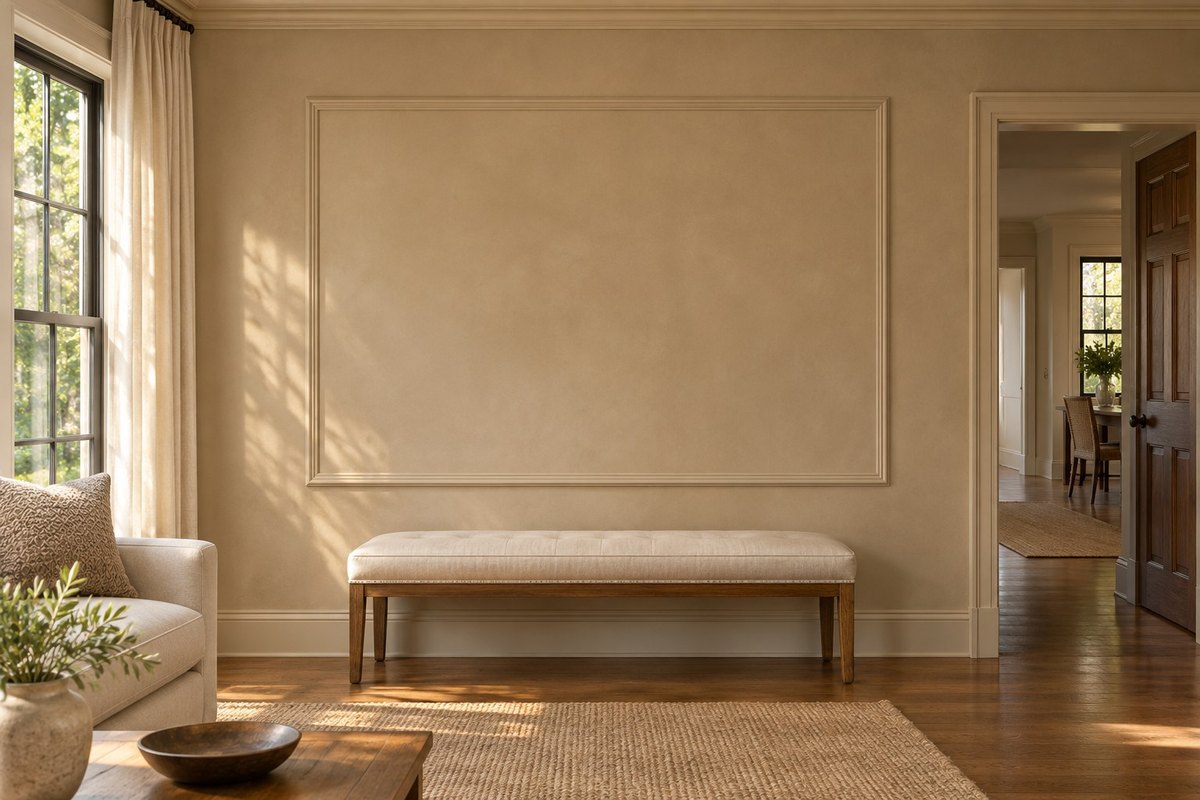
Frame a tall patch of plain wall with one rectangle of shallow molding. Use the same color on the trim and wall so the light creates the outline. Mark the corners with a removable guide appropriate for the finish. Check the shape from the doorway to make sure it relates to the furniture and trim below.
Plan around outlets, controls, and any door movement. Choose a material and fixing method suited to the wall and trim profile. If you cannot attach molding, use one painted outline in a closely related color. The rectangle can stay empty, with enough blank wall around it for the shallow relief to be visible.
Choose one wall and decide what you want to see from the doorway, the seat, or the spot where you stop. Check the available wall support before you commit to a piece. Then give the shape or texture a little room to show. A useful ledge, a map you care about, or one well-placed painted panel can finish the space on its own.
Discover more from HomeTrendora
Subscribe to get the latest posts sent to your email.