1. Map the Frames You Already Have
Draw the outlines of the frames on a sheet of paper and number them from left to right. Write the visible opening inside each box, along with whether it’s portrait or landscape. A tall rectangular frame can have a square mat opening, and that small detail changes the kinds of prints you can use. Mark the frame you notice first from the doorway and two smaller pieces that can stay right where they are. Keep the map with your seasonal art. If the room already feels balanced with half the frames filled by your everyday pictures, you need fewer new prints than the silhouette of the gallery might suggest.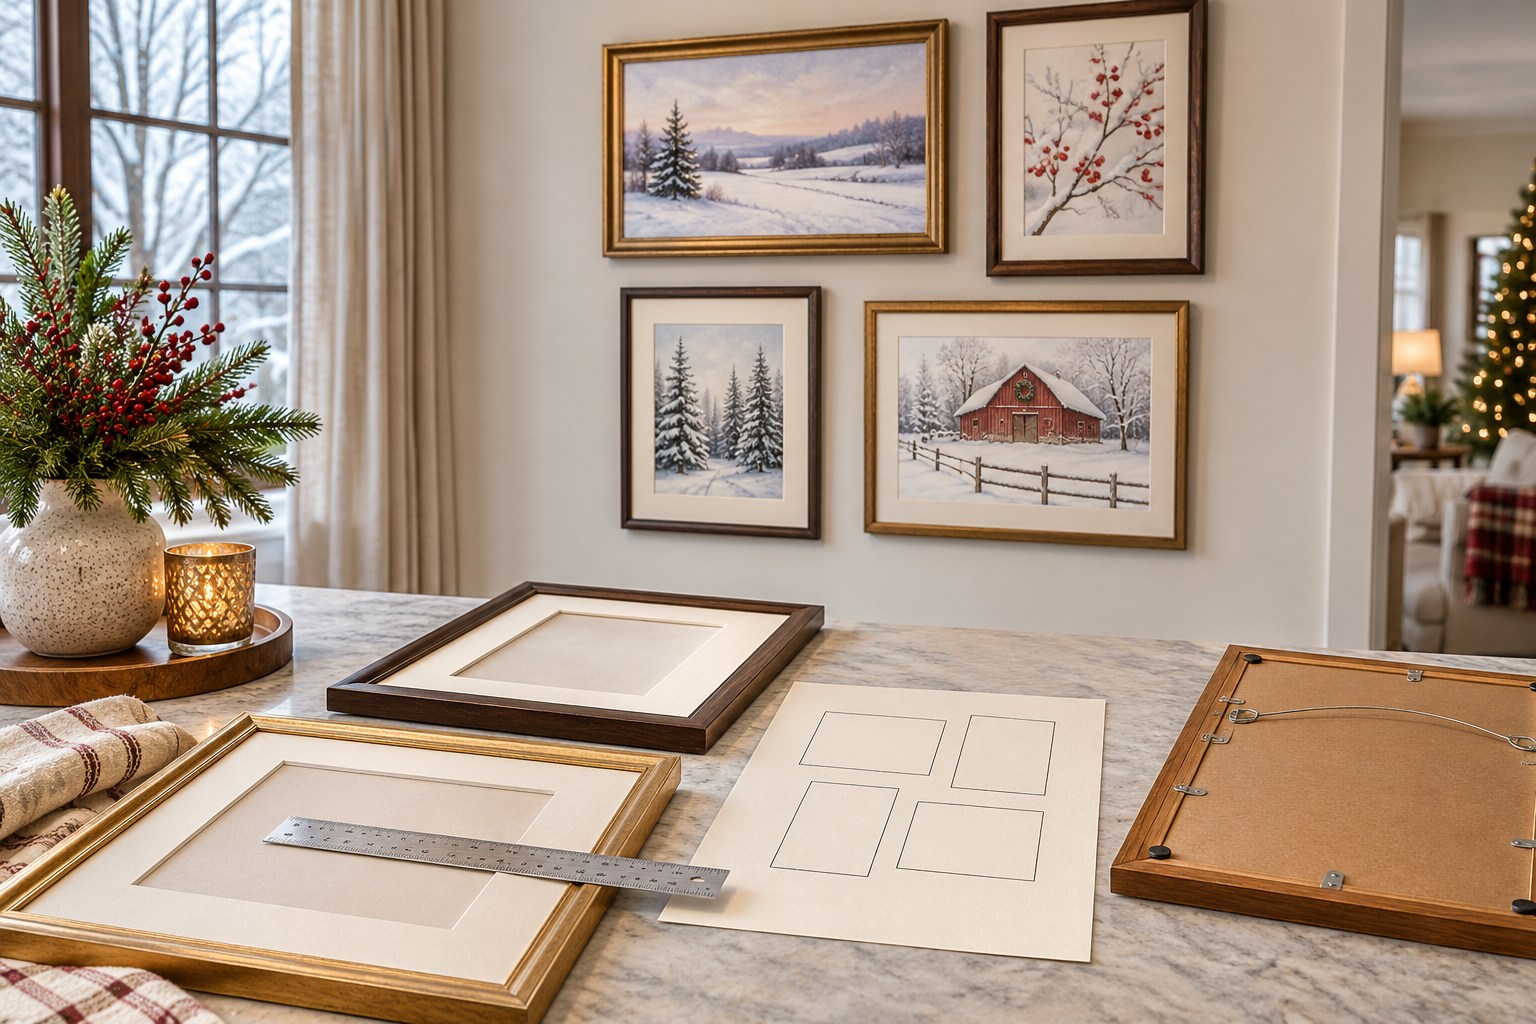
Plan your gallery before buying prints
Take the frame measurements with you when you choose new prints. The HomeTrendora eBook PDF, fillable room planner, and Excel budget tracker help you keep track of what you’re reusing and what you plan to buy.
GRAB 10% DISCOUNT
Coupon code: HOMETRENDORA10
Use this code at Payhip checkout.
Bonuses included with your eBook purchase.
2. Swap Two Central Prints and Leave the Outer Frames in Place
Start with the middle frame and the one your eye goes to next. Try a strong Christmas subject in the first, such as an evergreen branch against old paper, and a quieter related color in the second. Together they give the gallery a new focus, while the familiar edges and spaces between the frames keep the whole group steady. Look at a quick phone photo from the couch. If the two new pieces are pulling your gaze apart, make the smaller one quieter. The living room gallery wall guide has layout options for rooms where you’re still deciding on the permanent arrangement.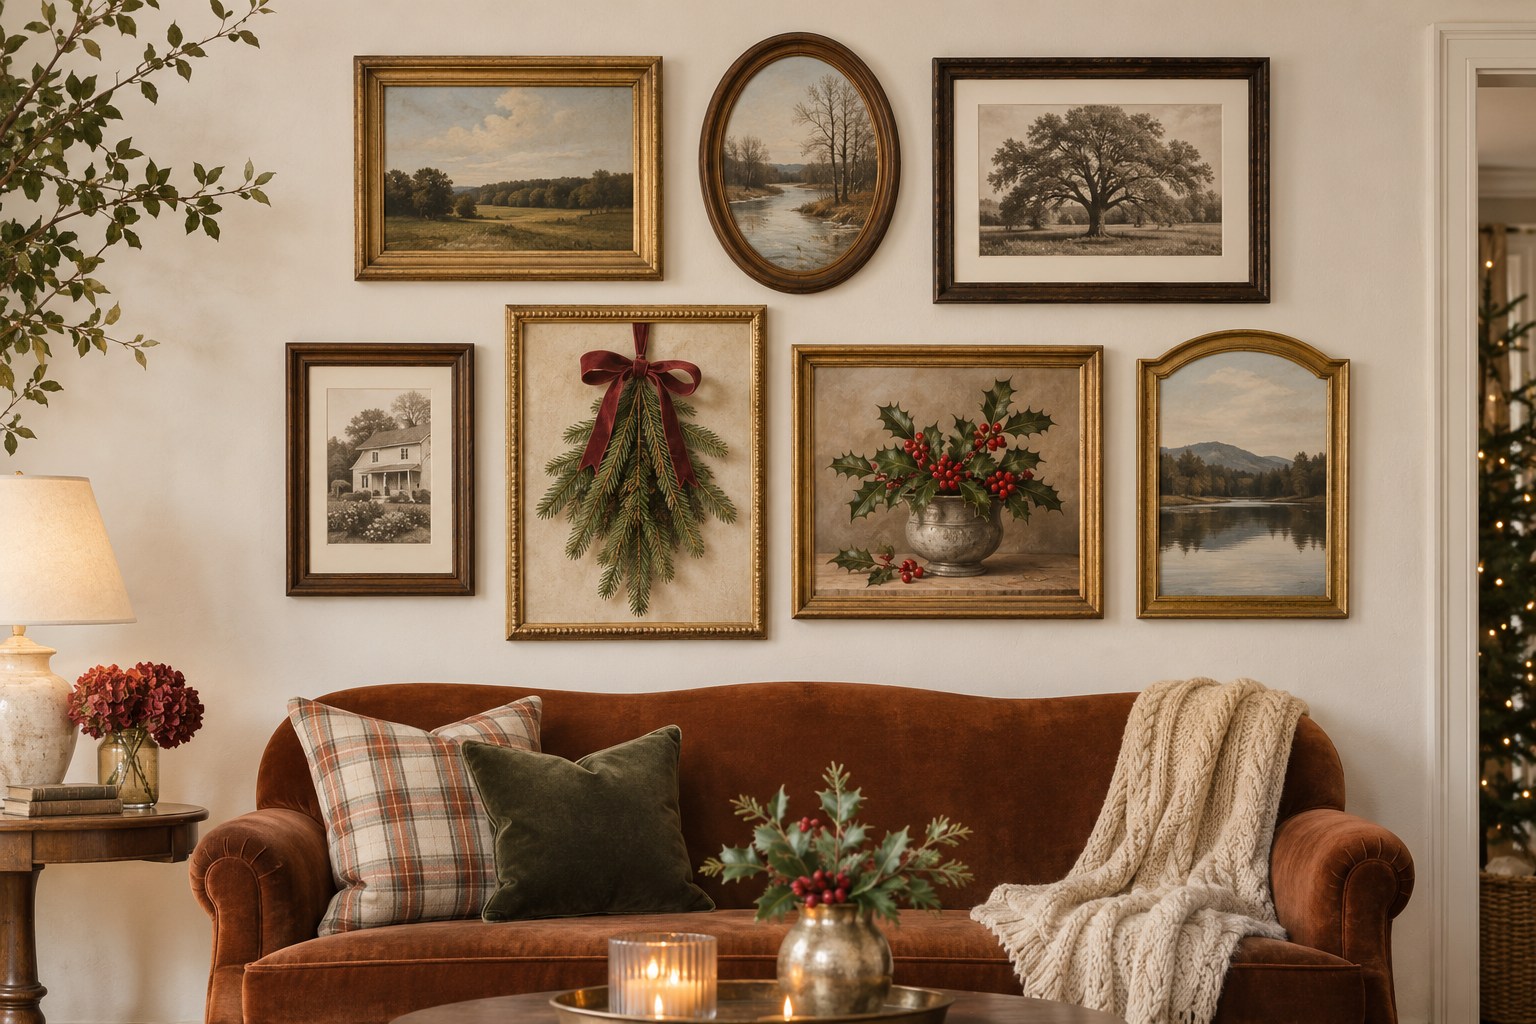
3. Match the Mat Opening Before You Order a Print
Measure the inside cutout you can see from the front, then check how much paper the backing can hold. The mat sold for an 8-by-10-inch print usually overlaps its edges. A design with a border or a face close to the cut line can look crowded once that overlap takes its share. Lay a paper rectangle the size of the opening over a test print. Check the smallest gaps around the image and look at the mat in daylight beside any cream or white mats already on the wall. A replacement frame with the same tone and a suitably sized opening is easier to blend in than another finish you have to repeat. If one frame needs replacing, this light-wood frame fits an 11-by-14-inch print or an 8-by-10-inch print with the mat in place. Check the visible opening against your artwork before ordering.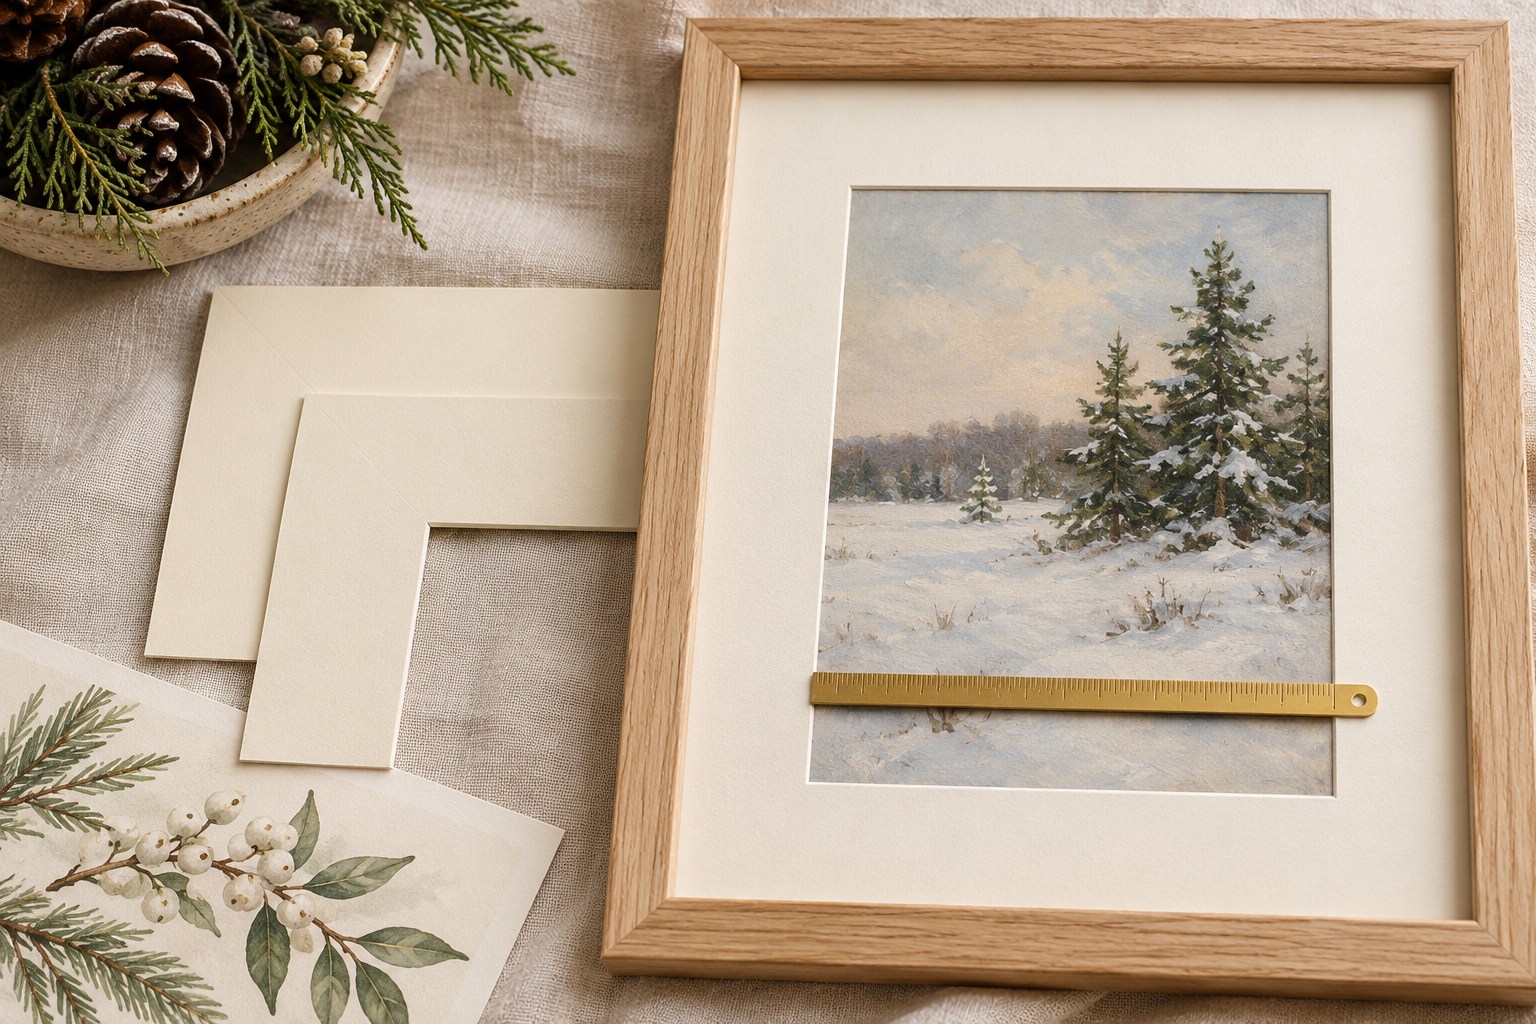
View the light-wood frame with mat(paid link)
4. Carry One Cranberry Detail Across the Wall
Pick out the smallest clearly recognizable red shape in one print, perhaps a bow on an old sled, and find one other image with a related color. A berry stem in a nearby frame can be enough. Keep the other pieces in warm browns or quiet grays so the two red details can still be found from the doorway. Look at the color again after the lamps come on. A warm plum red can feel richer than a brighter scarlet when the wall is dim. If red feels out of place altogether, use the same two-print rule with a color drawn from these Christmas color schemes.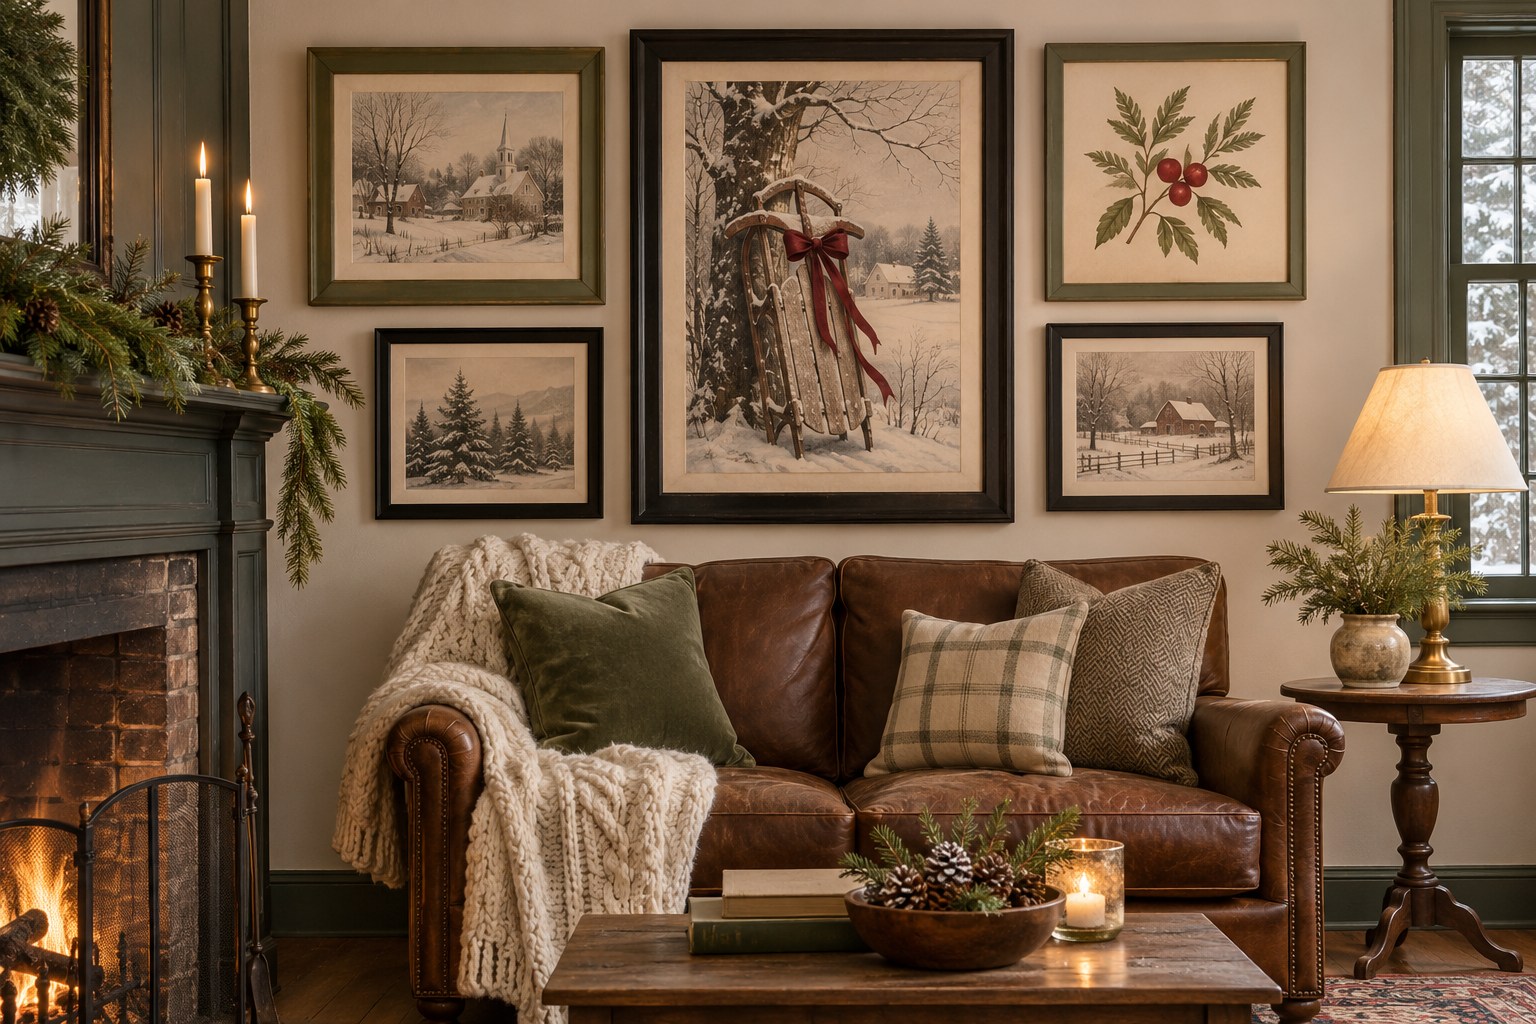
5. Use an Existing Picture Ledge for the Pieces You Swap Most
Give the smallest changeable frames the front places on a ledge that’s already holding artwork. Start with a taller winter print at the back and leave enough clear ledge for the smaller pictures to sit securely on the base. Keep the forward frames low enough that you can still see what makes the largest print identifiable. Move one frame out with both hands and check that the others stay steady. Use ledges and frames within their support instructions and keep the grouping away from a door or a busy reach. This spot works well for the Christmas card or little print you’re likely to change again before the holidays end.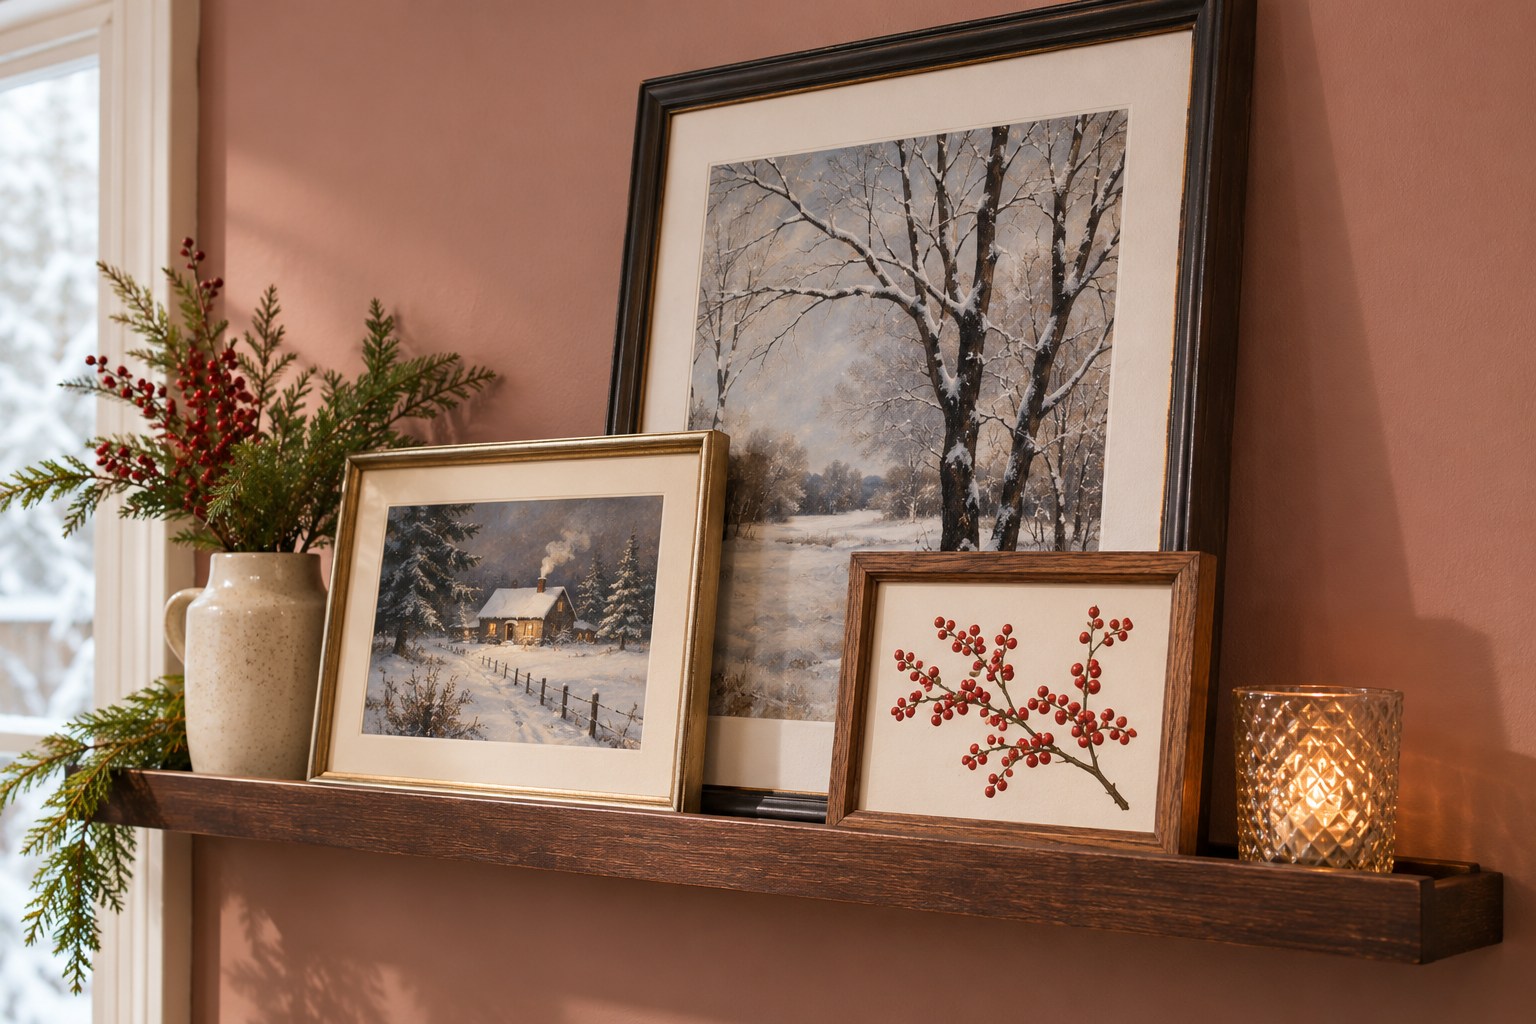
6. Keep a Hall Door Clear With Shallow Frames
Open the hall door to its usual furthest position and look at the wall it approaches. The thickness of a deep frame matters more on this wall than its width. If a bulky frame or protruding support sits close to the door’s path, move your holiday swap to an existing shallow frame beyond the swing. Stand a couple of steps back and check the top and bottom shapes as you walk toward the door. A dark top print and a lighter companion give a narrow existing grouping a little movement. Leave the latch, wall switch and other things you reach for visible and easy to touch.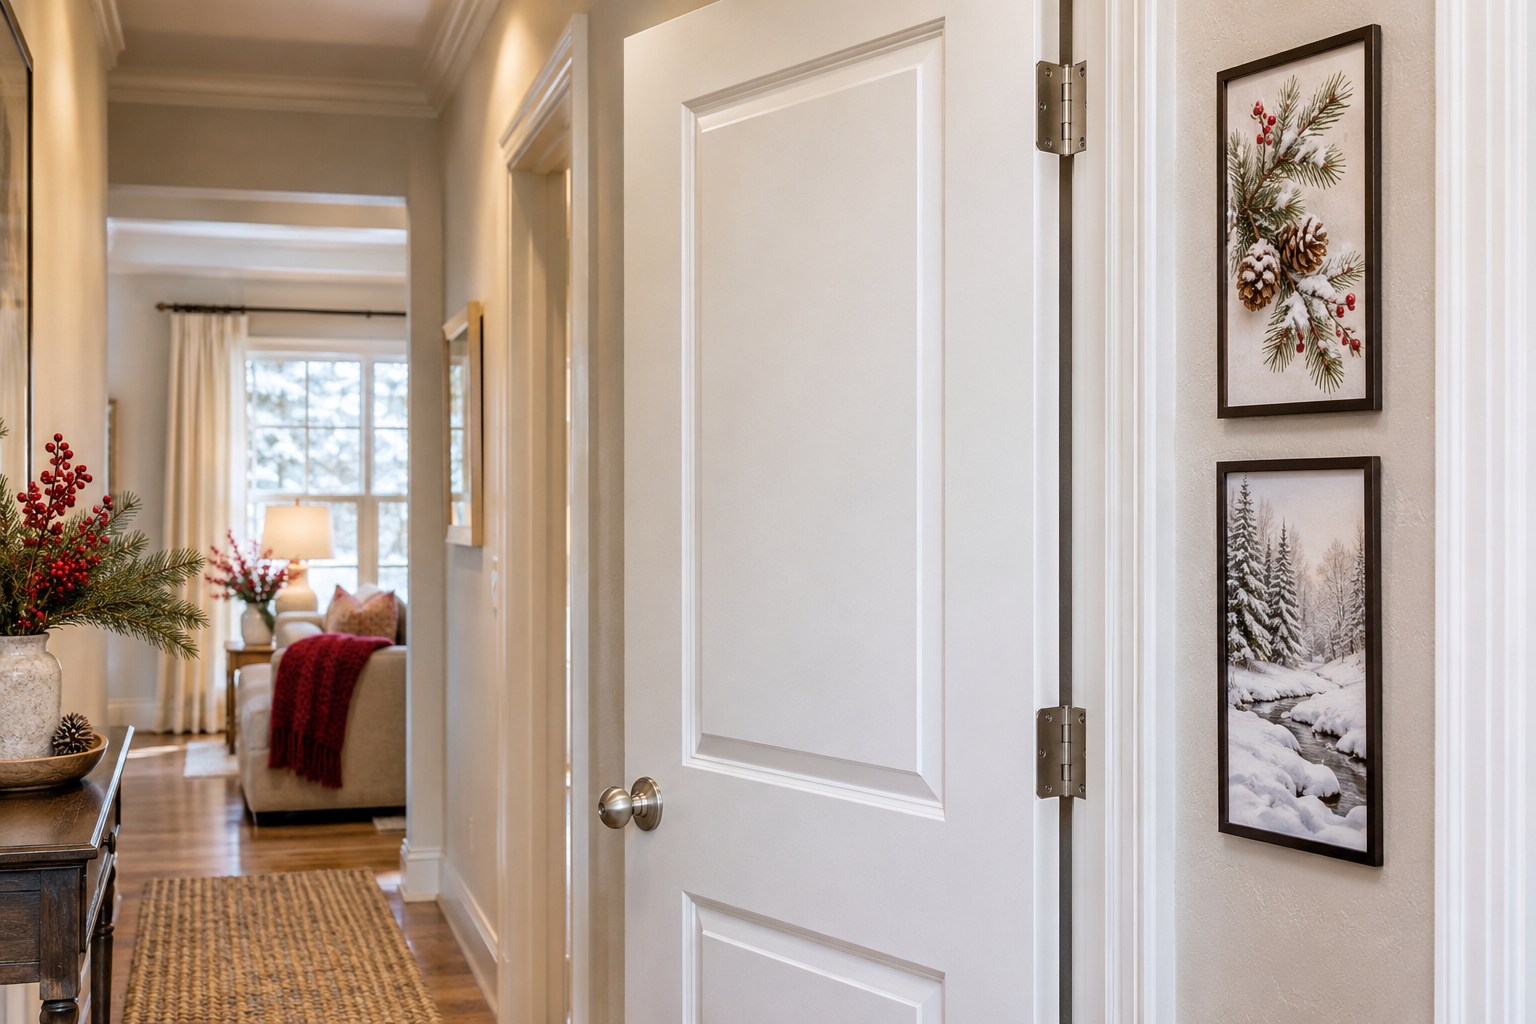
7. Give a Lamplit Seat One Quiet Christmas Image
Sit in the seat that gets used after dinner and look at the pictures in the nearest pool of light. Put a small Christmas image with a simple shape in one of those positions. A snowy lane with a single lit house can have more presence on a dim wall than a scene with many tiny ornaments or figures. Keep a little breathing space around the image within its mat. Switch the lamp off and on while you’re seated and notice whether the main shape holds together. If a bright reflection lands right across the picture, use a frame slightly outside the reflected beam or try a less reflective finish suitable for the work.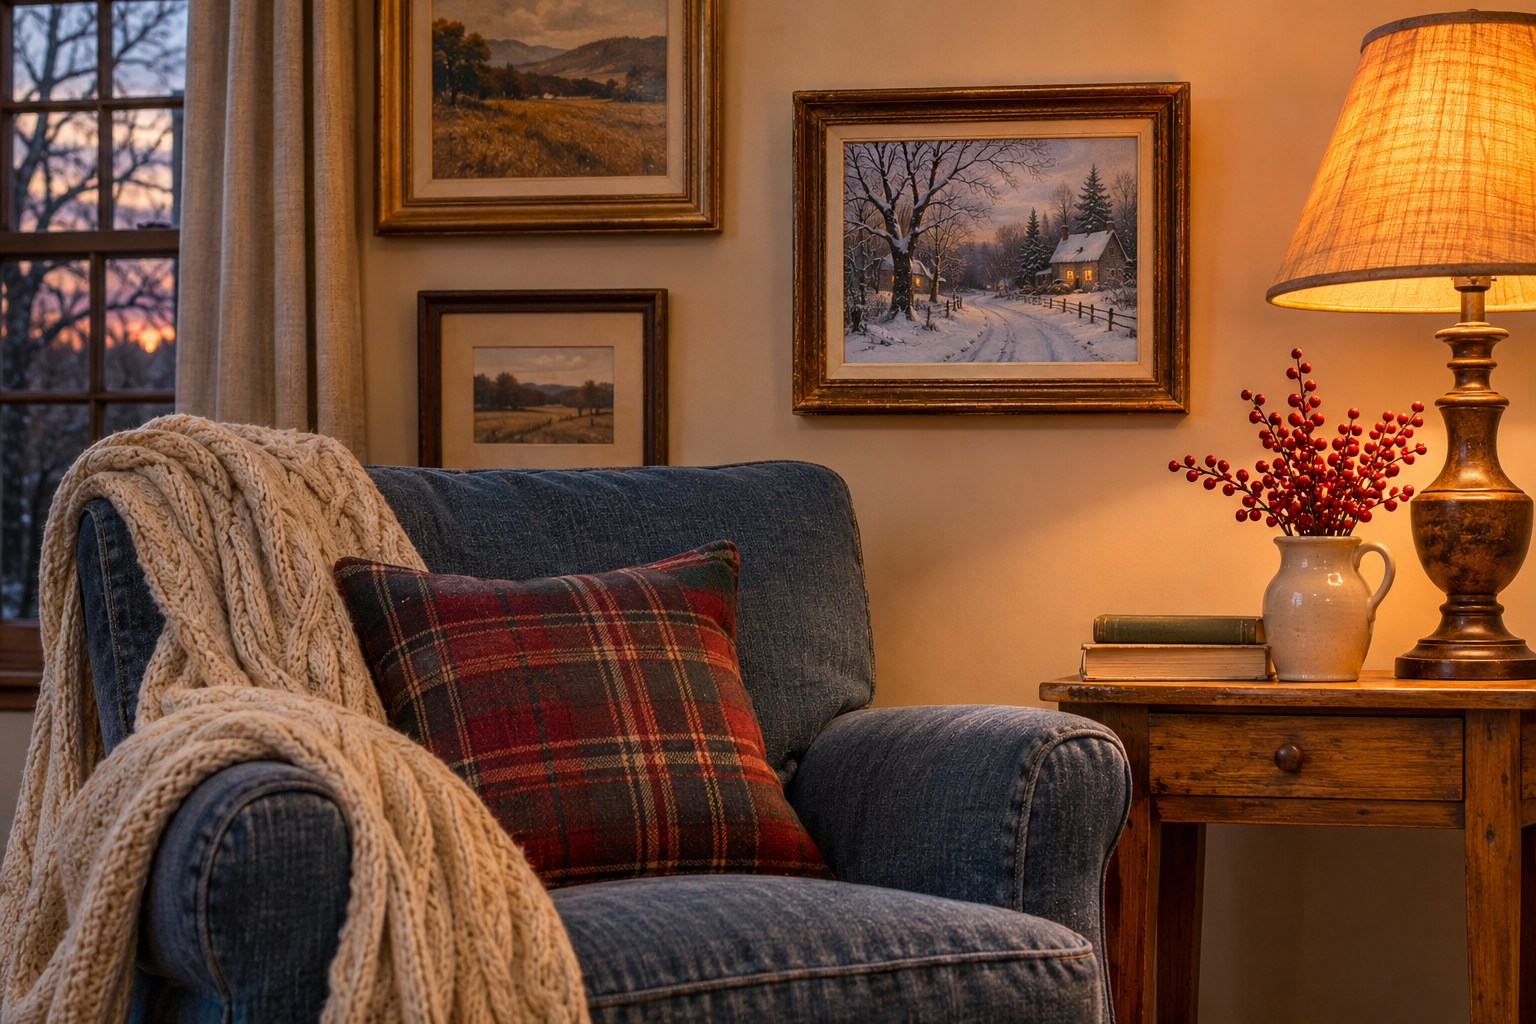
8. Pair a Spruce Study With Pale Oak Frames
Use the green of one spruce or fir study as the Christmas detail on a wall of pale oak. Choose a print with enough open paper around the branch to keep the wood grain and the image distinct. A neighboring soft charcoal sketch or warm linen-colored drawing gives the green a calmer place to sit. Compare the whites in the prints with the oak in natural light. If the paper looks too blue against the wood, a warmer mat can bring the two together. Your everyday ceramics or neutral textiles can stay in the room, where they help the seasonal spruce look like part of the wall you already enjoy.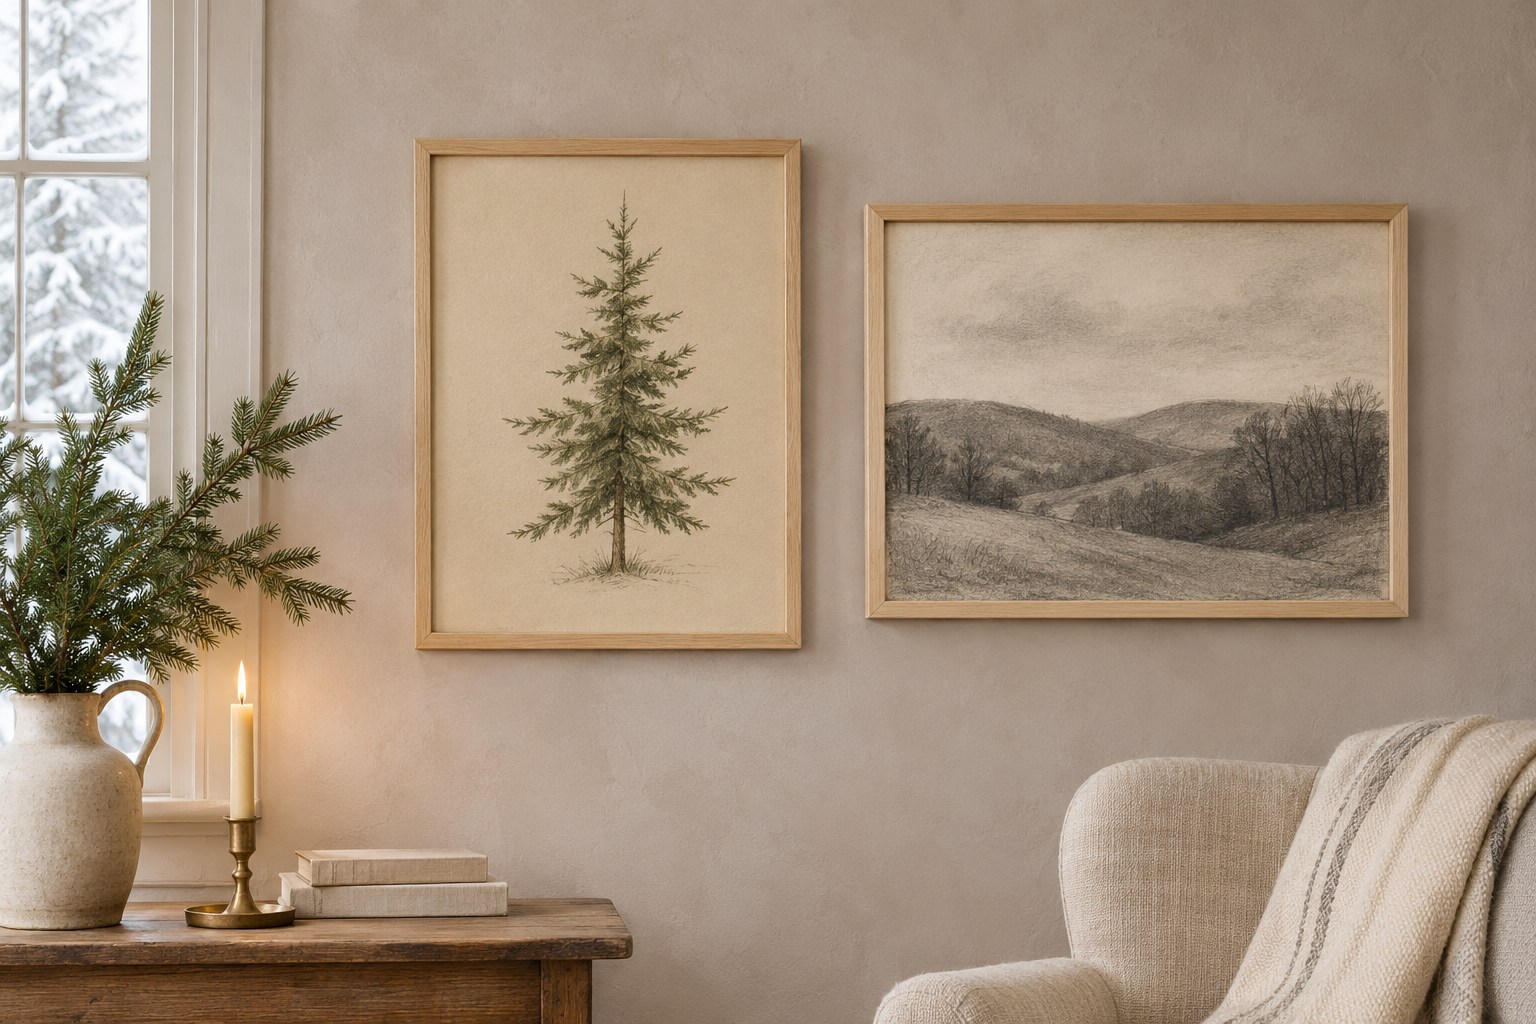
9. Give an Old Christmas Card a Deep Mat
Choose a card with an image you can see at arm’s length. Set it behind a mat in an existing frame with enough depth for the card and backing. Use a removable, suitable support so you can take the card back out, especially if you want to keep the message inside or preserve a family signature. Take a second look once it’s under the glass. A small card looks deliberate with an even field of mat around it and a clear outline. If you have family keepsakes with more depth, these heirloom ornament displays give those objects supports of their own.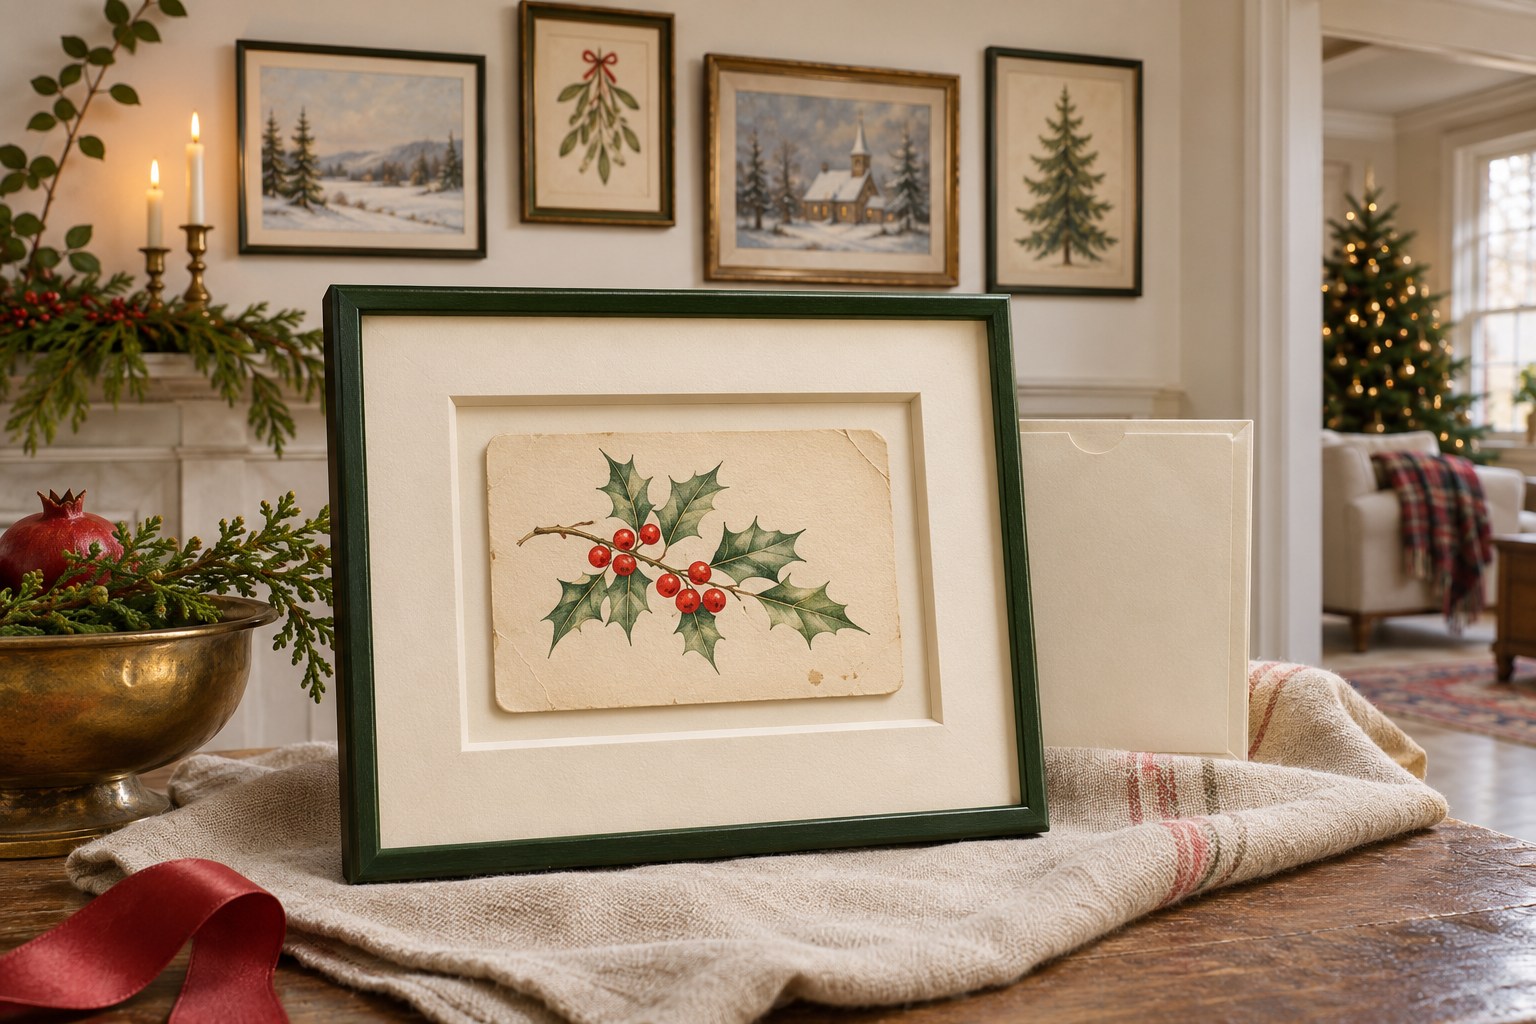
10. Crop a Print for the Actual Opening
Set the crop using the opening you measured. Allow extra image just beyond the four edges, where the mat will cover it. Keep a bright star, small tree, or edge of a face far enough inside the visible area to survive a slightly different placement when you fit the print. Print a small proof on ordinary paper and set it in the opening to check the balance. If you’re ordering a larger copy, use a source file the printer says works at the required size. A clean crop shows the picture you were drawn to instead of cutting its most interesting part in half.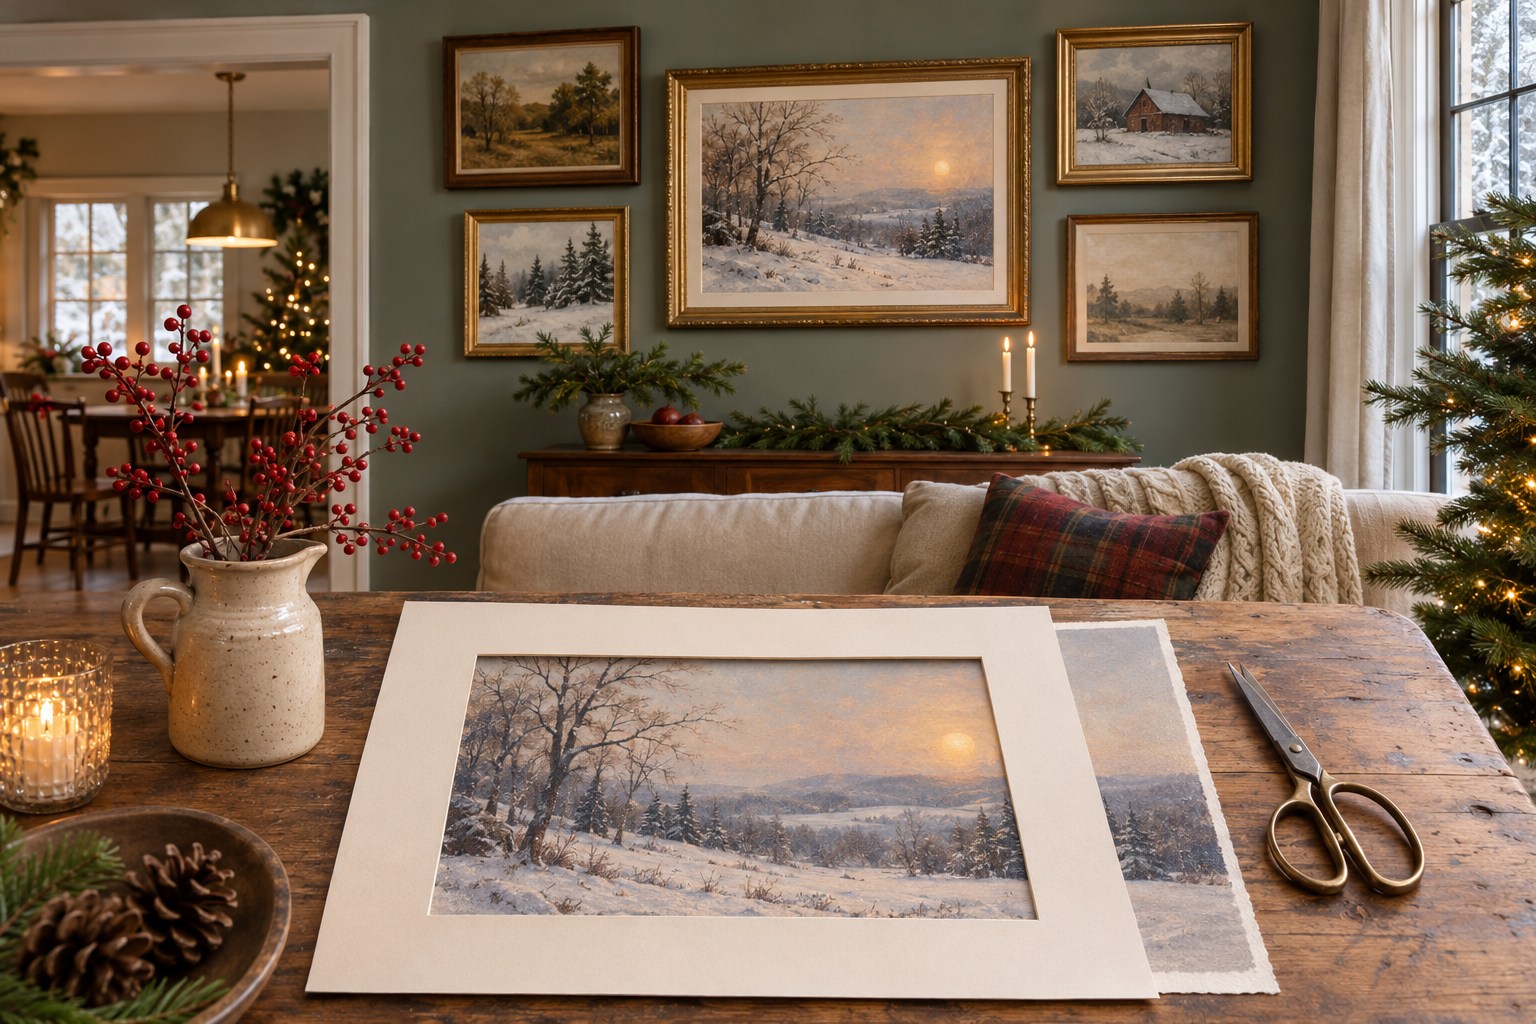
11. Check the Glare at the Hour You Sit Down
Stand by the main seat in daylight and look for a square of reflected window glass. Check the same frame once the evening lamps are on. The two reflections can appear in different places, and a pale replacement print can make them more noticeable where you had a dark photograph before. If the reflection sits right over the subject, swap the art between an existing pair of matching frames. You can also turn an adjustable lamp head within its normal use or close a sheer where that suits the room. Keep the image you want people to see in a position where its central detail still reads.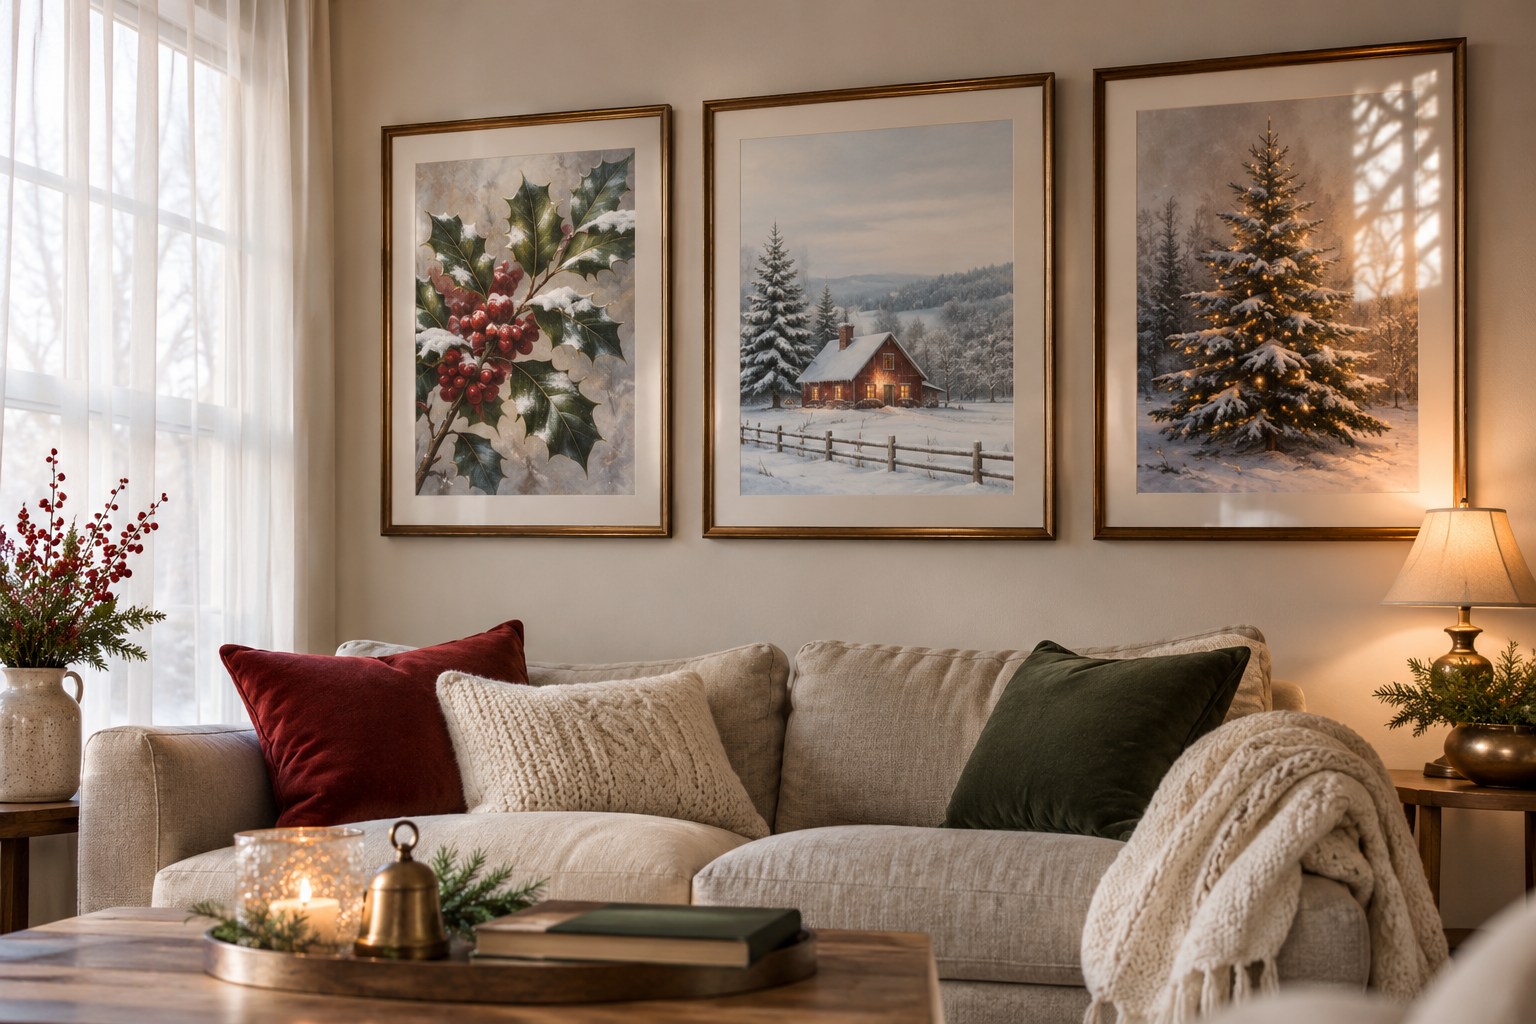
12. File Each Original Print for the January Reset
As you remove an everyday picture, put it into a clean sleeve or a simple labelled folder with the number from your map. Work on one frame at a time so the spare backing, hanging pieces and mat go back in the right order. Store delicate pieces in sleeves or folders appropriate for the material. Keep the gallery photograph and frame map with the file. Put the smallest replacement photos near the front, where they can’t slide deeper between larger ones. In January, the original pictures go back in a clear order and the Christmas set has a safe place of its own until next year. Begin with the picture you see most often and give it a small Christmas change that you’ll still enjoy in the evening. If the surrounding photographs and frames hold the wall together, leave them where they belong and enjoy the view.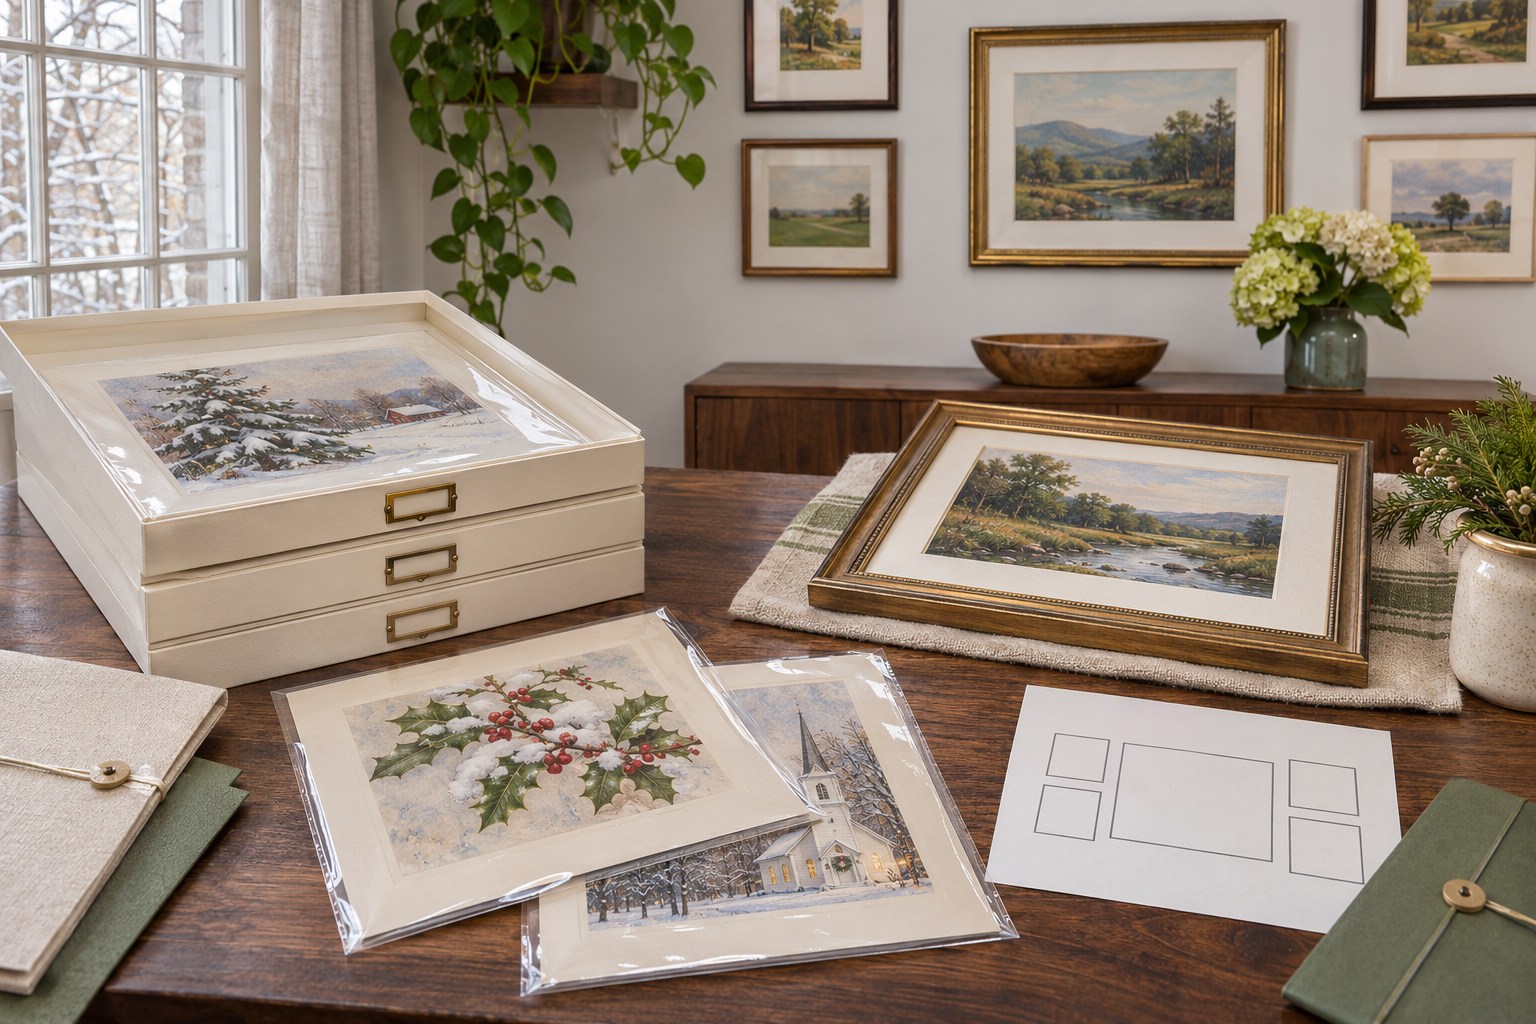
Discover more from HomeTrendora
Subscribe to get the latest posts sent to your email.